How To: Cam Synchronizer Replacement
#1
 03-07-2009

How To: Cam Synchronizer Replacement
I posted this here because more people will read it and i know if i post it int he how-to's itll never make it soo...
My cam synchro was going bad and squeaking like a mouse, so i decided to replace it today...
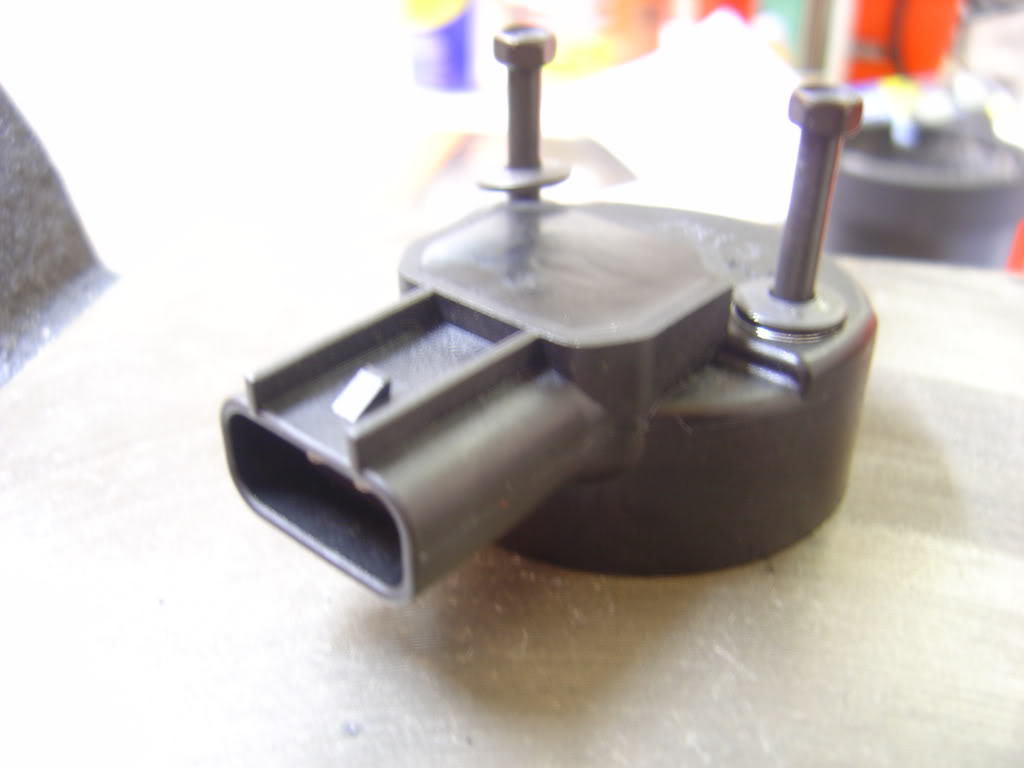
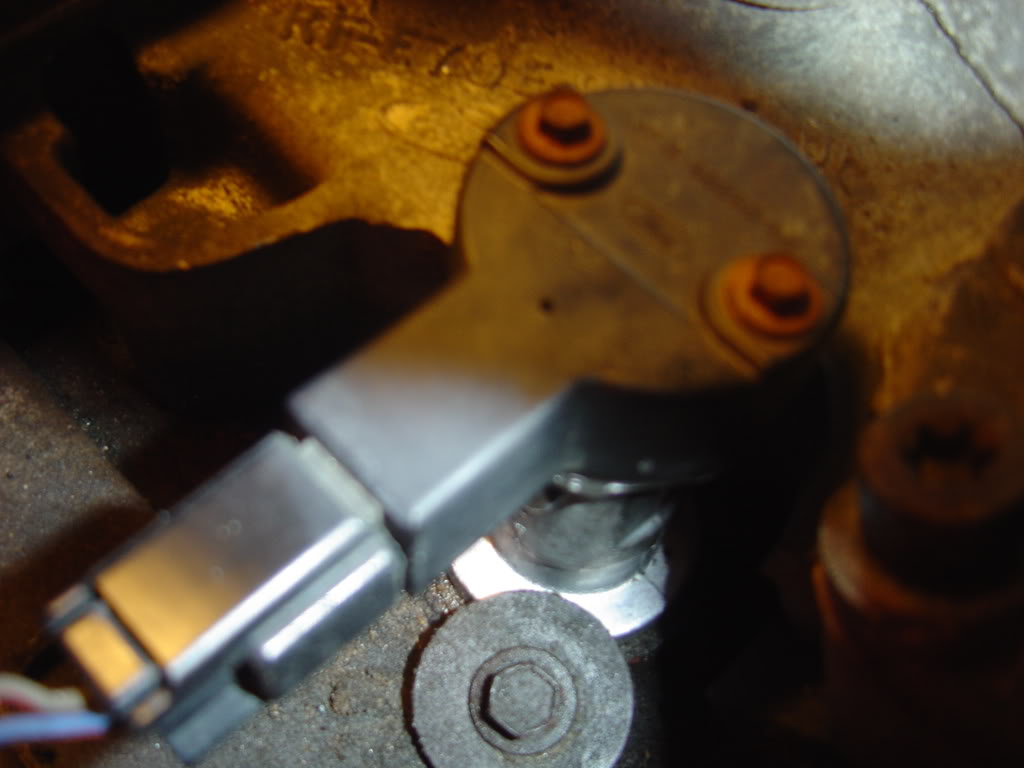
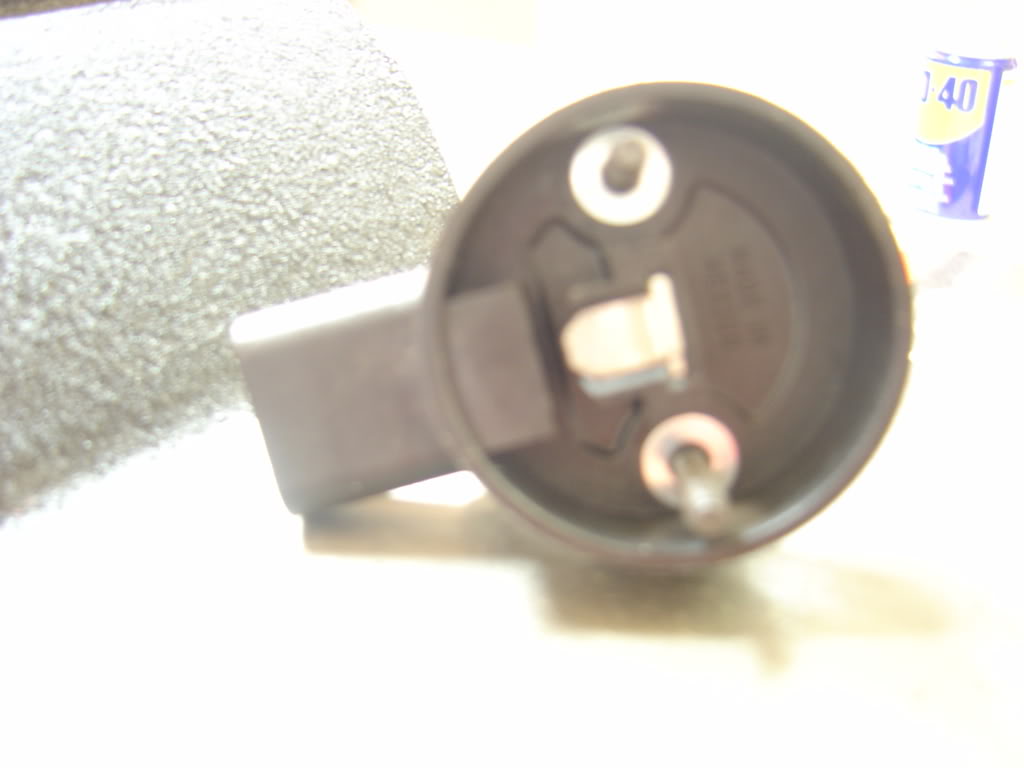
1. Unplug and remove the cam synchro stator. The stator is the sensor on top of the synchro held on by two 5.5mm bolts.
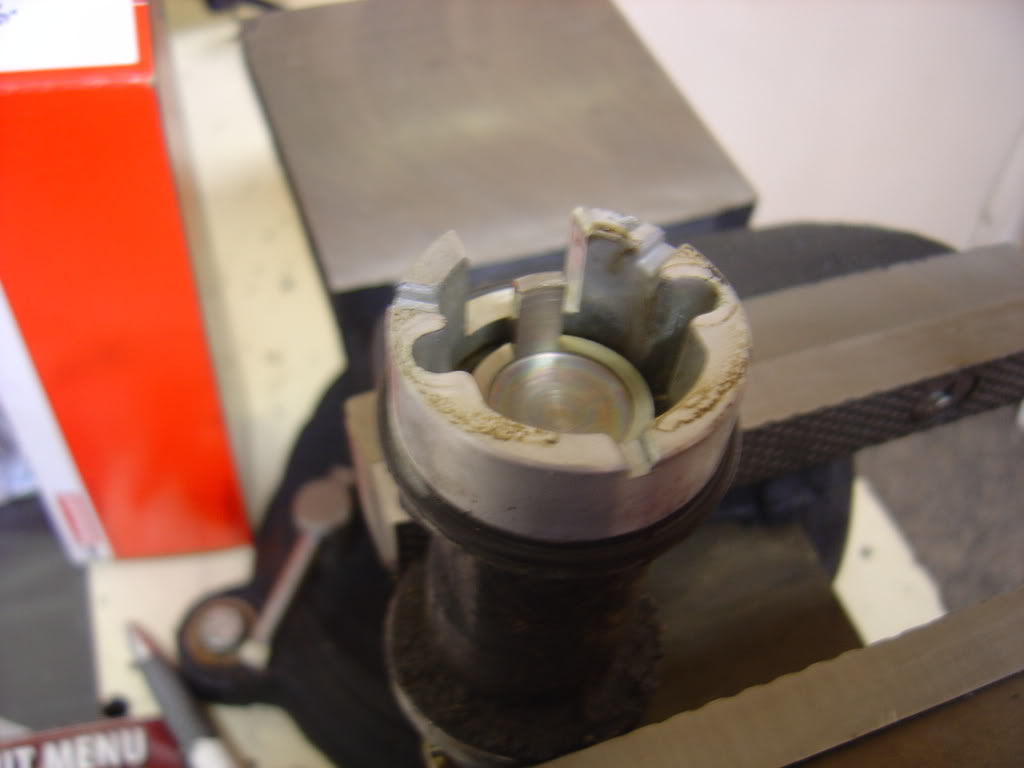
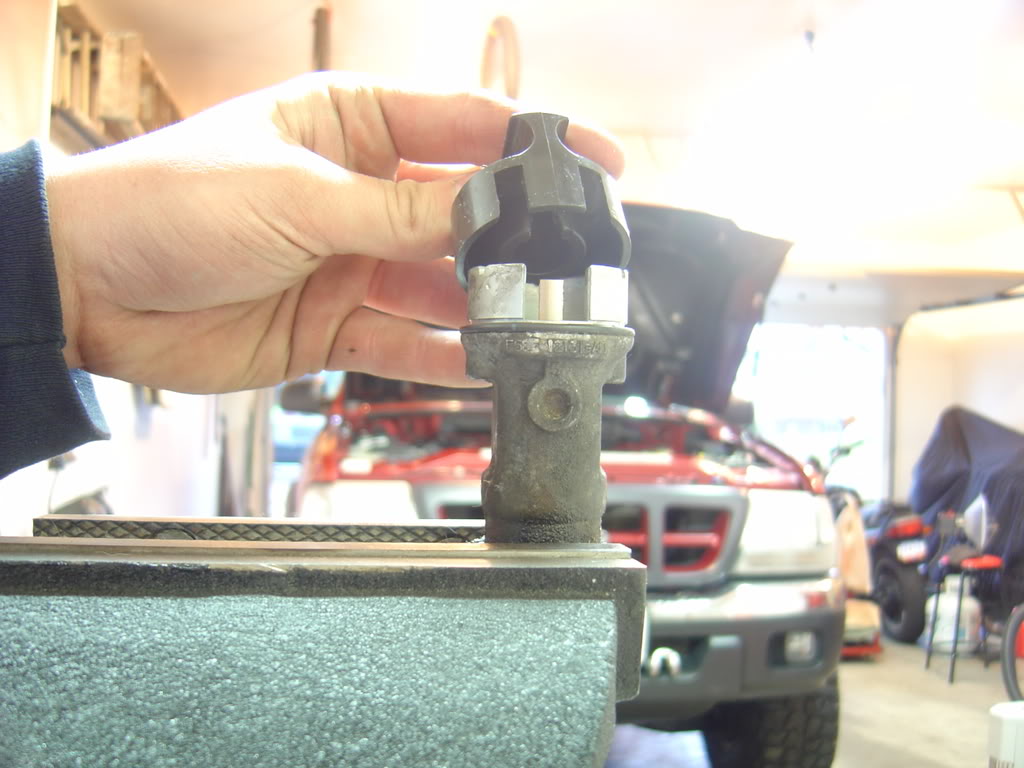
2. Rotate the engine until the cam synchro alignment tool falls in to the top of the cam synchro, this puts the motor at TDC. It doesnt matter if it is TDC on compression or intake.
3. Remove the 10mm bolt that holds the synchro in to the engone block and remove the synchro
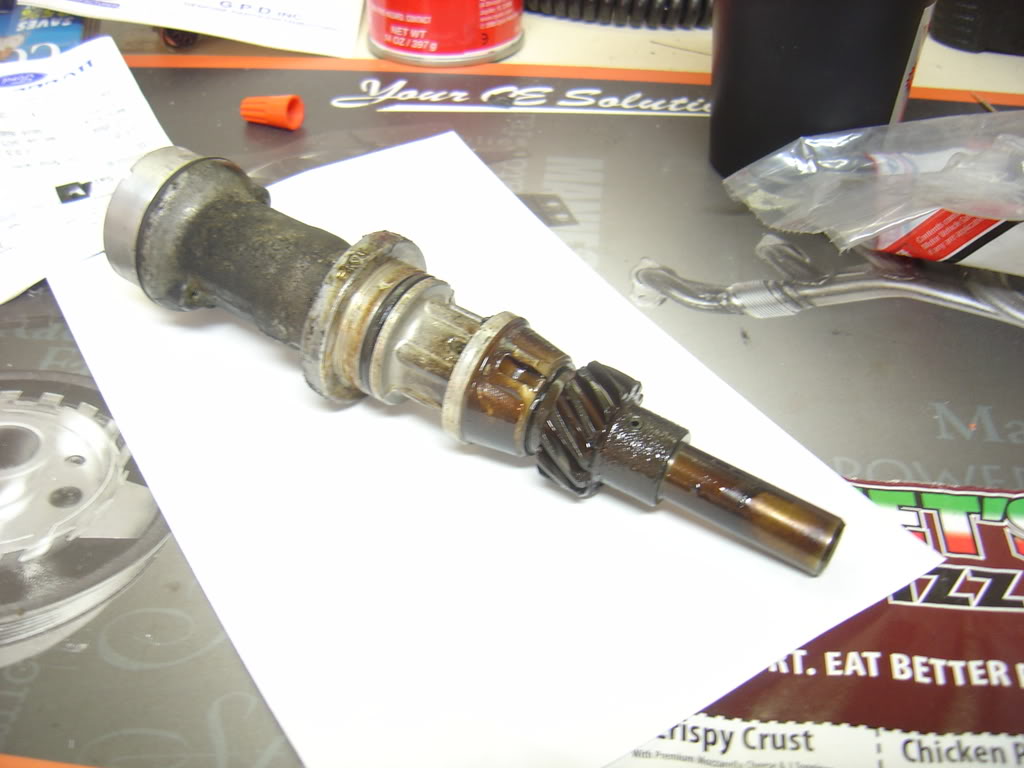
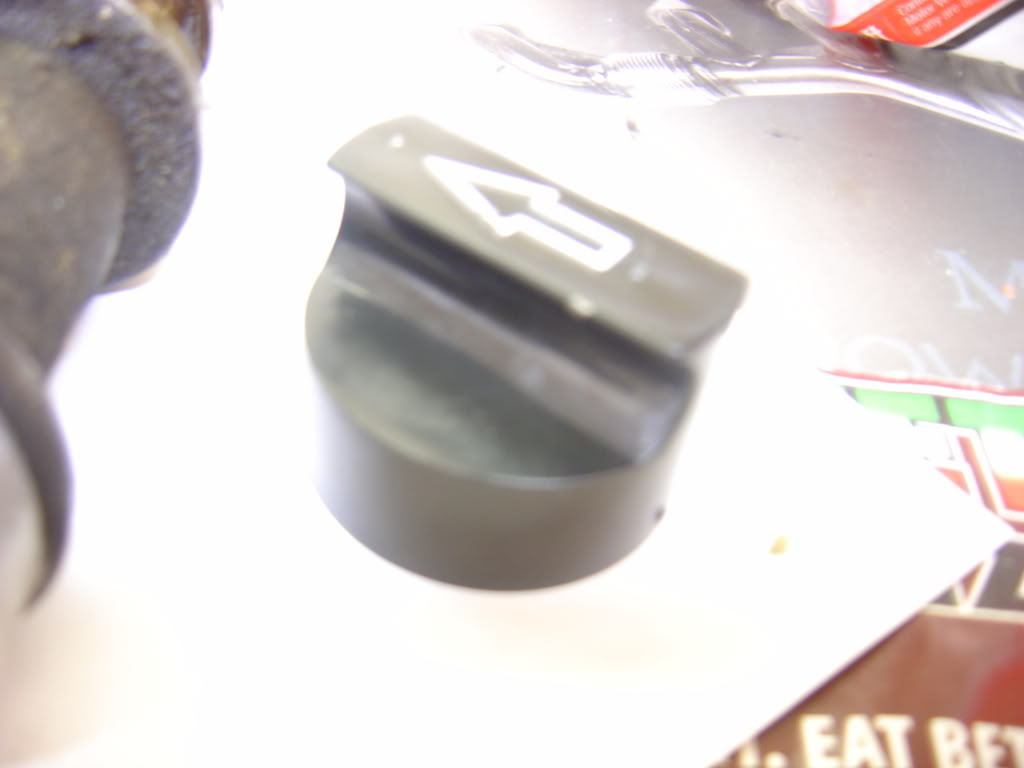
4. Install the synchro tool onto the new cam synchro and install it in the engine with the arrow facing the rear of the vehicle, the synchro will turn about one "clock" position as it falls in to engage itself in the helical cut cam gear. If it does not go in and seat all the way to the block, try again, you may not be engaged in the oil pump drive.
5. Tighten down the 10mm bolt that holds the synchro in place and remove the tool.
6. Install the new cam stator and gently tighten the 5.5mm bolts.
7. Plug in the sensor wiring.
8. Make random videos with your camera...

Total time from start to finish: under 40 mins
Song: Woodstock Boogie-Canned Heat Live at Woodstock
My cam synchro was going bad and squeaking like a mouse, so i decided to replace it today...
1. Unplug and remove the cam synchro stator. The stator is the sensor on top of the synchro held on by two 5.5mm bolts.
2. Rotate the engine until the cam synchro alignment tool falls in to the top of the cam synchro, this puts the motor at TDC. It doesnt matter if it is TDC on compression or intake.
3. Remove the 10mm bolt that holds the synchro in to the engone block and remove the synchro
4. Install the synchro tool onto the new cam synchro and install it in the engine with the arrow facing the rear of the vehicle, the synchro will turn about one "clock" position as it falls in to engage itself in the helical cut cam gear. If it does not go in and seat all the way to the block, try again, you may not be engaged in the oil pump drive.
5. Tighten down the 10mm bolt that holds the synchro in place and remove the tool.
6. Install the new cam stator and gently tighten the 5.5mm bolts.
7. Plug in the sensor wiring.
8. Make random videos with your camera...
Total time from start to finish: under 40 mins
Song: Woodstock Boogie-Canned Heat Live at Woodstock
Last edited by Toreador4x4; 03-07-2009 at 04:31 PM.


#3
03-07-2009


Great tutorial man! I've been reading about changing it out and a lot of people do it without the tool and just use a marker to mark the direction of the old one. But man it looks sooo much easier if you just use the tool, did you buy it locally or find it online?
Also it should be said that you can find the Motocraft brand synchro on Rockauto's website for like $85.00 if I remember correctly, that's the cheapest I've found.
#4
03-07-2009


#10
03-07-2009
Join Date: Jun 2005
Location: Ohio
Posts: 2,592
Likes: 0
Received 0 Likes
on
0 Posts
#11
03-08-2009
#12
03-08-2009
Join Date: Jun 2005
Location: Ohio
Posts: 2,592
Likes: 0
Received 0 Likes
on
0 Posts
#13
07-06-2009

Join Date: Dec 2008
Location: Orlando, Fl.
Posts: 11
Likes: 0
Received 0 Likes
on
0 Posts
#14
07-15-2009
Join Date: Dec 2008
Location: Orlando, Fl.
Posts: 11
Likes: 0
Received 0 Likes
on
0 Posts
#15
07-22-2009
Join Date: Oct 2007
Location: NH
Posts: 191
Likes: 0
Received 0 Likes
on
0 Posts
#16
04-11-2015

#17
06-08-2015

Join Date: Jun 2015
Location: Gambrills Maryland
Posts: 1
Likes: 0
Received 0 Likes
on
0 Posts
I have a 2004 Ford Ranger 3.0 and after I changed the Camshaft Synchronizer, (by the way of Toreador4x4 ) the valves were ticking louder than normal, like right before the Camshaft synchronizer went out. Will this ticking go away, or am I off a tooth? Plenty of oil, and radiator fluid. Thanks in advance. I don't want to run the engine too long if its wrong.
#18
12-30-2017


Thread
Thread Starter
Forum
Replies
Last Post
For Sale: comp cam 410 cam and pushrods-NY
destroyer000
OLD - Engine & Drivetrain
7
06-07-2016 08:05 PM


