10" Netbook into molded CarPC - 95 mazda b2300
#26
 06-28-2010


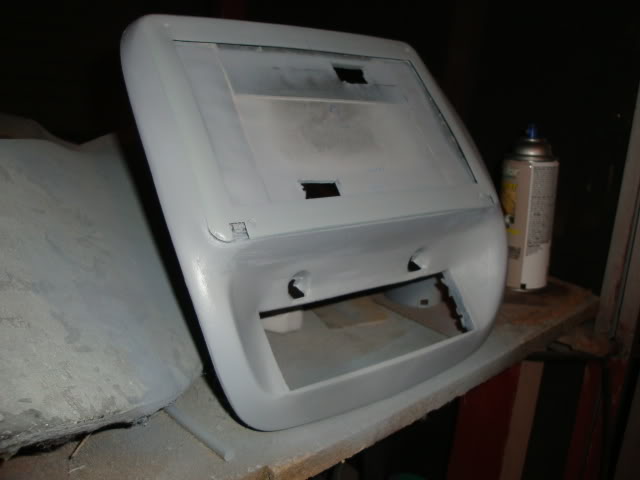
UPDATE, most of my shaping/sanding is out of the way now, just a few super small spaces to take care of around the edges, im pretty **** about it being as perfect as possible, but taking an extra day or so will make this thing come out as close to perfect as i can get.
Pics pretty much say it all, and still posting with my laptop in pieces batteries charging juuust fine, wifi working like a champ, still downloading off usenet ... im pretty stoked to get this finished by the weekend, along with new interior speakers all around.
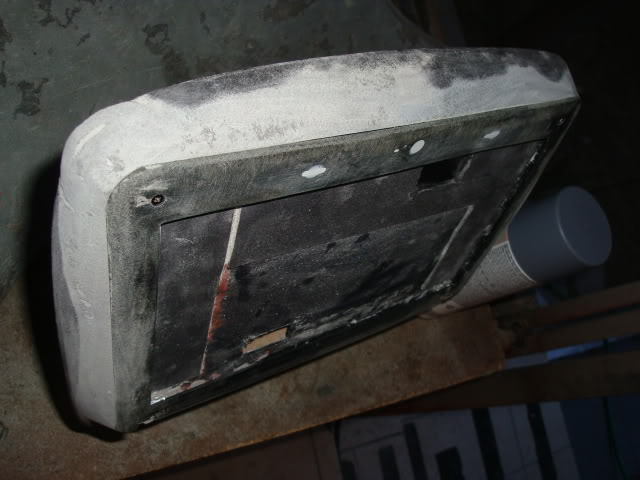
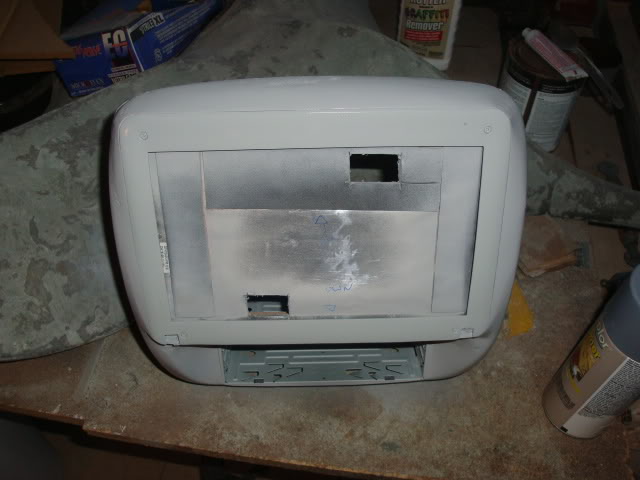
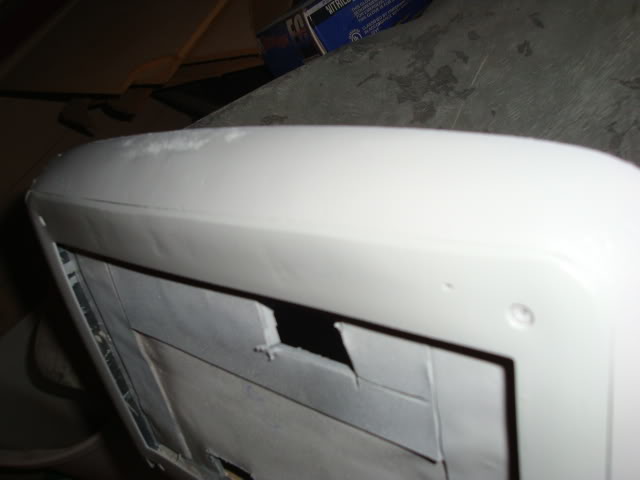
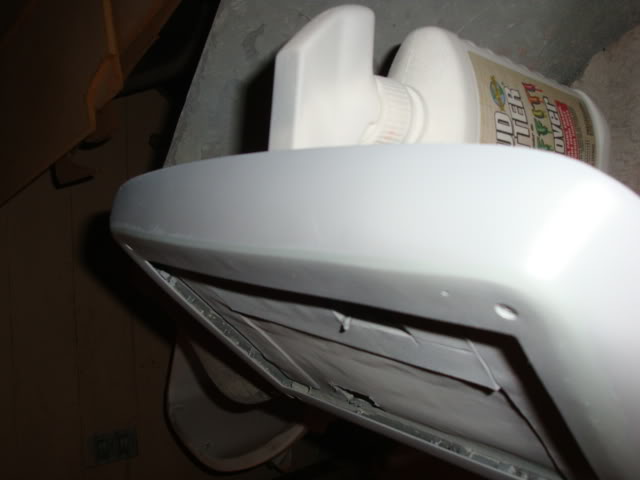
The front screen bezel is still completely removable, i flushed in around all the edges and still need to fill in the gaps where the plastic hinges were, im waiting to do that last to keep anything from possible breakage since its such a thin piece.
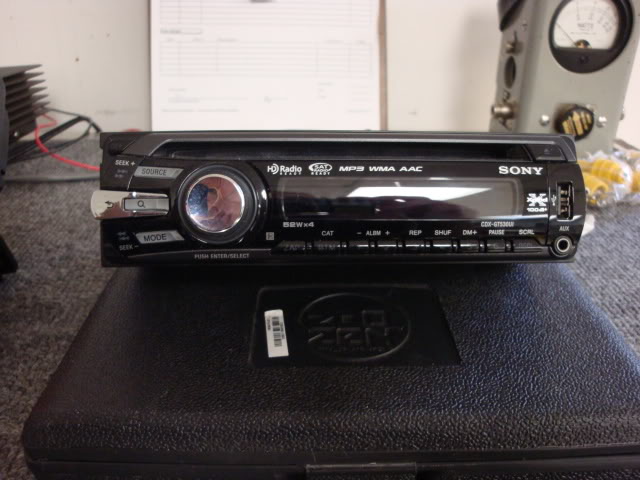
Also tomorrow on my lunch break, time to hack open the sony deck, why? because i have the front aux 3.5mm input on the face BUT id like to keep that for an ipod or whatever other electronic device may arise ya know? so obviously the pins in the faceplate carry over the main connector going into the radio, a quick continuity test will give me the pins i need to solder on a female 3.5mm jack and run the wire out the case of the radio into a 3 position switch so i can switch between pc audio and the front input quickly and easily, ill post pics of step by step how i did it for those interested.
Pics pretty much say it all, and still posting with my laptop in pieces
batteries charging juuust fine, wifi working like a champ, still downloading off usenet ... im pretty stoked to get this finished by the weekend, along with new interior speakers all around.The front screen bezel is still completely removable, i flushed in around all the edges and still need to fill in the gaps where the plastic hinges were, im waiting to do that last to keep anything from possible breakage since its such a thin piece.
Also tomorrow on my lunch break, time to hack open the sony deck, why? because i have the front aux 3.5mm input on the face BUT id like to keep that for an ipod or whatever other electronic device may arise ya know? so obviously the pins in the faceplate carry over the main connector going into the radio, a quick continuity test will give me the pins i need to solder on a female 3.5mm jack and run the wire out the case of the radio into a 3 position switch so i can switch between pc audio and the front input quickly and easily, ill post pics of step by step how i did it for those interested.


#28
06-28-2010

#34
06-28-2010
#35
06-29-2010
Today during some well deserved downtime at work i was able to open up my fancy little sony cdx-gt530UI headunits faceplate and the main body? i guess you would call it, i uno whatever.. anyway i was able to trace out the pins down through the faceplate jack, into the connector and down to the radios main connector on the inside of the radio where the solder connections are made.
I ran 3 wires in and soldered them to the board, trailed them out an opening in the casing and realized ... i don't have a female 3.5mm jack to use so the computer speakers aux in was sacrificed and de-soldered from its board, connected to the 3 wires i ran out and is awaiting testing and mounting.
I took step by step pics on the process, just dont have my cameras cable here but ill post them after i get off of work.
#36
06-29-2010
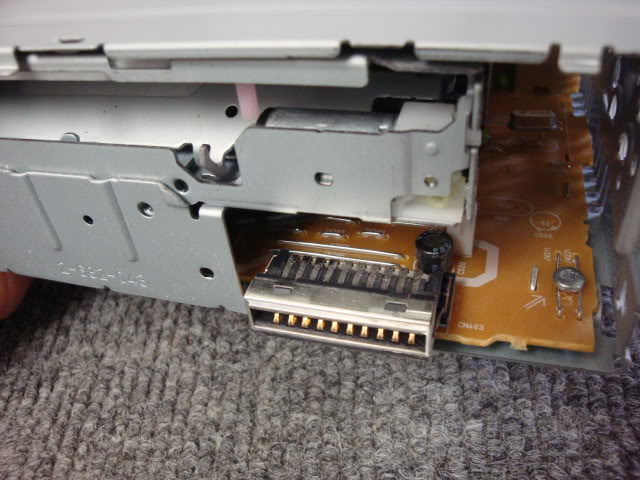
As you can see, theres the little aux jack right on the front, which is great but would be even better to have 2 to keep from constantly switching a cable around for the pc or whatever else.
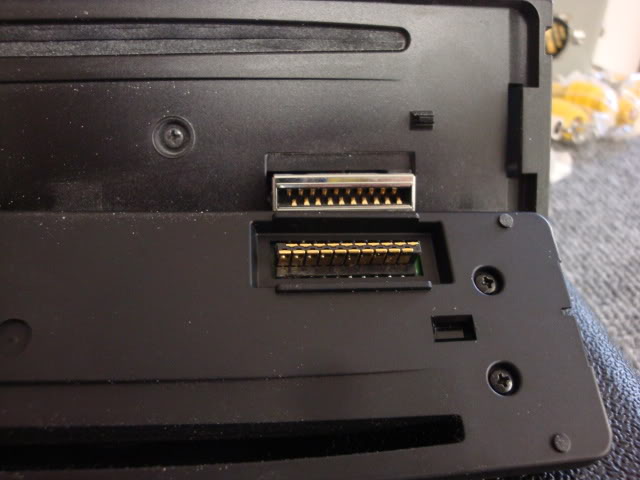
I traced the connections through here, into the radio.
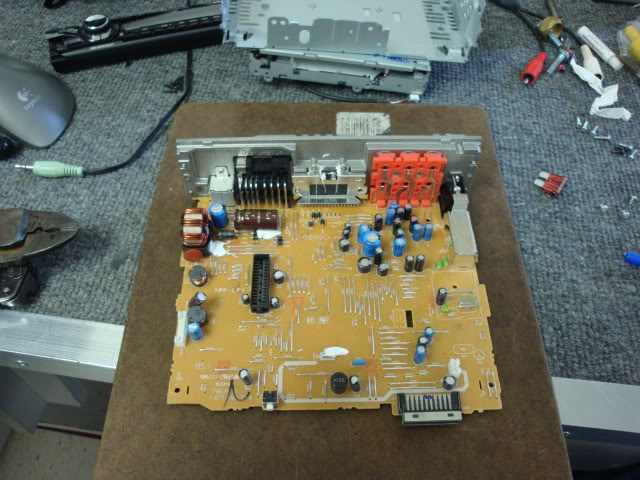
Theres only 2 screws in the front of the deck here that hold the front side of the cd drive down and keep the cover on and 4 clips to relase the cover.

Only a single scew and a few tabs hold the top cover down.

With that off, the 2 blue marks point to the last 2 screws holding the cd drive down

Theres a small connector to unplug to release the drive to get access to the main board.
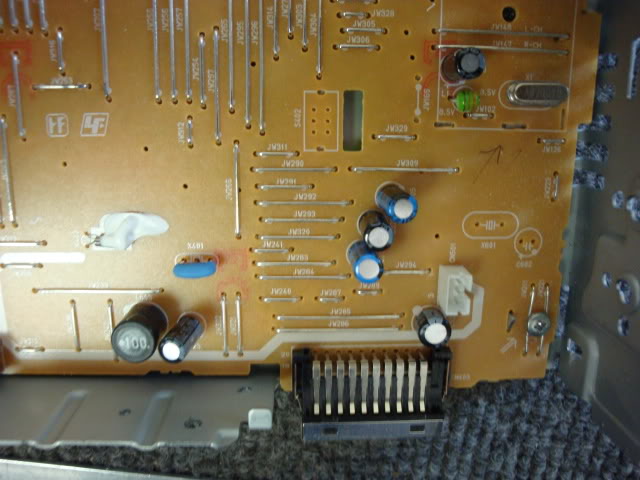
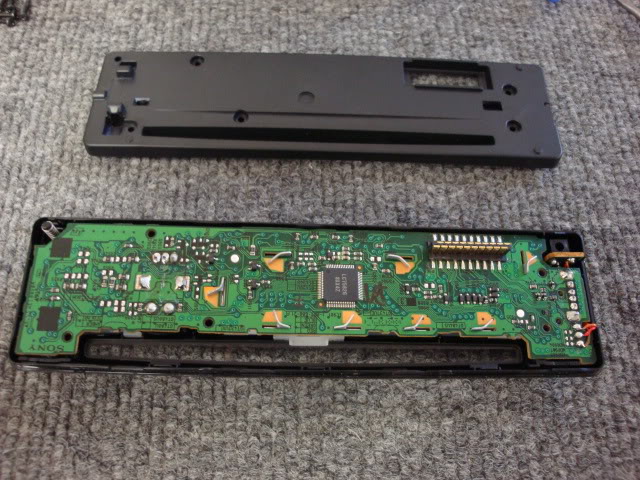
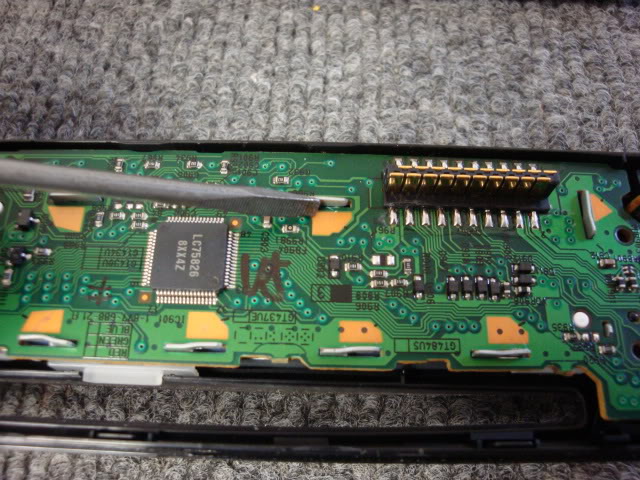
Tracing the aux pins through the other side of the faceplate connector, theres 10 or so screws holding the board and backside of the radio together which all had to be removed to get to the underside.
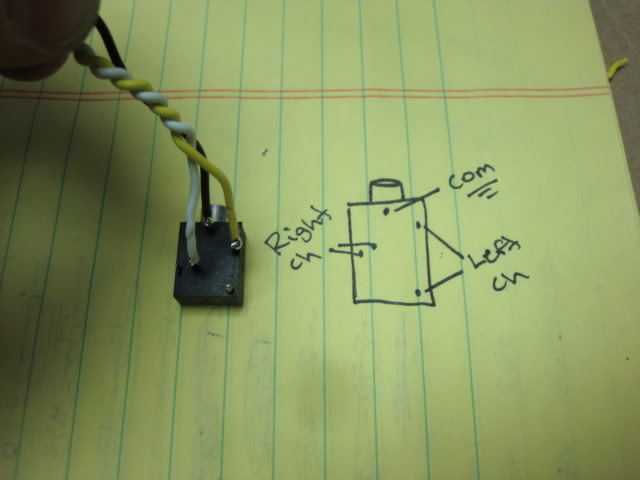
Heres the 3 pins i need, drawn out for my terrible memory.

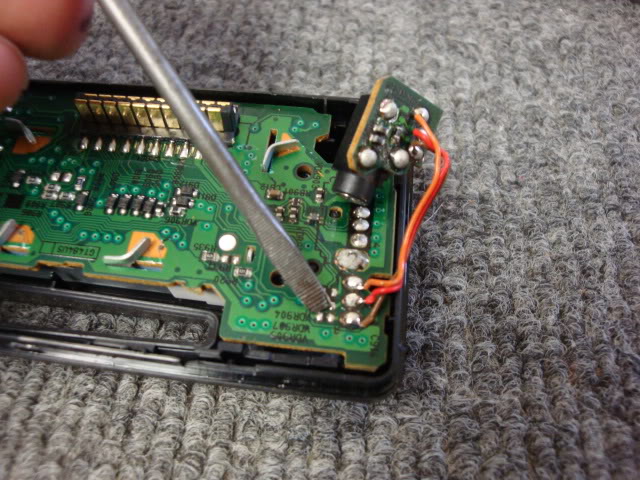
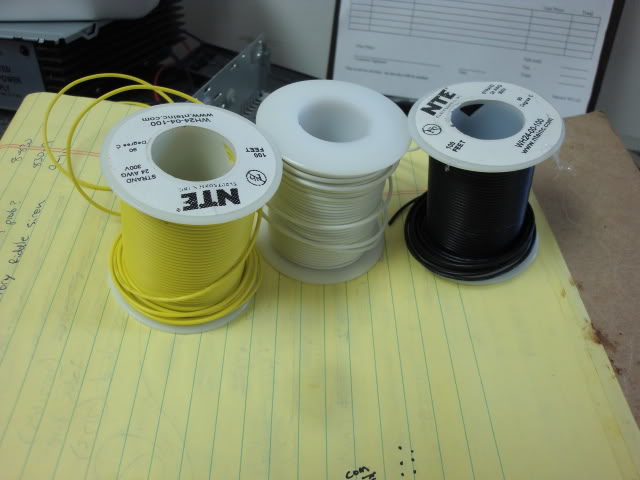
A little component hook up wire to make my leads.
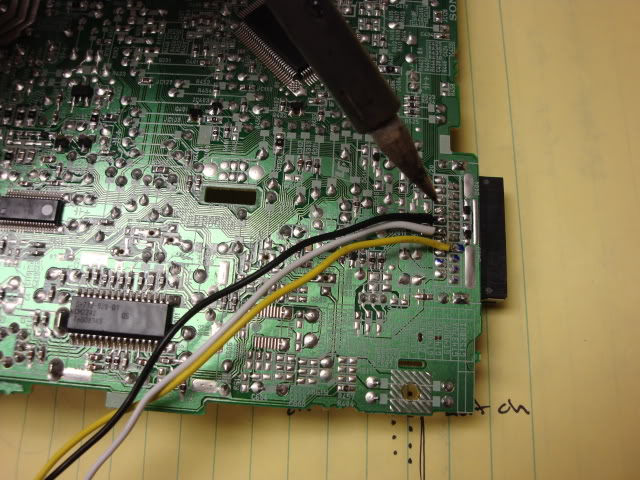
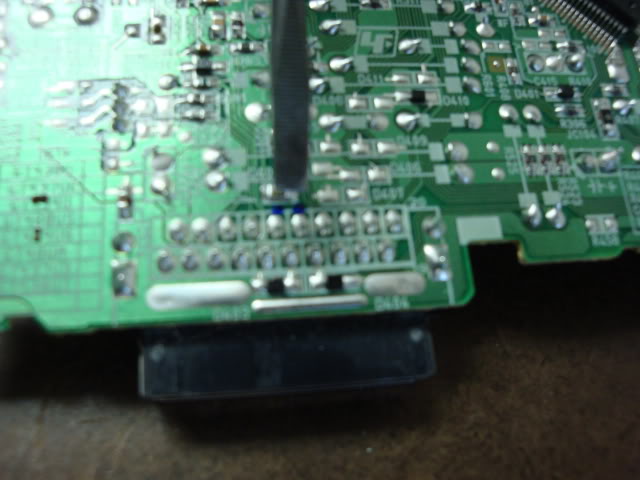
Braided the wires with a drill on the outside of the radio case, the 3 braided had to much height underneath the main board and could short out so i kept them seperate to prevent that.

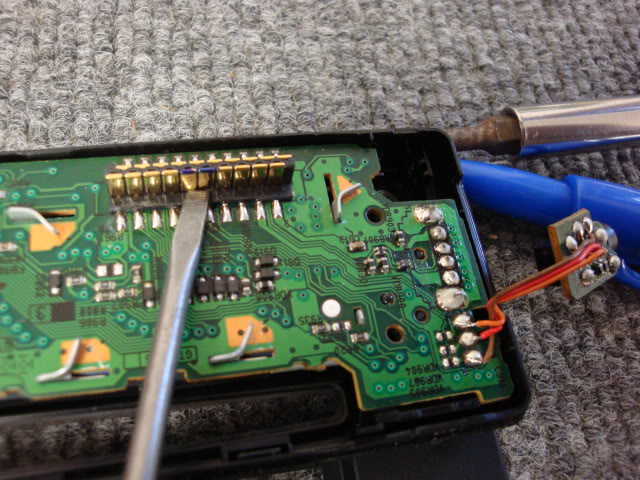
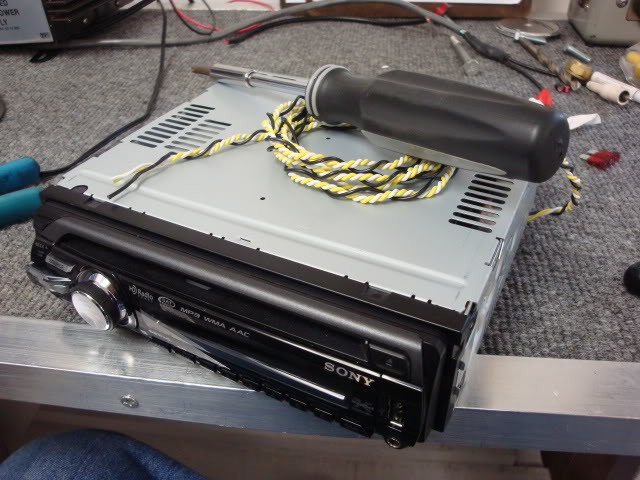
Little reassembly magic
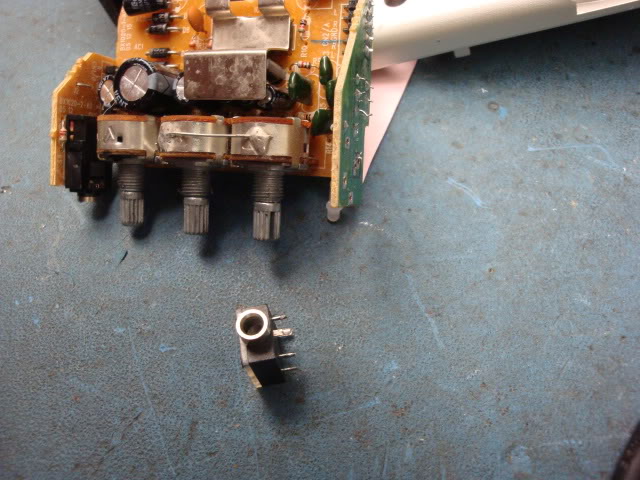
This is where i realized... i had no female jack, so in my panic and dedication to not spending any money on buying one, i robbed one from the pc speakers.
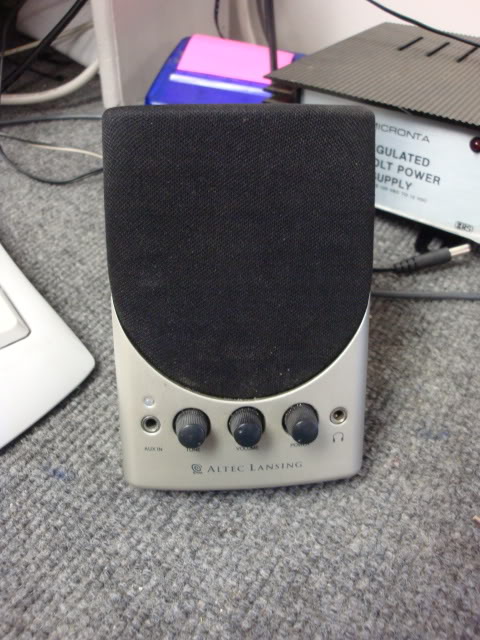
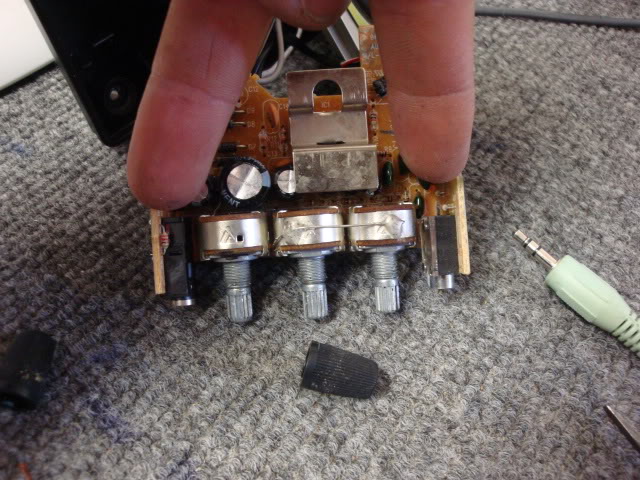
There were 2 in this instance, i just pick one.
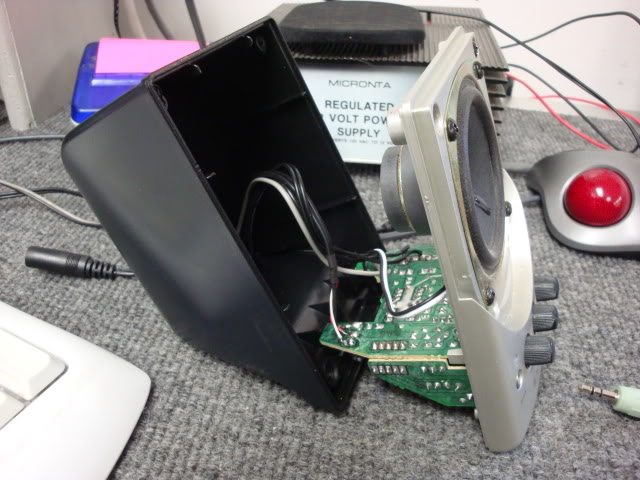
With a little desoldering action i removed it from the board.
.jpg[/IMG]
Traced out the connections with my multi meter
And soldered to the connector pins.
Tested it with my ipod shuffle a little while ago, works just like its supposed to
I traced the connections through here, into the radio.
Theres only 2 screws in the front of the deck here that hold the front side of the cd drive down and keep the cover on and 4 clips to relase the cover.
Only a single scew and a few tabs hold the top cover down.
With that off, the 2 blue marks point to the last 2 screws holding the cd drive down
Theres a small connector to unplug to release the drive to get access to the main board.
Tracing the aux pins through the other side of the faceplate connector, theres 10 or so screws holding the board and backside of the radio together which all had to be removed to get to the underside.
Heres the 3 pins i need, drawn out for my terrible memory.
A little component hook up wire to make my leads.
Braided the wires with a drill on the outside of the radio case, the 3 braided had to much height underneath the main board and could short out so i kept them seperate to prevent that.
Little reassembly magic
This is where i realized... i had no female jack, so in my panic and dedication to not spending any money on buying one, i robbed one from the pc speakers.
There were 2 in this instance, i just pick one.
With a little desoldering action i removed it from the board.
.jpg[/IMG]Traced out the connections with my multi meter
And soldered to the connector pins.
Tested it with my ipod shuffle a little while ago, works just like its supposed to
#38
06-29-2010
I do my best sir, the way i see things is most everything you could ever want/make/do/build has already been done just maybe not in the way you need it, as long as you can adjust it to how you need it to be you've saved yourself from having to figure it out from scratch.
#39
06-29-2010
Join Date: May 2009
Location: Lafayette, Indiana
Posts: 90
Likes: 0
Received 0 Likes
on
0 Posts
#40
06-29-2010
 lol, you should see some of my other projects , my main focus point on all my builds is showing how to customize things with everyday stuff anyone has access to or could easily get.
1. (Example) heres a link ( LayItLow.com Forums -> Push button theme music ) to a push button activated recordable ...voice..module thingy? i suppose you could call it that i made for a friend that all started as a joking conversation, using a sound module from a greeting card, a relay and 2 voltage regulators that only cost a few bucks all together and a few other parts i added in just to make it a little more adjustable, he now has it on his caddy to play on an external pa speaker.
#41
06-29-2010
Join Date: May 2009
Location: Lafayette, Indiana
Posts: 90
Likes: 0
Received 0 Likes
on
0 Posts
#43
06-29-2010
Fa sho man, i still get the heebiejeebies sometimes knowing it only takes one bridged solder connection to destroy something, iv put my share of ps2's and xbox's in the garbage i can tell you that you just accept the risk and try some things and know when to back away from whats over your head.
Got anything specific you'd like to make for your ride?
you just accept the risk and try some things and know when to back away from whats over your head.Got anything specific you'd like to make for your ride?
#44
06-29-2010


#47
06-29-2010

#48
06-29-2010
#49
06-29-2010
#50
06-30-2010
Join Date: Jan 2008
Location: Davis, Ca
Posts: 2,583
Likes: 0
Received 0 Likes
on
0 Posts


