How-To: Radiator Flush Using a Flush Kit
#1
 03-31-2010


How-To: Radiator Flush Using a Flush Kit
How-To author: malydeen
Original thread: https://www.ranger-forums.com/f59/ho...ush-kit-85044/
Let the modding Begin!!
_________________________
WARNING:
DO NOT open the radiator cap while the engine is hot. The cooling system is under pressure and it will spray 180*F coolant on you.
ALWAYS wear your safety glasses.
What you will need.
2-gallons of coolant (DO NOT buy the premixed 50/50 stuff, you need the straight stuff.) You may not need all of it but you will need more then a gallon.
3 or 4 5-gallon buckets, covers would be nice but may not be needed. Ask at a cafeteria (school, work, where ever, they probably have plenty that they would be willing to give you)
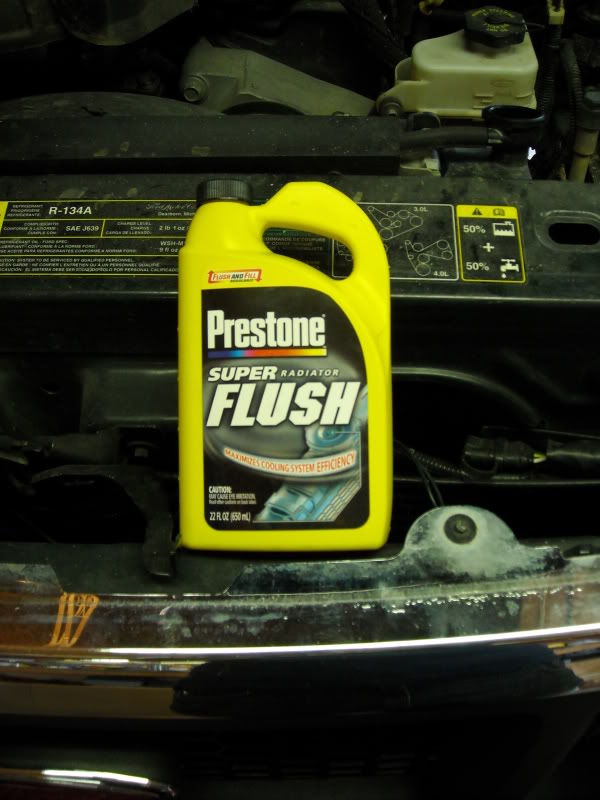
1 22oz. bottle of cooling system flush.
1 short (2-3feet) of garden hose.
Pliers
Safety Glasses
A hose hooked up to a water supply.
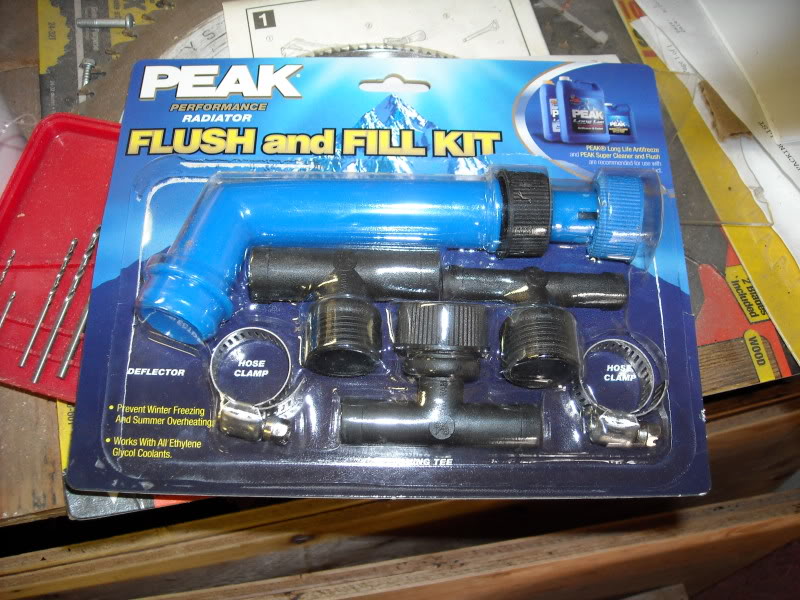
1 Flush and Fill kit. Theres a couple companys that make them, they are all exactly the same (Prestone, Peek, and Harbor Freight). They may be different colors but they are all the same. Looks like this:
STEP ONE, prep:
PUT ON YOUR SAFETY GLASSES!
Once the engine has cooled, pop the radiator cap to make sure there is no pressure in the system.
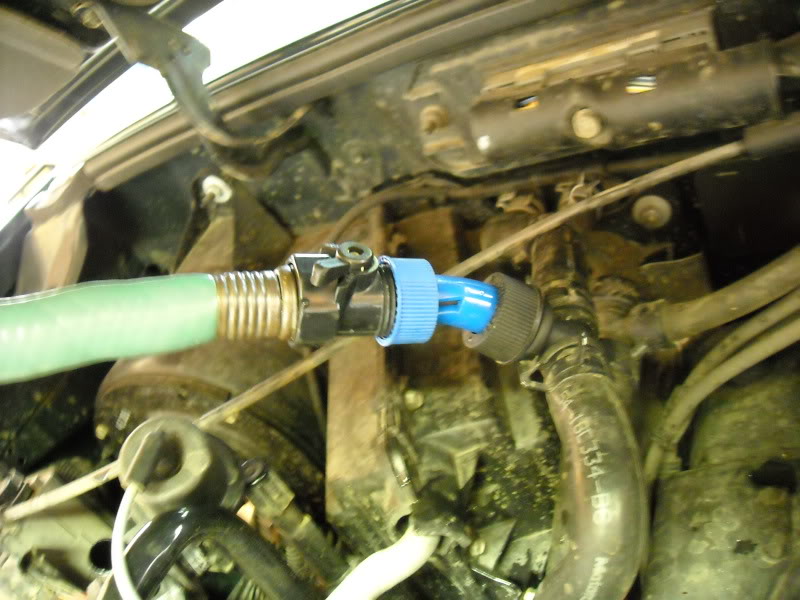
STEP TWO, installing the "T" hose connector:
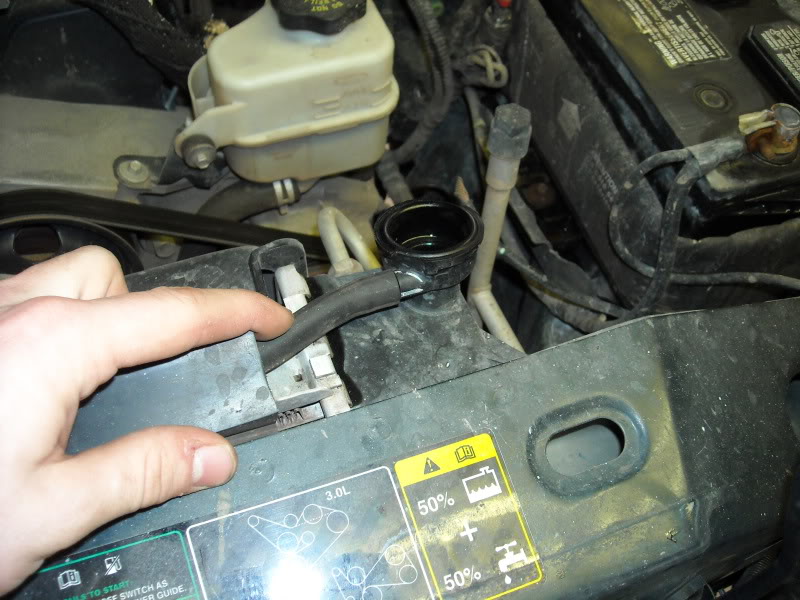
On the top of the block on the passenger side you will see something like this.
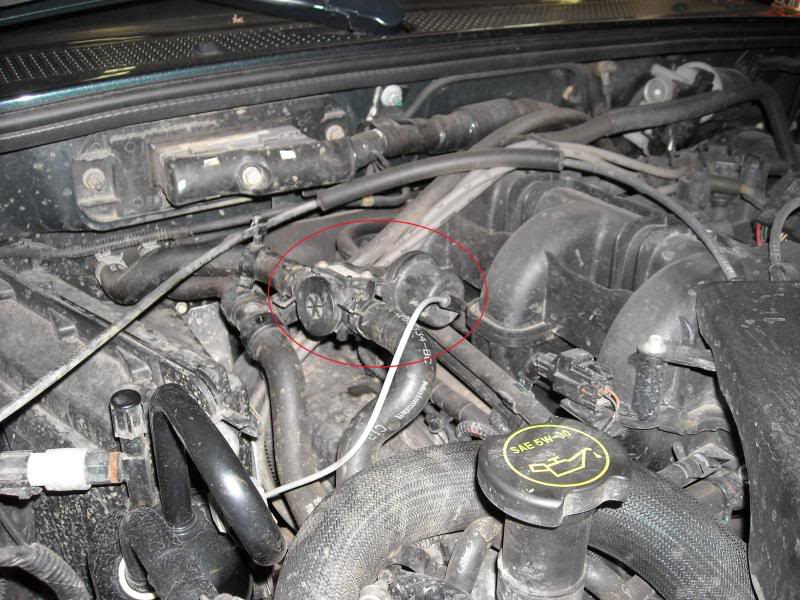
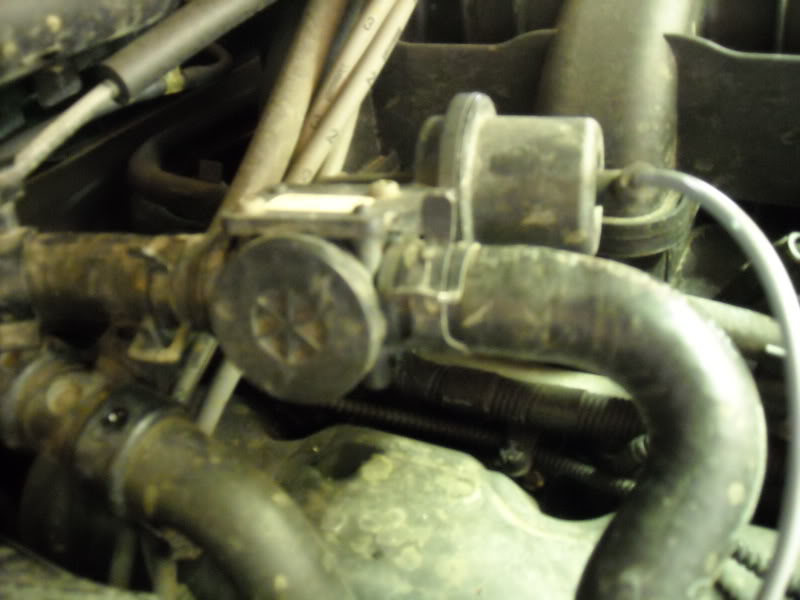
It is the valve that sends coolant through the heating system. The kit says to cut this hose and permanently install the hose fitting. I did not feel comfortable doing that. So I used a pliers, pulled the 2 hose clamps back, popped out the valve and put the 5/8" hose connector in the spot....temporarily. Replace your hose clamps.
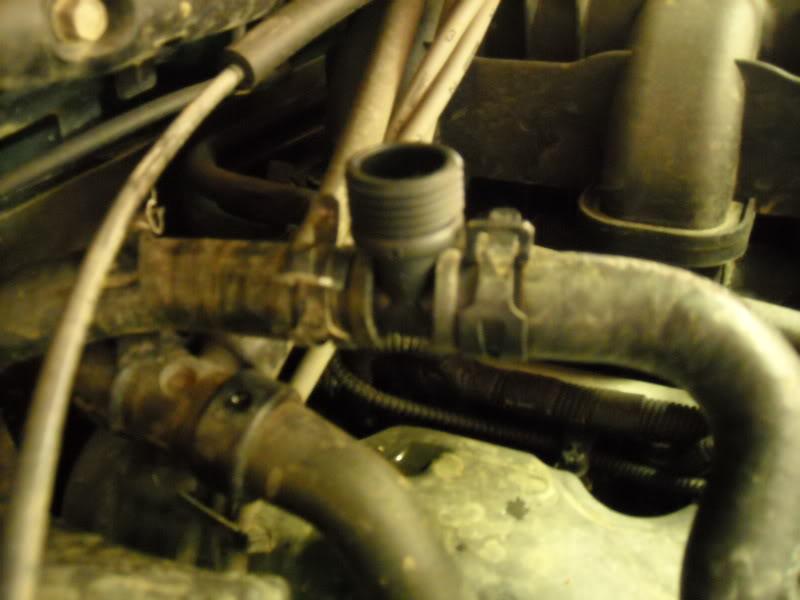
Then attach the "back flow preventor" to your garden hose. The colored end (in this case blue) attaches to the garden hose and the black end to your previously installed hose connector.
I also used a ball valve on the garden hose so I didnt have to run back and forth to turn the hose on and off.
If you are afraid of using hard water in your cooling system, you can hook your hose up to your laundry sink, chances are that it is soft water.
STEP THREE, opening the draincock and drainage:
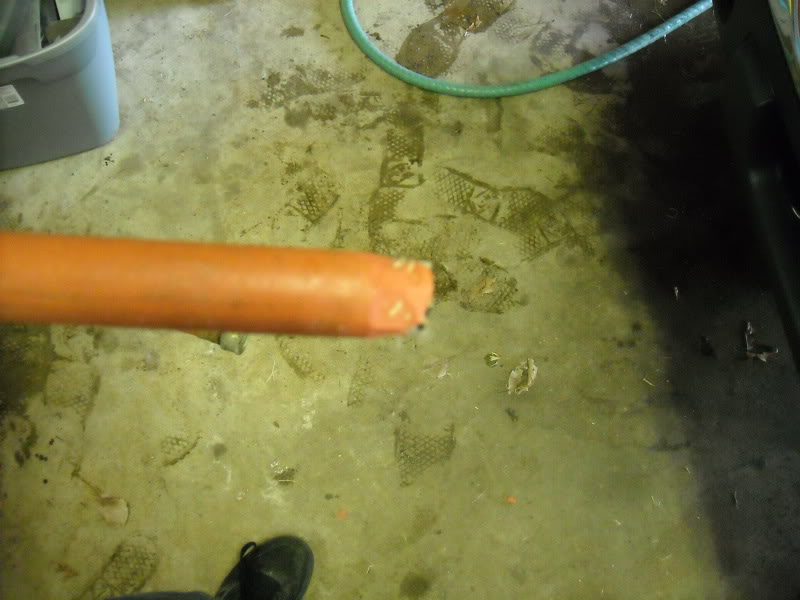
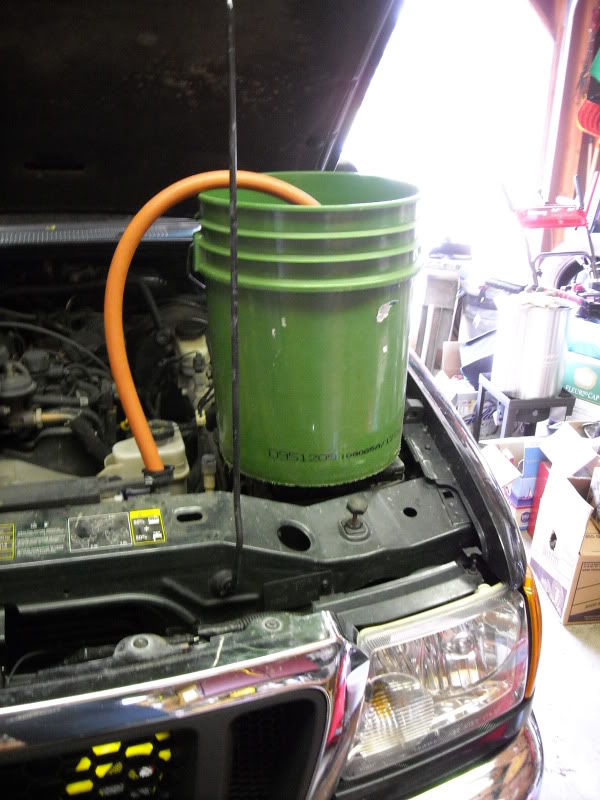
Take the deflector that came with the kit and toss it in the trash. Take your short piece of garden hose and use a knife to bevel the end of it so that it will fit in the top of your radiator. Jam it on there so it will hold its self in. Set a bucket on top of your battery and put the other end of the hose in it.
On the bottom, passengers side, back of the radiator you will find the draincock.
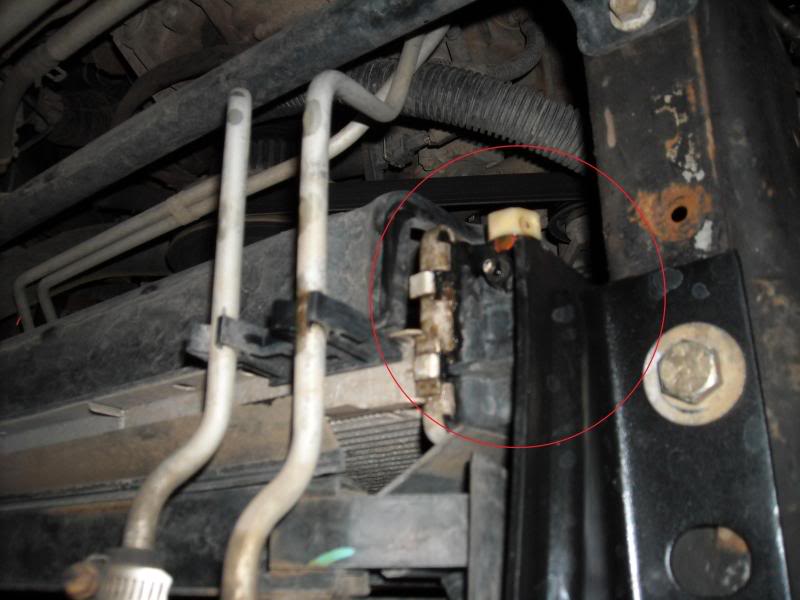
Unscrew it all the way. It will not fall out so just keep spinning it. Once you have done this, place one of your 5 gallon buckets under it.
STEP FOUR, starting the flush:
Turn on your garden hose on a low to half setting. Turn your heater to on and full blast. Make sure it is on heater and not defrost (this will come into play later). Then turn on your engine and and let it flush for 5-10 minutes or until the water runs clear. You will need to switch out the bucket on the top side at least once. You may or may not need to switch out the bucket on the bottom. Mine was about 3/4 fill when I got done.
STEP FIVE, finishing the flush and removing the "T":
Once the water runs clear, shut off your engine, then turn off the water supply. Leave the drain **** on the radiator open, you will need to let it drain out. While that is draining you cna go ahead and remove the "T". Simple Pull the clamps back pull out the "T" and replace the heater valve and hose clamps. You can also remove the hose from the top of the radiator at this time.
STEP SIX, using a chemical flush.
After the radiator has drained, you can close the draincock on the bottom of the radiator. Pour the flush solution into your radiator and then fill it up the rest of the way with water. Start the engine and allow it to run for 10 minutes after it has reached normal operating temp.
After your engine has cooled down again, pop the radiator cap. Open the draincock and allow the radiator to drain into your 5 gallon bucket.
I got the prestone stuff. $2.99 a bottle at Autozone.
STEP SEVEN, draining and flushing the reservoir tank:
Pull the little hose connecting to the neck of the radiator cap.
Pull it back and push it straight down the hole to drain into the bucket under the radiator.
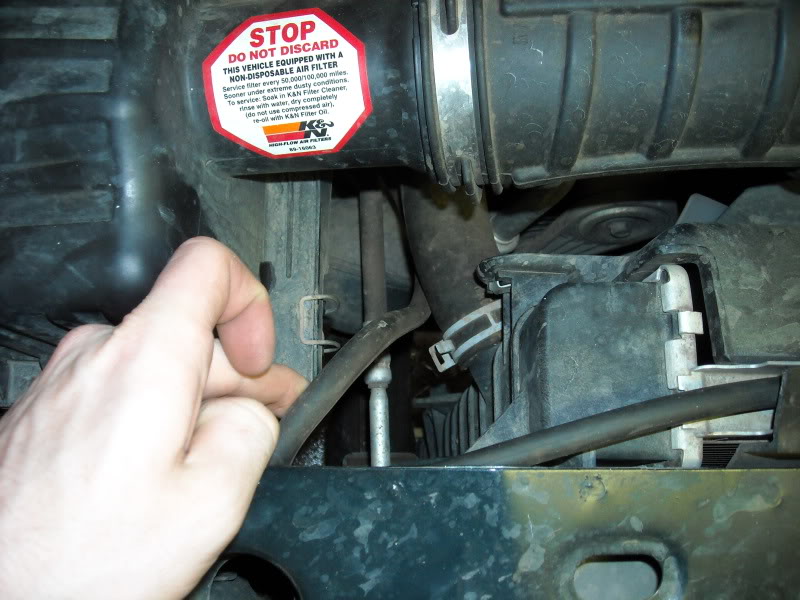
I had to use the air gun and my hand as a seal to assist it in draining (it was going too slow for me). I flushed it with water a couple times because there was sand in my tank. When finished put the hose back where it belongs.
STEP EIGHT, Rinse and Repeat:
Repeat step six except this time do NOT use the chemical flush, just use water.
STEP NINE, filling with fresh coolant.
After you have closed the draincock and put the hose to the reservoir tank back, you can fill with coolant. Looking in your owners manual for the amount of coolant you need. Take that number and divide it by 2 to come up with your 50/50 mix (colder climates may want to use a 70/30 coolant/water mix). In my 2004 4.0 I needed 13.2 Quarts. Divided by 2 is 6.6 quarts of coolant and 6.6 quarts of water (or multiply by .7 for a 70/30 mix). Since there is already water in the system you dont have to measure that. Pour coolant in until it is about an inch and a half below the neck of the radiator cap. Start the engine but leave the radiator cap off. As the level in the radiator drops put more coolant in. Once you have all the coolant in start putting water in.
Once the level of fluid in the radiator stops dropping, turn off the engine, fill it up to the neck and put the cap back on.
Take the left over fresh coolant that you have and make a bottle with a mix of 50/50. Fill your reservoir about half way with this mix. Keep the rest for use later.
You have now completed a coolant flush. Give yourself a pat on the back and have yourself a cookie.
Over the next couple days, check your radiator when it is cold. If it is low top off with your bottle of 50/50 mix. There is probably still air in your cooling system, this is normal. Just keep it topped off.
STEP TEN, disposal:
My county allows me to pour used coolant into the sanitary sewer. Yours may not, so make sure you check. Some counties require you to take it to a hazardous waste site (this is where the 5 gallon buckets and covers come in handy.) Your local auto parts store will probably be able to give you this info. If they dont, you can find it on the web.
DO NOT pour coolant over the ground or in the storm sewer. Coolant does not break down and will stay in your soil or go into rivers if you dispose of it this way. Be responsible and dispose of it properly.
Original thread: https://www.ranger-forums.com/f59/ho...ush-kit-85044/
Let the modding Begin!!
_________________________
WARNING:
DO NOT open the radiator cap while the engine is hot. The cooling system is under pressure and it will spray 180*F coolant on you.
ALWAYS wear your safety glasses.
What you will need.
2-gallons of coolant (DO NOT buy the premixed 50/50 stuff, you need the straight stuff.) You may not need all of it but you will need more then a gallon.
3 or 4 5-gallon buckets, covers would be nice but may not be needed. Ask at a cafeteria (school, work, where ever, they probably have plenty that they would be willing to give you)
1 22oz. bottle of cooling system flush.
1 short (2-3feet) of garden hose.
Pliers
Safety Glasses
A hose hooked up to a water supply.
1 Flush and Fill kit. Theres a couple companys that make them, they are all exactly the same (Prestone, Peek, and Harbor Freight). They may be different colors but they are all the same. Looks like this:
STEP ONE, prep:
PUT ON YOUR SAFETY GLASSES!
Once the engine has cooled, pop the radiator cap to make sure there is no pressure in the system.
STEP TWO, installing the "T" hose connector:
On the top of the block on the passenger side you will see something like this.
It is the valve that sends coolant through the heating system. The kit says to cut this hose and permanently install the hose fitting. I did not feel comfortable doing that. So I used a pliers, pulled the 2 hose clamps back, popped out the valve and put the 5/8" hose connector in the spot....temporarily. Replace your hose clamps.
Then attach the "back flow preventor" to your garden hose. The colored end (in this case blue) attaches to the garden hose and the black end to your previously installed hose connector.
I also used a ball valve on the garden hose so I didnt have to run back and forth to turn the hose on and off.
If you are afraid of using hard water in your cooling system, you can hook your hose up to your laundry sink, chances are that it is soft water.
STEP THREE, opening the draincock and drainage:
Take the deflector that came with the kit and toss it in the trash. Take your short piece of garden hose and use a knife to bevel the end of it so that it will fit in the top of your radiator. Jam it on there so it will hold its self in. Set a bucket on top of your battery and put the other end of the hose in it.
On the bottom, passengers side, back of the radiator you will find the draincock.
Unscrew it all the way. It will not fall out so just keep spinning it. Once you have done this, place one of your 5 gallon buckets under it.
STEP FOUR, starting the flush:
Turn on your garden hose on a low to half setting. Turn your heater to on and full blast. Make sure it is on heater and not defrost (this will come into play later). Then turn on your engine and and let it flush for 5-10 minutes or until the water runs clear. You will need to switch out the bucket on the top side at least once. You may or may not need to switch out the bucket on the bottom. Mine was about 3/4 fill when I got done.
STEP FIVE, finishing the flush and removing the "T":
Once the water runs clear, shut off your engine, then turn off the water supply. Leave the drain **** on the radiator open, you will need to let it drain out. While that is draining you cna go ahead and remove the "T". Simple Pull the clamps back pull out the "T" and replace the heater valve and hose clamps. You can also remove the hose from the top of the radiator at this time.
STEP SIX, using a chemical flush.
After the radiator has drained, you can close the draincock on the bottom of the radiator. Pour the flush solution into your radiator and then fill it up the rest of the way with water. Start the engine and allow it to run for 10 minutes after it has reached normal operating temp.
After your engine has cooled down again, pop the radiator cap. Open the draincock and allow the radiator to drain into your 5 gallon bucket.
I got the prestone stuff. $2.99 a bottle at Autozone.
STEP SEVEN, draining and flushing the reservoir tank:
Pull the little hose connecting to the neck of the radiator cap.
Pull it back and push it straight down the hole to drain into the bucket under the radiator.
I had to use the air gun and my hand as a seal to assist it in draining (it was going too slow for me). I flushed it with water a couple times because there was sand in my tank. When finished put the hose back where it belongs.
STEP EIGHT, Rinse and Repeat:
Repeat step six except this time do NOT use the chemical flush, just use water.
STEP NINE, filling with fresh coolant.
After you have closed the draincock and put the hose to the reservoir tank back, you can fill with coolant. Looking in your owners manual for the amount of coolant you need. Take that number and divide it by 2 to come up with your 50/50 mix (colder climates may want to use a 70/30 coolant/water mix). In my 2004 4.0 I needed 13.2 Quarts. Divided by 2 is 6.6 quarts of coolant and 6.6 quarts of water (or multiply by .7 for a 70/30 mix). Since there is already water in the system you dont have to measure that. Pour coolant in until it is about an inch and a half below the neck of the radiator cap. Start the engine but leave the radiator cap off. As the level in the radiator drops put more coolant in. Once you have all the coolant in start putting water in.
Once the level of fluid in the radiator stops dropping, turn off the engine, fill it up to the neck and put the cap back on.
Take the left over fresh coolant that you have and make a bottle with a mix of 50/50. Fill your reservoir about half way with this mix. Keep the rest for use later.
You have now completed a coolant flush. Give yourself a pat on the back and have yourself a cookie.
Over the next couple days, check your radiator when it is cold. If it is low top off with your bottle of 50/50 mix. There is probably still air in your cooling system, this is normal. Just keep it topped off.
STEP TEN, disposal:
My county allows me to pour used coolant into the sanitary sewer. Yours may not, so make sure you check. Some counties require you to take it to a hazardous waste site (this is where the 5 gallon buckets and covers come in handy.) Your local auto parts store will probably be able to give you this info. If they dont, you can find it on the web.
DO NOT pour coolant over the ground or in the storm sewer. Coolant does not break down and will stay in your soil or go into rivers if you dispose of it this way. Be responsible and dispose of it properly.
Last edited by 98liftedranger; 11-27-2011 at 11:16 PM.
#2
02-13-2014


Join Date: Feb 2014
Location: San Diego California
Posts: 4
Likes: 0
Received 0 Likes
on
0 Posts
Hi quick question I'm about to do, a coolant flush but i came across something that was a bit different then what I saw in the pictures so i'm not sure what to do?
you'll see in the pics (below hopefully) i found the valve on the passenger side but unlike the one in the picture my valve also has two other hoses connected as well so i cant simply replace the hose connector because then the other two hoses would be free? or can i? im confused?
(its a 96 4.0 liter v6 ranger)

#3
02-16-2014


Thread
Thread Starter
Forum
Replies
Last Post
oxchampion
4.0L OHV & SOHC V6 Tech
10
11-15-2013 12:05 PM
Needforspeed3685
General Technical & Electrical
14
08-16-2007 05:05 PM


