Black Corners
#1
 04-18-2008

Black Corners
I got my clear corners a few weeks ago and I was wishing that they where black to match my head lights. So I decided to paint them.
At first I was pretty worried to be putting my new corners in the oven but I decided the results would be worth it. I put my old ones in first and they came out great. So I primered and painted them before I stuck my new ones in the oven.
Overall the job wasnt to hard. The oven temp really differs from oven to oven. I had mine at 225 for 40 minutes. Finally I just had to pry them apart.
On to the pics.
Here are my stock corners waitng to be preped.
I did two coats of primer on them. I am sure one would have worked fine but I missed a few spots the first time around.
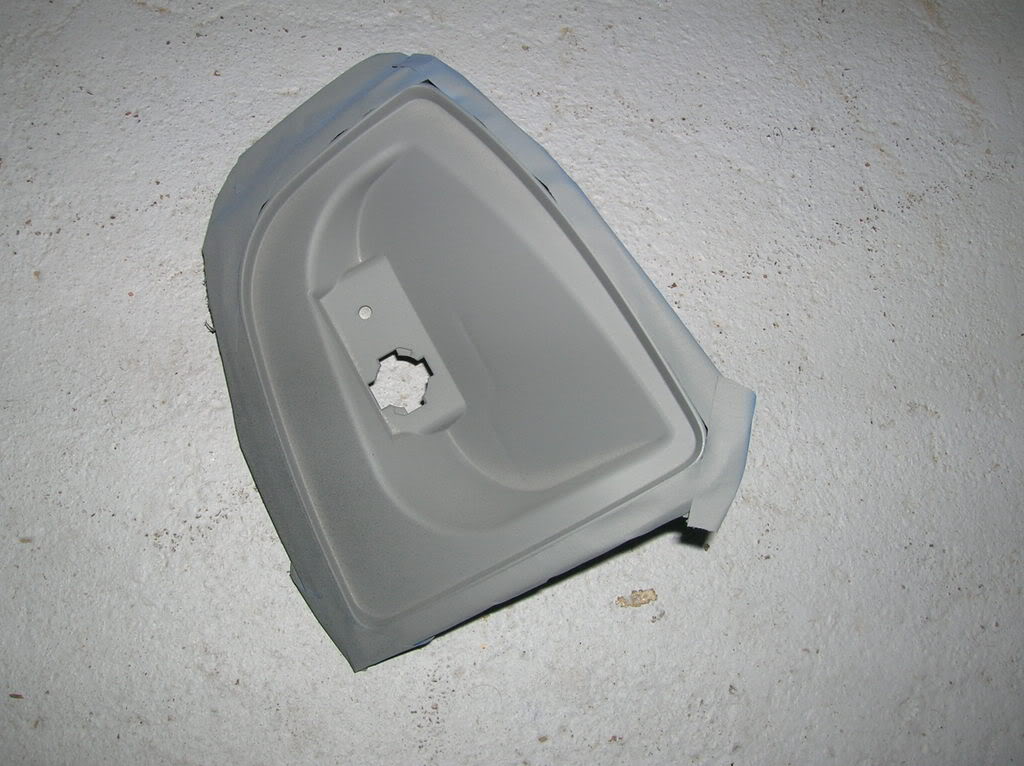
This kinda gives you an idea of what things look like. The black one is taped and painted. The taping was REALLY easy on these guys. I did three coats of paint just to make sure it was a good thick coat.
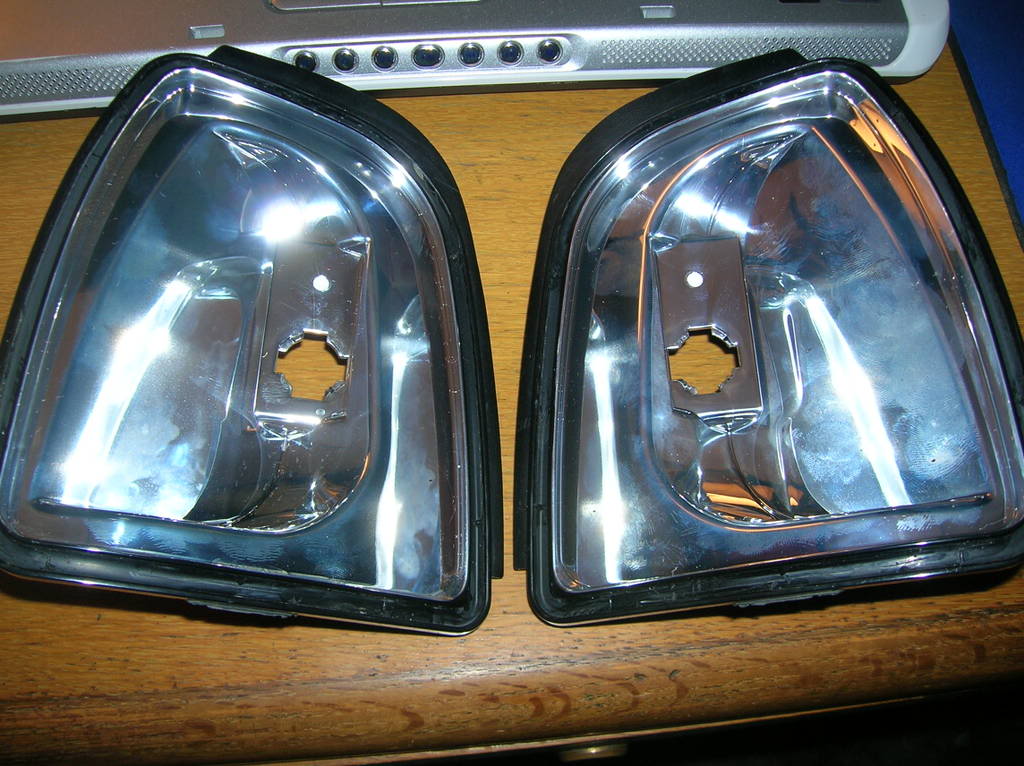
Here are them put together. I like the results. The only thing I had a hard time with was the silicone but that was because the tubes back end exlpoded on me and I had to do it with my figer.
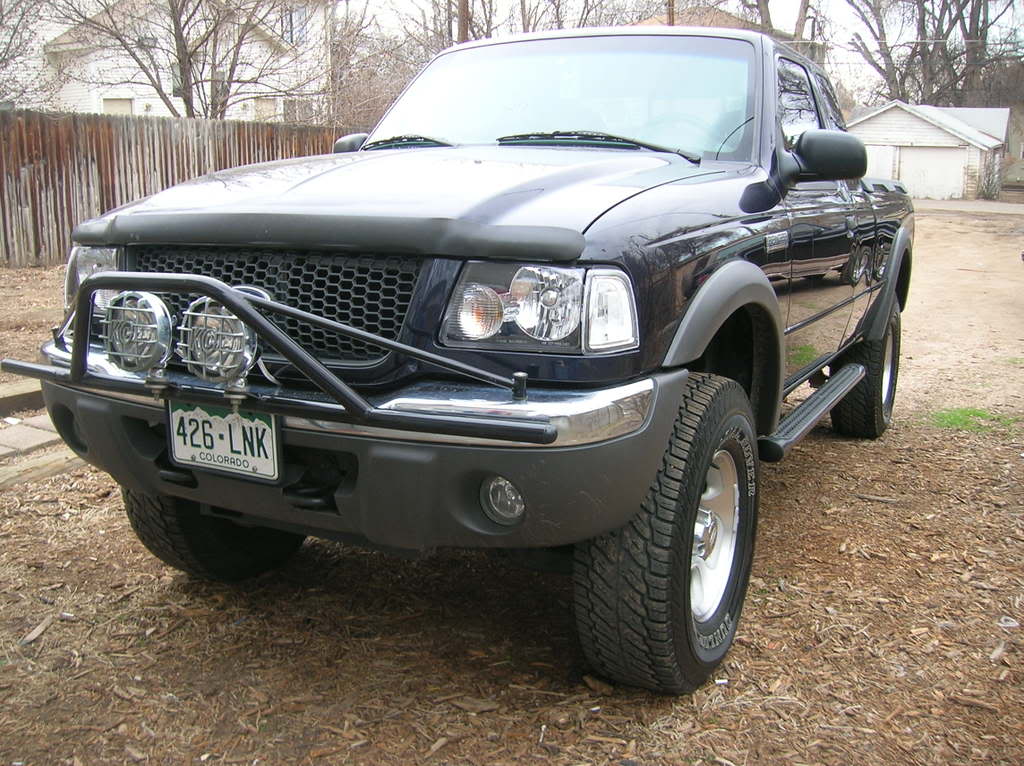
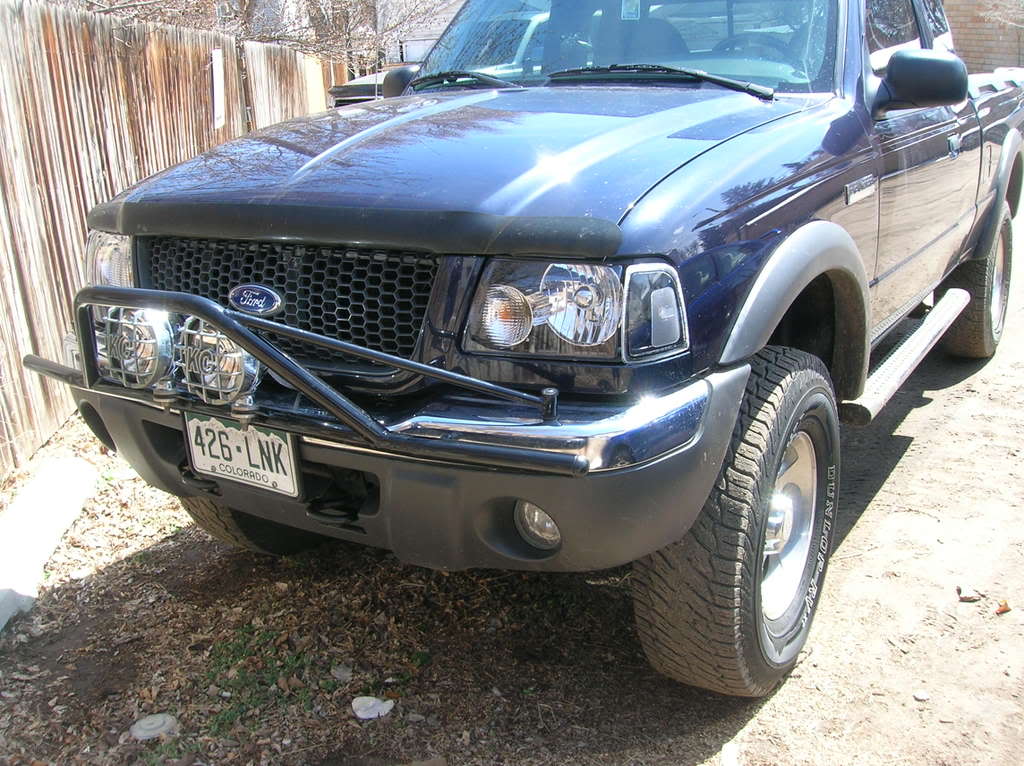
Here they are on my truck. They look alot better then the CLEAR corners.
Before:
After:
At first I was pretty worried to be putting my new corners in the oven but I decided the results would be worth it. I put my old ones in first and they came out great. So I primered and painted them before I stuck my new ones in the oven.
Overall the job wasnt to hard. The oven temp really differs from oven to oven. I had mine at 225 for 40 minutes. Finally I just had to pry them apart.
On to the pics.
Here are my stock corners waitng to be preped.
I did two coats of primer on them. I am sure one would have worked fine but I missed a few spots the first time around.
This kinda gives you an idea of what things look like. The black one is taped and painted. The taping was REALLY easy on these guys. I did three coats of paint just to make sure it was a good thick coat.
Here are them put together. I like the results. The only thing I had a hard time with was the silicone but that was because the tubes back end exlpoded on me and I had to do it with my figer.
Here they are on my truck. They look alot better then the CLEAR corners.
Before:
After:


#4
04-18-2008
Join Date: Feb 2008
Location: Malibu, California
Posts: 495
Likes: 0
Received 0 Likes
on
0 Posts
#5
04-19-2008

#7
04-19-2008
Thats what I'm going to be doinggggg nice weekend! And Bob didn't leave the reflector chrome.
#8
04-19-2008
Ahem..........excuse me?.....
DANGIT!! I was wrong. lol. I even looked it up. Who is the guy with the niteshaded amber reflector w/ black painted inside/chrome inside reflector?? I know it's a white edge, also with modded headlamps. I seemed to not save the pics!
DANGIT!! I was wrong. lol. I even looked it up. Who is the guy with the niteshaded amber reflector w/ black painted inside/chrome inside reflector?? I know it's a white edge, also with modded headlamps. I seemed to not save the pics!
#9
04-19-2008

Join Date: Aug 2004
Location: Grayson, Kentucky
Posts: 617
Likes: 0
Received 0 Likes
on
0 Posts
#10
04-19-2008

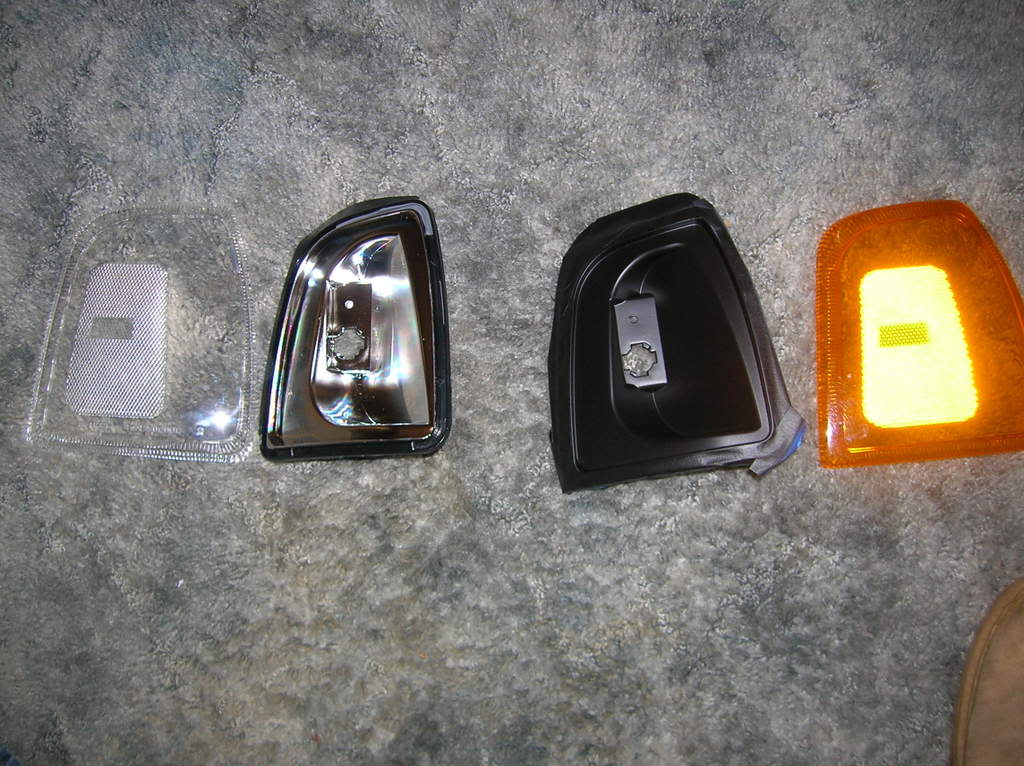
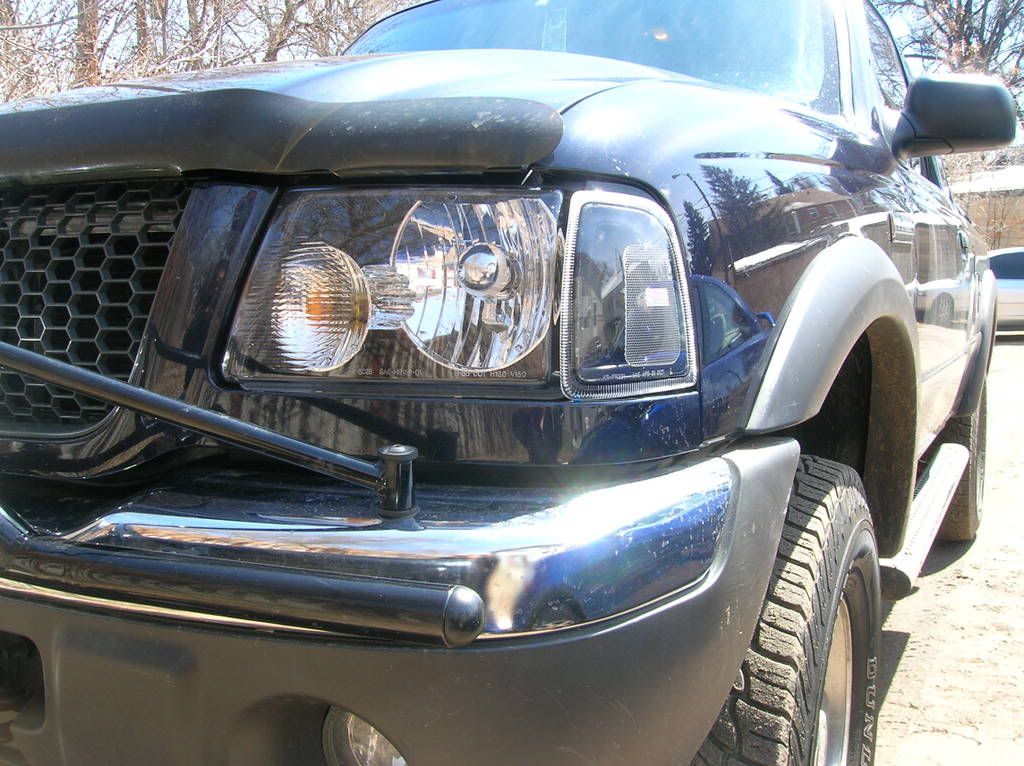
I originally wanted to leave the reflectors chrome and black out the rest like the headlight mod. As you can see in the photo below, the reflector is larger top to bottom than the amber part. I wasn't sure if it would look OK that way or not so I just blacked out the whole reflector. It still works OK at night.
Stock 2006~2008

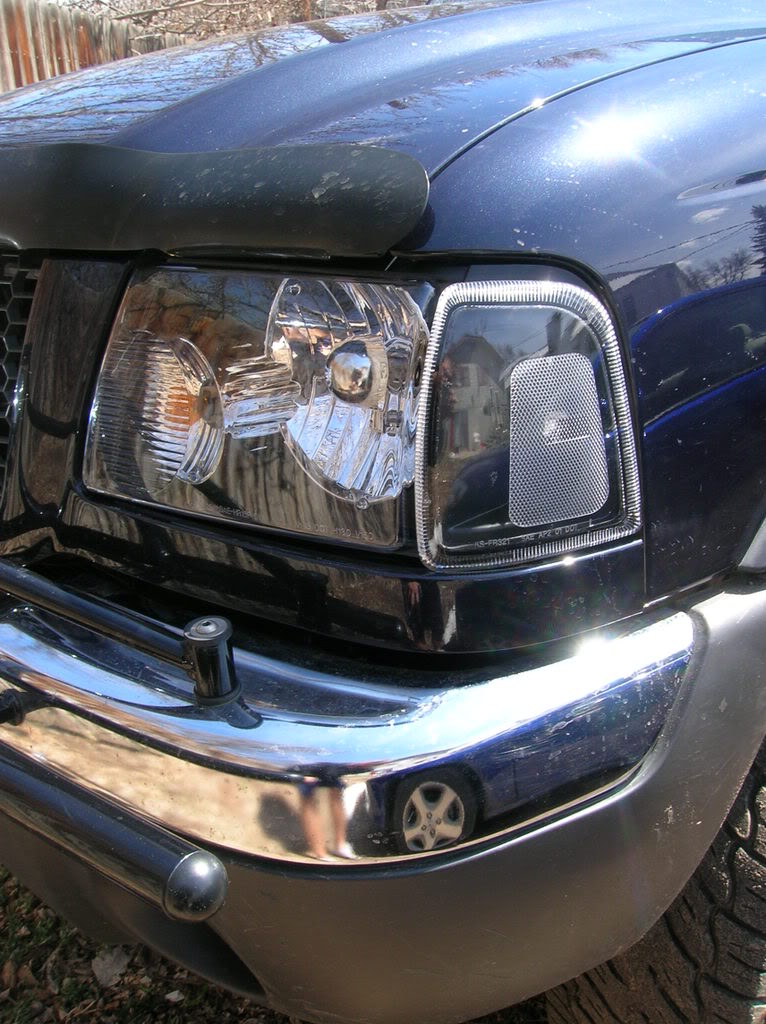
Painted Reflector and lens rim:


Stock 2006~2008
Painted Reflector and lens rim:
#12
04-19-2008
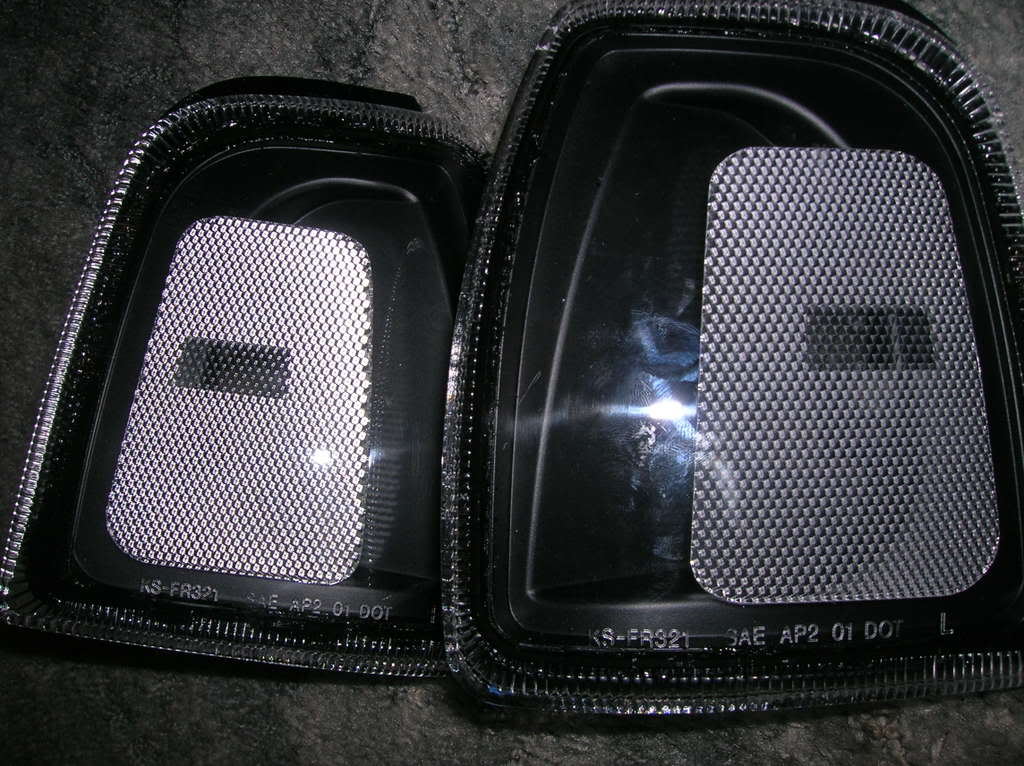
It is painted on the inside and the ridges are also on the inside. The black paint makes the ridges much less apparent, eliminating the whitish halo effect around the perimeter of the corner.
#13
04-19-2008
Join Date: May 2006
Location: Minnesota
Posts: 6,410
Likes: 0
Received 0 Likes
on
0 Posts
#14
04-20-2008


Thread
Thread Starter
Forum
Replies
Last Post
Want to Trade: Clear Corners for Black Corners - IN
stack23
OLD - Interior, Exterior, Electrical, & Misc.
0
07-16-2013 06:03 PM
Want to Trade: Black Heads/Corners for 06+ OEM Heads/Corners (NorCal)
2004xlmiller
OLD - Interior, Exterior, Electrical, & Misc.
7
06-05-2012 10:03 PM
The SuperDookie Ranger
New Ideas
24
11-19-2010 08:47 AM
For Sale: black headlights and black amber corners
vta805
OLD - Interior, Exterior, Electrical, & Misc.
1
11-08-2010 11:51 AM
zabeard
Ranger Products, Company, & Member Reviews
42
10-13-2005 07:55 PM


