School me on painting bumpers/plastic
#1
 02-14-2010

#2
02-14-2010

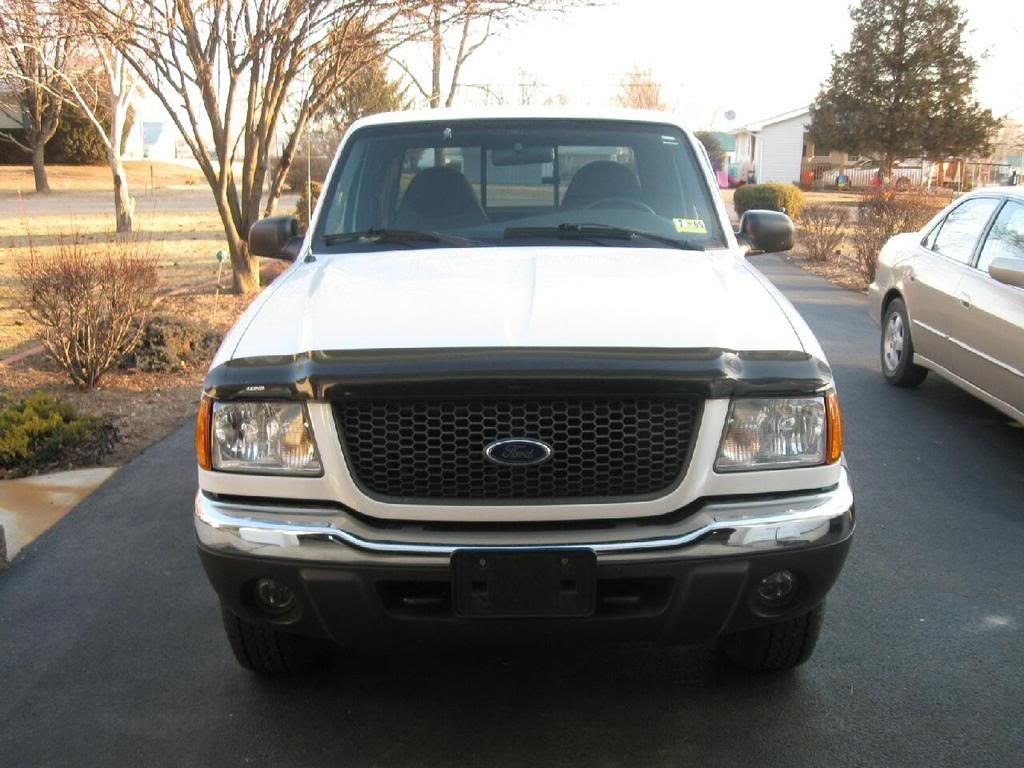
Here's just a panel for an example:
Front valance:
remove valance
wash with hot water and dish soap and really scrub that bithc
dry with paper towels
let sit in sun for ~15 minutes to just ensure drying
use 1 can of Krylon Fusion paint of your color/finish choice
do 5-6 light coats
let dry for a few hours
reinstall and stand back and look at how great it looks
Don't use clear coat with Krylon Fusion.
#4
02-14-2010

Join Date: Nov 2005
Location: Boring/Corvallis, Oregon
Posts: 2,011
Likes: 0
Received 2 Likes
on
2 Posts
There is a guy over on FRF that used that color match spray cans from the auto store. Shane said it looked pretty good and i think that is what i'm going to do when i paint my edge valance.
I think he took fusion as a primer to build it up and kind of smooth out the texture the valance has. Then he used the color match with some clear on top. Shane said it looked quite well for how little work you really need to do.
I think he took fusion as a primer to build it up and kind of smooth out the texture the valance has. Then he used the color match with some clear on top. Shane said it looked quite well for how little work you really need to do.
#5
02-14-2010


#18
02-14-2010
Join Date: Nov 2009
Location: Woodbridge,Va
Posts: 357
Likes: 0
Received 0 Likes
on
0 Posts
#22
02-14-2010
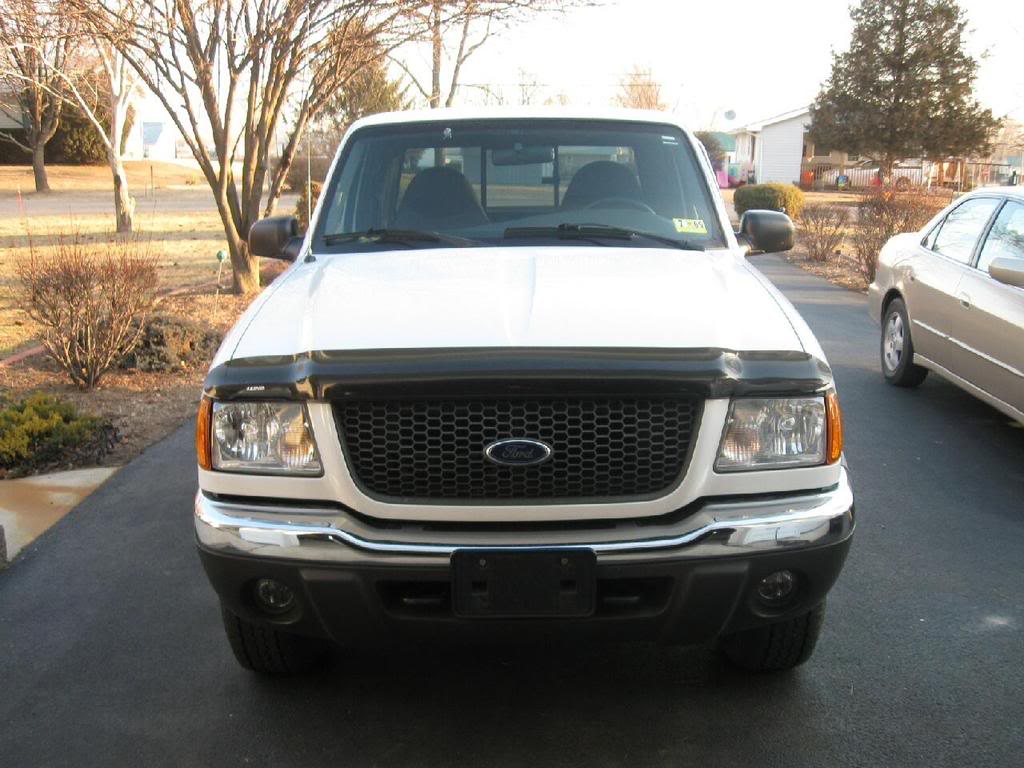
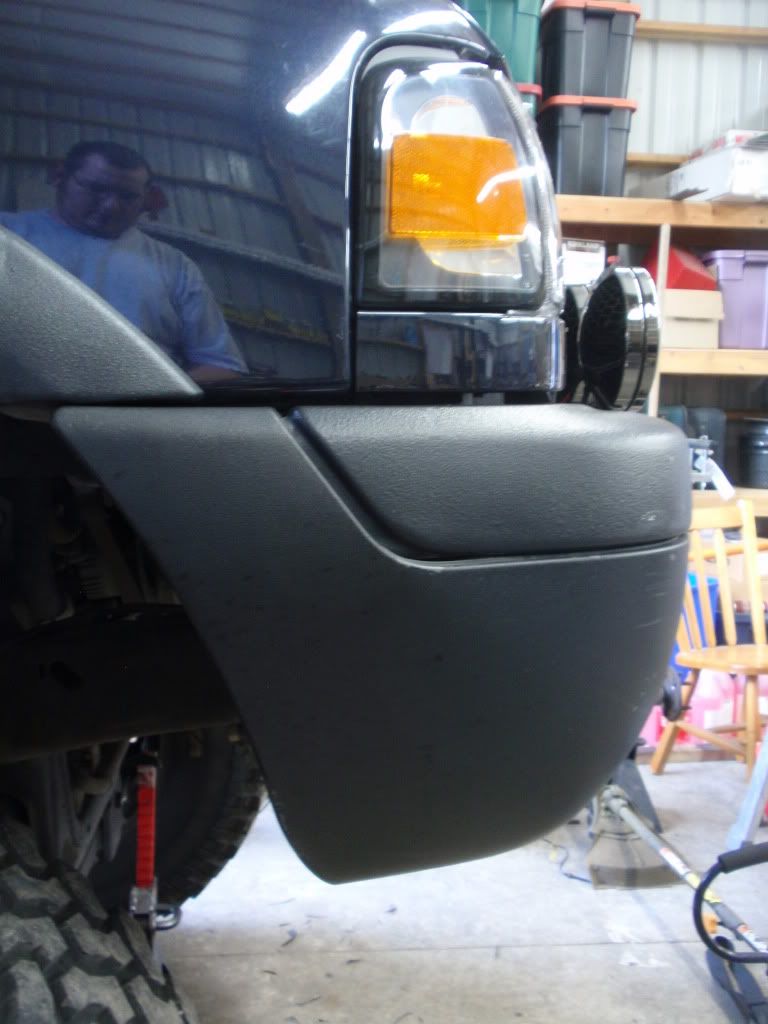
I did my flares, grill, bumper insert & valance over the last couple of years with Krylon Fusion gloss black, no clear & they're still quite shiny.
The bumper insert has turned slightly dull, but I only shot it with about 2 coats while everything else has at least 4 coats on it.
I think I have some pics on my photobucket (but I'm too lazy to go through them right now)
The bumper insert has turned slightly dull, but I only shot it with about 2 coats while everything else has at least 4 coats on it.
I think I have some pics on my photobucket (but I'm too lazy to go through them right now)
#23
02-15-2010
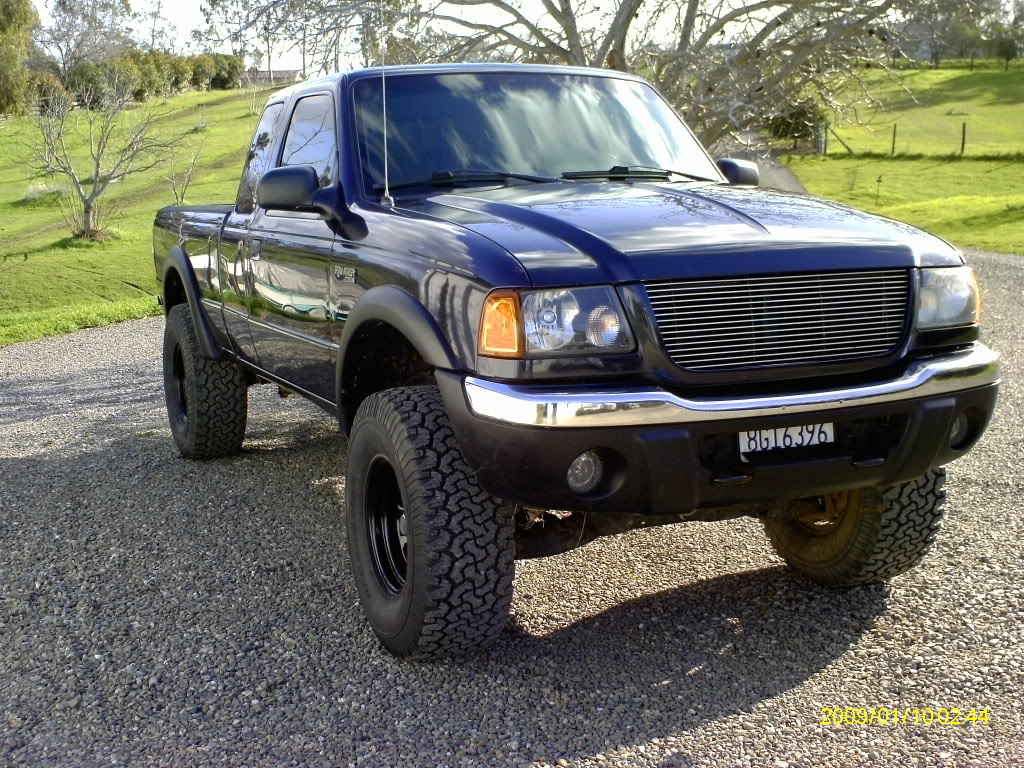
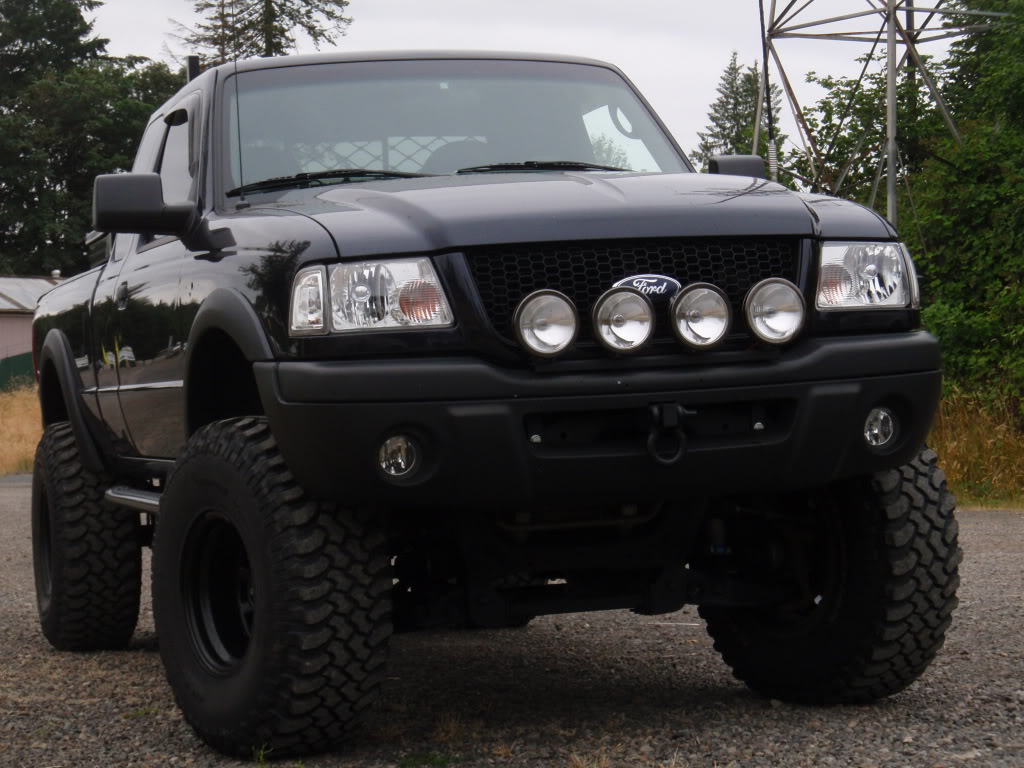
Jake....if you wanna go Edge-like with DWB, I highly suggest getting it all done professionally aka go all out. A clear plastic primer(2 coats) then high build primer(like 4 coats), then sand smooth. The problem with smoothing these flares down with sanding is that it likes to "fuzz" up. Then shoot base color then clear.
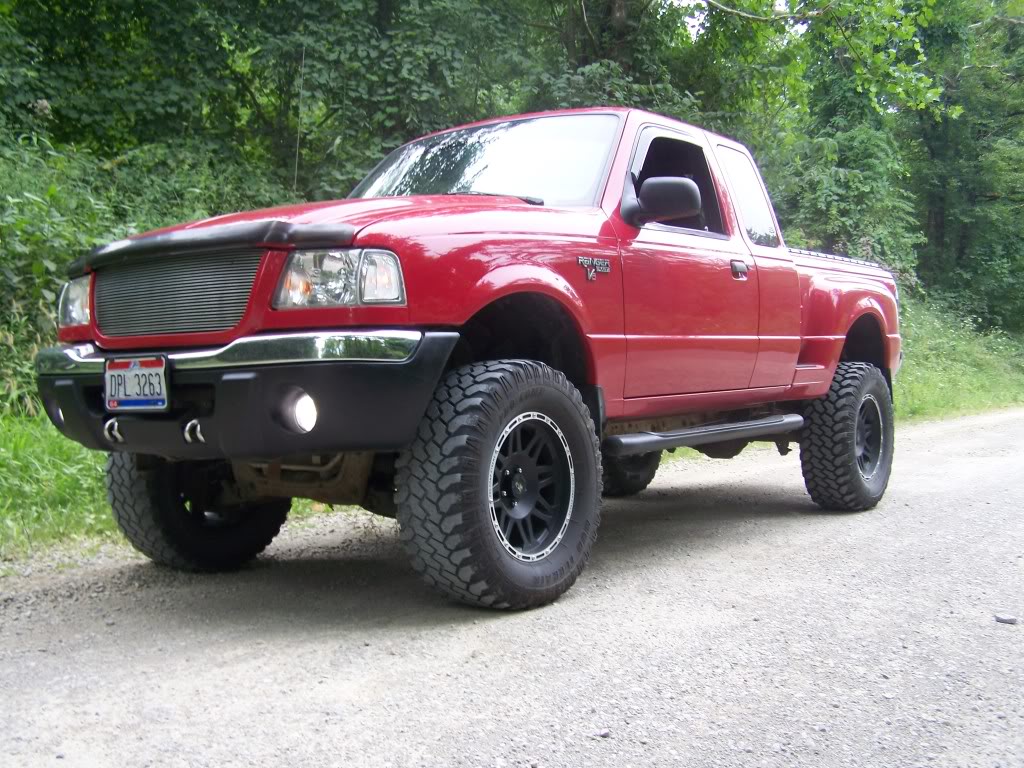
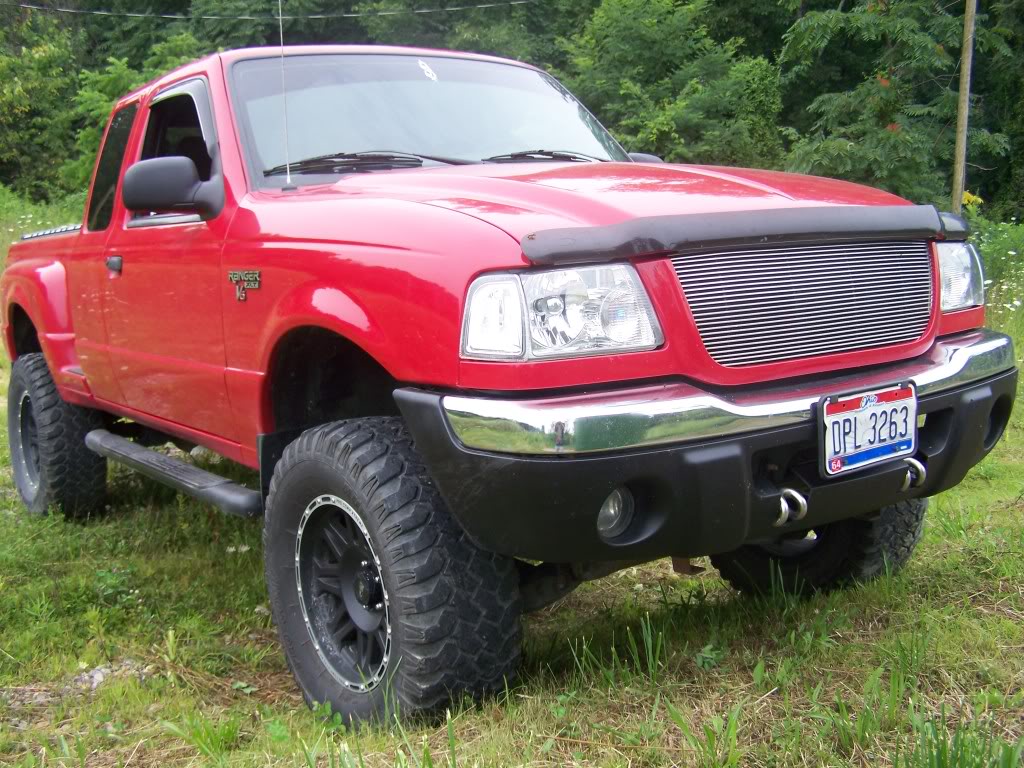
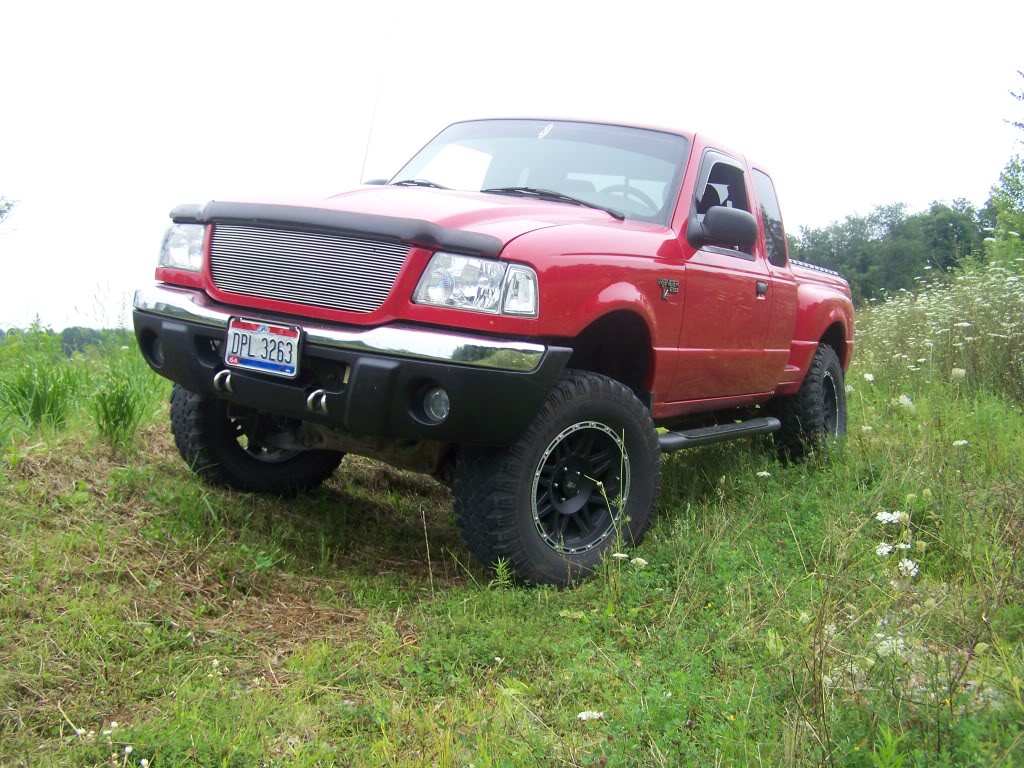
Pics posted earlier in this thread and in your other thread showed my setups. I went with Satin Black Fusion which ended up clashing against the DWB IMO...was just way too shiny for the truck and looked WAY out of place. Then I ran Flat Black Fusion which gave me the look I was after as shown in the pics. Stock finish but black.
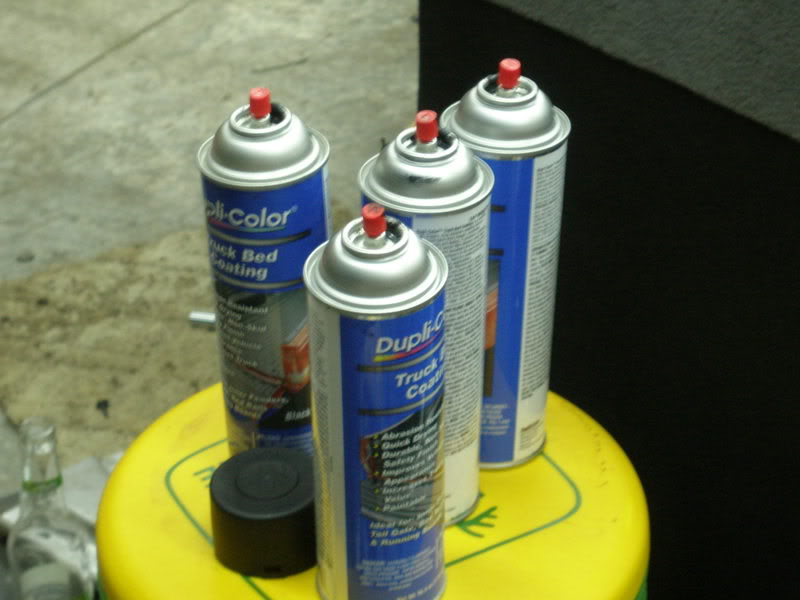
I didn't prep at all when I did those, so I had some chipping. So my idea was to sand the chips out then scuff it up to give the adhesion promoter something to stick to. Only problem is that it resulted in a totally smooth flare where the chips were. So, it was down to either color matching the stuff(and totally smoothing it out) or finding something to texture it. I wanted to keep it XLT textured looking, so out came the Duplicolor adhesion promoter and the Duplicolor Truck Bed Coating in a can. It alone gave me the look I was after. I tried flat black ontop of the bedliner, no bueno. Then matte clear ontop of that, no bueno. Straight up Duplicolor bedliner worked and did the trick.
The texture of the bedliner is similar to stock texture, the 'bumps' are a little bigger. But overall similar. Easily cleanable with a washmit. No worries of 'tagging' the mit like on other spray on/brush on bedliners. I really enjoy it.
My method was this:
scuff up parts with 220.
like 3 coats of Duplicolor Adhesion Promoter(clear plastic primer)
2 even coats of Duplicolor Truck Bed Coating in a can.
couple days to let sit and cure. Done.
I'm sure all my blahblah can be applied to Fusion Flat just fine. I didn't prep at all when I did mine the first two times. 3rd time seems like it works like a charm...
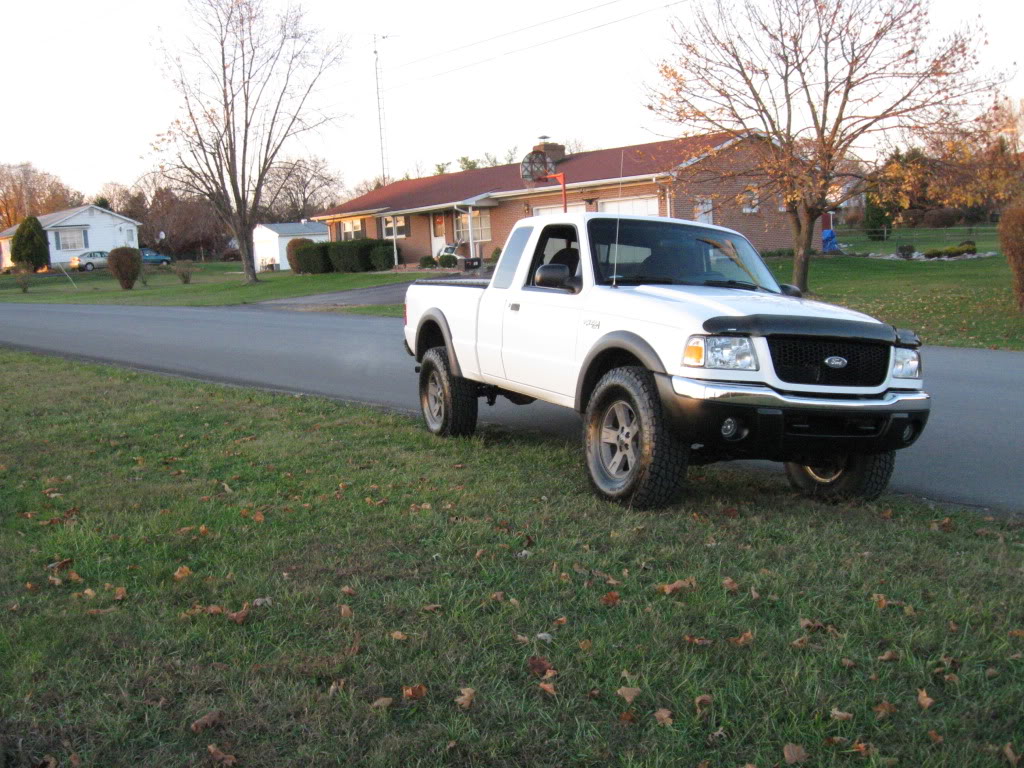
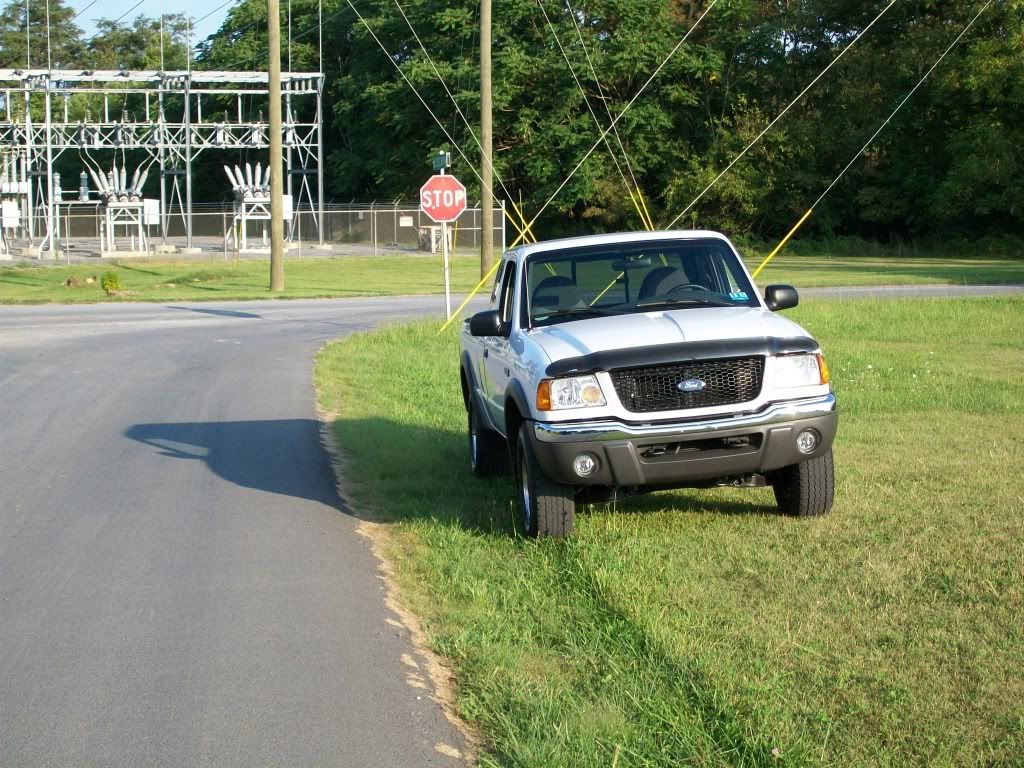
almost 3 years later, i've only got one chip where I hit the bumper with a hammer. It's some tough stuff. No chips on the flares or valence....though, in that ridge between the valence and bumper, there's slight chippage due to not enough prep(that area got NO scuffing and barely got adhesion promotor). Color fade is either non-existant or it's barely even noticeable. Most the pics below are from this past summer, 2 years after spraying them.
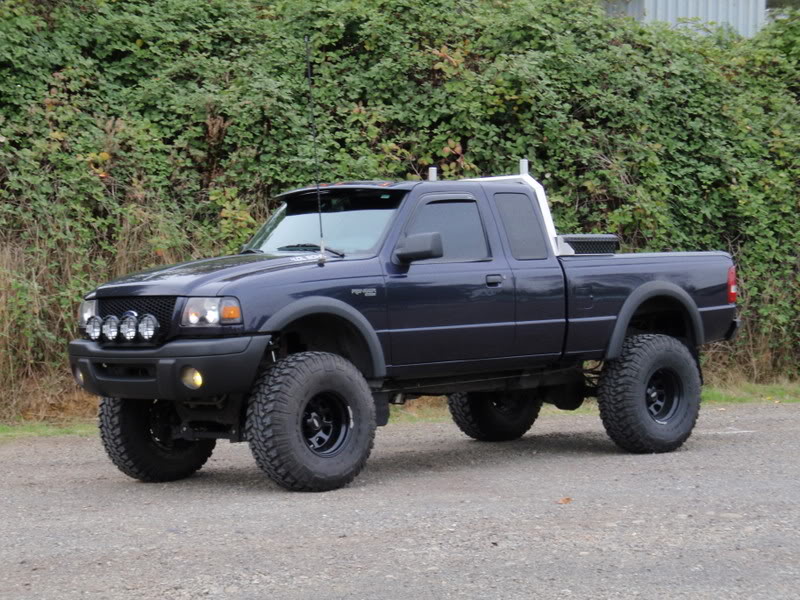
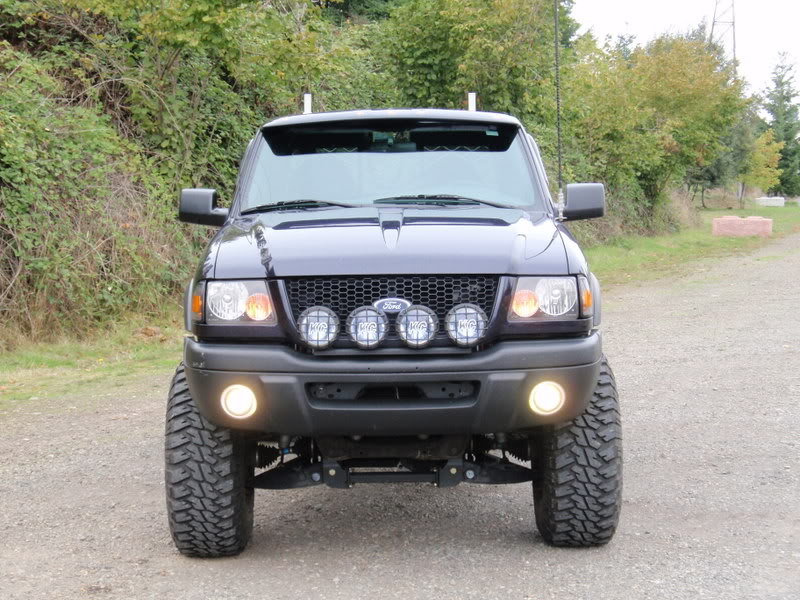
On with the whorage...(most are dirty shots, so bugs are showin' up. lol.

you can see the hammer hit chip under the #2 KC. lol.


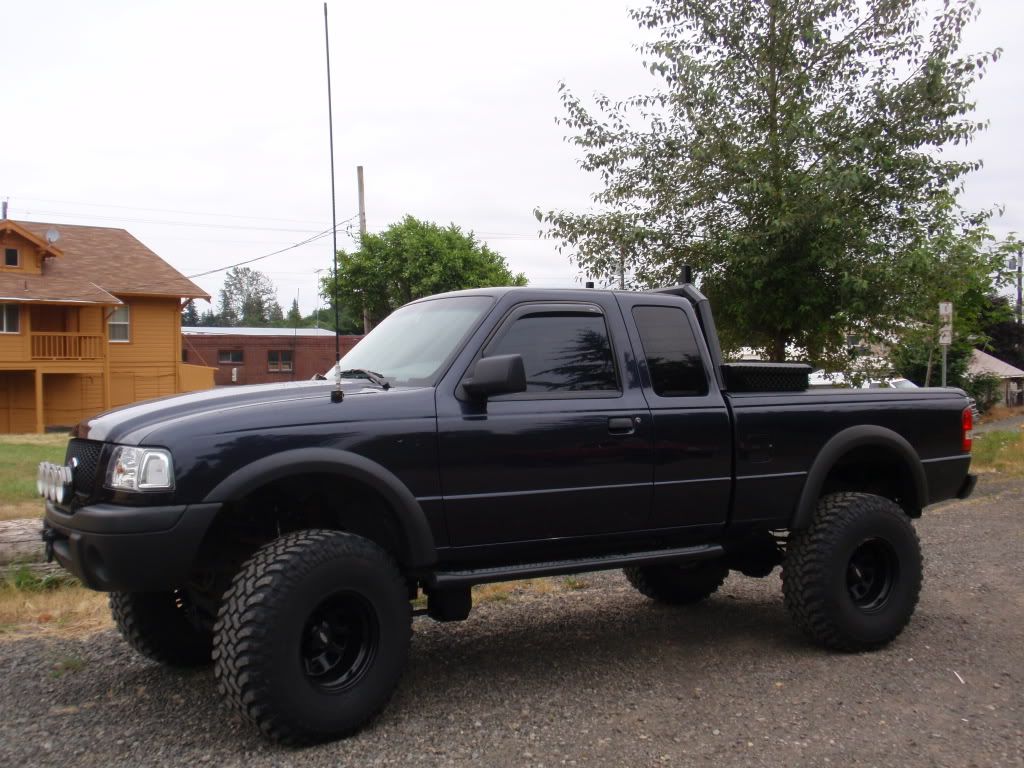
These are from about 6 months after spray...
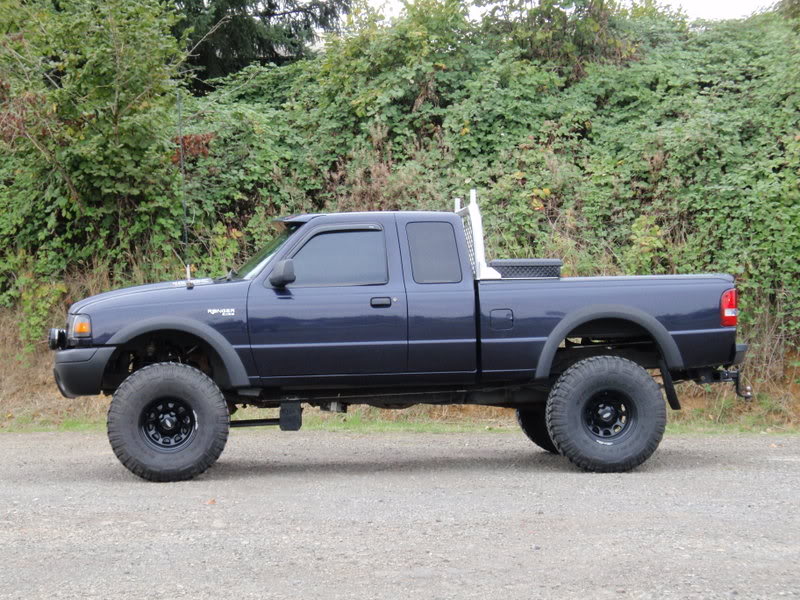
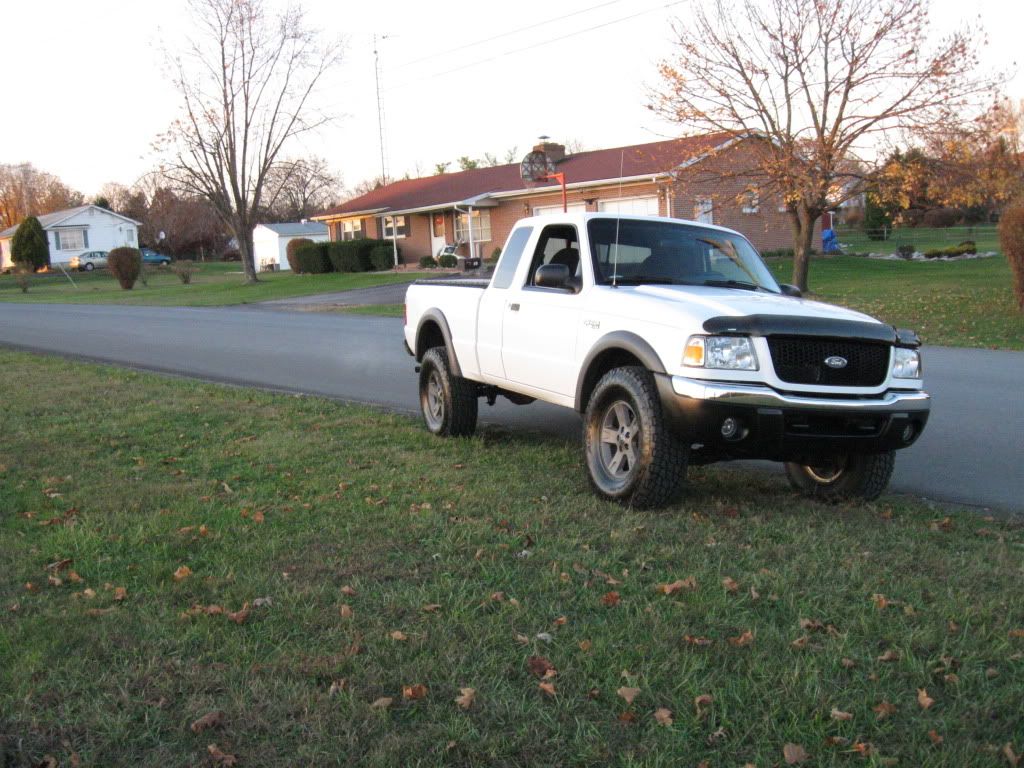
Tree and Truck disagreement on passenger bumper. What you see is sap. lol. Has since been cleaned off. No eatage of paint either.
Can't forget the test spray on the valence that's clearly visible there too. Nice truck!!
Pics posted earlier in this thread and in your other thread showed my setups. I went with Satin Black Fusion which ended up clashing against the DWB IMO...was just way too shiny for the truck and looked WAY out of place. Then I ran Flat Black Fusion which gave me the look I was after as shown in the pics. Stock finish but black.
I didn't prep at all when I did those, so I had some chipping. So my idea was to sand the chips out then scuff it up to give the adhesion promoter something to stick to. Only problem is that it resulted in a totally smooth flare where the chips were. So, it was down to either color matching the stuff(and totally smoothing it out) or finding something to texture it. I wanted to keep it XLT textured looking, so out came the Duplicolor adhesion promoter and the Duplicolor Truck Bed Coating in a can. It alone gave me the look I was after. I tried flat black ontop of the bedliner, no bueno. Then matte clear ontop of that, no bueno. Straight up Duplicolor bedliner worked and did the trick.
The texture of the bedliner is similar to stock texture, the 'bumps' are a little bigger. But overall similar. Easily cleanable with a washmit. No worries of 'tagging' the mit like on other spray on/brush on bedliners. I really enjoy it.
My method was this:
scuff up parts with 220.
like 3 coats of Duplicolor Adhesion Promoter(clear plastic primer)
2 even coats of Duplicolor Truck Bed Coating in a can.
couple days to let sit and cure. Done.
I'm sure all my blahblah can be applied to Fusion Flat just fine. I didn't prep at all when I did mine the first two times. 3rd time seems like it works like a charm...
almost 3 years later, i've only got one chip where I hit the bumper with a hammer. It's some tough stuff. No chips on the flares or valence....though, in that ridge between the valence and bumper, there's slight chippage due to not enough prep(that area got NO scuffing and barely got adhesion promotor). Color fade is either non-existant or it's barely even noticeable. Most the pics below are from this past summer, 2 years after spraying them.
On with the whorage...(most are dirty shots, so bugs are showin' up. lol.
you can see the hammer hit chip under the #2 KC. lol.
These are from about 6 months after spray...
Tree and Truck disagreement on passenger bumper. What you see is sap. lol. Has since been cleaned off. No eatage of paint either.
Can't forget the test spray on the valence that's clearly visible there too. Nice truck!!
#25
02-15-2010