Rear bumper and front skid plate build
#26
 06-06-2011


Thanks! I want to get it on the truck in the next couple days to get the holes drilled for mounting it and i will deffently take pics of that.
I got the top of it welded on tonight. and started doing some grinding before it got dark. there are a few spots that im going to have to back and put a small bead on to fill in holes but i dont think it turned out to bad. I think im going to leave the bead on the top just smooth it out a little. here is a couple pics, the first one is of the back side, so it is what you will see from behind the truck and the second one is just a close up of the middle part of it.
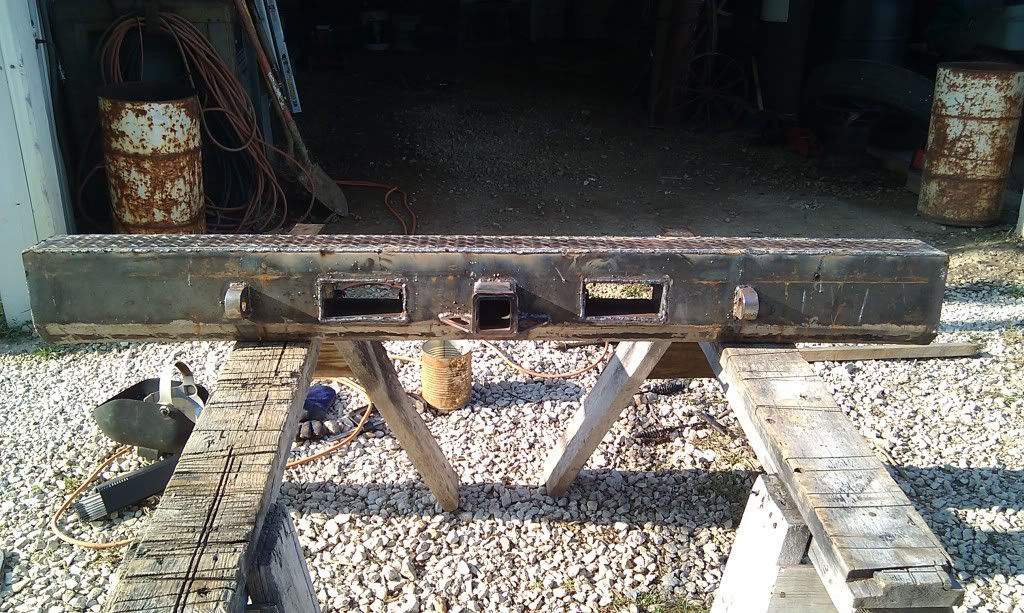
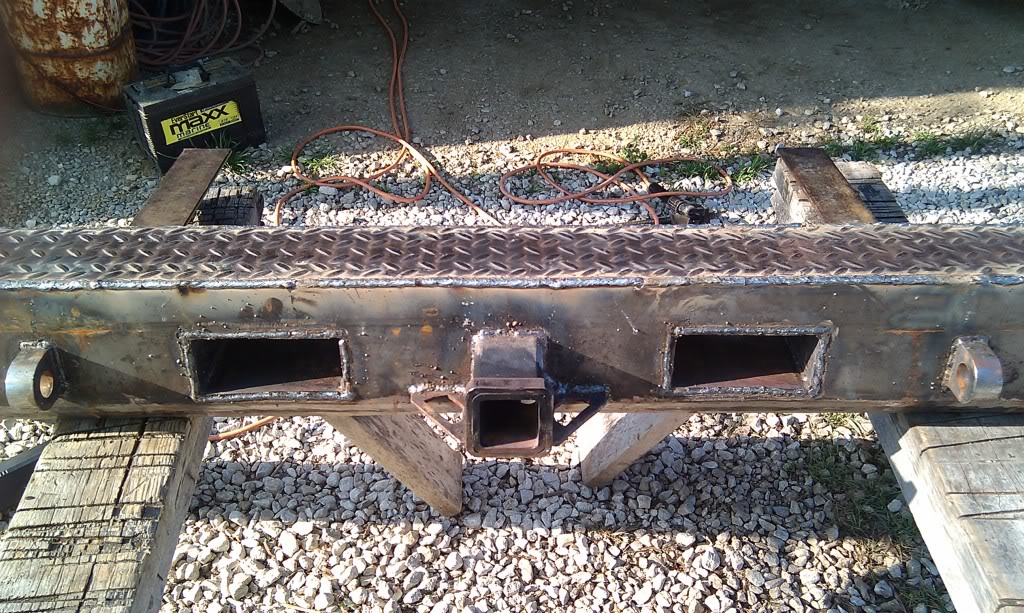
I got the top of it welded on tonight. and started doing some grinding before it got dark. there are a few spots that im going to have to back and put a small bead on to fill in holes but i dont think it turned out to bad. I think im going to leave the bead on the top just smooth it out a little. here is a couple pics, the first one is of the back side, so it is what you will see from behind the truck and the second one is just a close up of the middle part of it.
#28
06-06-2011


#31
06-06-2011


#33
06-07-2011
Join Date: Jan 2008
Location: Ontario, Canada
Posts: 1,694
Likes: 0
Received 0 Likes
on
0 Posts
#34
06-07-2011
Thanks! They should take a good beating
I was going to paint the whole thing black. What do u mean by polished? If I just polish the steel up and not put anything on it then it will rust pretty fast.
I was going to paint the whole thing black. What do u mean by polished? If I just polish the steel up and not put anything on it then it will rust pretty fast.
#35
06-07-2011
Join Date: Jan 2008
Location: Ontario, Canada
Posts: 1,694
Likes: 0
Received 0 Likes
on
0 Posts
#37
06-11-2011

#40
06-15-2011
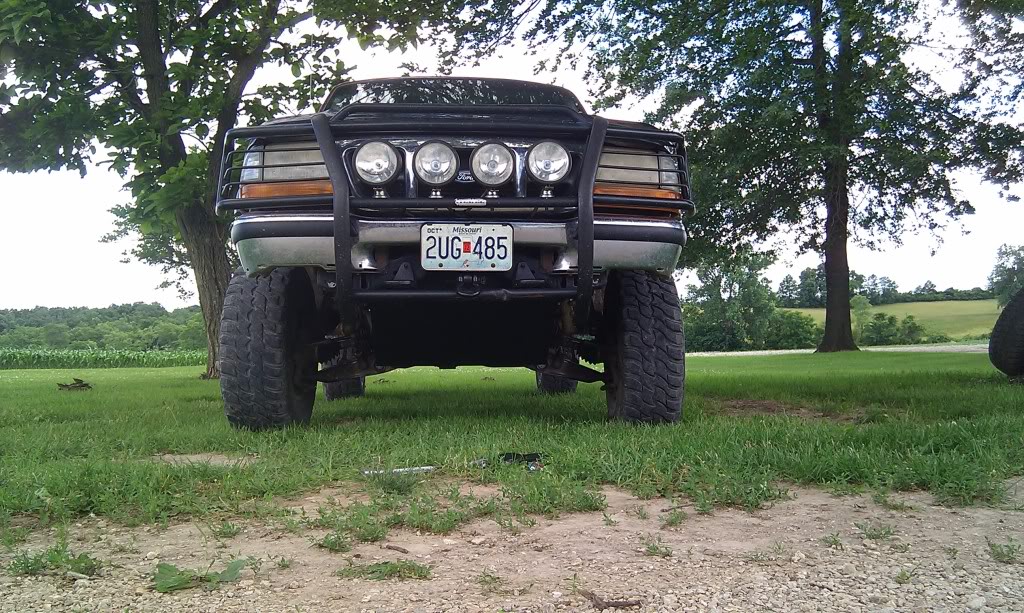
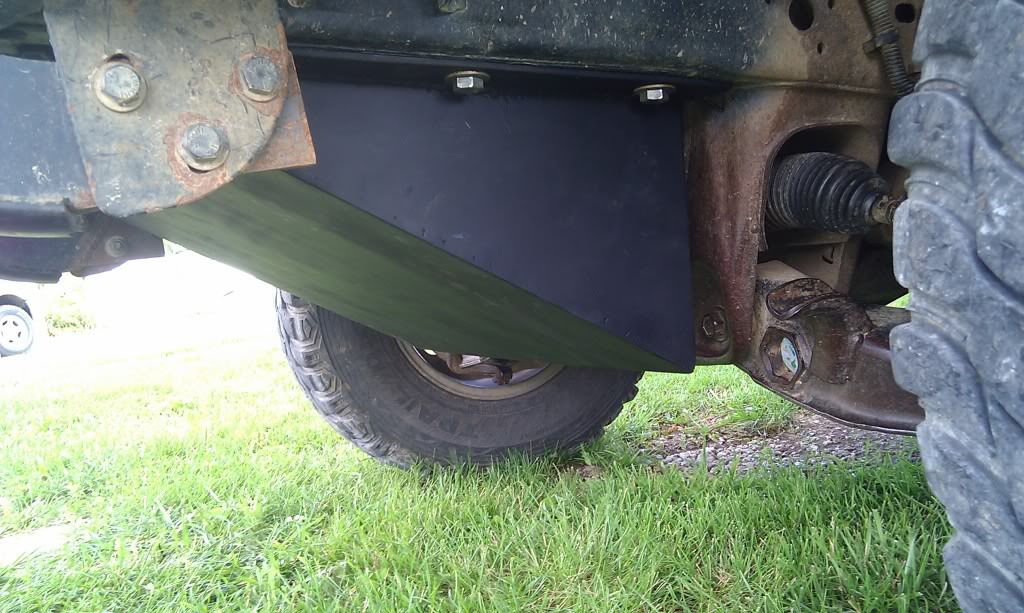
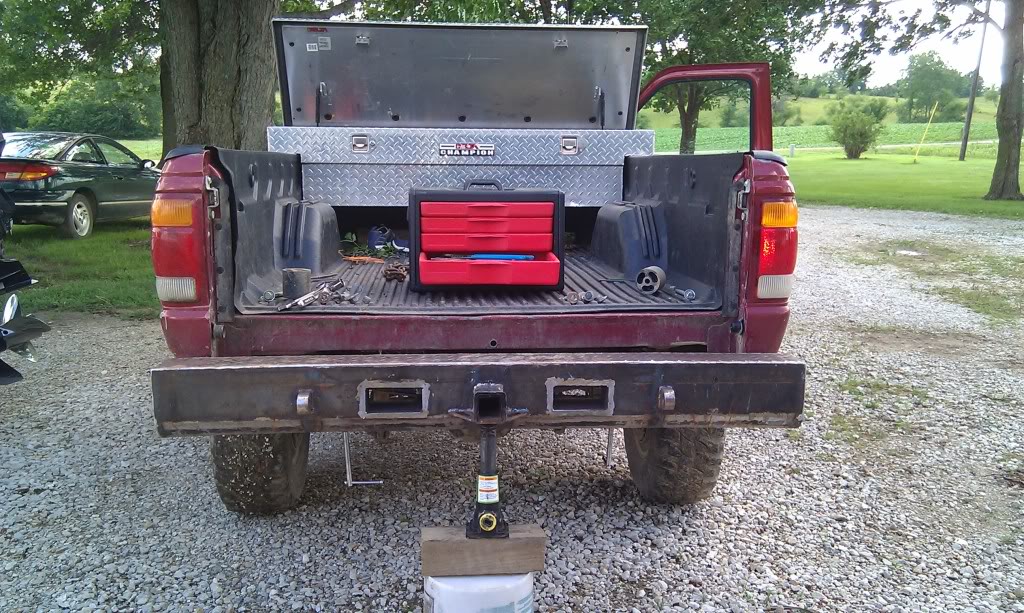
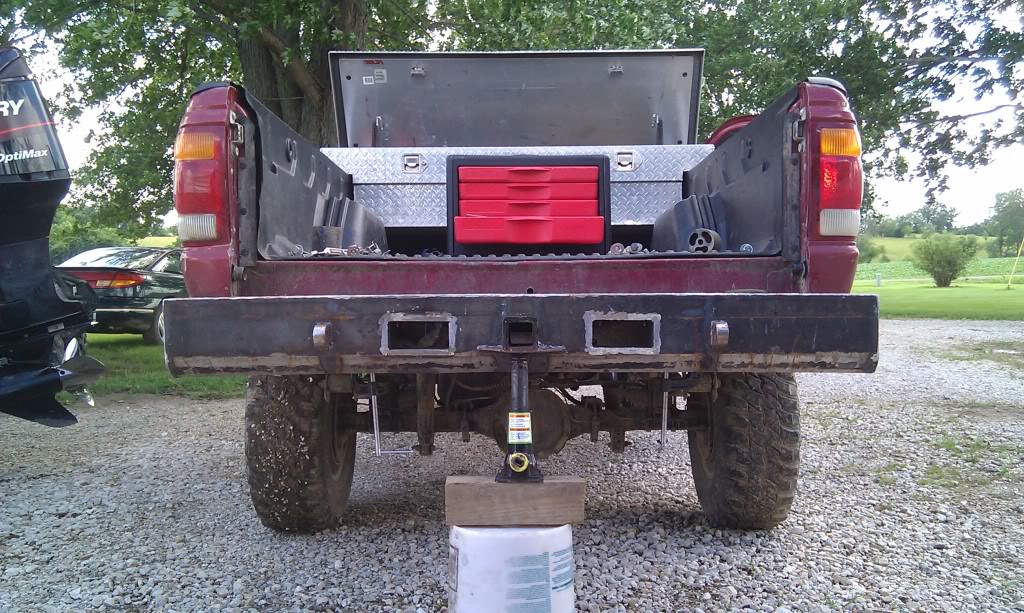
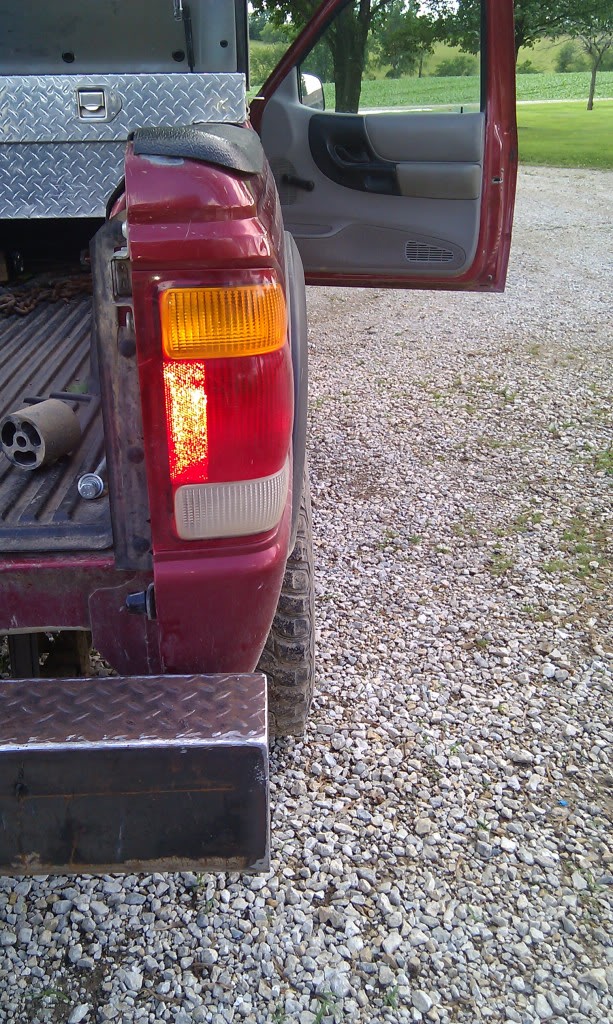
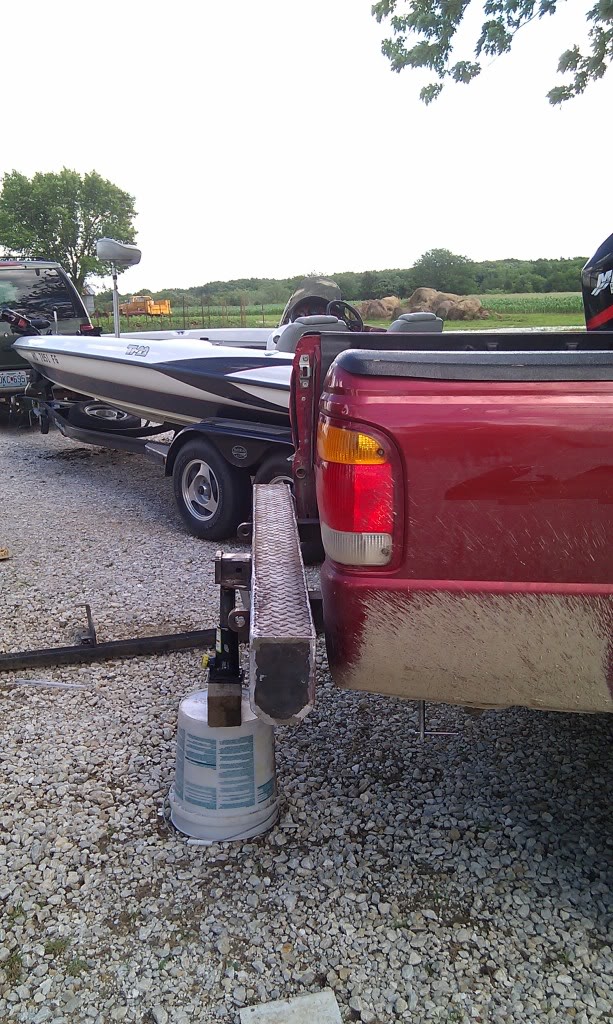
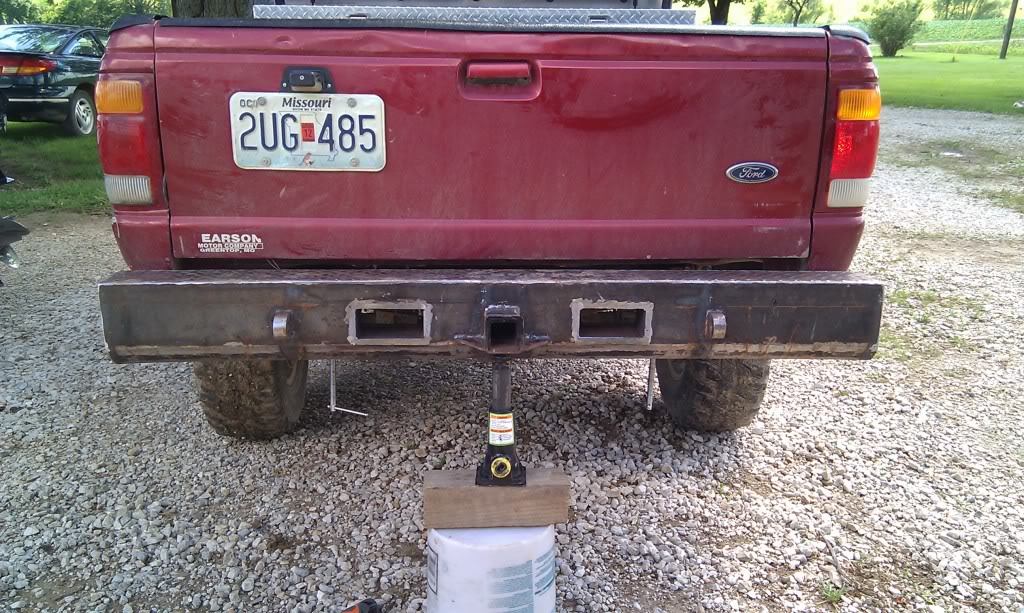
Well today i put it on the truck to drill the mounting holes. needless to say i spent more time getting pissed at bad drill bits, drills, and not having room than being productive. But i go the holes drilled and am going to have to fix two of them but i will be taking the bed off for that and i will wait untill the bumper is finished before i take the bed off. It dosent look to bad on the truck but the bow in it kinda makes a little mad. deffently a big improvement from my old one. i have one problem though, since the 1/4 inch angle iron sits on top of the frame it interfers with my BL blocks so the last block is 1/4 inch higher than the rest. I was thinking i could make 1/4 spacers for the rest of them or i could cut 1/4 off the block or just leave it how it is. let me know think!
#41
06-20-2011
#45
06-20-2011

Hmmm....Ill be honest.
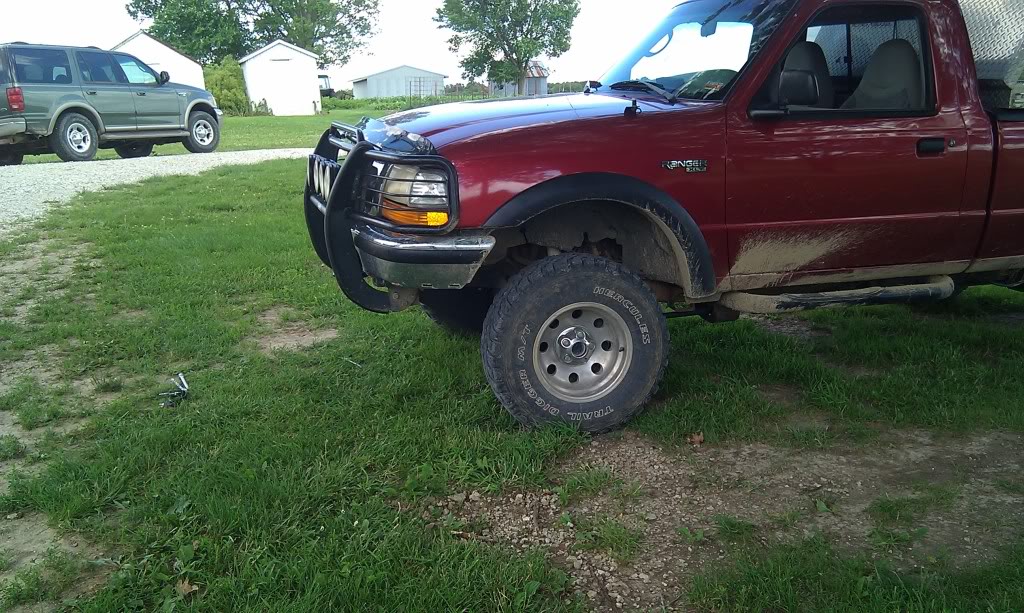
It looks good, but it does stick out a little from the sides.
But you will have a great step. Im trying to figure out how to make a step for mine right now lol.
Good job. Im ready to see some backup lights in there.
Oh yeah....Are you going to be able to re-install that body lift block?
It looks good, but it does stick out a little from the sides.
But you will have a great step. Im trying to figure out how to make a step for mine right now lol.
Good job. Im ready to see some backup lights in there.
Oh yeah....Are you going to be able to re-install that body lift block?
#46
06-20-2011
Thanks guys!
I will probably just cut 1/4" of the block off so it will be the same height.
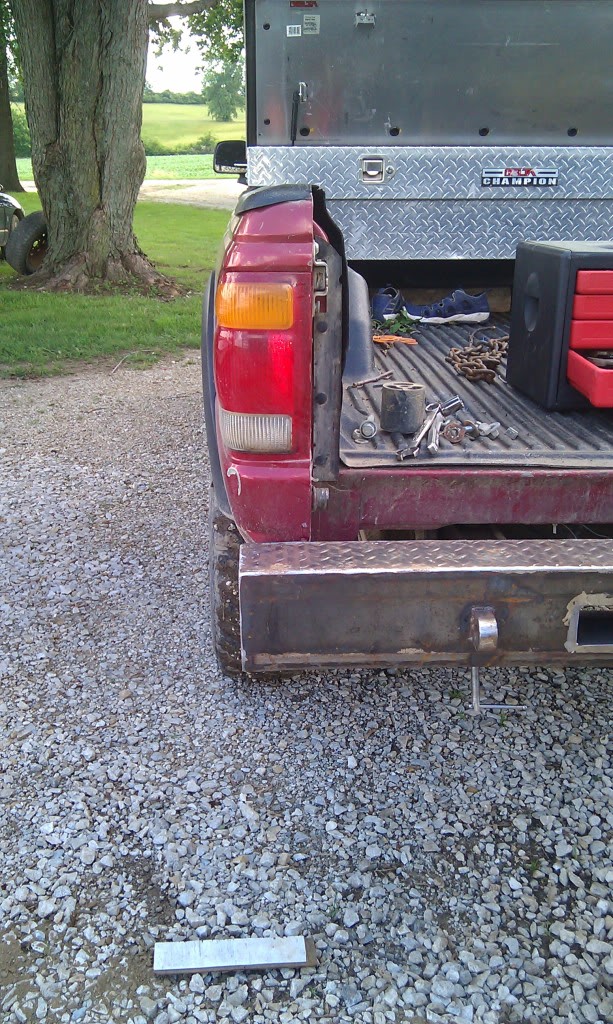
Yea it is a little wide on the side but nothing i can do about it now, and i wanted a step! I didnt want it so narrow that i couldnt step on it or just slide off of it.
Cant put the lights in untill its painted and i cant paint untill it decides to stop raining every freaking day.
Im almost done painting the skid plate and should have it on it a day or so.
I will probably just cut 1/4" of the block off so it will be the same height.
Yea it is a little wide on the side but nothing i can do about it now, and i wanted a step! I didnt want it so narrow that i couldnt step on it or just slide off of it.
Cant put the lights in untill its painted and i cant paint untill it decides to stop raining every freaking day.
Im almost done painting the skid plate and should have it on it a day or so.
#47
06-20-2011
Thanks guys!
I will probably just cut 1/4" of the block off so it will be the same height.
Yea it is a little wide on the side but nothing i can do about it now, and i wanted a step! I didnt want it so narrow that i couldnt step on it or just slide off of it.
Cant put the lights in untill its painted and i cant paint untill it decides to stop raining every freaking day.
Im almost done painting the skid plate and should have it on it a day or so.