Taylor's steel rear bumper
#51
 02-22-2011


Wopping welds batman! lol
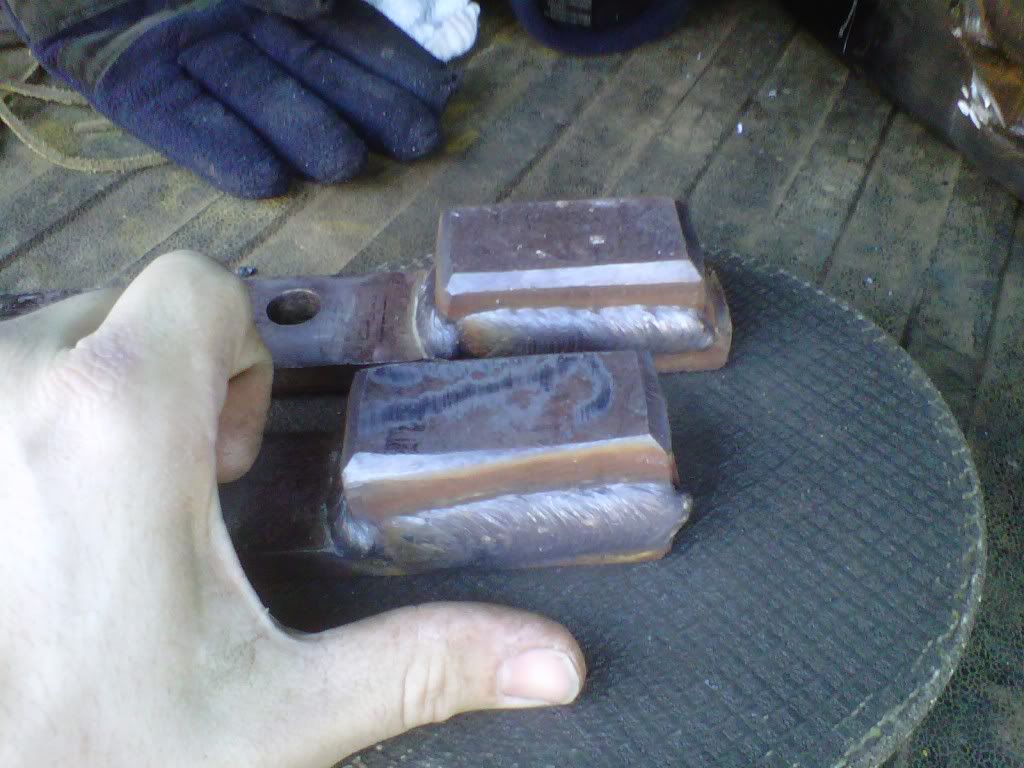
The welds winded up a little bigger than I thought they would hahaha.....but thats cool.
These are still sitting out in the truck cooling off.
These are the bottom mounts. These will be welded to the bottom of the hitch and bolted to the frame.
A good reference shot
The welds winded up a little bigger than I thought they would hahaha.....but thats cool.
These are still sitting out in the truck cooling off.
These are the bottom mounts. These will be welded to the bottom of the hitch and bolted to the frame.
A good reference shot

#53
02-22-2011
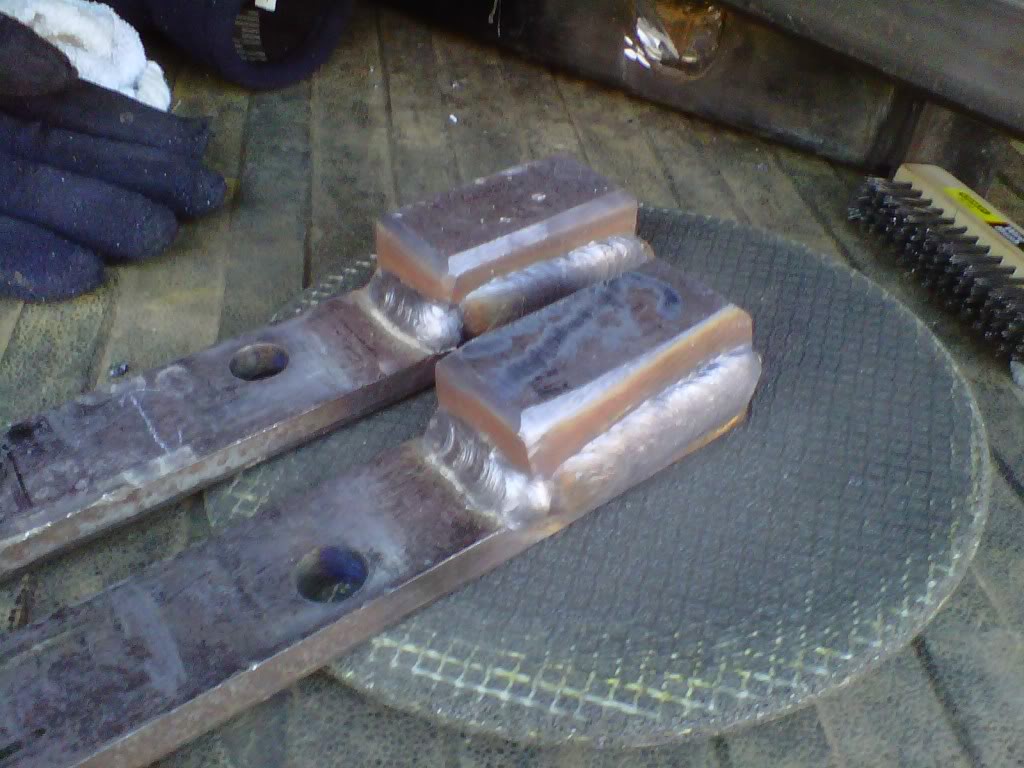
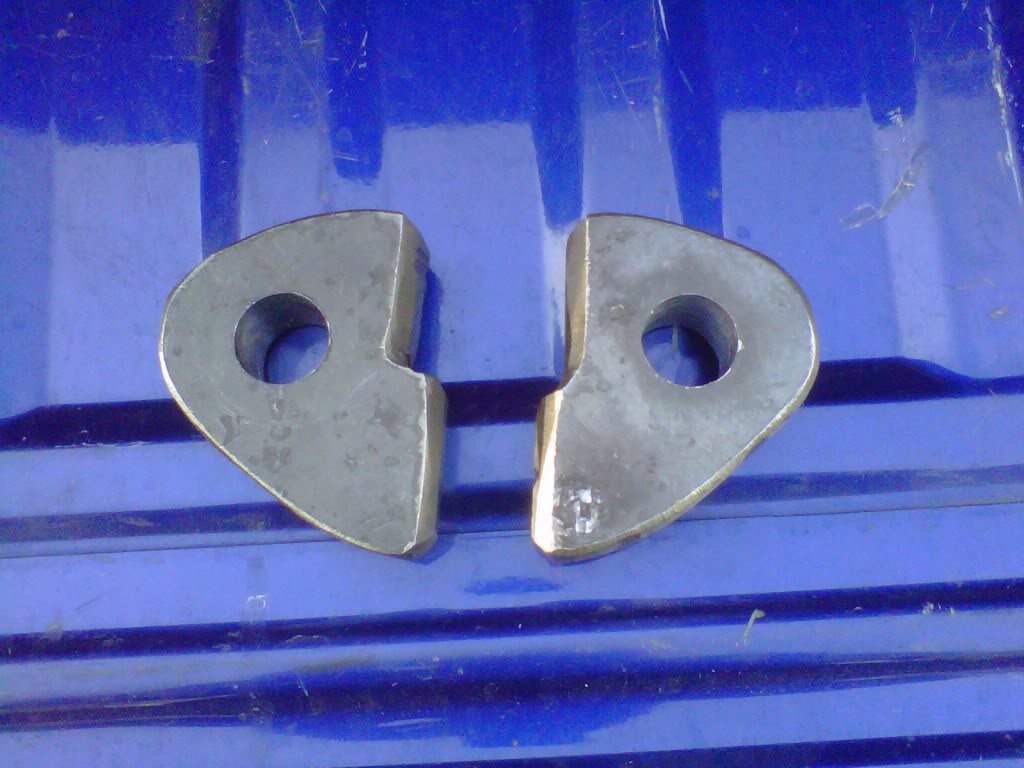
I beveled the plate to get some extra penetration. I then ran one stick pass, and had planned on running an extra pass or two on each side. Instead, I weaved a good pass on top of the root pass and it ended up HUGE.
#55
02-22-2011
#56
02-28-2011
#58
04-18-2011

#60
04-18-2011
I just wanted to see how each one would look.
I bought the cotter pins b/c I was worried about the threaded ones falling out while going down the road.
Im mounting the light this weekend. I hooked the thing up to a drill battery and almost blinded myself. I will get it all straight and mounted, then take the light back off and nightshade it, because that sucker is BRIGHT.
#61
04-18-2011


I'd go with the threaded pin! The other looks like too much. You don't need to worry about them falling out when driving... just snug them up and make sure you have something to loosen them with in the truck! I've had one on my truck for at least a year and a half and I've never had it loosen up.
#62
04-18-2011
I just wanted to see how each one would look.
I bought the cotter pins b/c I was worried about the threaded ones falling out while going down the road.
Im mounting the light this weekend. I hooked the thing up to a drill battery and almost blinded myself. I will get it all straight and mounted, then take the light back off and nightshade it, because that sucker is BRIGHT.
I bought the cotter pins b/c I was worried about the threaded ones falling out while going down the road.
Im mounting the light this weekend. I hooked the thing up to a drill battery and almost blinded myself. I will get it all straight and mounted, then take the light back off and nightshade it, because that sucker is BRIGHT.
Yea i think 5 LEDs was a little much on their part but oh well you will be able to see it! / end thread jack
#63
04-18-2011
Im glad you bought that up, because the license plate relocation is all part of the build.
(and the led strips that i got in the mail the other day as well
 )
)
#64
04-18-2011
Don't let stick weld haters bug you. They are just jealous that they have to resort to MIG welding cuz its easier. 
Stick welding is no more dirty than MIG. If a guy truly knows how to stick weld, 10 seconds of slag chipping is all that is different than MIG welding. The same amount of time will be spent with a grinder with with either method. If you are really damn good, alot of times the slag will "unpeel" itself.
I never can understand why people think stick welding is so "dirty" and "archaic". Real welders can stick weld a broken heart to a piece of tinfoil. Do that with MIG!
All bias aside though, MIG has its place, especially in the workplace/field. It is just much faster and easier to deal with. But for projects at home, ID RATHER stick weld. A pretty/penetrating weld is very achievable and requires no more cleanup than simply MIG'in it.
I'm a stick weldin guy if you couldn't tell.
Good job on the bumper dood!
#65
04-18-2011

#68
05-06-2011
Finally got the d-ring mounts welded on.
I thought the location of the mounts would look kinda weird at first, but I like it.

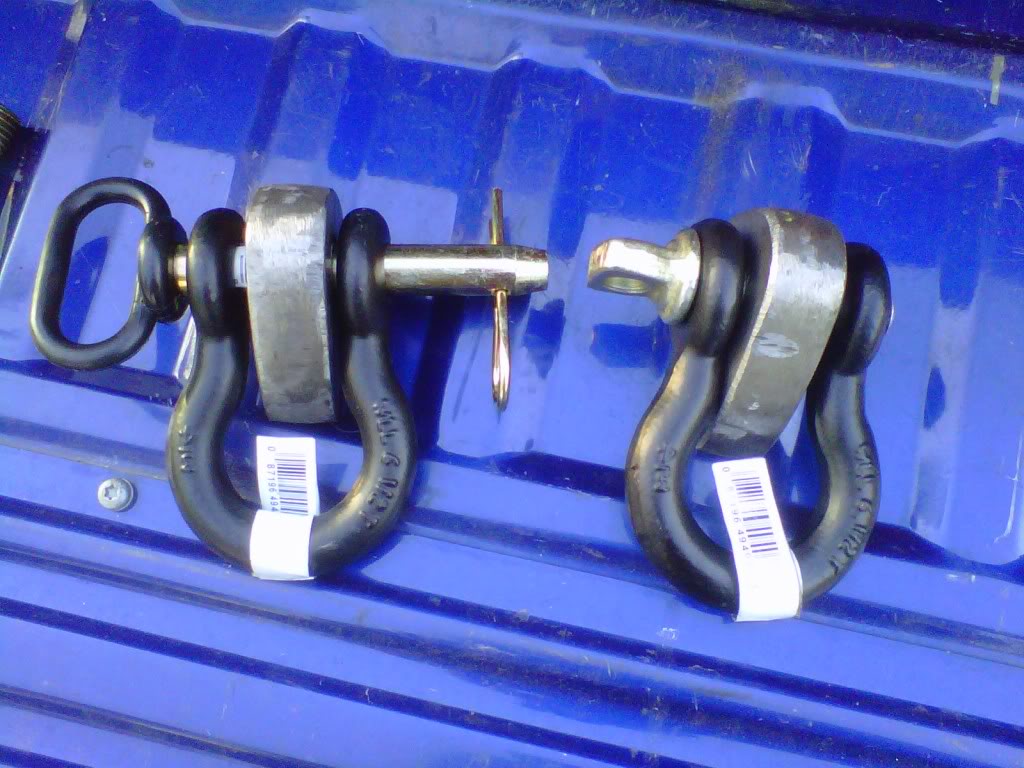
Here are the two types of pins that I got. Pics shows how both of them look.
Threaded pins that came with d-rings.
Slide pins that I bought separate.
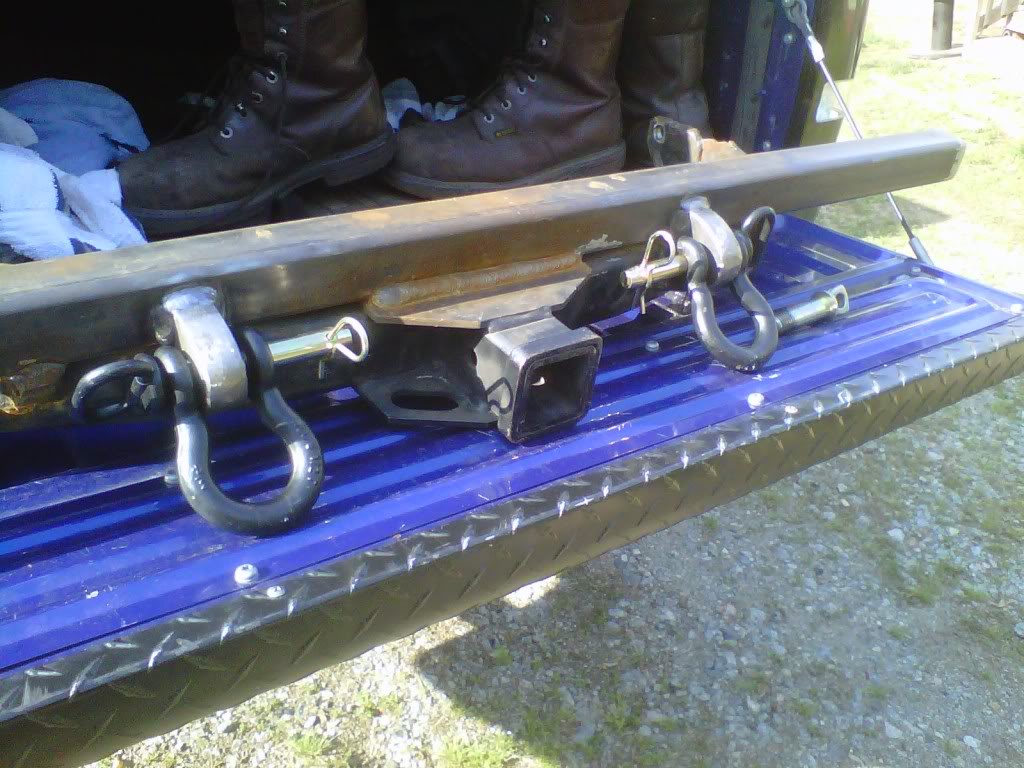
I also welded some of the bottom mounts today. I will finish welding them tomorrow probably.
I thought the location of the mounts would look kinda weird at first, but I like it.
Here are the two types of pins that I got. Pics shows how both of them look.
Threaded pins that came with d-rings.
Slide pins that I bought separate.
I also welded some of the bottom mounts today. I will finish welding them tomorrow probably.
#71
05-07-2011
Im also not a big fan of it because it is not finished haha. Ive got some plans for it that will make it look much better I think.
And I probably will stick with the threaded bolts.
#72
06-10-2011
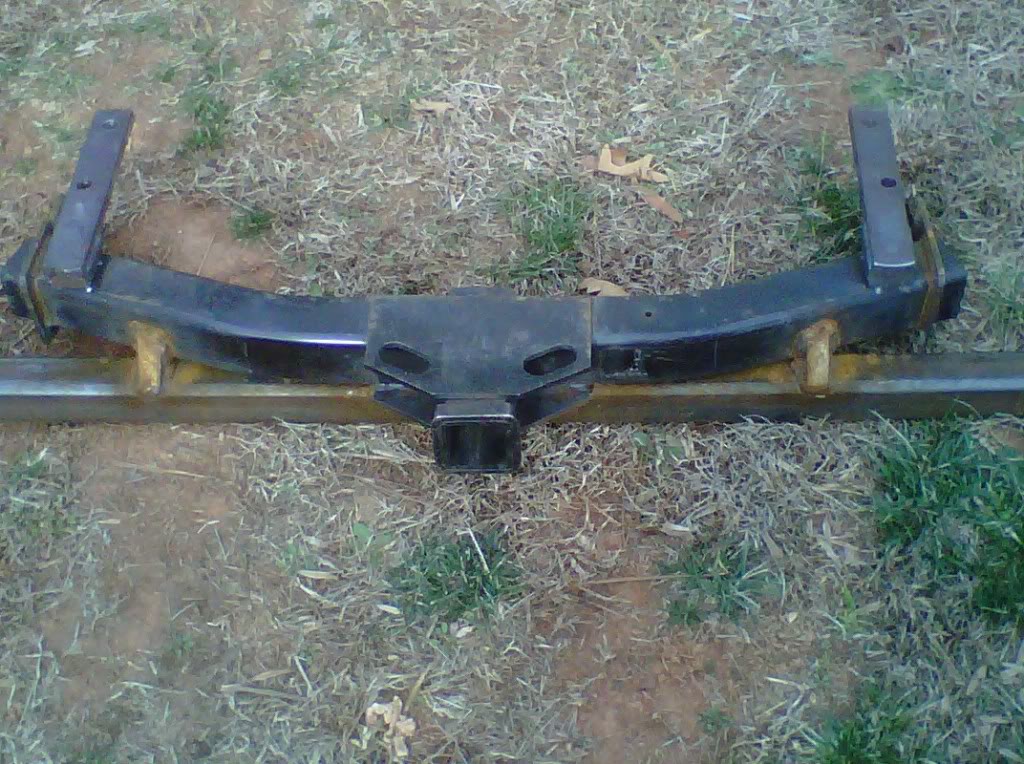
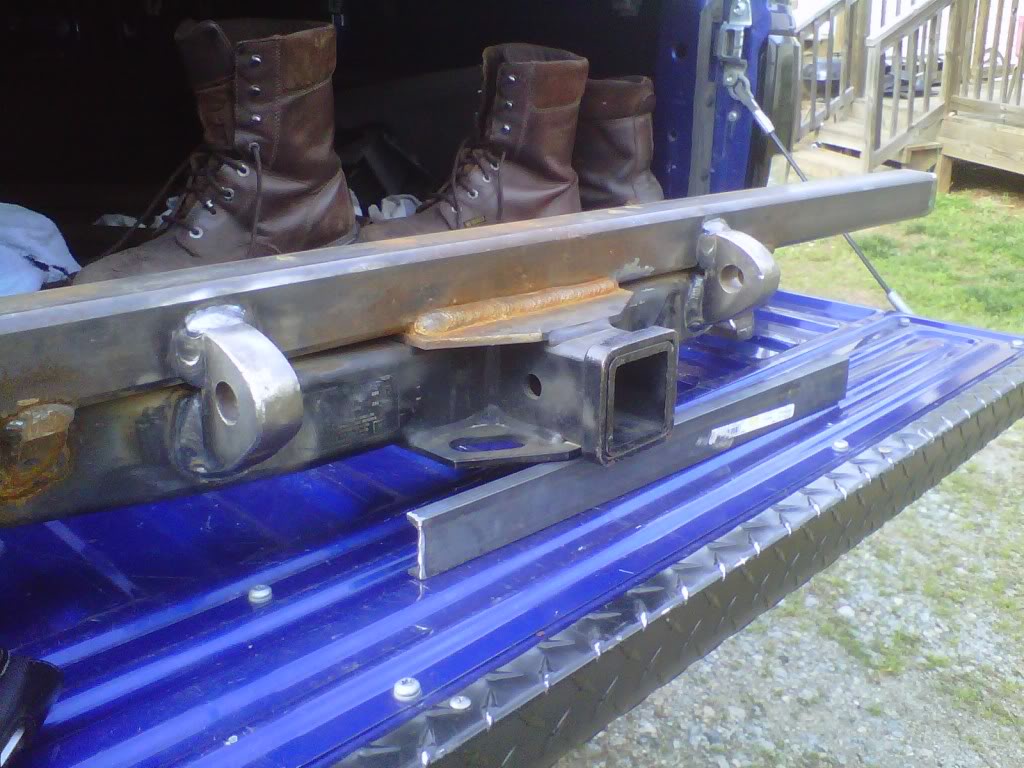
Well, havnt made much progress. Half-way done with the bumper. Took a grinder to it and cleaned it up slightly in some spots.
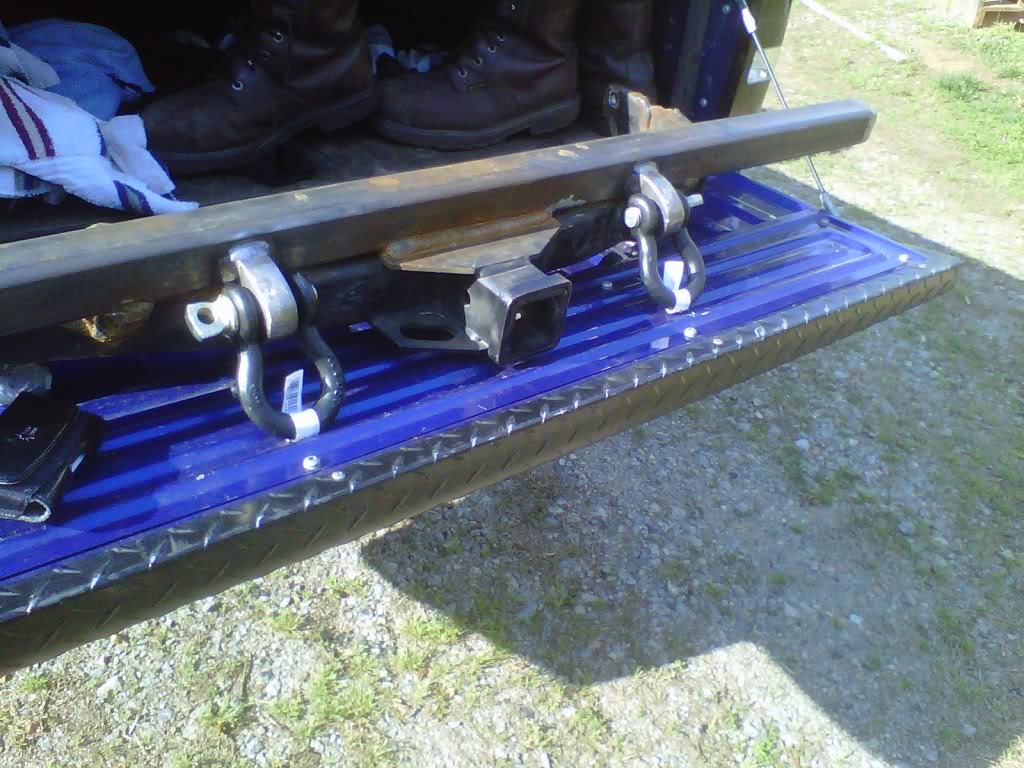
Got it mounted so I can begin with the other half of the build. I also put the d-rings on just to see how it would look.
Im having second thoughts about cutting out my spare tire carrier, because the bumper covers it up pretty well.
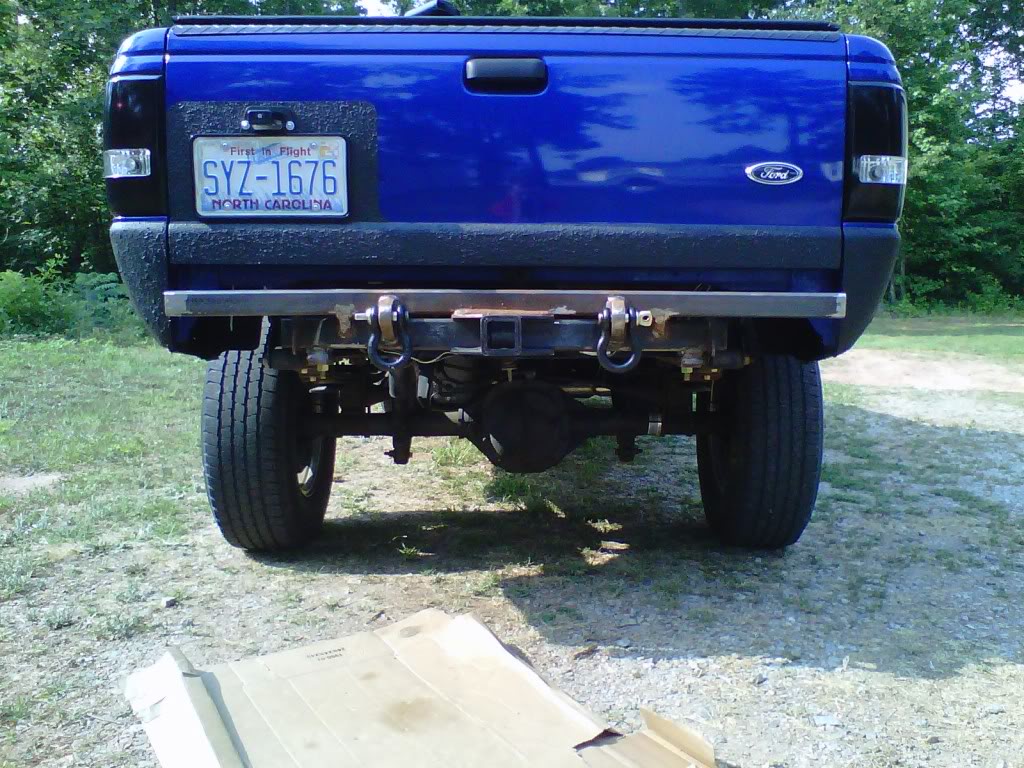

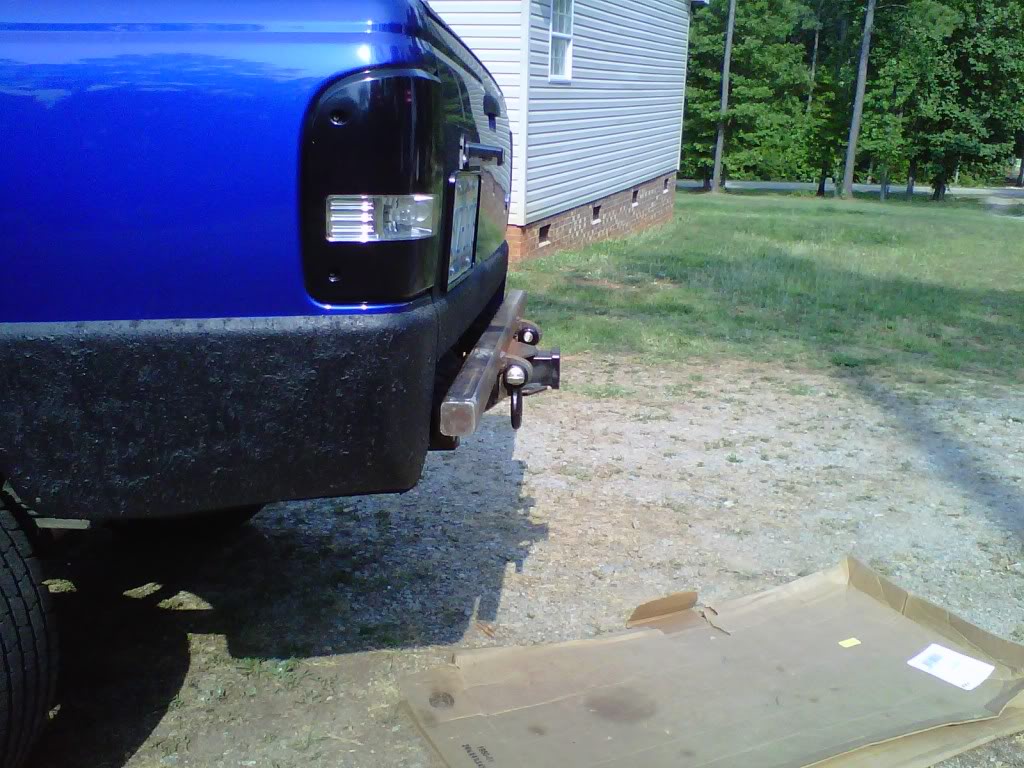
Next up is some 1/8" plating in some spots to make it look like an actual bumper.
Got it mounted so I can begin with the other half of the build. I also put the d-rings on just to see how it would look.
Im having second thoughts about cutting out my spare tire carrier, because the bumper covers it up pretty well.
Next up is some 1/8" plating in some spots to make it look like an actual bumper.
#74
06-10-2011


