Buggman Fender Badge LED Install!!!!
#1
 01-08-2012


Buggman Fender Badge LED Install!!!!
So I got my kit from buggman the other day for the fender badge led.(https://www.ranger-forums.com/old-interior-exterior-electrical-misc-119/buggmans-06-fender-badge-led-plate-mod-ky-129683/) Finally got around to installing it tonight and take some pictures and videos. I guess this can be maybe a how-to/review. First off this is a great kit very well built. Terry has pretty detailed instructions that he ships out with his kit which explains everything. Some pictures.
Badge removed ready to get started. Make sure to tape around badge before removal. This not only protects the paint but also helps when reinstalling your badge. I used a large putty knife and a heat gun to remove the badge.
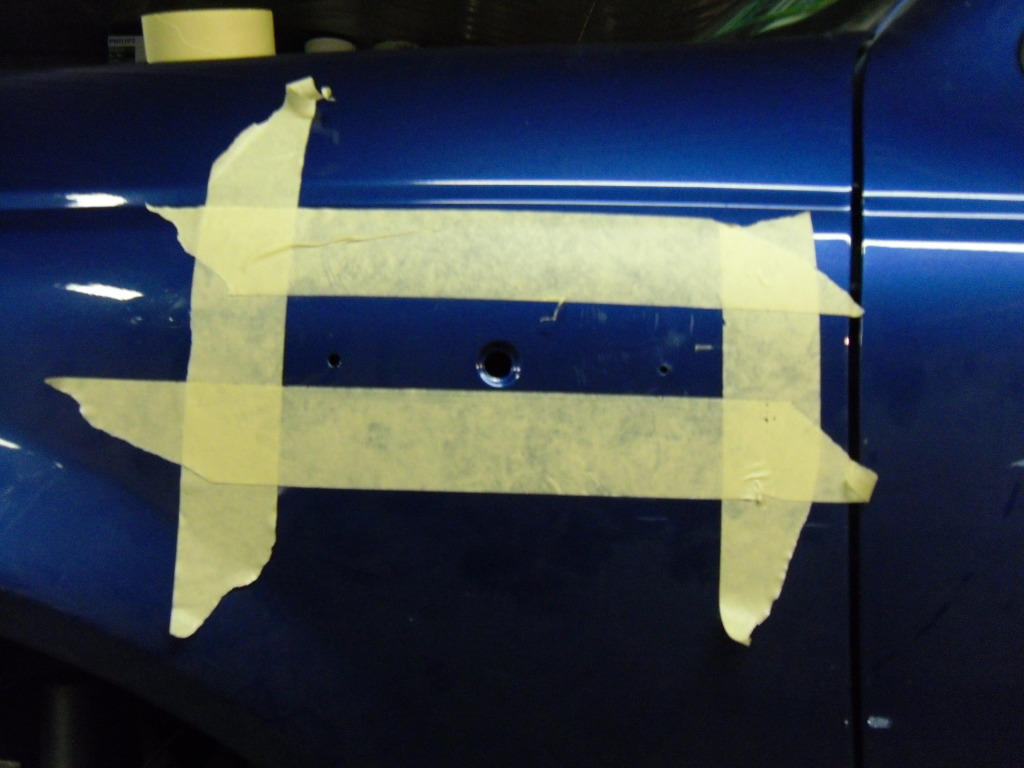
Your 06+ badge removed from the truck
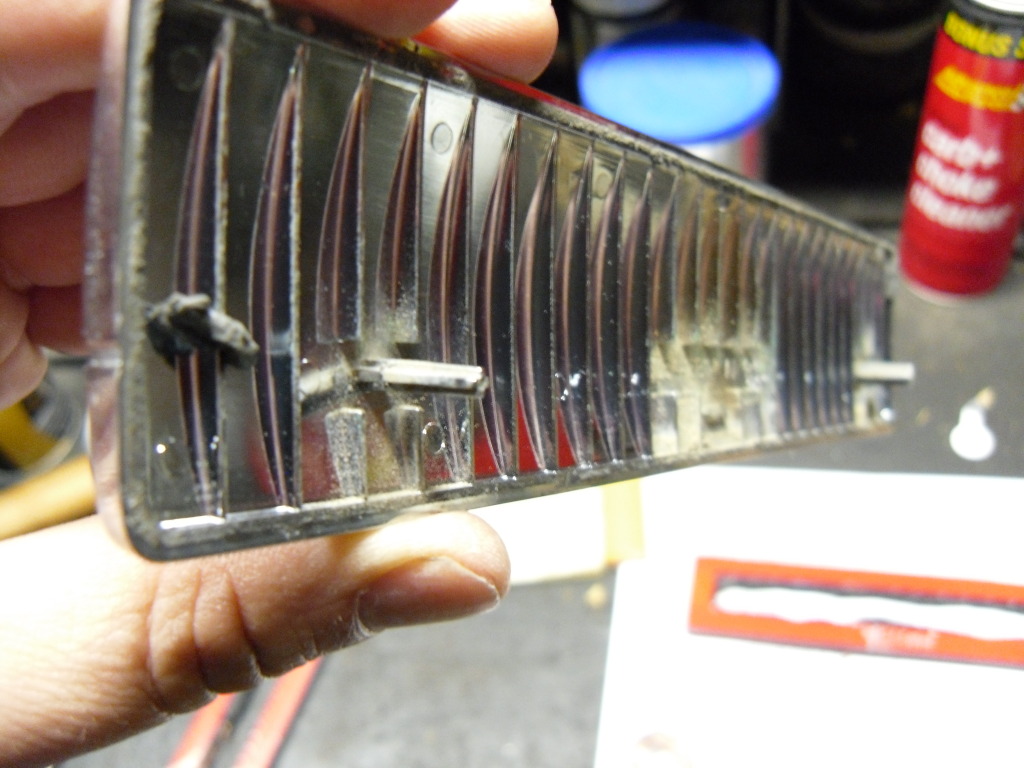
So the first thing you will notice when you have your badge off is that buggman plate doesnt line up with your alignment pins on the badge.

Out comes the Dremel to fix this situation.

Now led plate fits flush.
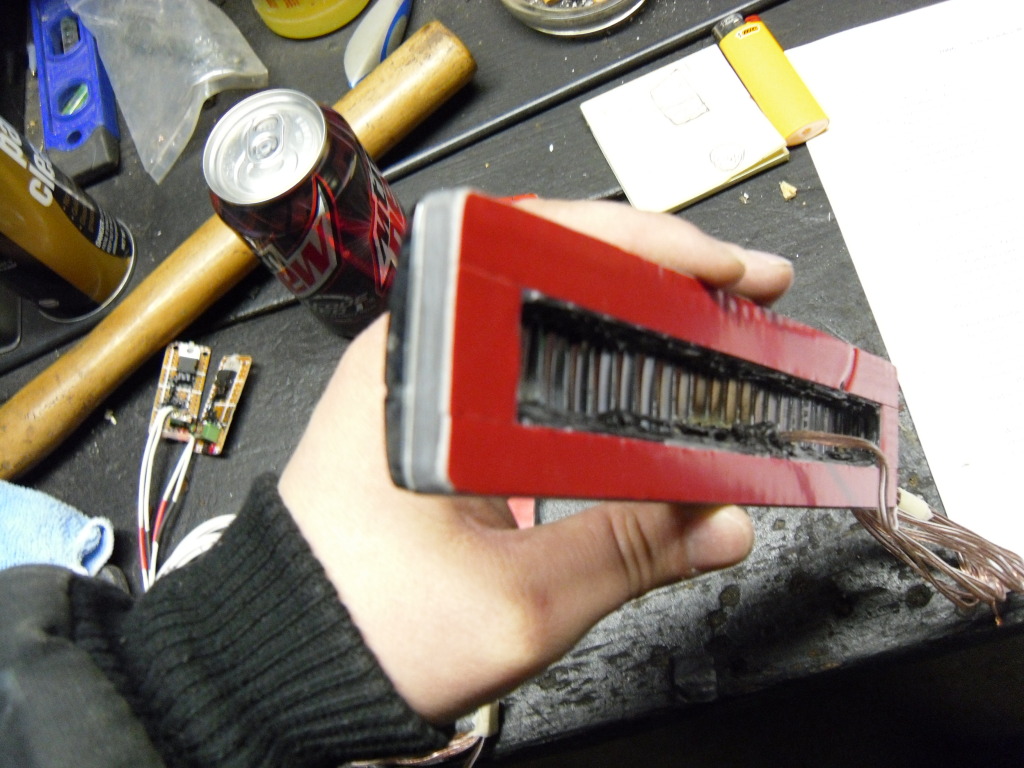
Following buggmans write up I wired up to my mirror turn signals that I installed last year.
My take on Turn Signal Mirrors
All mounted up and on


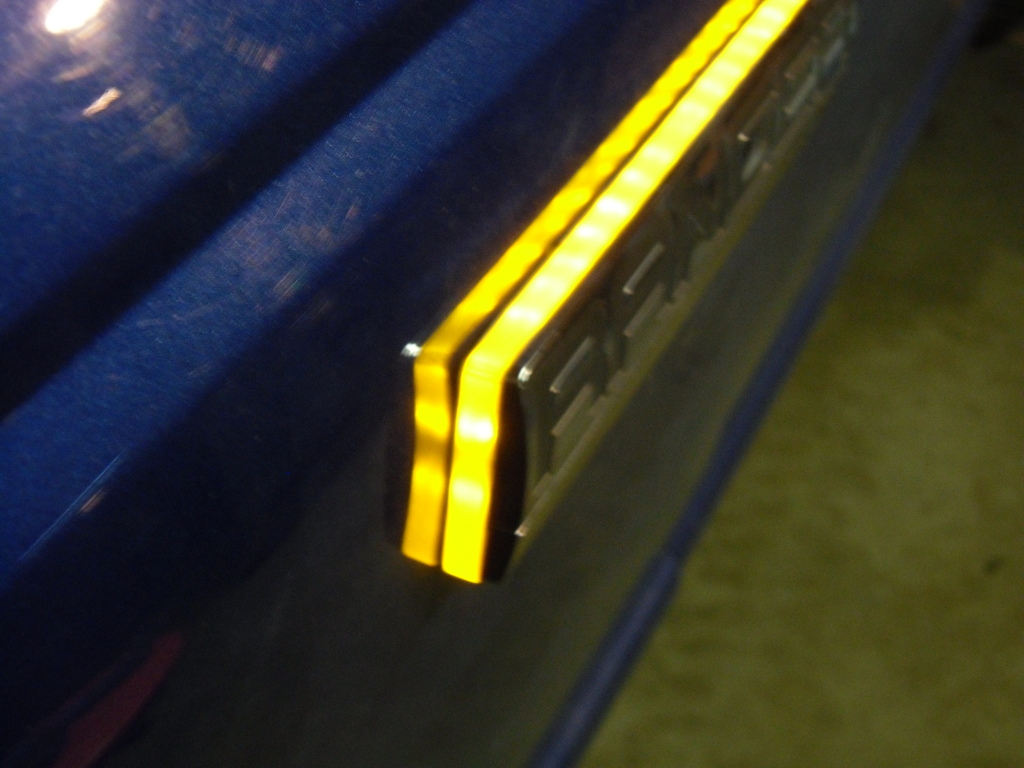
Here you will see my only concern that I had when I received the kit. The fender is a bit contoured and the led plate is flat. So it doesnt sit completely flush to the fender.
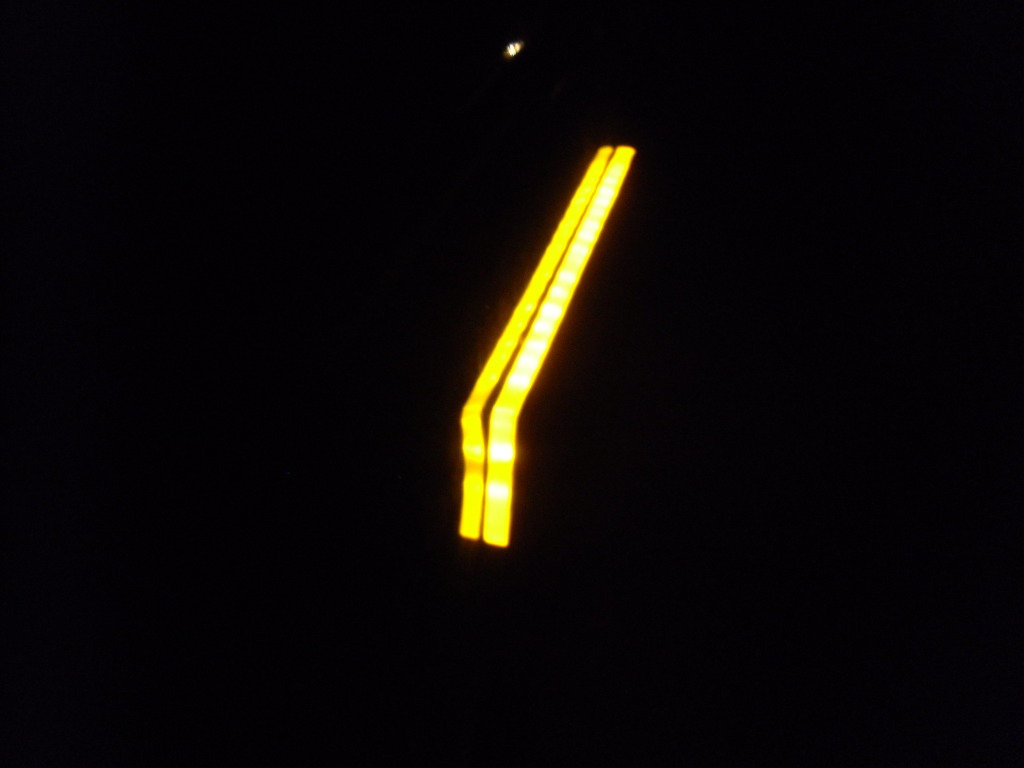
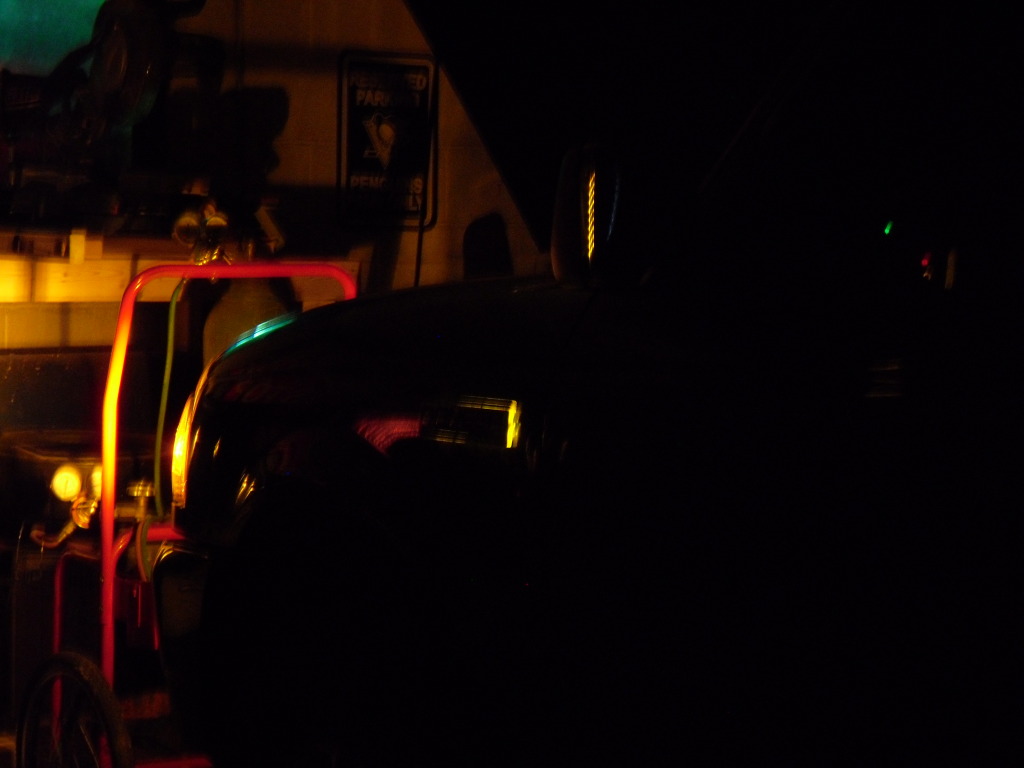
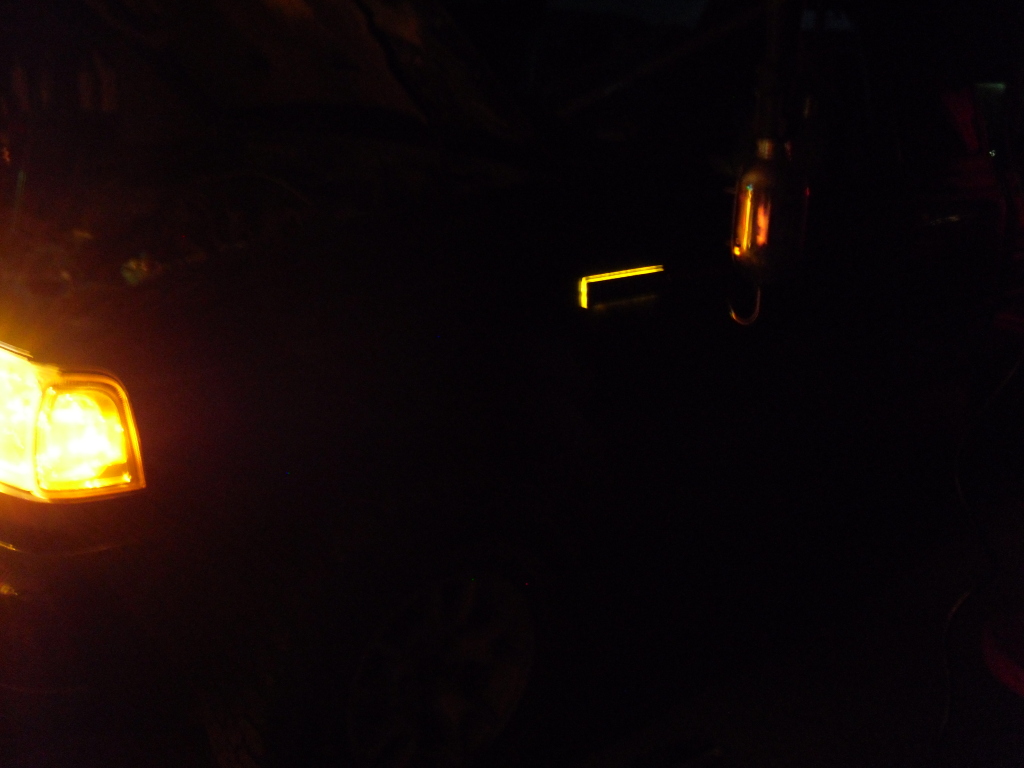
Dark pictures!
and some videos too!
Final Review.
All and all im happy with my purchase. One thing I would do different however, I would get the 2.0 version instead of the flush mount. Looking straight on to the flush mounts you can barely see the badges light up. These really shine when you are off at an angle. The yellow is actually a really close match to the amber the pictures dont do that justice. I wouldnt hesitate with purchasing anything from buggman. Every interaction I have had with him has been a great experience.
Badge removed ready to get started. Make sure to tape around badge before removal. This not only protects the paint but also helps when reinstalling your badge. I used a large putty knife and a heat gun to remove the badge.
Your 06+ badge removed from the truck
So the first thing you will notice when you have your badge off is that buggman plate doesnt line up with your alignment pins on the badge.
Out comes the Dremel to fix this situation.
Now led plate fits flush.
Following buggmans write up I wired up to my mirror turn signals that I installed last year.
My take on Turn Signal Mirrors
All mounted up and on
Here you will see my only concern that I had when I received the kit. The fender is a bit contoured and the led plate is flat. So it doesnt sit completely flush to the fender.
Dark pictures!
and some videos too!
Final Review.
All and all im happy with my purchase. One thing I would do different however, I would get the 2.0 version instead of the flush mount. Looking straight on to the flush mounts you can barely see the badges light up. These really shine when you are off at an angle. The yellow is actually a really close match to the amber the pictures dont do that justice. I wouldnt hesitate with purchasing anything from buggman. Every interaction I have had with him has been a great experience.
Last edited by vista4.0; 01-08-2012 at 07:50 PM.

#5
01-08-2012
#6
01-08-2012


#8
01-08-2012


#11
01-08-2012
Wirelessly posted (Android)
Thats something to think about.
Originally Posted by StxDangerRanger
Those are great. If your really concerned about that gap,
Run a bead of clear silicone in there. It shouldn't really do no harm to your paint.
but again, Great looking and clean install. Terry does excellent work.
Run a bead of clear silicone in there. It shouldn't really do no harm to your paint.
but again, Great looking and clean install. Terry does excellent work.
#12
01-09-2012
Wow, those look pretty nice installed.
I've only seen them on while making them & stuck on my toolbox
I never really noticed the contour on the fenders, so I thought the plates would set more flush on top.
One thing I can do is include an extra piece of foam tape for the top side to fill the gap in a little more. There's probably no way I could get the material bent to fit both the fender & flat enough for the badges to set flat though.
The badges I just got have the alignment pins more towards the middle (top to bottom) of the badges... maybe I got tailgate badges Oh well, they're nothing a quick snip with wire cutters won't fix.
I don't think you'll have any issue with them falling off under normal conditions. The tape is rated for 5lbs & outdoor use.
If you frequent those automatic car washes that beat the dirt off rather than wash it off... I dunno if anything even if it's bolted on could survive that.
I just took my grille oval/led ring off & it took me the better part of an hour to get that little sucker off.
Didn't realize there was that big hole behind the badges either... perfect spot to feed the wire through.
I'm surprised at the color too, it's really close to your turn signal colors. My pics make them look a lot lighter yellow.
The original flush versions don't have quite the visibility of the new outline version, but the flush versions are a bit less noticeable.
Excellent write-up/how-to/review.
I've only seen them on while making them & stuck on my toolbox
I never really noticed the contour on the fenders, so I thought the plates would set more flush on top.
One thing I can do is include an extra piece of foam tape for the top side to fill the gap in a little more. There's probably no way I could get the material bent to fit both the fender & flat enough for the badges to set flat though.
The badges I just got have the alignment pins more towards the middle (top to bottom) of the badges... maybe I got tailgate badges
Oh well, they're nothing a quick snip with wire cutters won't fix.I don't think you'll have any issue with them falling off under normal conditions. The tape is rated for 5lbs & outdoor use.
If you frequent those automatic car washes that beat the dirt off rather than wash it off... I dunno if anything even if it's bolted on could survive that.
I just took my grille oval/led ring off & it took me the better part of an hour to get that little sucker off.
Didn't realize there was that big hole behind the badges either... perfect spot to feed the wire through.
I'm surprised at the color too, it's really close to your turn signal colors.
My pics make them look a lot lighter yellow.The original flush versions don't have quite the visibility of the new outline version, but the flush versions are a bit less noticeable.
Excellent write-up/how-to/review.
#13
01-09-2012
Glad I could help Terry. Im really liking them. For the little issue with it sitting flush it was really just that front top corner that I couldnt get to stick. It appears it has sealed up everywhere else. For those that think these sit out a bit far, honestly they dont stick out that far. I showed a couple people last night and they couldnt tell till I turned them on. They really blend in well.
#15
01-14-2012
#16
01-16-2012
#17
01-16-2012
#19
01-16-2012
#20
01-17-2012
1 was to put an extra piece of foam mounting tape on the top edge of the plate
2 was to simply lower the badges about 1/4" to 1/2" below the original location.
I don't think anyone would notice if the badges were mounted that small amount lower... unless you were to measure them

#21
01-17-2012
#22
01-17-2012
#23
01-17-2012
I had a couple ideas on the little gap.
1 was to put an extra piece of foam mounting tape on the top edge of the plate
2 was to simply lower the badges about 1/4" to 1/2" below the original location.
I don't think anyone would notice if the badges were mounted that small amount lower... unless you were to measure them
1 was to put an extra piece of foam mounting tape on the top edge of the plate
2 was to simply lower the badges about 1/4" to 1/2" below the original location.
I don't think anyone would notice if the badges were mounted that small amount lower... unless you were to measure them
The boards are in the cab on mine. Right now mine only light up with the turn signals but I might change that so they come on with the parking lights and flash as turn signals.
#24
01-17-2012


