Betcha can guess what I'm doing tonight! :-D
#1
 08-21-2009


#3
08-21-2009
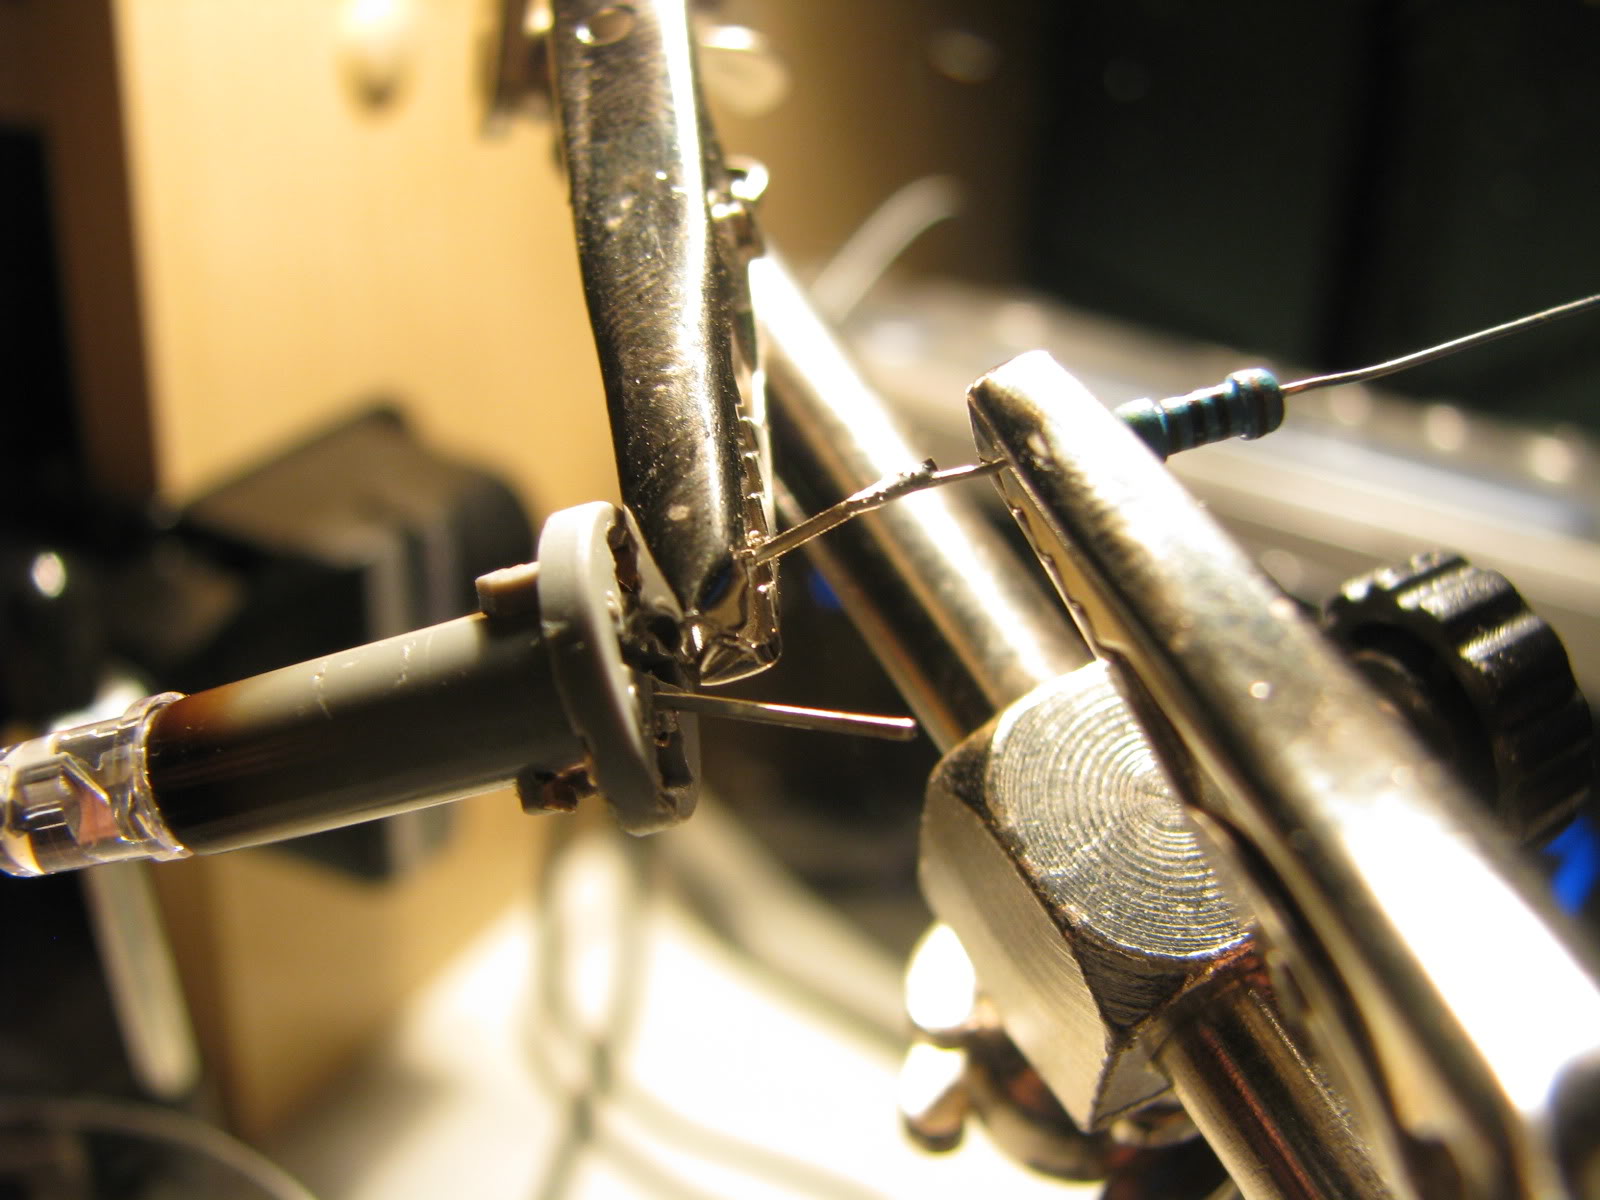
yep yep, not much of a guess per say - jsut figured I woudl show off my total elite soldering skills (NOT!) Did pretty good on the first one.. the damn 4x switch is sort of a pain though - I really don't have the proper soldering tip to do it right, mine has worn down to a fairly blunt end, and you really really need a point to do it right!
Doing the electrical side of things tonight:
4x, headlight, fog lamp, AC Compressor bypass.. and whatever else I feel like doing behind there!
Doing the electrical side of things tonight:
4x, headlight, fog lamp, AC Compressor bypass.. and whatever else I feel like doing behind there!
#4
08-21-2009

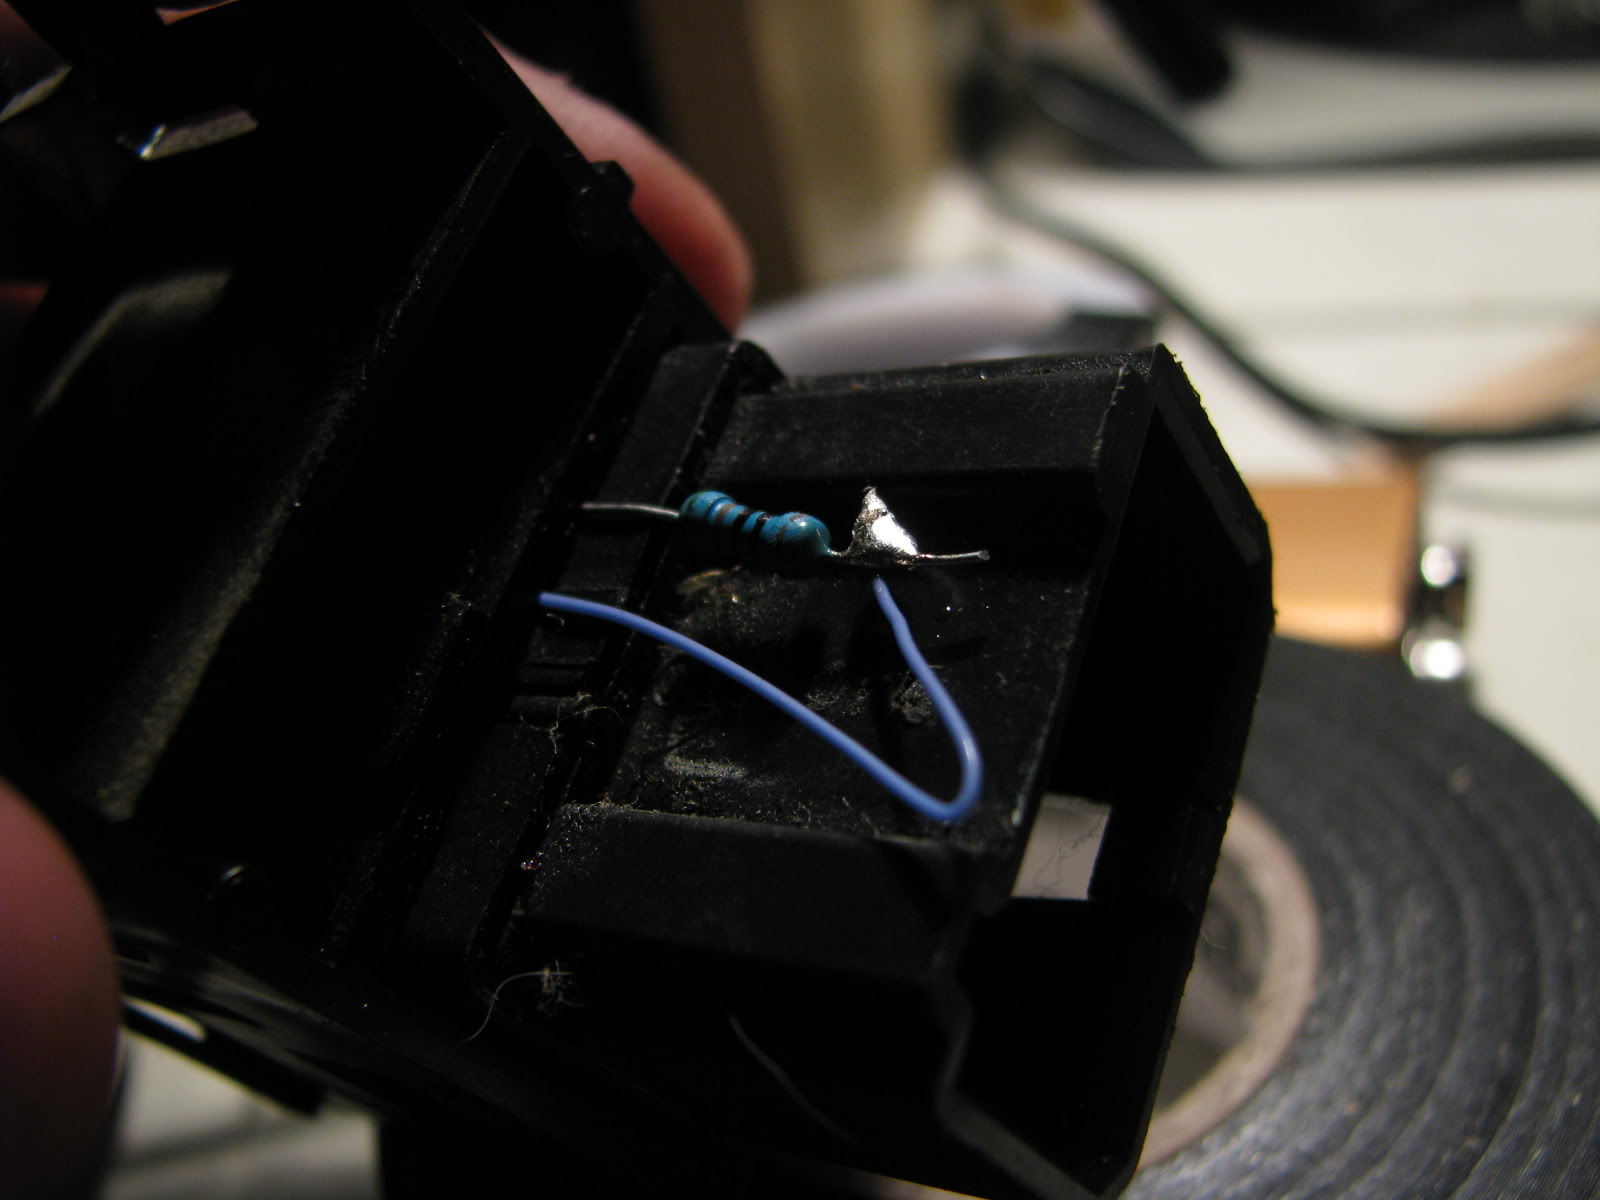
Don't forget....the mating wires that touch the switch itself, need to be the same size wire. Made the mistake too many times of having the LED - wire on one side and the smaller sized resister wire on the other. Not good. No bueno. lol.
What color, Mike?
I see you used computer wire. hahah.....I got a ton of that tiny tiny stuff waiting for my next little project. IDK what it's called, but it's one cable that has like 10 tiny wires inside a wrapping. PERFECT for LED projects like what I have planned.
What color, Mike?
I see you used computer wire. hahah.....I got a ton of that tiny tiny stuff waiting for my next little project. IDK what it's called, but it's one cable that has like 10 tiny wires inside a wrapping. PERFECT for LED projects like what I have planned.
#5
08-21-2009
#6
08-21-2009
Yep, already sanded and all good on taht part 
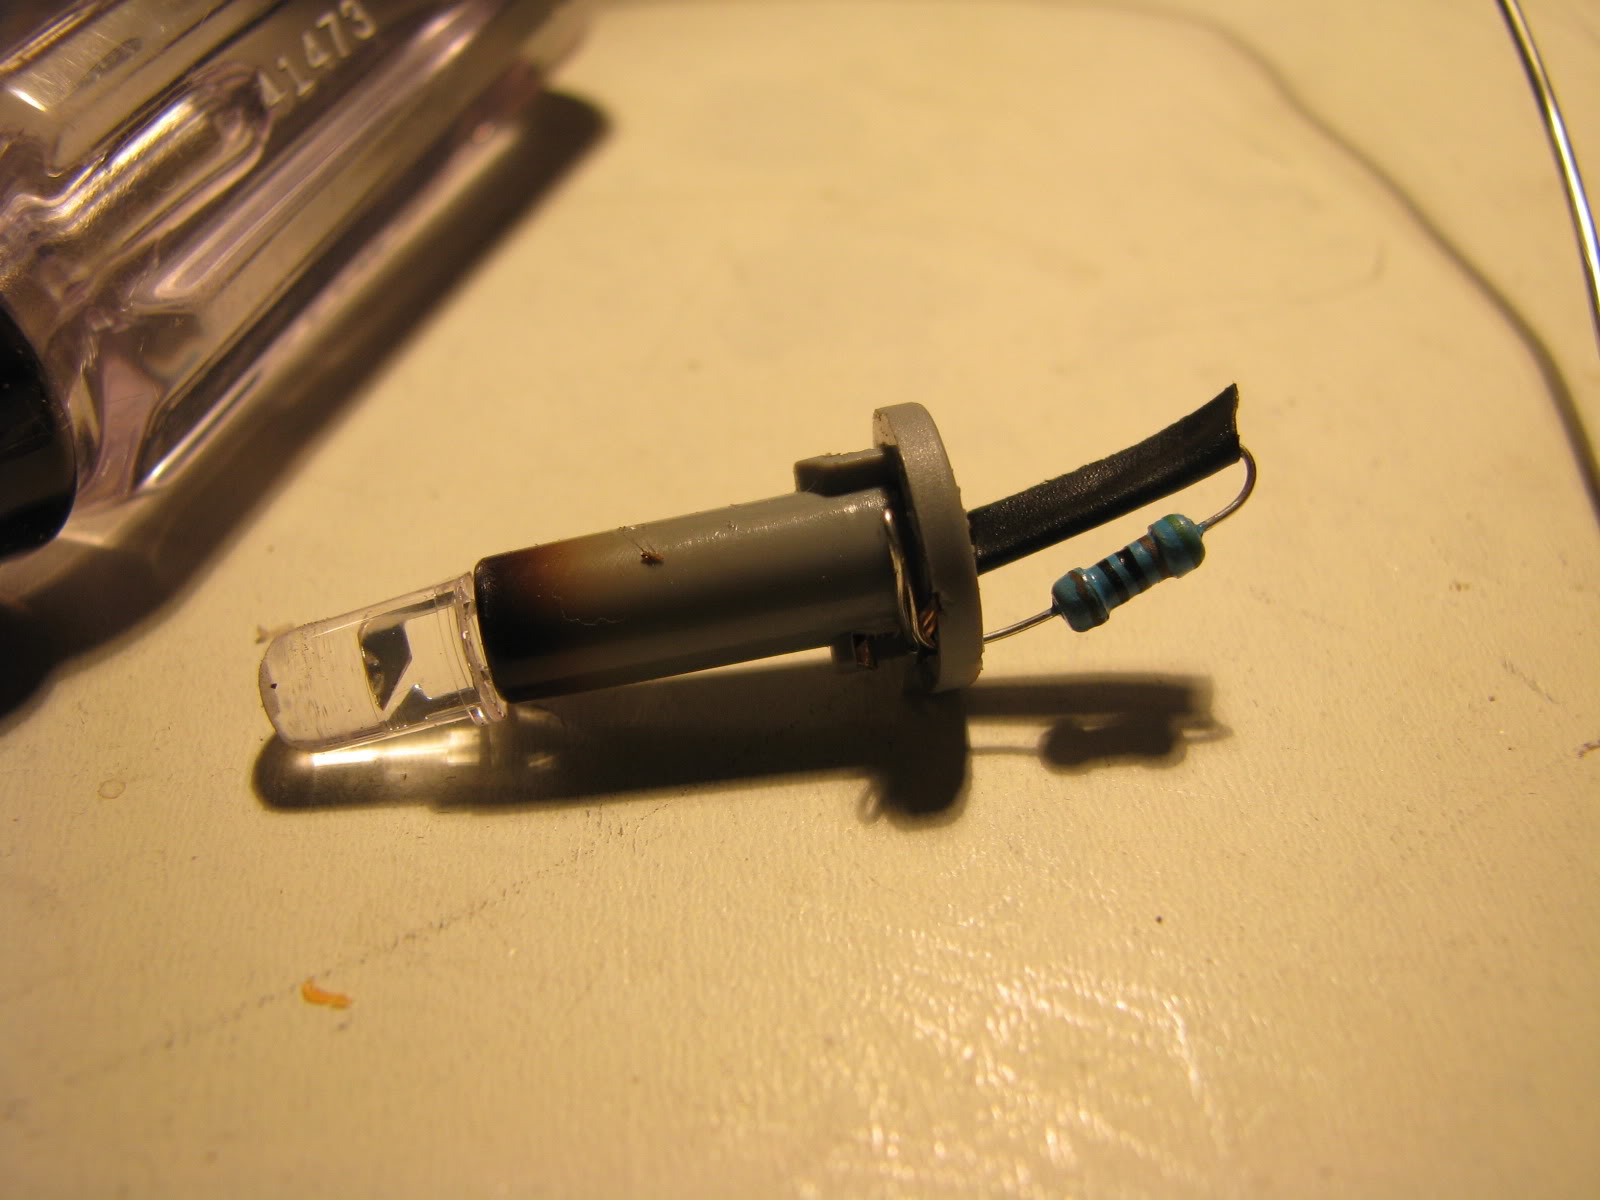
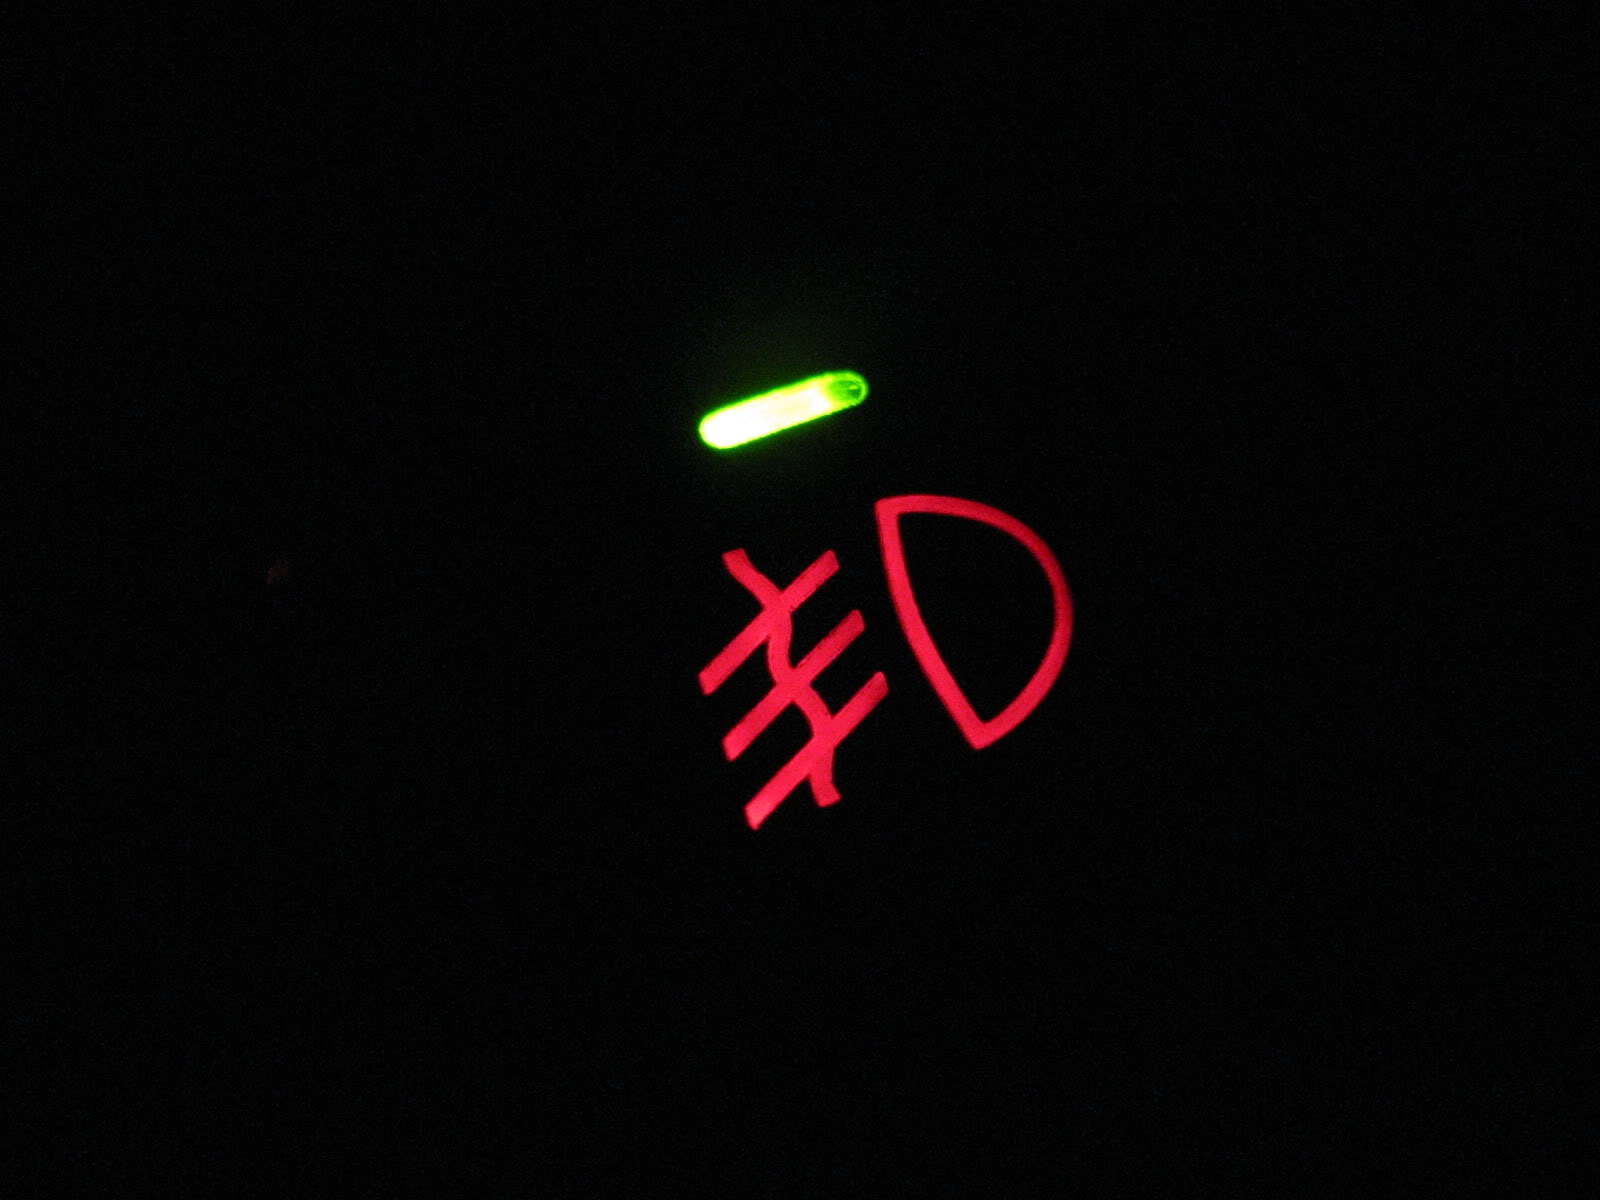
Sanded after I put it in, so I had somethign to hold onto while using my 1200 grit sandpaper here... And yep, Im using 30 gauge wrapping wire on the LED there - damned fine stuff to play with, cant heat it up too much or itll break, itsy bitsy tiny stuff!!!
Edit:
Going Red in mine - 6500 MCD I believe, cant remember what it was.. just bright enough to see, but not bright enough to bug ya
Last edited by WowMike2001; 08-21-2009 at 06:05 AM.
#7
08-21-2009
#8
08-21-2009
#10
08-22-2009


Make a small "U" at the end of each wire, slip the two "U's" together and pinch them with small pliers, not so hard to flatten them but just enough to let them hold together without the solder, then add the solder.
This way the mechanical bond is the strength in the joint not the solder.
Maybe a little too critical but if for some reason the solder should crack or leave the joint the mechanical bond will hold thing together.
Again not criticizing, you can do it the way you want but if you want a secure, reliable joint that should last the life time of the vehicle you should redo the joints.
#11
08-22-2009
I have a comment... IMHO you have soldered the two wires together by laying them side by side and adding solder, this is not a good way to make connections. Wire connections need a mechanical bond first before the solder is applied.
Make a small "U" at the end of each wire, slip the two "U's" together and pinch them with small pliers, not so hard to flatten them but just enough to let them hold together without the solder, then add the solder.
This way the mechanical bond is the strength in the joint not the solder.
Maybe a little too critical but if for some reason the solder should crack or leave the joint the mechanical bond will hold thing together.
Again not criticizing, you can do it the way you want but if you want a secure, reliable joint that should last the life time of the vehicle you should redo the joints.
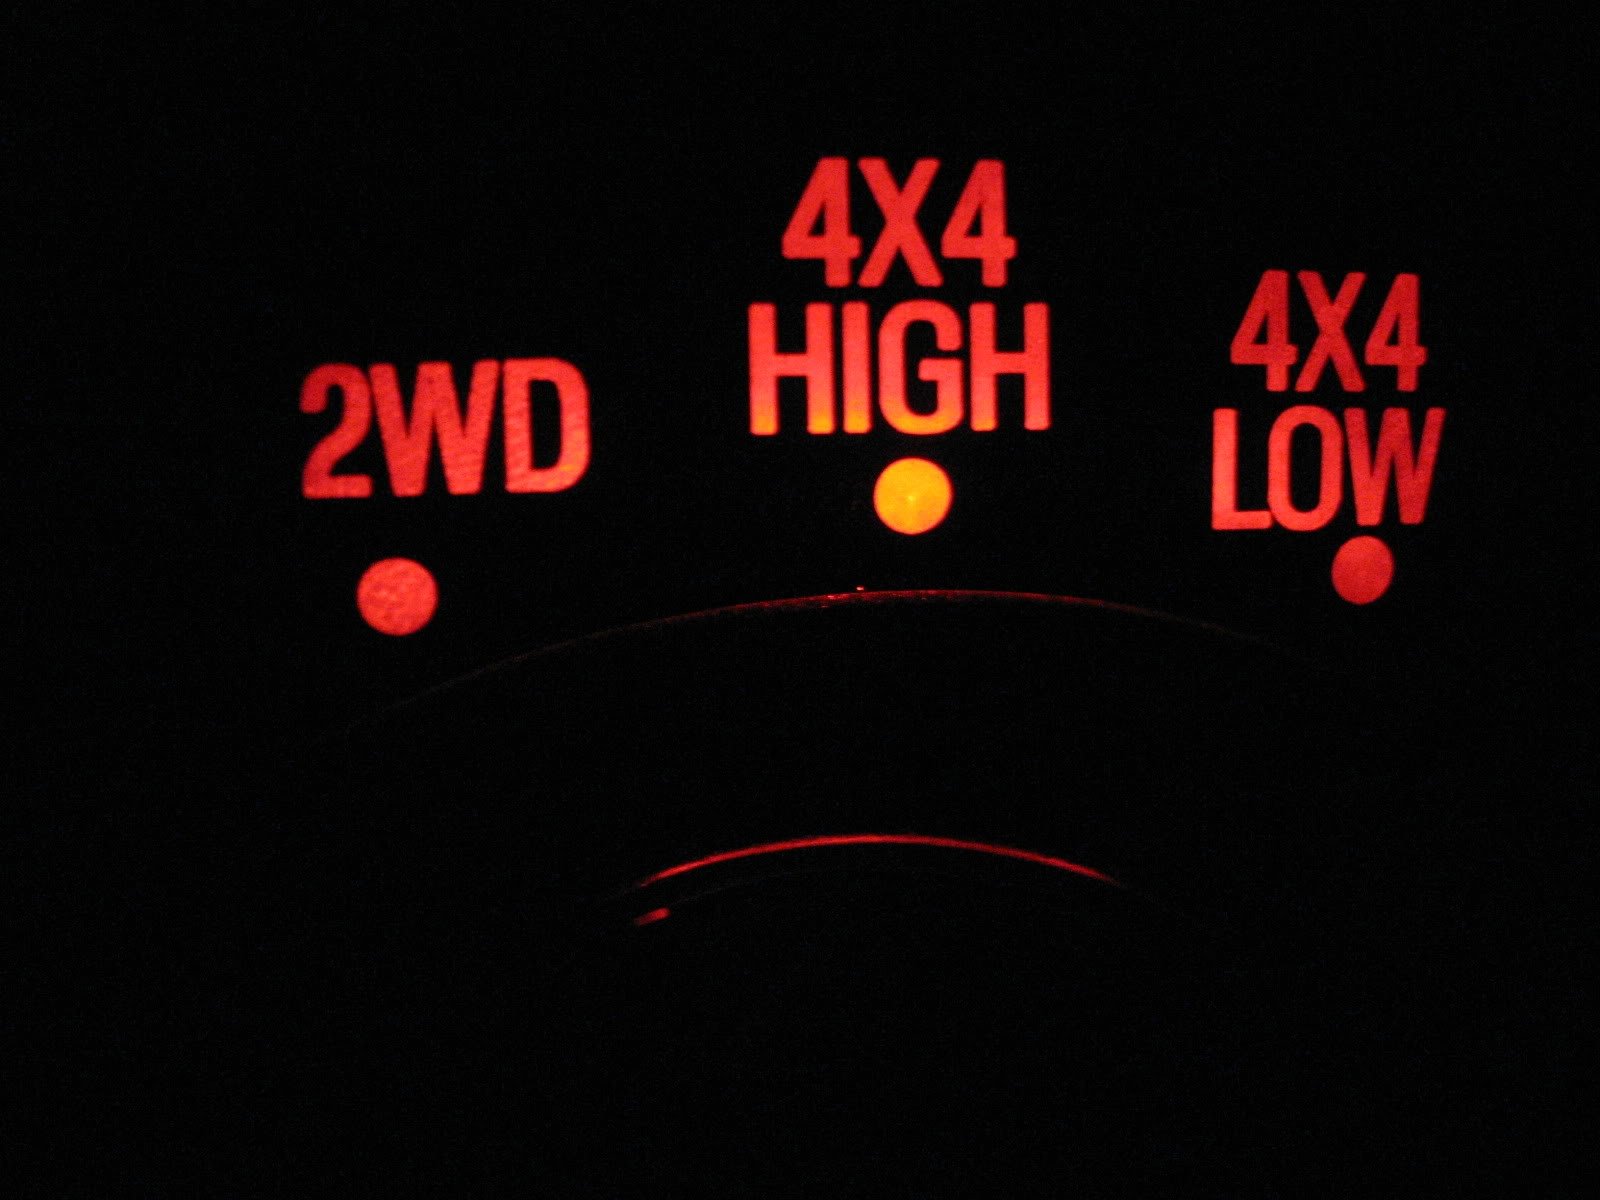
That, and I need to re-aim the led in the 4wd light - Its awful hard to find high MCD red colored LED's.. most are ~5000 and once you sand the end it drops the MCD rating by about half.. so its definitly red, and you can see it at night well - I woudl jsut like it to be a bit more!
The other option, is a 12,000 MCD white, and use some taillight repair tape on it to tint it red.. that may work as well
Plus, provide a natural diffusion to fully color everythign around it.
#12
08-22-2009
30-ga wire wow little stuff, why are you using wire that is so small, no room ?
Is the 30-ga wire the original wire for inside of the switch ?
What amperage does the original lamp pull vs the LED replacement lamp ?
When using small gauge wire like you are, make a "U" in the larger wire and then make a couple of wraps are the larger wire with the small stuff. Squeeze the larger wire a little but too much because the small gauge wire can break very easily.
The only option to correct the problem is as you suspect try to use a larger gauge wire ?
Luck to ya, get some more pics of the inner workings of the switches and how you worked in the wire. I for one would like to see it, the reason being I want red LED lighting too.
My bright red edge would look good with red LED interior lights.
#13
08-22-2009
30-ga wire wow little stuff, why are you using wire that is so small, no room ?
Is the 30-ga wire the original wire for inside of the switch ?
What amperage does the original lamp pull vs the LED replacement lamp ?
When using small gauge wire like you are, make a "U" in the larger wire and then make a couple of wraps are the larger wire with the small stuff. Squeeze the larger wire a little but too much because the small gauge wire can break very easily.
The only option to correct the problem is as you suspect try to use a larger gauge wire ?
Luck to ya, get some more pics of the inner workings of the switches and how you worked in the wire. I for one would like to see it, the reason being I want red LED lighting too.
My bright red edge would look good with red LED interior lights.
Is the 30-ga wire the original wire for inside of the switch ?
What amperage does the original lamp pull vs the LED replacement lamp ?
When using small gauge wire like you are, make a "U" in the larger wire and then make a couple of wraps are the larger wire with the small stuff. Squeeze the larger wire a little but too much because the small gauge wire can break very easily.
The only option to correct the problem is as you suspect try to use a larger gauge wire ?
Luck to ya, get some more pics of the inner workings of the switches and how you worked in the wire. I for one would like to see it, the reason being I want red LED lighting too.
My bright red edge would look good with red LED interior lights.
Have to use a small gauge, and you notice how the resistor is on the outside lip of the plug there? Its so you can slide the switch back into its mount - there is no clearance as its flush.. theres juuuust enough room for a 30g wire, and a resistor wire to slip through, anything bigger then that and there wont be any clearance...
Heck - even on the soldering of the negative end of the cable to the LED you have to make it a small weld - or else push it down into the cracks a bit to make sure there is room to push the switch all the way in.
#14
08-22-2009
#16
08-23-2009
#17
08-23-2009
Once I feel like taking it apart, I'll be doing some more mods - I have a spare gauge cluster in the garage I think I may peel apart and try out, got a coupel more days ahead of me of R&R, so it may be a good time - and I still have to get the headlight switch done too. Again.. its all if I feel liek taking apart the dash -laughs-
#18
08-23-2009
#19
08-23-2009
Join Date: Apr 2008
Location: McHenry,IL
Posts: 586
Likes: 0
Received 0 Likes
on
0 Posts
#20
08-23-2009
4x4 switches are lame. lol. Anybody want a blue LED 4x4 switch light? I got a spare... lol.
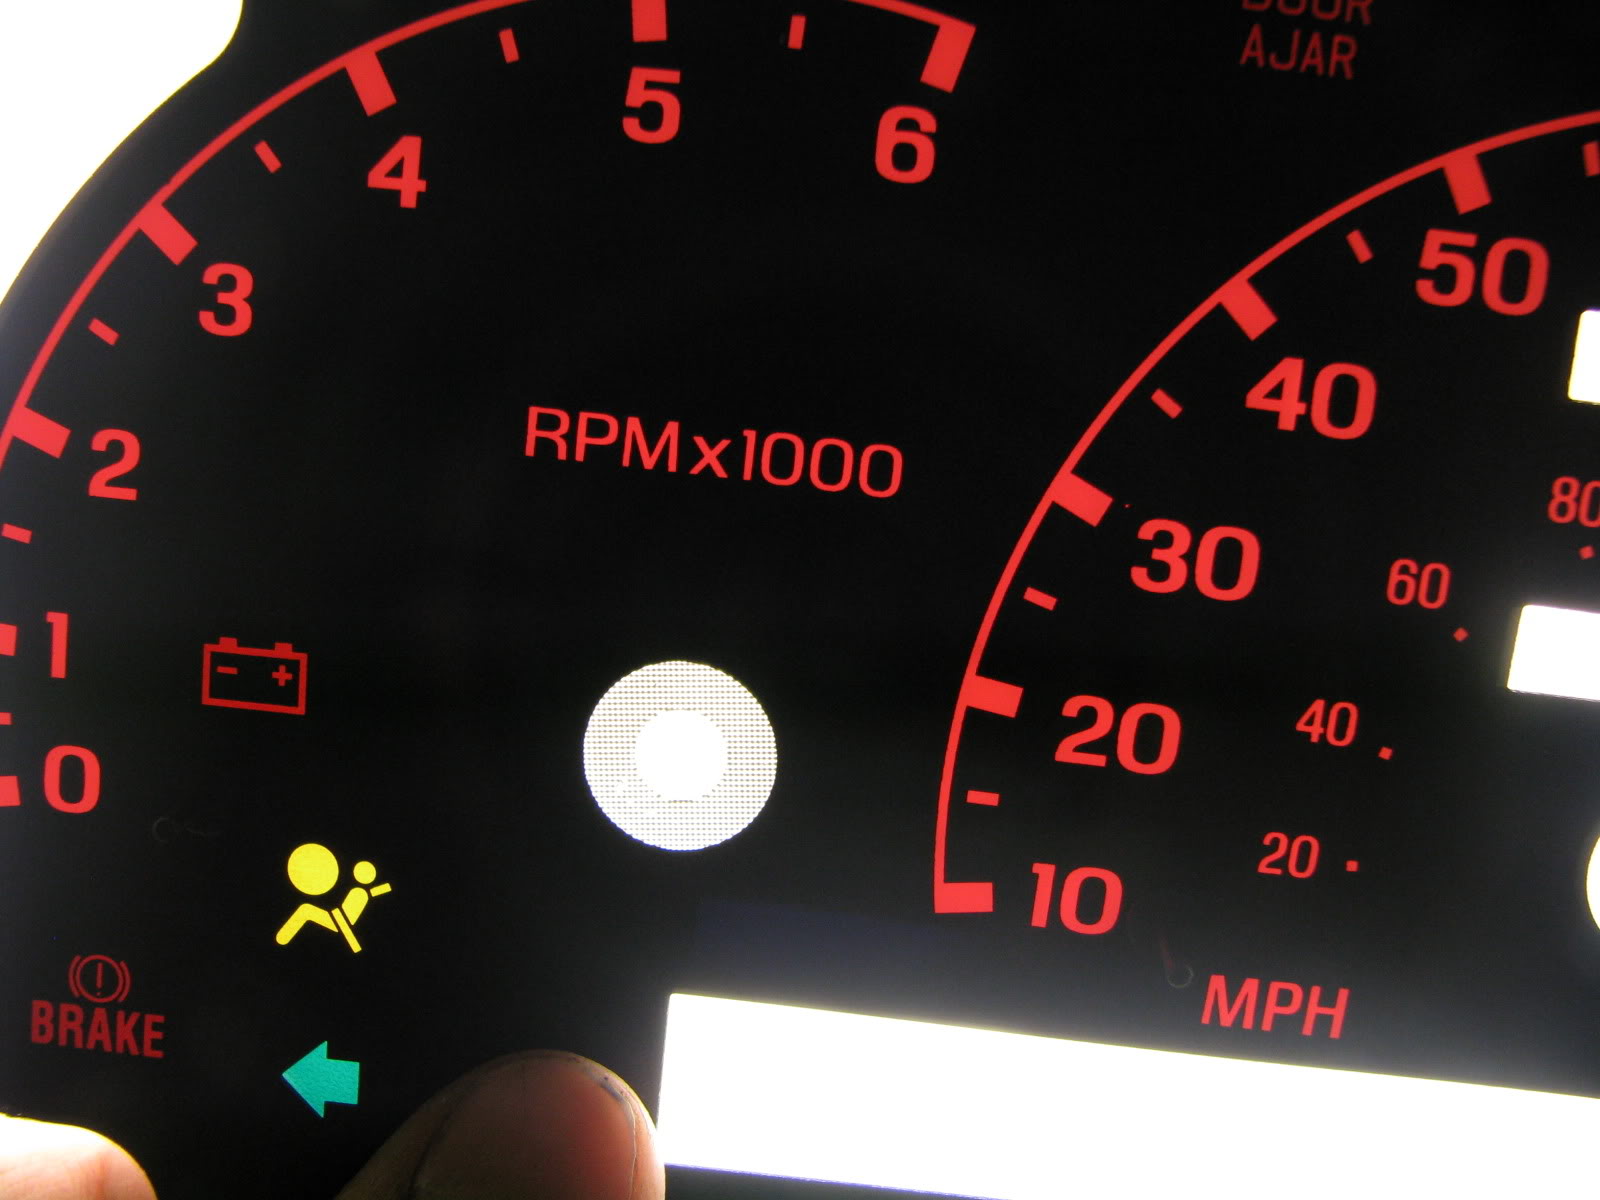
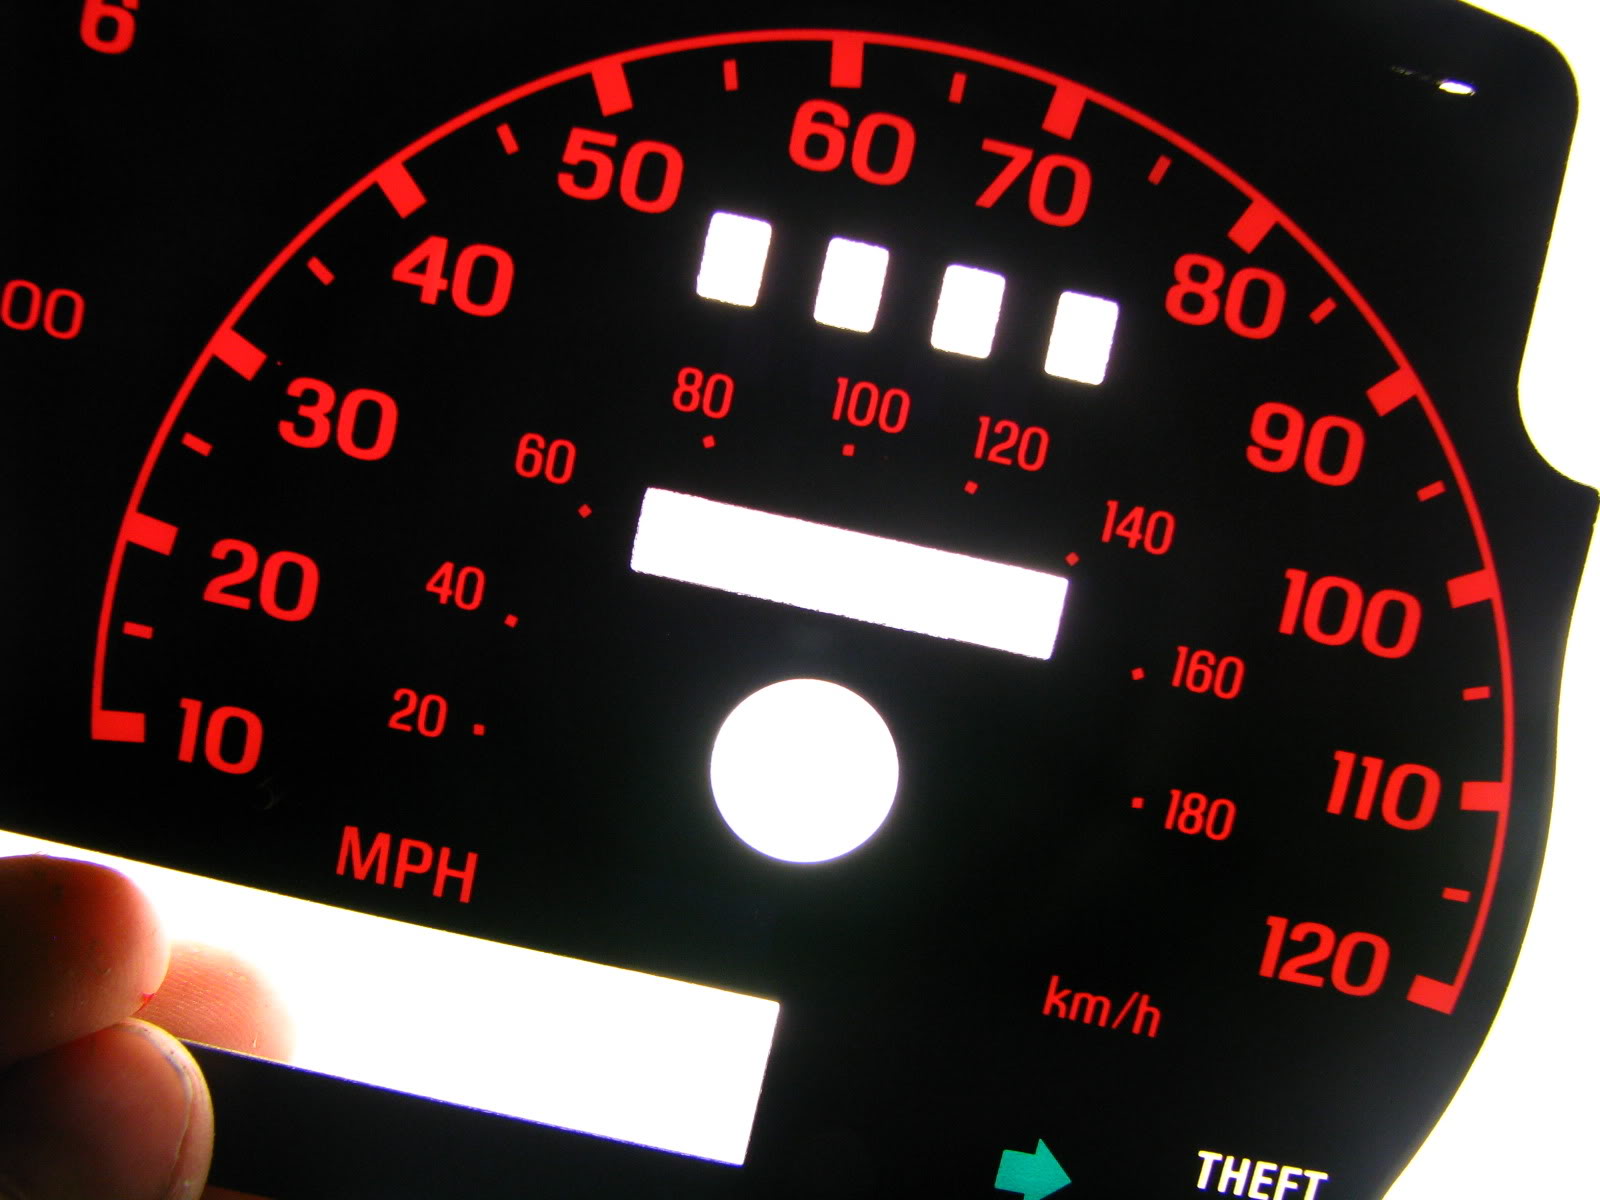
Hey Mike.....You should mod your spare black face....not the faces..just the plastic 'back' that houses all the bulbs. Go to down on it with some LED strips or something, then when you're ready to do it for real, get your cluster out and paint them white faces!
Hey Mike.....You should mod your spare black face....not the faces..just the plastic 'back' that houses all the bulbs. Go to down on it with some LED strips or something, then when you're ready to do it for real, get your cluster out and paint them white faces!
#21
08-23-2009
4x4 switches are lame. lol. Anybody want a blue LED 4x4 switch light? I got a spare... lol.
Hey Mike.....You should mod your spare black face....not the faces..just the plastic 'back' that houses all the bulbs. Go to down on it with some LED strips or something, then when you're ready to do it for real, get your cluster out and paint them white faces!
Hey Mike.....You should mod your spare black face....not the faces..just the plastic 'back' that houses all the bulbs. Go to down on it with some LED strips or something, then when you're ready to do it for real, get your cluster out and paint them white faces!
That way, I can do 75% of the mod, and not worry about switchign it till i am in the mood to pull the dash apart :-Dand crap - cant find that picture - you have a link to the picture of Trev's back of the cluster with the positive, negative areas marked? He took many an hour figuring it out.. and I totally want to take advantage of it, lol
#23
08-23-2009
I Actually have my spare cluster set aside - remember that black/white combo we set up on mine swapping pieces out? Well, lets just say - black middle, white outside That way, I can do 75% of the mod, and not worry about switchign it till i am in the mood to pull the dash apart :-D
and crap - cant find that picture - you have a link to the picture of Trev's back of the cluster with the positive, negative areas marked? He took many an hour figuring it out.. and I totally want to take advantage of it, lol
That way, I can do 75% of the mod, and not worry about switchign it till i am in the mood to pull the dash apart :-Dand crap - cant find that picture - you have a link to the picture of Trev's back of the cluster with the positive, negative areas marked? He took many an hour figuring it out.. and I totally want to take advantage of it, lol
(don't mind my dinner......bowl made an excellent prop. lol.)

#24
08-23-2009


#25
08-23-2009
I don't know where the pic is either.....but infact, the other night I swapped my white odometer for the black odometer in the gauges in my truck. And I happend to be smart and mark my spare expo cluster with the appropriate markings for positive!
(don't mind my dinner......bowl made an excellent prop. lol.)
(don't mind my dinner......bowl made an excellent prop. lol.)
Perfect! Just what I was lookin for man..! Mmk, gotta do some markings now.. good thing my entire desk is pretty much littered with electrical junk and gauge cluster stuff

Thread
Thread Starter
Forum
Replies
Last Post
TXRanger09
General Ford Ranger Discussion
25
10-31-2009 04:10 PM
pastfinder
General Ford Ranger Discussion
24
06-08-2006 06:15 PM


