How-To: Mirror Mounted Turn Signals
#1
 03-31-2010


How-To: Mirror Mounted Turn Signals
How-To author: 04blackedge & Fx4wannabe01
Original thread: https://www.ranger-forums.com/f59/ho...signals-66518/
Let the modding Begin!!
_________________________
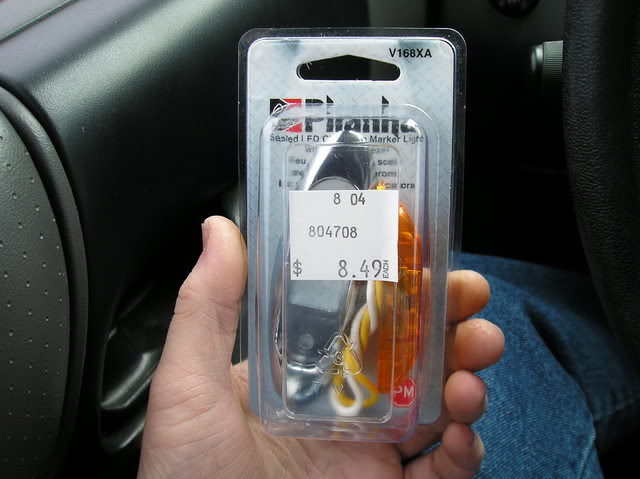
Tools needed:
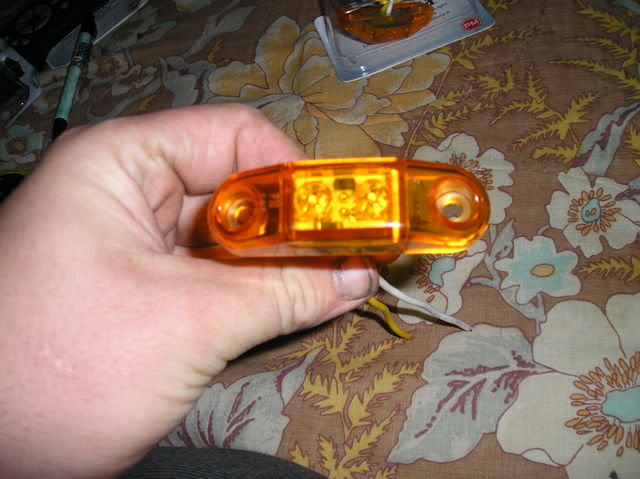
2 Peterson Manufacturing #V168XA
Drill
A good amount of wire
Electrical Tape
Wiring Connectors
Misc mounting screws
Socket wrench and various sockets
Sanding instrument
Wire strippers
Paint (if wanted)
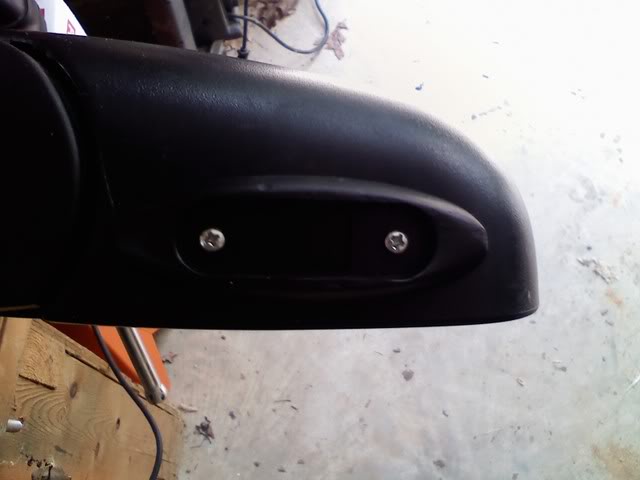
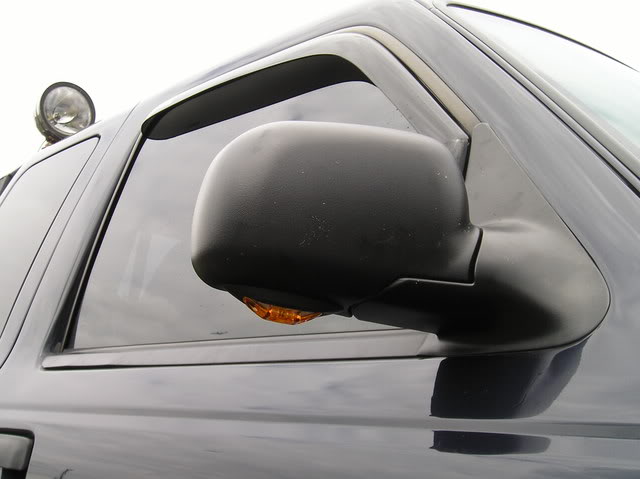
So here's what we start off with:
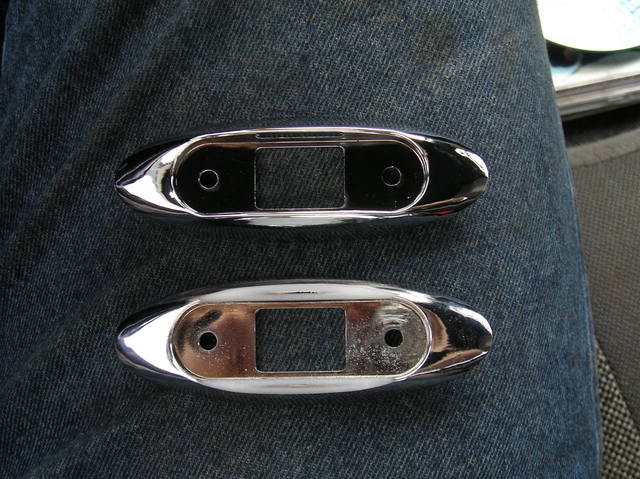
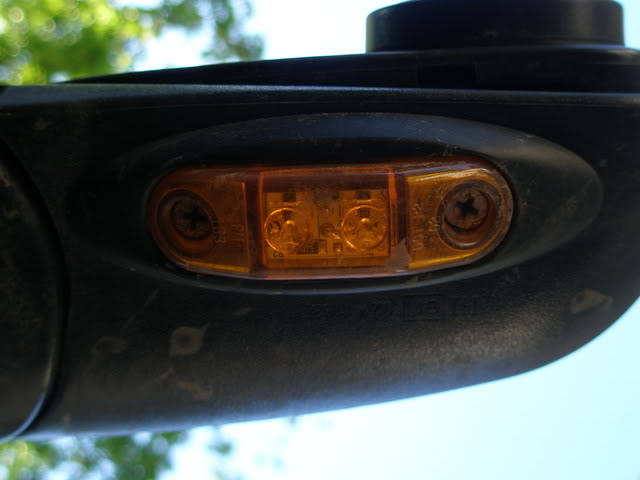
I sanded down the chrome base so more of the amber portion was more visible. You can do this with a bench grinder, dremel or just sandpaper but a bench grinder is the easiest to take the bulk of it off. Then finish it off with sandpaper.Here you can see how much was sanded down:
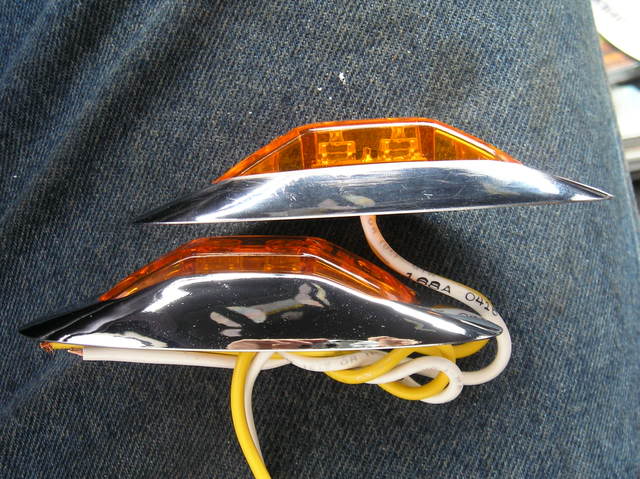
Then I painted the chrome base black with Duplicolor Vinyl and Fabric paint, which worked fine for me. You can use any kind of paint for this, Krylon Fusion is a good brand as well.
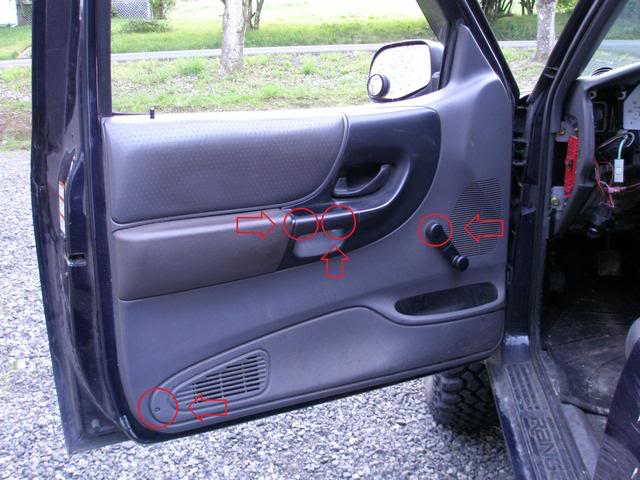
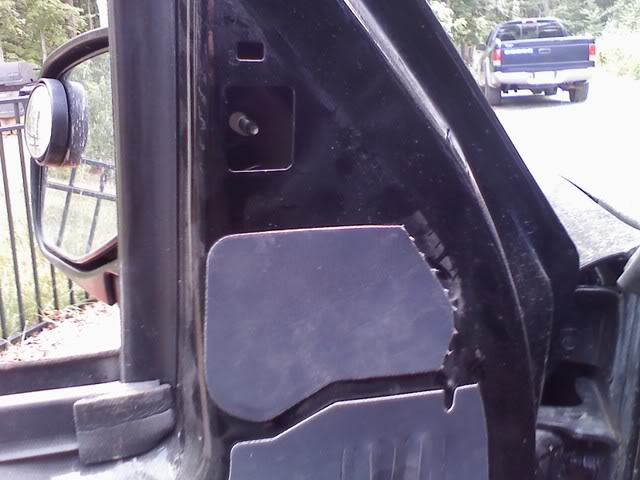
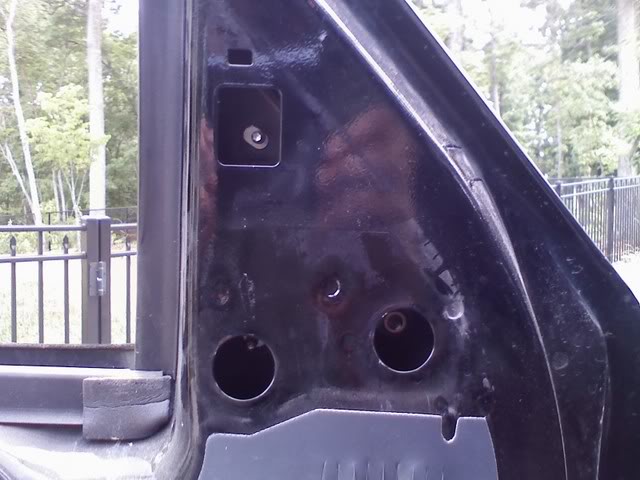
Once that was dryed I moved on to mounting the light on the mirror. To access the mirror you have to remove the door panels. For manual doors and windows its simple, 2-3 phillip head screws depending on what kind of door panels you have and a Torx 10 behind the cover on the window crank. Then just push up and the door panel will come off. Now remove the sound barrier covering the mirror bolts. There are 3 bolts holding the mirror onto the door, I used a socket wrench with a extension to remove them, I forgot what size socket.
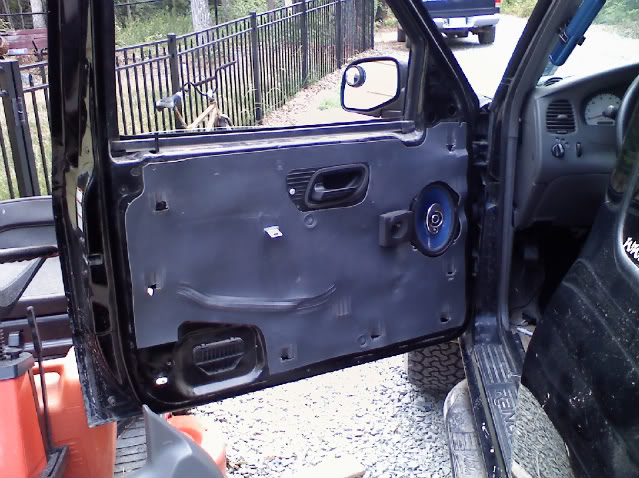
Door panel off:
I clamped my mirror in a vice to make it easier to work on. Now I just eyed it on mounting the light on the mirror, just make sure its flat all around. Then just mark your 2 holes and drill away. Screw the base in and then I cut a 1/2" hole in the middle of the base to run the wires through.
Then I drilled another hole in the end of the mirror so I could fish wires through to the light since I didn't have power mirrors. This was done with a 1/2" bit as well. Fish some wire through and make your connections.
Now your done with the mirror and you can bolt it back up.
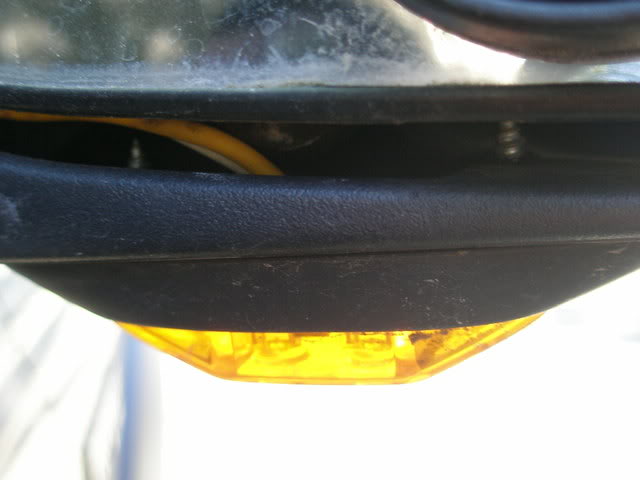
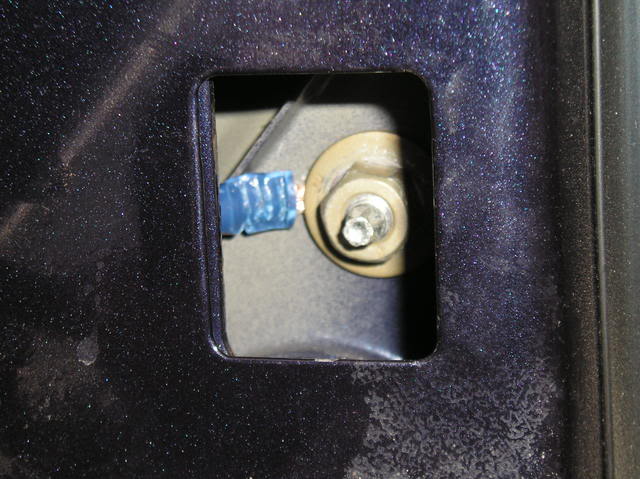
For my ground, which is the white wire on the light, the yellow is the power. I used a ring terminal and attached it a screw I put into the door.
Here you can see where Shane grounded his:
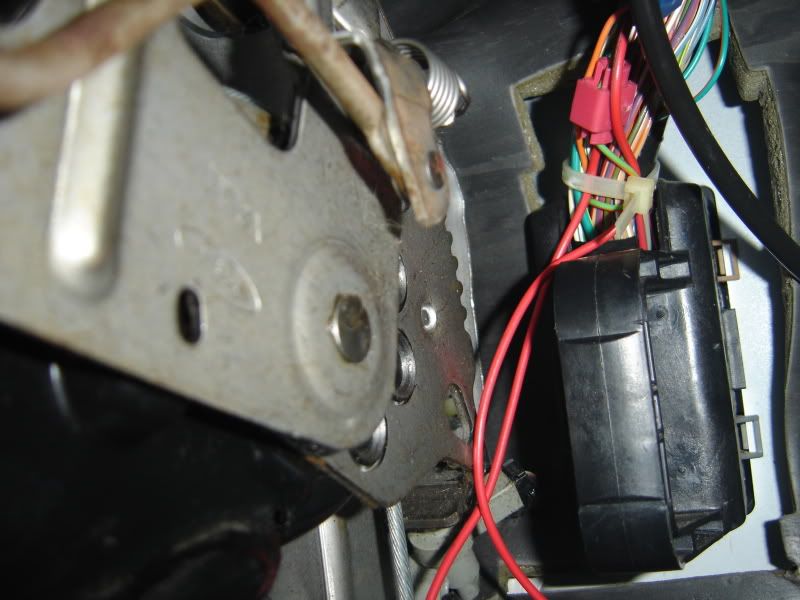
Then comes the most challenging part for me, running the wires through the door to the cab. For this part you must remove the speaker, just 4 bolts and your good to go. I pulled the door boot out so I could get the wires through easier. I used 2 thick zip-ties with the wire taped to them to get them in the cab. Its easier if you remove the kick panel cover to get the wires through.
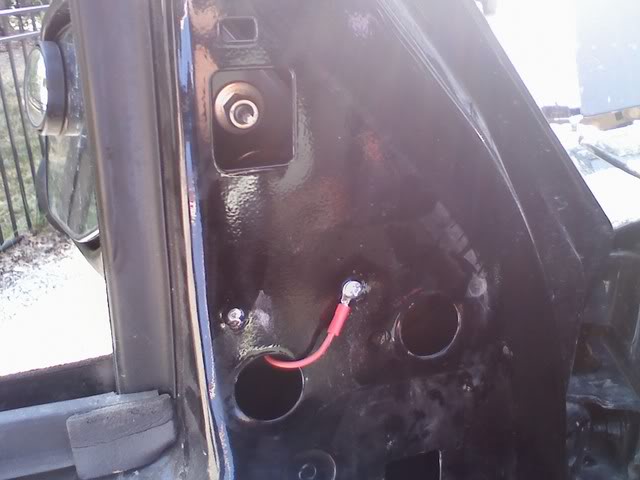
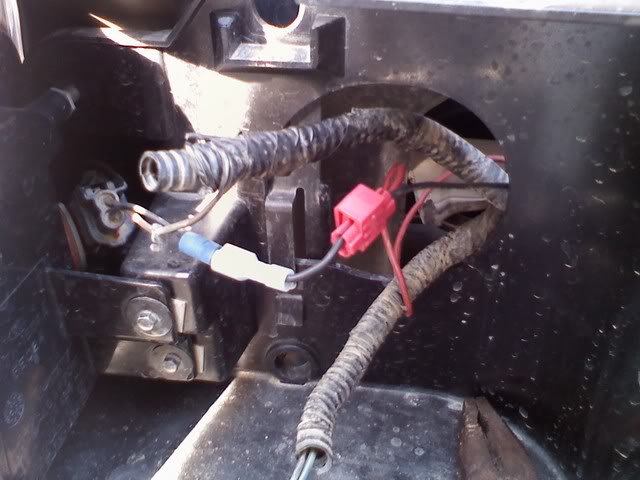
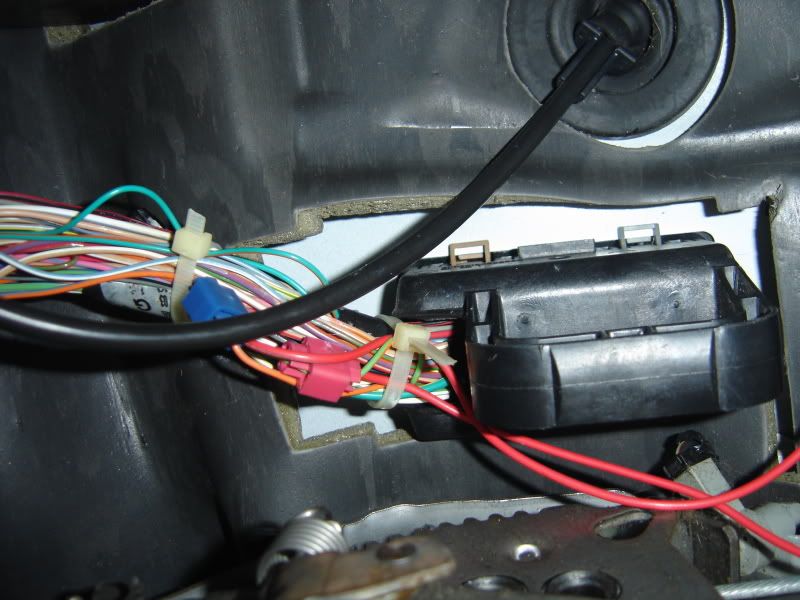
Now you have to run wires to the front of the truck so you can tap into the blinkers. If you have already done the blinker mod this is really easy, all you have to do is tap into your jumper wire. If not you should do it, its a pretty neat mod. Just run a wire from the blinker, taping into the constant hot. This gets connected the the yellow wire at the LED, which you should already have a wire coming from in the cab. I had already drilled a hole behind my fuse box for previous mods to run wires, but you can also run wires through the steering shaft grommet.
Here's a pic of how I connected mine. The other connectors are from the blinker mod.
Then just tidy up your wiring and attach the door panels back and your good to go! This is a great mod that actually makes your truck a little safer and just looks plain cool. Feel free to PM me or fx4wannabe01 with any questions.
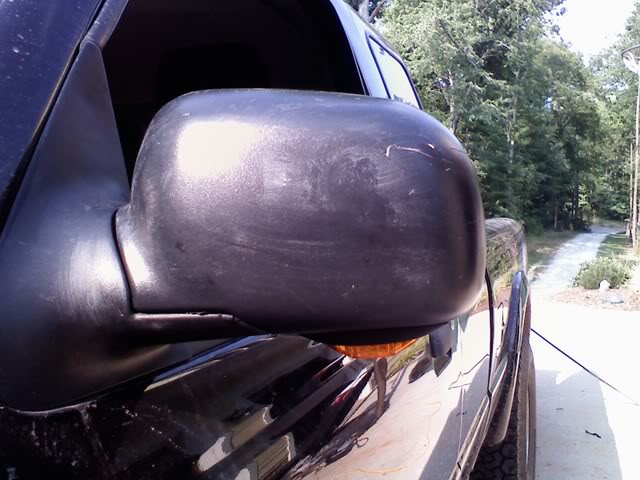
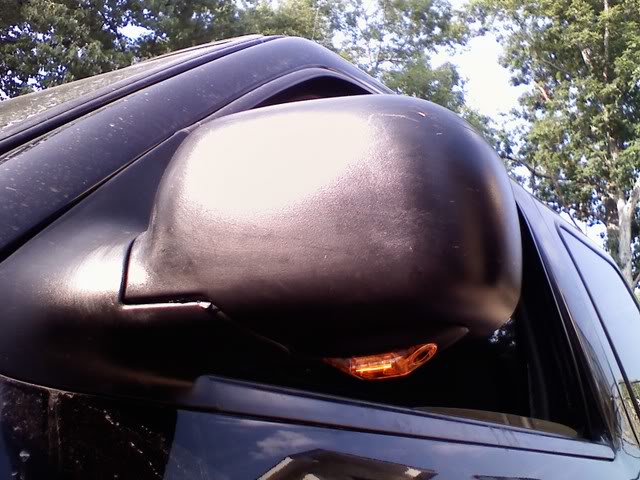
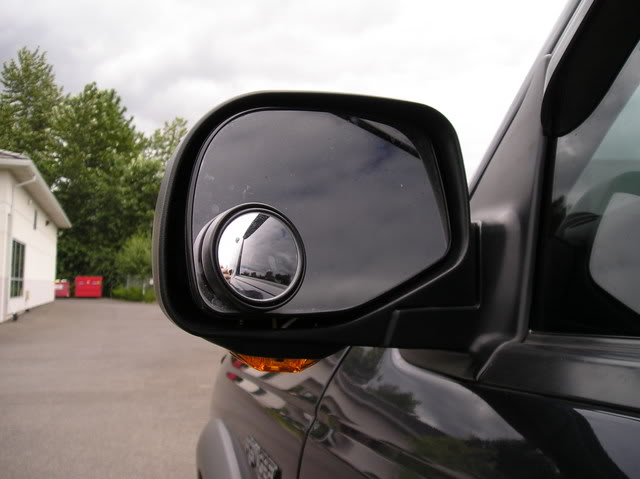
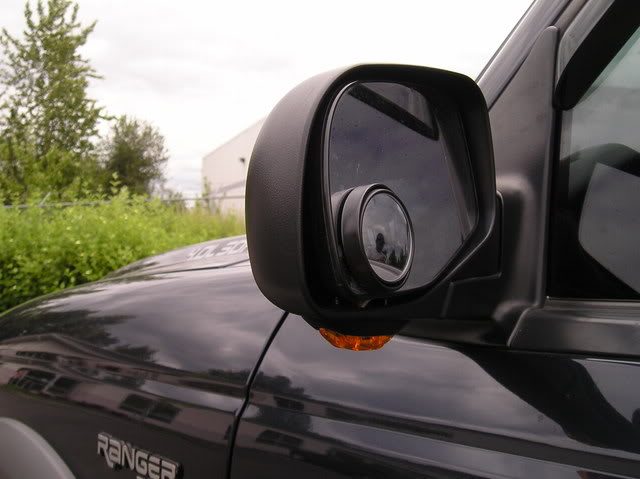
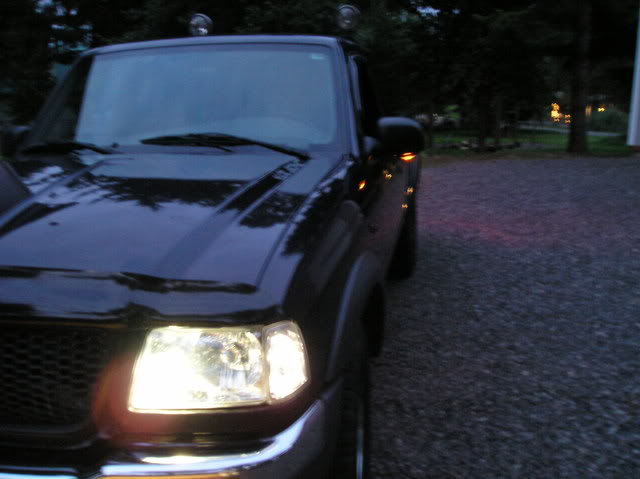
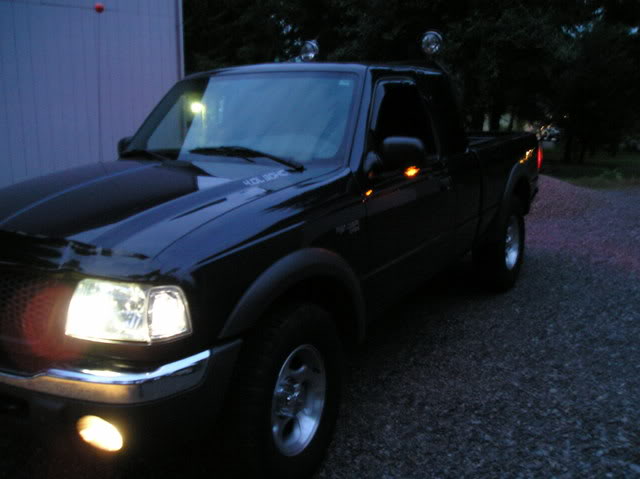
Here's some done pics and a vid
Revision to be added if you like
Original thread: https://www.ranger-forums.com/f59/ho...signals-66518/
Let the modding Begin!!
_________________________
Tools needed:
2 Peterson Manufacturing #V168XA
Drill
A good amount of wire
Electrical Tape
Wiring Connectors
Misc mounting screws
Socket wrench and various sockets
Sanding instrument
Wire strippers
Paint (if wanted)
So here's what we start off with:
I sanded down the chrome base so more of the amber portion was more visible. You can do this with a bench grinder, dremel or just sandpaper but a bench grinder is the easiest to take the bulk of it off. Then finish it off with sandpaper.Here you can see how much was sanded down:
Then I painted the chrome base black with Duplicolor Vinyl and Fabric paint, which worked fine for me. You can use any kind of paint for this, Krylon Fusion is a good brand as well.
Once that was dryed I moved on to mounting the light on the mirror. To access the mirror you have to remove the door panels. For manual doors and windows its simple, 2-3 phillip head screws depending on what kind of door panels you have and a Torx 10 behind the cover on the window crank. Then just push up and the door panel will come off. Now remove the sound barrier covering the mirror bolts. There are 3 bolts holding the mirror onto the door, I used a socket wrench with a extension to remove them, I forgot what size socket.
Door panel off:
I clamped my mirror in a vice to make it easier to work on. Now I just eyed it on mounting the light on the mirror, just make sure its flat all around. Then just mark your 2 holes and drill away. Screw the base in and then I cut a 1/2" hole in the middle of the base to run the wires through.
Then I drilled another hole in the end of the mirror so I could fish wires through to the light since I didn't have power mirrors. This was done with a 1/2" bit as well. Fish some wire through and make your connections.
Now your done with the mirror and you can bolt it back up.
For my ground, which is the white wire on the light, the yellow is the power. I used a ring terminal and attached it a screw I put into the door.
Here you can see where Shane grounded his:
Then comes the most challenging part for me, running the wires through the door to the cab. For this part you must remove the speaker, just 4 bolts and your good to go. I pulled the door boot out so I could get the wires through easier. I used 2 thick zip-ties with the wire taped to them to get them in the cab. Its easier if you remove the kick panel cover to get the wires through.
Now you have to run wires to the front of the truck so you can tap into the blinkers. If you have already done the blinker mod this is really easy, all you have to do is tap into your jumper wire. If not you should do it, its a pretty neat mod. Just run a wire from the blinker, taping into the constant hot. This gets connected the the yellow wire at the LED, which you should already have a wire coming from in the cab. I had already drilled a hole behind my fuse box for previous mods to run wires, but you can also run wires through the steering shaft grommet.
Here's a pic of how I connected mine. The other connectors are from the blinker mod.
Then just tidy up your wiring and attach the door panels back and your good to go! This is a great mod that actually makes your truck a little safer and just looks plain cool. Feel free to PM me or fx4wannabe01 with any questions.
Here's some done pics and a vid
Revision to be added if you like
Last edited by 98liftedranger; 11-27-2011 at 11:45 PM.

Thread
Thread Starter
Forum
Replies
Last Post
The Fuzzy Ranger
General Ford Ranger Discussion
3
03-29-2009 11:48 AM
Blackonblackfx4
General Technical & Electrical
19
02-26-2009 11:29 PM
Fx4wannabe01
New Ideas
8
02-23-2006 11:26 PM


