How-To: Install A Kenwood Double Din And Audiovox Rear Camera
#1
 07-06-2010


How-To: Install A Kenwood Double Din And Audiovox Rear Camera
I know a lot of people are scared of doing anything car audio related on their own, and they pay for shops to do it for them instead when they can easily do it themselves. Here is how to install a Kenwood double din navigation headunit and Audiovox reverse camera.
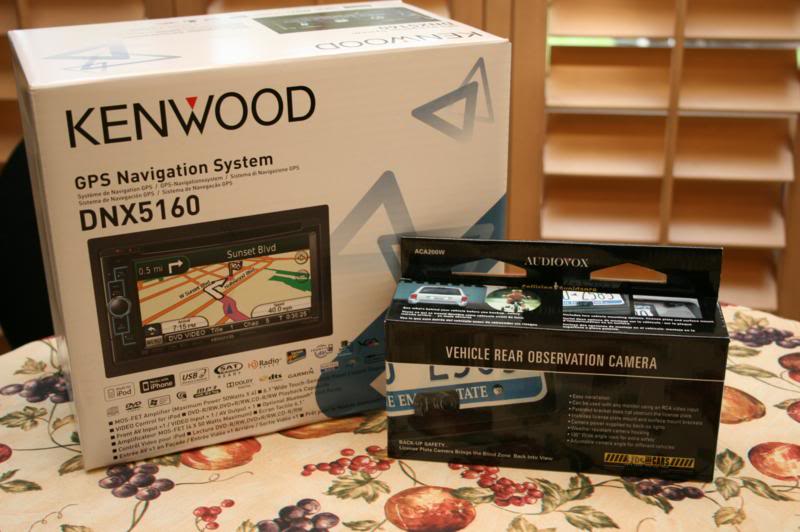
First thing you need is your products. For this I am using the Kenwood DNX5160 along with the Audiovox ACA200W. Both are great units and a review will follow this article.
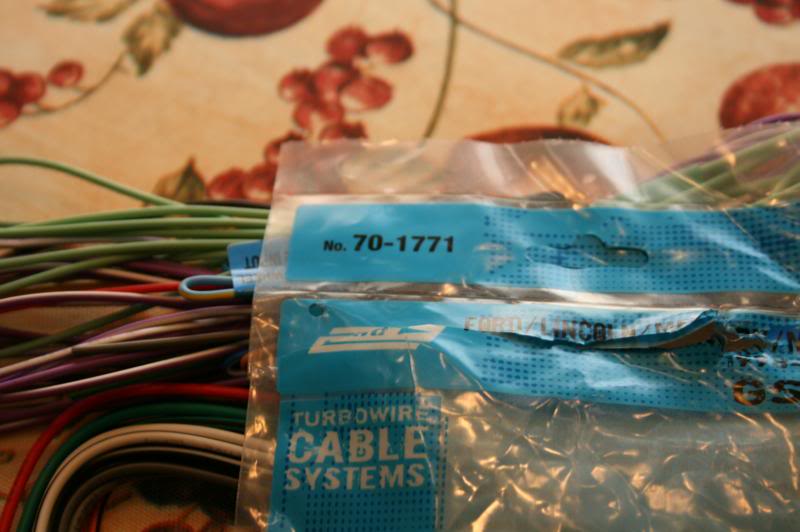
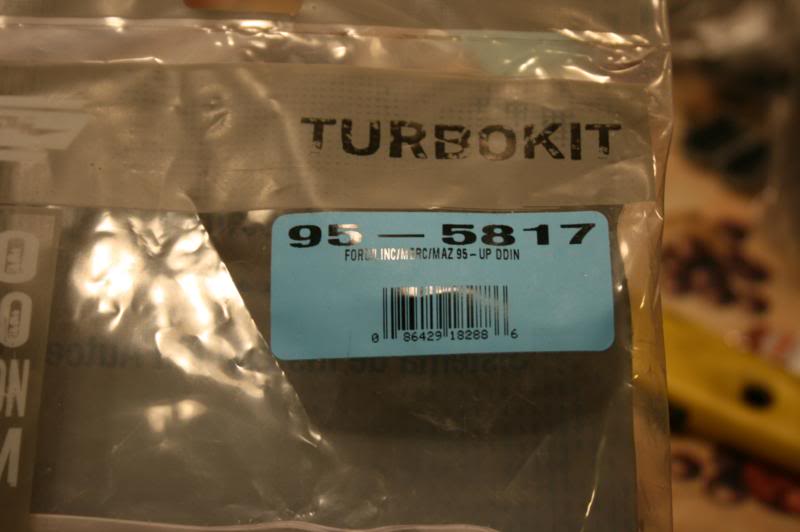
Next we need a wiring harness adapter. I chose to use one from Metra as I like their products. The part number is in the picture.
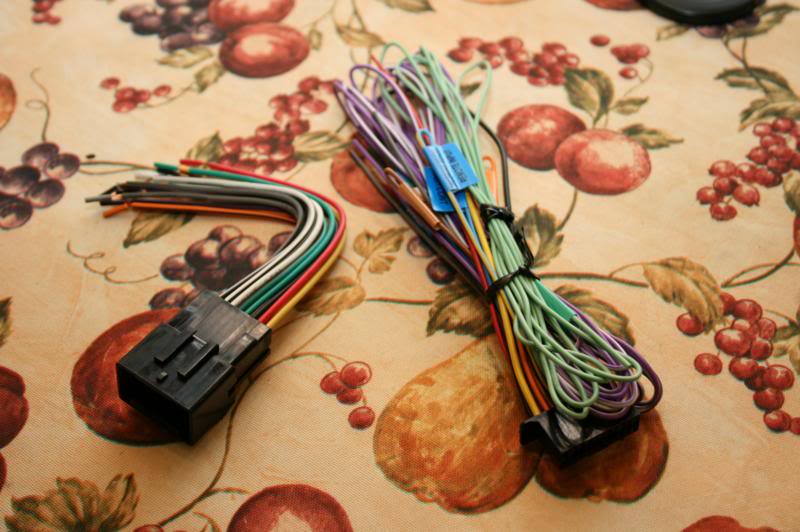
The Metra adapter is on the left and the one from the Kenwood is on the right. We will need to join the two together.

For the most part it is simple color matching, but you will need to refer to the diagram on the back of the package of the Metra harness as well as the diagram for one that comes with the Kenwood unit.

I connected everything with butt connectors, you can also solder everything as well.
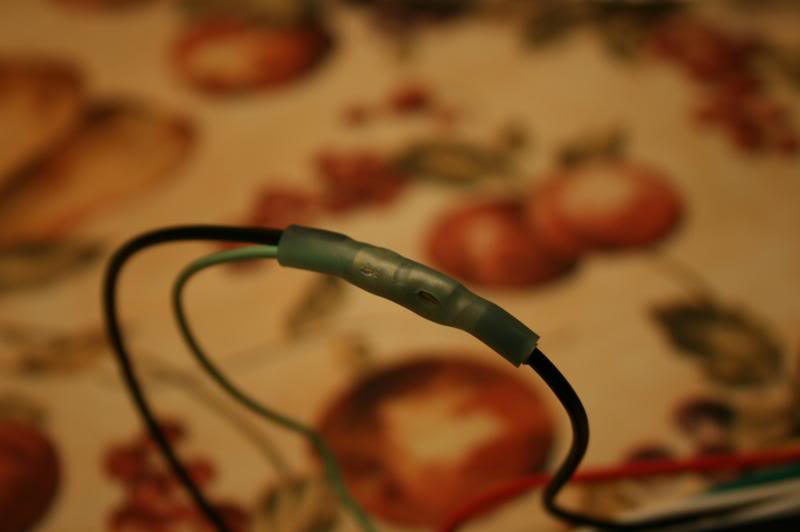
Here is a step that is not mentioned in the instructions. The green wire is supposed to be hooked up to the parking brake. This is to prevent you from watching video while you are driving, but it can easily be bypassed. You want to connect the green parking brake wire to the wires for the units ground. Now you can watch videos while you drive. There is another very long wire that is part of the Kenwoods harness which it says to connect to the reverse wire, we will deal with this later.
The next thing you need is the install kit from Metra. Here is the part number.

In order to install the kit you need to remove your radio. If you have a factory radio use the tools above and it slides out with ease.
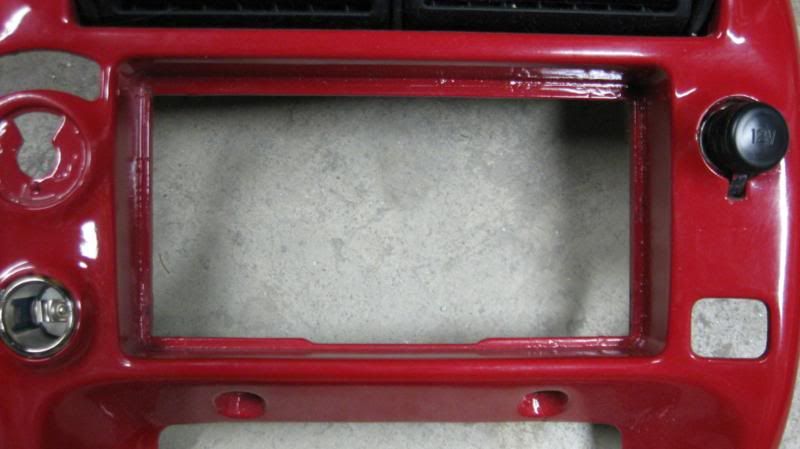
Before you can install the kit you will also need to cut off the lips on the top and bottom on the opening. I previously had a aftermarket radio in the truck so mine were dremeled off already which is why the picture is not of my bezel.
Now hold the pieces of the install kit tight against the sides of the unit and slide it in place.
Once it is in place you need to insert four screws to hold the unit in place. Also make sure the install kit pieces click into place on the sides of the radio bezel.
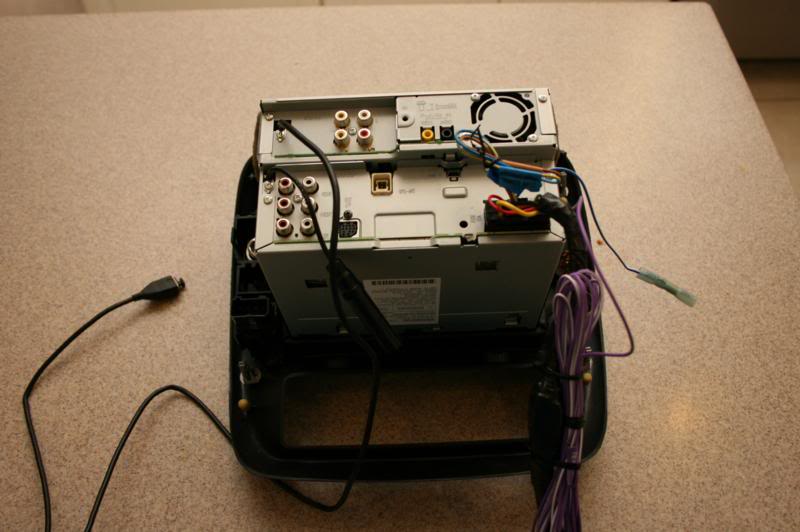
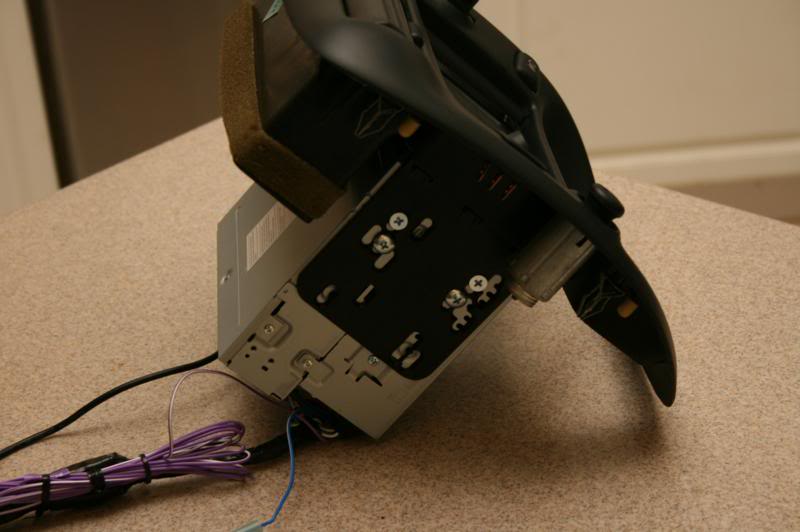
Here is a picture of the back of the unit for reference. Notice the USB cable, this is for music source inputs. Run it wherever you feel is most easy to access. I recommend the glovebox.
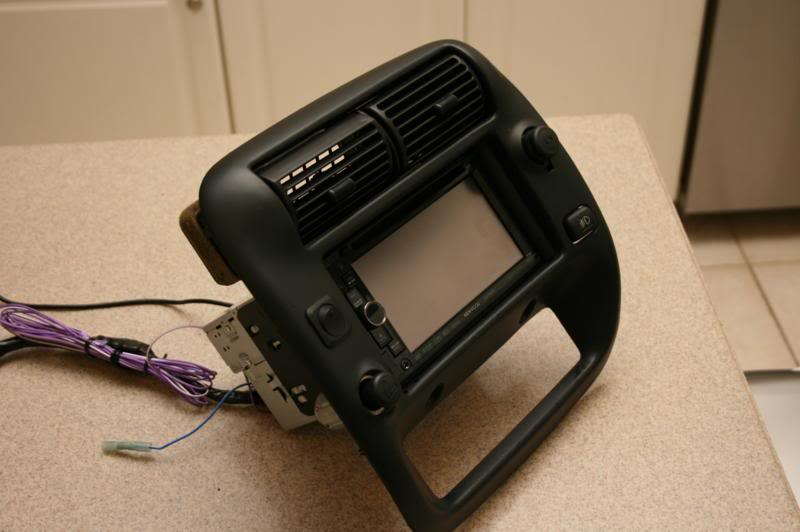
Now your unit is installed and ready to be put into the truck and have the wires connected. Connect all the wires back and install it.
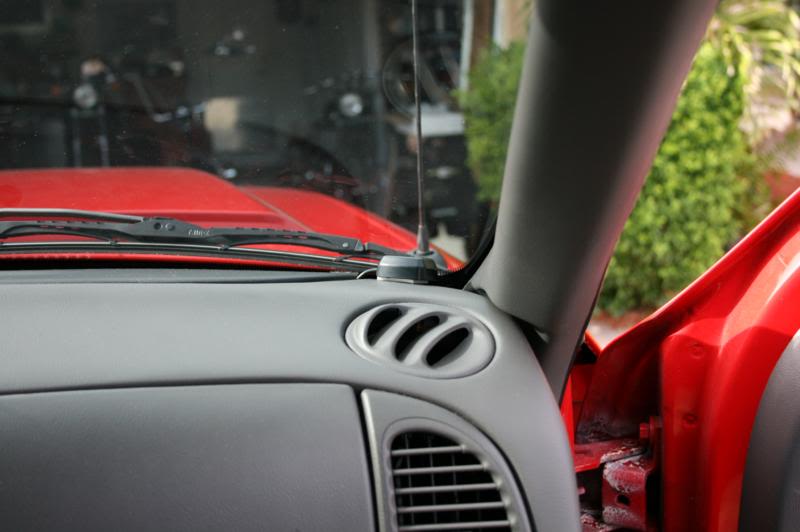
I chose to place my GPS antenna for the navigation in the passenger side dash corner. The black defrost vent trim simply snaps up and you can run your wires through it and behind the dash to the head unit.
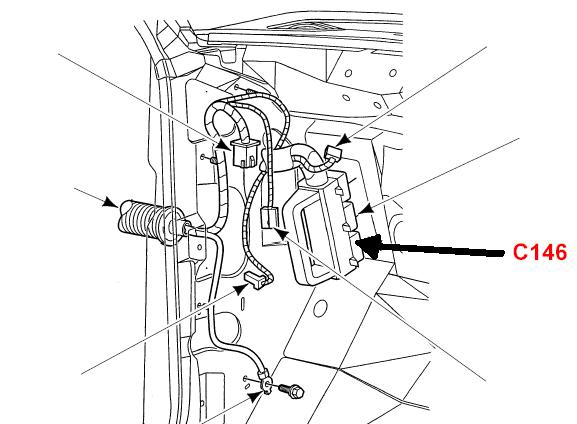
If you are installing a reverse camera as I am you will need to do a little bit more. If not, disregard everything from this post down. Remember the long purple wire I said we would deal with later? Now it is time to deal with it. You need to attach it to the reverse wire. This wire is located in the main harness above and to the left of the brake pedal. It is a black wire with a purpleish pinkish stripe. NOTE: There are two wires that are this color, only one is correct. One of the runs up behind the headunit and into the harness there, it is NOT the correct one. The one you want to use is thicker and does not run to the center of the trucks dash. If your truck is a 2004 or newer this wire doesn't enter the cab at all, you will need to run your wire under the truck and connect it to the wire on the transmission itself.
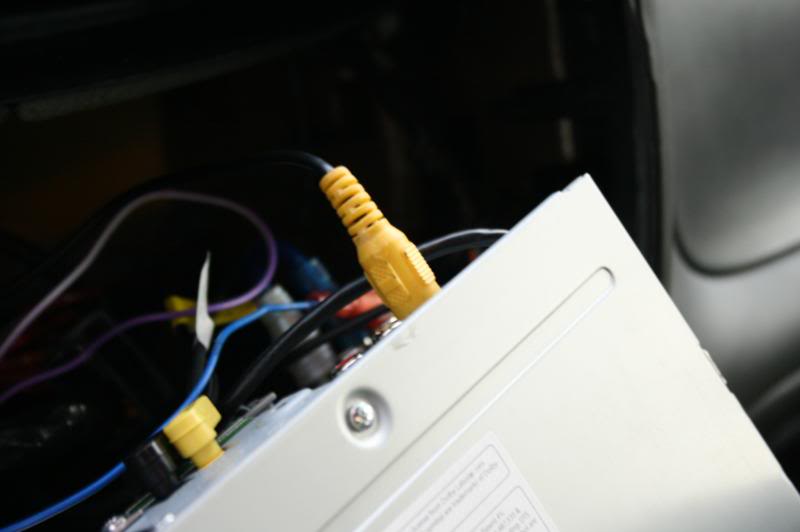
You also need to connect a yellow video RCA wire to the back of the unit in the reverse camera input. This will need to be run out of the truck, along the frame, and to the rear of the truck.
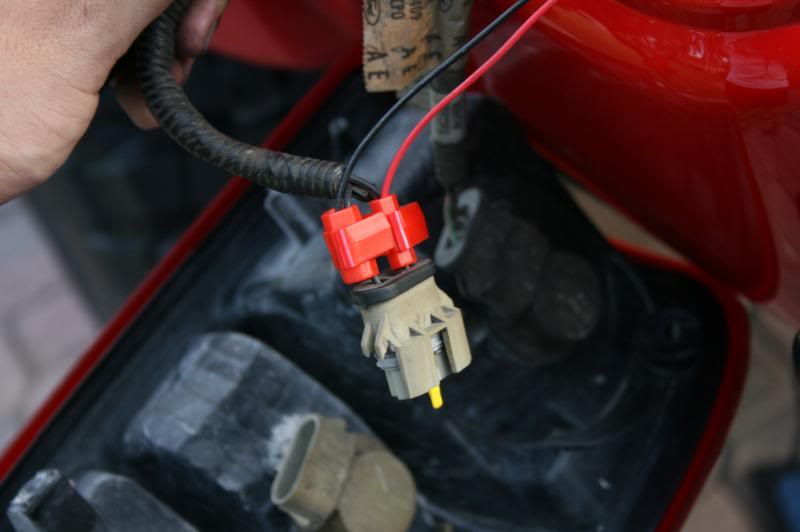
Here is how you will get power to the camera. Use the power and ground wires to the factory reverse lights and you will automatically get power whenever it is in reverse.
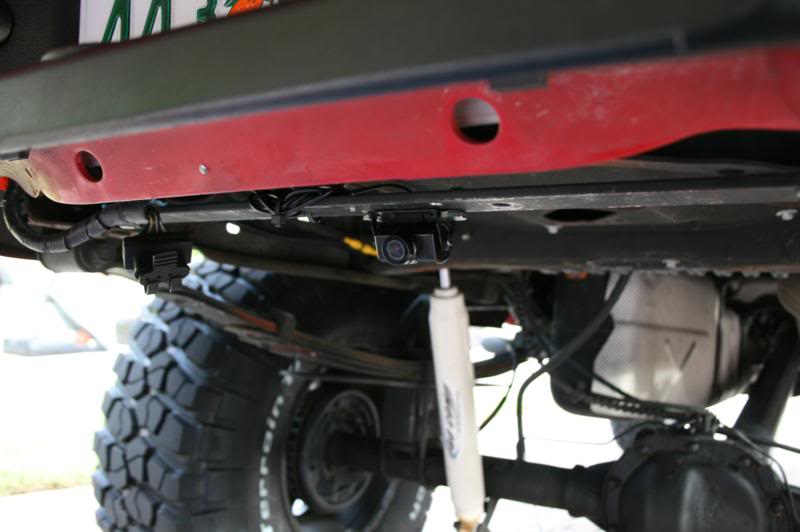
Now mount the camera. I had this bracket still on my truck from something else so I decided to use it to bolt my camera to.
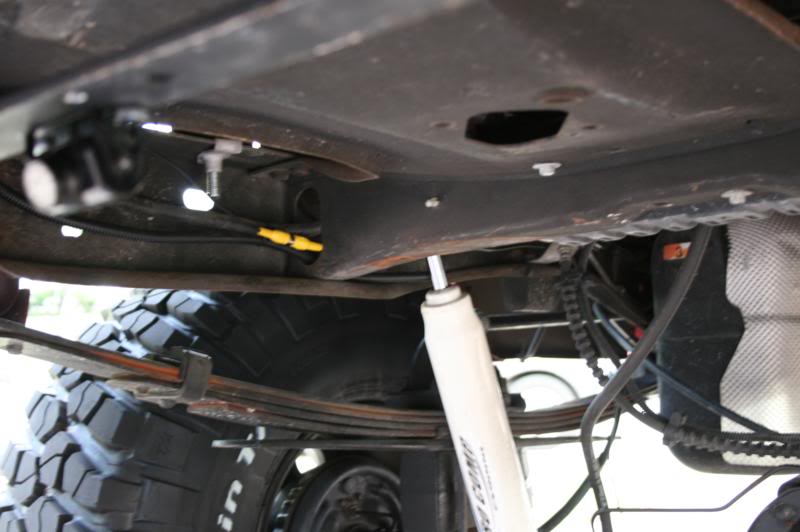
Notice the video RCA being run along the frame to the front of the truck.
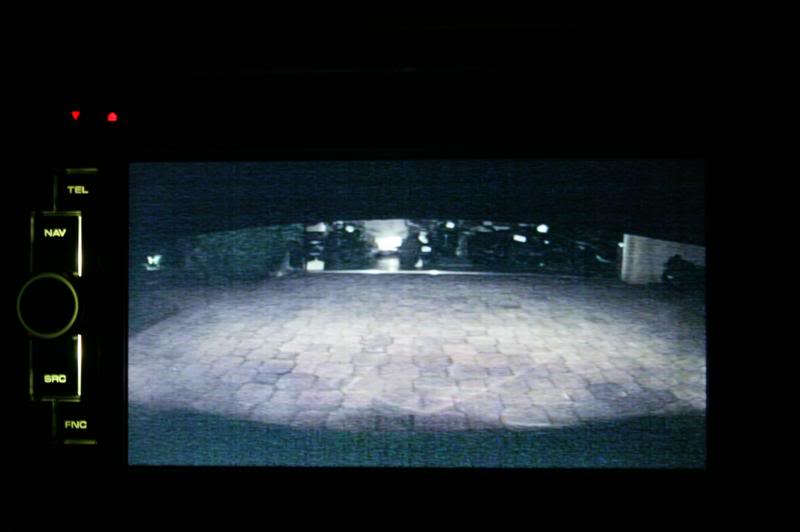
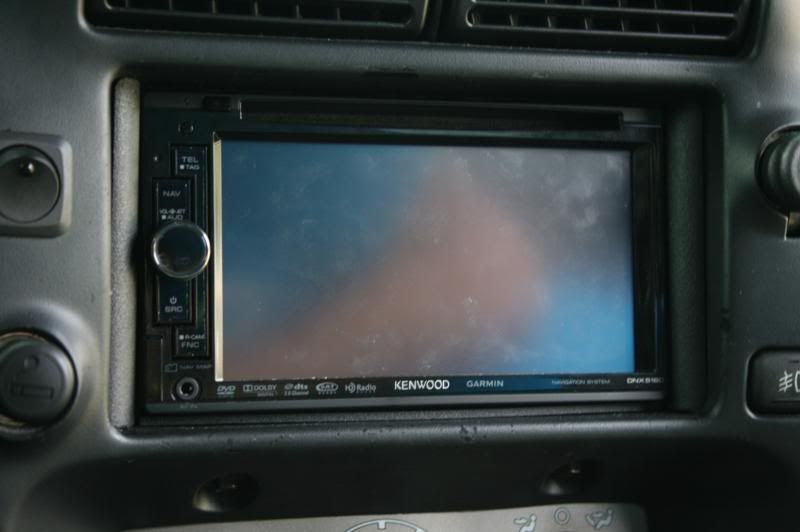
Now you're done! Here is a picture of the unit operating while in reverse at night.
Links to the products used:
Kenwood - DNX5160
Welcome to Audiovox
Metra Electronics
First thing you need is your products. For this I am using the Kenwood DNX5160 along with the Audiovox ACA200W. Both are great units and a review will follow this article.
Next we need a wiring harness adapter. I chose to use one from Metra as I like their products. The part number is in the picture.
The Metra adapter is on the left and the one from the Kenwood is on the right. We will need to join the two together.
For the most part it is simple color matching, but you will need to refer to the diagram on the back of the package of the Metra harness as well as the diagram for one that comes with the Kenwood unit.
I connected everything with butt connectors, you can also solder everything as well.
Here is a step that is not mentioned in the instructions. The green wire is supposed to be hooked up to the parking brake. This is to prevent you from watching video while you are driving, but it can easily be bypassed. You want to connect the green parking brake wire to the wires for the units ground. Now you can watch videos while you drive. There is another very long wire that is part of the Kenwoods harness which it says to connect to the reverse wire, we will deal with this later.
The next thing you need is the install kit from Metra. Here is the part number.
In order to install the kit you need to remove your radio. If you have a factory radio use the tools above and it slides out with ease.
Before you can install the kit you will also need to cut off the lips on the top and bottom on the opening. I previously had a aftermarket radio in the truck so mine were dremeled off already which is why the picture is not of my bezel.
Now hold the pieces of the install kit tight against the sides of the unit and slide it in place.
Once it is in place you need to insert four screws to hold the unit in place. Also make sure the install kit pieces click into place on the sides of the radio bezel.
Here is a picture of the back of the unit for reference. Notice the USB cable, this is for music source inputs. Run it wherever you feel is most easy to access. I recommend the glovebox.
Now your unit is installed and ready to be put into the truck and have the wires connected. Connect all the wires back and install it.
I chose to place my GPS antenna for the navigation in the passenger side dash corner. The black defrost vent trim simply snaps up and you can run your wires through it and behind the dash to the head unit.
If you are installing a reverse camera as I am you will need to do a little bit more. If not, disregard everything from this post down. Remember the long purple wire I said we would deal with later? Now it is time to deal with it. You need to attach it to the reverse wire. This wire is located in the main harness above and to the left of the brake pedal. It is a black wire with a purpleish pinkish stripe. NOTE: There are two wires that are this color, only one is correct. One of the runs up behind the headunit and into the harness there, it is NOT the correct one. The one you want to use is thicker and does not run to the center of the trucks dash. If your truck is a 2004 or newer this wire doesn't enter the cab at all, you will need to run your wire under the truck and connect it to the wire on the transmission itself.
You also need to connect a yellow video RCA wire to the back of the unit in the reverse camera input. This will need to be run out of the truck, along the frame, and to the rear of the truck.
Here is how you will get power to the camera. Use the power and ground wires to the factory reverse lights and you will automatically get power whenever it is in reverse.
Now mount the camera. I had this bracket still on my truck from something else so I decided to use it to bolt my camera to.
Notice the video RCA being run along the frame to the front of the truck.
Now you're done! Here is a picture of the unit operating while in reverse at night.
Links to the products used:
Kenwood - DNX5160
Welcome to Audiovox
Metra Electronics
The following users liked this post:
Stratz (08-24-2023)
#2
06-20-2012

Join Date: May 2012
Location: peyton, colorado
Posts: 1
Likes: 0
Received 0 Likes
on
0 Posts
#3
10-12-2012


#6
09-27-2018
Member

Thread
Thread Starter
Forum
Replies
Last Post
Redneckstone
Interior, Exterior, & Electrical
0
03-31-2010 10:51 PM
Redneckstone
Interior, Exterior, & Electrical
0
03-31-2010 10:17 PM
korey89
Interior, Exterior, & Electrical
1
12-22-2008 11:51 AM


