Wheelskin cover + Lincoln Continental seats = $60 :)
#1
 11-24-2009


Join Date: Nov 2008
Location: Auburn, IN
Posts: 62
Likes: 0
Received 0 Likes
on
0 Posts
Wheelskin cover + Lincoln Continental seats = $60 :)
Did some interior upgrades recently:
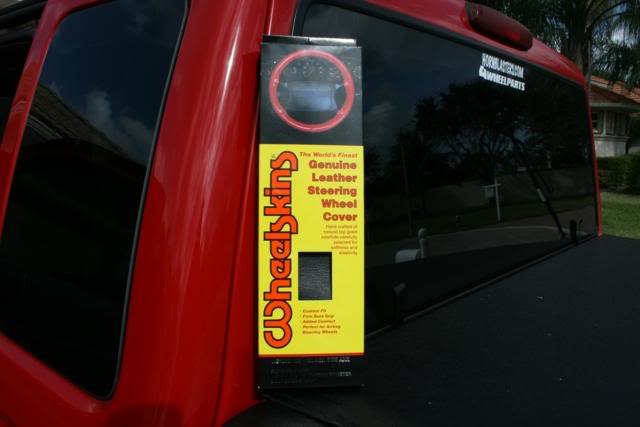
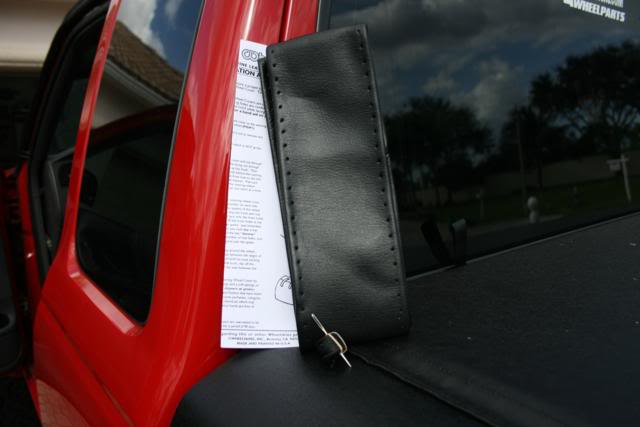
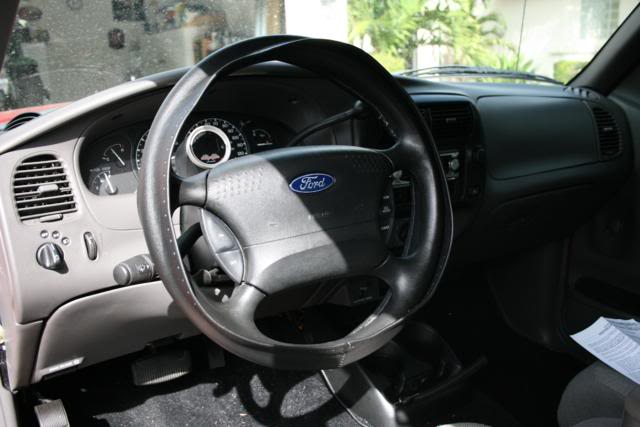
Black perforated Wheelskin:


I put one of these on my car and absolutely loved it, so I decided to get one for the truck as well. Believe it or not this was $40 of my $60 interior upgrade cost.
Dark gray leather bucket seats from a Lincoln Continental:

They are in like new condition, and believe it or not only cost me $20 off Cragslist. I had to do some modification to get it to work, basically taking the Linc's leather covers and padding and fitting it to the mechanics of the Ranger seats. I've got cover pieces to do a little modding to and then they will look cleaner at the bottom. They are still manual in operation, but it was easier this way, and I keep the seat belt pre-tensioners functioning.
Impressions:
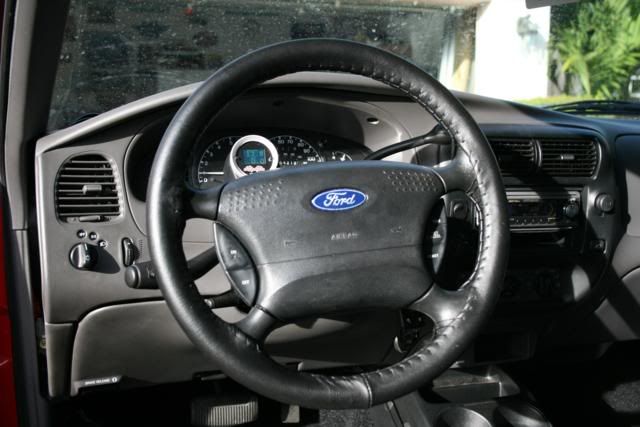
Love the seats! Much more on the cushy side then sporty, but that's fine with me. I sit about an 1" higher in the cab, which was at first very noticeable. After a few days it feels more normal. The wheelskin cover is a nice improvement, but in a more subtle way.
I may rock without a center console for a little while. I miss the armrest, but don't really miss the extra space (I never carried much in the old center console). If anything I may fab up my own center console using the flip down from the old driver's seat. Underneath the carpet is in great shape and there aren't any holes, so visually it doesn't look too bad without the center console in my opinion.
Let me know what ya think!
Black perforated Wheelskin:
I put one of these on my car and absolutely loved it, so I decided to get one for the truck as well. Believe it or not this was $40 of my $60 interior upgrade cost.
Dark gray leather bucket seats from a Lincoln Continental:
They are in like new condition, and believe it or not only cost me $20 off Cragslist. I had to do some modification to get it to work, basically taking the Linc's leather covers and padding and fitting it to the mechanics of the Ranger seats. I've got cover pieces to do a little modding to and then they will look cleaner at the bottom. They are still manual in operation, but it was easier this way, and I keep the seat belt pre-tensioners functioning.
Impressions:
Love the seats! Much more on the cushy side then sporty, but that's fine with me. I sit about an 1" higher in the cab, which was at first very noticeable. After a few days it feels more normal. The wheelskin cover is a nice improvement, but in a more subtle way.
I may rock without a center console for a little while. I miss the armrest, but don't really miss the extra space (I never carried much in the old center console). If anything I may fab up my own center console using the flip down from the old driver's seat. Underneath the carpet is in great shape and there aren't any holes, so visually it doesn't look too bad without the center console in my opinion.
Let me know what ya think!

#3
11-24-2009


#5
11-24-2009
Join Date: Nov 2008
Location: Auburn, IN
Posts: 62
Likes: 0
Received 0 Likes
on
0 Posts
Thanks!
They are thicker then the stock seats, but you don't notice as much with the extended cab door closed. Overall width and height dimensions were nearly identical.
There's a Lincoln logo in the middle of the seat backs which is incorrect, but I'm not that much of a perfectionist to care.
If anyone posts here who did a full length Explorer console, what did you do with the passenger side airbag on/off switch??
#6
11-24-2009
Thanks!
They are thicker then the stock seats, but you don't notice as much with the extended cab door closed. Overall width and height dimensions were nearly identical.
There's a Lincoln logo in the middle of the seat backs which is incorrect, but I'm not that much of a perfectionist to care.
If anyone posts here who did a full length Explorer console, what did you do with the passenger side airbag on/off switch??
They are thicker then the stock seats, but you don't notice as much with the extended cab door closed. Overall width and height dimensions were nearly identical.
There's a Lincoln logo in the middle of the seat backs which is incorrect, but I'm not that much of a perfectionist to care.
If anyone posts here who did a full length Explorer console, what did you do with the passenger side airbag on/off switch??

#9
11-24-2009
Join Date: Dec 2008
Location: Auburn,ME/Selinsgrove,PA
Posts: 1,062
Likes: 0
Received 0 Likes
on
0 Posts
#10
11-24-2009
Join Date: Oct 2009
Location: Rocky Mount, NC
Posts: 666
Likes: 0
Received 0 Likes
on
0 Posts
#11
11-24-2009
x3...link to steering wheel wrap please. Tired of mine from 115k of abuse and now the leather wrap is kinda falling apart internally on me. This seems like alot easier and cheaper option than finding and buying a brand new oem leather wrapped wheel.
We've got those same seats in 60/40 form in our '98 continental. Not my cup of tea...too laid back but hey, if they work for you that's all that matters.
We've got those same seats in 60/40 form in our '98 continental. Not my cup of tea...too laid back but hey, if they work for you that's all that matters.
#14
11-25-2009
Join Date: Nov 2008
Location: Auburn, IN
Posts: 62
Likes: 0
Received 0 Likes
on
0 Posts
Wheelskin bought off Ebay to save a few bones ...
Wheelskin Leather Steering Wheel Cover (Perforated):eBay Motors (item 310180093044 end time Dec-06-09 18:26:35 PST)
Seller was aapdnet.
Here's the official website:
Wheelskins - The World's Finest Genuine Leather Motoring Accessories, Steering Wheel Covers, Driving Gloves and Shift Boots
The 2 tone ones don't have to be 2 tone - mine's all black.
#15
11-25-2009
I have a wheelskin on my steering wheel too. They are such a pain in the *** to put on lol, I opened the box and thought it would take me 10 minutes. It took me like 45 mins to do and it still came out a little crappy looking. My friend has a tan one on his truck and the leather is all ruined and has been after only a few months so Id suggest to everyone only to buy a black one. I had a tutorial made on how to install it but I never posted it because I wasn't that happy with it.
#18
11-25-2009
#19
11-25-2009
Good lord....look in the thread...like 3 and 5 posts above yours...
Thanks for your insight Korey. Would you say that if time was taken on the install, it would be a better install than what you've got currently? Or would the material be a little too large for the wheel, resulting in a crappy fit?
Thanks for your insight Korey. Would you say that if time was taken on the install, it would be a better install than what you've got currently? Or would the material be a little too large for the wheel, resulting in a crappy fit?
#21
11-25-2009
Good lord....look in the thread...like 3 and 5 posts above yours...
Thanks for your insight Korey. Would you say that if time was taken on the install, it would be a better install than what you've got currently? Or would the material be a little too large for the wheel, resulting in a crappy fit?
Thanks for your insight Korey. Would you say that if time was taken on the install, it would be a better install than what you've got currently? Or would the material be a little too large for the wheel, resulting in a crappy fit?
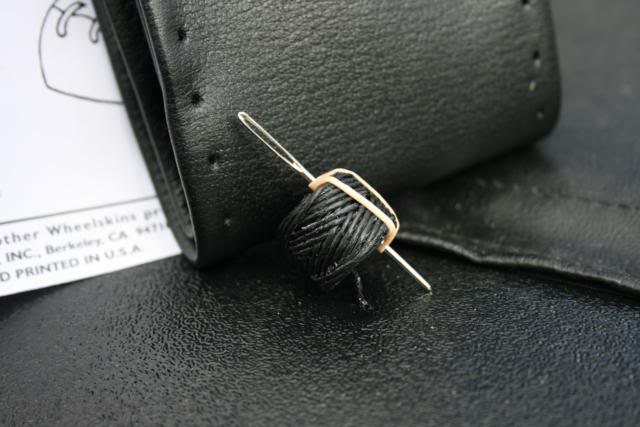
I had one on a Ranger before the one I have now and I loved it. The fit was tight, and the quality is excellent. They are a pain to put on because you have to actually stitch them onto the steering wheel. You get a needle and like a wax coated thread with the kit. You just have to take your time with the install and it will come out great. You could not even tell that it was a steering wheel cover, looked factory. The biggest thing is to make sure you stretch the thread super tight when you put it on. Like Korey suggested, I would stay away from the light and bright colors. I had a red and black one and the red turned black over time.
#23
11-25-2009
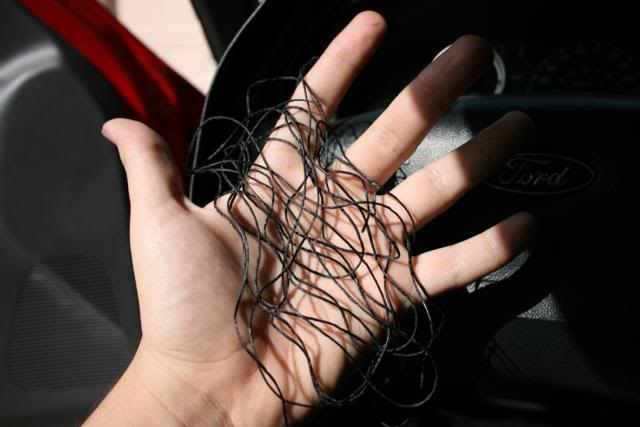
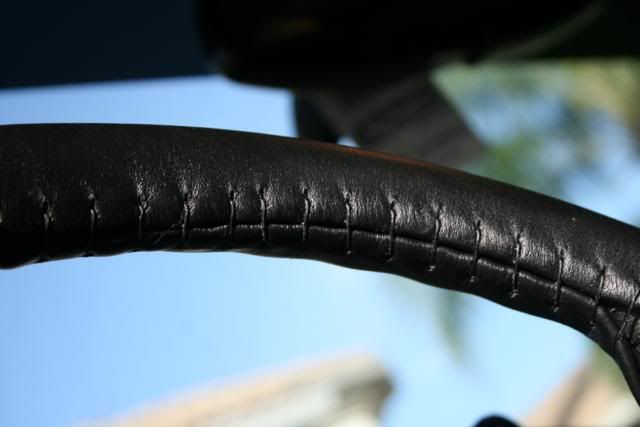
Im embarrassed to even post this but here you can see the garbage job I did. I might buy another and redo it or just find a whole wheel in better shape. Im pirating this thread with tutorial **** mo-fugga
this is the leather string you have to use
see, it fits really tight
stitching
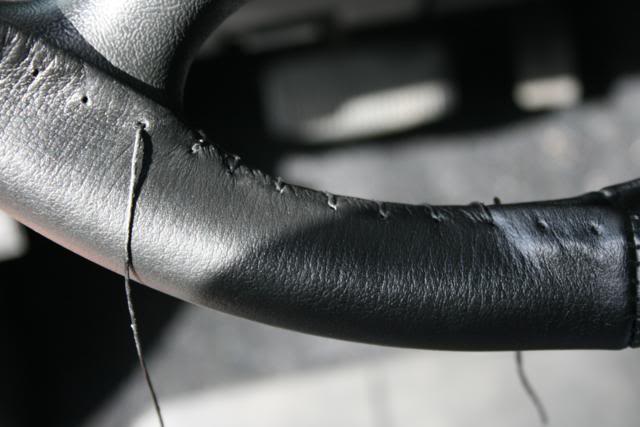
done, I ruined it
#24
11-25-2009
#25
11-26-2009
Korey, I install these at the shop I work for. Have done dozens of them. They usually take me 45 minutes to an hour to do, depending on the spokes. The only thing I see that you did differently than we do is your stitching. Ours are usually at an angle. If you start in hole one, then it comes back out hole two. I think that may be why you had some issues. I'll have to check and see if I have any pics of one I've installed. I love them. They are a really nice product and well worth the money.

Thread
Thread Starter
Forum
Replies
Last Post
For Sale: Seats, seats, SEATS! NC
drppdyllwrngr
OLD - Interior, Exterior, Electrical, & Misc.
30
03-16-2010 07:38 PM
Drew1287
OLD - Suspension, Tires, & Wheels
0
07-18-2009 06:14 PM


