'83 Bronco
#1
 12-18-2010


Join Date: Jul 2005
Location: El Paso, Texas
Posts: 193
Likes: 0
Received 0 Likes
on
0 Posts
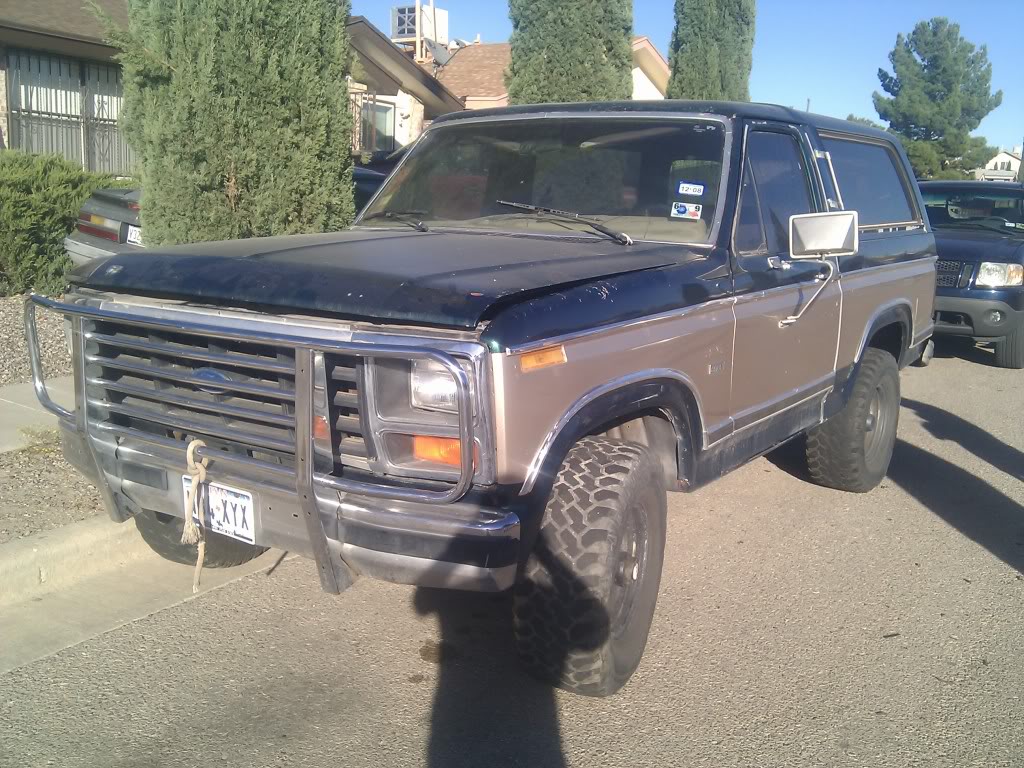
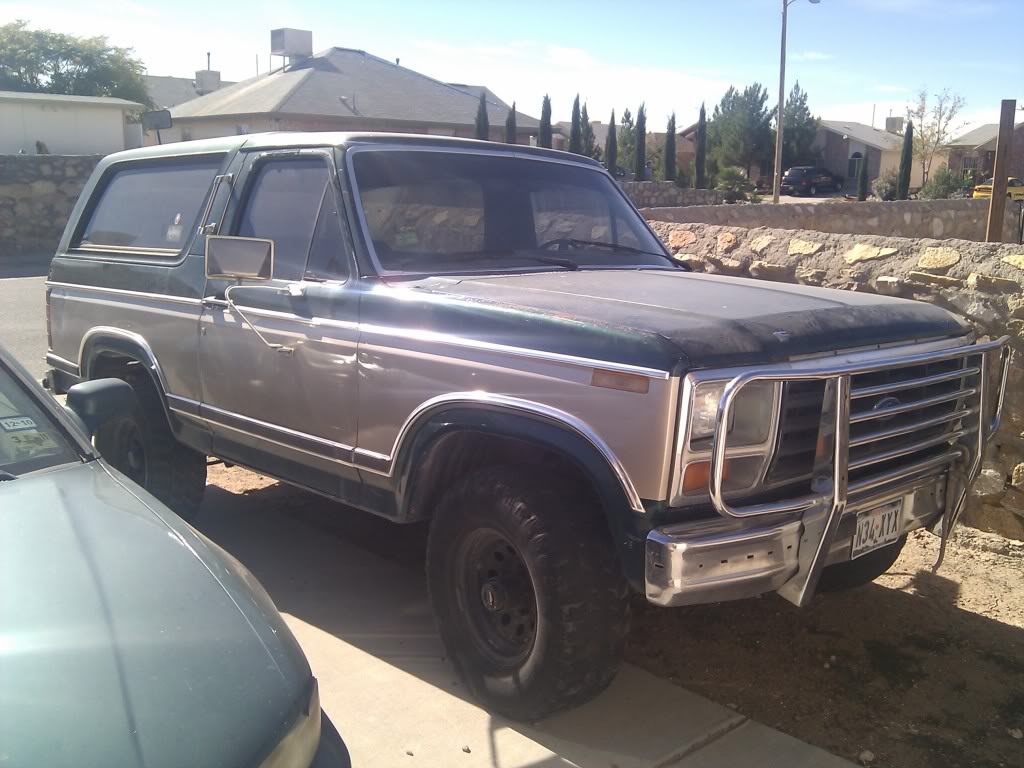
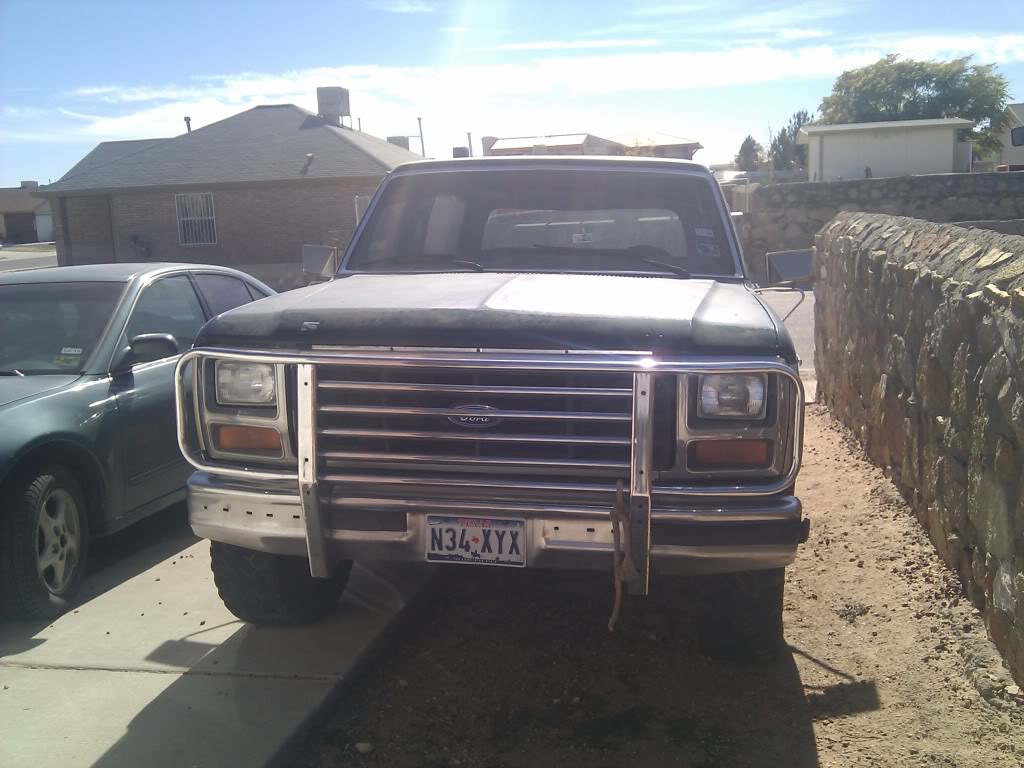
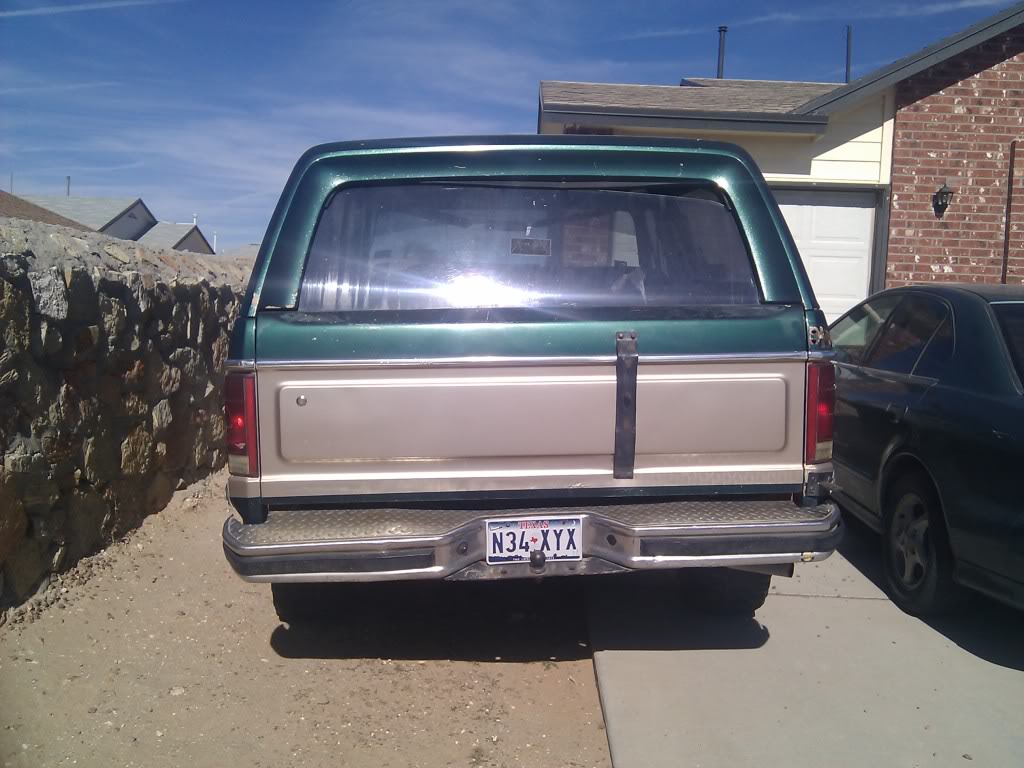
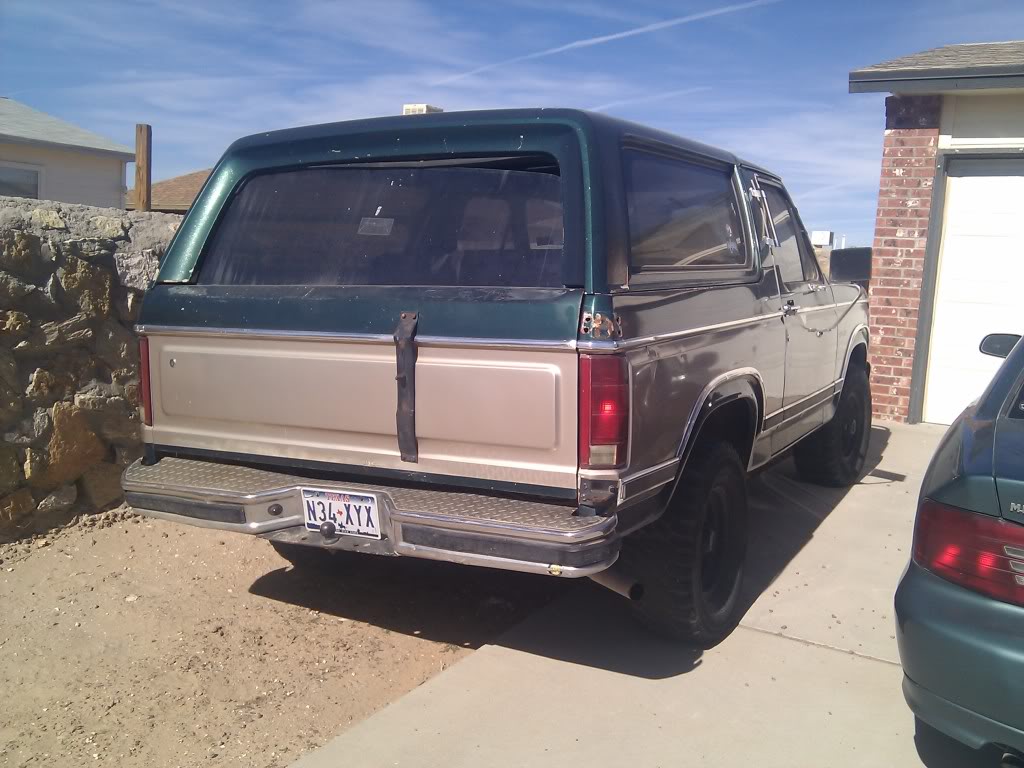
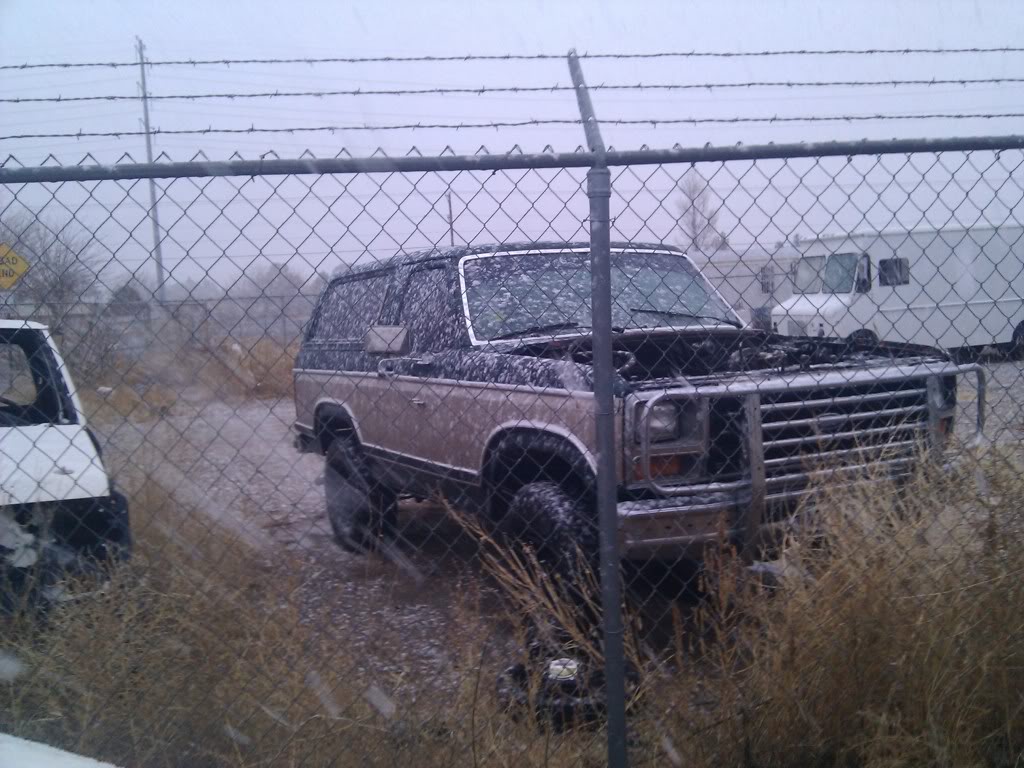
'83 Bronco
Got rid of an '81 Mustang project to get the wife to sign off on this one. 1983 Bronco, 300 inline 6, C6, NP208, 8.8 rear end.
Plans are to turn this into a dedicated trail rig. Nothing too crazy though as it will be a budget build. Most of my project are in order to be able to support them all.
Plans (in order):
Carb Rebuild
New Battery
Tune-up and Fluid Changes
15x8 Cragar Soft 8s
33x12.5 Dunlop Mud Rovers
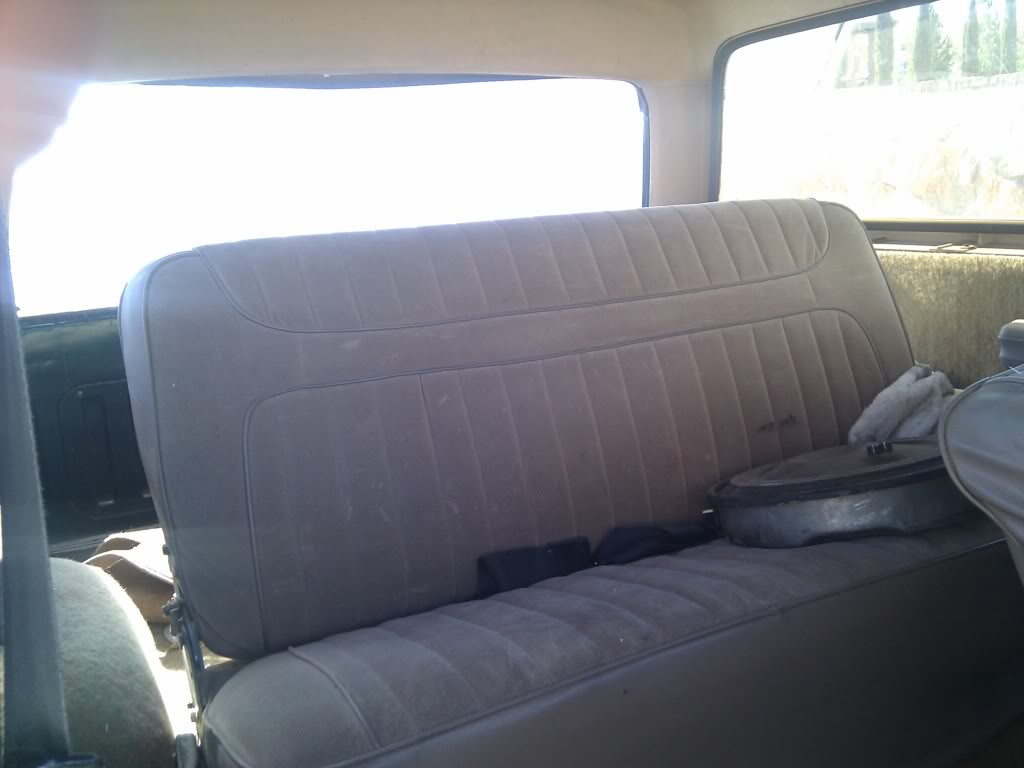
Cheap Bucket Seats
Beat the hell out of it
Half Doors
EFI dual exhaust manifold swap
Eventually a 9" and D44 SAS swap
Then beat the hell out of it some more
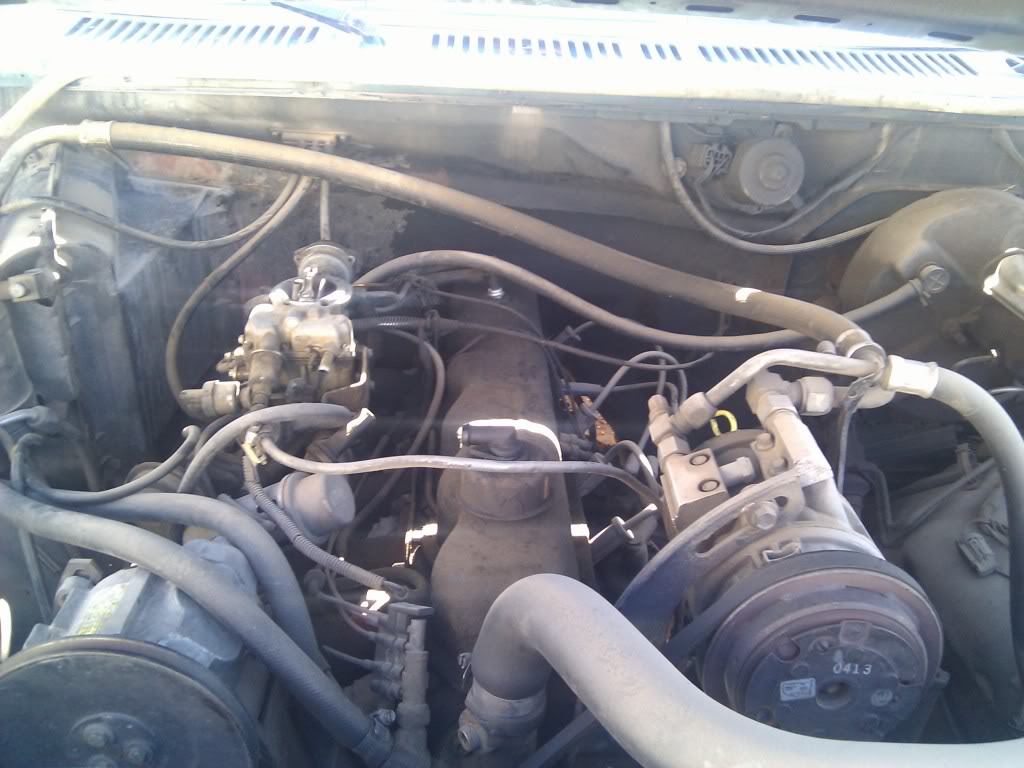
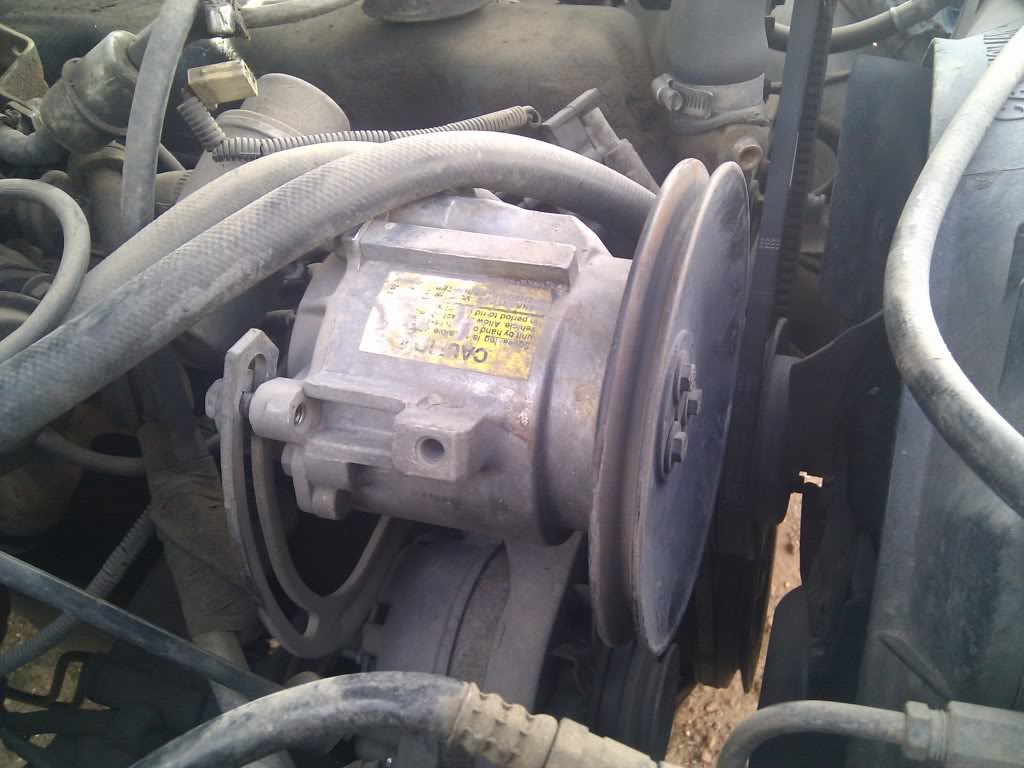
I did pull all the smog crap off as well as the carb for a rebuild.
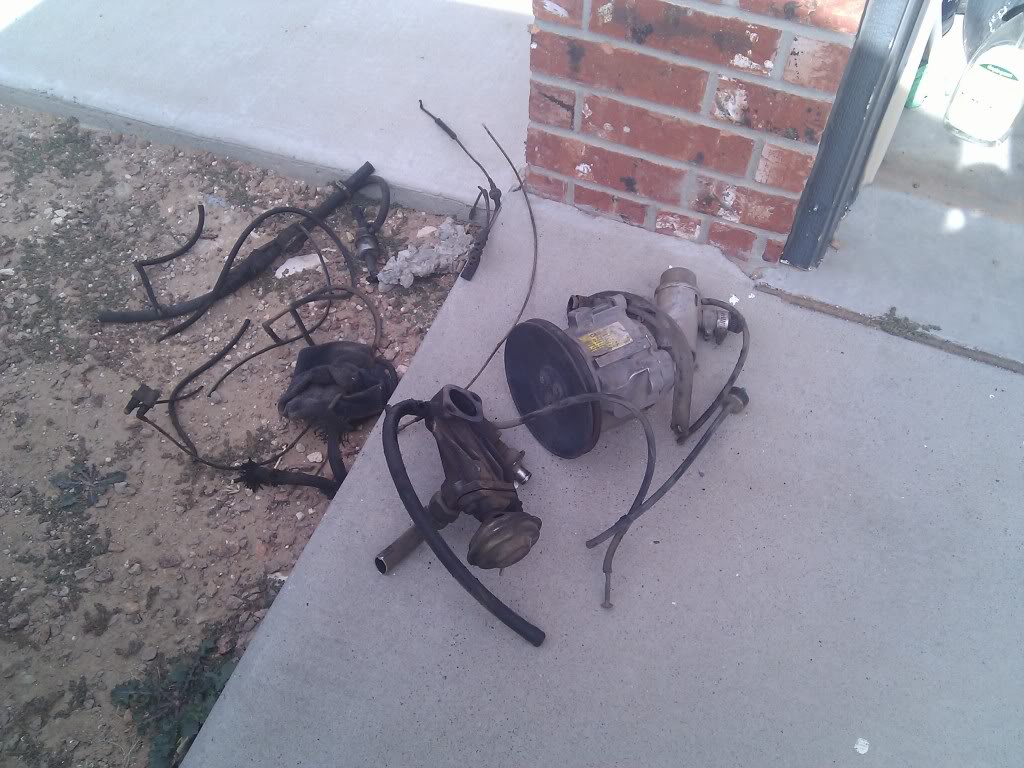


Started pulling it apart

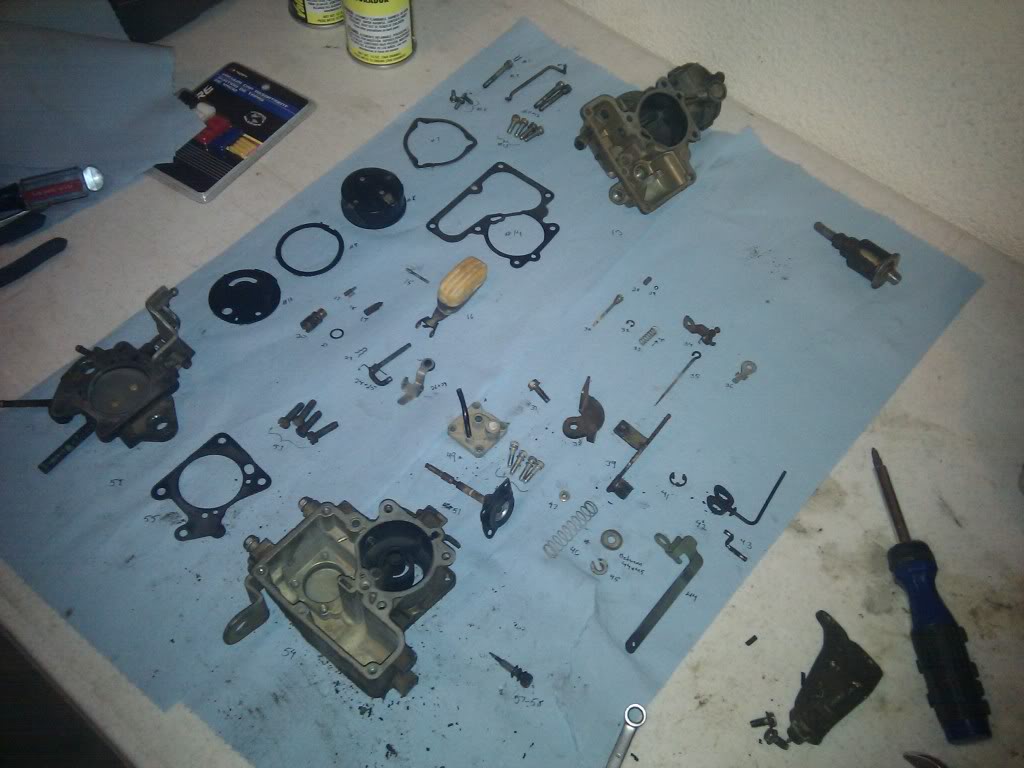
Completely apart, waiting to be cleaned and put back together tomorrow.
More to come tomorrow.
Fred
Plans are to turn this into a dedicated trail rig. Nothing too crazy though as it will be a budget build. Most of my project are in order to be able to support them all.
Plans (in order):
Carb Rebuild
New Battery
Tune-up and Fluid Changes
15x8 Cragar Soft 8s
33x12.5 Dunlop Mud Rovers
Cheap Bucket Seats
Beat the hell out of it
Half Doors
EFI dual exhaust manifold swap
Eventually a 9" and D44 SAS swap
Then beat the hell out of it some more
I did pull all the smog crap off as well as the carb for a rebuild.
Started pulling it apart
Completely apart, waiting to be cleaned and put back together tomorrow.
More to come tomorrow.
Fred
#2
12-18-2010

#5
12-19-2010
Join Date: Jul 2005
Location: El Paso, Texas
Posts: 193
Likes: 0
Received 0 Likes
on
0 Posts
#7
12-19-2010
Join Date: Jul 2005
Location: El Paso, Texas
Posts: 193
Likes: 0
Received 0 Likes
on
0 Posts
#8
12-19-2010
Join Date: Jul 2005
Location: El Paso, Texas
Posts: 193
Likes: 0
Received 0 Likes
on
0 Posts
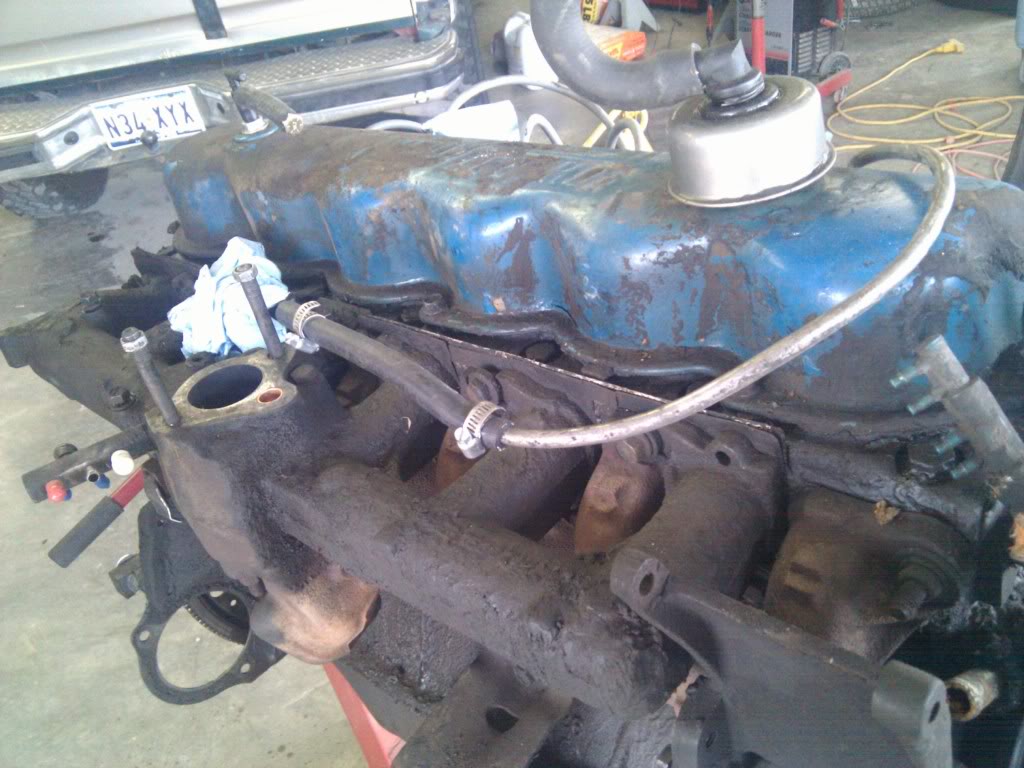
Carb is all put back together. Hopefully I did it correctly, we will soon see.
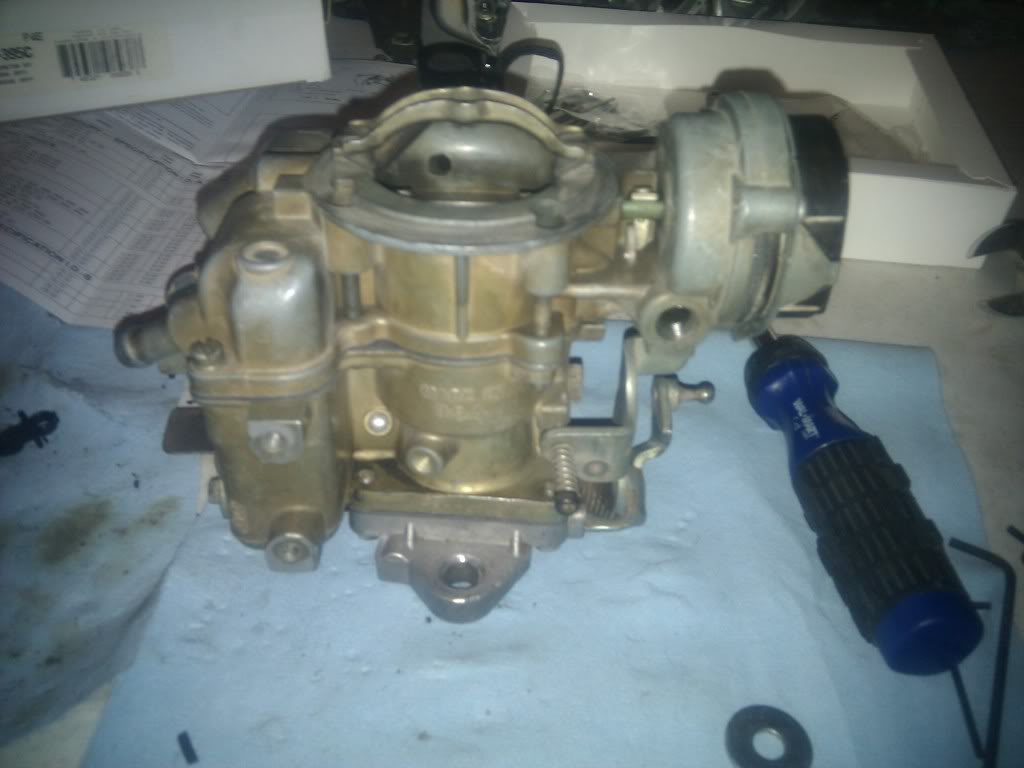
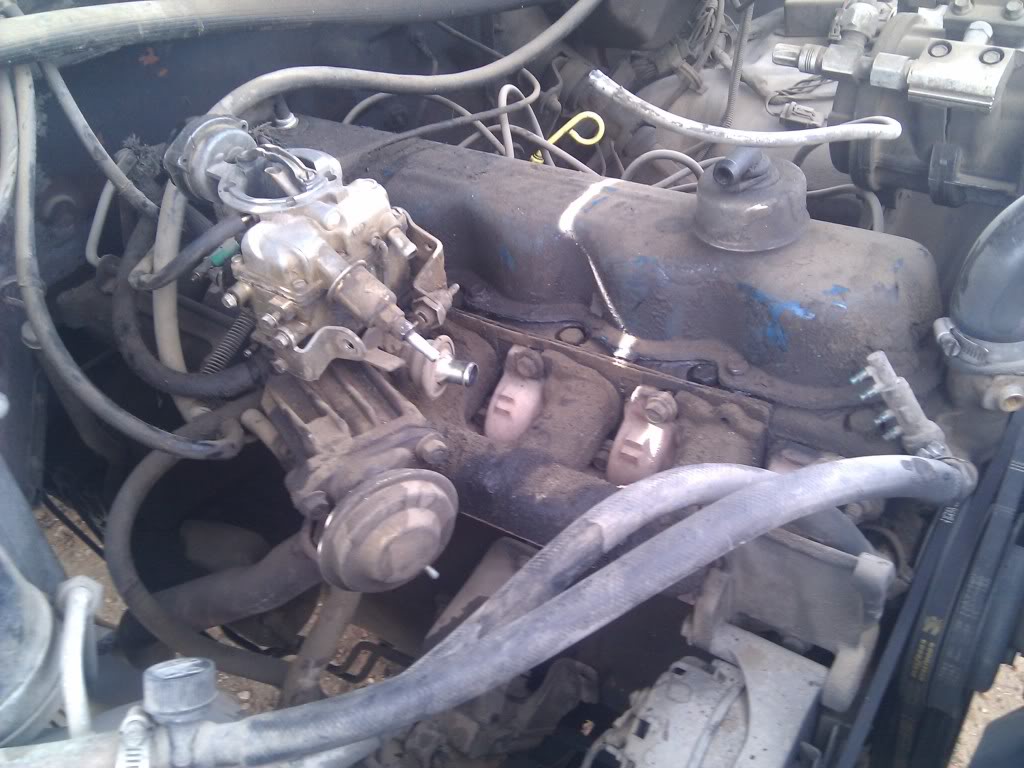
Before it goes back on, I have to make an EGR eliminator spacer for the carb to plug the egr port coming up from the intake manifold. You can see it here in this picture next to the blue shop towel covering the intake opening.

Before it goes back on, I have to make an EGR eliminator spacer for the carb to plug the egr port coming up from the intake manifold. You can see it here in this picture next to the blue shop towel covering the intake opening.
#9
12-27-2010
Join Date: Jul 2005
Location: El Paso, Texas
Posts: 193
Likes: 0
Received 0 Likes
on
0 Posts
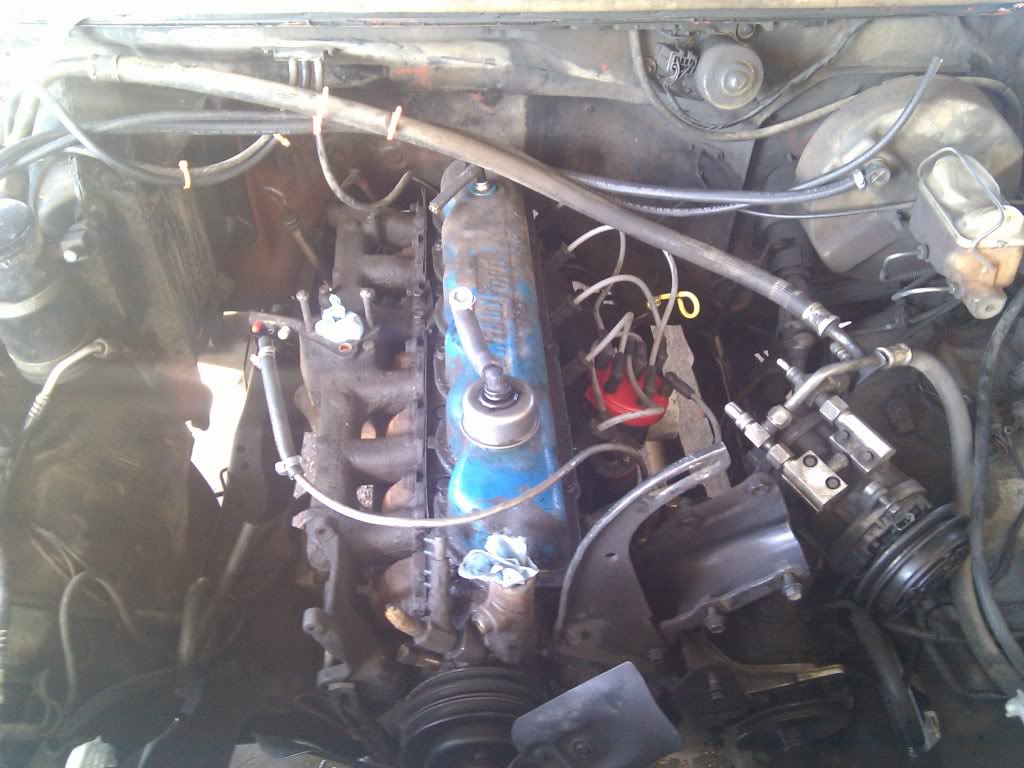
Got it all back together, swapped the plugs and wires and it fired up and idled great. However, it was spewing a lot of oil out of the rear main seal so the engine will be coming out starting tomorrow for a new seal and new valve cover, oil pan, and lifter cover gaskets. Also gonna take the power washer to it as three cans of engine degreaser barely scratched the surface of this thing. Pics to come tomorrow.
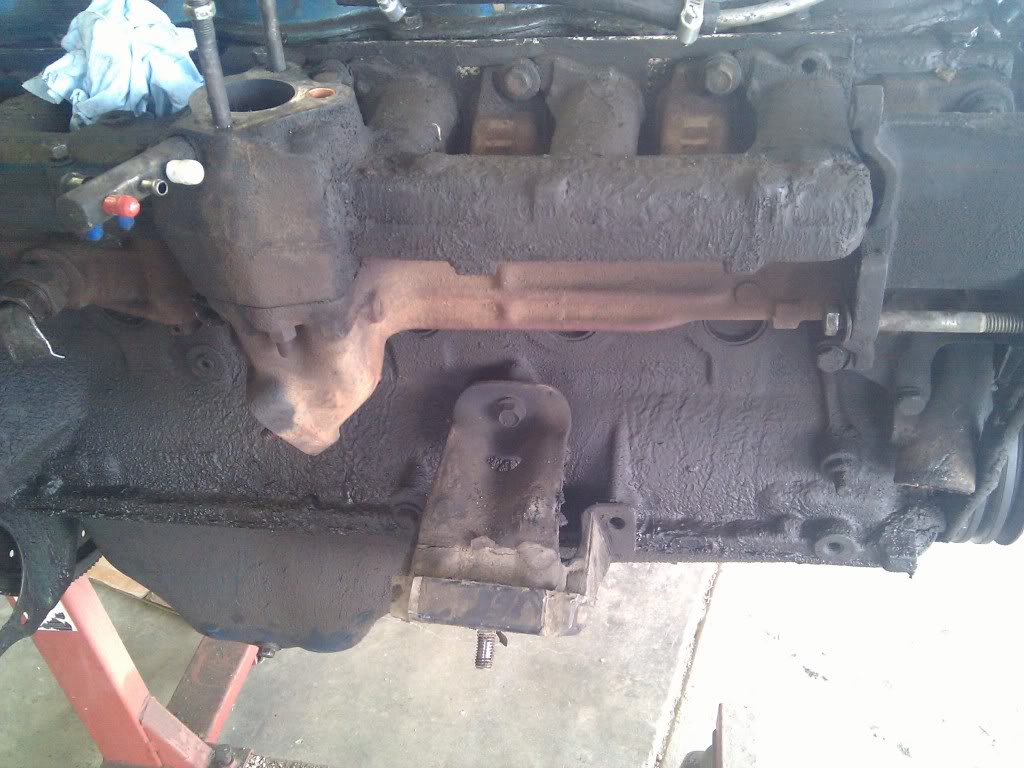
This was my under a buck fix for the egr port in the intake manifold.
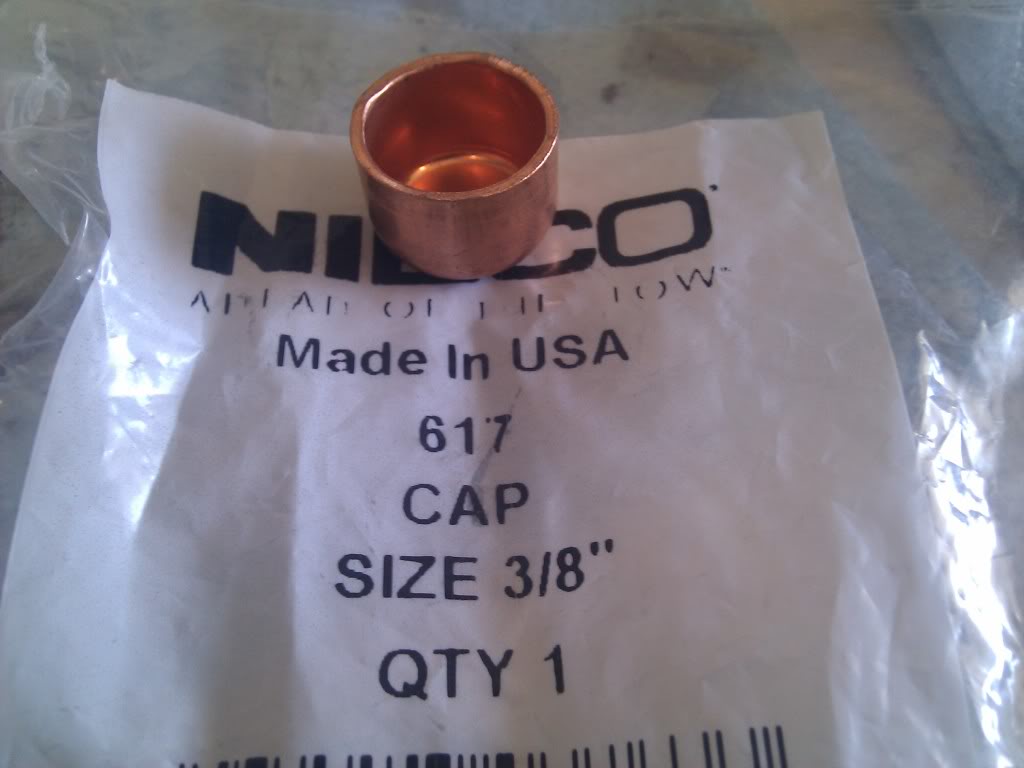
Then I used a specialty precision installation tool to get it in place called a hammer.
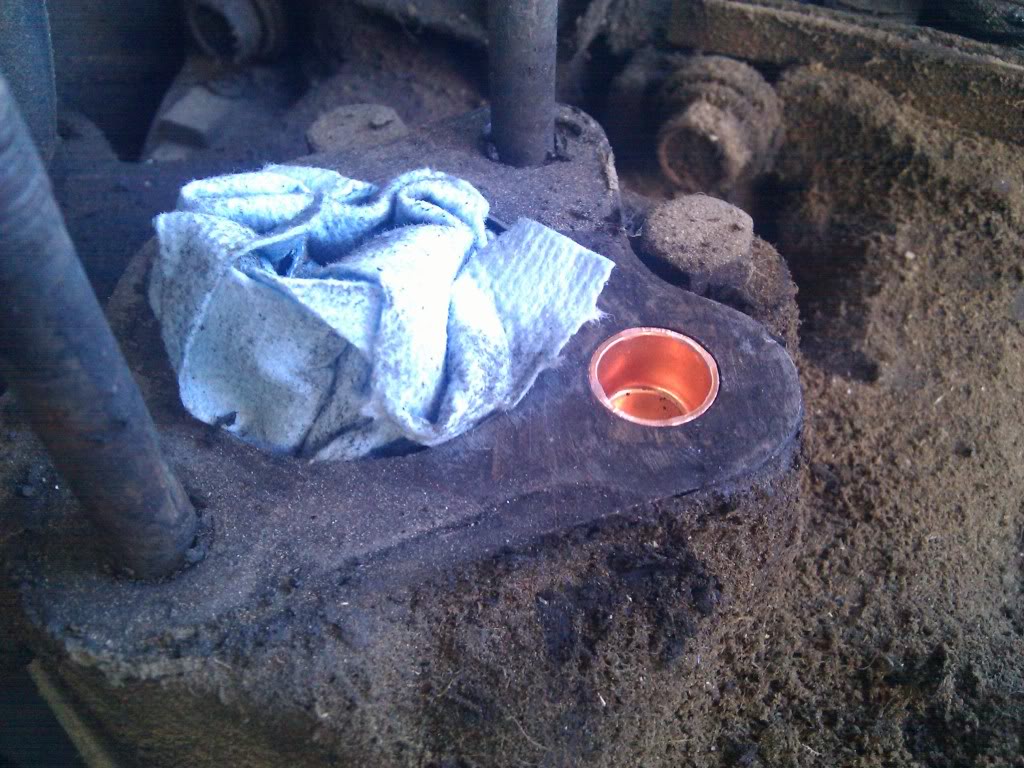
Fred
This was my under a buck fix for the egr port in the intake manifold.
Then I used a specialty precision installation tool to get it in place called a hammer.
Fred
#10
12-28-2010
Join Date: Jul 2005
Location: El Paso, Texas
Posts: 193
Likes: 0
Received 0 Likes
on
0 Posts
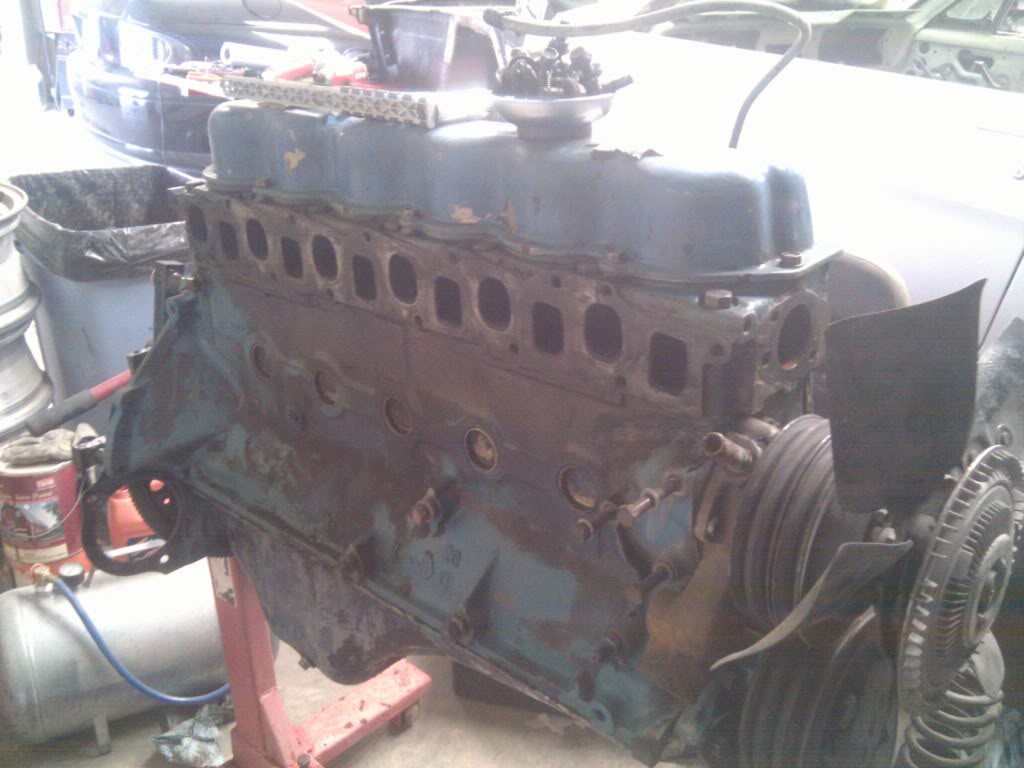
Stripping the motor down getting ready to pull it out
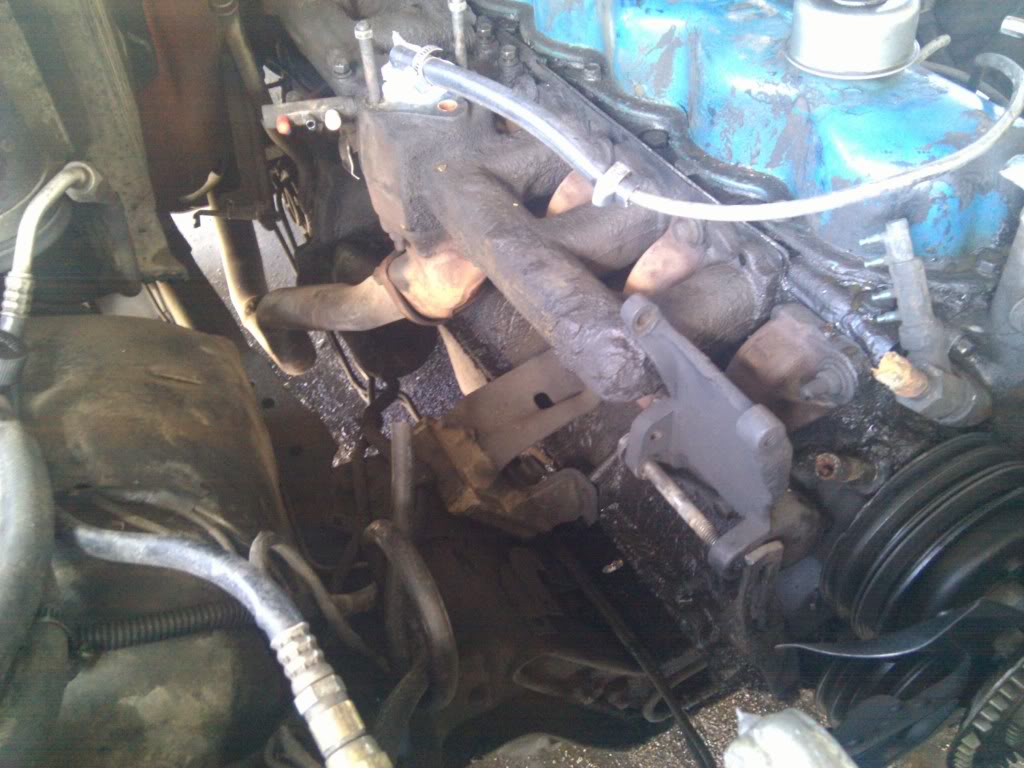
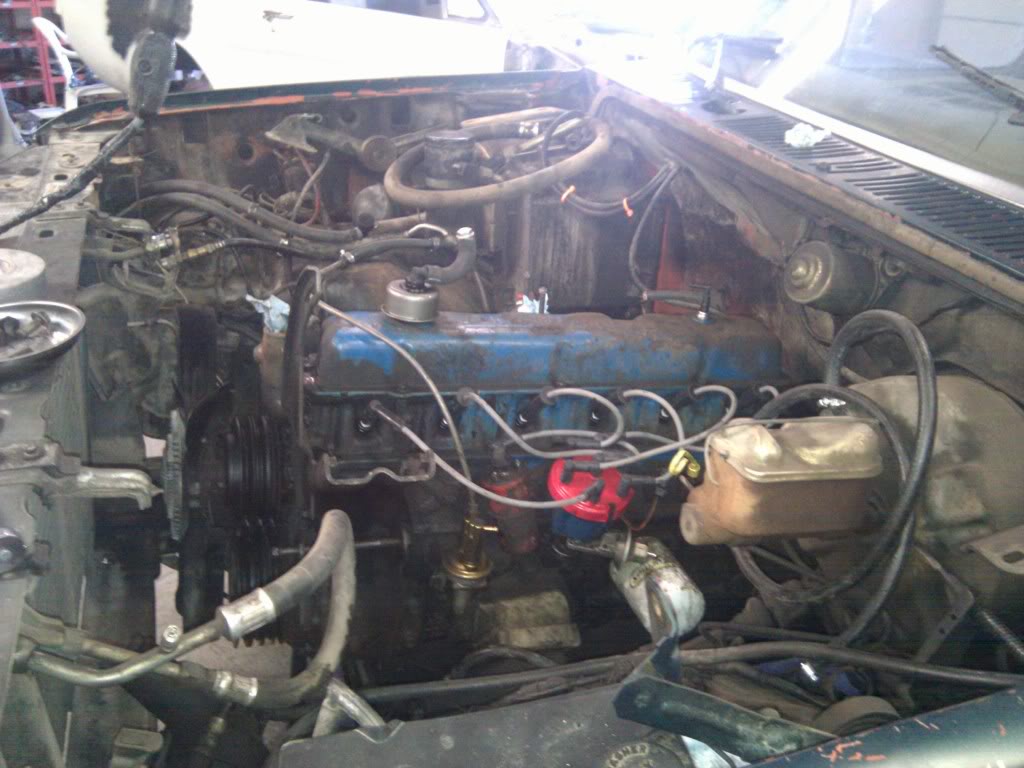
Also ran one of the EFI exhaust manifolds through the blast cabinet and gave it a quick clean up. Once they are both clean, they will be sprayed with DupliColor high temp header paint.
Not really good progress pics but they will provide something to compare to when the motor is all cleaned up and back in. Will also be looking to clean up the engine bay a bit this week before the motor goes back in. Goal for tomorrow is to get the motor out and on an engine stand and maybe start working on it some.
Fred
#11
12-29-2010
Join Date: Jul 2005
Location: El Paso, Texas
Posts: 193
Likes: 0
Received 0 Likes
on
0 Posts
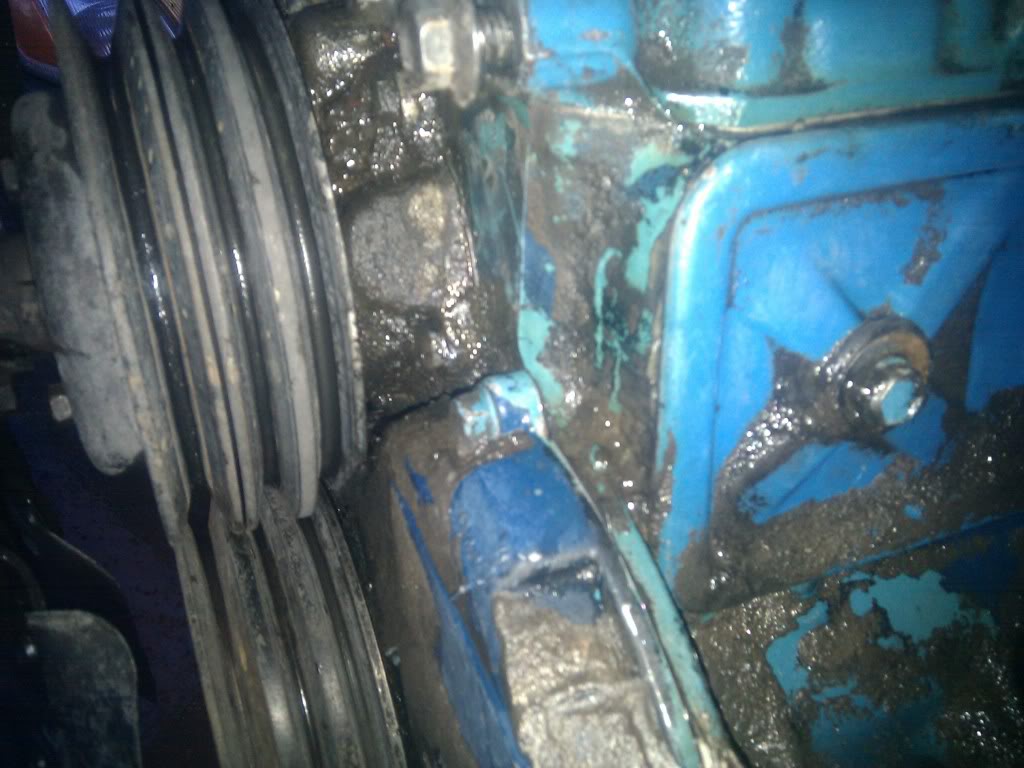
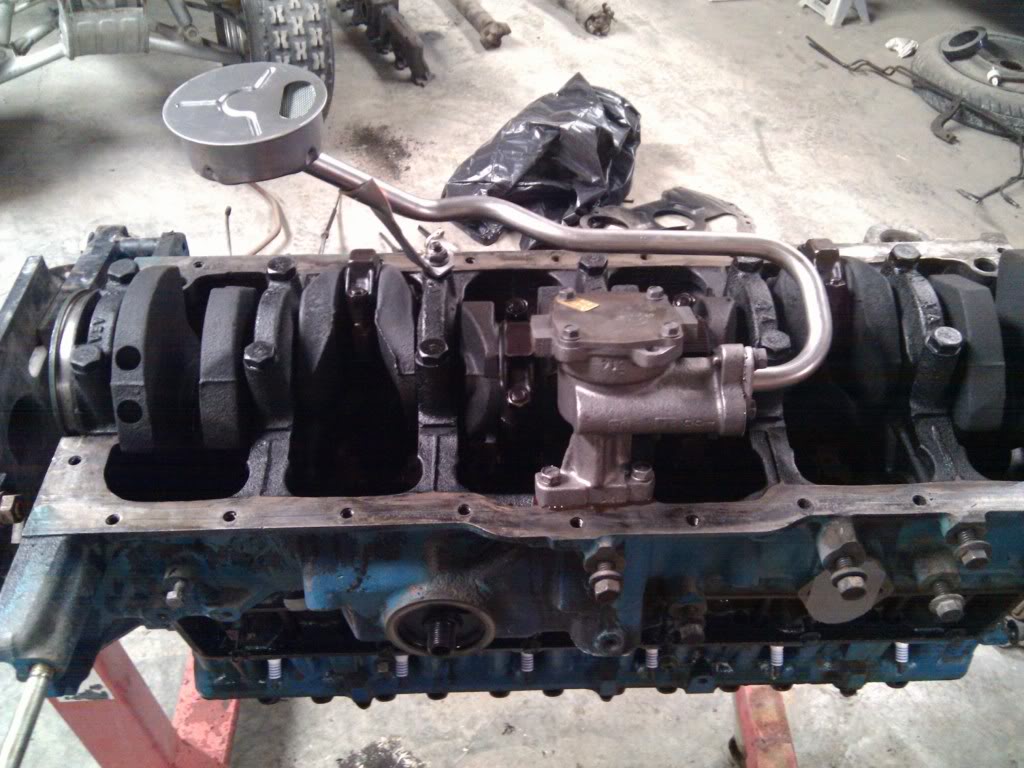
Got the motor out today and got started cleaning it up before I start replacing the rear main seal and gaskets.
After an hour of cursing, busting knuckles, crying, questioning my manhood, and a snap of a finger, its out.
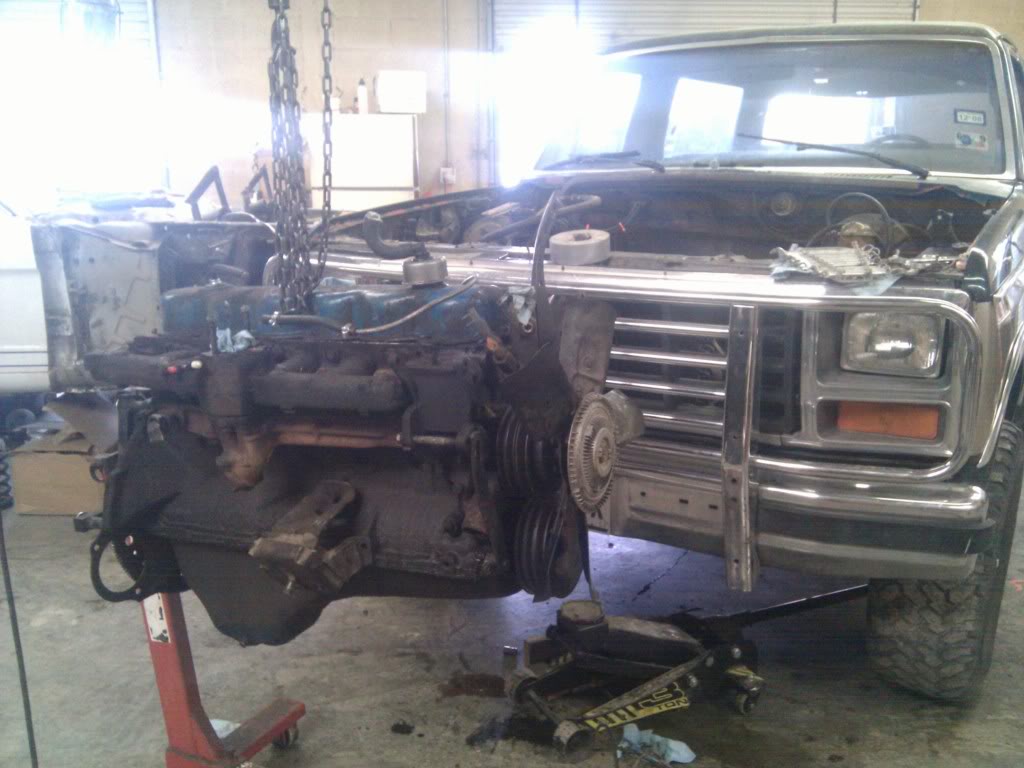
I wish my wife were this dirty.
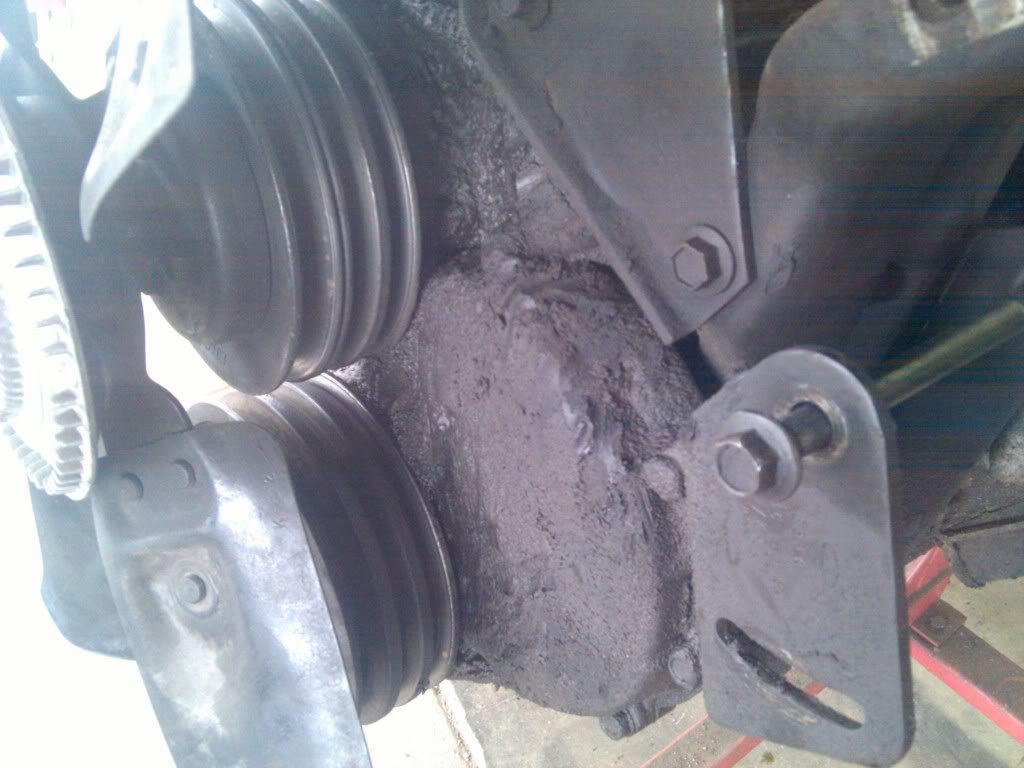
Then after round 1 with purple power degreaser, stiff nylon brushes, and dish soap. Still needs more though.
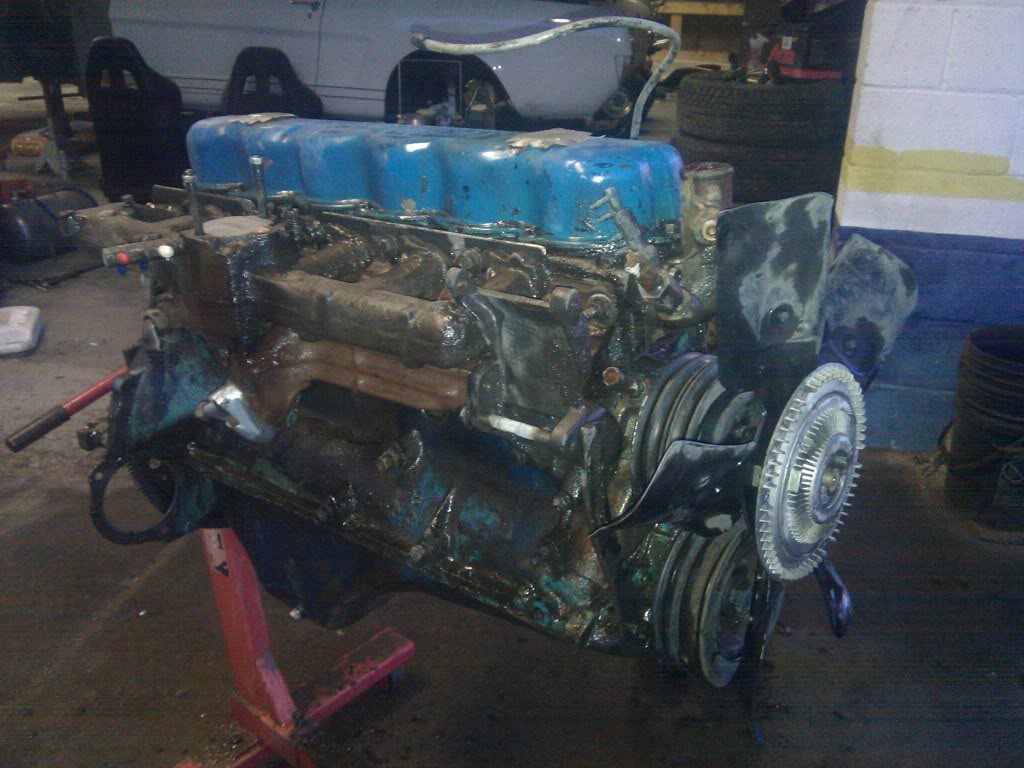
Some of this **** is baked on there pretty damn good!

Round 2 tomorrow
Fred
After an hour of cursing, busting knuckles, crying, questioning my manhood, and a snap of a finger, its out.
I wish my wife were this dirty.
Then after round 1 with purple power degreaser, stiff nylon brushes, and dish soap. Still needs more though.
Some of this **** is baked on there pretty damn good!
Round 2 tomorrow
Fred

#14
12-29-2010
Join Date: Jul 2005
Location: El Paso, Texas
Posts: 193
Likes: 0
Received 0 Likes
on
0 Posts

#18
01-01-2011
Join Date: Jul 2005
Location: El Paso, Texas
Posts: 193
Likes: 0
Received 0 Likes
on
0 Posts
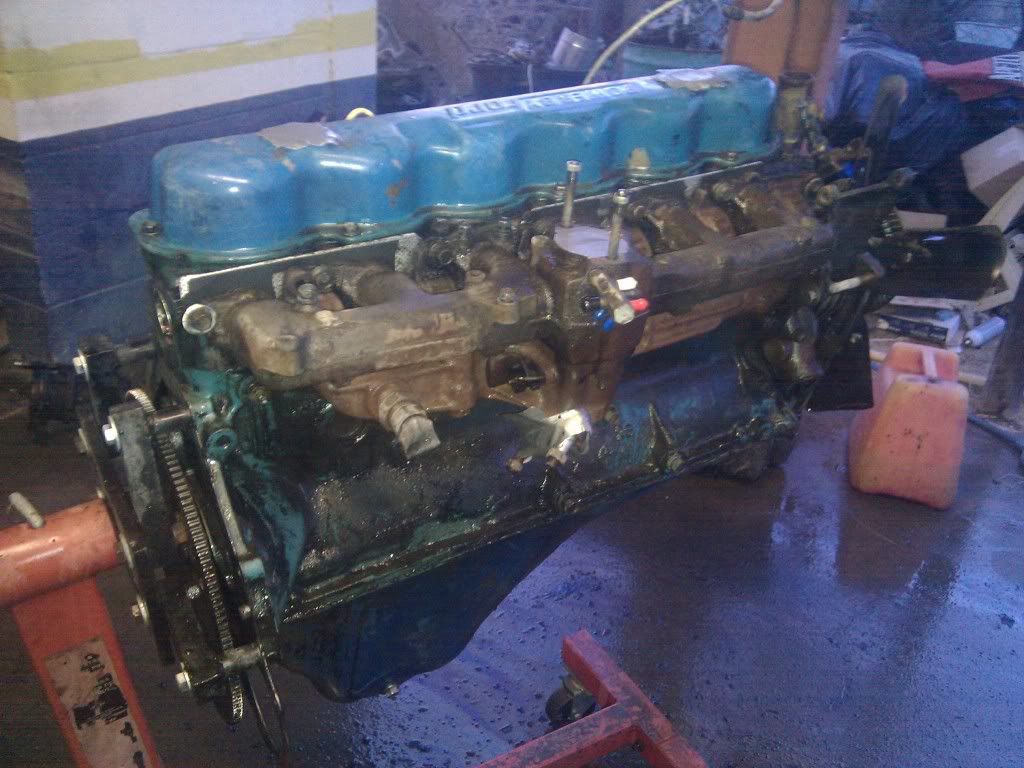
Went another couple of rounds with cleaning up the engine and ended up making good progress.

Took down the exhaust and intake manifolds, valve cover, pushrod cover, and oil pan. Looks like it has a broken oil pump pickup so it will be replcaed along with a new oil pump.
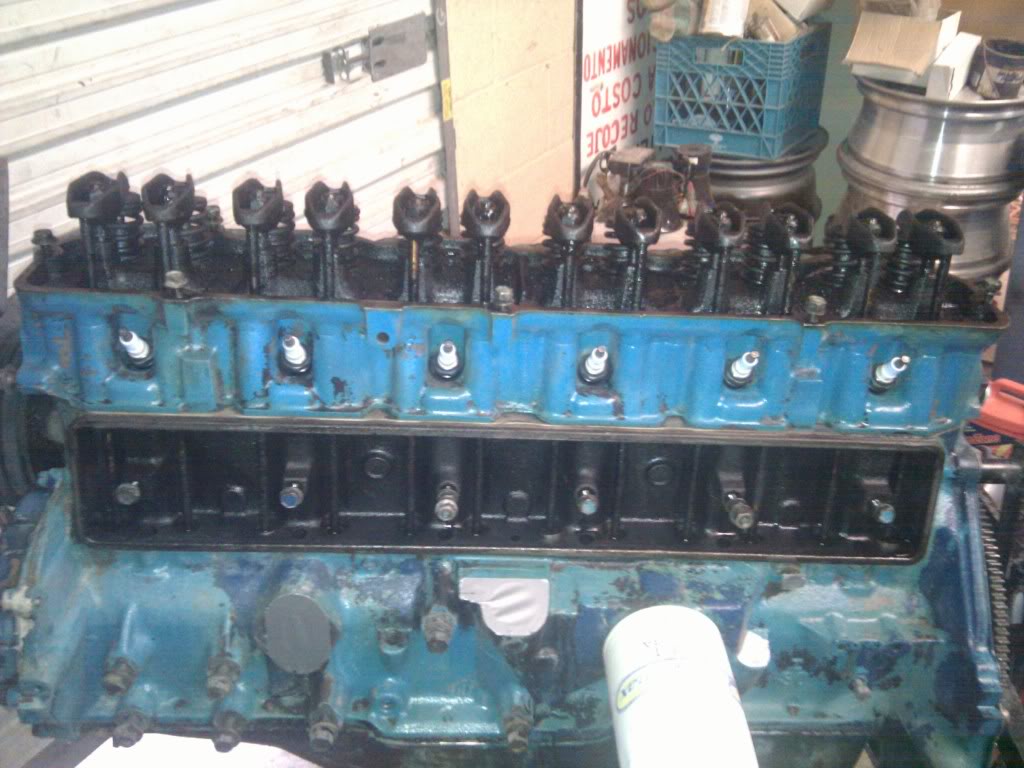
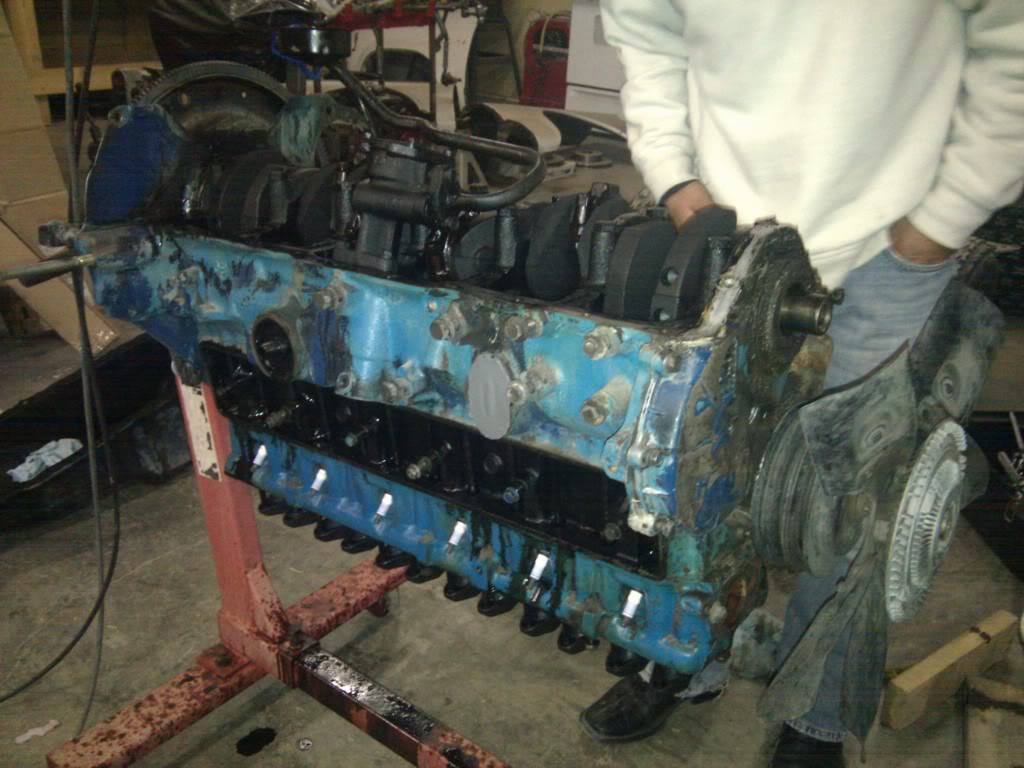
And most of this stuff will getting cleaned up and powder coated.

Fred
Took down the exhaust and intake manifolds, valve cover, pushrod cover, and oil pan. Looks like it has a broken oil pump pickup so it will be replcaed along with a new oil pump.
And most of this stuff will getting cleaned up and powder coated.
Fred

#23
06-17-2011
Join Date: Jul 2005
Location: El Paso, Texas
Posts: 193
Likes: 0
Received 0 Likes
on
0 Posts
Sorry guys, gonna try and catch you up on this build. Some of these are from as far back as February:
My projects:
Bronco, outside until I can get back to work on it. Hopefully as soon as Spring Break.
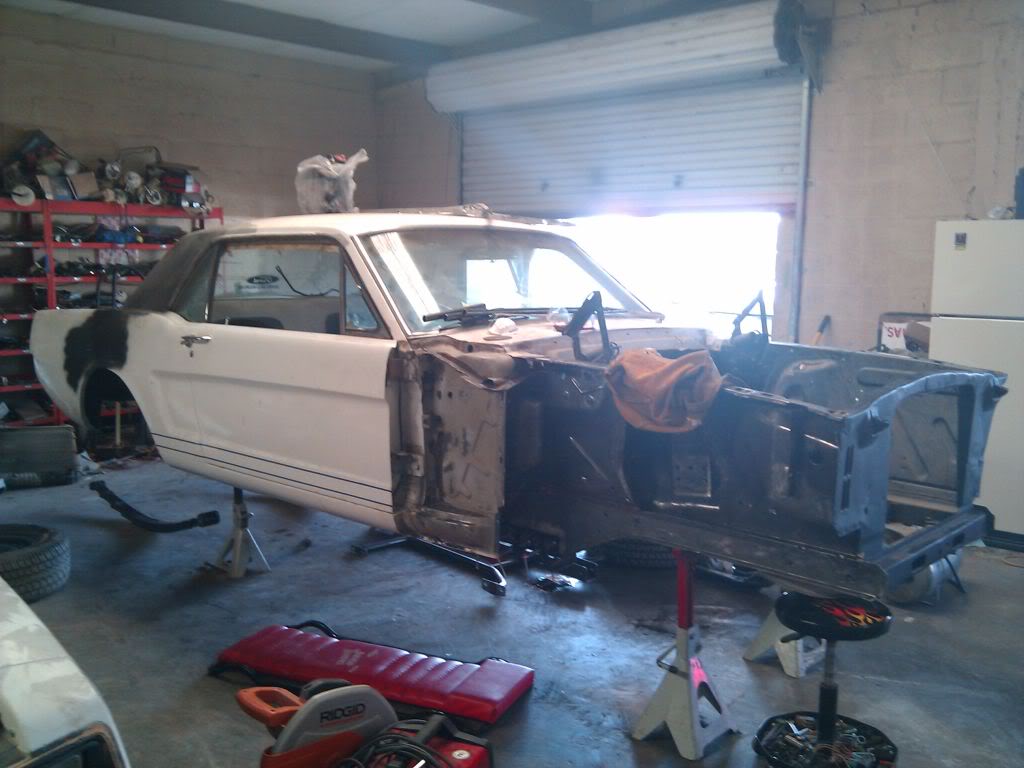
65 Mustang, on hold until I get time to work on it. Don't know when that will be.
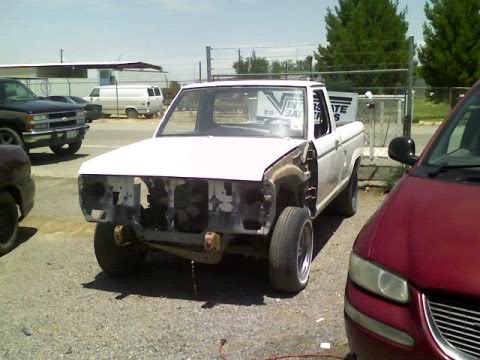
Ranger tough truck, also on hold. Don't even know when I will work on this.
Fred
My projects:
Bronco, outside until I can get back to work on it. Hopefully as soon as Spring Break.
65 Mustang, on hold until I get time to work on it. Don't know when that will be.
Ranger tough truck, also on hold. Don't even know when I will work on this.
Fred
#24
06-17-2011
Join Date: Jul 2005
Location: El Paso, Texas
Posts: 193
Likes: 0
Received 0 Likes
on
0 Posts
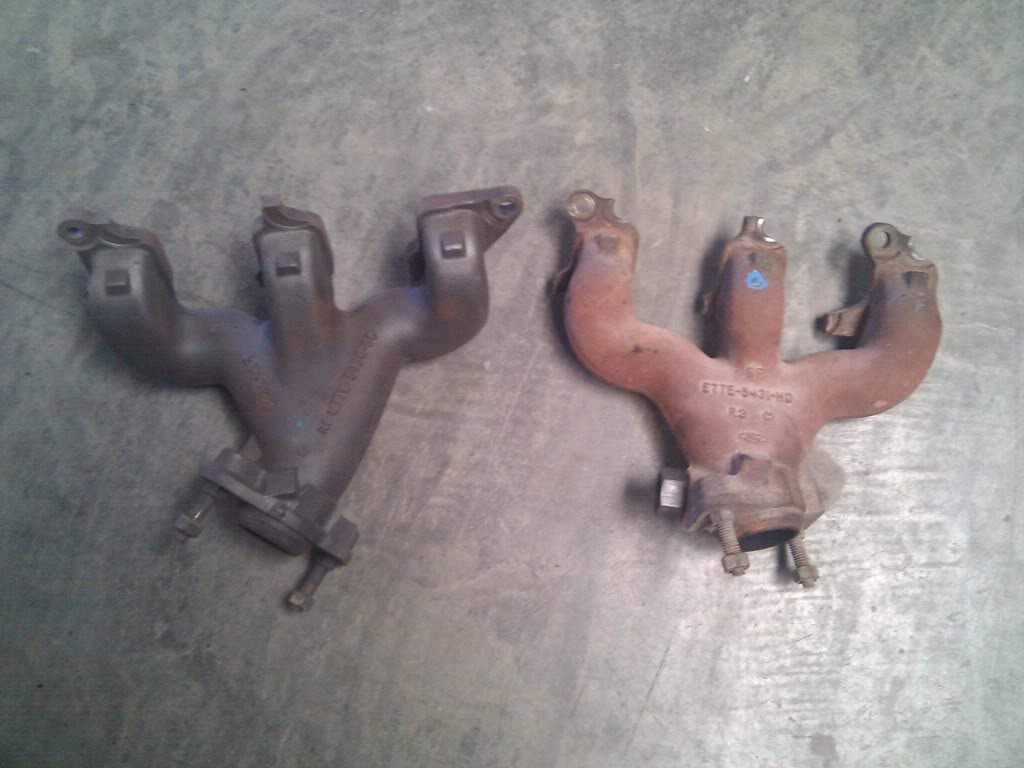
Got the intake and exhaust manifolds separated
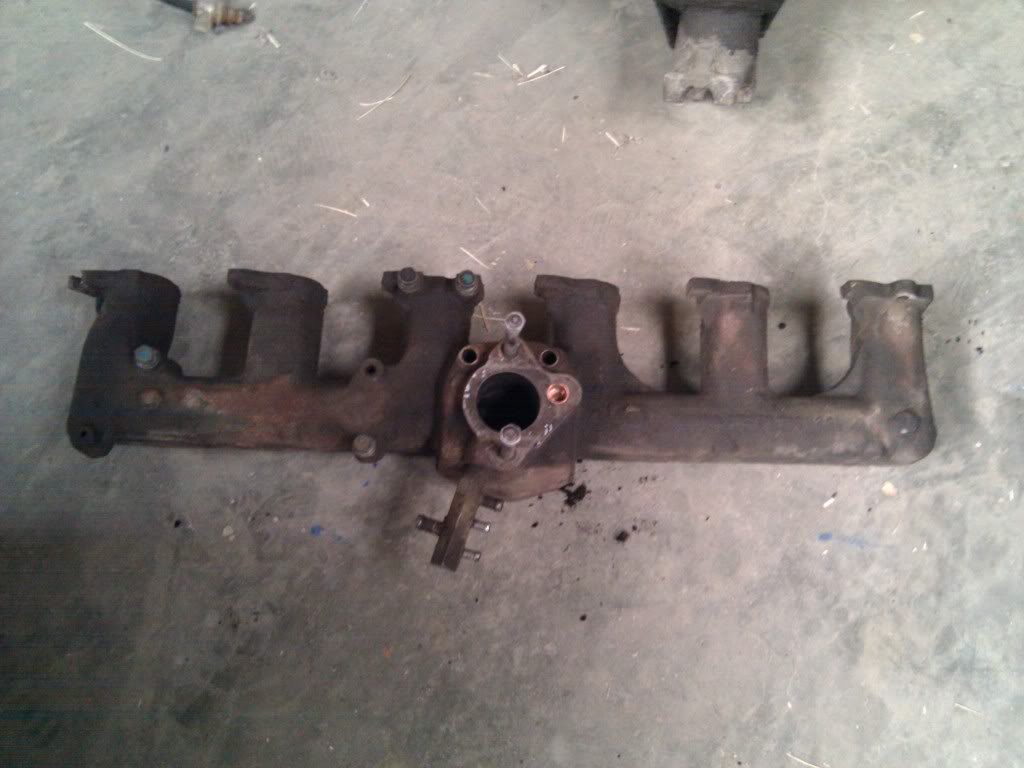
Saying goodbye to the log style exhaust manifold since it will be replaced with EFI dual exhaust manifolds to exhale better

New oil pump and pick-up
Painted the engine a cast iron color. Nothing fancy
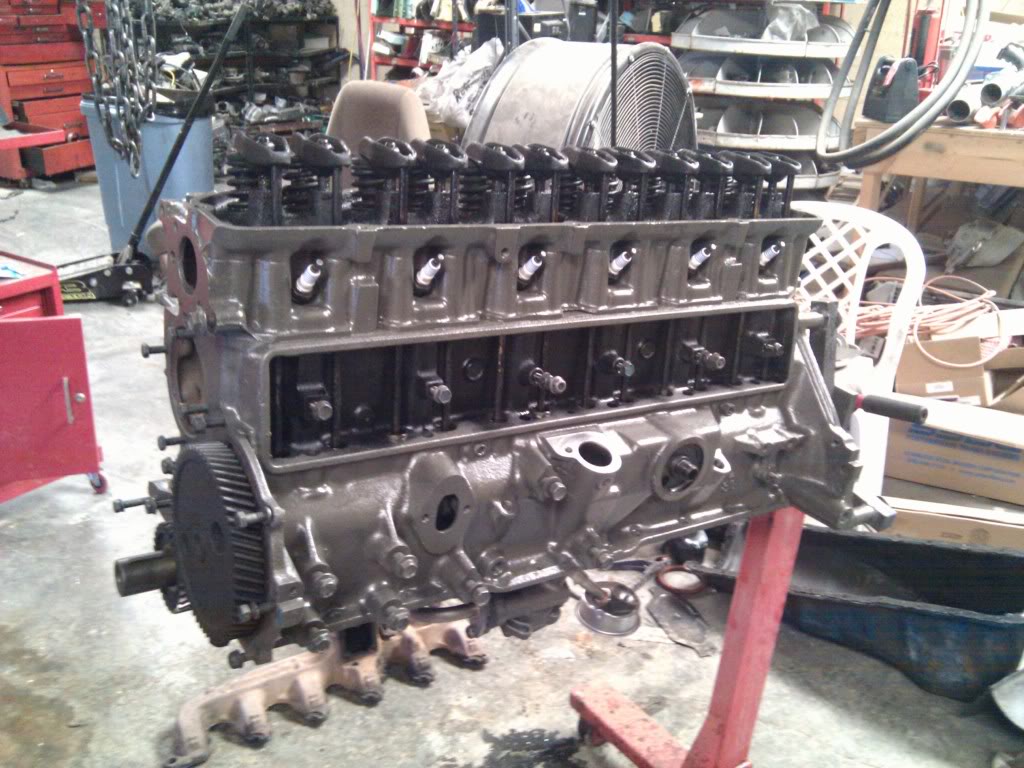
Blast cabinet went down so I was basically at a stand still since the valve cover, timing cover, lifter cover, and oil pan need to be cleaned up for paint.
Fred
Saying goodbye to the log style exhaust manifold since it will be replaced with EFI dual exhaust manifolds to exhale better
New oil pump and pick-up
Painted the engine a cast iron color. Nothing fancy
Blast cabinet went down so I was basically at a stand still since the valve cover, timing cover, lifter cover, and oil pan need to be cleaned up for paint.
Fred
#25
06-17-2011
Join Date: Jul 2005
Location: El Paso, Texas
Posts: 193
Likes: 0
Received 0 Likes
on
0 Posts
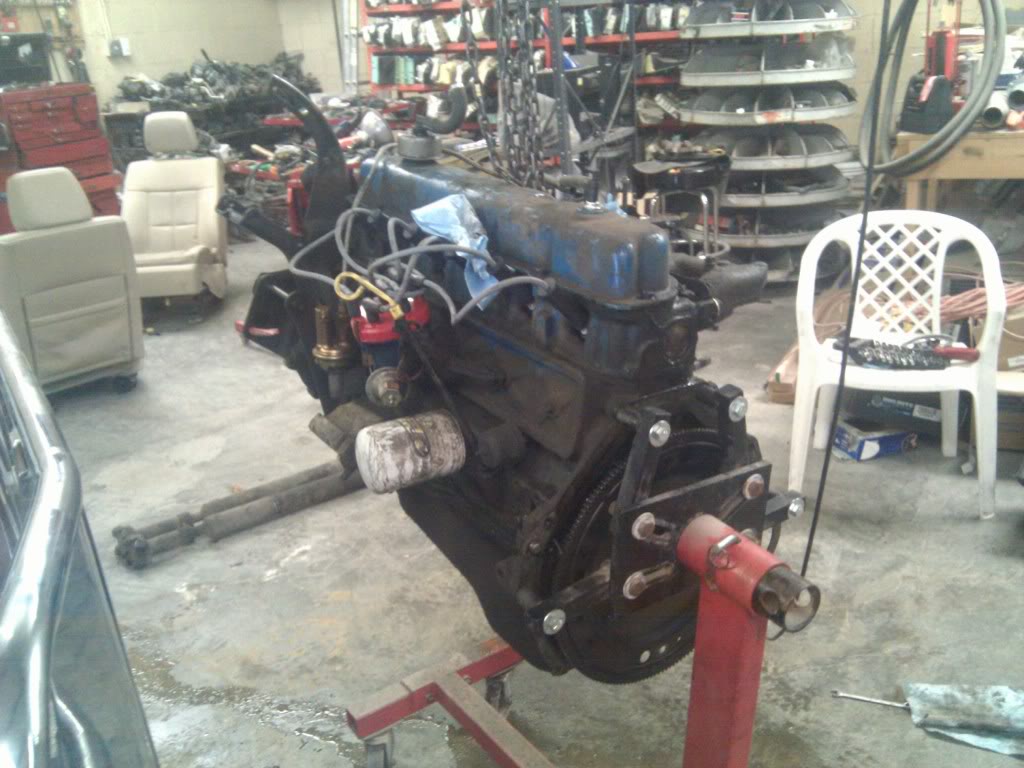
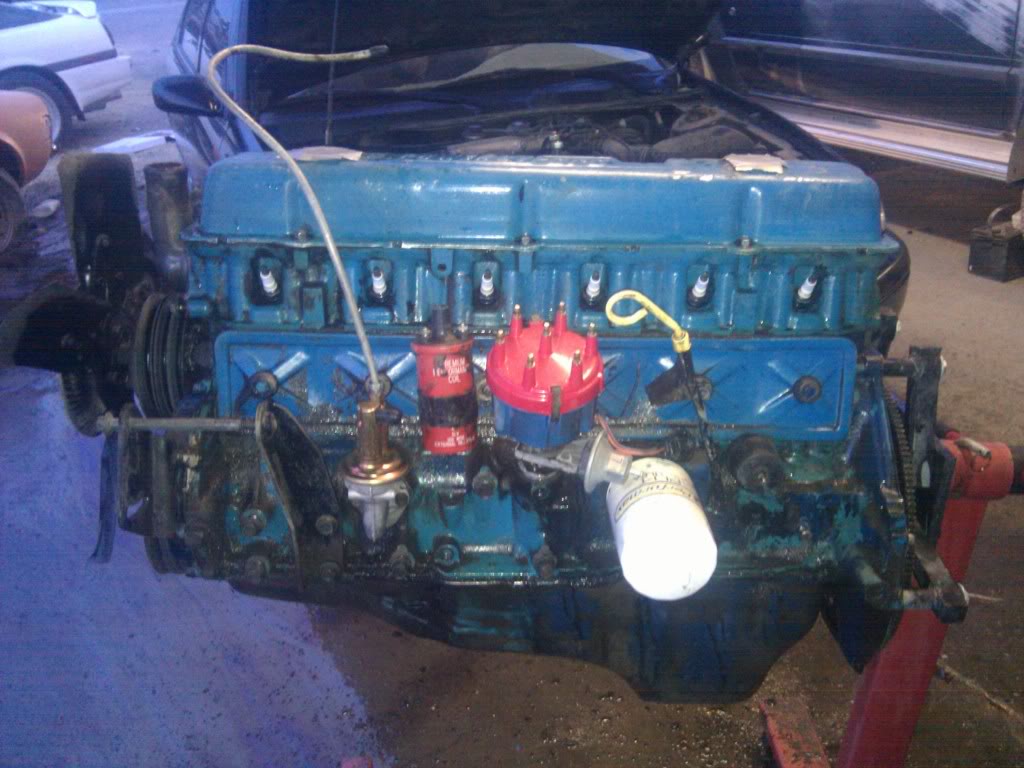
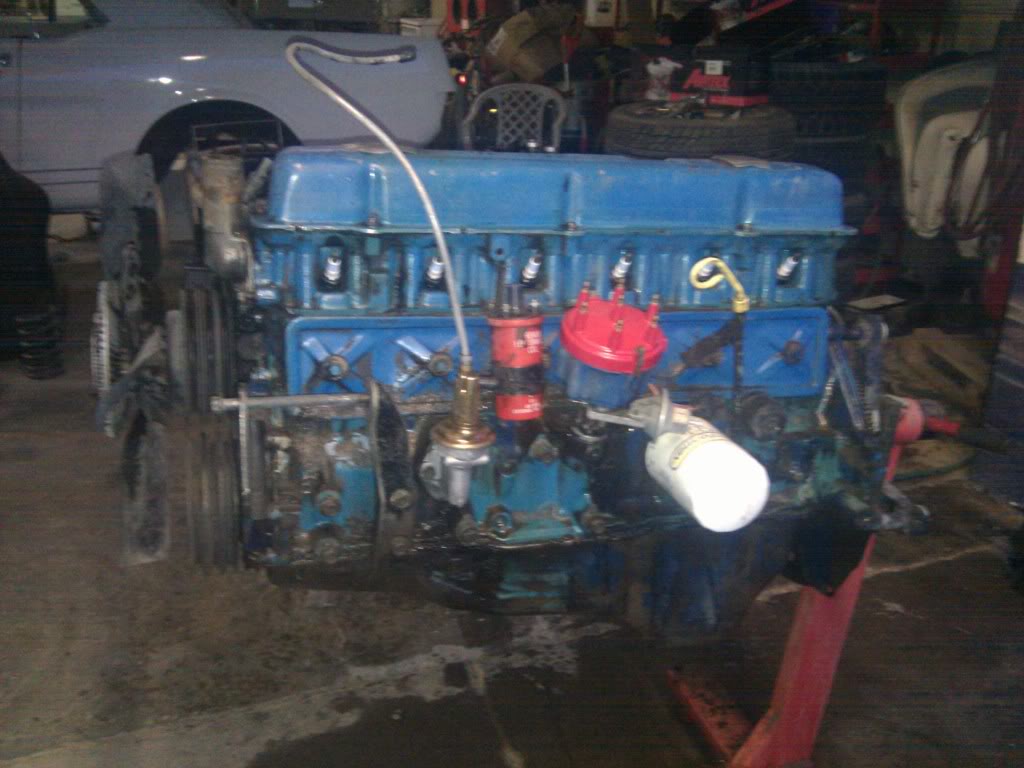
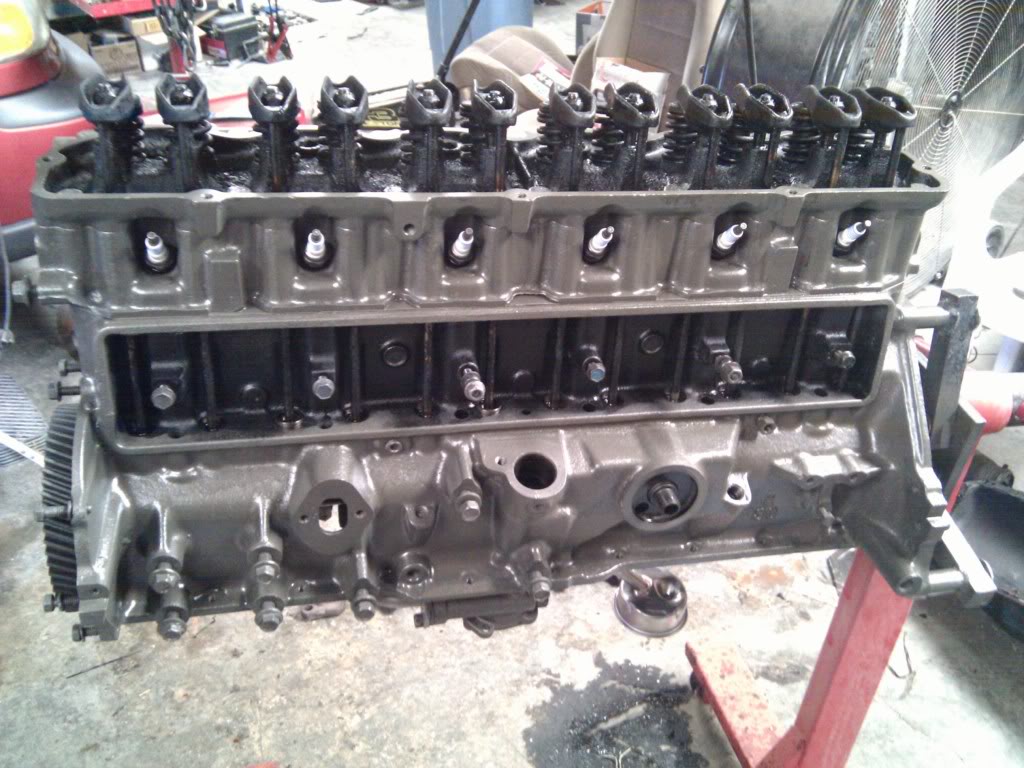
I was able to get some more work in today. Mostly getting the motor back together with new gaskets.
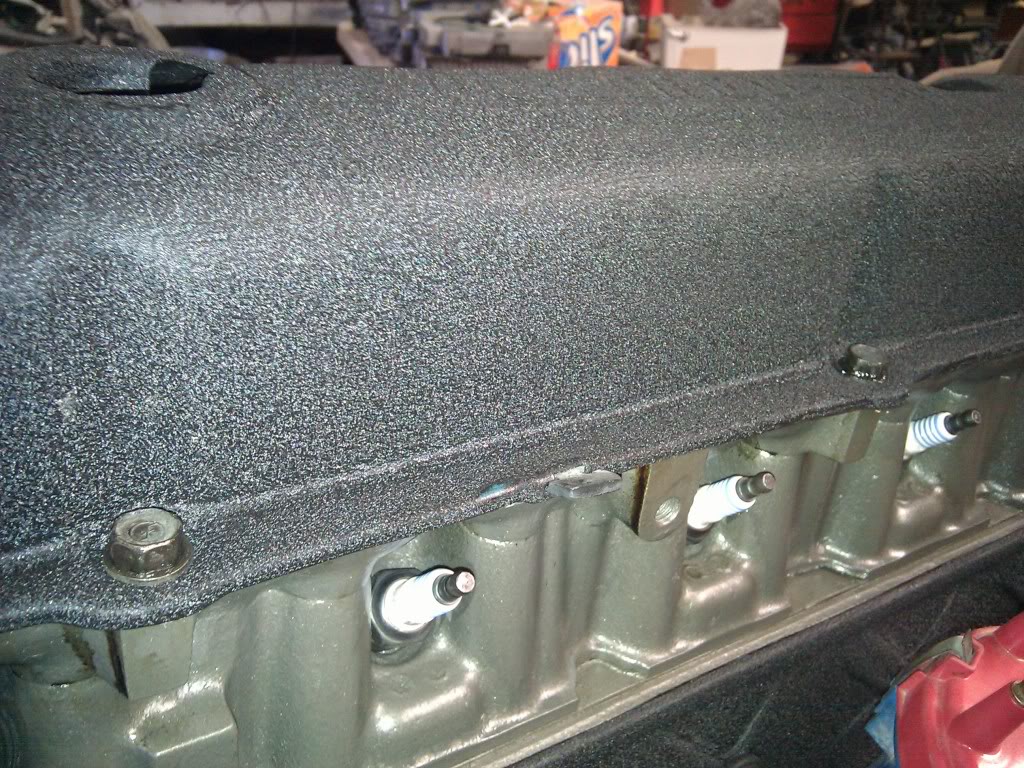
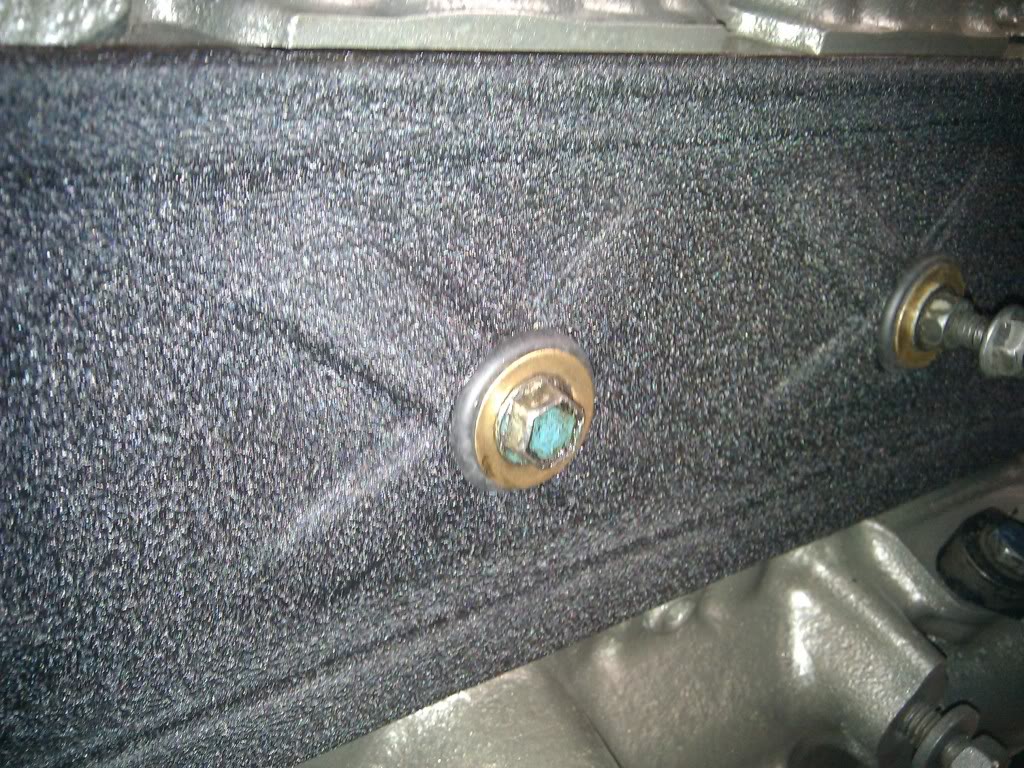
I did the valve cover, and lifter cover in a wrinkle black finish.
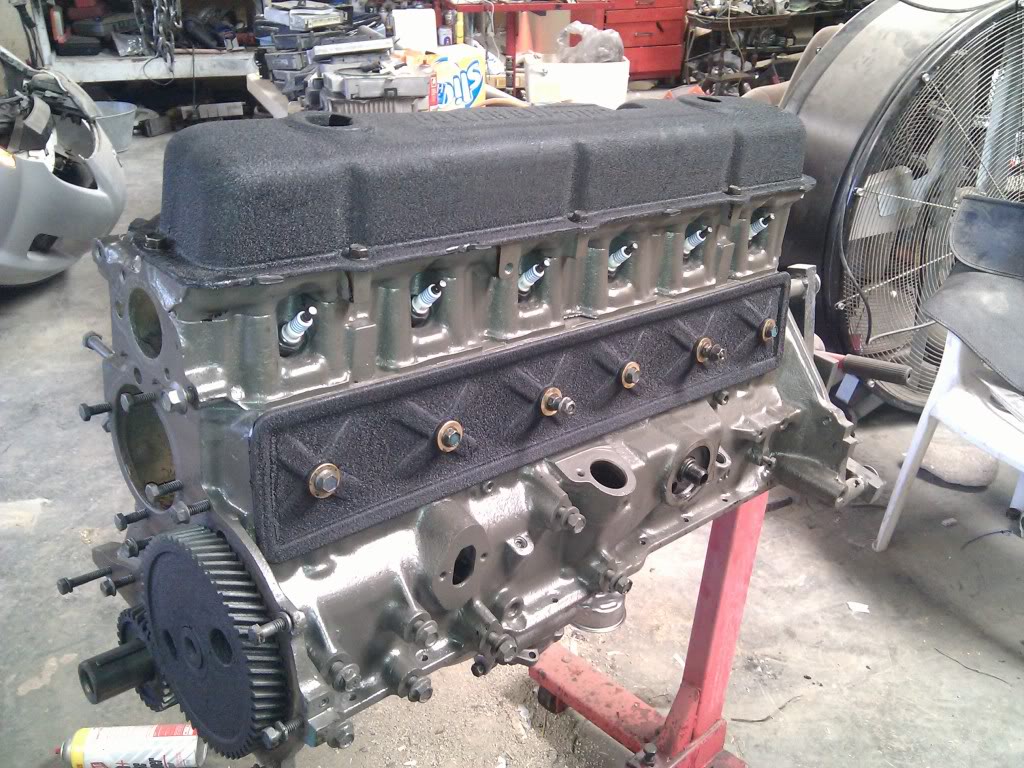
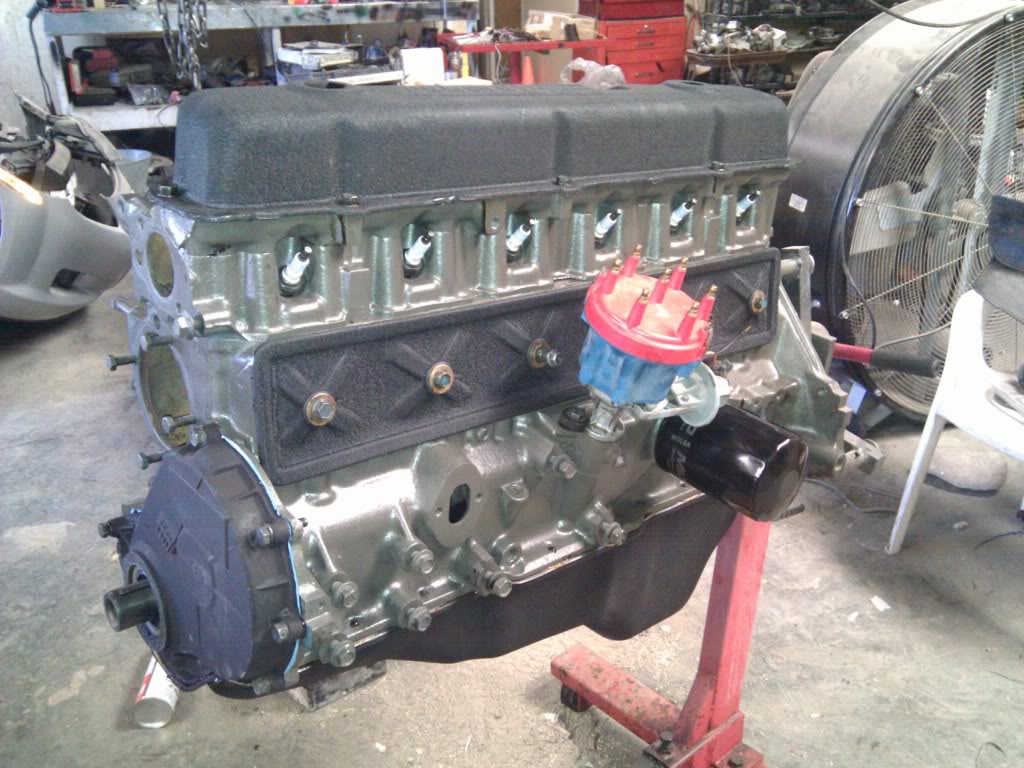
Also did the oil pan to match, and did the timing cover in flat black. The added the distributor, and a new oil filter.
Tomorrow I will install a new water pump and try to figure out manual, non-clutch cooling fan then it goes back into the Bronco.
Fred
I did the valve cover, and lifter cover in a wrinkle black finish.
Also did the oil pan to match, and did the timing cover in flat black. The added the distributor, and a new oil filter.
Tomorrow I will install a new water pump and try to figure out manual, non-clutch cooling fan then it goes back into the Bronco.
Fred


