'83 Bronco
#26
 06-17-2011


Join Date: Jul 2005
Location: El Paso, Texas
Posts: 193
Likes: 0
Received 0 Likes
on
0 Posts
#27
06-17-2011
Join Date: Jul 2005
Location: El Paso, Texas
Posts: 193
Likes: 0
Received 0 Likes
on
0 Posts
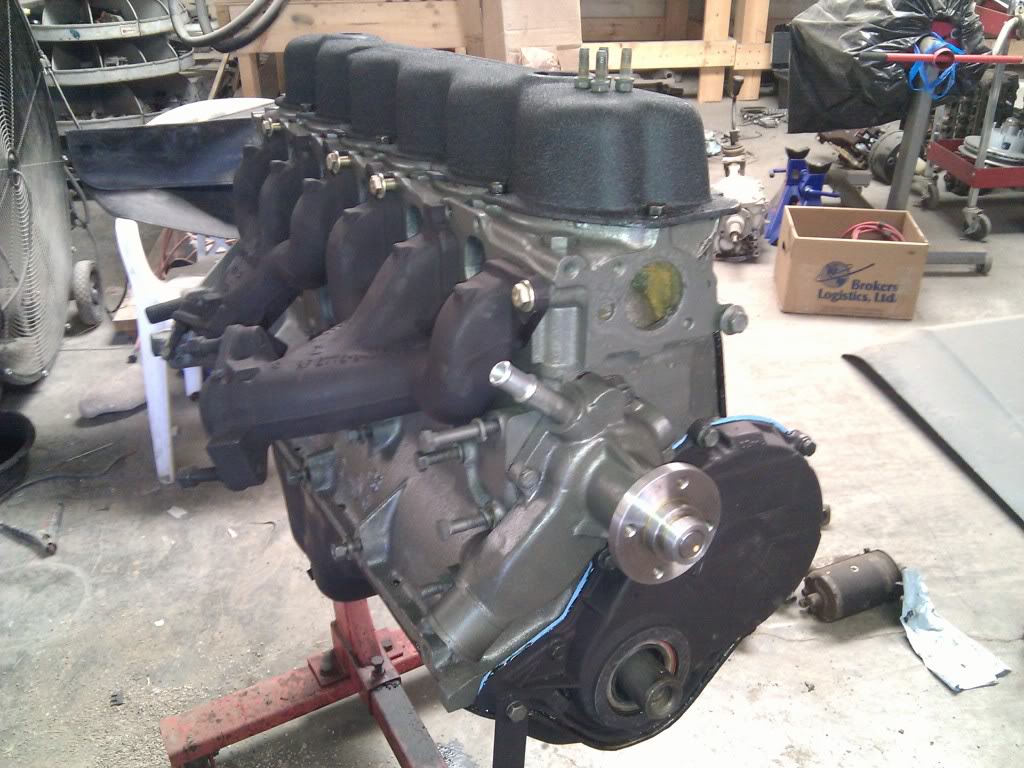
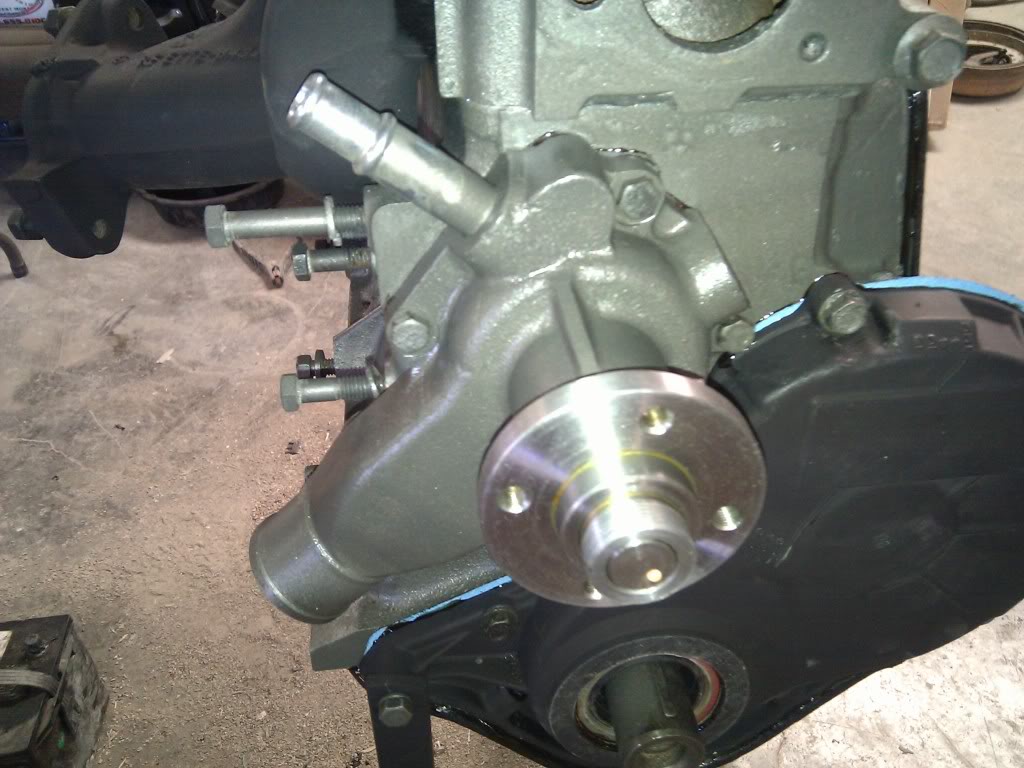
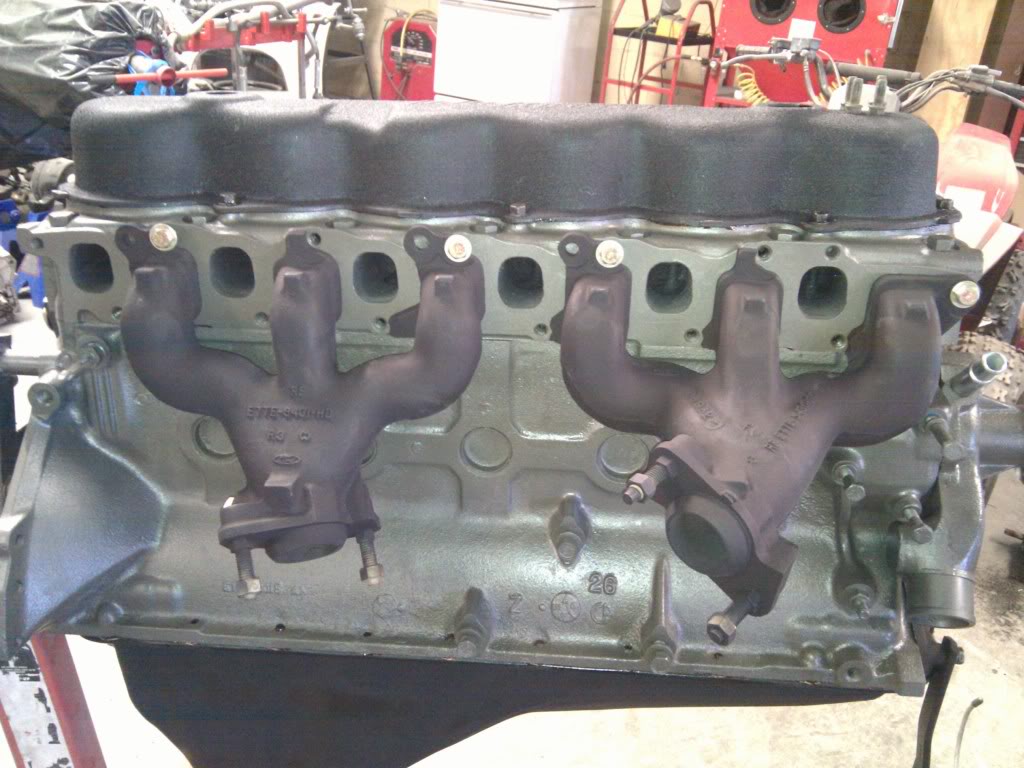
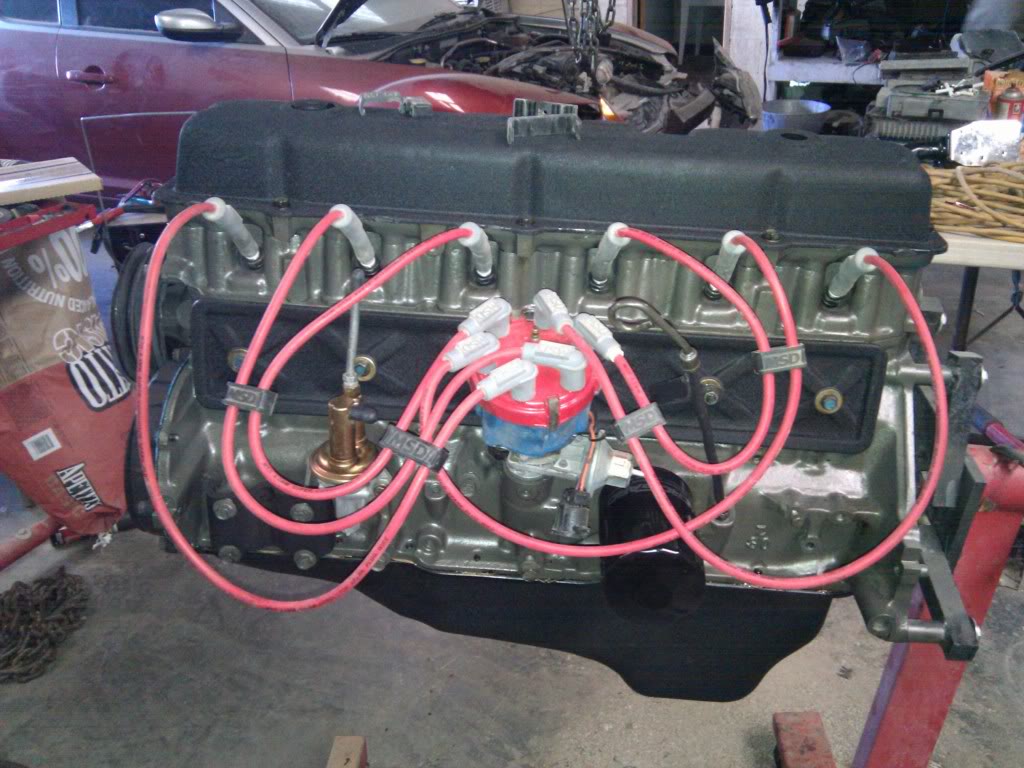
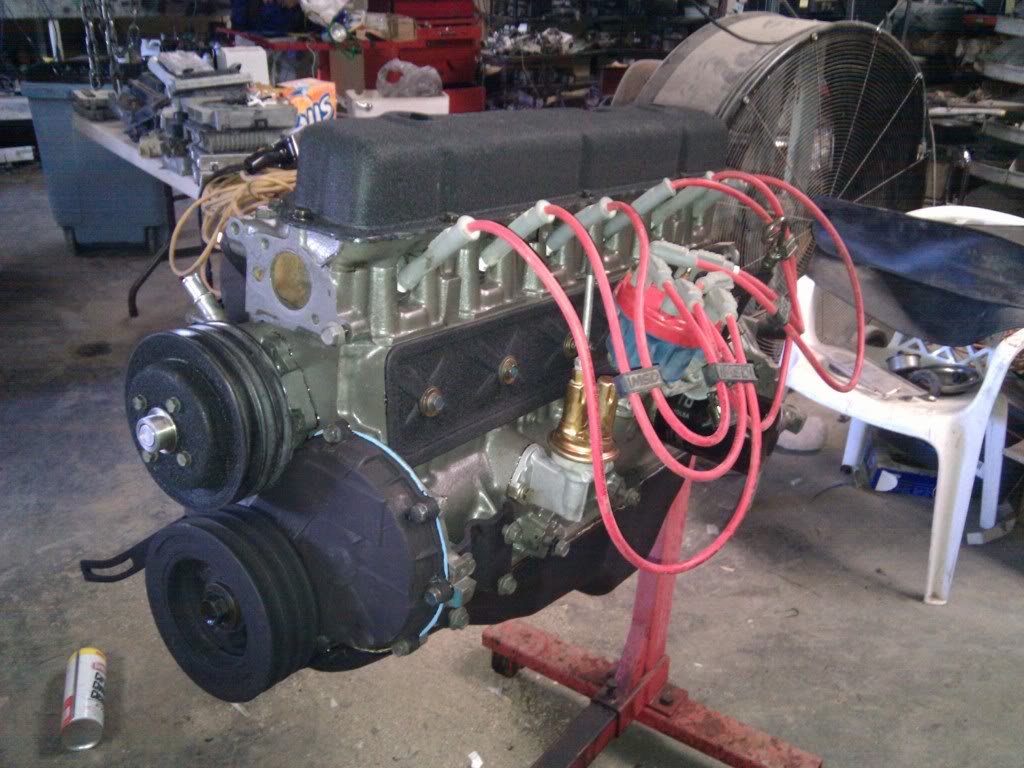
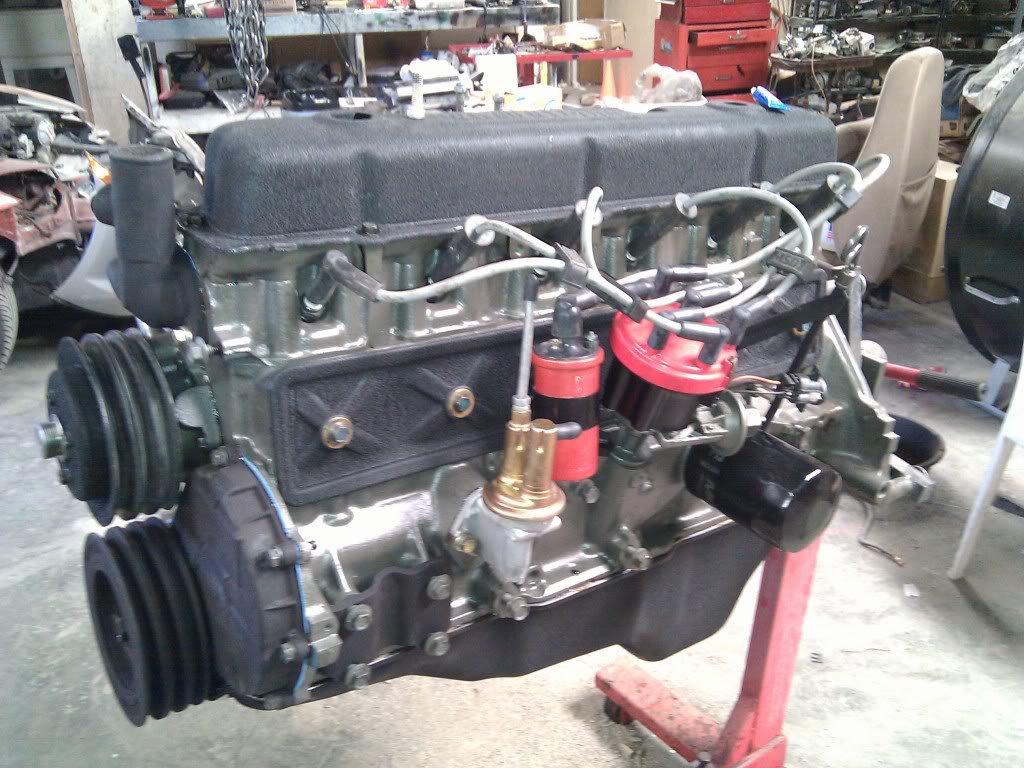
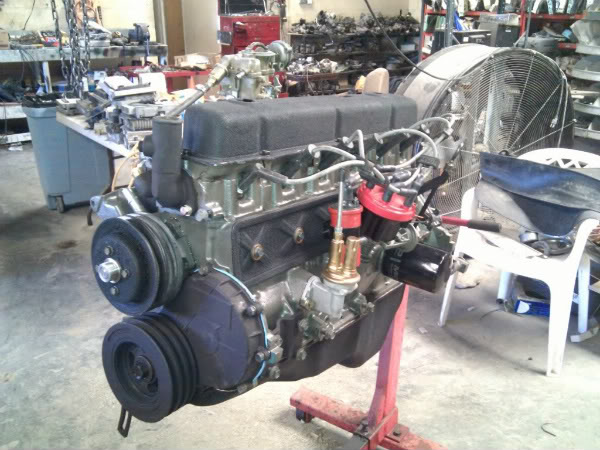
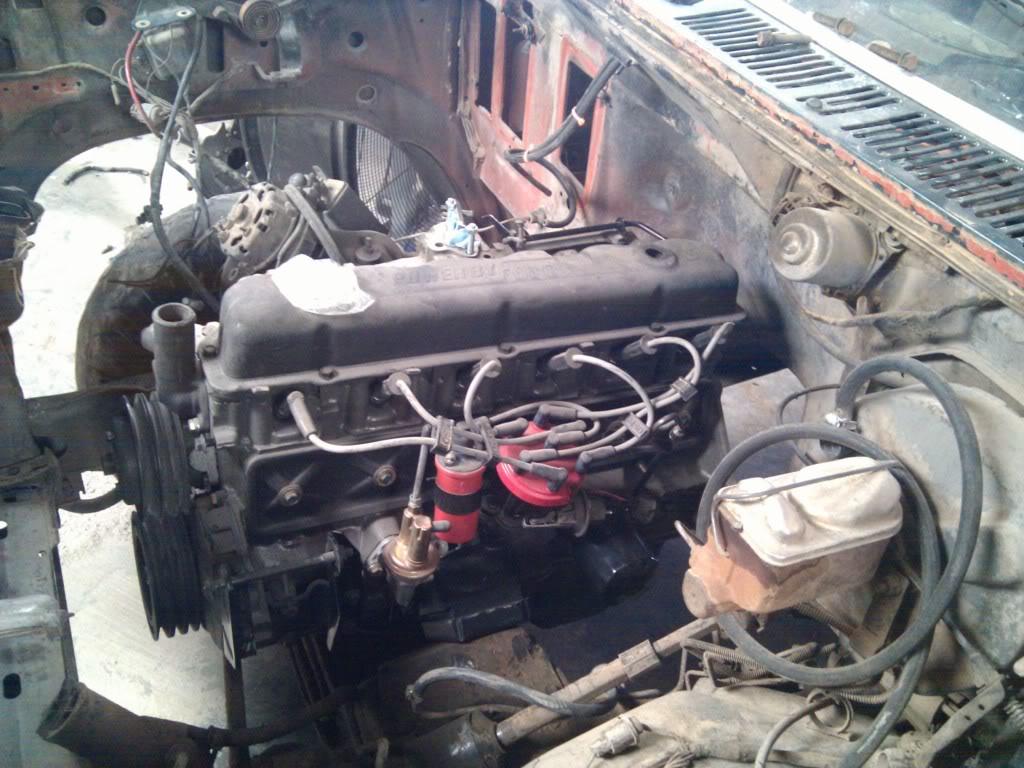
Forgot I had bought these Vatozone wires when I bought the Bronco. They do fit much better and they have lifetime warranty. Also got the ignition coil back on and switched the cap adapter on the distributor from blue to black.
Intake and exhaust manifolds on.
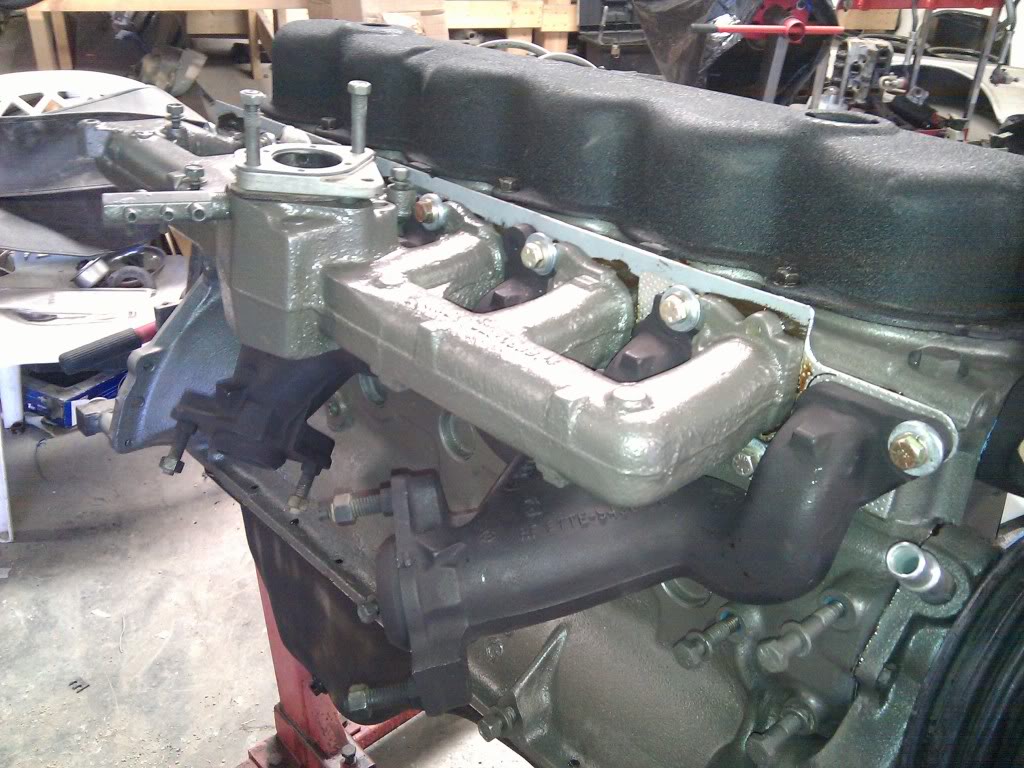
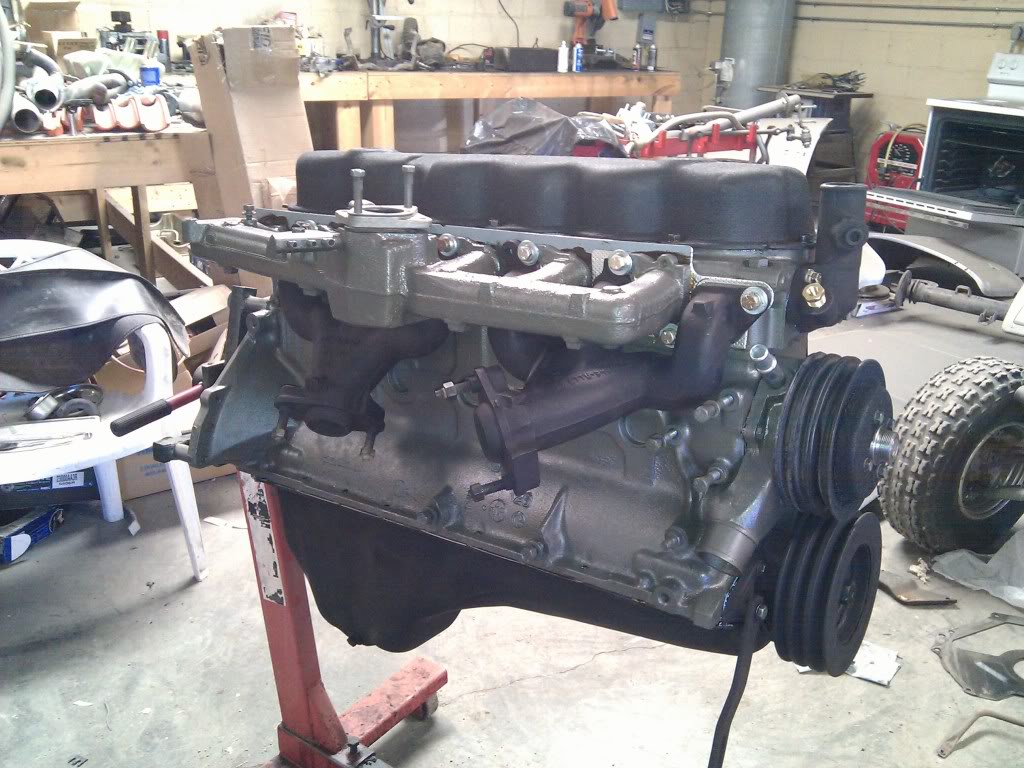
Something will have to be done down the road about this single barrel carb.

Motor should go back in Friday.
Fred
Intake and exhaust manifolds on.
Something will have to be done down the road about this single barrel carb.
Motor should go back in Friday.
Fred
#28
06-17-2011
Join Date: Jul 2005
Location: El Paso, Texas
Posts: 193
Likes: 0
Received 0 Likes
on
0 Posts
Work had kept me from getting any work done on this. I have 1 1/2 months vacation so I need to get this running and on the trail. Shooting for 4th of July as the first outing.
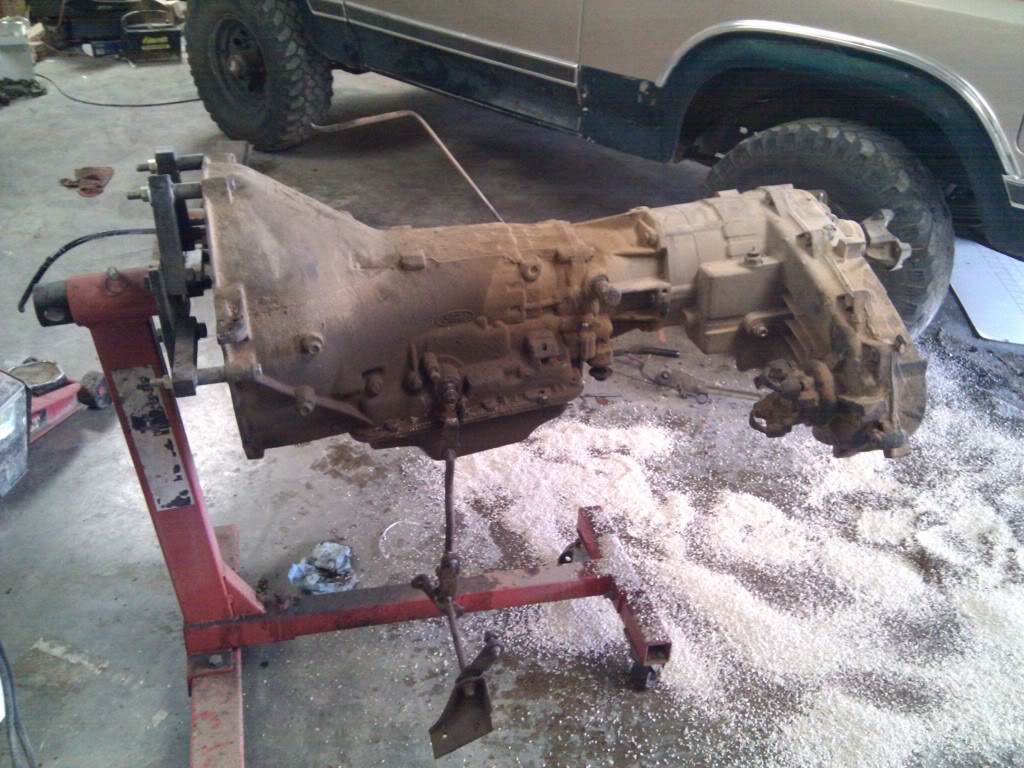
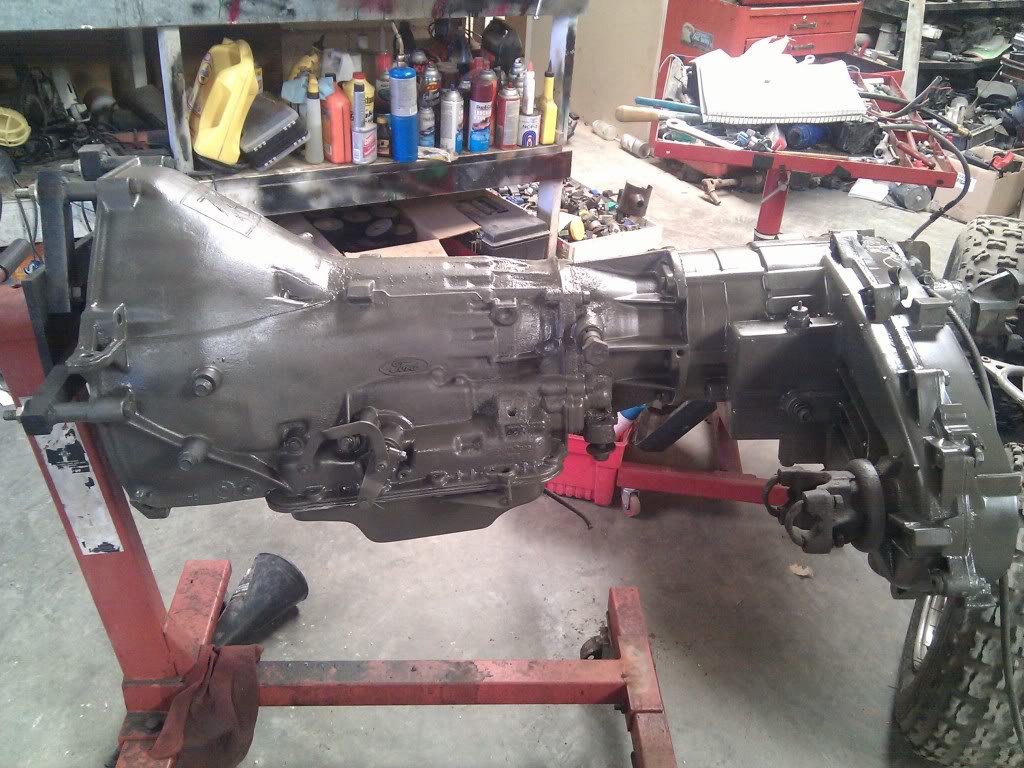
Finally got the trans pulled which allowed the motor to go in within a matter of minutes with new motor mounts.
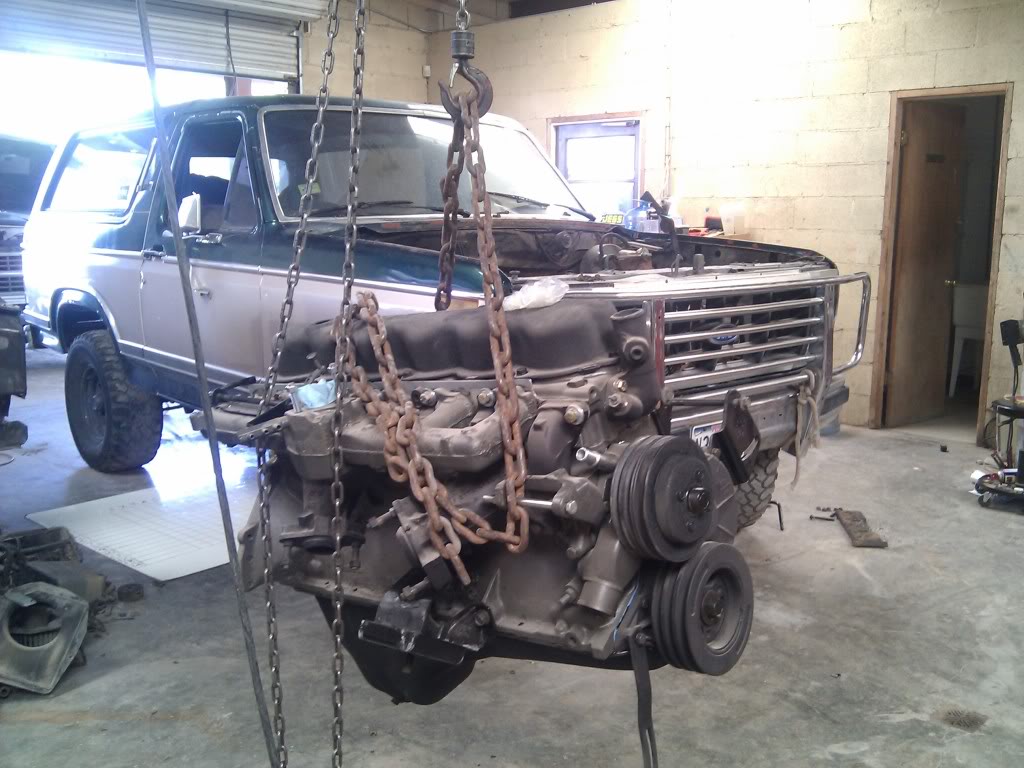
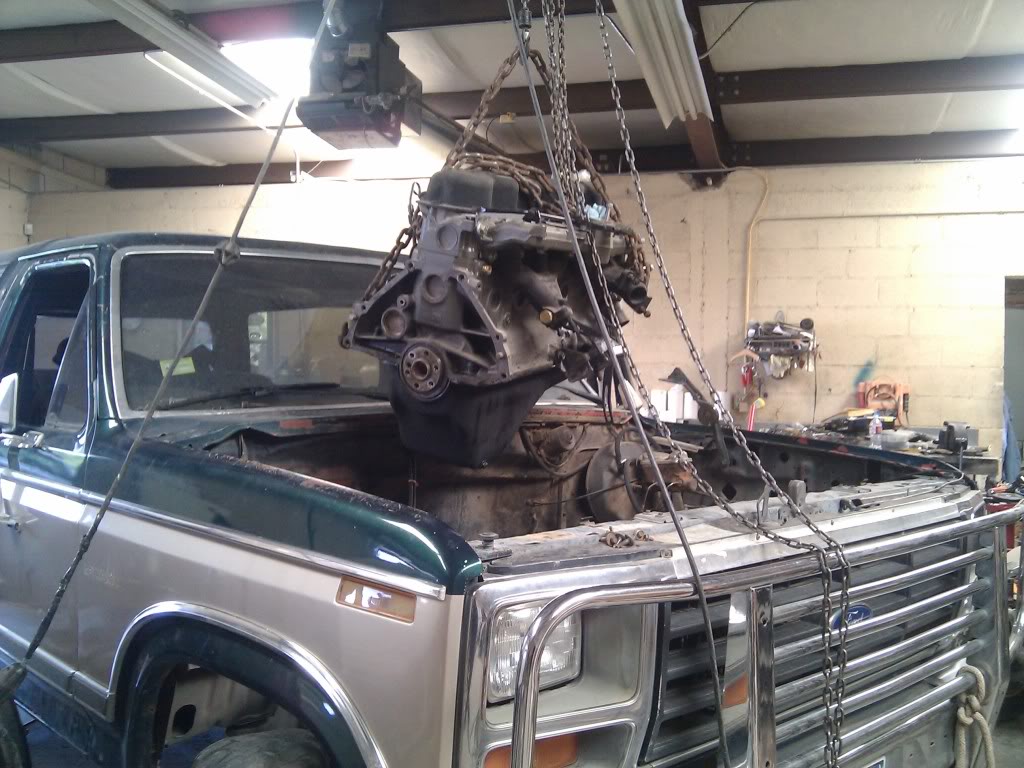
As you can see, I didn't clean up the engine bay due to time constraints.
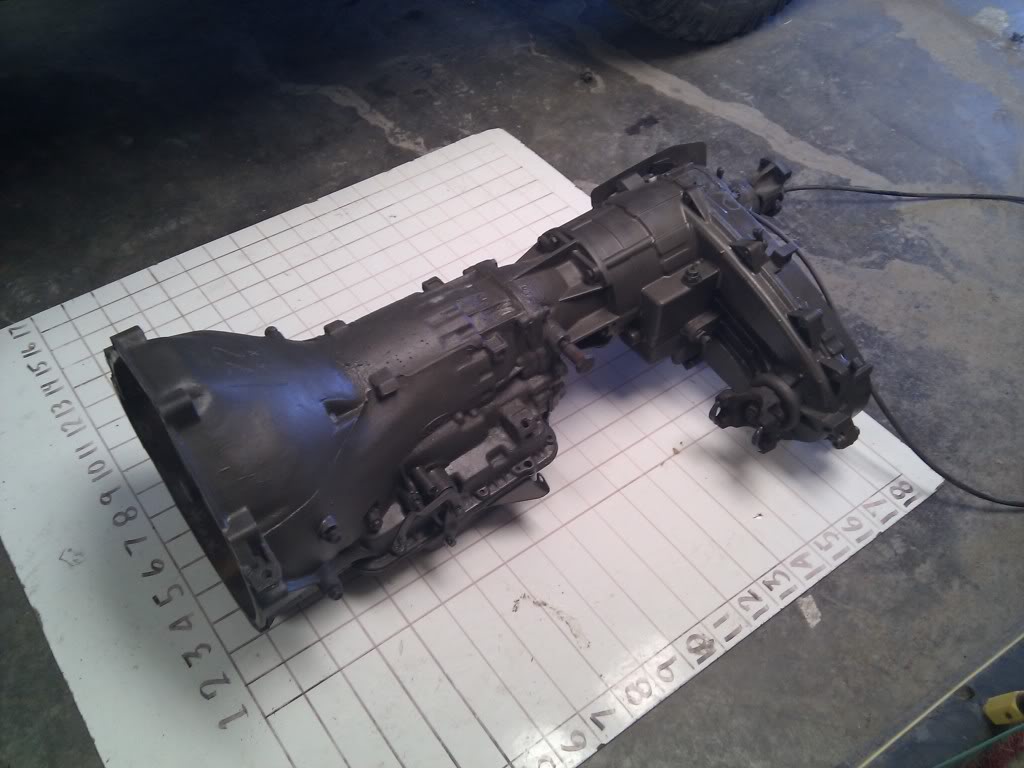
Trans is on the stand ready for a mild clean upland shift shaft seal and o-ring replacement.
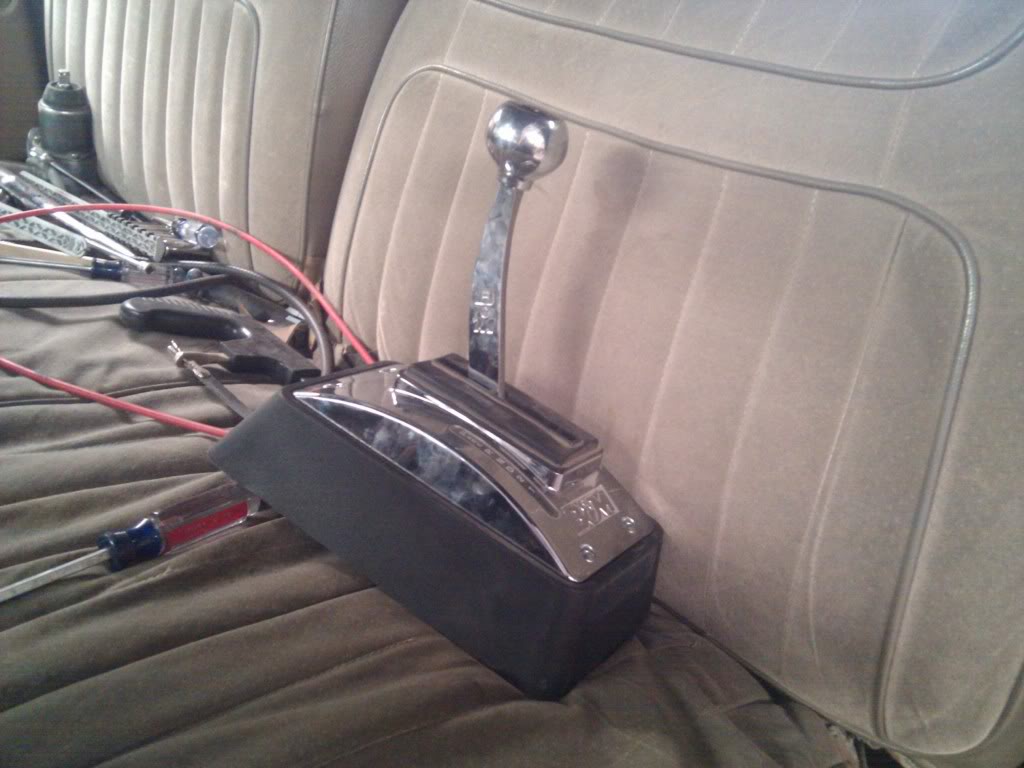
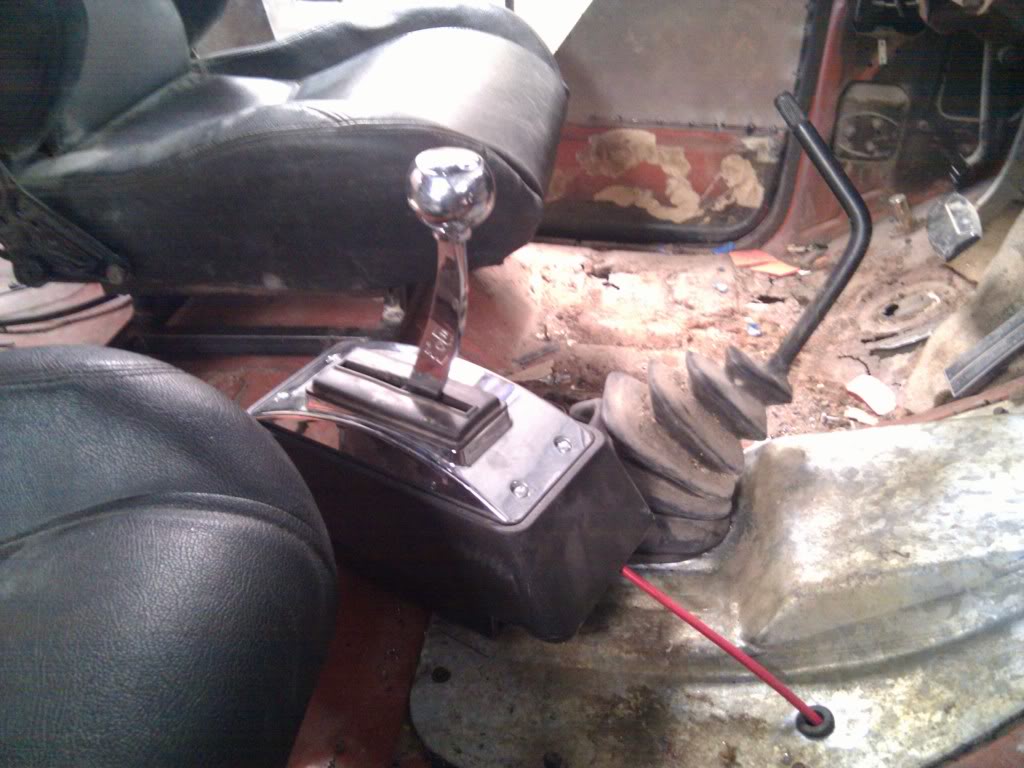
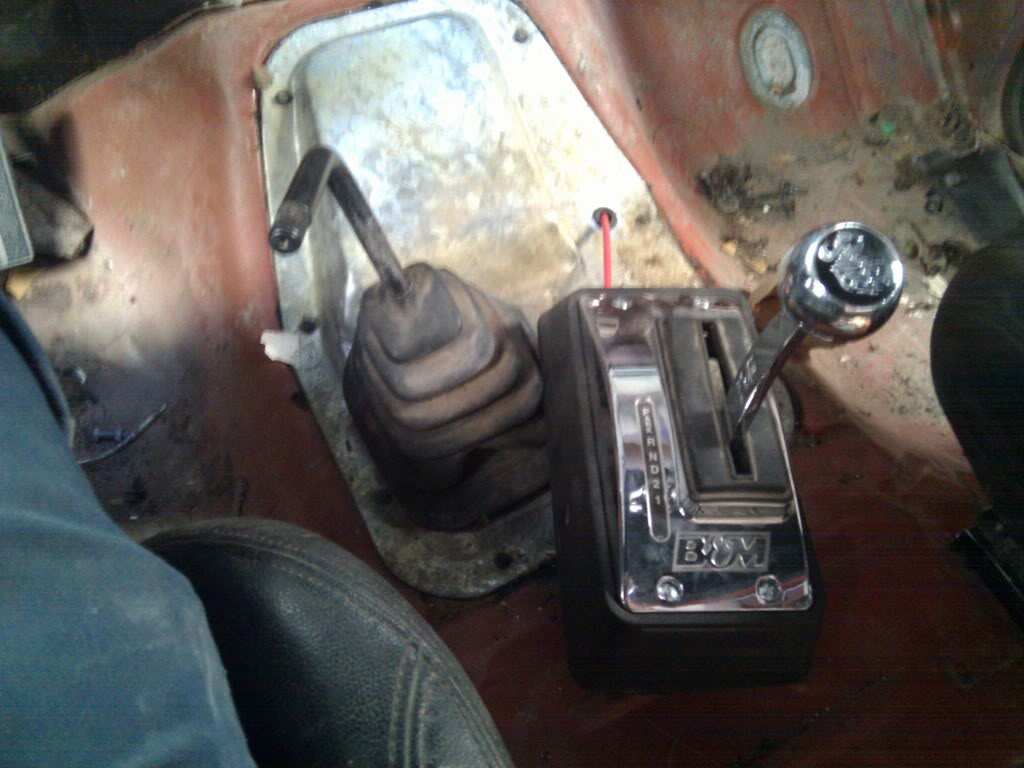
Also taking this time to install the bracket and lever needed for a B&M Quick Silver floor shifter.
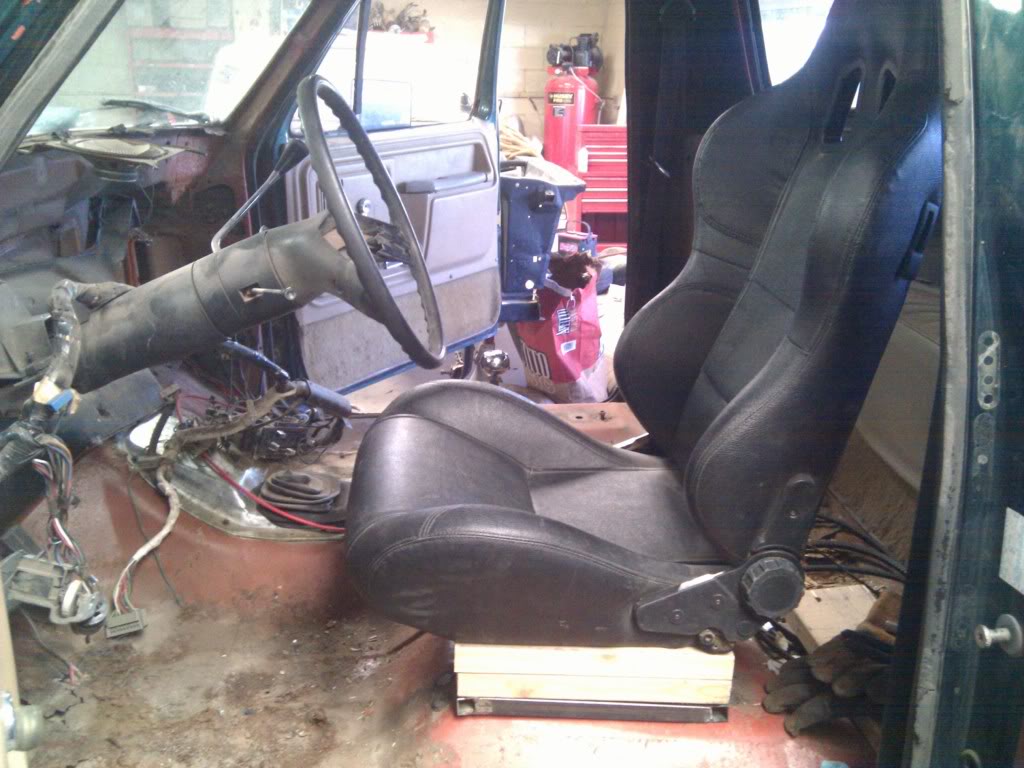
Pulled the bench seat and started figuring out the height needed for the seat risers for the bucket seats.
Tomorrow, looking at some 35s locally, ordering new wheels, locking trans dipstick, trans mount bushings, and maybe starting on the half door build.
Not pictured is the Walker y-pipe that came in for the efi exhaust manifolds.
Fred
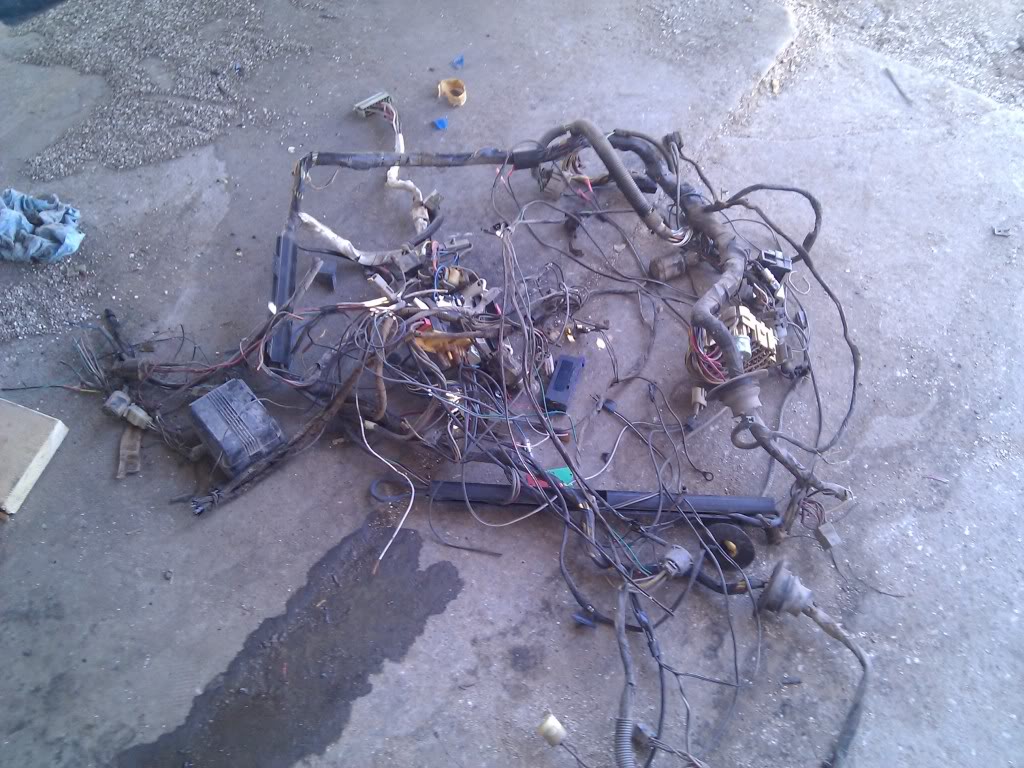
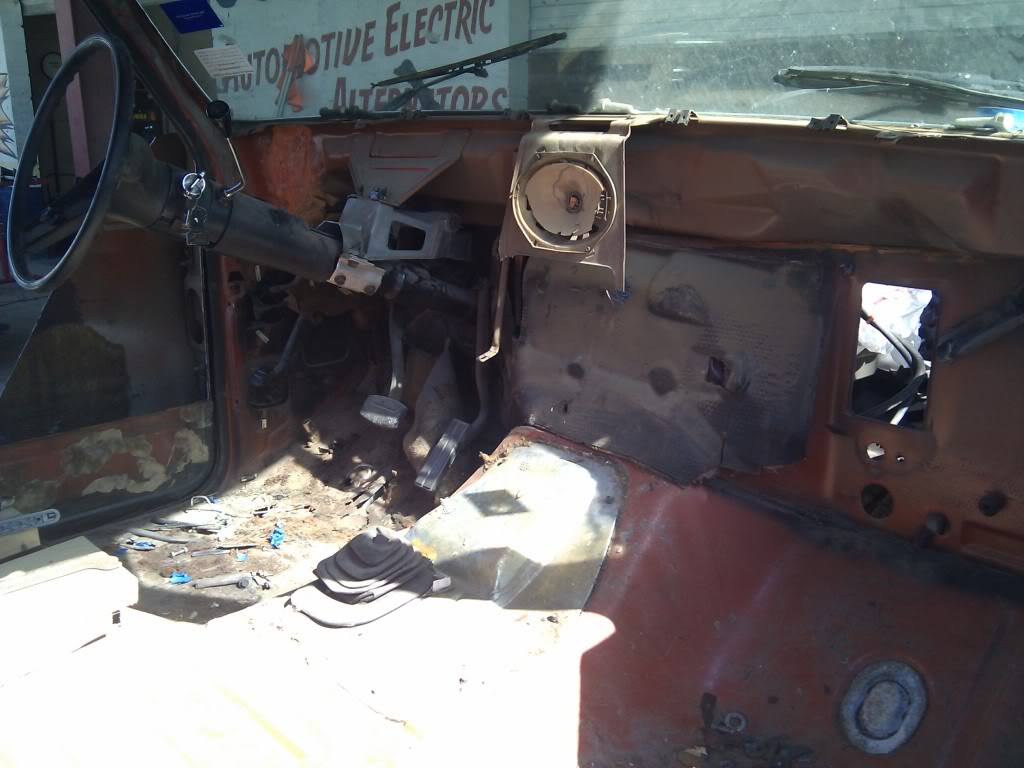
Edit :you may also notice I removed the dash, AC crap, and one of the fenderwells so far. Going to do a bare bones rewire and going to mount all the ignition module inside the firewall.
The stock oil filler cap has seen better days as had the pcv valve and grommet so I replaced them with some cheepy Spectre Vatozone chrome pieces.

Finally got the trans pulled which allowed the motor to go in within a matter of minutes with new motor mounts.
As you can see, I didn't clean up the engine bay due to time constraints.
Trans is on the stand ready for a mild clean upland shift shaft seal and o-ring replacement.
Also taking this time to install the bracket and lever needed for a B&M Quick Silver floor shifter.
Pulled the bench seat and started figuring out the height needed for the seat risers for the bucket seats.
Tomorrow, looking at some 35s locally, ordering new wheels, locking trans dipstick, trans mount bushings, and maybe starting on the half door build.
Not pictured is the Walker y-pipe that came in for the efi exhaust manifolds.
Fred
Edit :you may also notice I removed the dash, AC crap, and one of the fenderwells so far. Going to do a bare bones rewire and going to mount all the ignition module inside the firewall.
The stock oil filler cap has seen better days as had the pcv valve and grommet so I replaced them with some cheepy Spectre Vatozone chrome pieces.
#29
06-17-2011
Join Date: Jul 2005
Location: El Paso, Texas
Posts: 193
Likes: 0
Received 0 Likes
on
0 Posts
As of 6/17/11
Well, I picked up 3 decent 35's fro $30 a piece. Need one more. Going to have to wait on the new wheels until next month. Trans dipstick and trans mount bushings are on order from Bronco Graveyard.
I cleaned up the trans a little bit and sprayed it with some extra cast iron paint I had laying around.
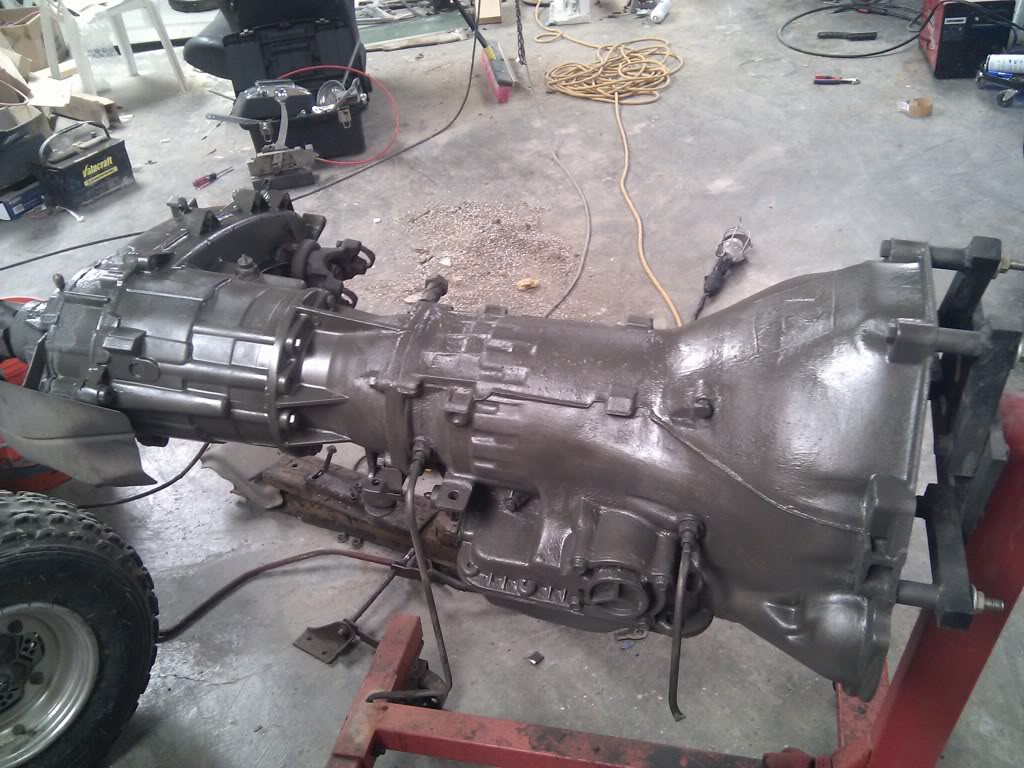
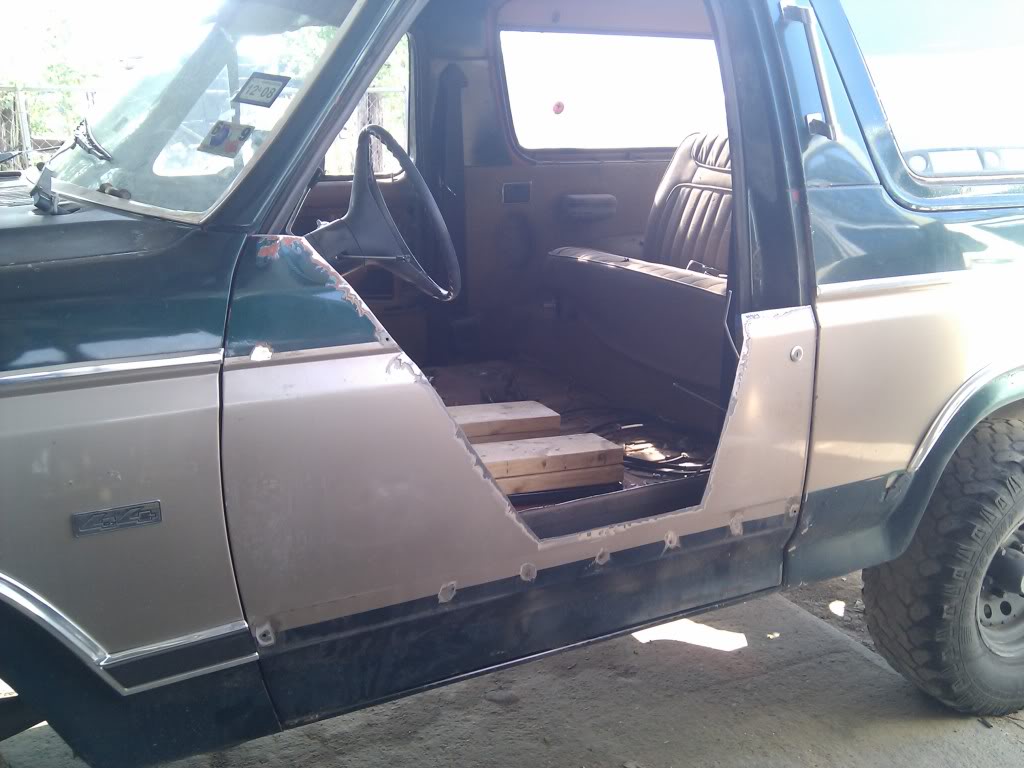
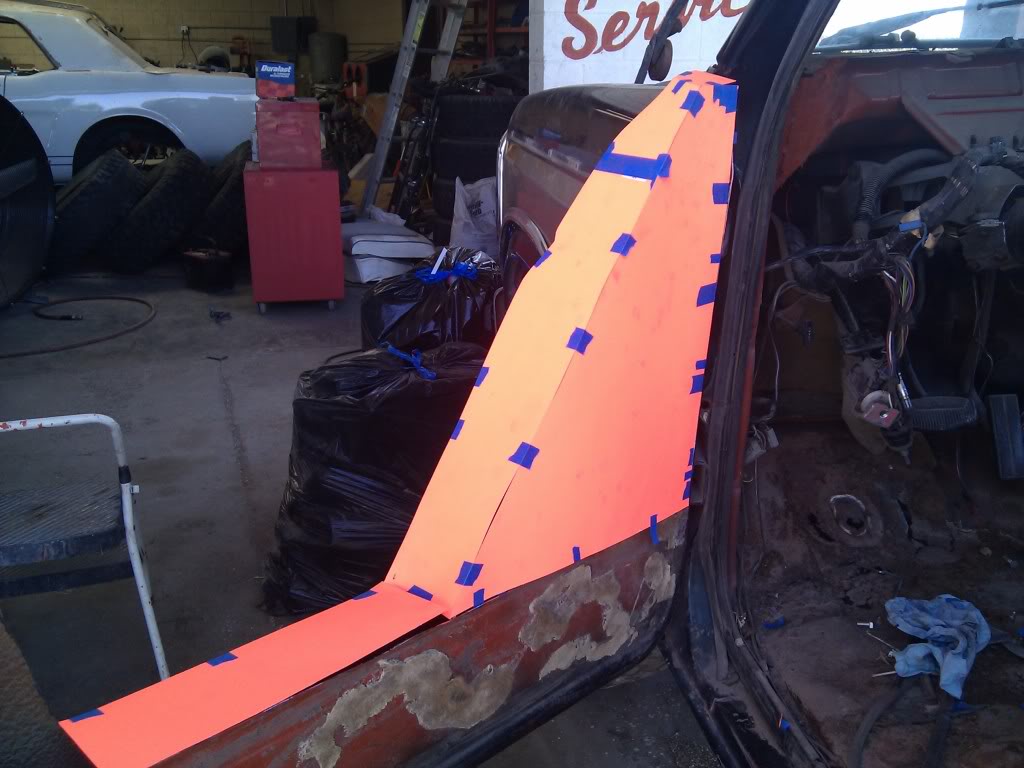
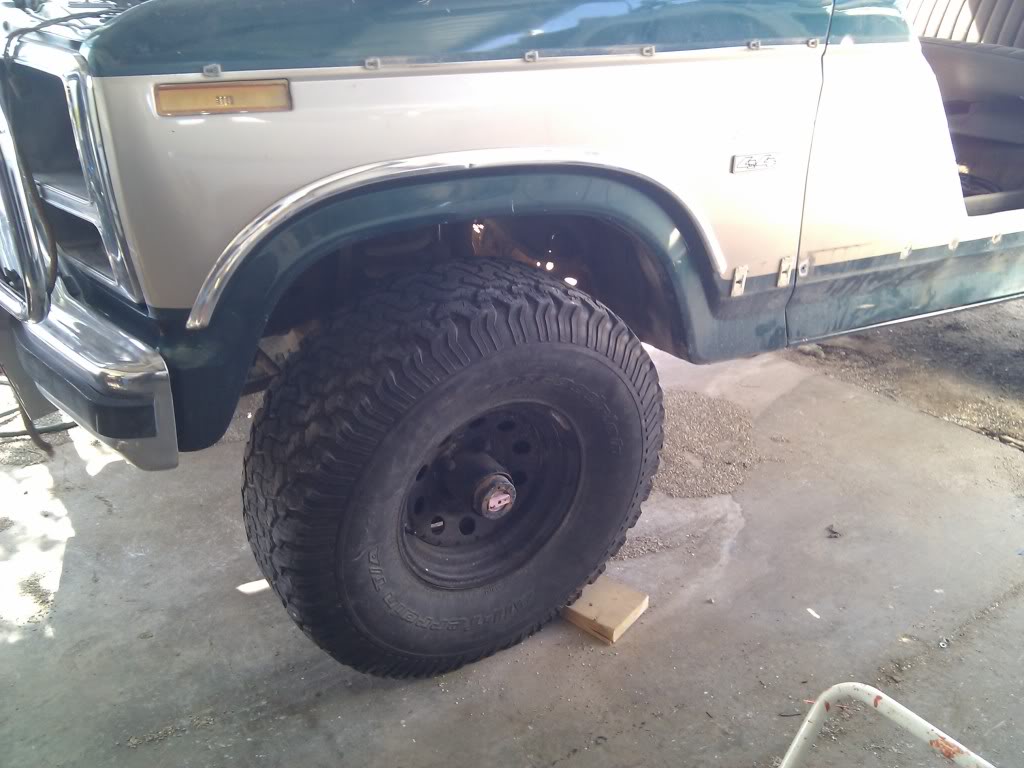
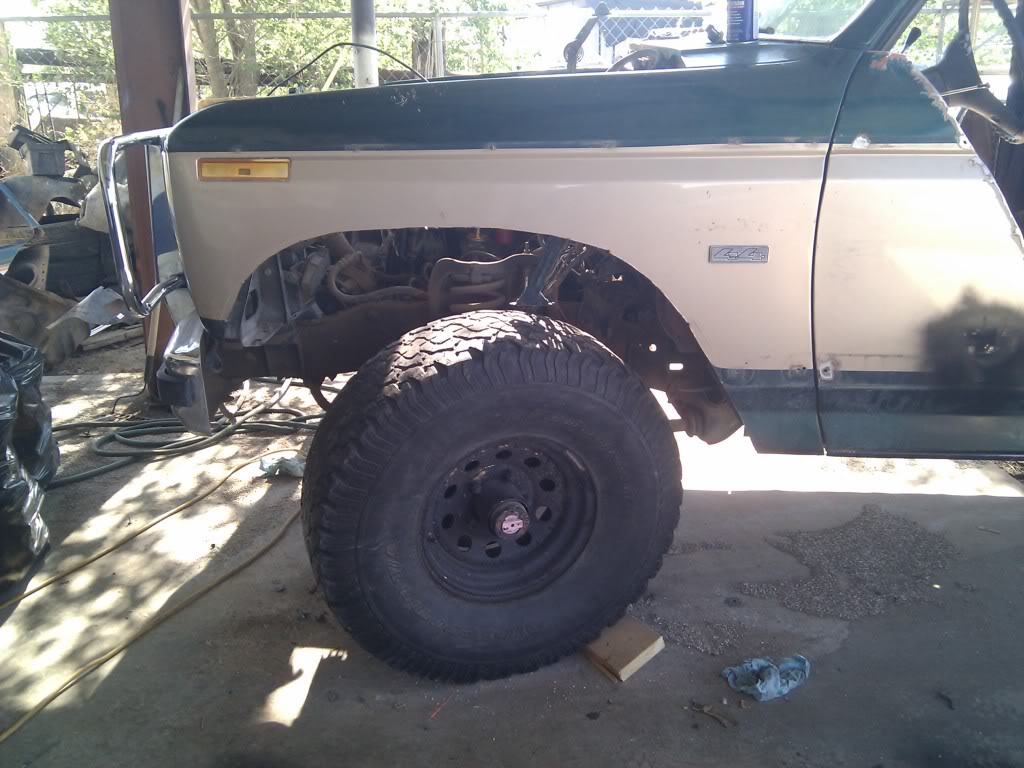
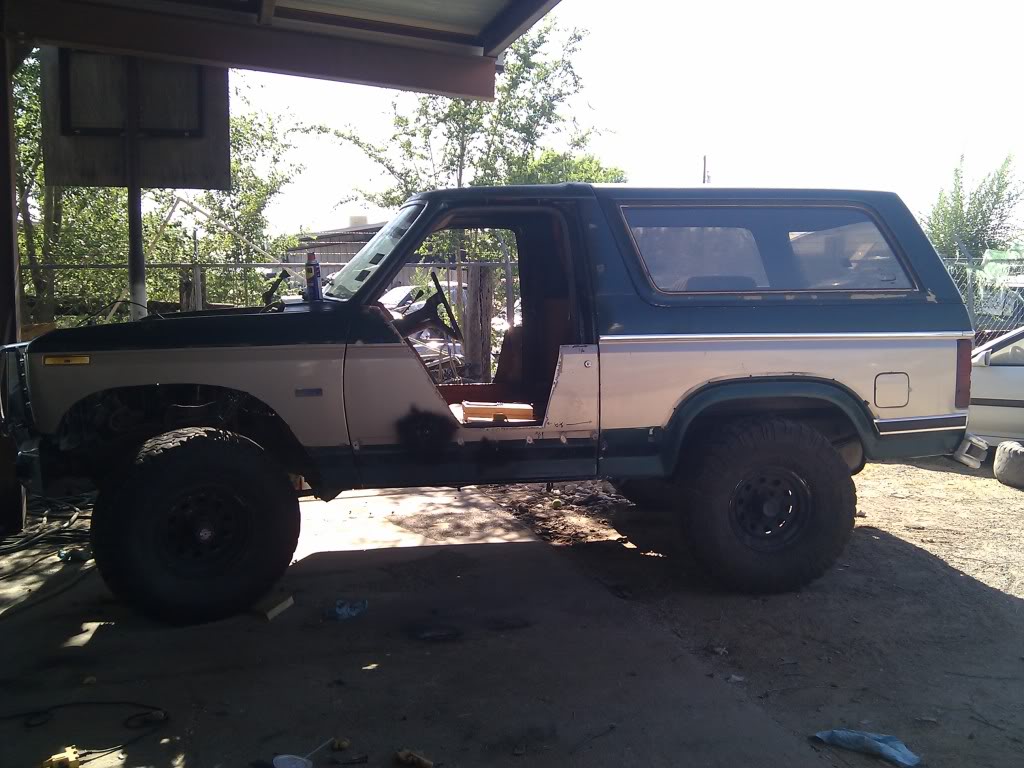
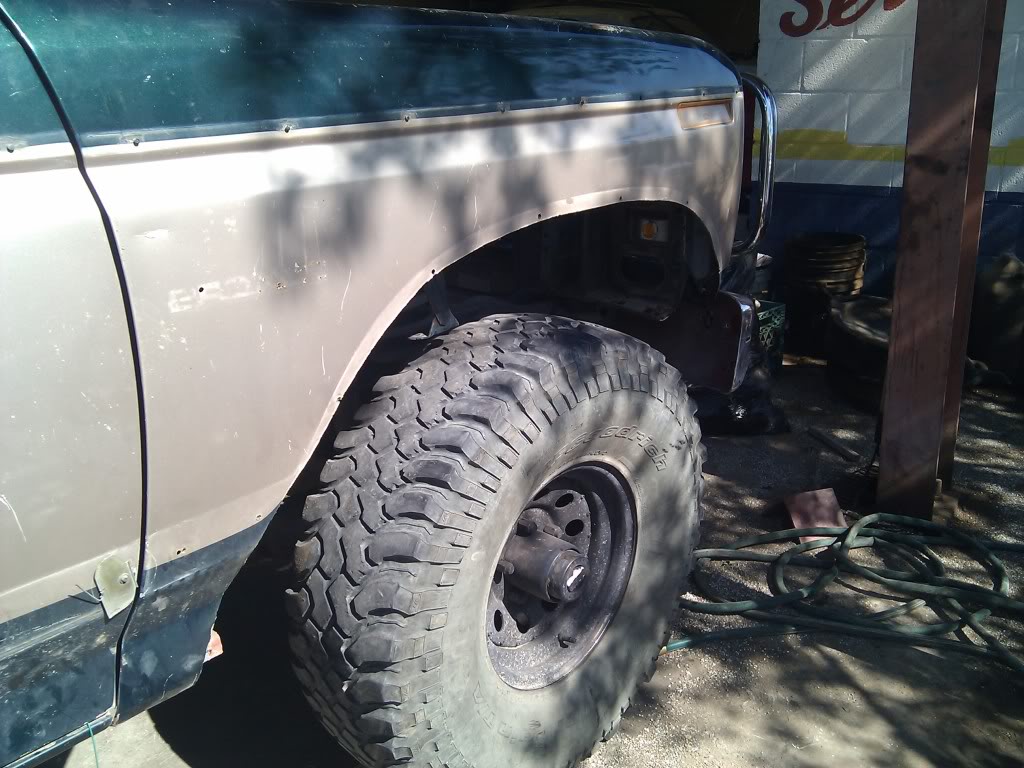
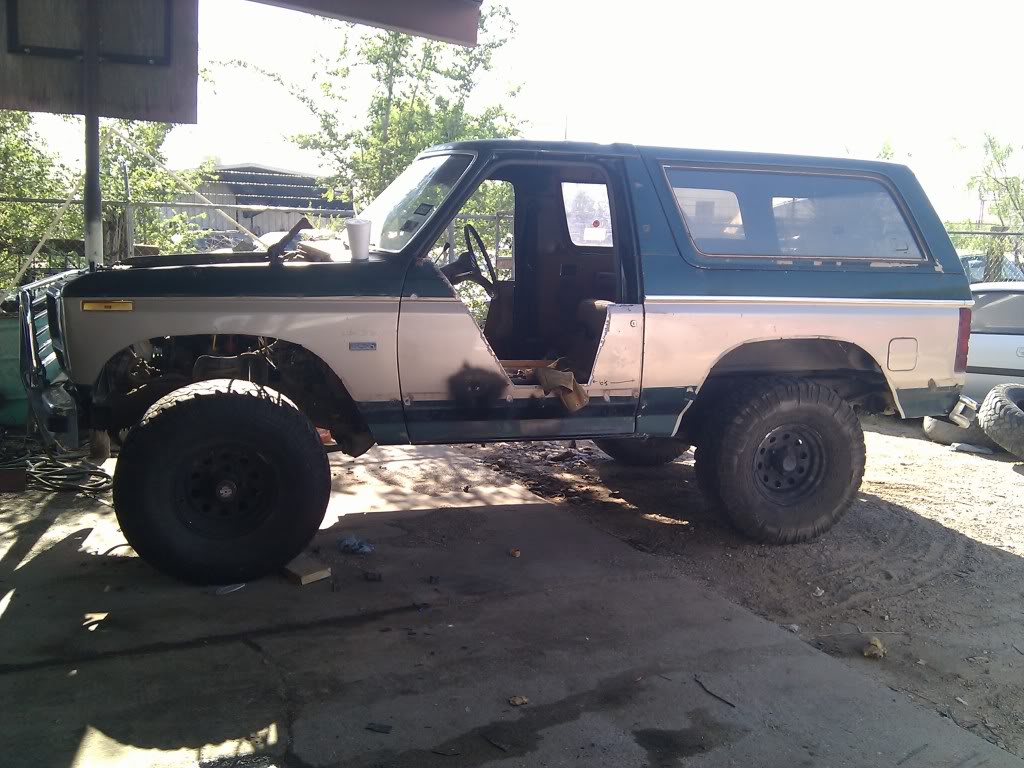
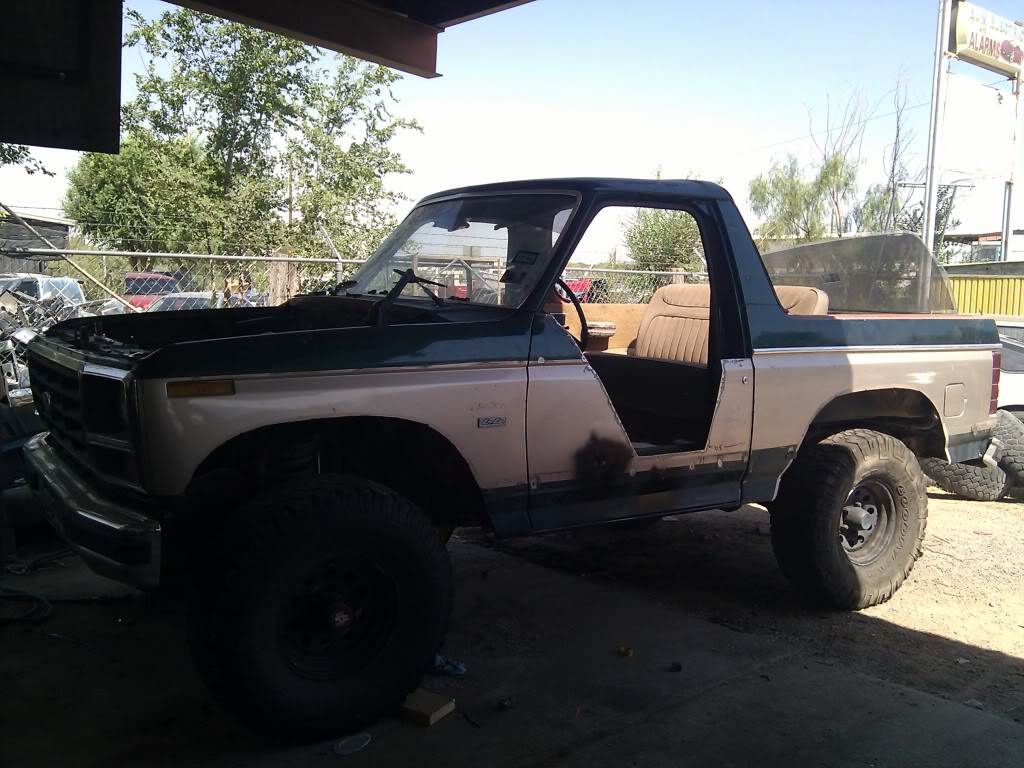
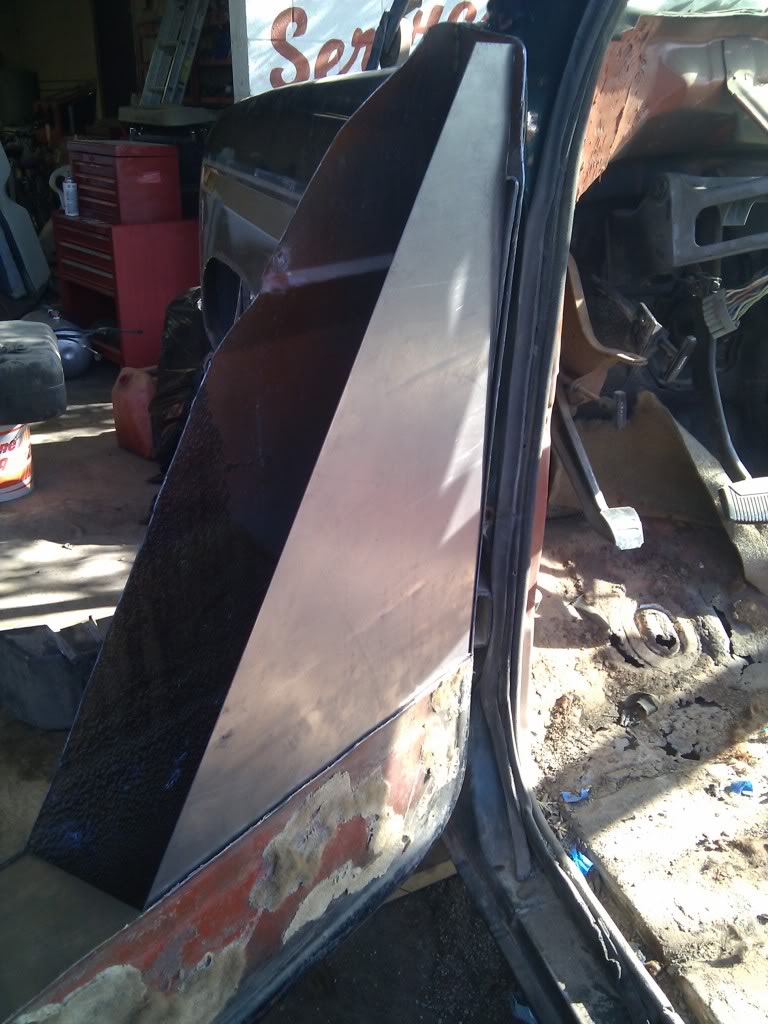
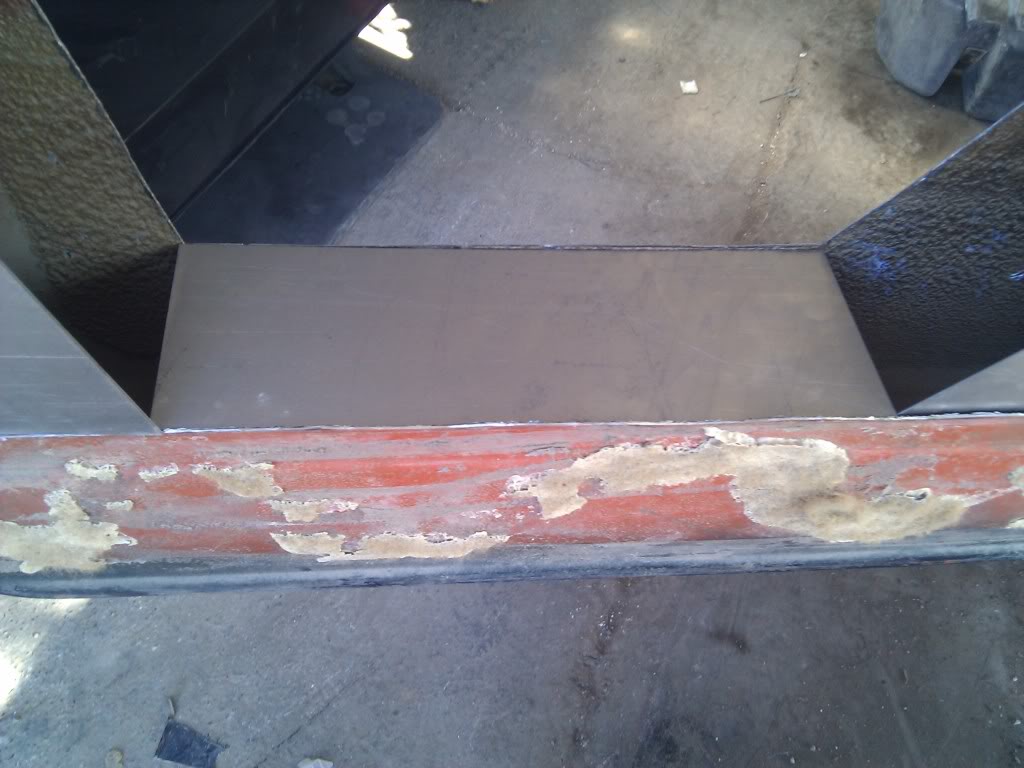
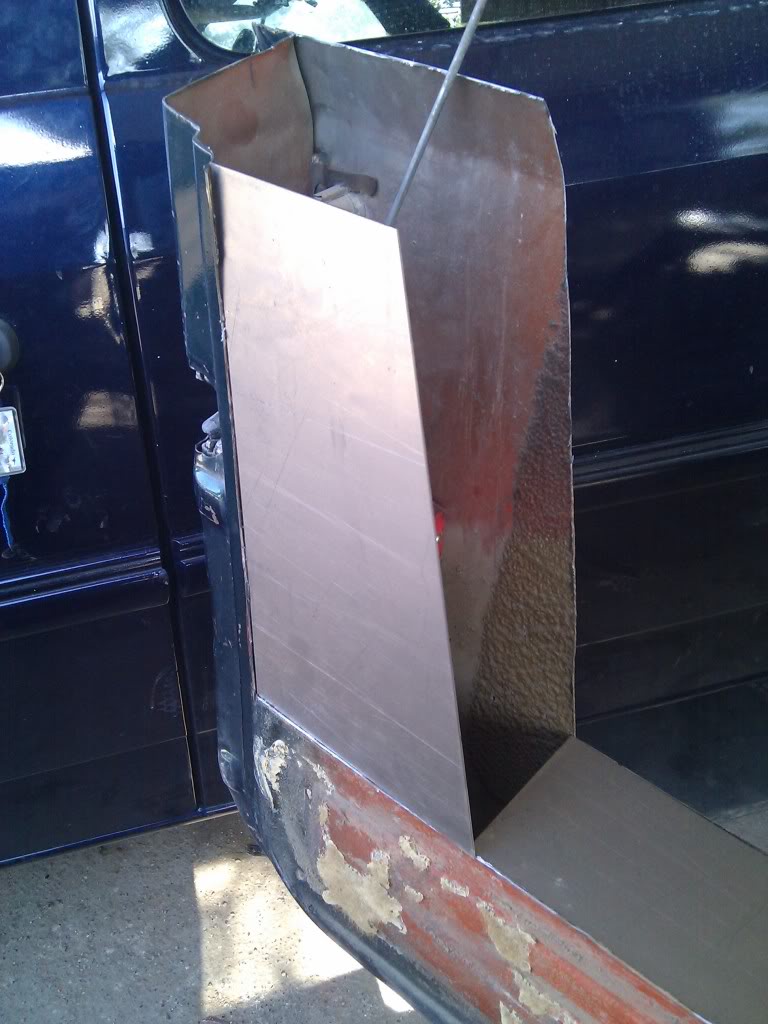
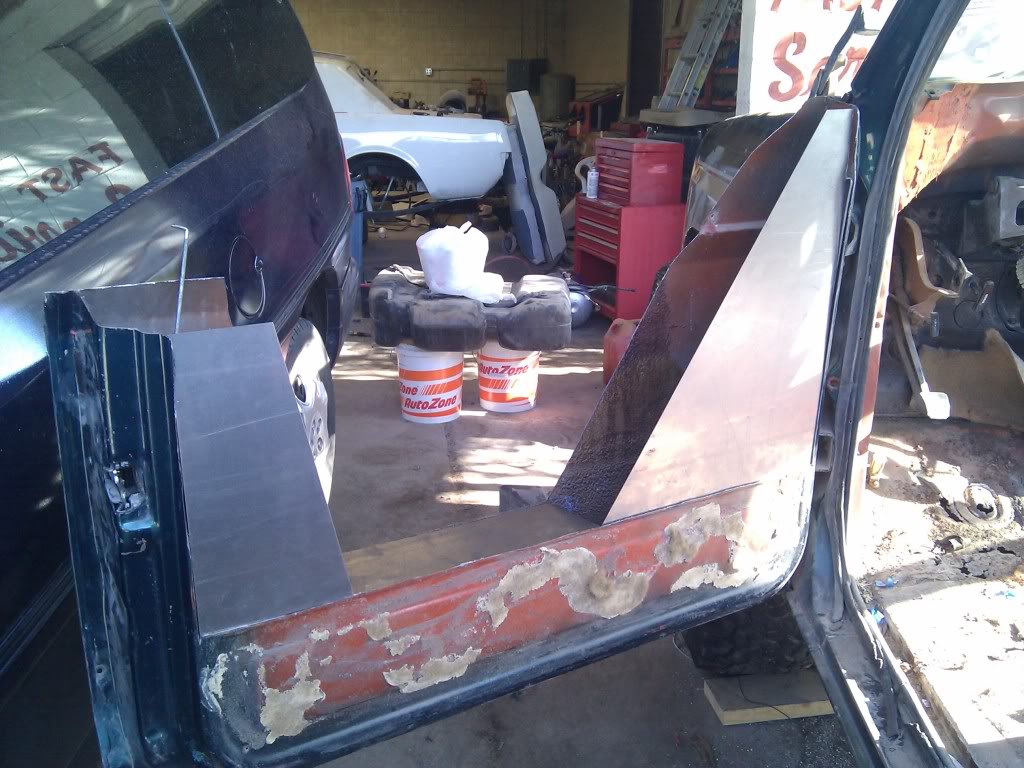
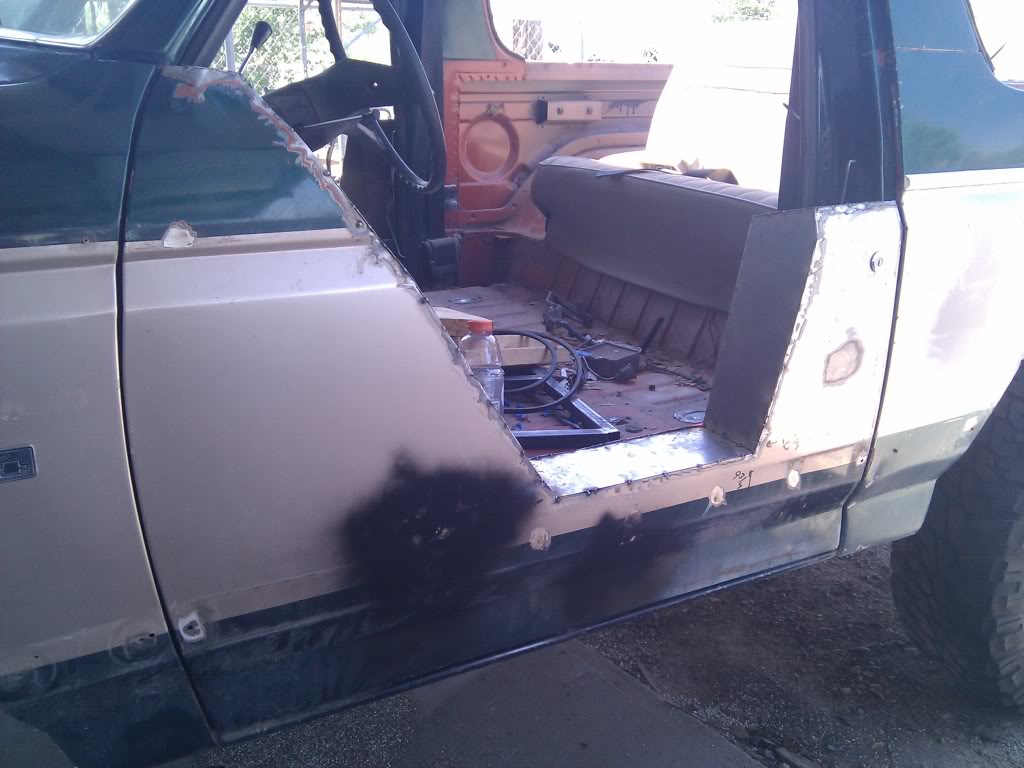
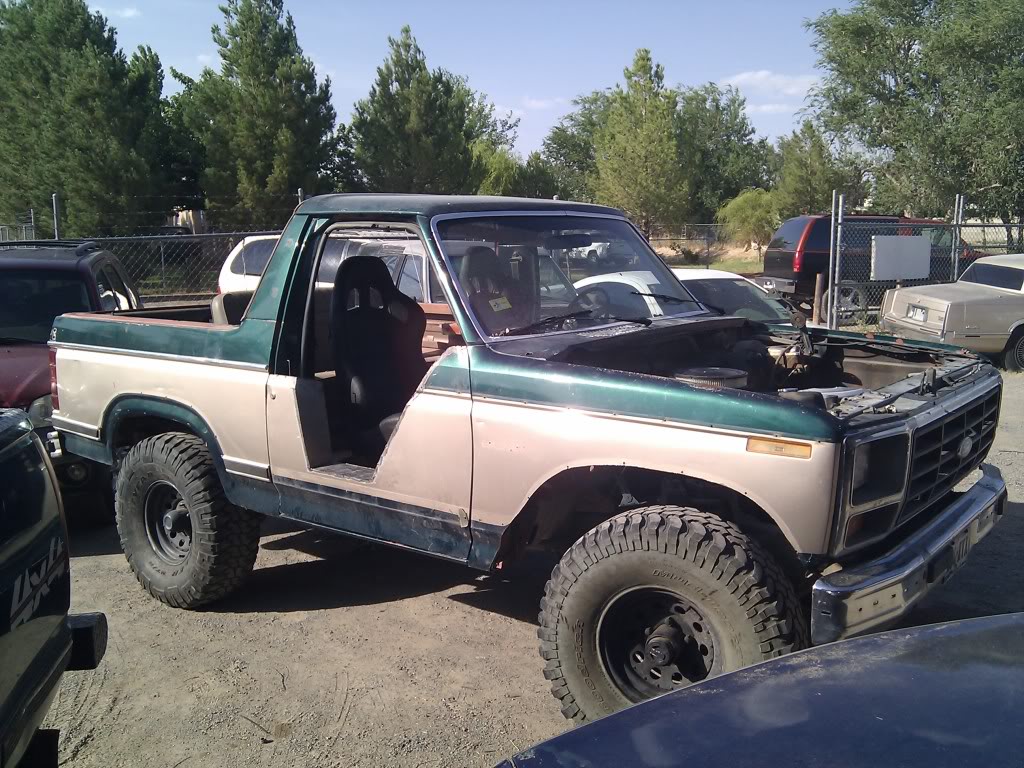
Pulled the Bronco back in and started on the.... I don't know whether to call these 1/2 doors or 1/4 doors or 5/16 or 3/8 or 7/16 doors so I will call these fraction doors. LOL Taped out more or less what I wanted and made an initial cut. I put the tires beside the Bronco to see what it was going to look like more or less.
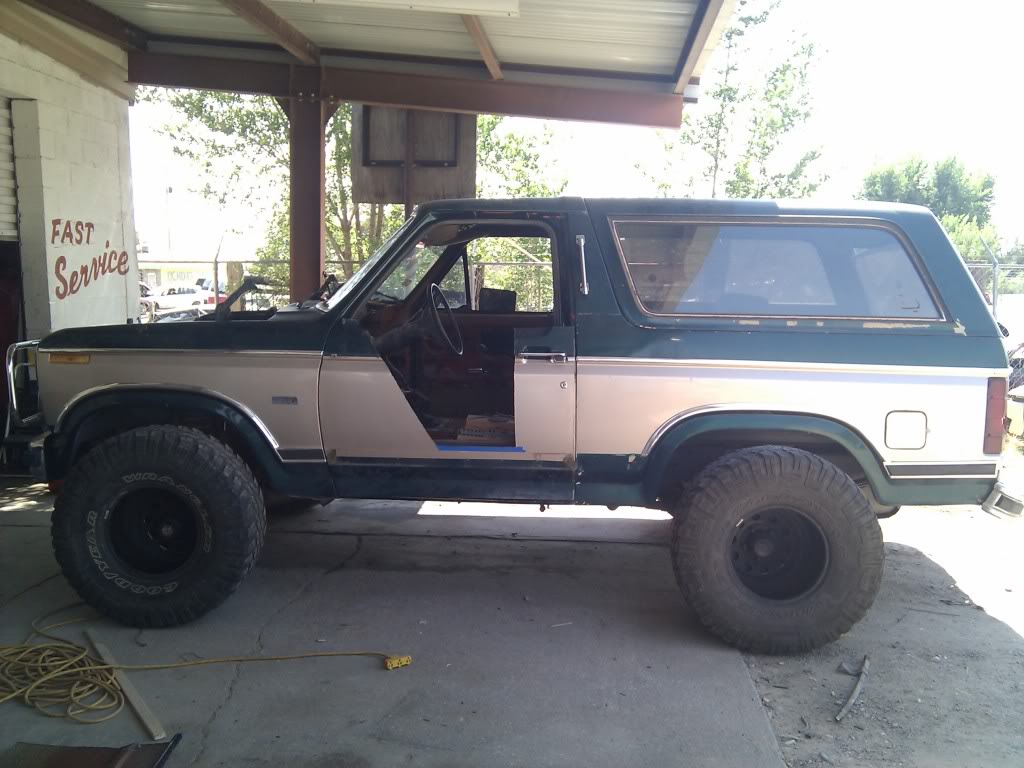
Wasn't real happy with the way it looked near the door handle and with the door handle. Looked a bit odd to me so I did away with it.
Pretty happy with this door so until I can get a sheet of 18ga sheet metal, I will be gutting and cutting the passenger door.
Once the mounts and dipstick come in, the trans will go back in.
Tomorrow, passenger door and driveshaft u-joints, maybe oil pressure, water temp, and voltage gauges.
Fred
Well, I picked up 3 decent 35's fro $30 a piece. Need one more. Going to have to wait on the new wheels until next month. Trans dipstick and trans mount bushings are on order from Bronco Graveyard.
I cleaned up the trans a little bit and sprayed it with some extra cast iron paint I had laying around.
Pulled the Bronco back in and started on the.... I don't know whether to call these 1/2 doors or 1/4 doors or 5/16 or 3/8 or 7/16 doors so I will call these fraction doors. LOL Taped out more or less what I wanted and made an initial cut. I put the tires beside the Bronco to see what it was going to look like more or less.
Wasn't real happy with the way it looked near the door handle and with the door handle. Looked a bit odd to me so I did away with it.
Pretty happy with this door so until I can get a sheet of 18ga sheet metal, I will be gutting and cutting the passenger door.
Once the mounts and dipstick come in, the trans will go back in.
Tomorrow, passenger door and driveshaft u-joints, maybe oil pressure, water temp, and voltage gauges.
Fred
#31
06-17-2011
Join Date: Jul 2005
Location: El Paso, Texas
Posts: 193
Likes: 0
Received 0 Likes
on
0 Posts

#33
06-20-2011
Join Date: Jul 2005
Location: El Paso, Texas
Posts: 193
Likes: 0
Received 0 Likes
on
0 Posts


#34
06-21-2011
Join Date: Jul 2005
Location: El Paso, Texas
Posts: 193
Likes: 0
Received 0 Likes
on
0 Posts
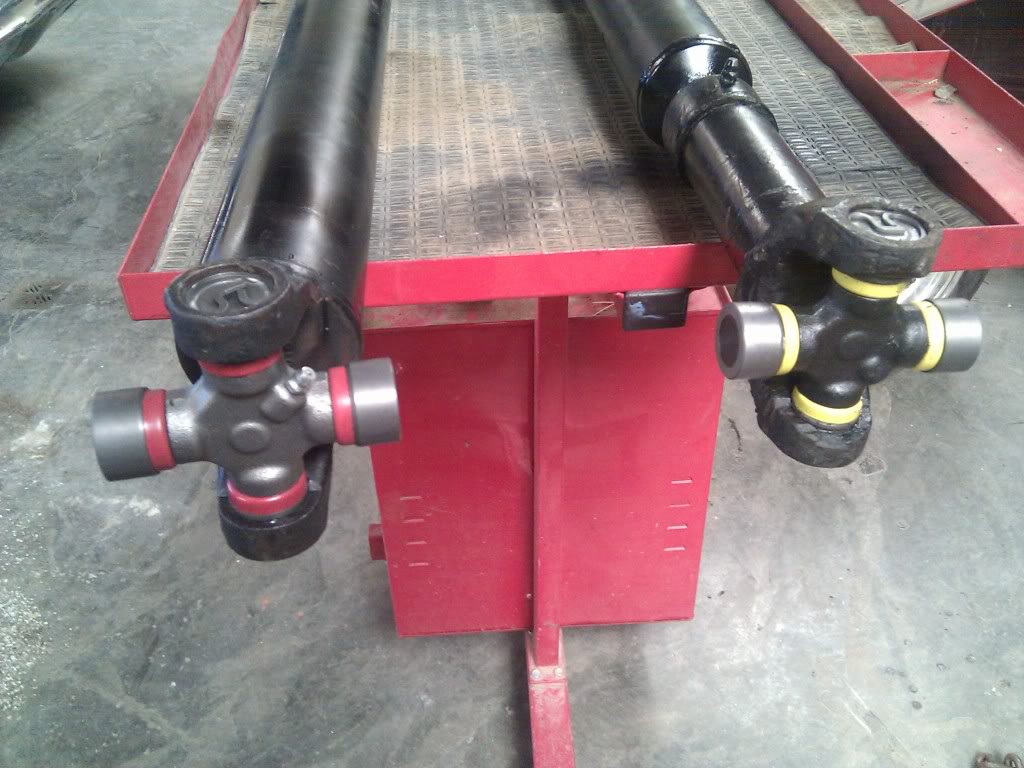
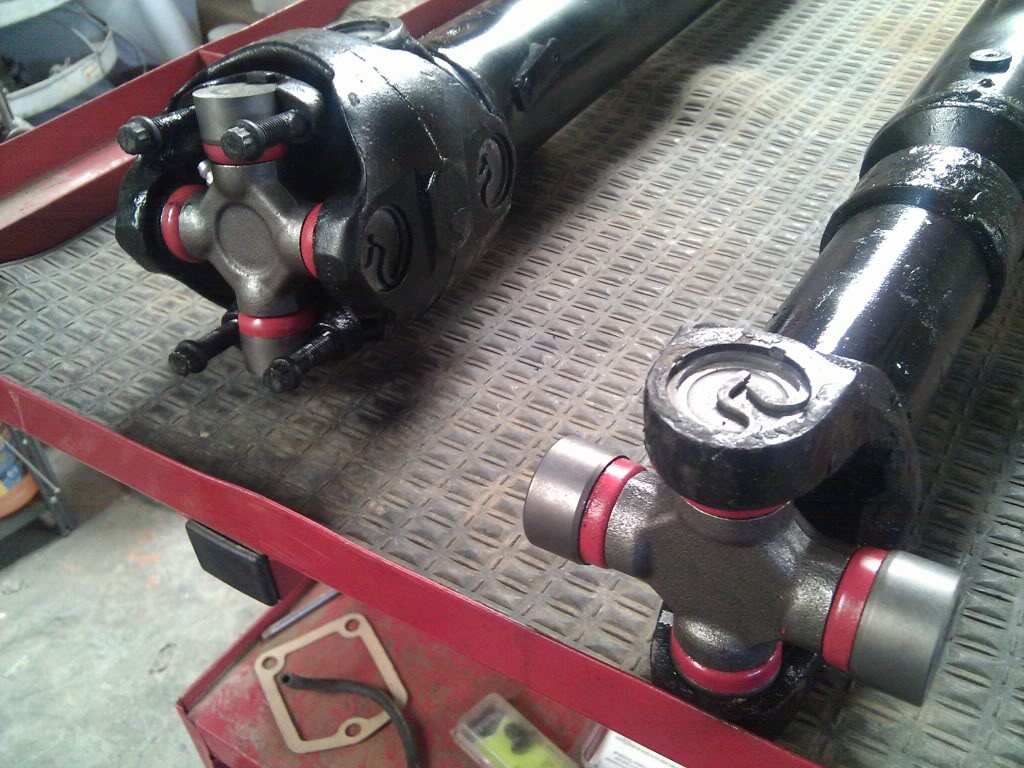
Stopped by Vatozone on my way to the shop and picked up all new u-joints for the driveshafts. They also needed a good cleaning and some paint.
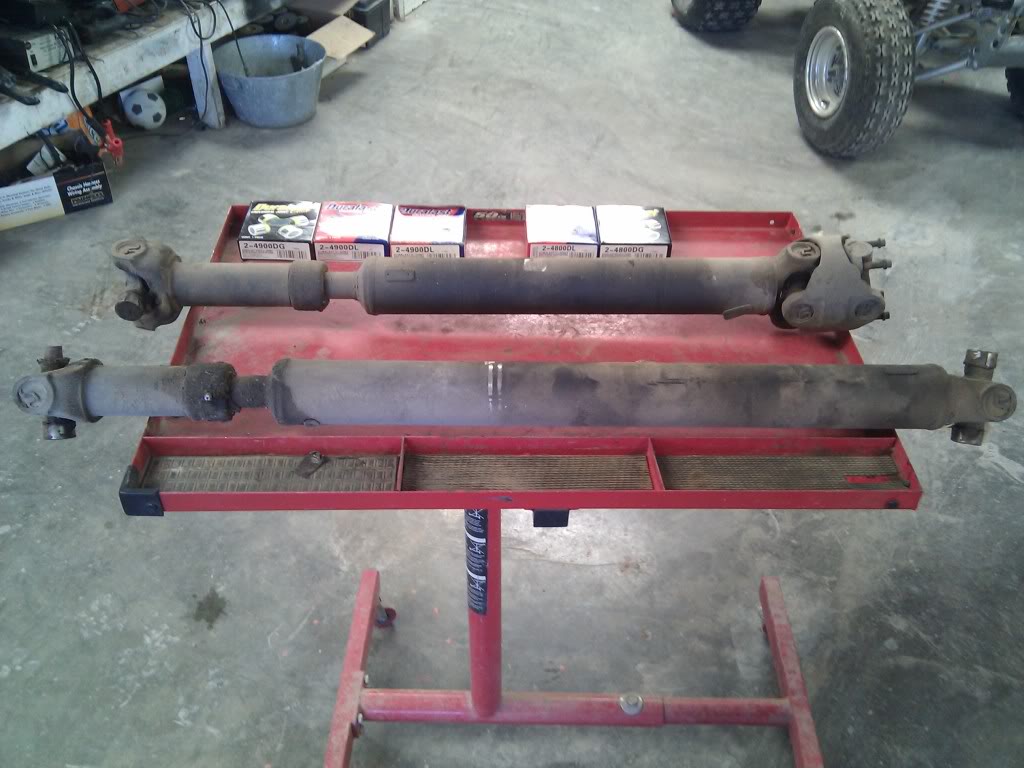
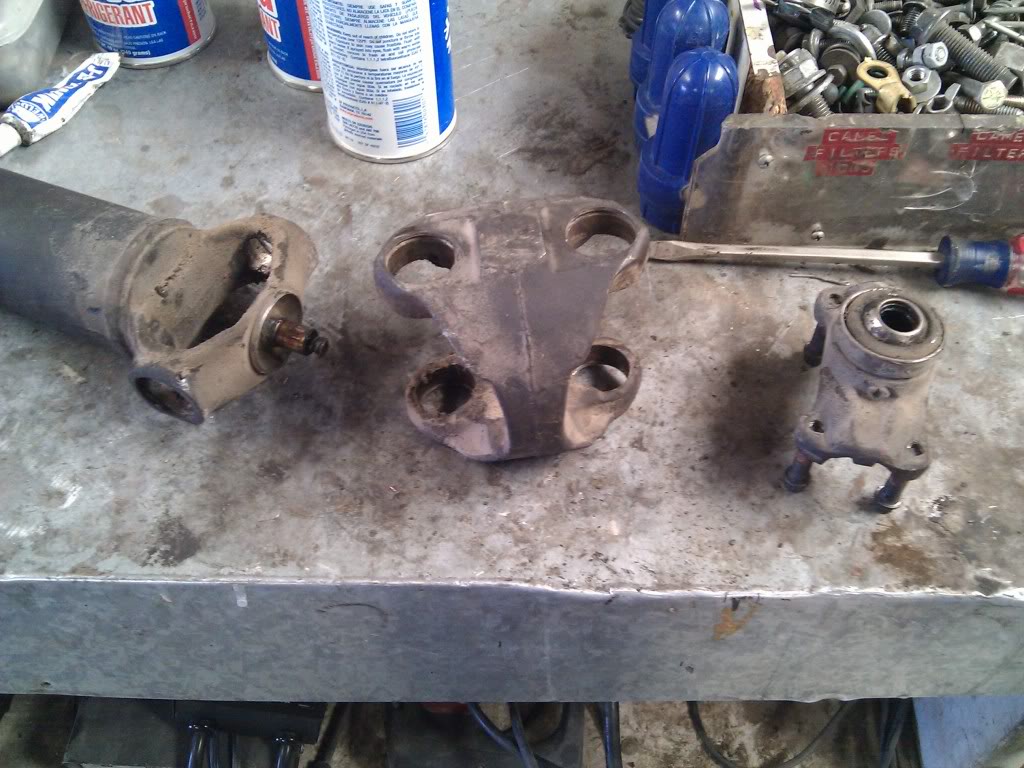
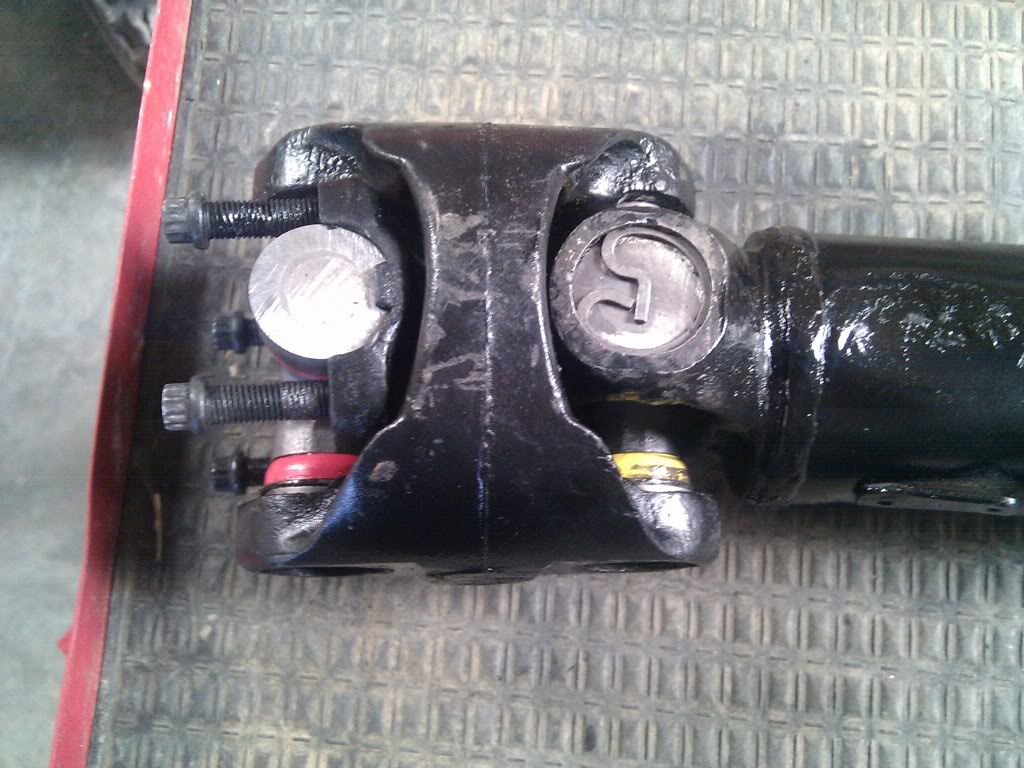
Pulled off the old joints
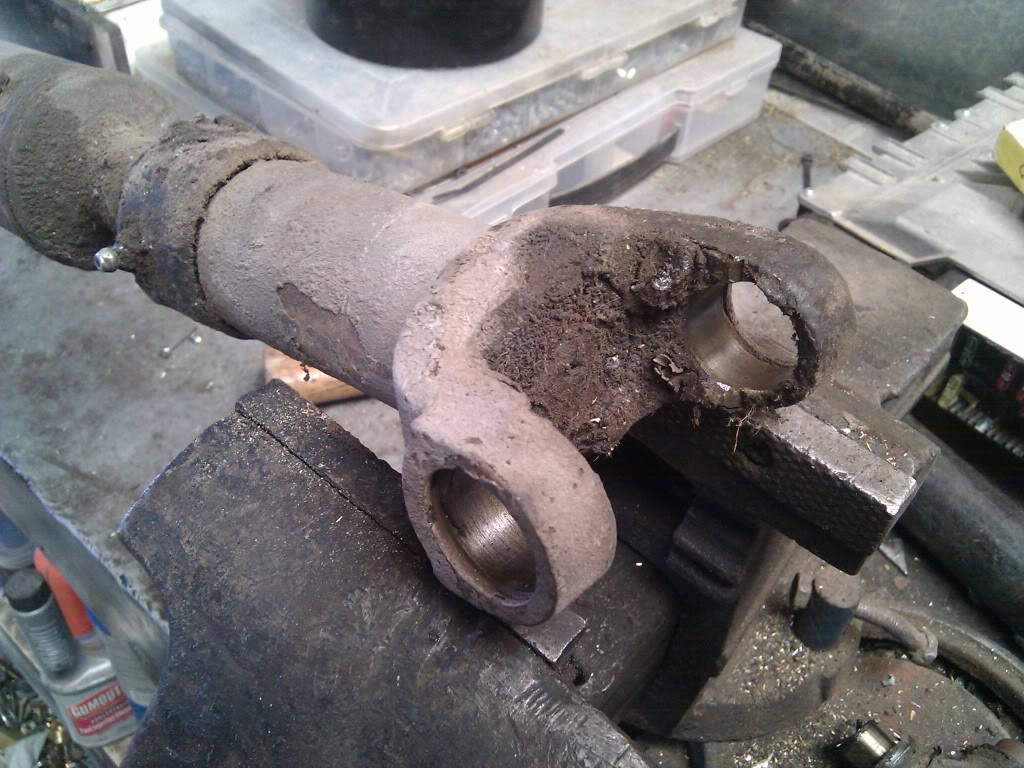
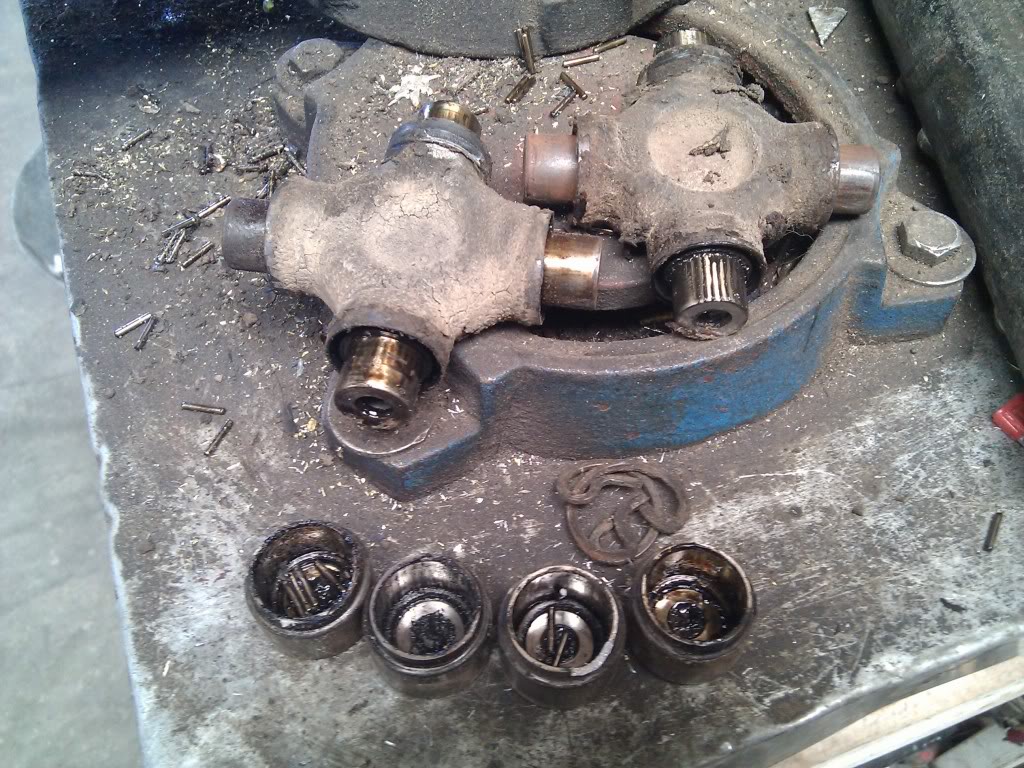
This contraption was a bit interesting to disassemble
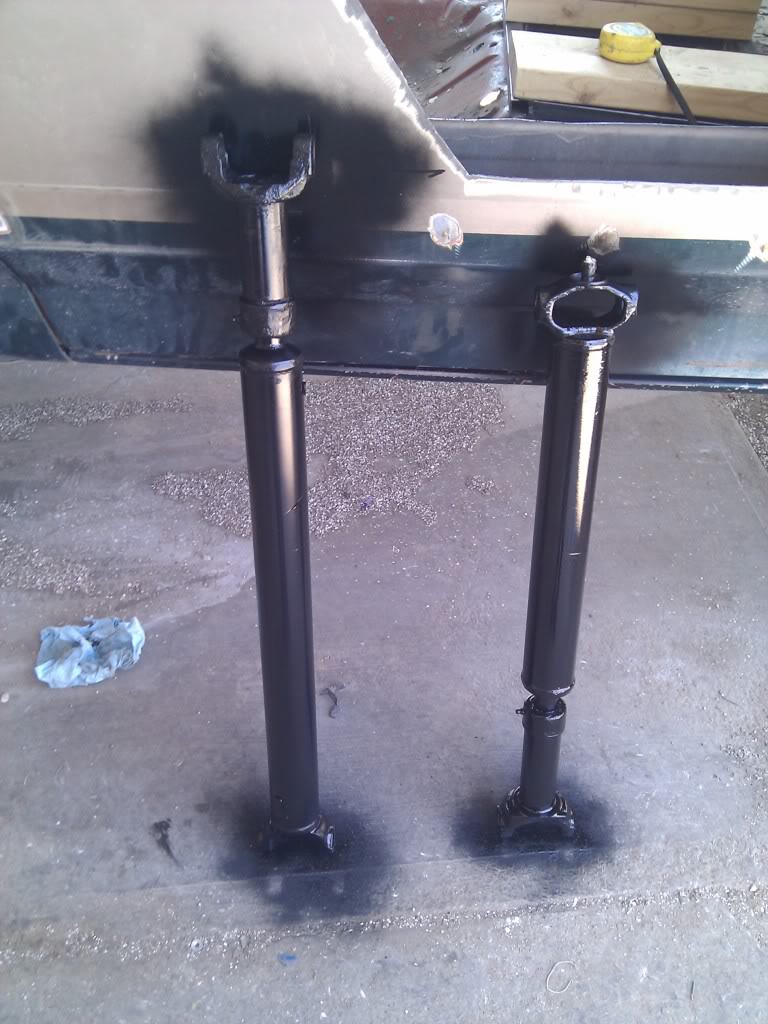
A good scrub with some degreaser and some black rattle can powdercoat
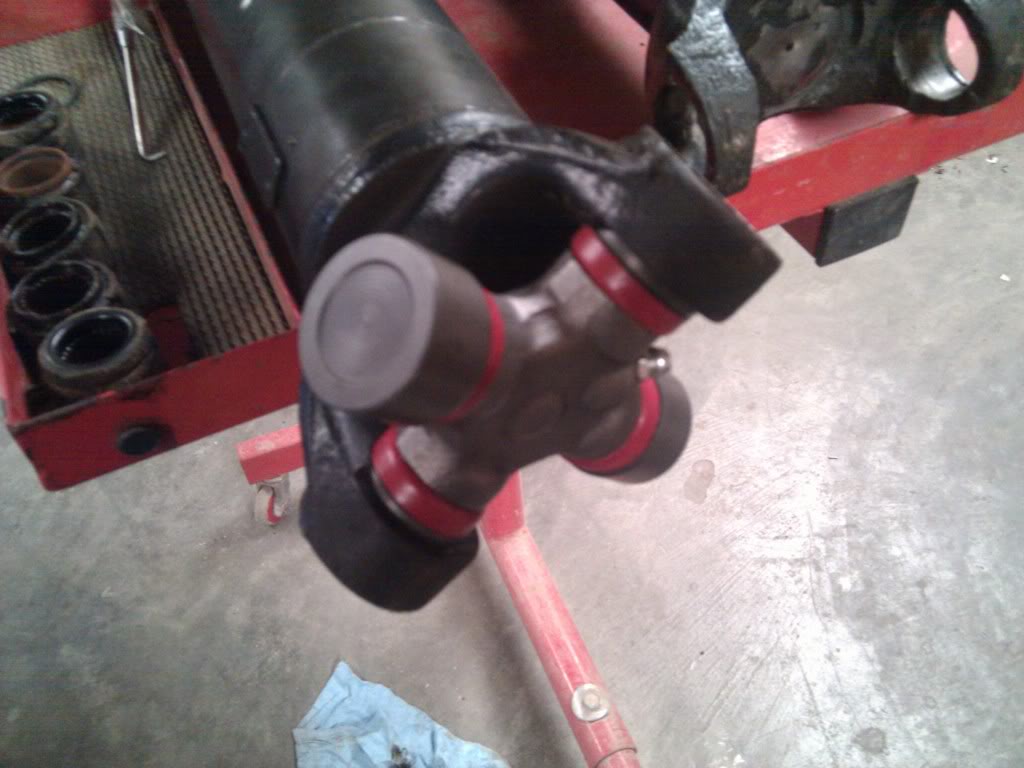
And new joints

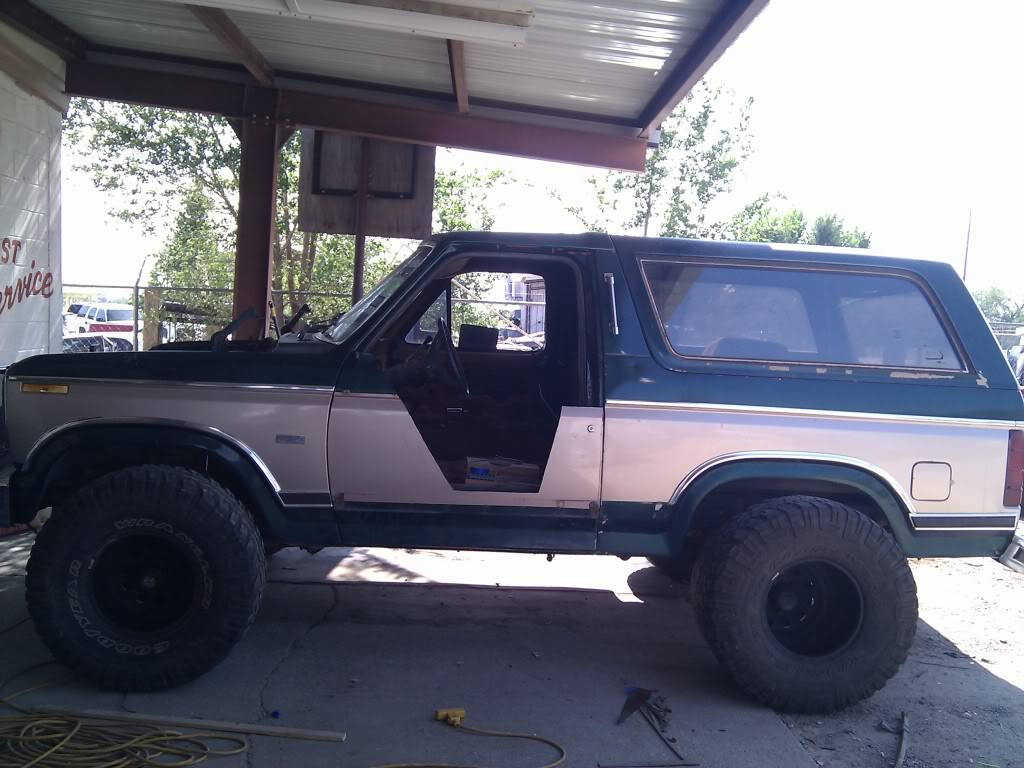
While the paint was drying I also decided to cut up the passenger door and since the cutting wheel was out, I took it to the driver side fender.
Before
After
Fred
Pulled off the old joints
This contraption was a bit interesting to disassemble
A good scrub with some degreaser and some black rattle can powdercoat
And new joints
While the paint was drying I also decided to cut up the passenger door and since the cutting wheel was out, I took it to the driver side fender.
Before
After
Fred
#35
06-22-2011
Join Date: Jul 2005
Location: El Paso, Texas
Posts: 193
Likes: 0
Received 0 Likes
on
0 Posts
Back at it again today.
Finished the drive shafts.
This thing fell out while I was cleaning up the engine bay, any ideas what it is or where it goes? LOL
Time to get the creative juices flowing.
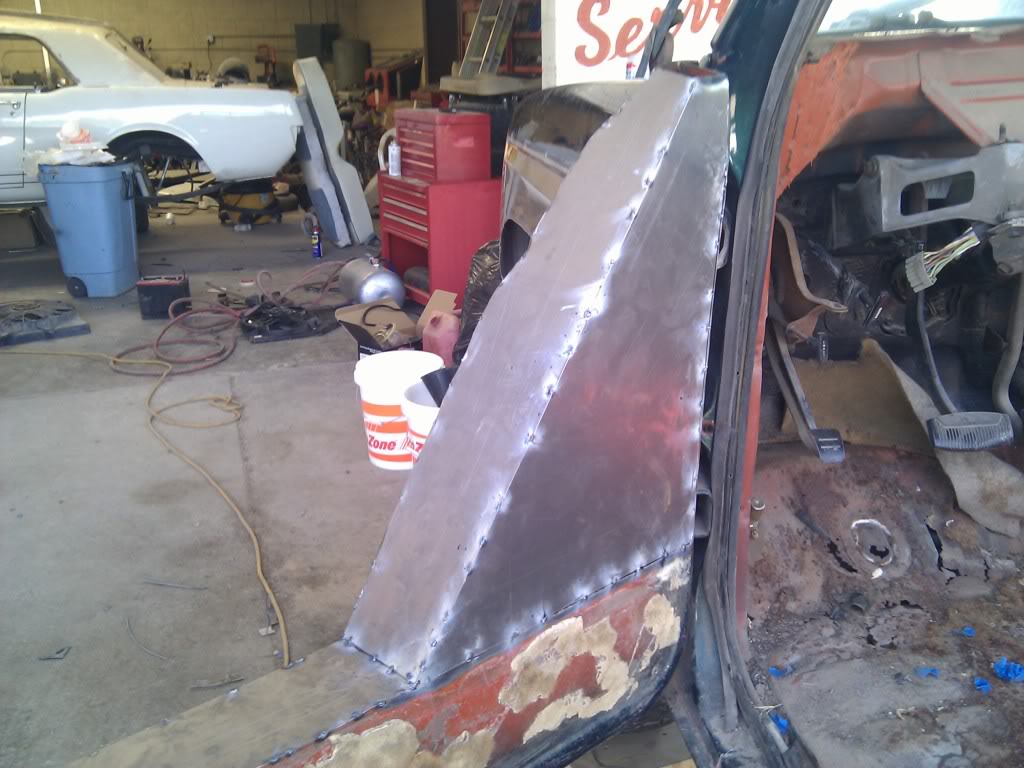
Cut up the passenger side fender
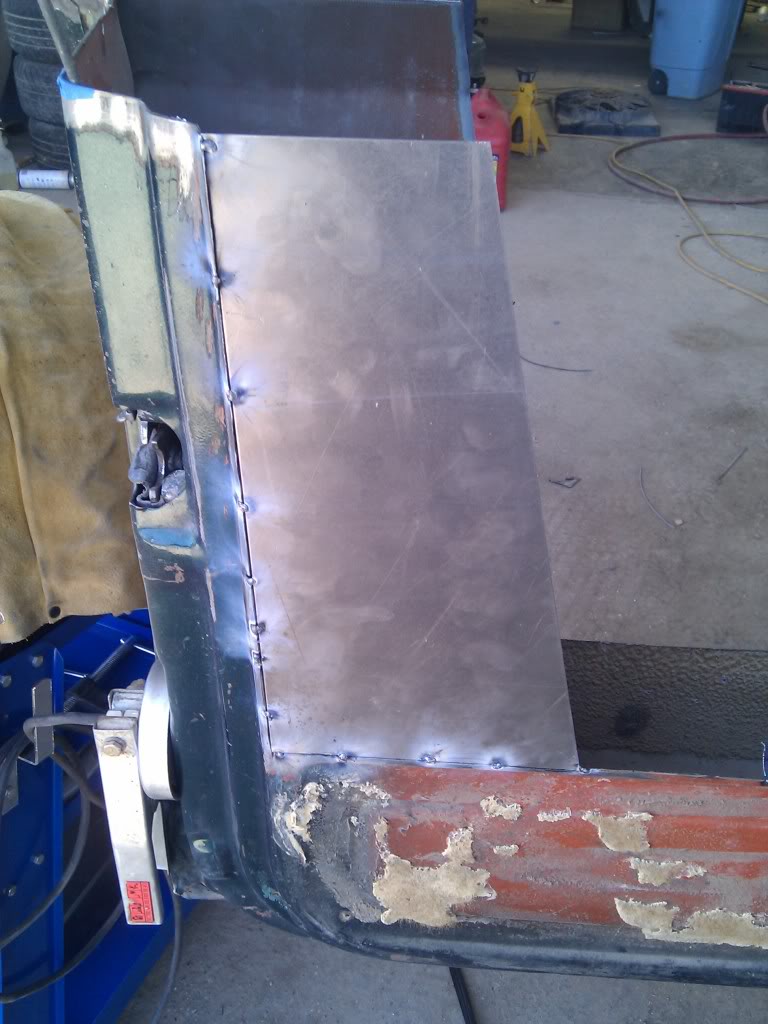
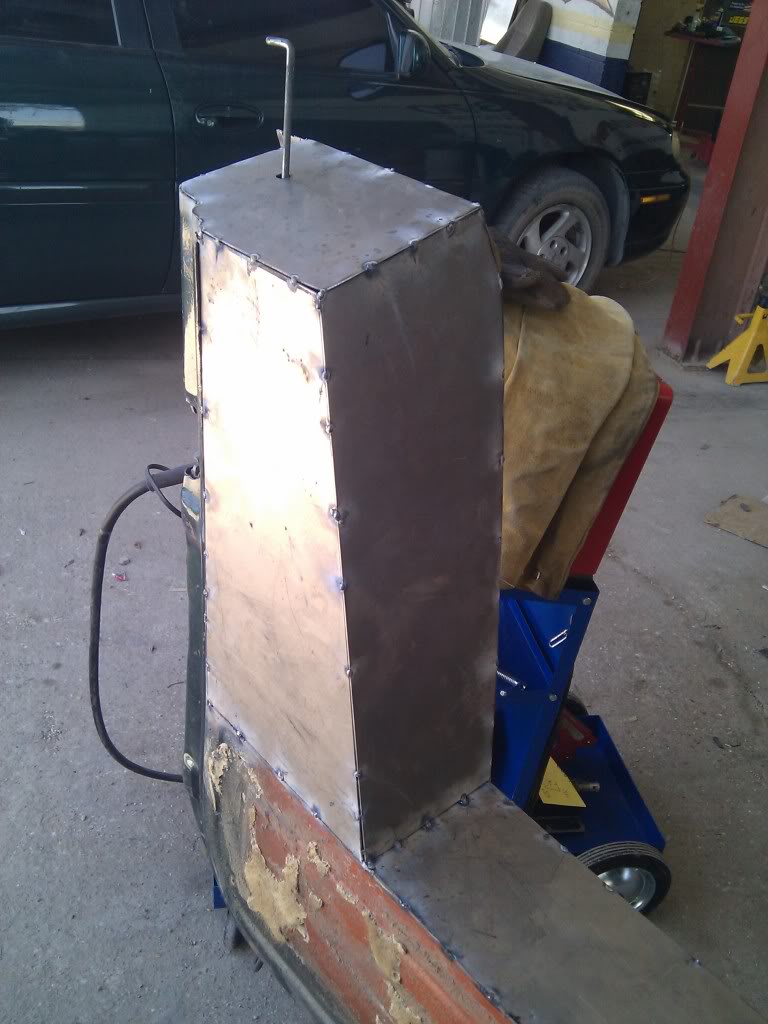
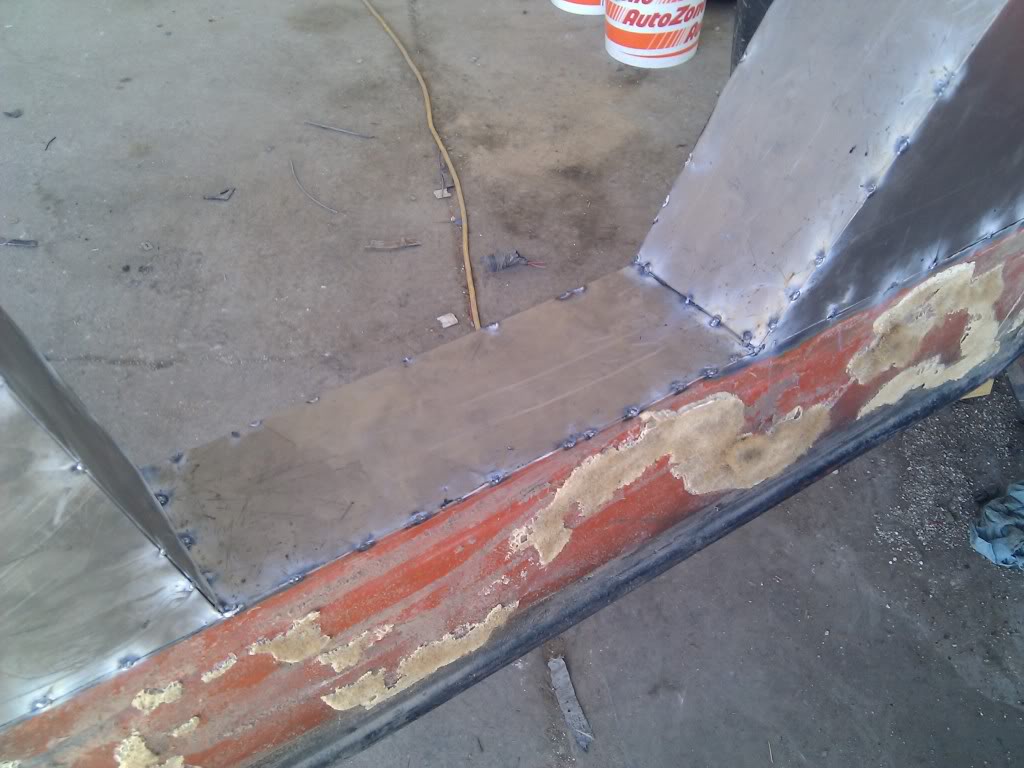
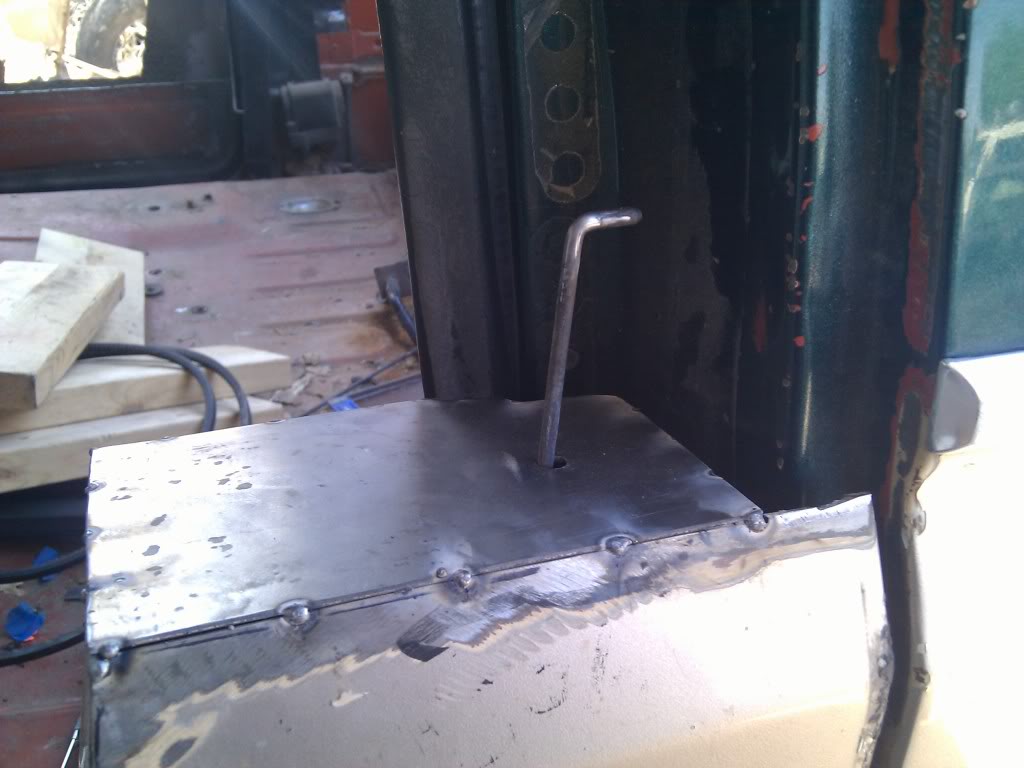
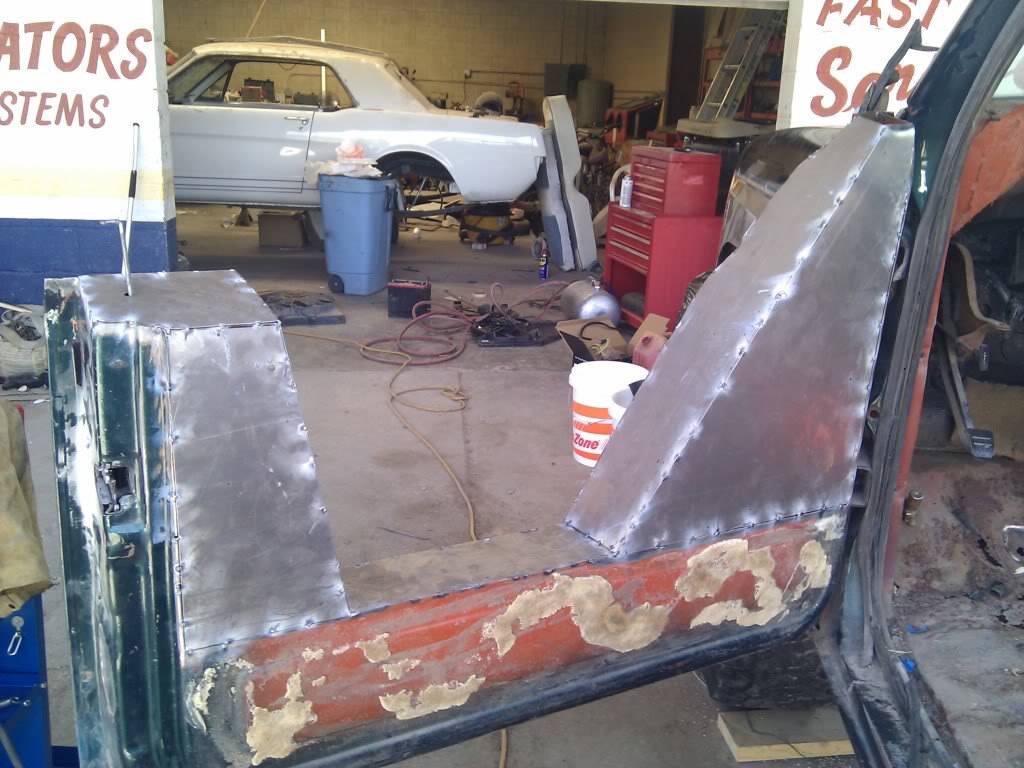
Then started work on the rear driver side panel.

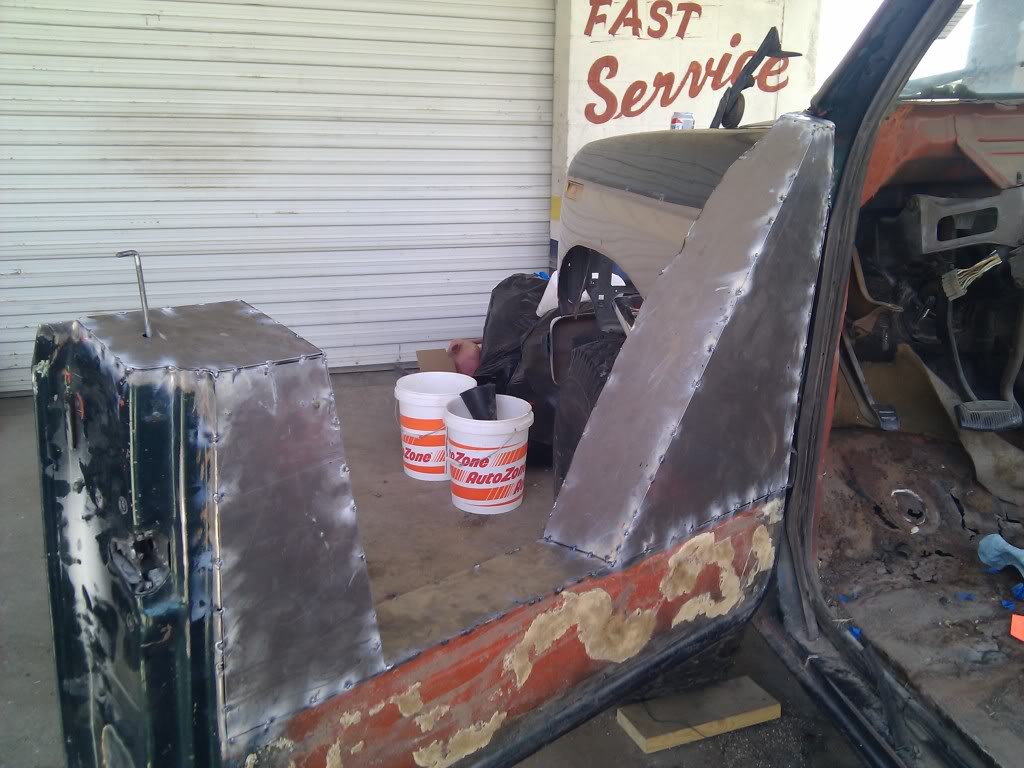
How it sits as of the end of today.
Fred
Finished the drive shafts.
This thing fell out while I was cleaning up the engine bay, any ideas what it is or where it goes? LOL
Time to get the creative juices flowing.
Cut up the passenger side fender
Then started work on the rear driver side panel.
How it sits as of the end of today.
Fred
#36
06-23-2011
Join Date: Jul 2005
Location: El Paso, Texas
Posts: 193
Likes: 0
Received 0 Likes
on
0 Posts
The dipstick and trans mounts were sitting on my door step when I got home but rather than wait around all day for them, I ran down to the shop and got some more wrench time in on it.
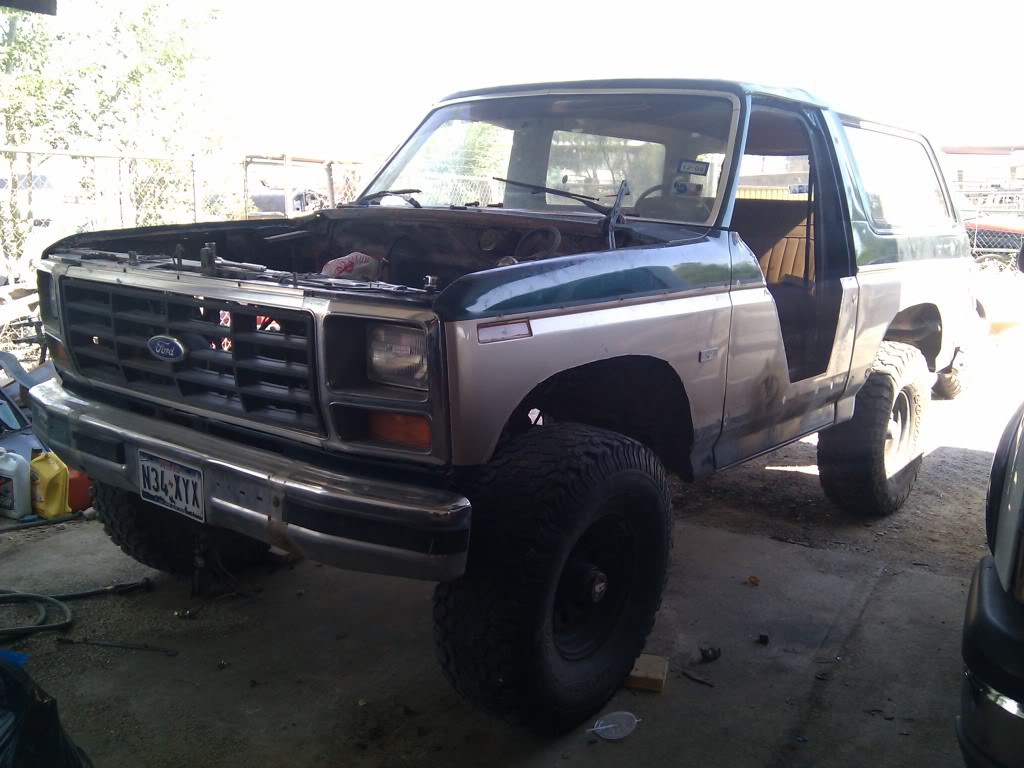
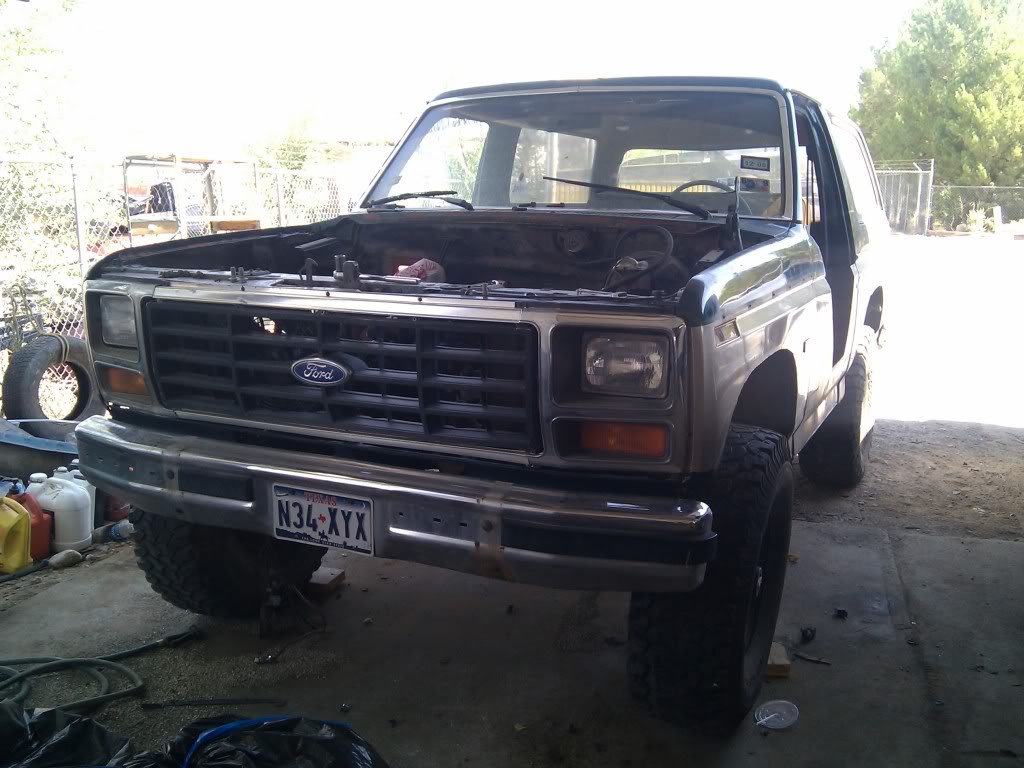
It was about time to get rid of that hideous grill guard.
Before
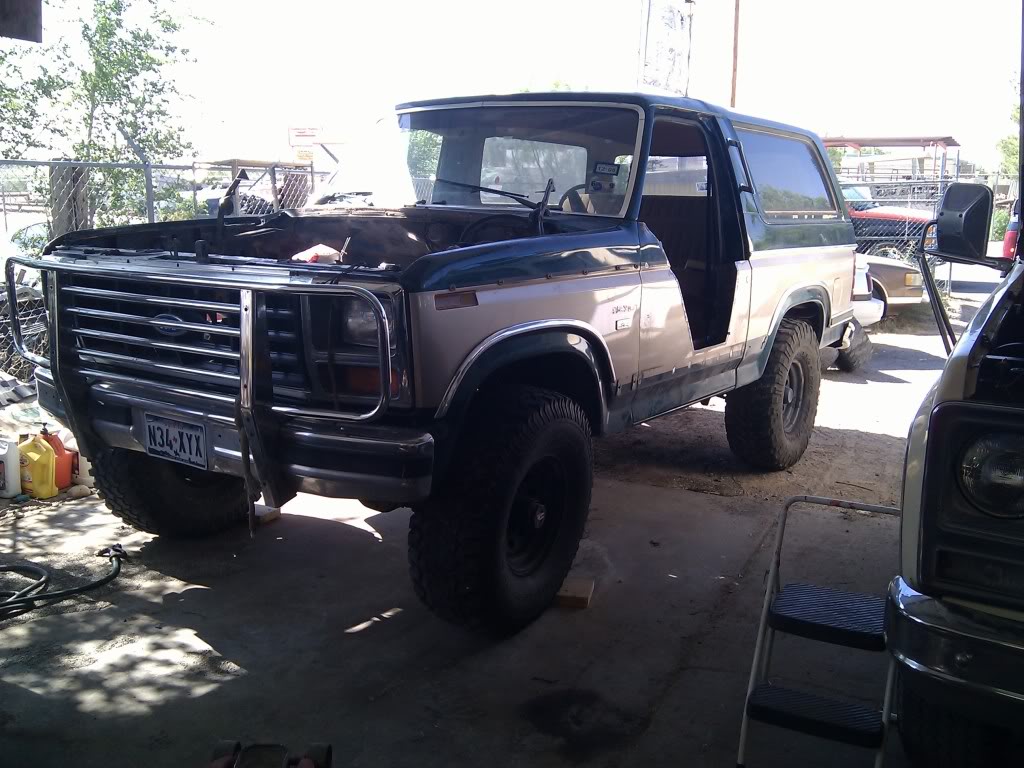
After
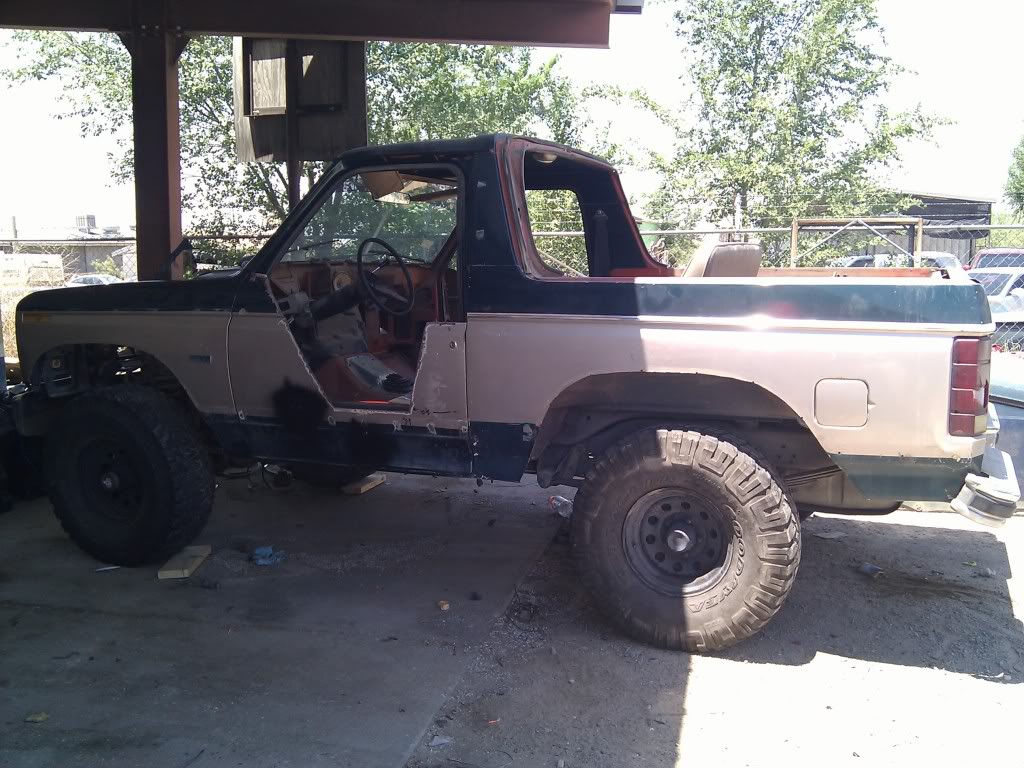
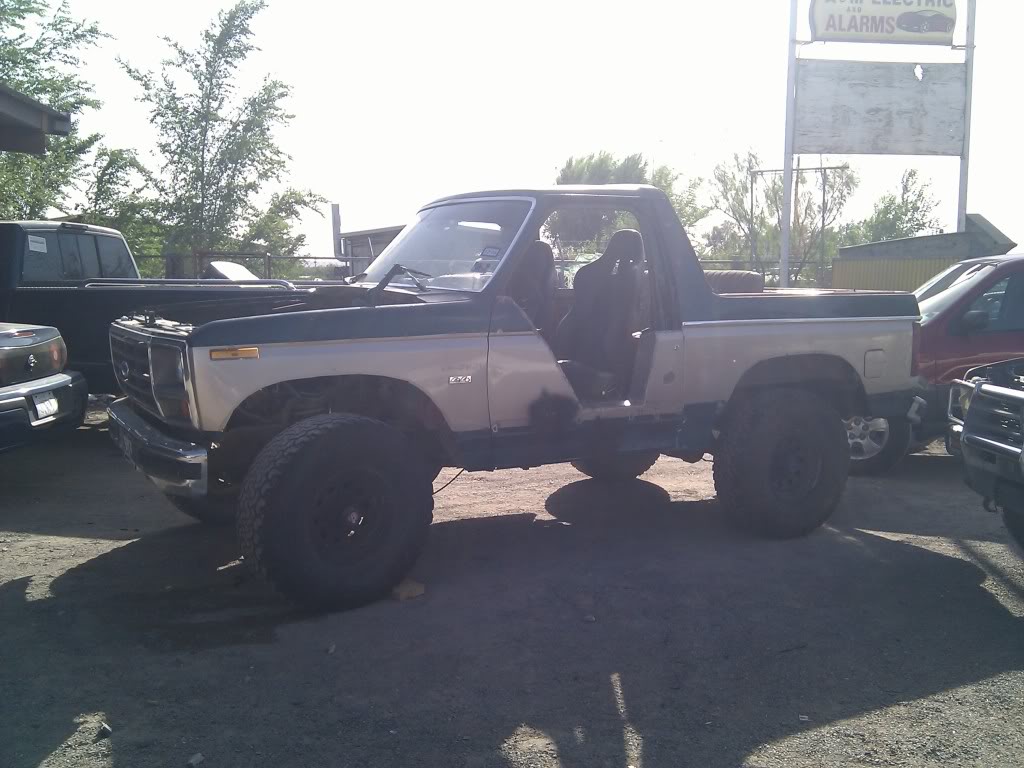
In an attempt to get this party going, I turned it into a topless party. This would have been a great picture is not for that stupid tailgate window.
Off with the tailgate window!
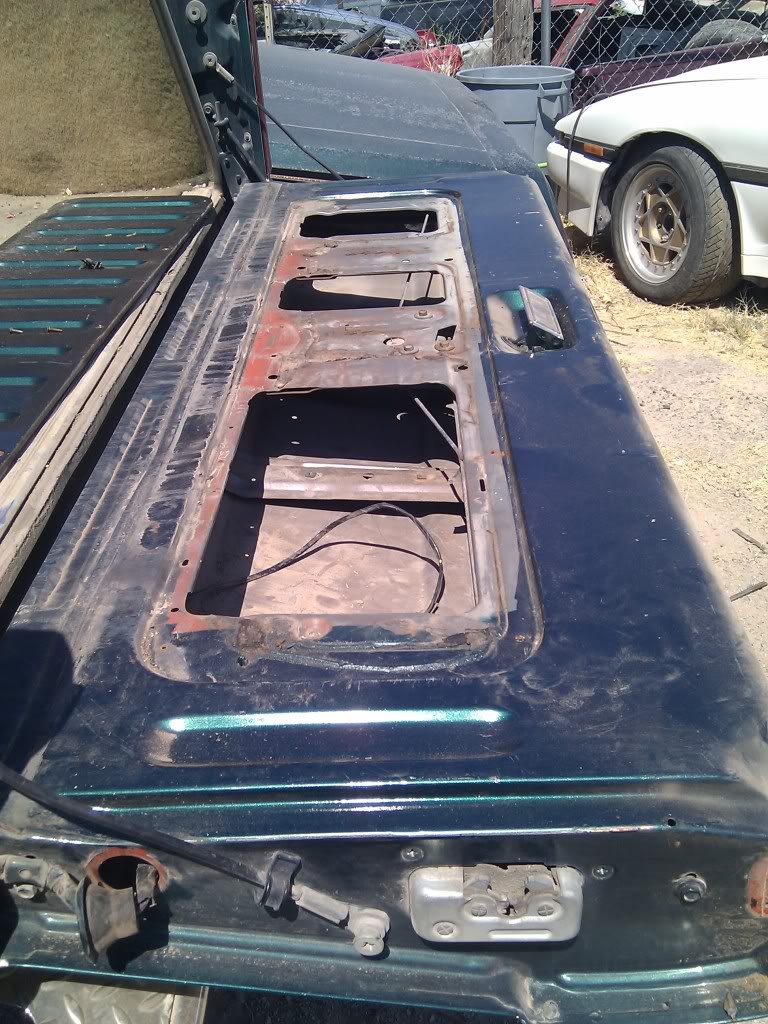
Much better
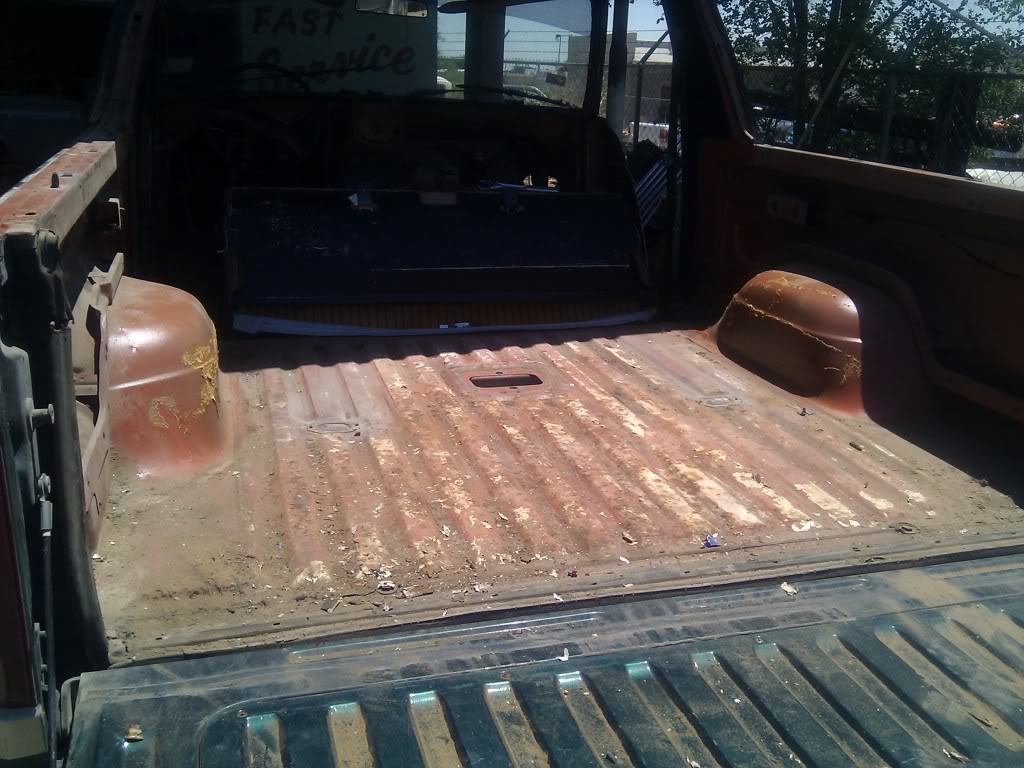
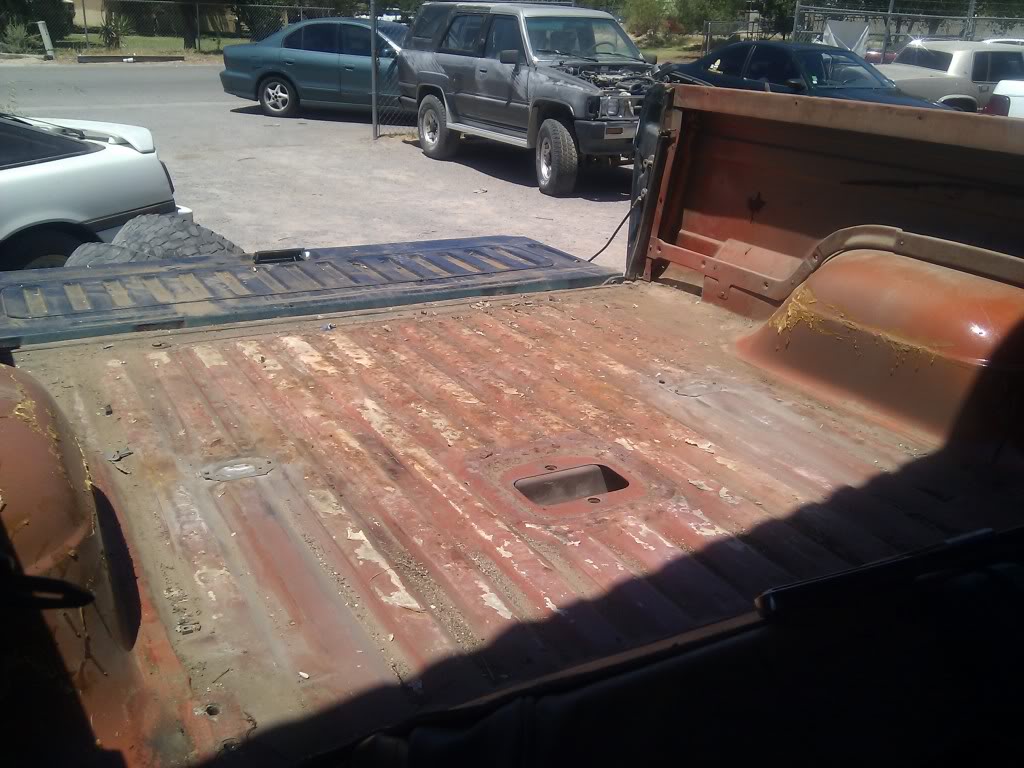
Pulled the rear bench seat to remove the carpet and the 28 years of crap that gets trapped under there.
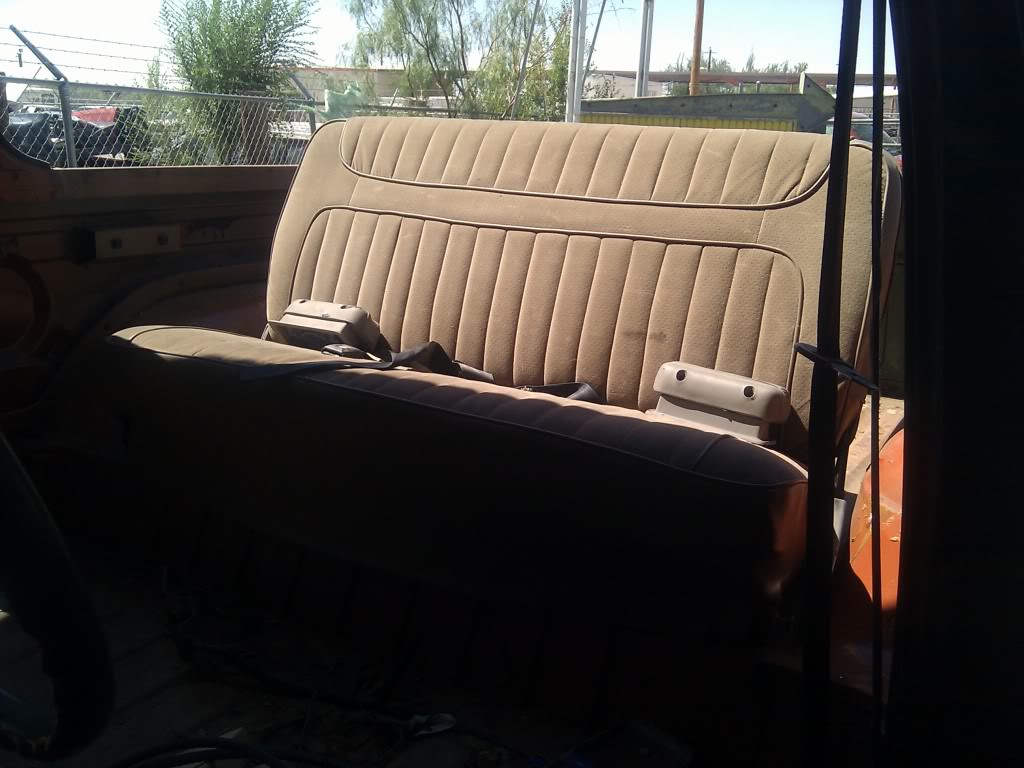
Seat back on. To be replaced down the road with a Beard bench seat.
Trans and drive shafts go back in tomorrow.
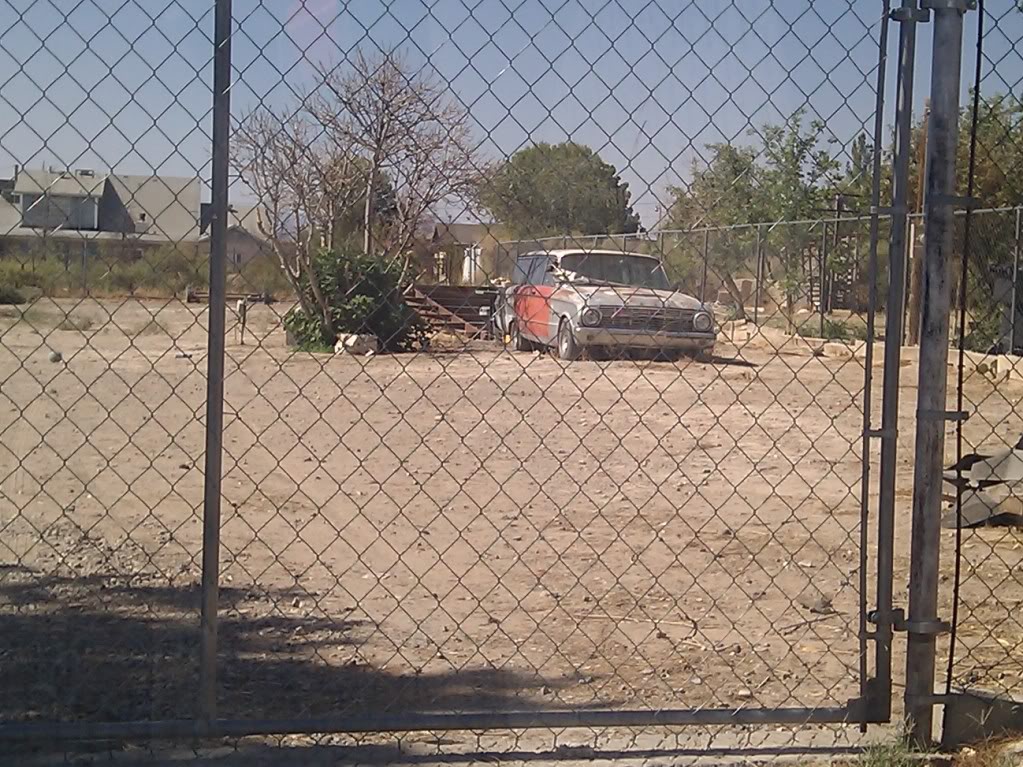
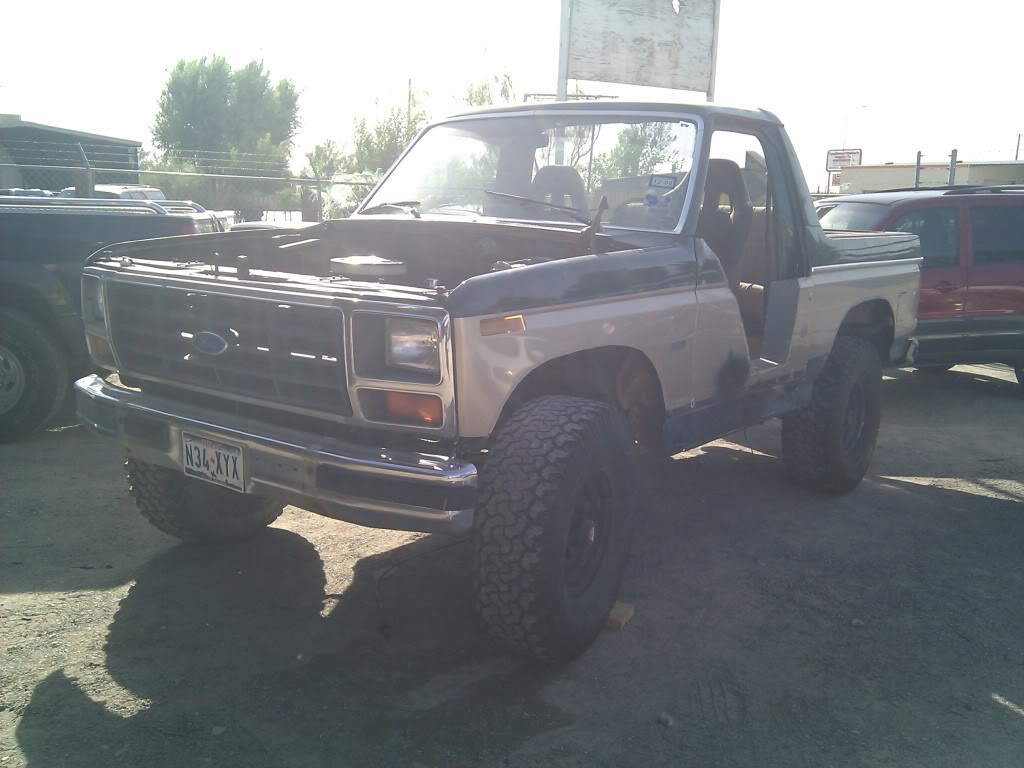
Also, spotted this thing on my lunch run today. May try to pick it up tomorrow if the owner is willing to part with it.
Fred
It was about time to get rid of that hideous grill guard.
Before
After
In an attempt to get this party going, I turned it into a topless party. This would have been a great picture is not for that stupid tailgate window.
Off with the tailgate window!
Much better
Pulled the rear bench seat to remove the carpet and the 28 years of crap that gets trapped under there.
Seat back on. To be replaced down the road with a Beard bench seat.
Trans and drive shafts go back in tomorrow.
Also, spotted this thing on my lunch run today. May try to pick it up tomorrow if the owner is willing to part with it.
Fred
#37
06-23-2011
#38
06-23-2011
Join Date: Jul 2005
Location: El Paso, Texas
Posts: 193
Likes: 0
Received 0 Likes
on
0 Posts
#39
06-24-2011
Join Date: Jul 2005
Location: El Paso, Texas
Posts: 193
Likes: 0
Received 0 Likes
on
0 Posts
No luck on locating the owner of the Falcon. Will try again next week.
The transmission parts I had been waiting for finally came in.
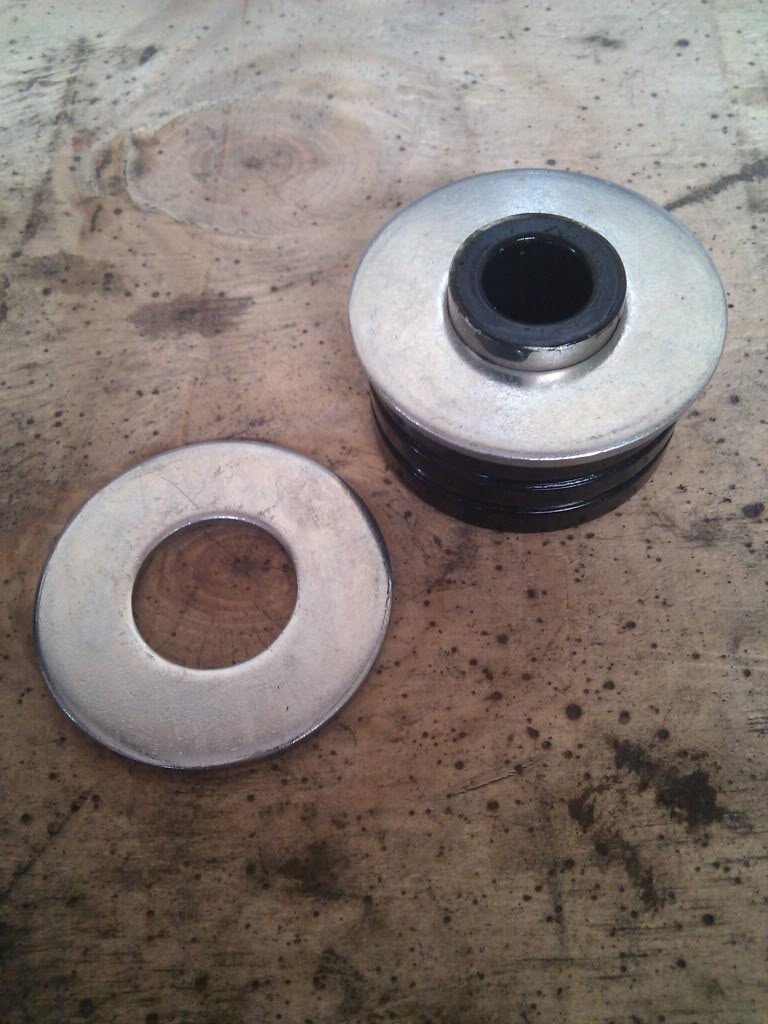
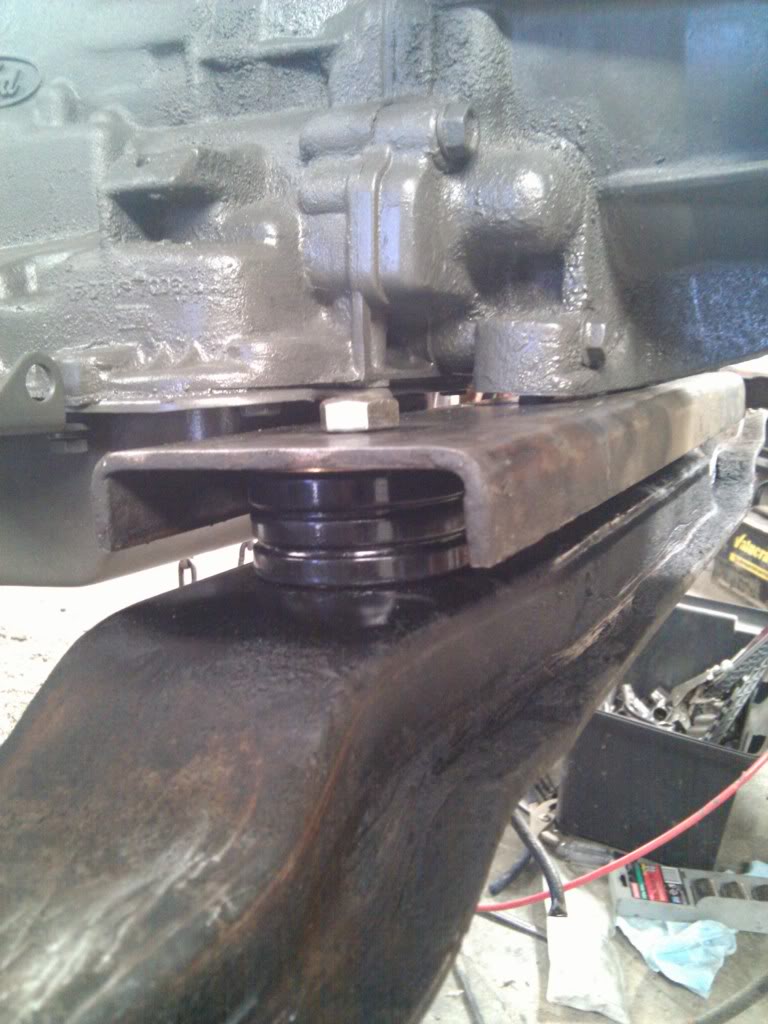
These Broncos came equipped with some crap *** rubber bushings as transmission mounts which happen to be out of production and ridiculously overpriced IF you can find them.
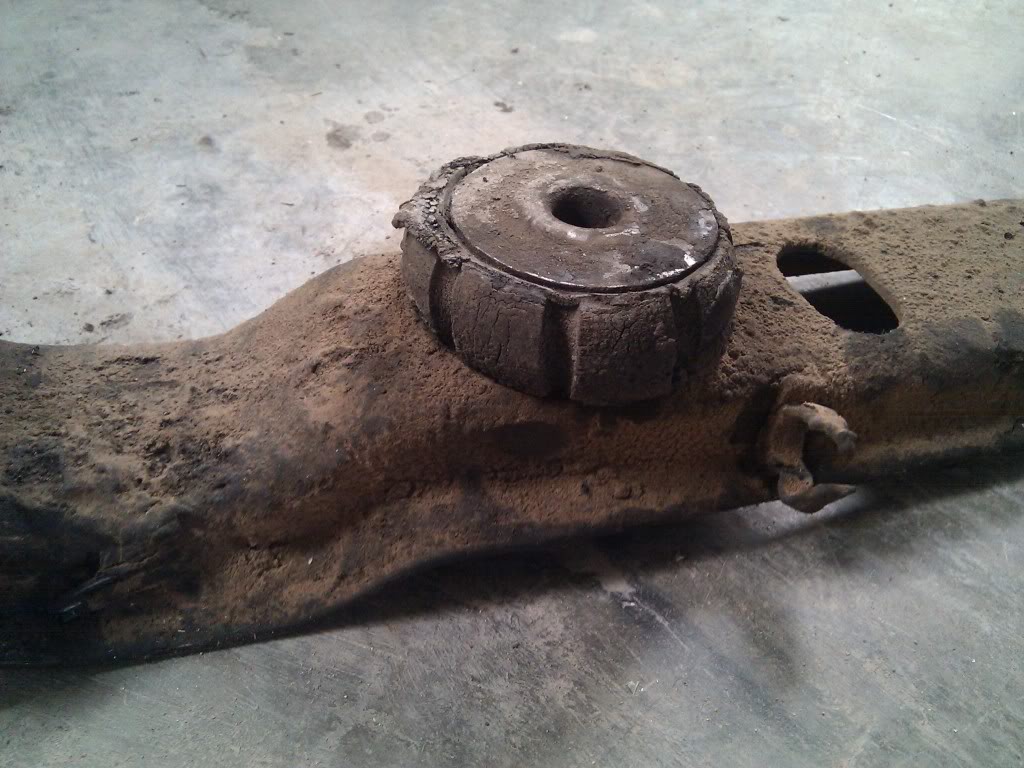
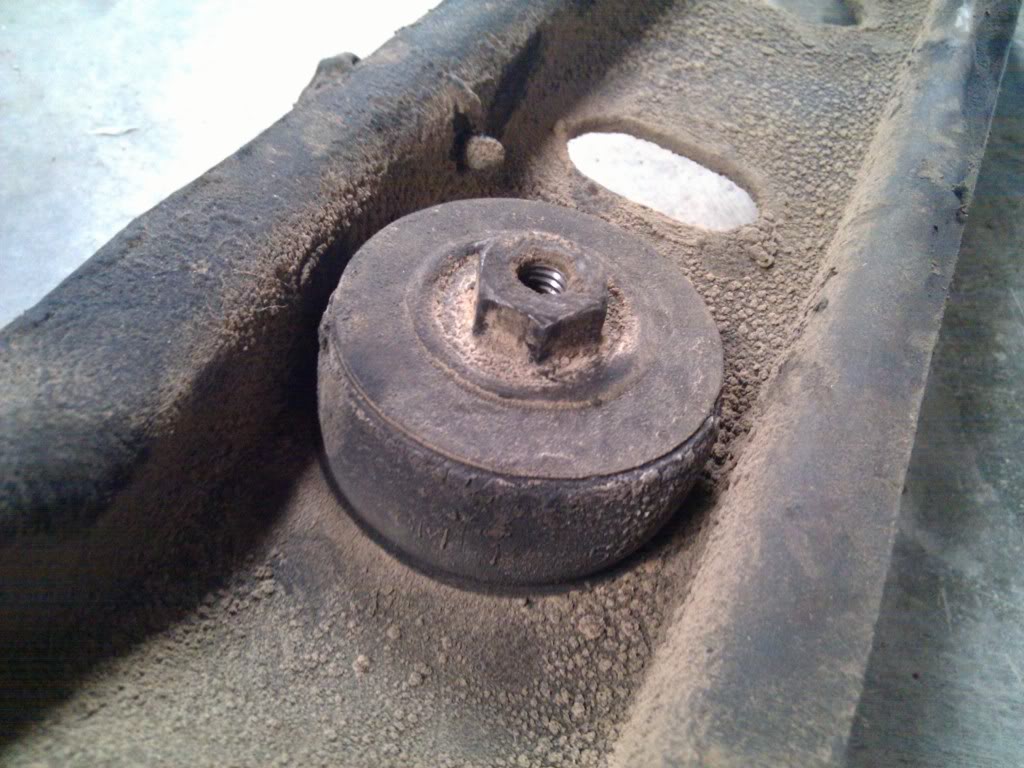
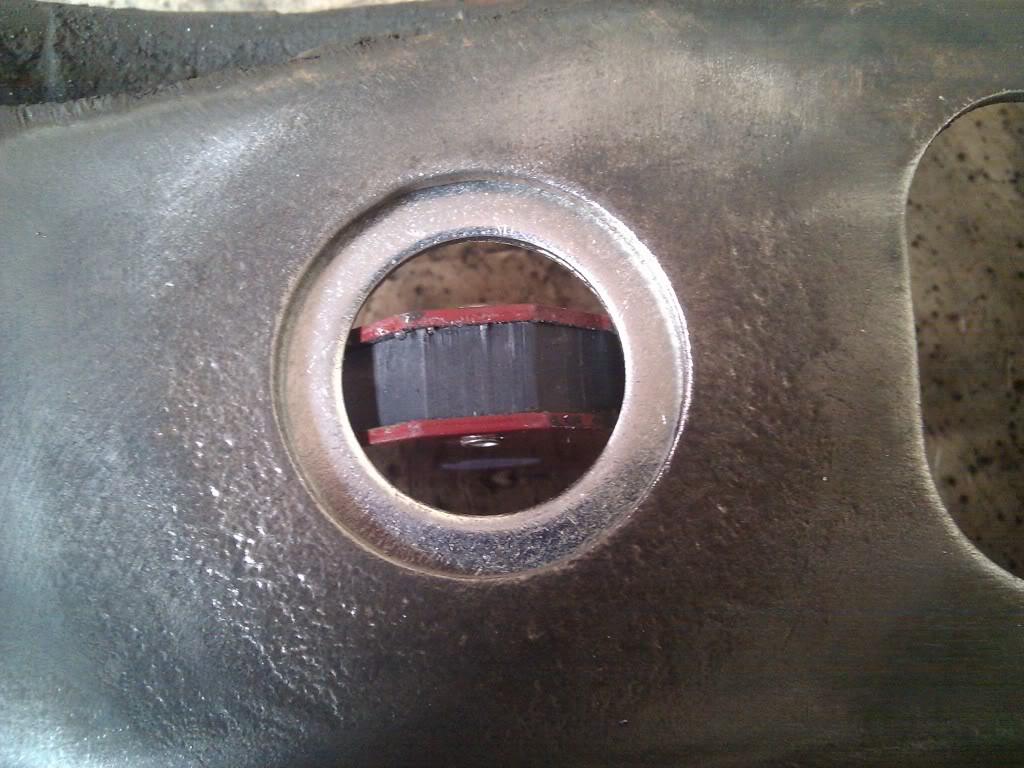
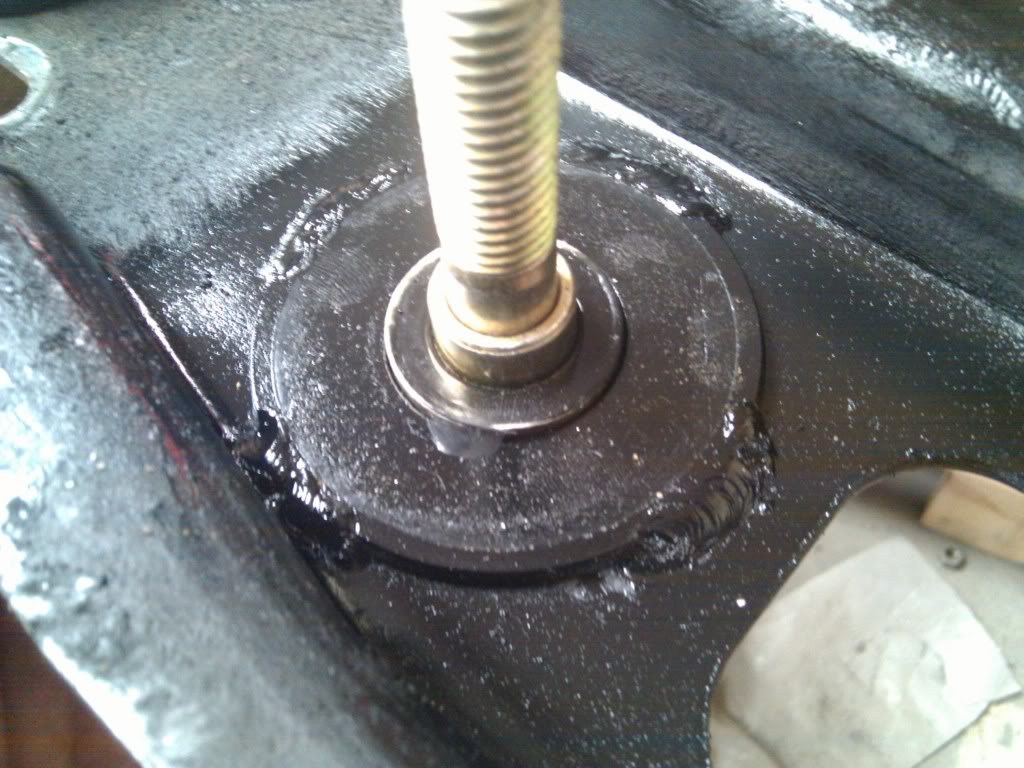
The solution; late 70's Bronco NP 205 t-case poly mounts. At $15 a piece x 2, you can't beat it.
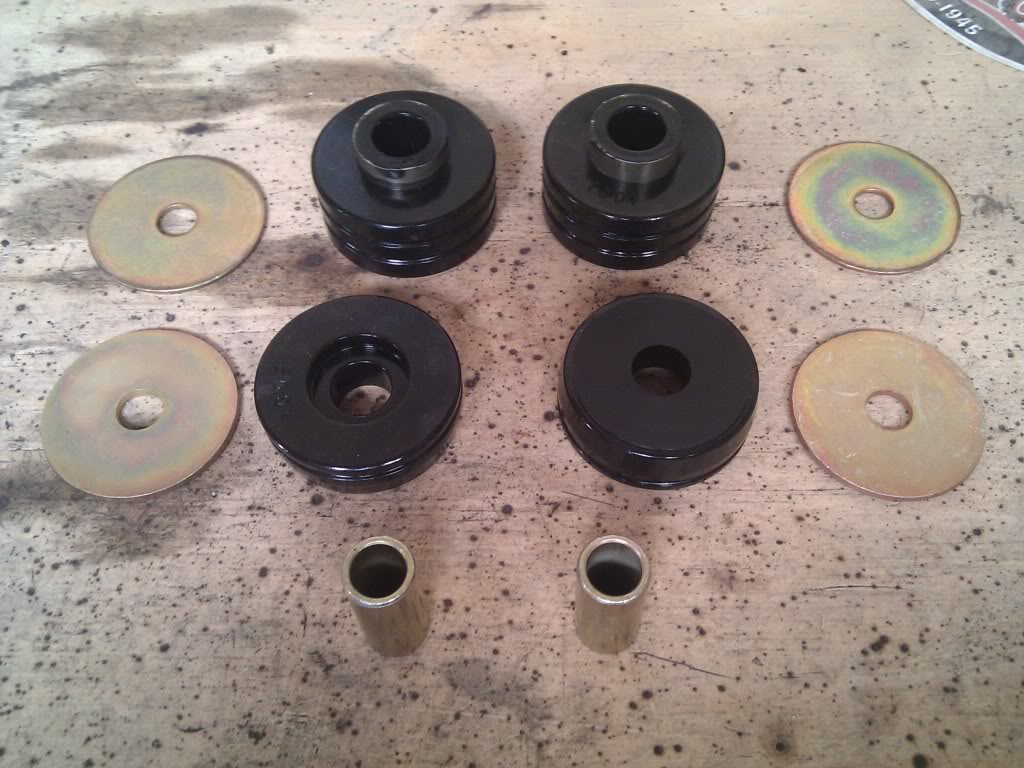
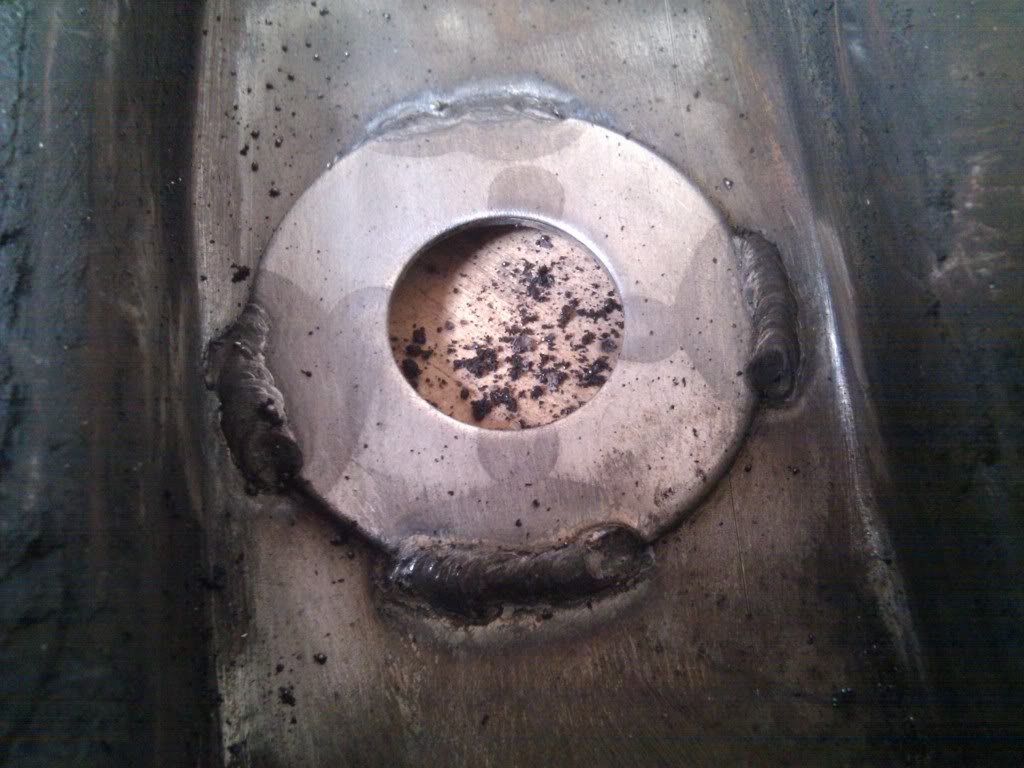
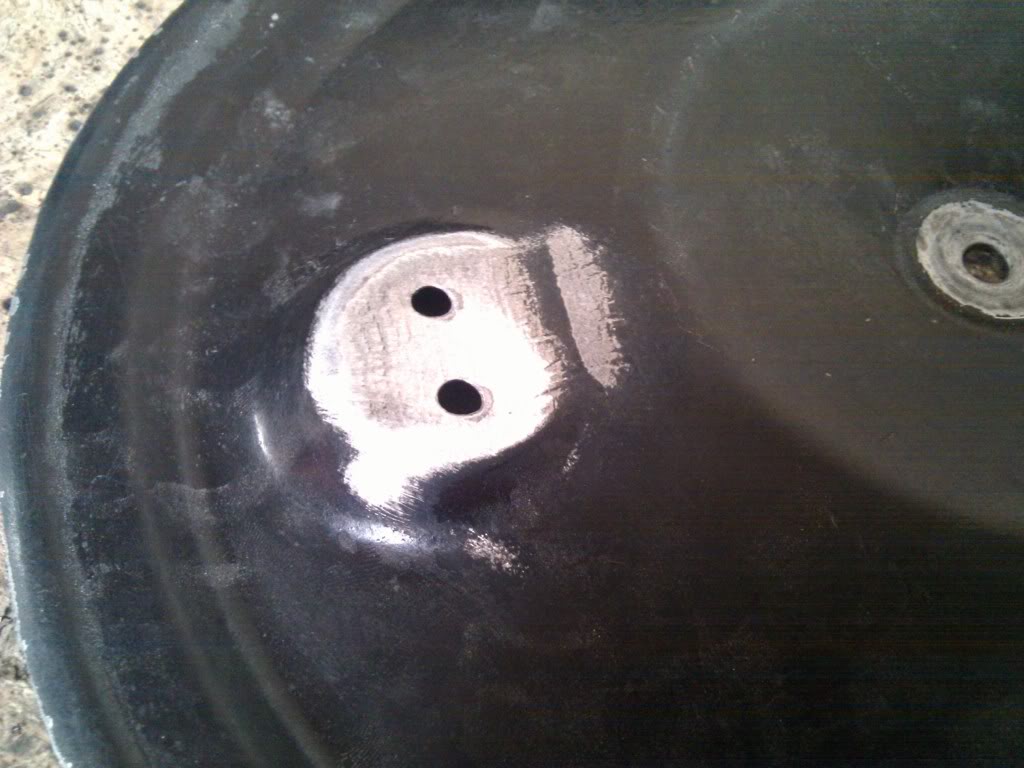
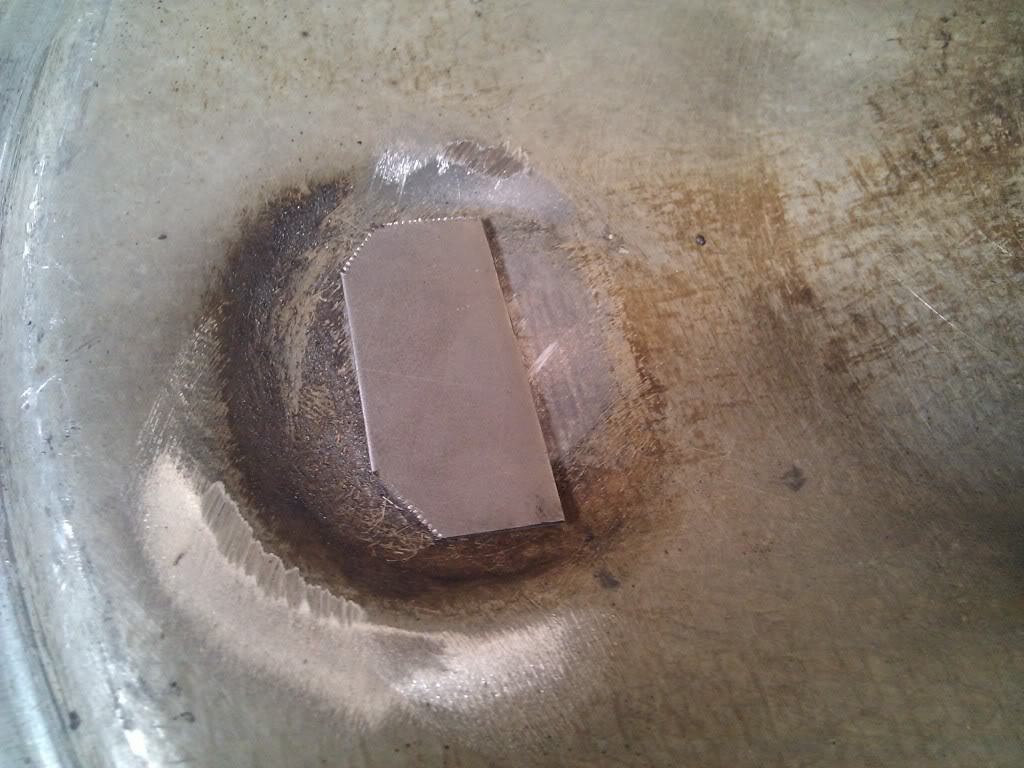
Only one problem, the original bushings filled a 1 1/2" hole in the crossmember and these bushings are for a 1 1/4" hole.
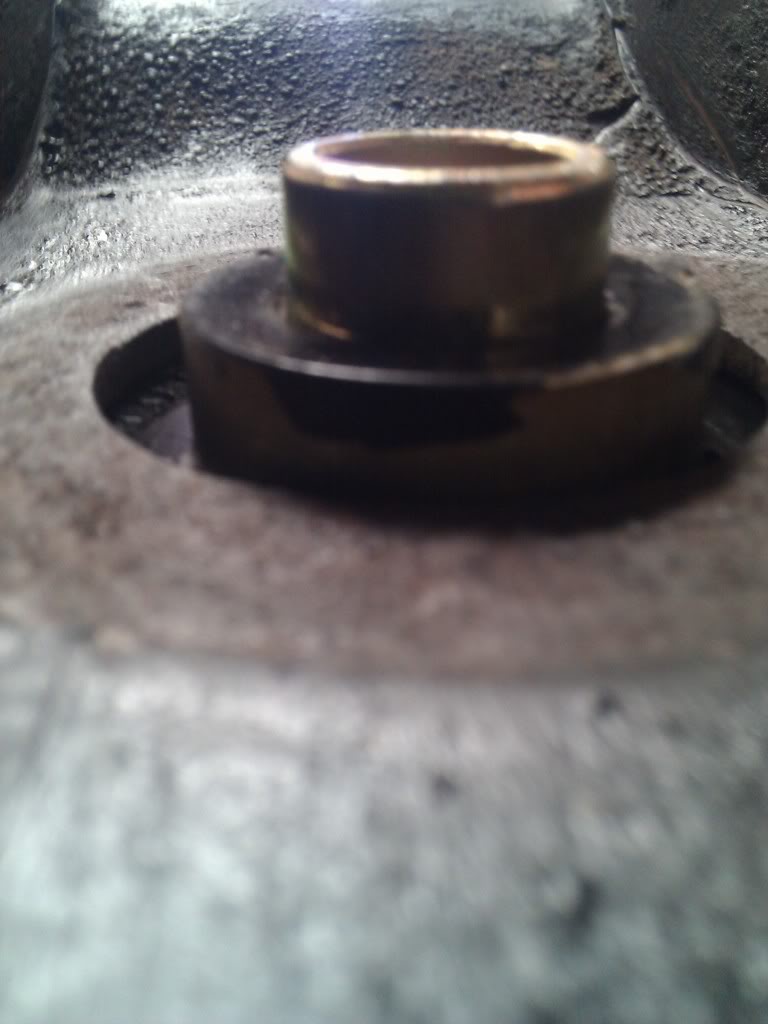
I picked up two 1 1/4" ID washers and welded them to the crossmember.
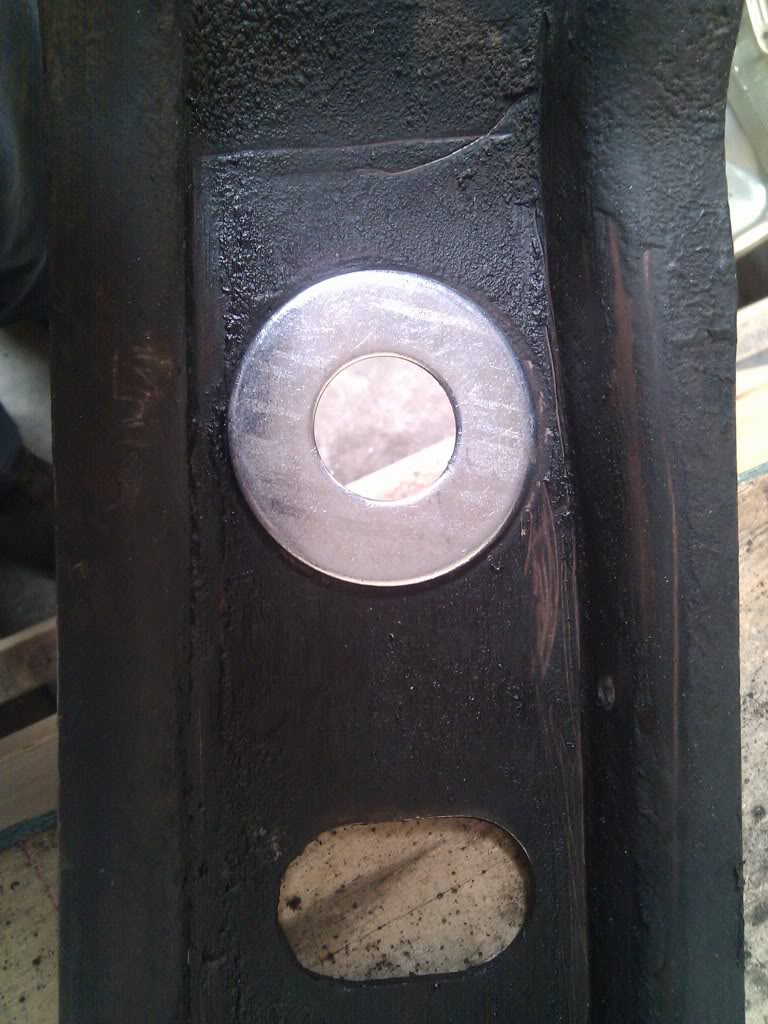
Tacked them in after they were centered.
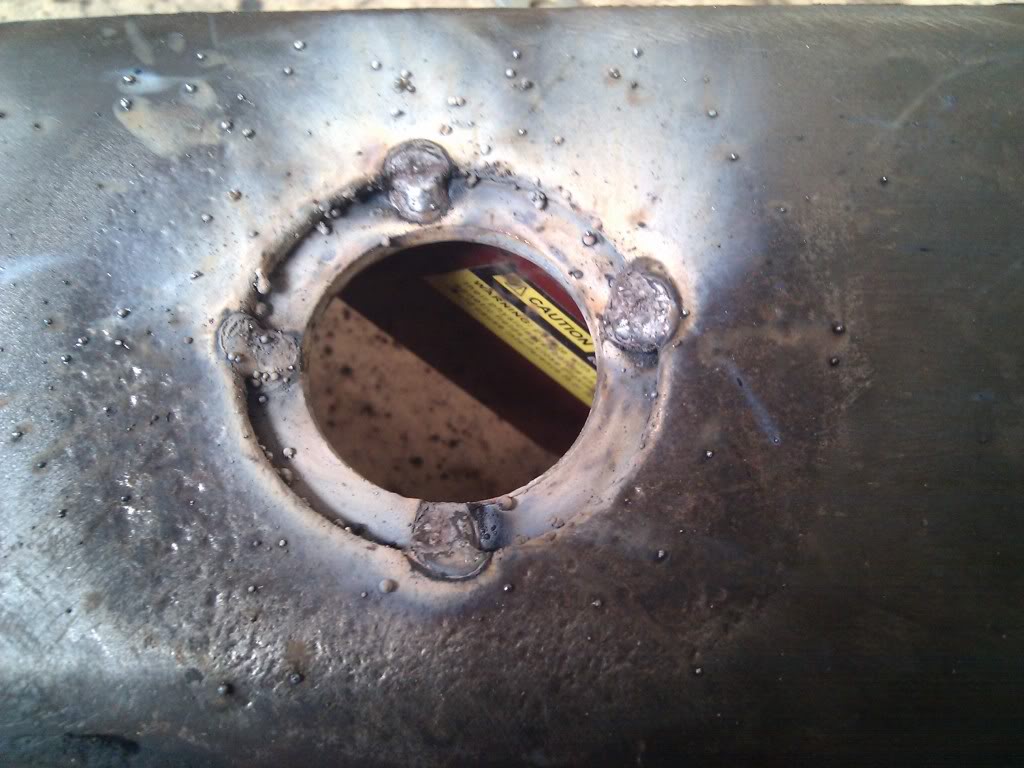
Flipped the crossmember over as laid down four beads.

Repeat with the other hole/washer
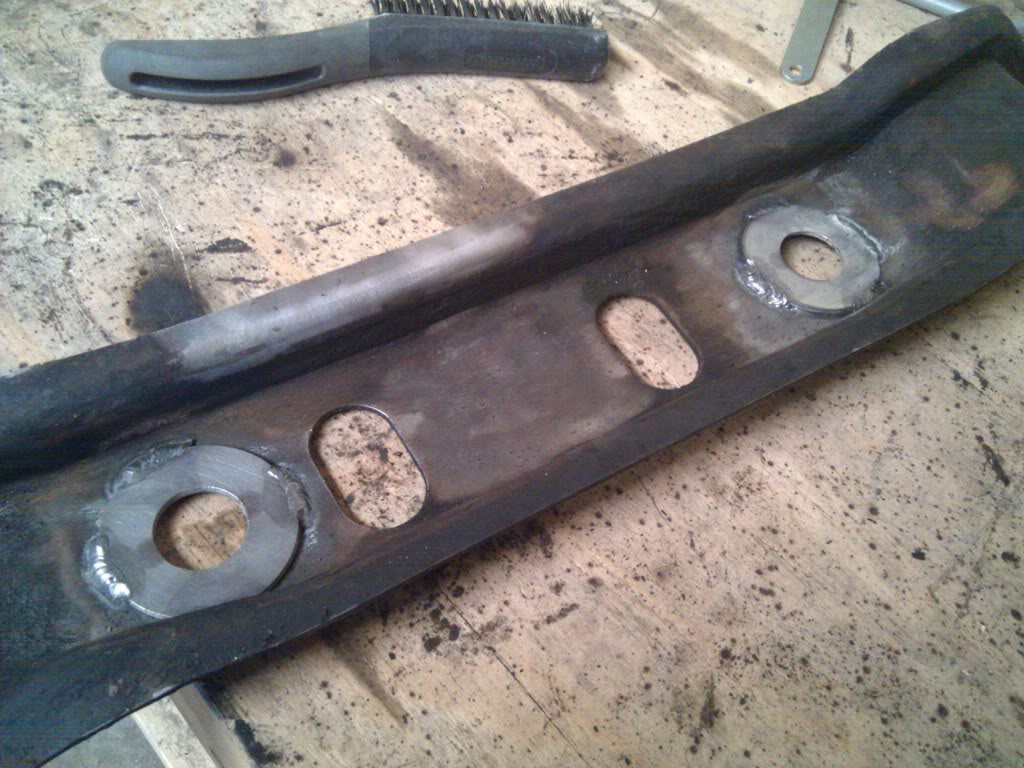
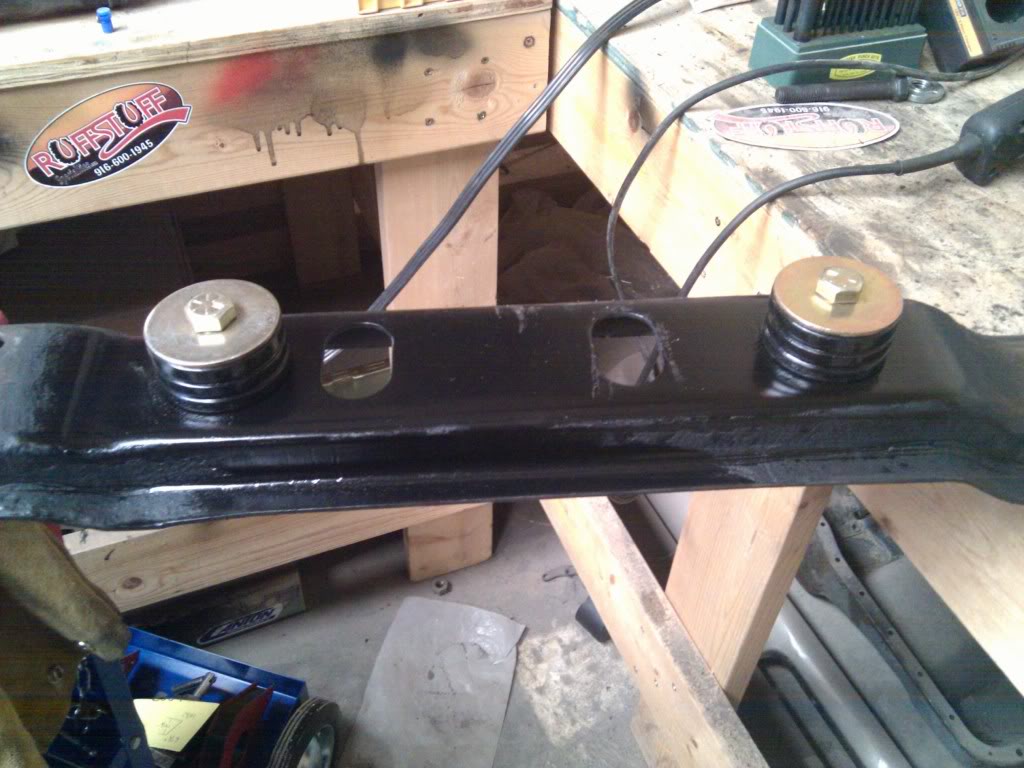
Some paint and Vioala
Until I can push the Bronco back into the shop to get the trans back in, I'll keep working on the doors. Had a friend press these out for me using the templates I had made.
Fred
The transmission parts I had been waiting for finally came in.
These Broncos came equipped with some crap *** rubber bushings as transmission mounts which happen to be out of production and ridiculously overpriced IF you can find them.
The solution; late 70's Bronco NP 205 t-case poly mounts. At $15 a piece x 2, you can't beat it.
Only one problem, the original bushings filled a 1 1/2" hole in the crossmember and these bushings are for a 1 1/4" hole.
I picked up two 1 1/4" ID washers and welded them to the crossmember.
Tacked them in after they were centered.
Flipped the crossmember over as laid down four beads.
Repeat with the other hole/washer
Some paint and Vioala
Until I can push the Bronco back into the shop to get the trans back in, I'll keep working on the doors. Had a friend press these out for me using the templates I had made.
Fred
#40
06-25-2011
Join Date: Jul 2005
Location: El Paso, Texas
Posts: 193
Likes: 0
Received 0 Likes
on
0 Posts

#41
06-29-2011
Join Date: Jul 2005
Location: El Paso, Texas
Posts: 193
Likes: 0
Received 0 Likes
on
0 Posts
Crunch time. I have 2-1/2 more days to get this thing running and on the trail.
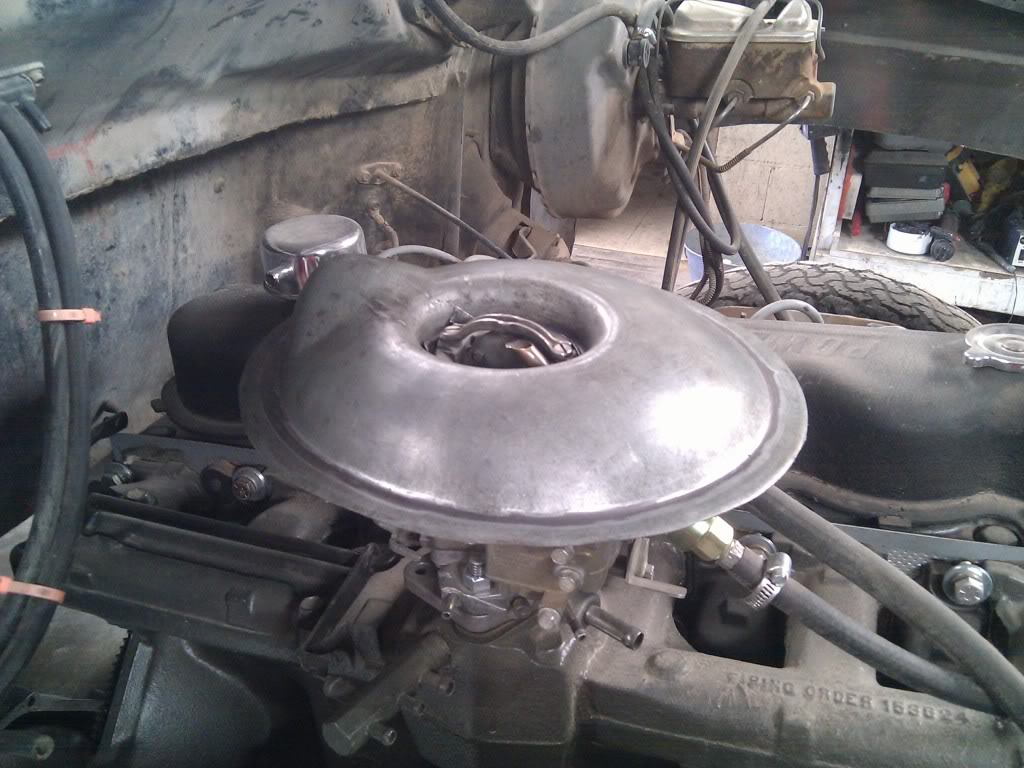
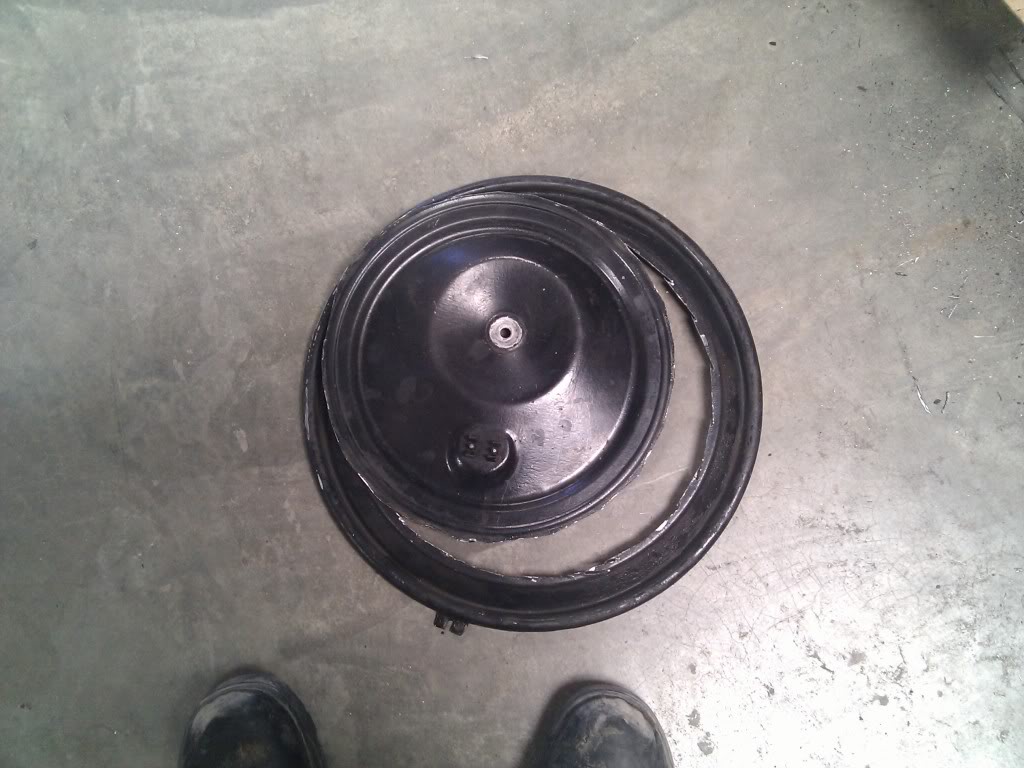
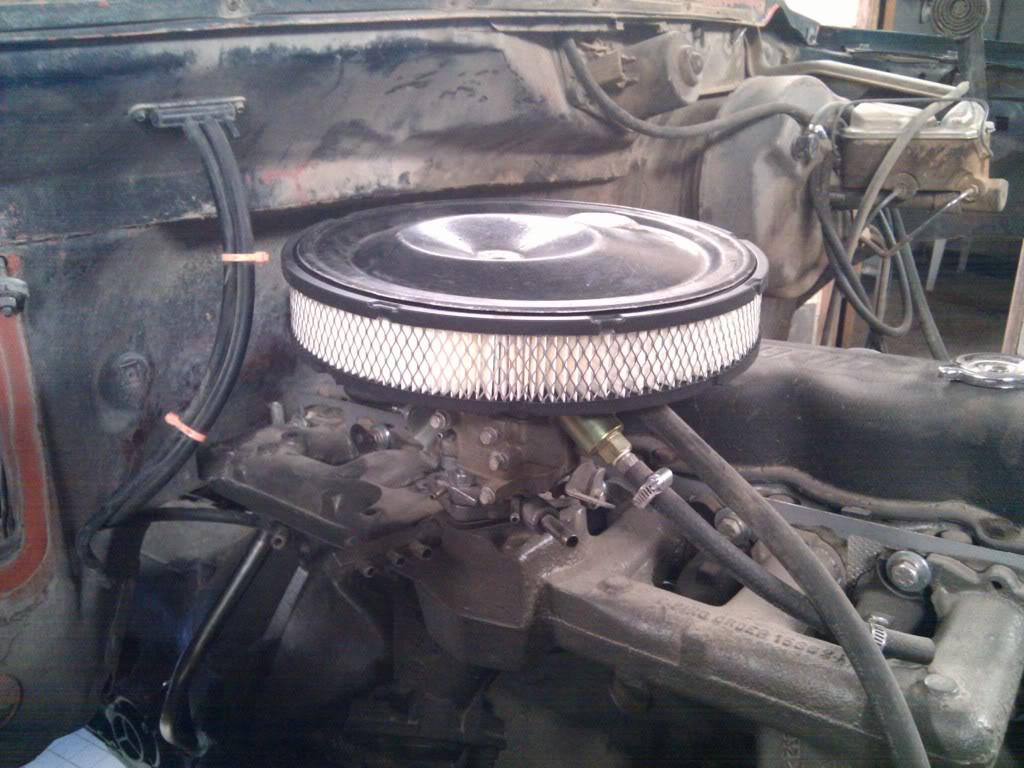
Pulled the Bronco into the shop and while I was waiting for the other guys to get some free time to help with the trans, I decided to do something about the air cleaner. Air cleaners for 1bbl carbs are hard to come by and every adapter I came across did not fit because of the electric choke.
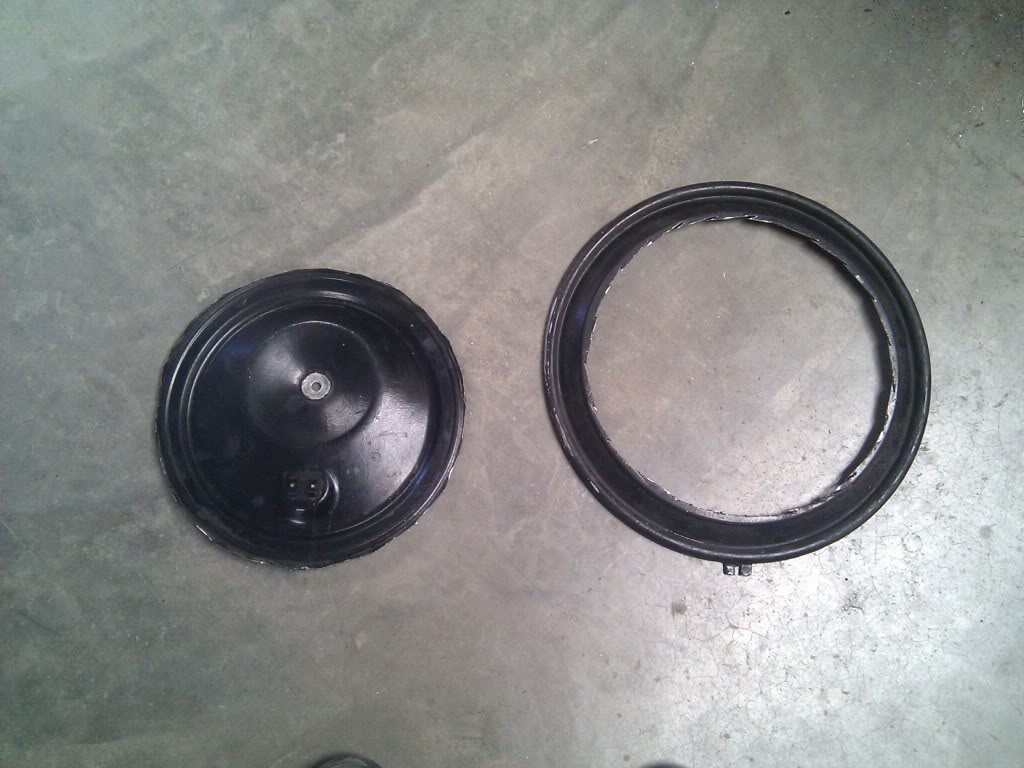
Took the stock air cleaner and cut out the centers to turn it into an open element air cleaner. I know, I know, hot air, gets dirty faster but down the road this will be addressed.
Bottom
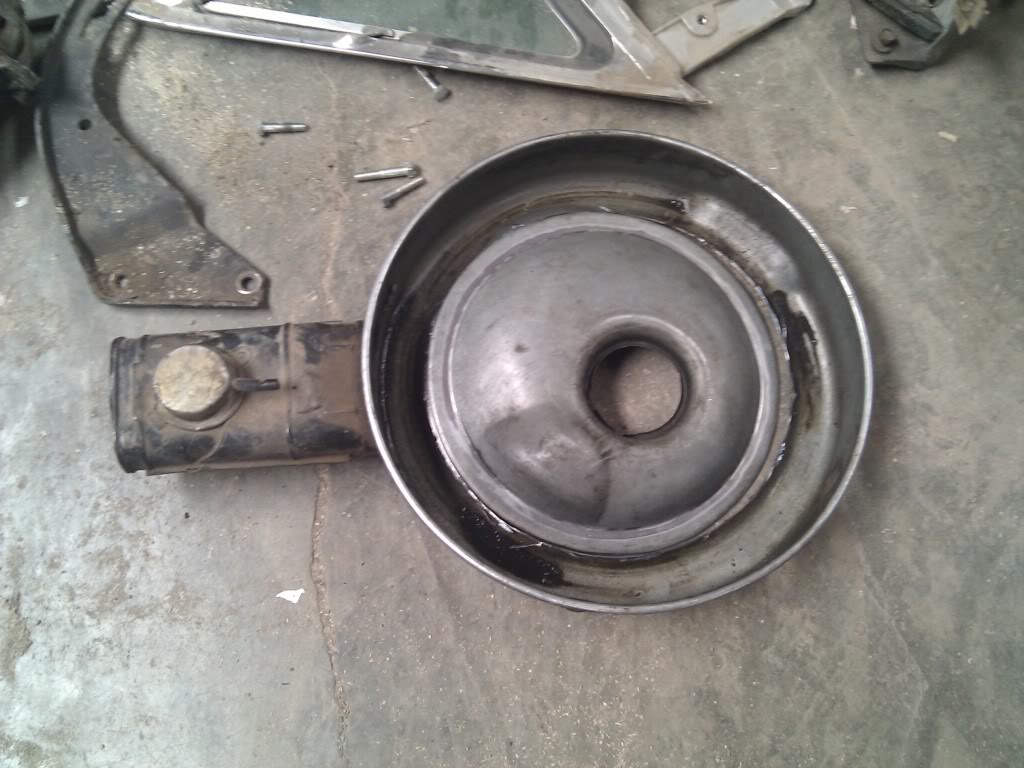
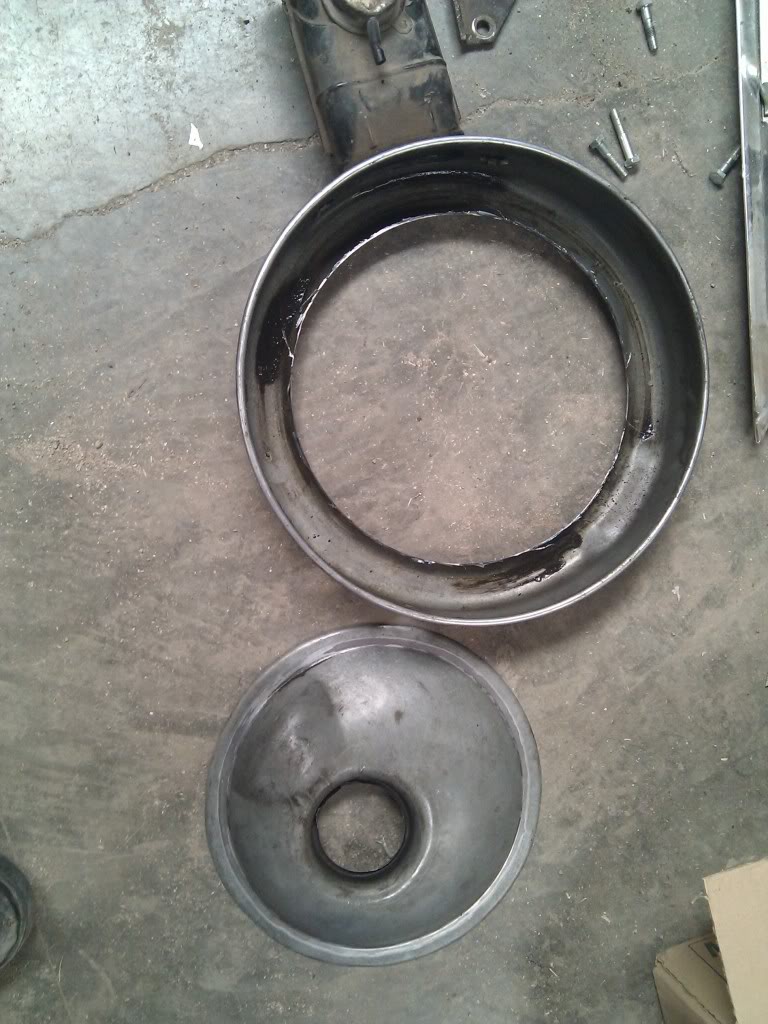

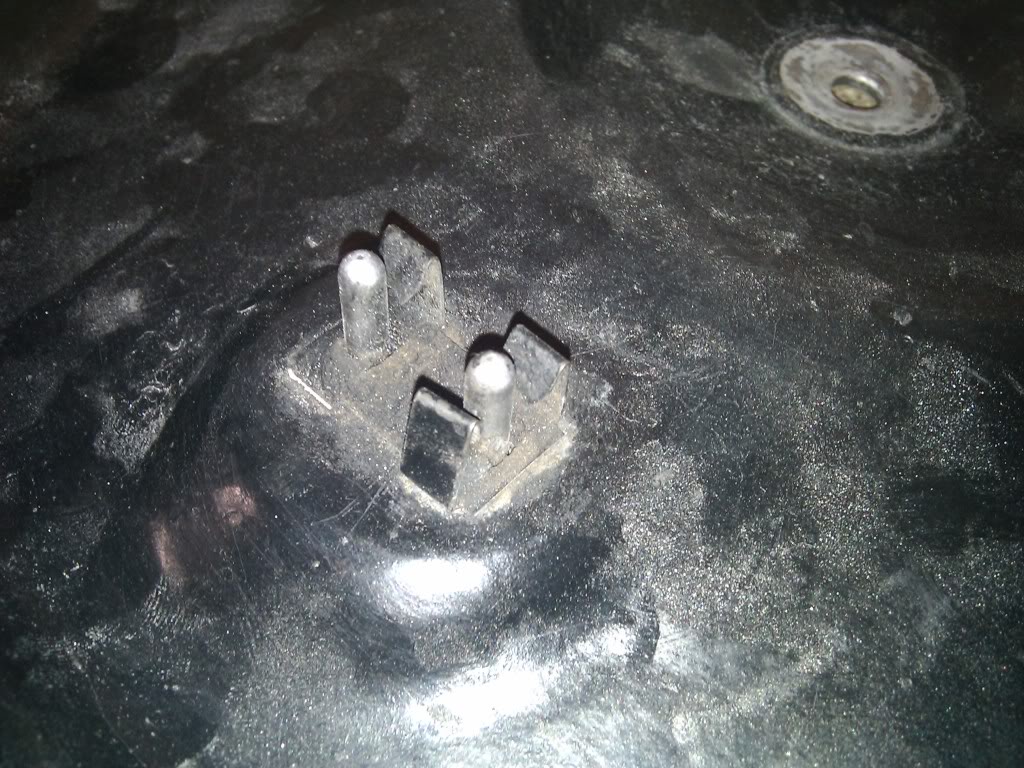
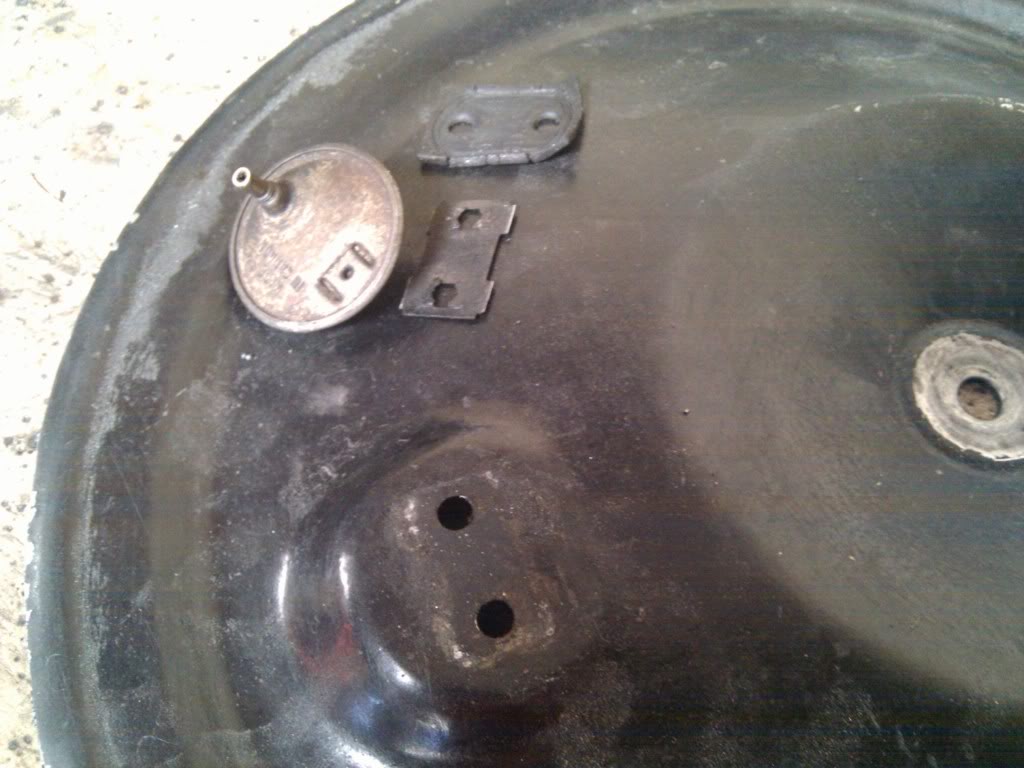
Top

The top had some funky vacuum valve on it. Took it off and welded it closed.
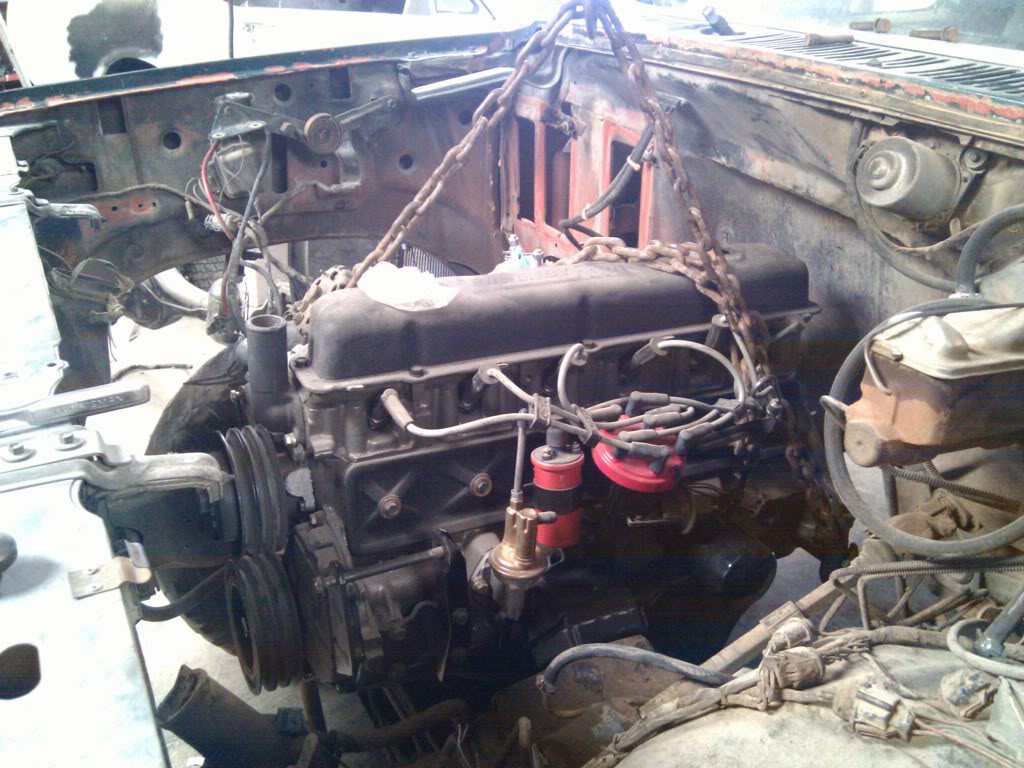
Here we go

The highly anticipated and dreaded moment
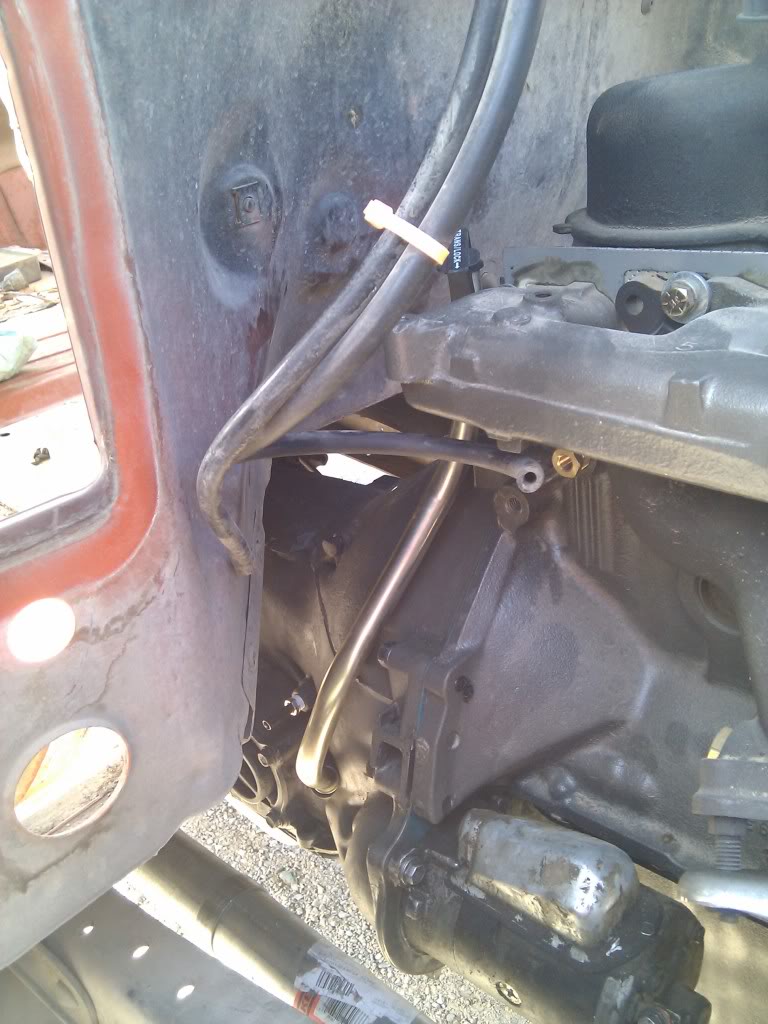
In. The trans dipstick I ordered was for a SBF which shares a bolt pattern with this motor but it would not clear the intake so I had to get creative put an additional bend in the dipstick tube which ended up working out great.
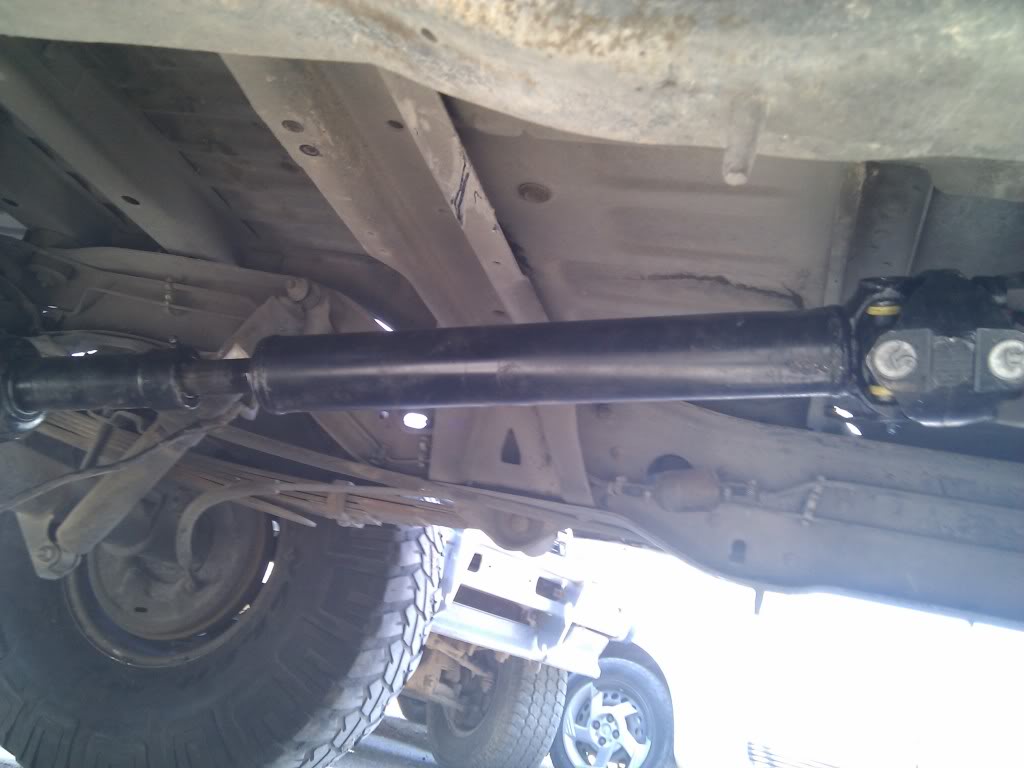
Rear drivehsaft
Y-pipe

Looks like I have my work cutout for me these next couple of days.
Its coming together
Fred
Pulled the Bronco into the shop and while I was waiting for the other guys to get some free time to help with the trans, I decided to do something about the air cleaner. Air cleaners for 1bbl carbs are hard to come by and every adapter I came across did not fit because of the electric choke.
Took the stock air cleaner and cut out the centers to turn it into an open element air cleaner. I know, I know, hot air, gets dirty faster but down the road this will be addressed.
Bottom
Top
The top had some funky vacuum valve on it. Took it off and welded it closed.
Here we go
The highly anticipated and dreaded moment
In. The trans dipstick I ordered was for a SBF which shares a bolt pattern with this motor but it would not clear the intake so I had to get creative put an additional bend in the dipstick tube which ended up working out great.
Rear drivehsaft
Y-pipe
Looks like I have my work cutout for me these next couple of days.
Its coming together
Fred
#42
06-30-2011
Join Date: Jul 2005
Location: El Paso, Texas
Posts: 193
Likes: 0
Received 0 Likes
on
0 Posts
Started today by installing the front drive shaft. Then moves onto the shifter.
Its crooked on purpose. Because of the seat, it makes it awkward to shift with it straight.

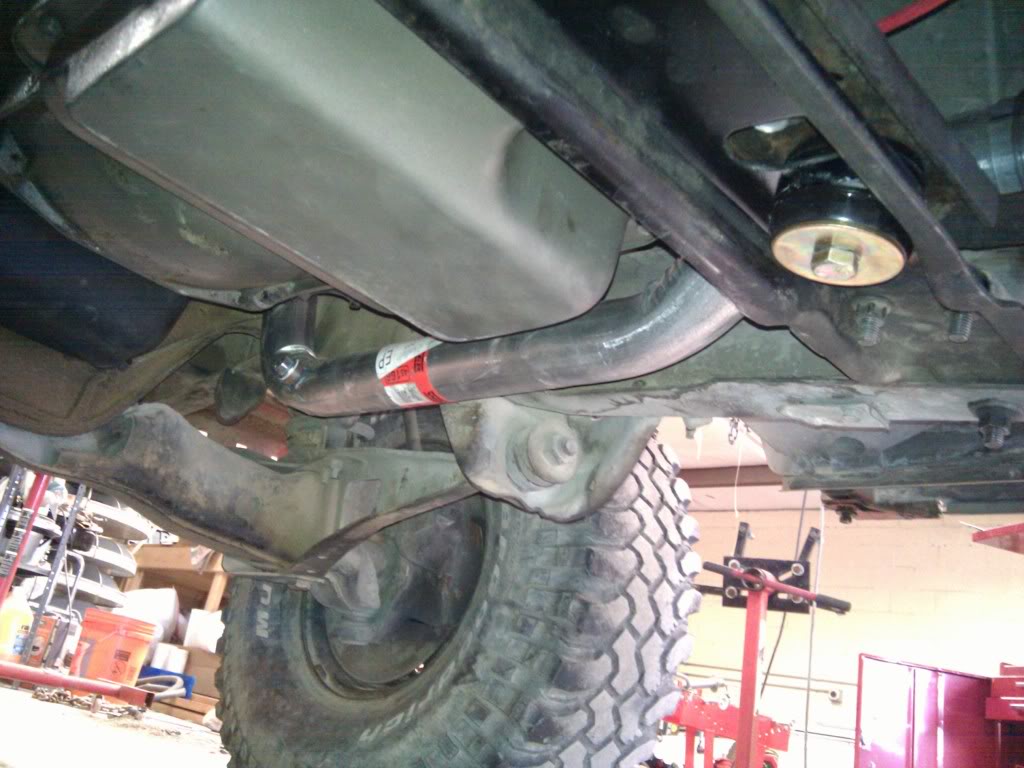
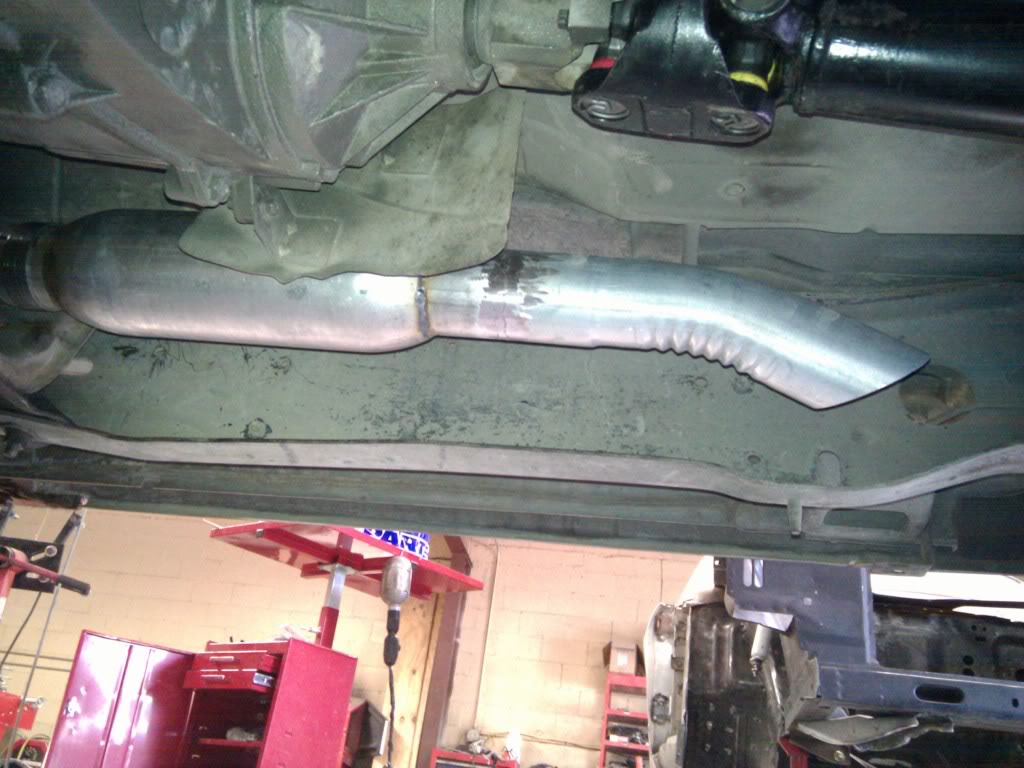
Moved onto the exhaust. The y-pipe was already in place. Had a dynomax race bullet lying around so I decided to use it along with an Autozone turn down. All 2.5".
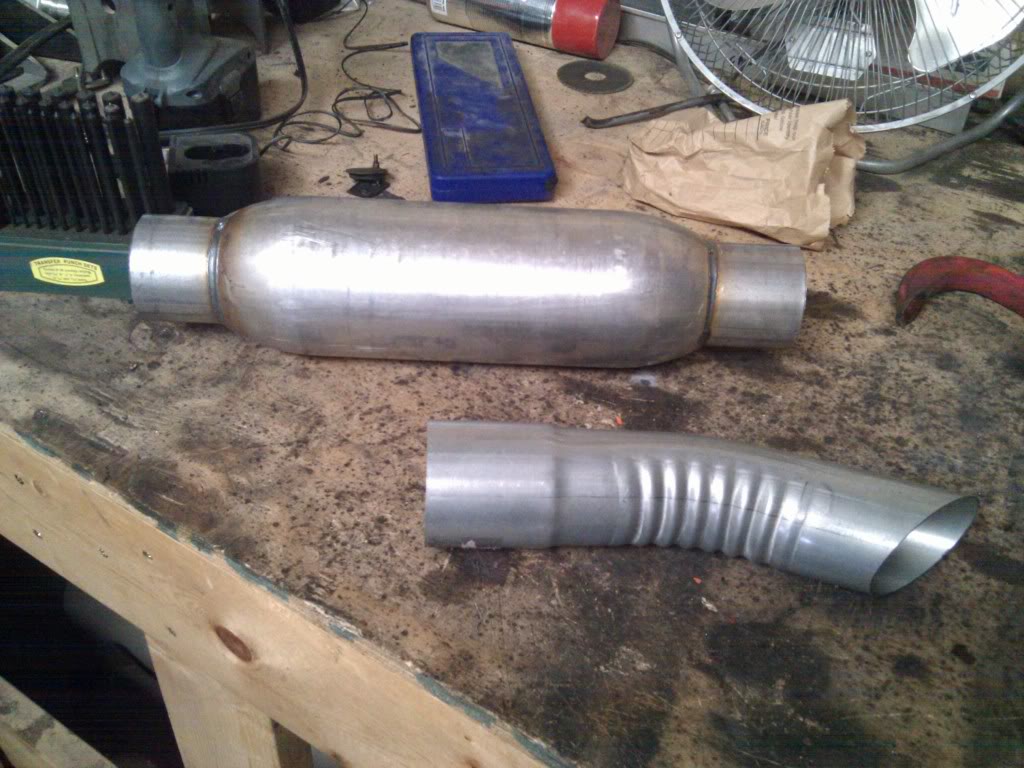
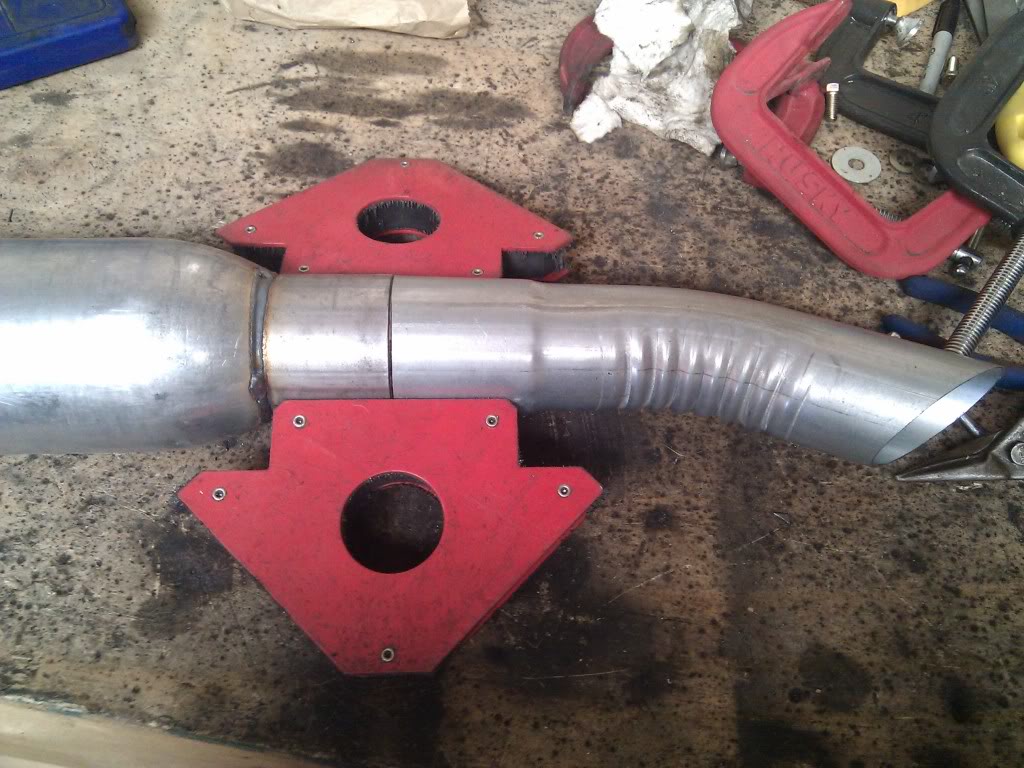
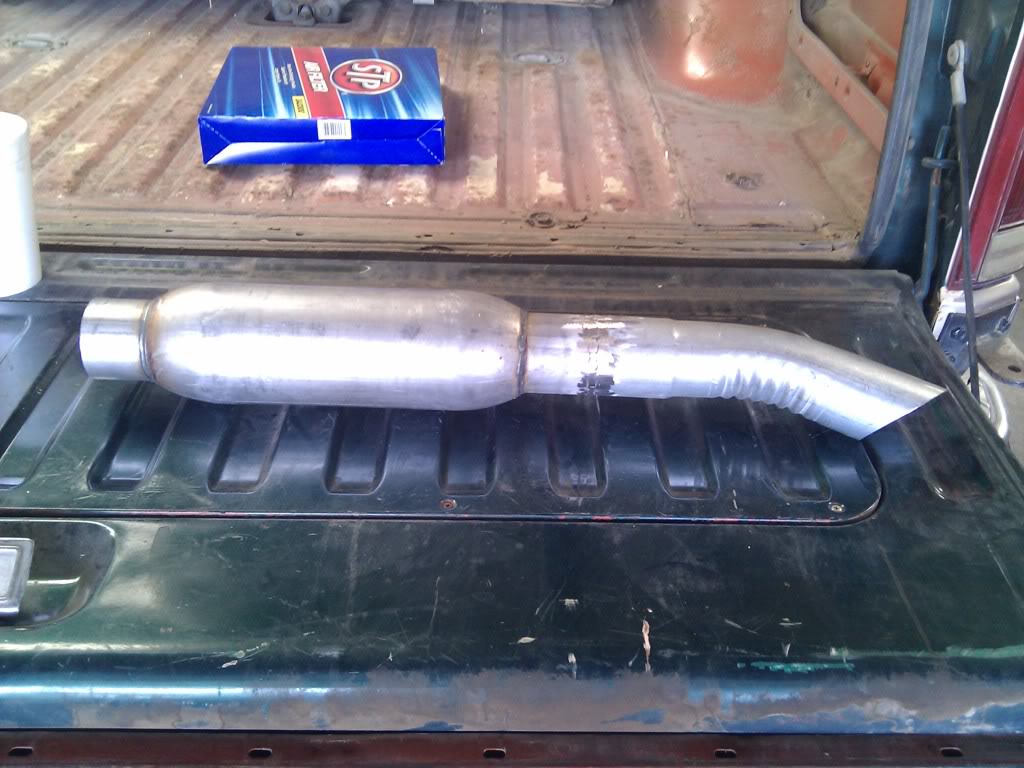
90% done. Just need to add a hanger.
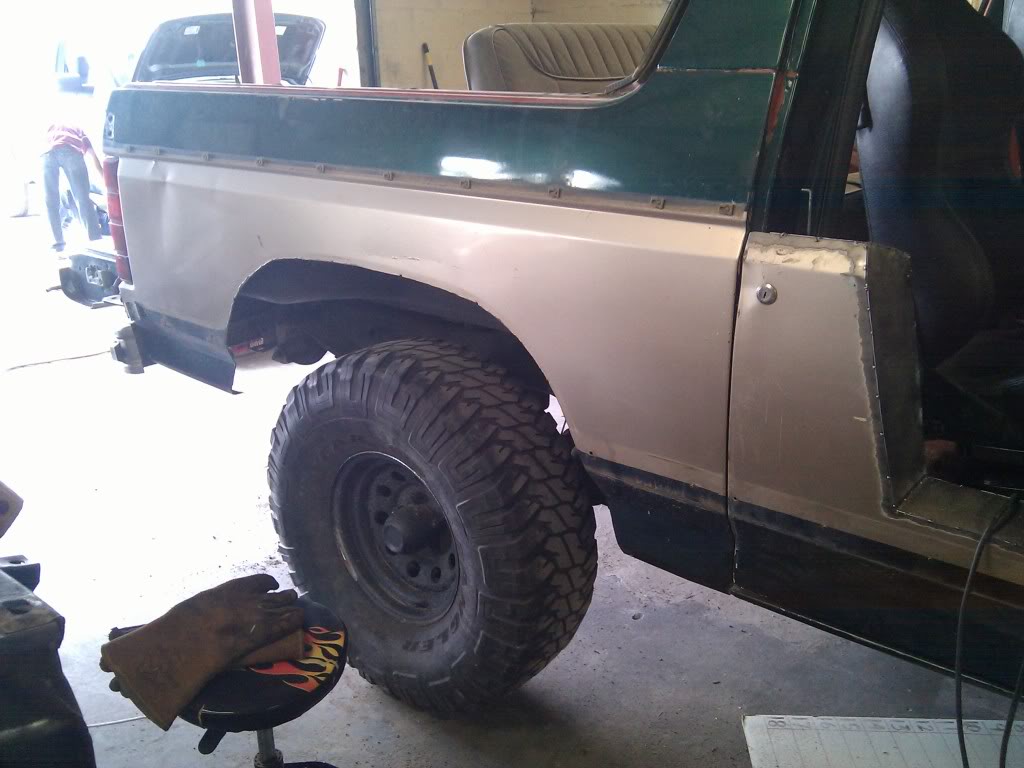
Cut the last fender.
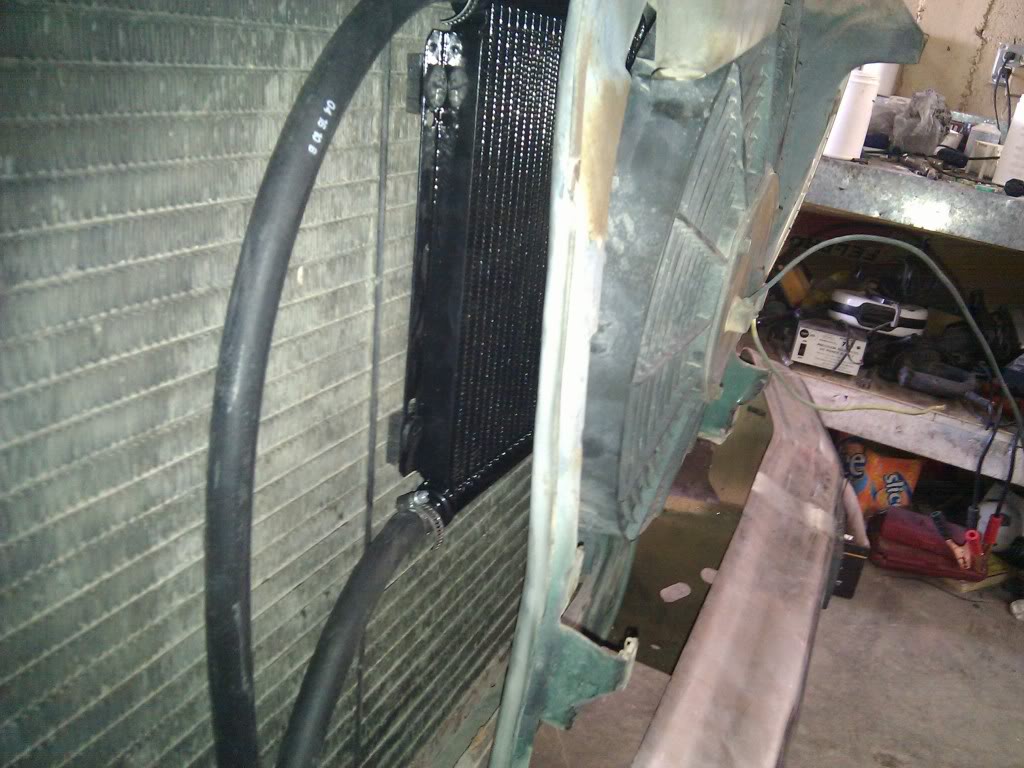
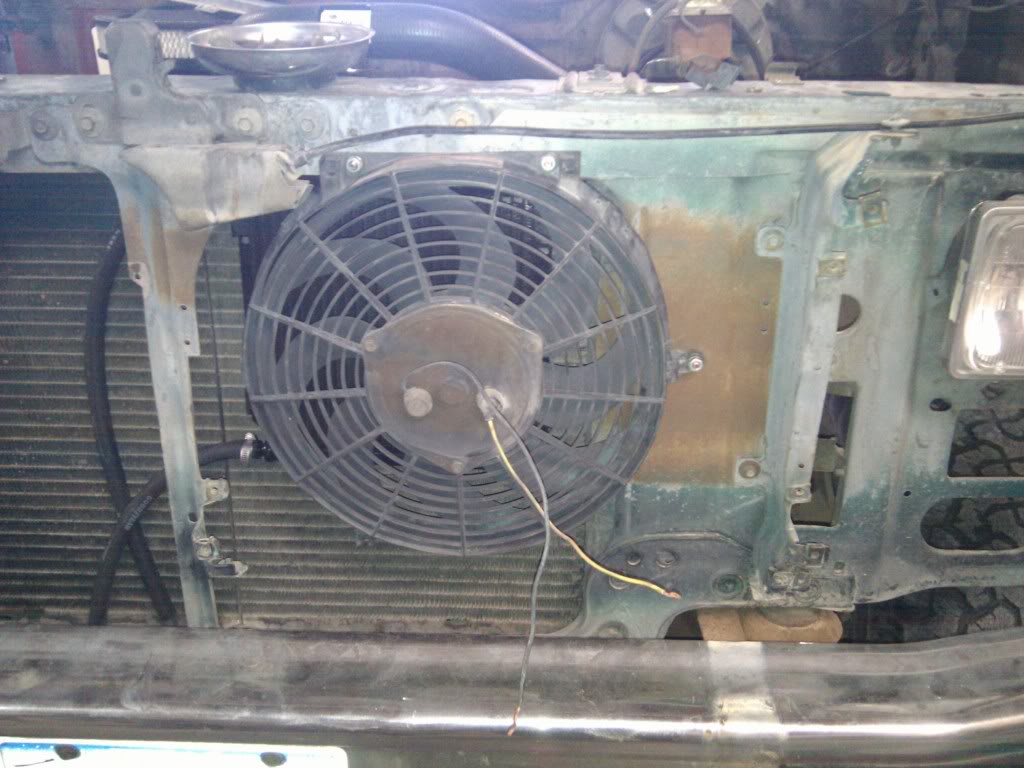
Trans cooler with dedicated fan.
Fred
Its crooked on purpose. Because of the seat, it makes it awkward to shift with it straight.
Moved onto the exhaust. The y-pipe was already in place. Had a dynomax race bullet lying around so I decided to use it along with an Autozone turn down. All 2.5".
90% done. Just need to add a hanger.
Cut the last fender.
Trans cooler with dedicated fan.
Fred
#43
07-01-2011
Join Date: Jul 2005
Location: El Paso, Texas
Posts: 193
Likes: 0
Received 0 Likes
on
0 Posts
Doesn't look like I'm going to meet my intended finish date.
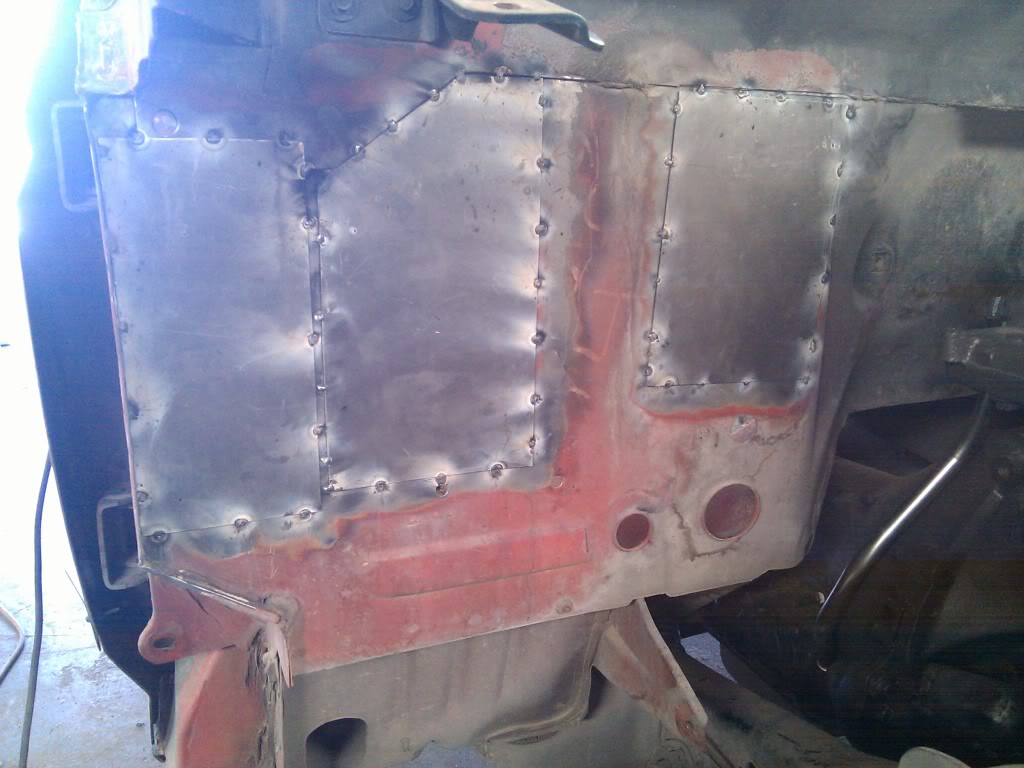
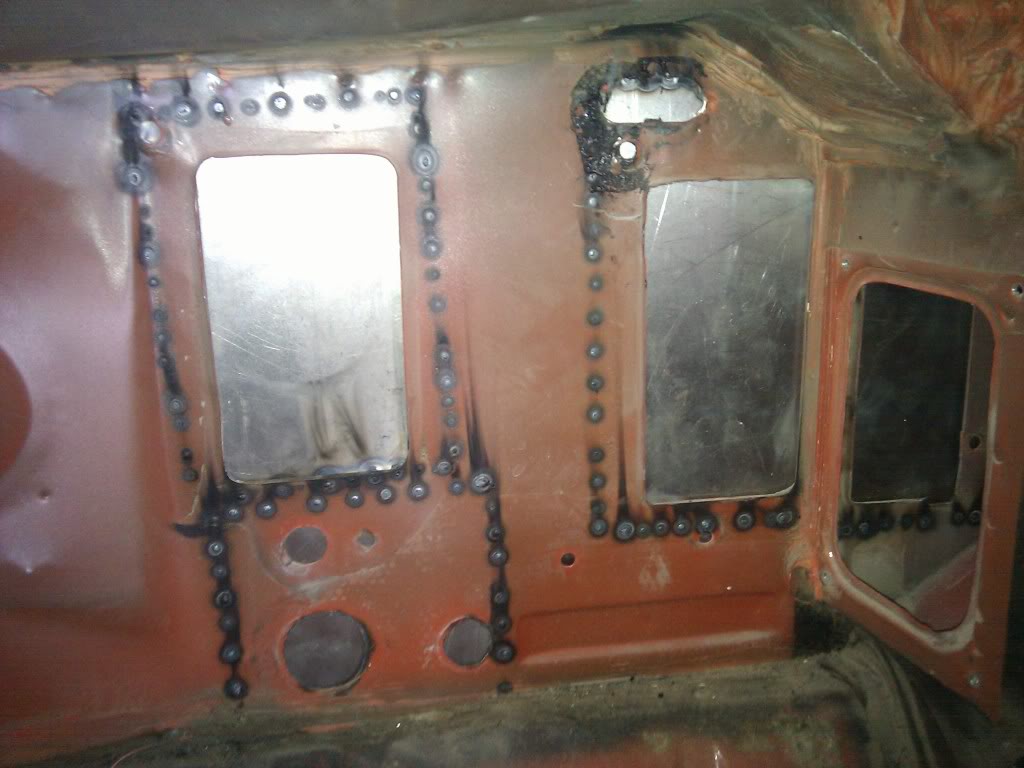
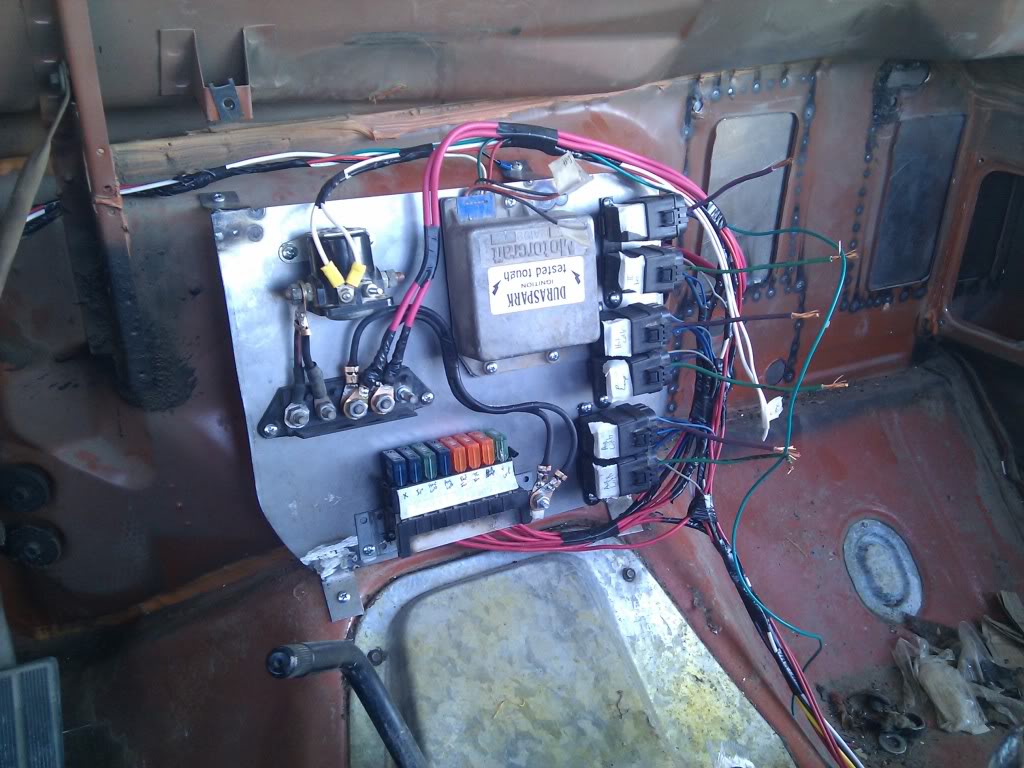
After removing the AC these rather large openings were left in the firewall.
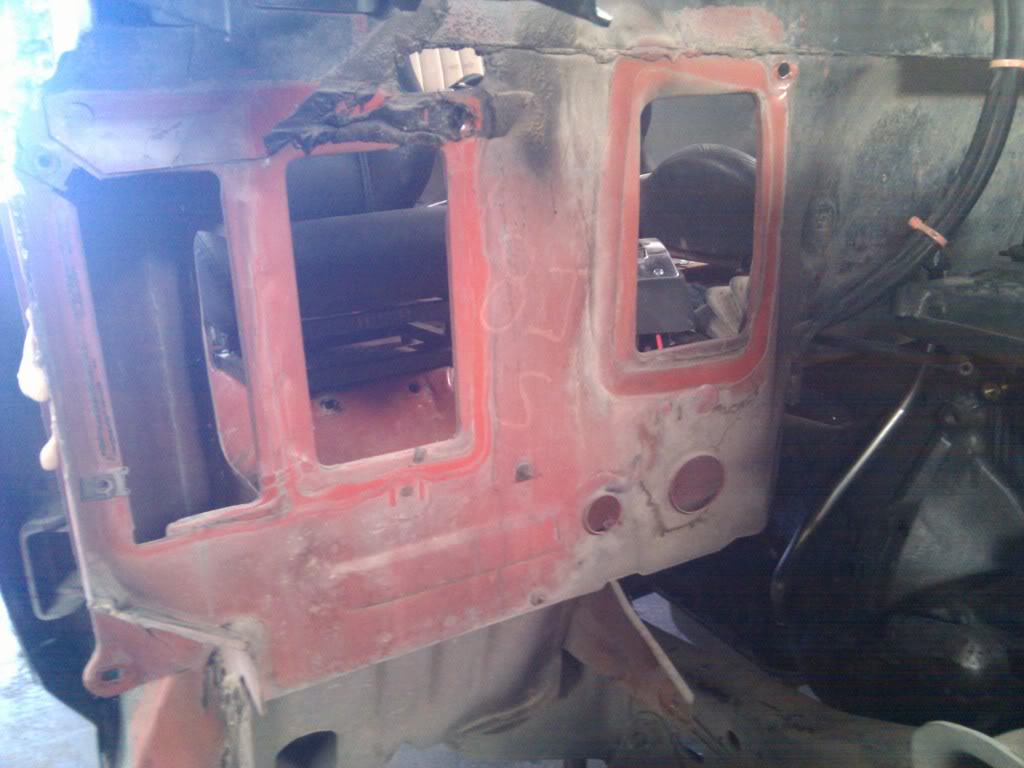
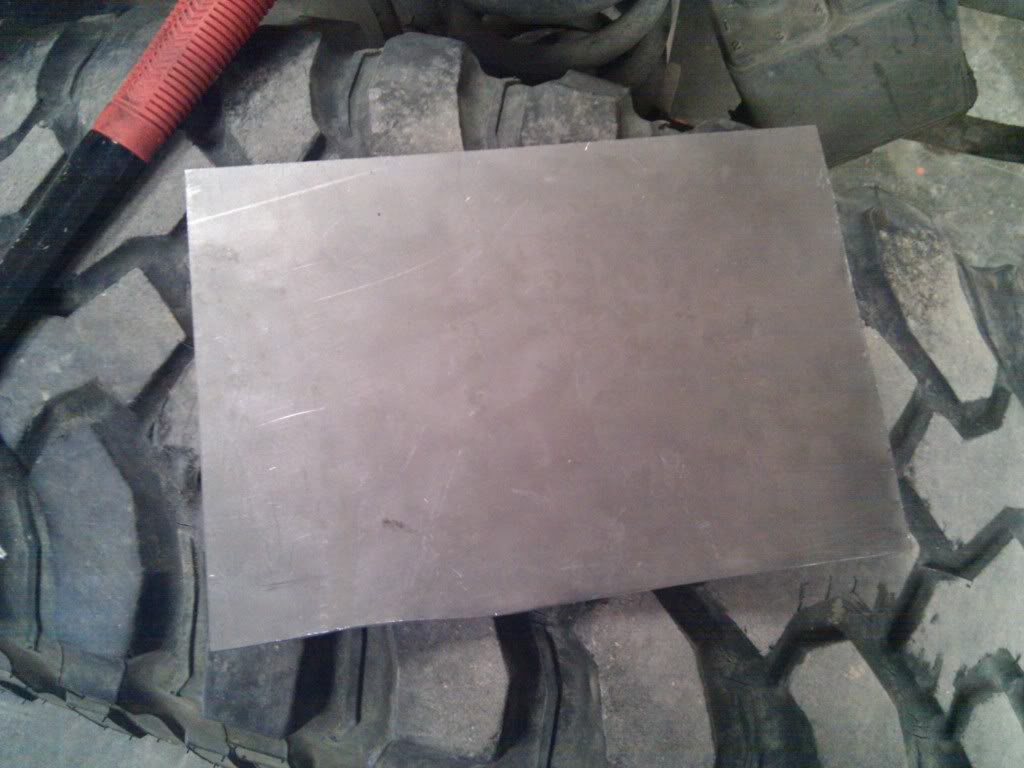
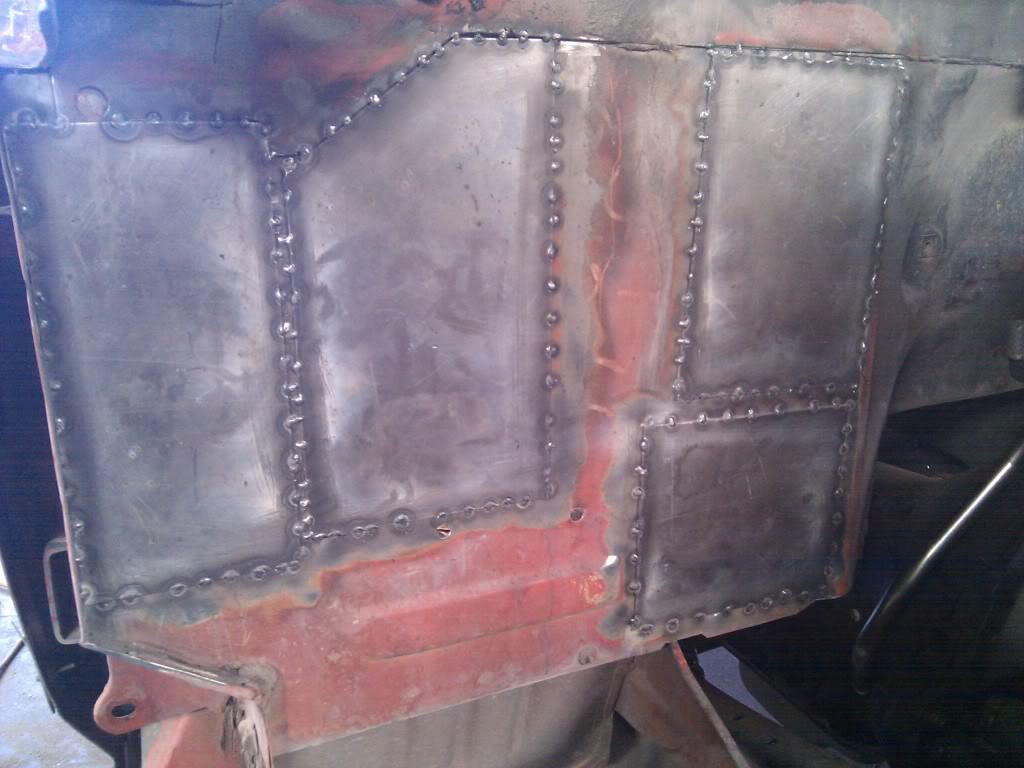
Made some patch panels out of 18ga sheetmetal.

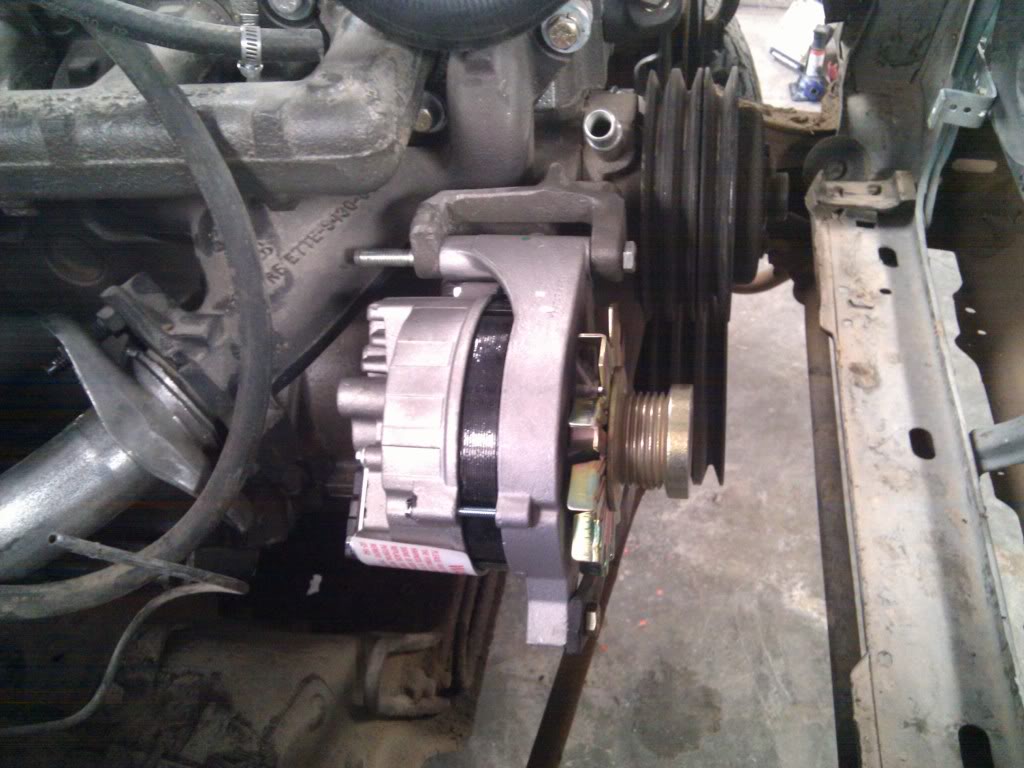
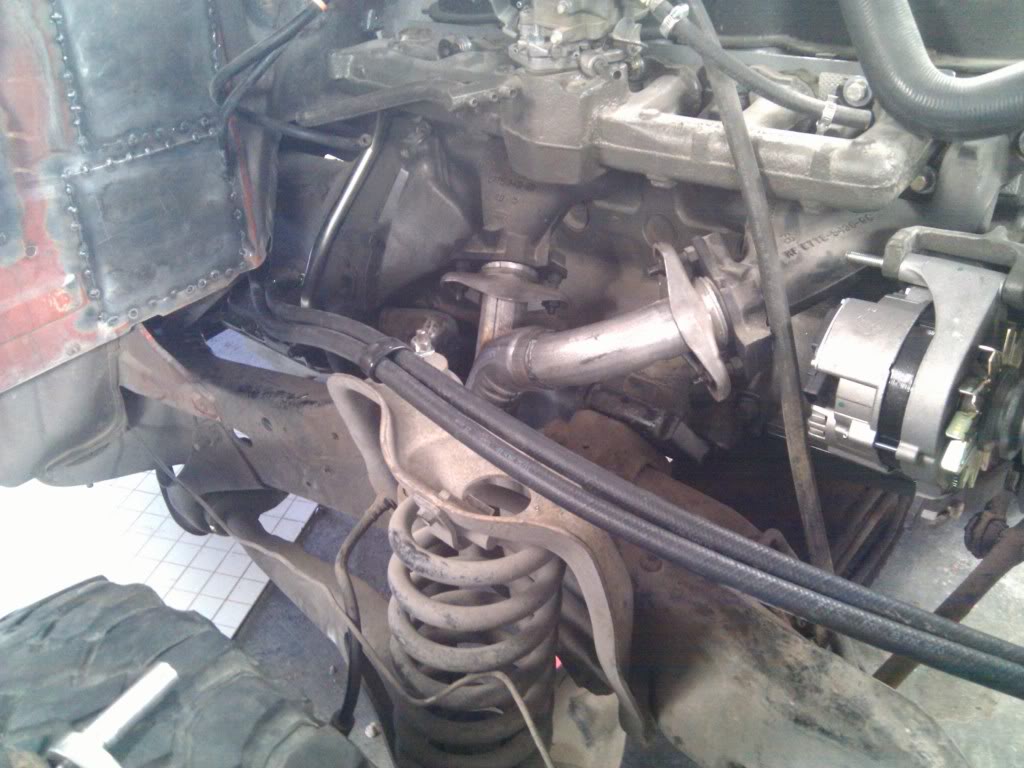
Internal voltage regulator alternator. The main plus is facing the engine though so I had to clock it a bit.

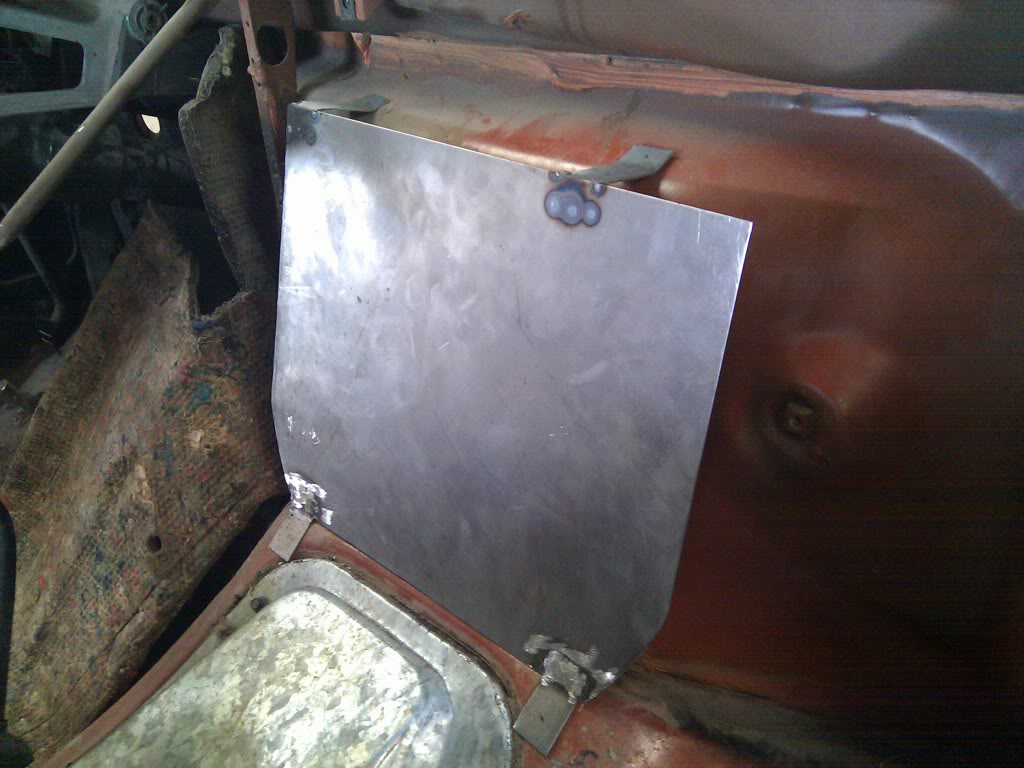
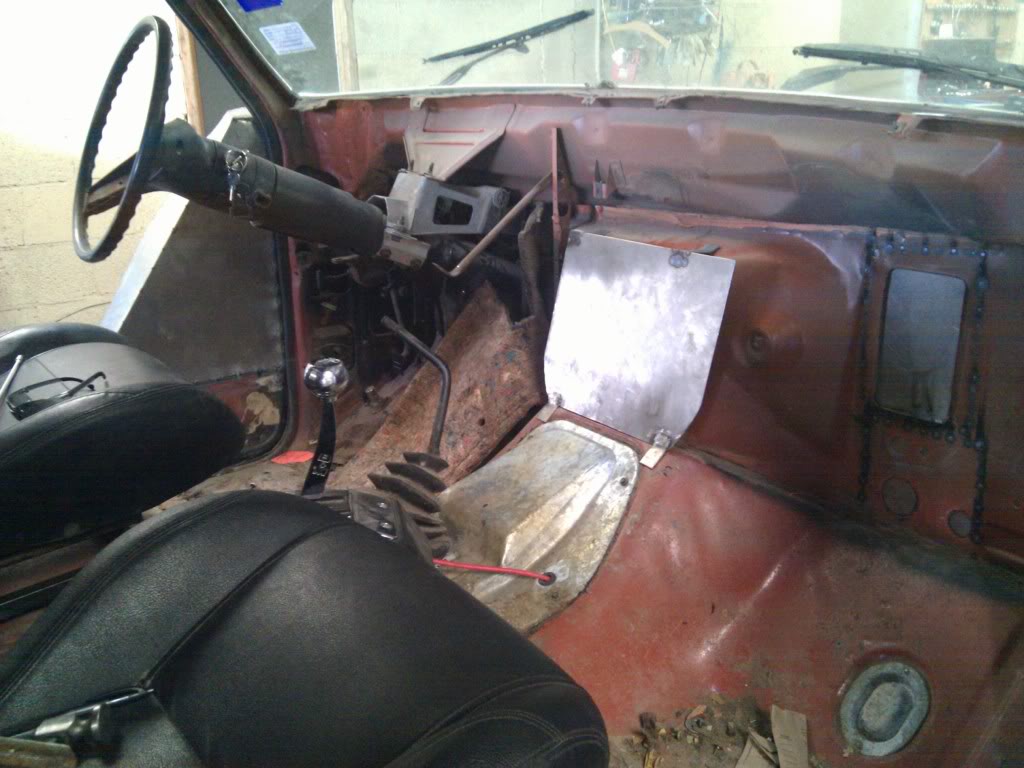
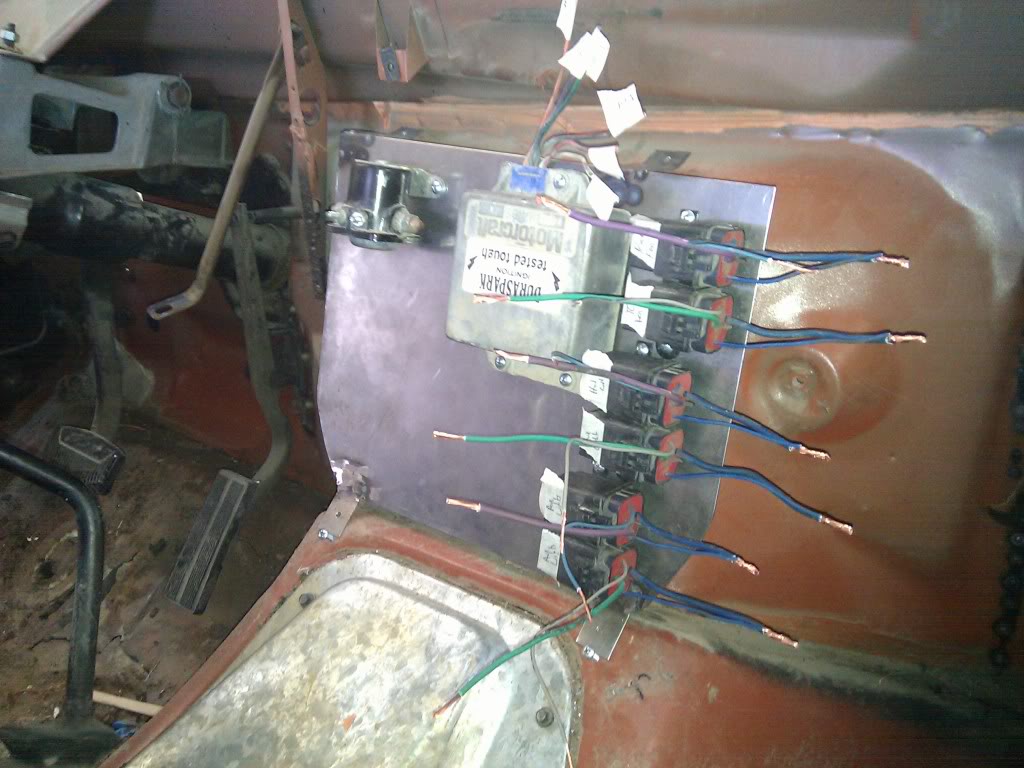
All the electronics will be relocated inside the cab on this panel.

Panel will be mounted inside the firewall.
I'm making progress but it looks like I'm going backwards sometimes.

Fred
After removing the AC these rather large openings were left in the firewall.
Made some patch panels out of 18ga sheetmetal.
Internal voltage regulator alternator. The main plus is facing the engine though so I had to clock it a bit.
All the electronics will be relocated inside the cab on this panel.
Panel will be mounted inside the firewall.
I'm making progress but it looks like I'm going backwards sometimes.
Fred
#44
07-09-2011
Join Date: Jul 2005
Location: El Paso, Texas
Posts: 193
Likes: 0
Received 0 Likes
on
0 Posts
Tuesday:
Got the trans cooler lines run.
Wednesday:
Got started on the wiring and moved the battery to the rear of the vehicle.

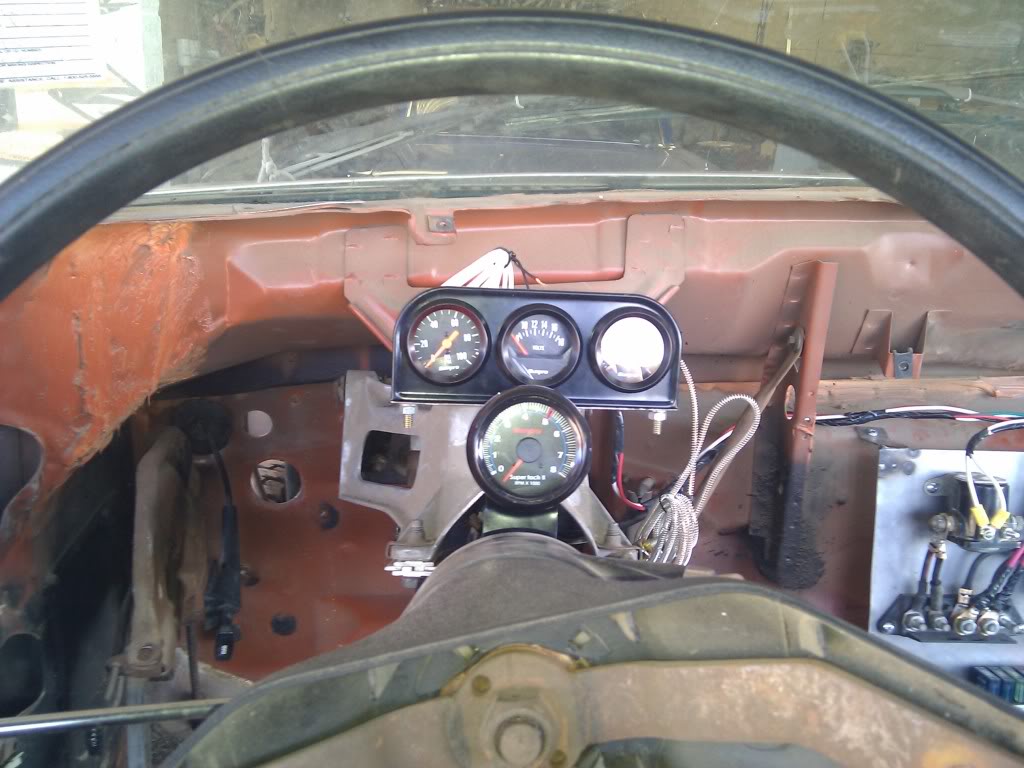
Thursday
Got some Vatozone gauges and tach and mounted them.

Friday (Today)
Mad wiring scramble. No pictures to show though. Phone died and wasn't able to snap any pics.
I did however pick this gem up today. 76-77 F100/150 Dana 44 HP. No plans on getting it in anytime soon though. I wanna build it up along side a matching 9" and maybe have them ready to be swapped in next summer. Plans are 3 link in the front and 4 link in the rear.


Fred
Got the trans cooler lines run.
Wednesday:
Got started on the wiring and moved the battery to the rear of the vehicle.
Thursday
Got some Vatozone gauges and tach and mounted them.
Friday (Today)
Mad wiring scramble. No pictures to show though. Phone died and wasn't able to snap any pics.
I did however pick this gem up today. 76-77 F100/150 Dana 44 HP. No plans on getting it in anytime soon though. I wanna build it up along side a matching 9" and maybe have them ready to be swapped in next summer. Plans are 3 link in the front and 4 link in the rear.
Fred
#45
07-09-2011
Join Date: Jul 2005
Location: El Paso, Texas
Posts: 193
Likes: 0
Received 0 Likes
on
0 Posts
It's alive!!! Got the pig running today. Started up fairly easy. Idles fine, and sounds pretty good IMO with the Walker y-pipe feeding into a Dynomax race bullet. I was worried it would be too loud but its actually perfect.
I nailed all the electrical wiring with no need for adjustments or corrections. Electrical fans ran, light all worked, gauges all lit up.
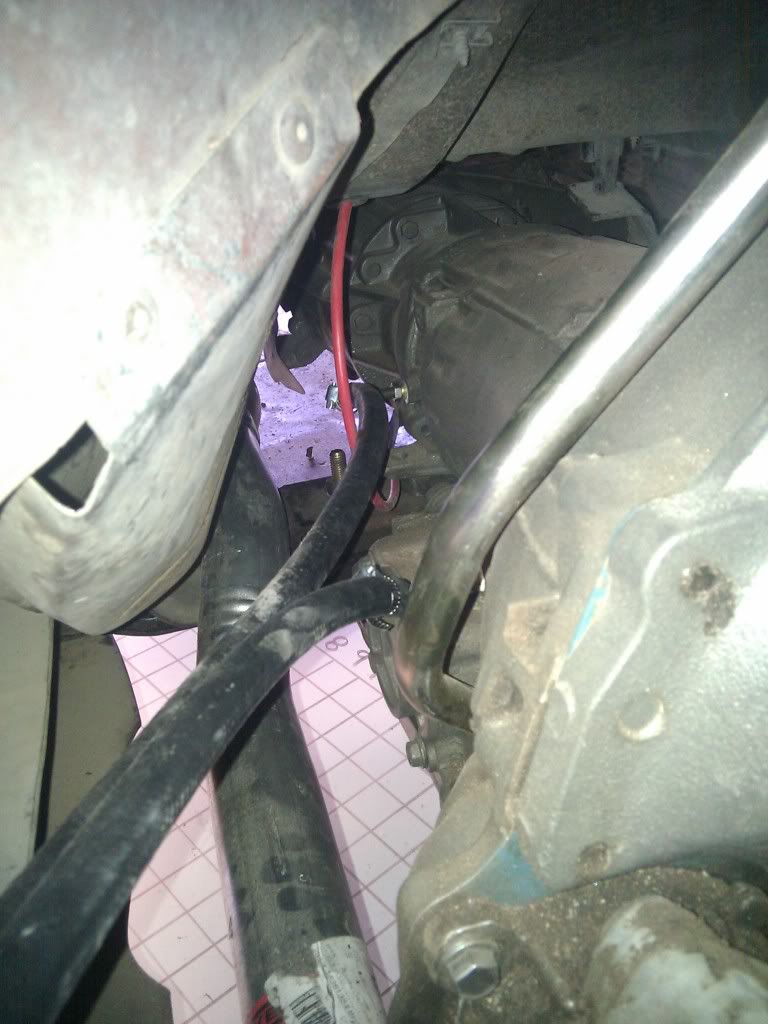
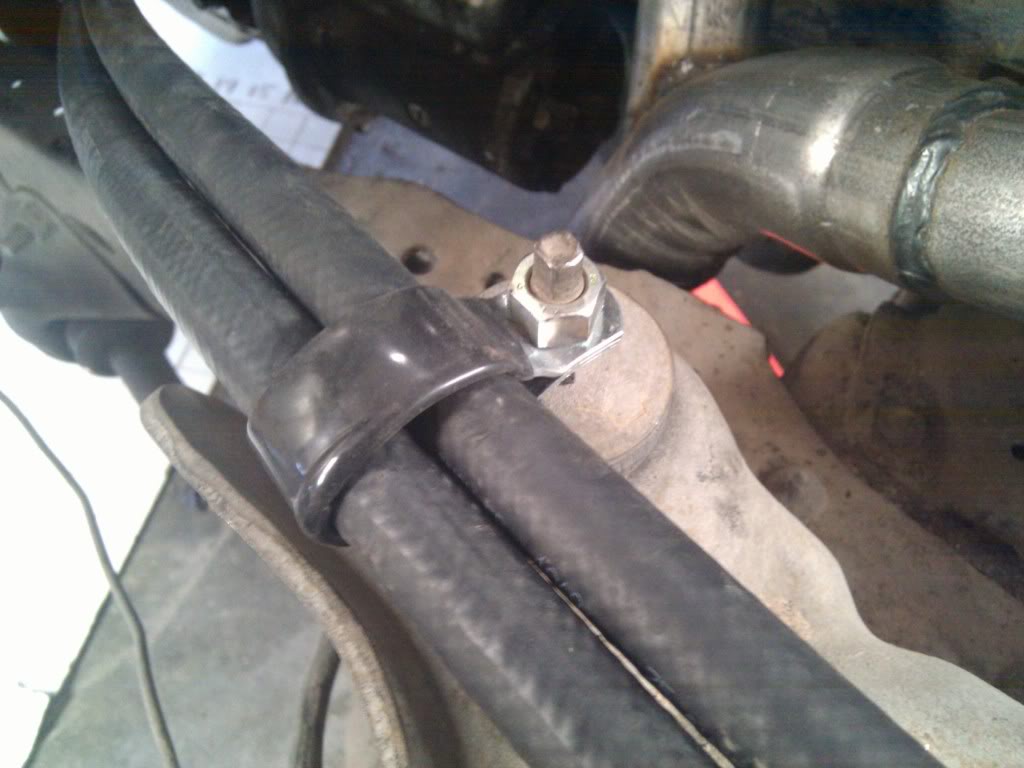
There are some leaks:
#1 from the engine dipstick tube base, going to need to be replaced or sealed up. Graveyard wants $75 for it, so unless I can find a good one at the junkyard, it will need to be repaired.
#2 from what appears to be the PS box. Didn't have a chance (time) to take a closer look but I couldn't see any fluid coming from the lines so it is a guess for now.
Another issue is the throttle sticks as I found out during a moment of lack of better judgement. I took it on a shakedown run up and down the street. As I was pulling it back into the shop, I stopped at the main gate which is gravel/dirt, the guys were watching so I decided to kick up a little dust. Shifted it into first gear manually, and pinned the throttle for a second, when I released it, it stayed down. The truck took off headed straight at a fully restored 1962 Oldsmobile Starfury at WOT. I stood on the brakes and tried shifting it back into neutral but the ratchet shifter made it difficult so I killed the ignition switch just in time. I ended up about 5 feet from the car. Feel free to give me **** about it. I deserve it. That was stupid.
Lastly, it picks up a real bad bounce around 30mph. I'm thinking this is due to the **** ***, well worn 35s I picked up. The street is pretty bad too but it was a bit excessive.
Now its just detail stuff which usually tends to be the biggest headaches.
Here is the engine on initial start up.

Fred
I nailed all the electrical wiring with no need for adjustments or corrections. Electrical fans ran, light all worked, gauges all lit up.
There are some leaks:
#1 from the engine dipstick tube base, going to need to be replaced or sealed up. Graveyard wants $75 for it, so unless I can find a good one at the junkyard, it will need to be repaired.
#2 from what appears to be the PS box. Didn't have a chance (time) to take a closer look but I couldn't see any fluid coming from the lines so it is a guess for now.
Another issue is the throttle sticks as I found out during a moment of lack of better judgement. I took it on a shakedown run up and down the street. As I was pulling it back into the shop, I stopped at the main gate which is gravel/dirt, the guys were watching so I decided to kick up a little dust. Shifted it into first gear manually, and pinned the throttle for a second, when I released it, it stayed down. The truck took off headed straight at a fully restored 1962 Oldsmobile Starfury at WOT. I stood on the brakes and tried shifting it back into neutral but the ratchet shifter made it difficult so I killed the ignition switch just in time. I ended up about 5 feet from the car. Feel free to give me **** about it. I deserve it. That was stupid.
Lastly, it picks up a real bad bounce around 30mph. I'm thinking this is due to the **** ***, well worn 35s I picked up. The street is pretty bad too but it was a bit excessive.
Now its just detail stuff which usually tends to be the biggest headaches.
Here is the engine on initial start up.
Fred

#48
07-16-2011
Join Date: Jul 2005
Location: El Paso, Texas
Posts: 193
Likes: 0
Received 0 Likes
on
0 Posts
#49
10-16-2011
Join Date: Jul 2005
Location: El Paso, Texas
Posts: 193
Likes: 0
Received 0 Likes
on
0 Posts
Time for a little bit of picture whoring.
After running through a little bit of mud.


Tire obstacle

Proved to be a little too much for a basically stock Bronco on 35's

Was really disappointed with the tire obstacle and it is crying out for lower gearing. Just ordered a full spool for a 9" rearend I am building for it with 4.88 gears. And also putting together a high pinion D44 over the next couple of months.
Fred
After running through a little bit of mud.
Tire obstacle
Proved to be a little too much for a basically stock Bronco on 35's
Was really disappointed with the tire obstacle and it is crying out for lower gearing. Just ordered a full spool for a 9" rearend I am building for it with 4.88 gears. And also putting together a high pinion D44 over the next couple of months.
Fred


