Harvest Gold 1999 Ranger
#101
 04-18-2016


Well, after much hard work yesterday (and more on wednesday) I placed an order for a shiny new chrome front bumper and a 3000k H10 kit. The bumper should be here within four days, however the kit is going to take longer. Somewhere between Tue, Apr 26 - Tue, May 10 according to ebay. China, after all.
In other news I thought I'd share, I've got a bigger toolbox now. I can't call it 'new' because two of the three chests are older than me. Father got a new US General toolbox and passed his old one over to me. Along with this I now have more space for more tools, which I plan to take care of. Assembled a list of things I need last night, and it appears I'll be tossing out about 250 in tools. New channel locks, new pliers, half inch chuck lithium ion drill (to go with my new bits), new ball pein hammer, new sledge hammer, plus I came across a nice socket set with 1/2, 3/8ths, and 1/4 inch sockets with accompanying ratchets, nut driver, some allen keys, a few open ended wrenches and all that jazz for a shade under 100 bucks. Below I've posted links to what I've mentioned if anyone reading this has plans of buying some new tools as well. I would have preferred them all to have been Husky brand but I'm happy with this selection to purchase bit by bit.
Husky Mechanics Tool Set (185-Piece)-H185MTSN - The Home Depot
Husky Locking Pliers Set (3-Piece)-96431 - The Home Depot
Husky 8 in. Slip Joint Plier and 8 in. Adjustable Wrench with 10 in. Groove Joint Plier Set (3-Piece)-96797 - The Home Depot
Husky 4 lb. Engineer Hammer with 15 in. Fiberglass Handle-34200 - The Home Depot
Husky AAA 150 Lumen LED Unbreakable Headlight-99298 - The Home Depot
16 oz. Jacketed Graphite Ball Pein Hammer-54-716 - The Home Depot
http://www.menards.com/main/tools-ha...46281092223049
#102
04-18-2016
Since my hub caps aren't perfect (chrome coming off, etc), I'd like to get a new set someday. While browsing ebay motors, I ran across these.
Although I'm not fond of paying 80 bucks for a set of four, I'm more looking at the style. Ford Explorer Bronco Ranger Aerostar Center Cap Hubcap Set of 4 | eBay
Thoughts?
Although I'm not fond of paying 80 bucks for a set of four, I'm more looking at the style. Ford Explorer Bronco Ranger Aerostar Center Cap Hubcap Set of 4 | eBay
Thoughts?
#103
04-20-2016
#104
04-23-2016
Finally got the remaining brackets and the krylon, but I forgot about one (well, eight) crucial parts. The four clips on each side for the valance to clip onto the bumper. I need to get some from the Ford dealership before I can install it. Otherwise it'll just be flopping around like a fish out of water.
I also need a very dry day to paint, and it's been raining off and on the past week or so.
I also need a very dry day to paint, and it's been raining off and on the past week or so.
#105
04-24-2016
Did quite a bit of painting today. Used some satin black Krylon Fusion on the valance after scuffing it good with some 220 grit sandpaper, cleaned with acetone on a paper towel and also wire-brushed the mounting side of my J hooks, then shot those with rust reformer and a quick coat of glossy black paint over that. I have everything I need to put this together and on monday it will be ready to put together. I'll have an extra set of hands to put the bumper on as well.
Before I forget, also used some rust reformer and glossy black paint on the frame of my truck too since I had the bumper off. Might as well, right? Pic dump.


Just held the fog light up to the valance to sate my own curiosity.


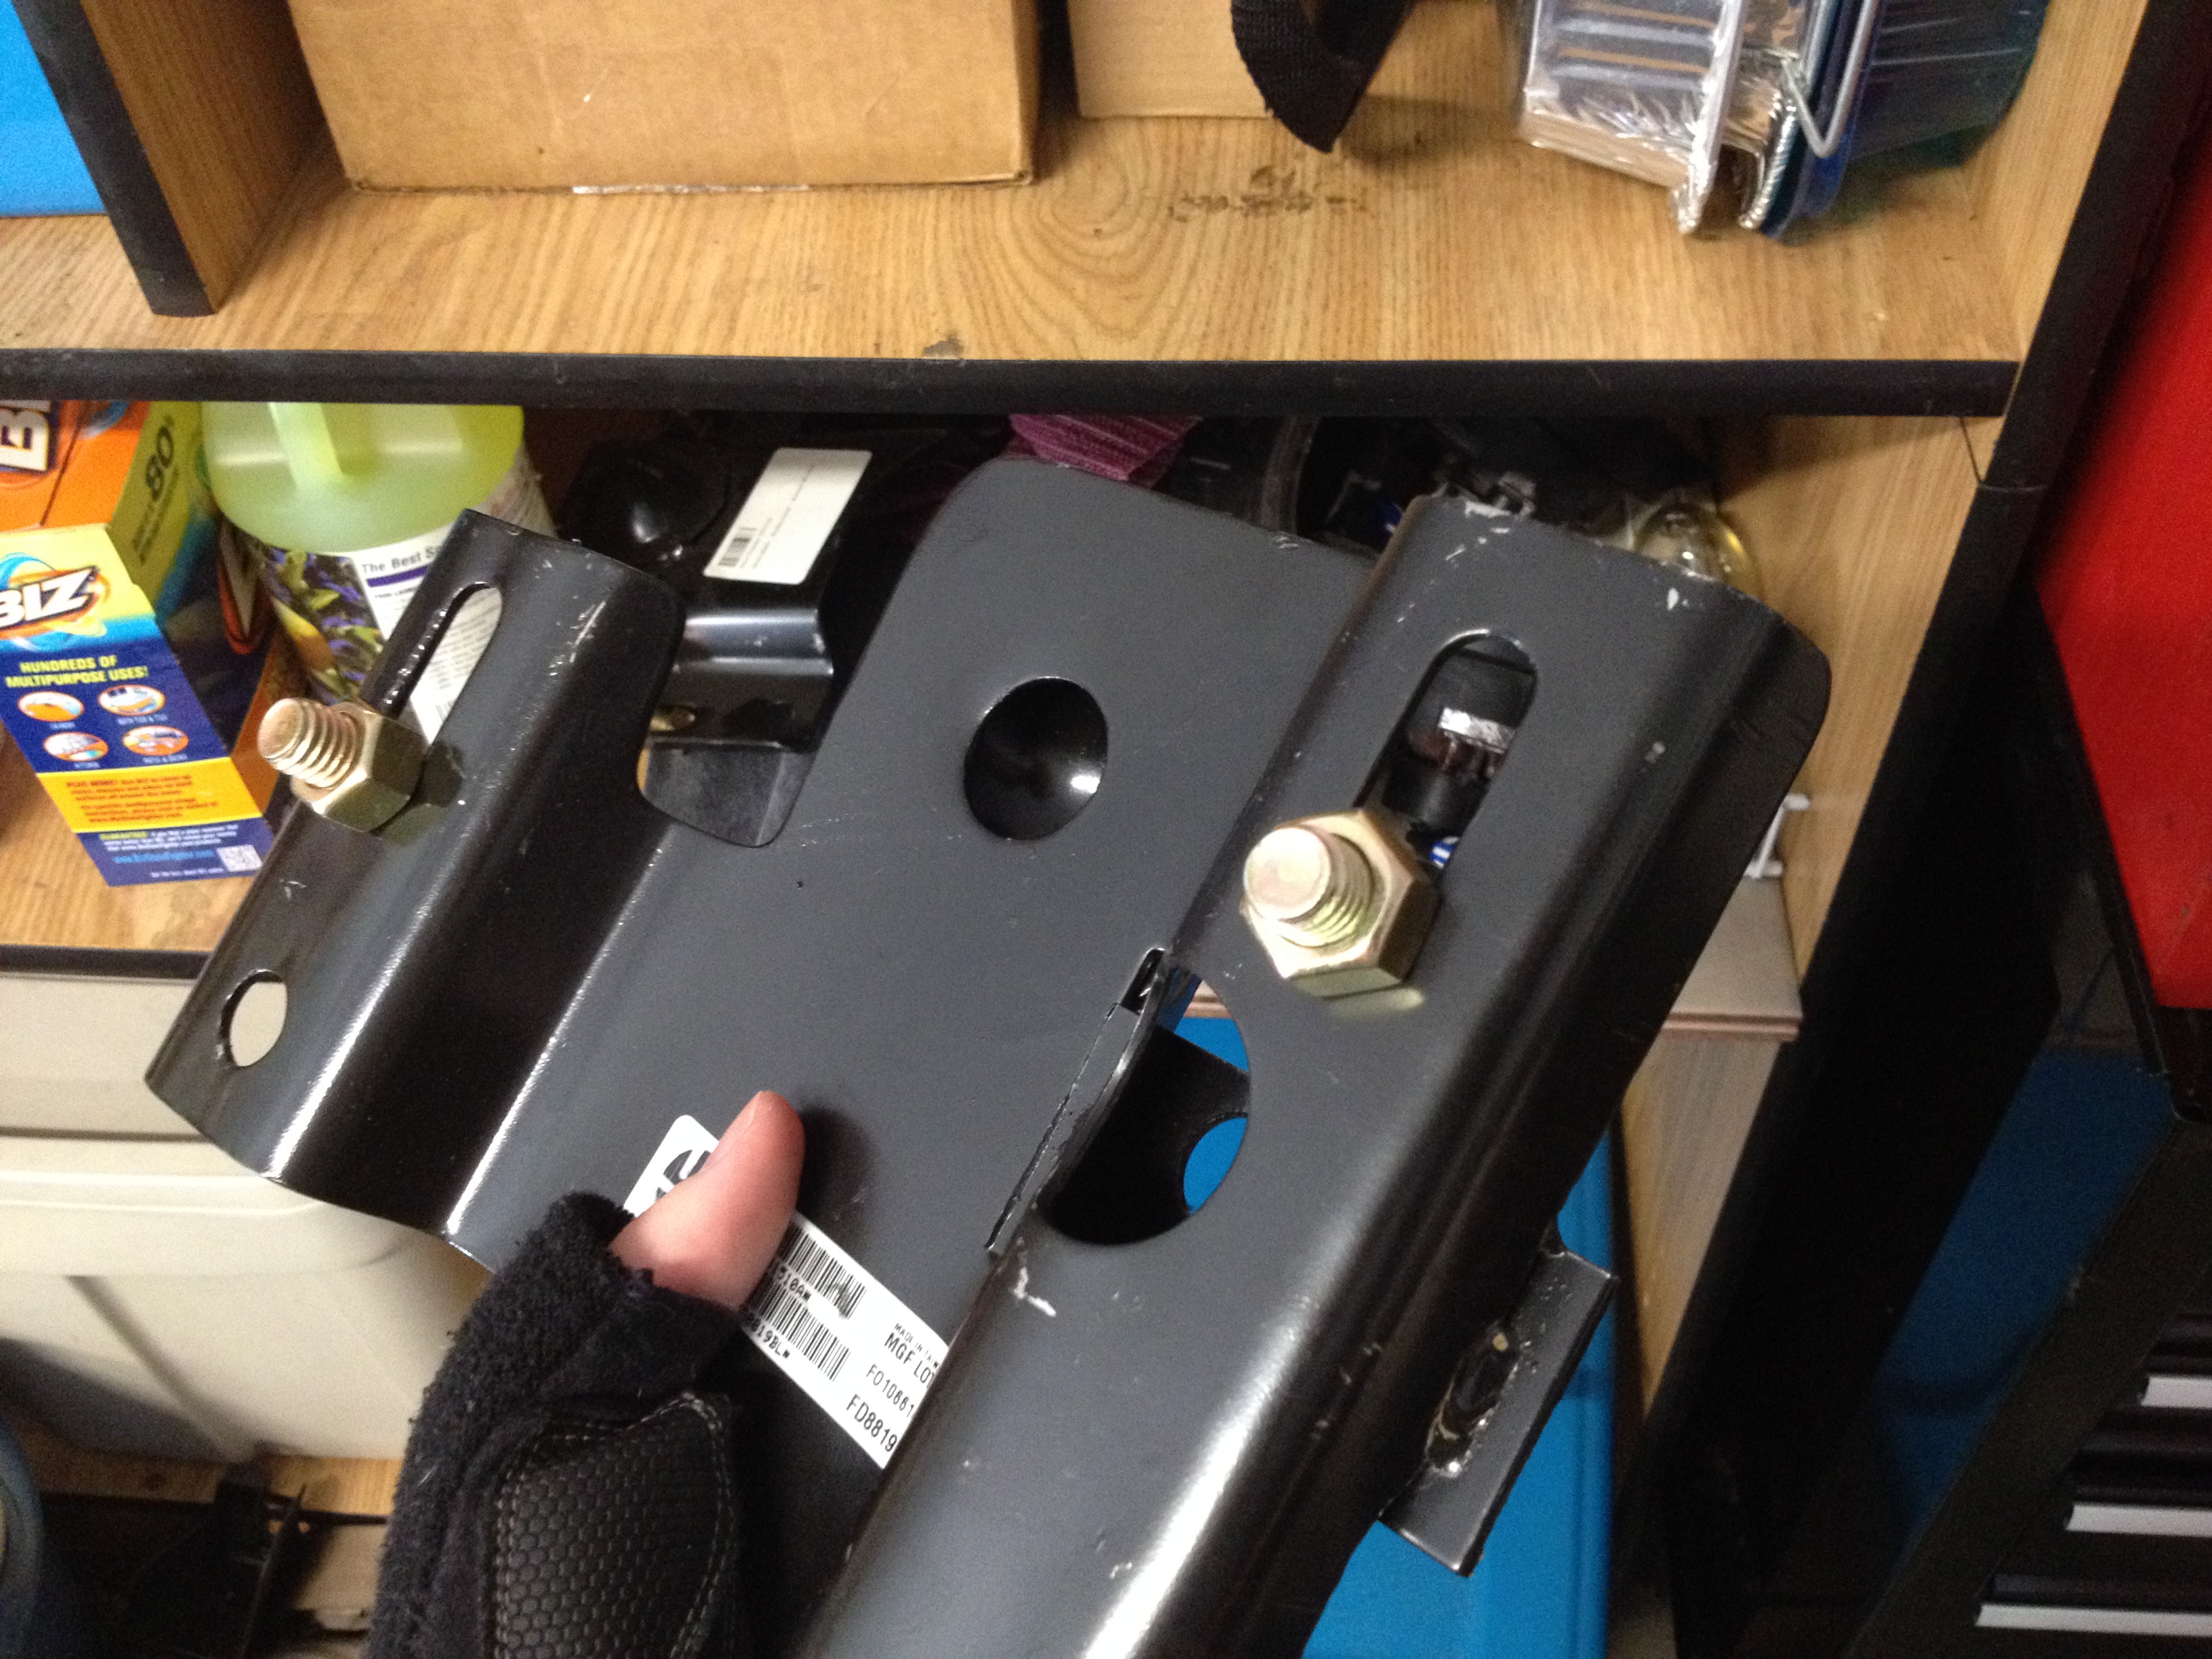
Got some grade 8, half inch bolts with stainless steel lock washers on the new brackets. Could have used my old bolts from my other brackets but I already had these so, why not?
Also got my cargo net back in, some 1/4-20 eyebolts holding the net in with washers and a jamb nut on each. Similar situation on the new toolbox, tote, box, whatever you want to call it. Some heavy steel chain hooked to a padlock which locks on the box itself. The other end of the chain locks onto the eyelet with washers, tightened down nice and snug. A simple 2x4(I believe) holds the box in place with a notch cut out for the lock.
Btw, that rustolem undercoating is anything but sturdy. I could scrape it off with a nail file. Not impressed. However this is on wood so, results on metal may vary. Either way, on wood, waste of paint. I even used primer! Sheesh.


Before I forget, also used some rust reformer and glossy black paint on the frame of my truck too since I had the bumper off. Might as well, right? Pic dump.
Just held the fog light up to the valance to sate my own curiosity.
Got some grade 8, half inch bolts with stainless steel lock washers on the new brackets. Could have used my old bolts from my other brackets but I already had these so, why not?
Also got my cargo net back in, some 1/4-20 eyebolts holding the net in with washers and a jamb nut on each. Similar situation on the new toolbox, tote, box, whatever you want to call it. Some heavy steel chain hooked to a padlock which locks on the box itself. The other end of the chain locks onto the eyelet with washers, tightened down nice and snug. A simple 2x4(I believe) holds the box in place with a notch cut out for the lock.
Btw, that rustolem undercoating is anything but sturdy. I could scrape it off with a nail file. Not impressed. However this is on wood so, results on metal may vary. Either way, on wood, waste of paint. I even used primer! Sheesh.
#106
04-25-2016


#107
04-26-2016
#108
04-26-2016
Oh yeah, dirt simple. It has crossed my mind before, but there's a few reasons other than personal preference that keeps me from switching.
I can't find any 01-03 smoked parts, and the smoked (I believe) plays a big part in it's appearance.
I can't justify buying any parts (Even though I basically have the whole thing to do it) since all but two parts (grille and header panel) are brand new. The LEDs, corners/turns, headlight lenses, etc.
Probably the biggest reason though, is sometime down the road is I'd like to do the mustang sequential taillight module to my turn signals, which can't be pulled off with only two bulbs, where as fourth gen has three bulbs.
I've also got my eye on a set of projector headlights I'd like to try when my nighthawk platinum bulbs bite the dust, so there's that too. Although, I gotta admit, these 01-03 headlights look really sweet.
#110
04-28-2016
#111
04-30-2016
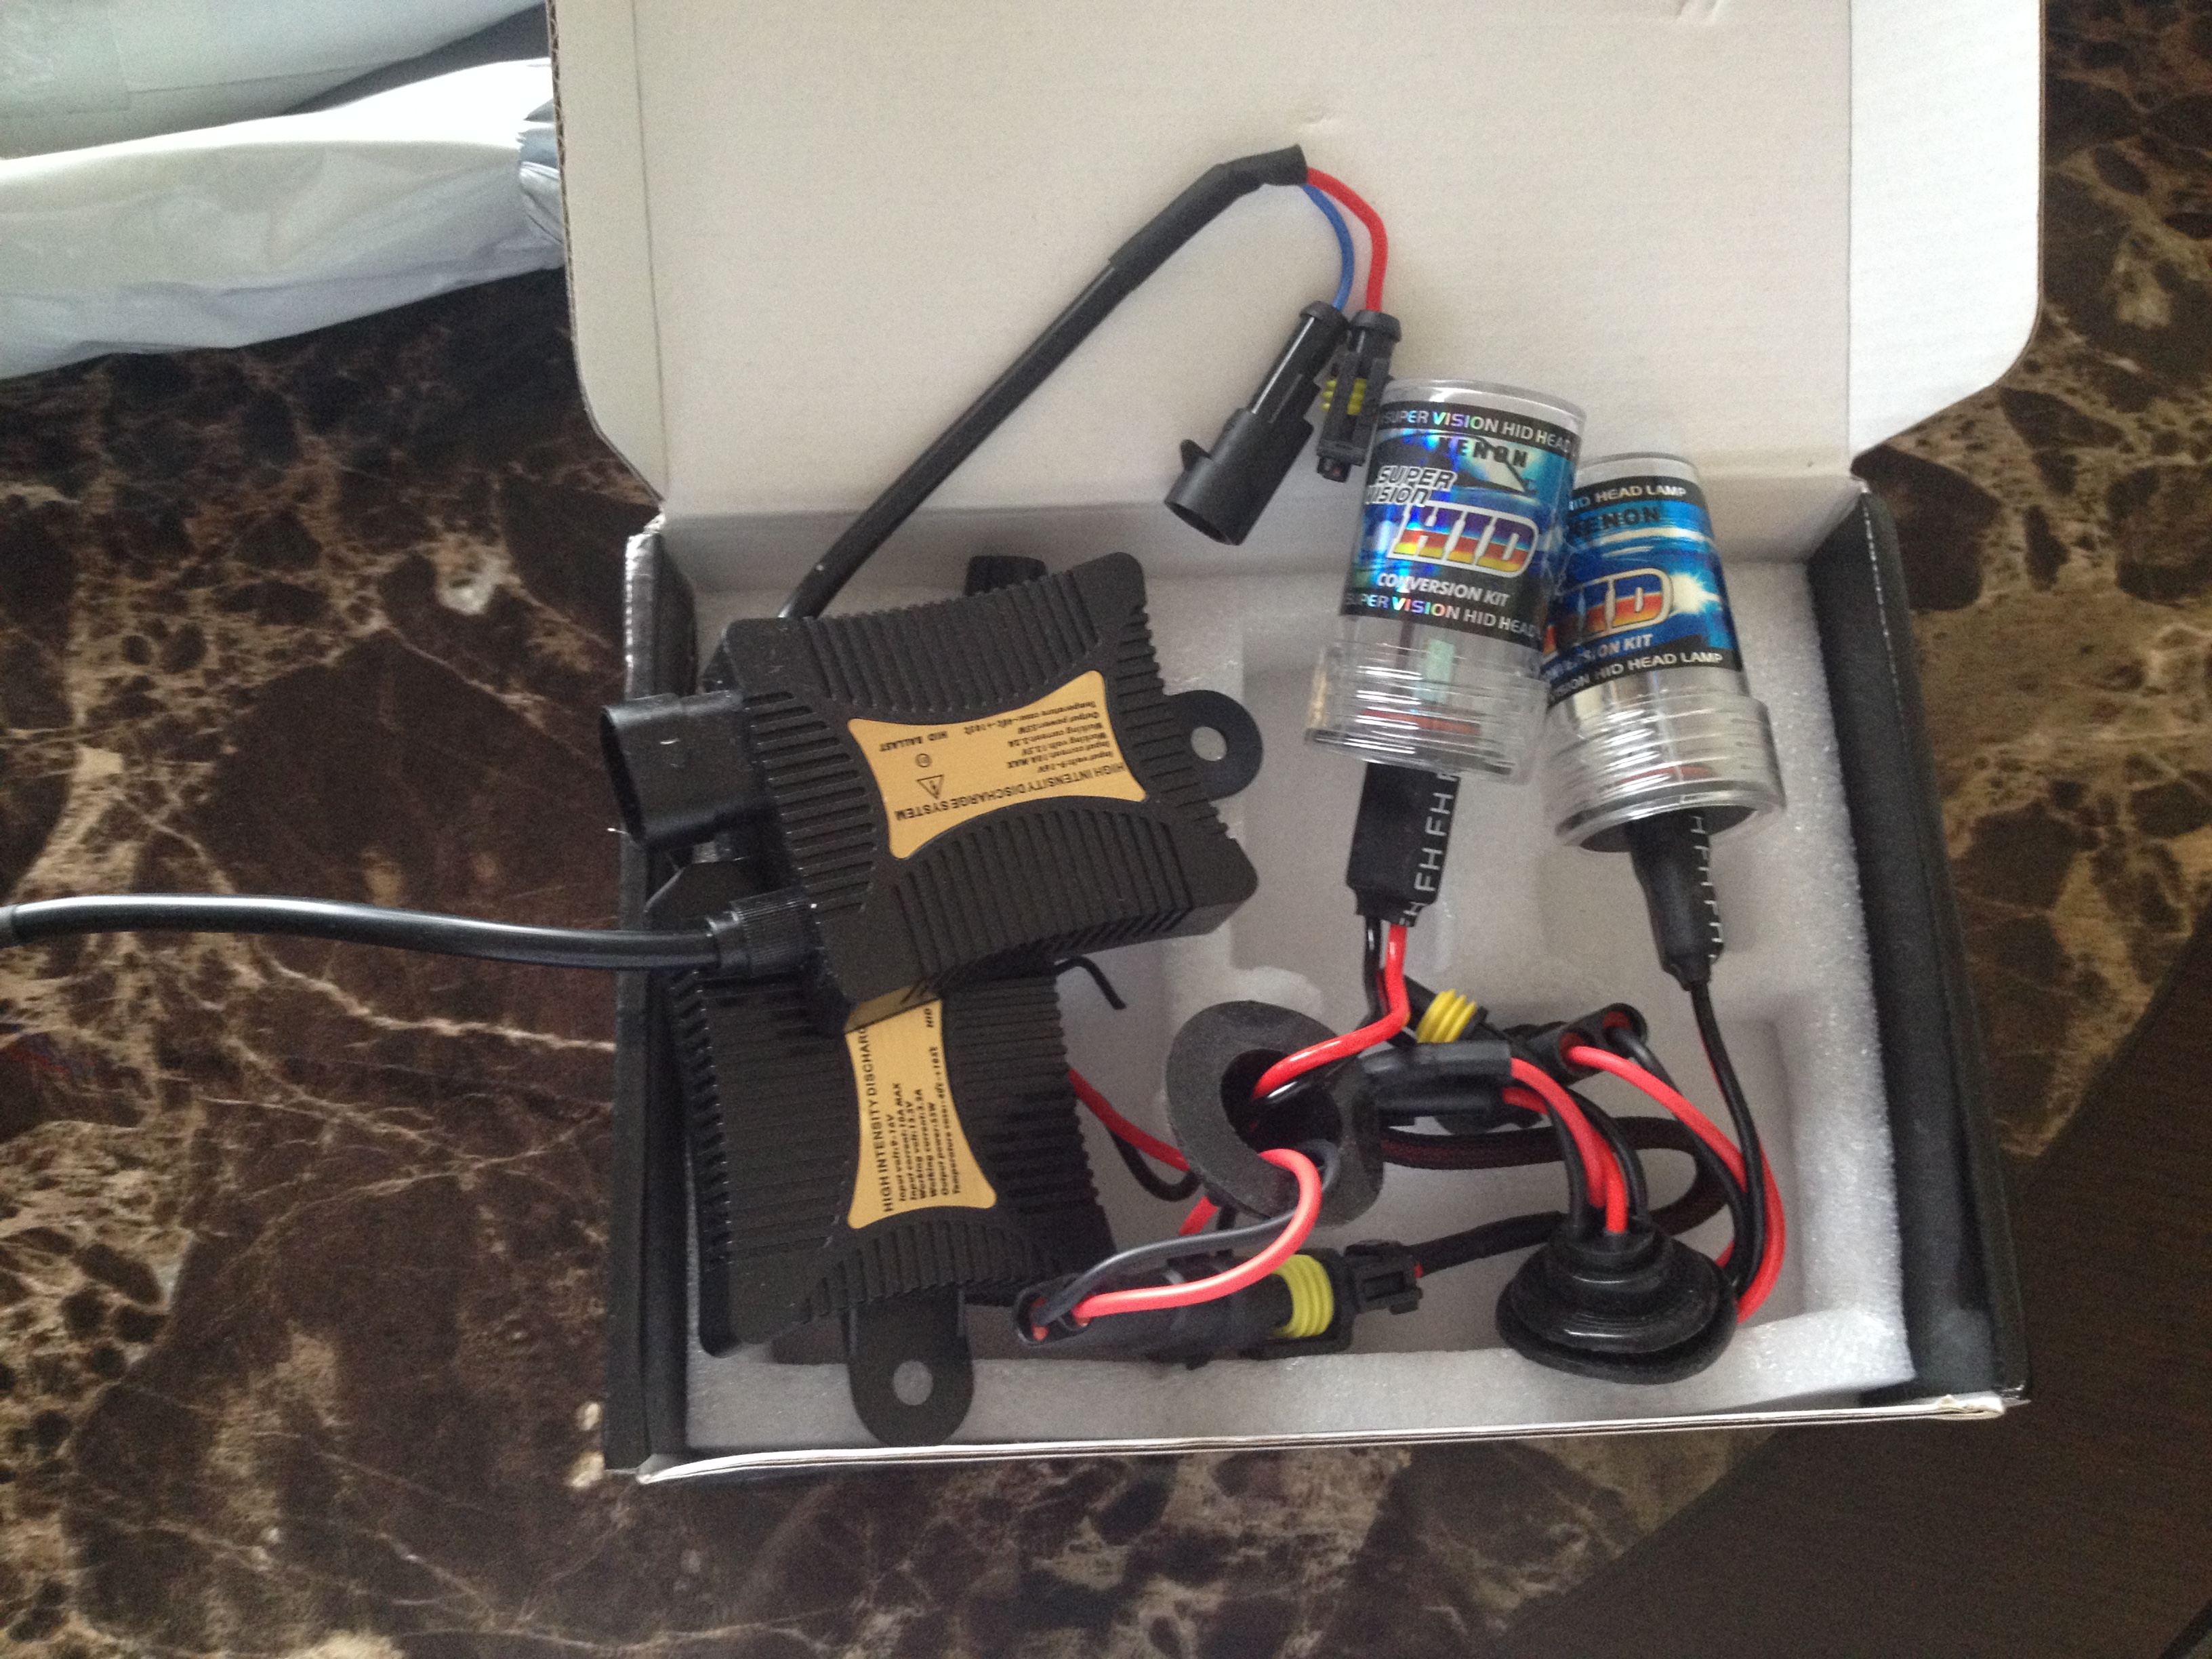
My HID kit finally came in. Not bad for 20 bucks. It's a 3000K kit, btw. Not as yellow as I'd like, but I also haven't left them on for more than three minutes at a time so I'm thinking they'll yellow out over time. Either way, still happy.
The bulbs, ballasts, and their packaging after making sure it was all there and nothing damaged.


Installation was dirt simple. First I took both bulbs and ballasts out and confirmed they were both working before proceeding further. Never touch the bulbs, btw. If you do, clean them with rubbing alcohol with a papertowel or lint free rag. Be gentle!
As you can tell from the first and last photos, the harness was modified slightly. For some reason they added this rubber grommet around the wires which not only made the installation messy an unorganized, but also prevented me from removing the plastic ring which was originally around the bulb.
So, using a small pair of cutters, I carefully cut the rubber grommet off. and separated the two pairs of wires. Two wires came off the bulb and the other two wires were an extension cable that goes between the ballast and the truck harness. I felt this unnecessary for my application so I set them aside for another project later.
As an added note, the grommets for the connectors (two pin style) do not want to seat well. I ended up using the yellow grommets from the extension cables and putting the grommet down inside the ballast's socket. That worked well.
On the opposite side of the ballast is a silver metal plate, which acts as a heat sink. The ballast was ziptied up behind the bumper out of the way with the metal side facing outwards so not to melt anything as well as get the wind whipping around it at speed. I also decided to use some split loom I had laying around to clean it up a little was well as to protect the wires better.
The bulbs were a very tight fit in the fog light housings, which is very welcome in my book. If I find these glare later on tonight, I'll switch them off and save up for a set of projector lenses if adjustment doesn't fix the issue. I can't wait to see these at night!
In other news, I'm starting to think more about the Efan mod. Thanks to RonD, I have a clean way of allowing the cooling fan to know when to kick on. I didn't at all like the idea of just sticking something between the fins of my radiator.
One of these, to be exact. 40mm Gold Water Temp Temperature Gauge Radiator Hose Sensor Adapter Fitting | eBay
"40MM GOLD WATER TEMP TEMPERATURE GAUGE RADIATOR HOSE SENSOR ADAPTER FITTING"
To figure out what size was needed, I took a gallon milk jug, washed it out, and drained the radiator via the petcock. I needed to keep the coolant so I didn't just pull the lower radiator hose.
With the radiator empty, I pulled the upper radiator hose, where I plan on putting the sensor. Using a set of calipers, I measured the inside diameter which came out to 40MMs.
To go with it, I plan on getting one of these kits: 185 200 Degree Fan Thermostat Temperature Switch 50 Amp Relay 3 8" Thread Kit | eBay
Comes with a relay, relay plug harness, the sensor itself, a circuit breaker, as well as some sheet metal screws.
At this point, I do not know what temperature rating is proper for my Ranger, though. Some day, I'll be taking my laptop and my obdii cord to see what it runs at.
The bulbs, ballasts, and their packaging after making sure it was all there and nothing damaged.
Installation was dirt simple. First I took both bulbs and ballasts out and confirmed they were both working before proceeding further. Never touch the bulbs, btw. If you do, clean them with rubbing alcohol with a papertowel or lint free rag. Be gentle!
As you can tell from the first and last photos, the harness was modified slightly. For some reason they added this rubber grommet around the wires which not only made the installation messy an unorganized, but also prevented me from removing the plastic ring which was originally around the bulb.
So, using a small pair of cutters, I carefully cut the rubber grommet off. and separated the two pairs of wires. Two wires came off the bulb and the other two wires were an extension cable that goes between the ballast and the truck harness. I felt this unnecessary for my application so I set them aside for another project later.
As an added note, the grommets for the connectors (two pin style) do not want to seat well. I ended up using the yellow grommets from the extension cables and putting the grommet down inside the ballast's socket. That worked well.
On the opposite side of the ballast is a silver metal plate, which acts as a heat sink. The ballast was ziptied up behind the bumper out of the way with the metal side facing outwards so not to melt anything as well as get the wind whipping around it at speed. I also decided to use some split loom I had laying around to clean it up a little was well as to protect the wires better.
The bulbs were a very tight fit in the fog light housings, which is very welcome in my book. If I find these glare later on tonight, I'll switch them off and save up for a set of projector lenses if adjustment doesn't fix the issue. I can't wait to see these at night!
In other news, I'm starting to think more about the Efan mod. Thanks to RonD, I have a clean way of allowing the cooling fan to know when to kick on. I didn't at all like the idea of just sticking something between the fins of my radiator.
One of these, to be exact. 40mm Gold Water Temp Temperature Gauge Radiator Hose Sensor Adapter Fitting | eBay
"40MM GOLD WATER TEMP TEMPERATURE GAUGE RADIATOR HOSE SENSOR ADAPTER FITTING"
To figure out what size was needed, I took a gallon milk jug, washed it out, and drained the radiator via the petcock. I needed to keep the coolant so I didn't just pull the lower radiator hose.
With the radiator empty, I pulled the upper radiator hose, where I plan on putting the sensor. Using a set of calipers, I measured the inside diameter which came out to 40MMs.
To go with it, I plan on getting one of these kits: 185 200 Degree Fan Thermostat Temperature Switch 50 Amp Relay 3 8" Thread Kit | eBay
Comes with a relay, relay plug harness, the sensor itself, a circuit breaker, as well as some sheet metal screws.
At this point, I do not know what temperature rating is proper for my Ranger, though. Some day, I'll be taking my laptop and my obdii cord to see what it runs at.
#112
05-02-2016
Well, today I got a spark and decided to clean up my suspension components. Started with the rear. Not done yet, but I will be tomorrow.
Here's the stuff I bought. Cost me about 21 bucks. Also used some rust reformer that I already had.

Tarps and old cloths and whatnot to cover the floor and my wheels from overspray.

In these shots I've cleaned up some specific areas and went around with some rust reformer. Only specific areas were given rust reformer, paying most attention at this point to where the spare tire was. lots of rust there.


I started with a drill and wire wheel attachment but I don't recommend it. It has a tendancy to catch and zing off in any given direction. I didn't feel comfortable using it for long, and switched to a manual wire brush. I did not feel like replacing brake lines, lol.
In this shot I've given the differential, leaf springs, axels, and some of the seen exhaust system a coat of primer. From this point forward I'm ignoring the spare tire area. I only wanted to kill the rust, and since it's not seen, I'm considering that done. Although if I have any left over primer and enamel I may go back and do that.

Right now it sits with black paint on 95 percent of what I wanted to cover, but it's not finished. I've opted to paint my red shocks black for two reasons. One, I don't have much regal red and what I have is going to another project, and two, I don't feel like masking everything off to keep the red off everything else, so black they are.
That's how it sits at the moment. I'll take pictures of the rear tomorrow when it's done.
Here's the stuff I bought. Cost me about 21 bucks. Also used some rust reformer that I already had.
Tarps and old cloths and whatnot to cover the floor and my wheels from overspray.
In these shots I've cleaned up some specific areas and went around with some rust reformer. Only specific areas were given rust reformer, paying most attention at this point to where the spare tire was. lots of rust there.
I started with a drill and wire wheel attachment but I don't recommend it. It has a tendancy to catch and zing off in any given direction. I didn't feel comfortable using it for long, and switched to a manual wire brush. I did not feel like replacing brake lines, lol.
In this shot I've given the differential, leaf springs, axels, and some of the seen exhaust system a coat of primer. From this point forward I'm ignoring the spare tire area. I only wanted to kill the rust, and since it's not seen, I'm considering that done. Although if I have any left over primer and enamel I may go back and do that.
Right now it sits with black paint on 95 percent of what I wanted to cover, but it's not finished. I've opted to paint my red shocks black for two reasons. One, I don't have much regal red and what I have is going to another project, and two, I don't feel like masking everything off to keep the red off everything else, so black they are.
That's how it sits at the moment. I'll take pictures of the rear tomorrow when it's done.
#113
05-03-2016
And today the truck is finished. I ended up taking the wheels off entirely to paint the backing plates for the drum brakes as well as to get better coverage on the leaf springs themselves.
The front is basically a repeat of the rear and there isn't much to see there so I didn't bother taking any pictures before, after, or during.
Like the rear, the front end was given a good wire-brushing on the areas selected to primer and paint and the dust blown away by either breath or compressed air.
This time, however, I decided to remove the wheels straight from the get-go for ultimate access to the control arms and shock absorbers which were also painted black. I didn't paint them red like they were to start with because I don't have much Rustolem Regal Red left (awesome color btw) and I didn't want to mask off everything I didn't want to be red. A good amount of work for no gain, really. Black is just as good.
One good coat of primer and one layer of the black enamel. I used the same paint and primer on the front, back, shocks, and exhaust. I didn't go very far with the exhaust, not even to the muffler, so heat isn't a concern for me. If I wanted to go further I would have used something like engine enamel, something made to withstand the heat. The exhaust pipe does get warm in that area, but not hot enough to do anything but turn the paint from glossy to flat over time.


Aside from that, I did have to replace one of my switches, specifically the hood light switch. The illumination LED was going out so I decided to just replace the switch with another that I already had. Unfortunately, no matter what I did, the new switch wouldn't work right. About five attempts later, I decided to change from a push button to a toggle switch instead. Two connections, either off or on, simple. That worked the first try, lol. I'll post a quick pic of that later, but it's really not much to see.
The front is basically a repeat of the rear and there isn't much to see there so I didn't bother taking any pictures before, after, or during.
Like the rear, the front end was given a good wire-brushing on the areas selected to primer and paint and the dust blown away by either breath or compressed air.
This time, however, I decided to remove the wheels straight from the get-go for ultimate access to the control arms and shock absorbers which were also painted black. I didn't paint them red like they were to start with because I don't have much Rustolem Regal Red left (awesome color btw) and I didn't want to mask off everything I didn't want to be red. A good amount of work for no gain, really. Black is just as good.
One good coat of primer and one layer of the black enamel. I used the same paint and primer on the front, back, shocks, and exhaust. I didn't go very far with the exhaust, not even to the muffler, so heat isn't a concern for me. If I wanted to go further I would have used something like engine enamel, something made to withstand the heat. The exhaust pipe does get warm in that area, but not hot enough to do anything but turn the paint from glossy to flat over time.
Aside from that, I did have to replace one of my switches, specifically the hood light switch. The illumination LED was going out so I decided to just replace the switch with another that I already had. Unfortunately, no matter what I did, the new switch wouldn't work right. About five attempts later, I decided to change from a push button to a toggle switch instead. Two connections, either off or on, simple. That worked the first try, lol. I'll post a quick pic of that later, but it's really not much to see.

#115
05-03-2016
#116
05-03-2016
I think the only difference is I got wet doing mine. I used a stainless steel wire brush and a garden hose for the loose stuff then used wet or dry sand paper to finish removing the stubborn rust.
Going by the pain my neck and back is in, it will be 2 months or more before I get finished with the other three wheelwells never mind trying to do the rear end and frame.
I really should not be doing most of the stuff I do, yet my brain has not learned how to stop the desire to do.
When I had a good back I would have just taken the entire suspension apart and media blasted everything then send everything I could out for powder coating.
Those days are gone.
Good luck with your truck, I enjoy checking out all the work you have done to yours.
#117
05-03-2016
Thank you, and good luck with yours too. You may want to consider the same route I took with mine if you're hurting so much. It won't look as good as your method, still being somewhat rough but nice glossy black looks better than dull brown rust, with paint left over for other areas later if so desired.
#118
05-03-2016
I am not in a hurry if it takes two years to get the truck where I would like it to be. The only place I go is to the doctors office and gym for the water massage table.
This truck is more or less just something for me to tinker with and for second vehicle for my wife in case her HHR goes down for service.
It may very well be my last vehicle since I do not feel comfortable driving, with all the hardware in my neck and back it is nearly impossible to look behind me when backing up or changing lanes.
#119
05-03-2016
#120
05-03-2016
Yeah I am much better than I was, but I am as good as I will get which I am OK with.
I am just happy to be able to get away from the couch every so often and come to this forum and participate. getting to work on my truck here and there is a bonus.
Anyways enough about me, keep up the good work I look forward to your next project.
I am just happy to be able to get away from the couch every so often and come to this forum and participate. getting to work on my truck here and there is a bonus.
Anyways enough about me, keep up the good work I look forward to your next project.
#121
05-04-2016
#122
05-04-2016

#123
05-04-2016
After heading to a dealership with my mother, I came home and decided to do something about my AC, specifically the smell. It was a little musty, not bad or anything but, you could smell it.
Took the blowermotor out, which to actually remove it I had to remove the cruise servo and unbolt the coolant/washer fluid reservoirs to give it enough clearance. Used soapy water and a brush on the fan cage itself, and used some spray Lysol on the housing. No leaves or debris so that's nice to see. Smells much better.
One other thing I'd like to fix is how the vents sometimes change directions on the highway. Like, it will go from pointing towards you like normal but go to defrost. However today it didn't do that like it did last spring, and I rode it a little hard too. Go figure. Not a huge deal, but I did manage to quiet my belt.
Thanks to EA's advice, I used some dawn and water in a spray bottle and wire brushed each pulley with the belt off, then gave the belt a light brushing too with the same mix. blew it dry with compressed air and took it for a ride on the highway. Speed, lots of air going through, drying everything out all nice. I still want one of these belts, though. I might get one here within the next couple weeks if this one starts to squeak again. If it does, I'll get one headed my way. If it stays quiet, why bother?
1999 FORD RANGER Continental Elite Poly-V Belts 4060882 - Free Shipping on Orders Over $99 at Summit Racing
In somewhat related news, in preperation of my EFan mod after vacation (about seven weeks from now, leaving July 1st) I'm going to use my scan software (ForScan, highly recommended) to look at the vehicle's computers and get a read on what the temperatures are, what it already is running at at both city and highway driving. I want to keep it around this same range as it's happy here. It only reads in Celsius which is a bummer, but as long as I get a high and low number, that can be easily converted back to F.


