Ranger painting 101
#26
 10-04-2007


Join Date: Mar 2007
Location: Walla Walla, WA
Posts: 705
Likes: 0
Received 0 Likes
on
0 Posts
#27
10-04-2007
#28
10-08-2007
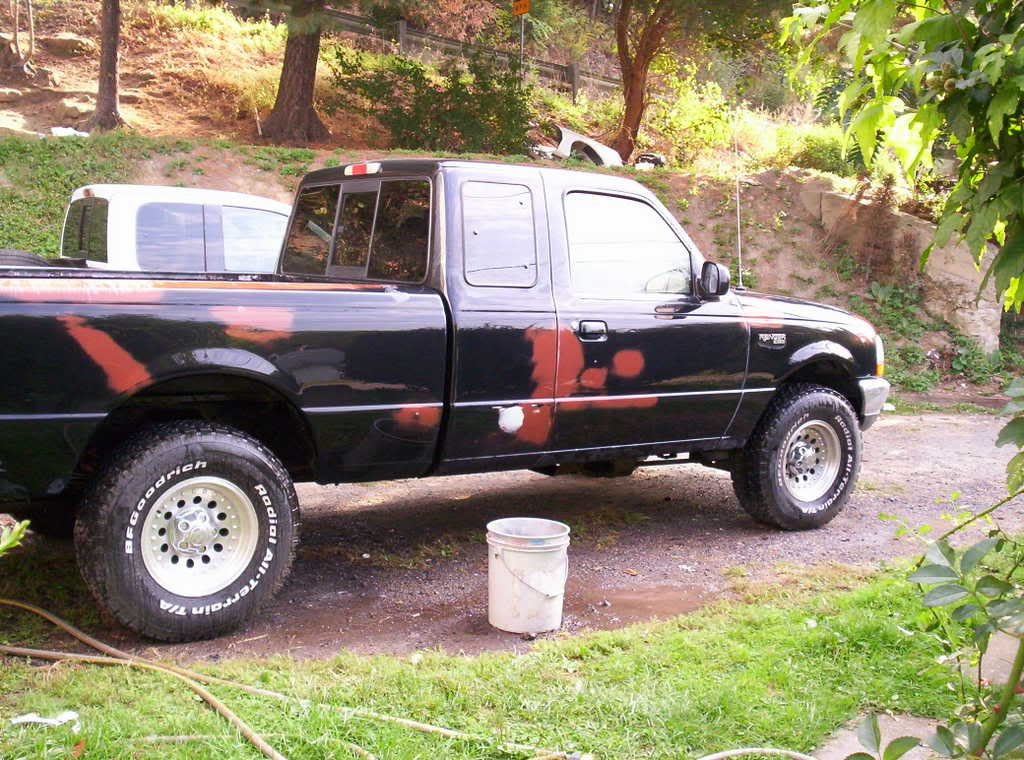
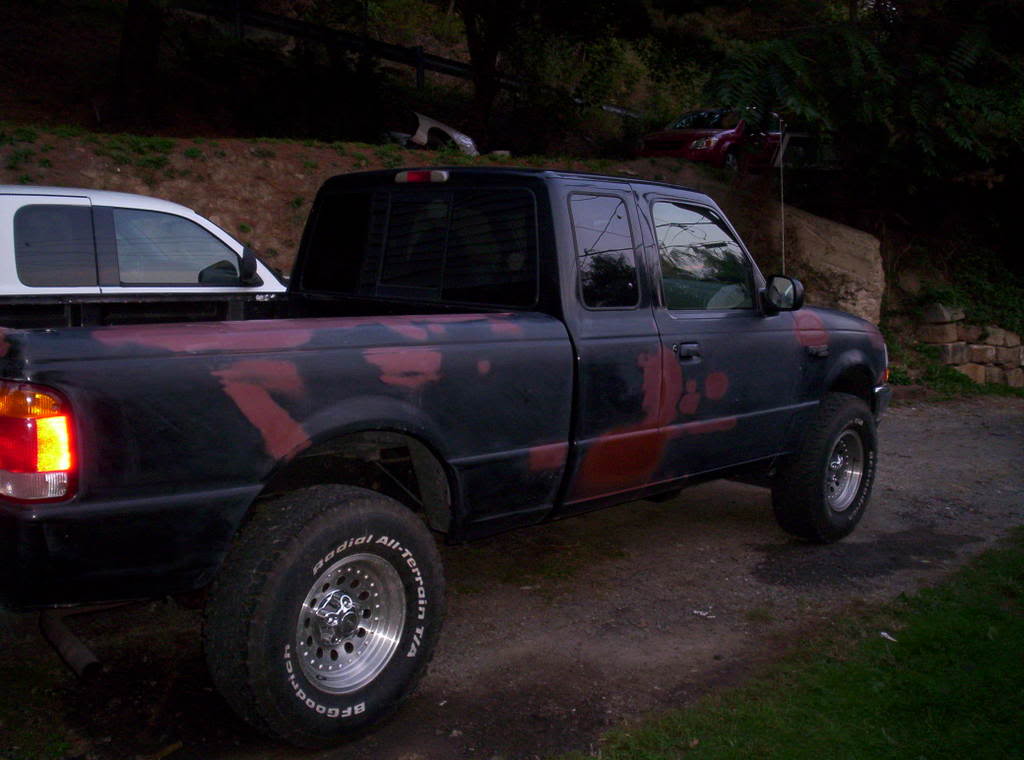
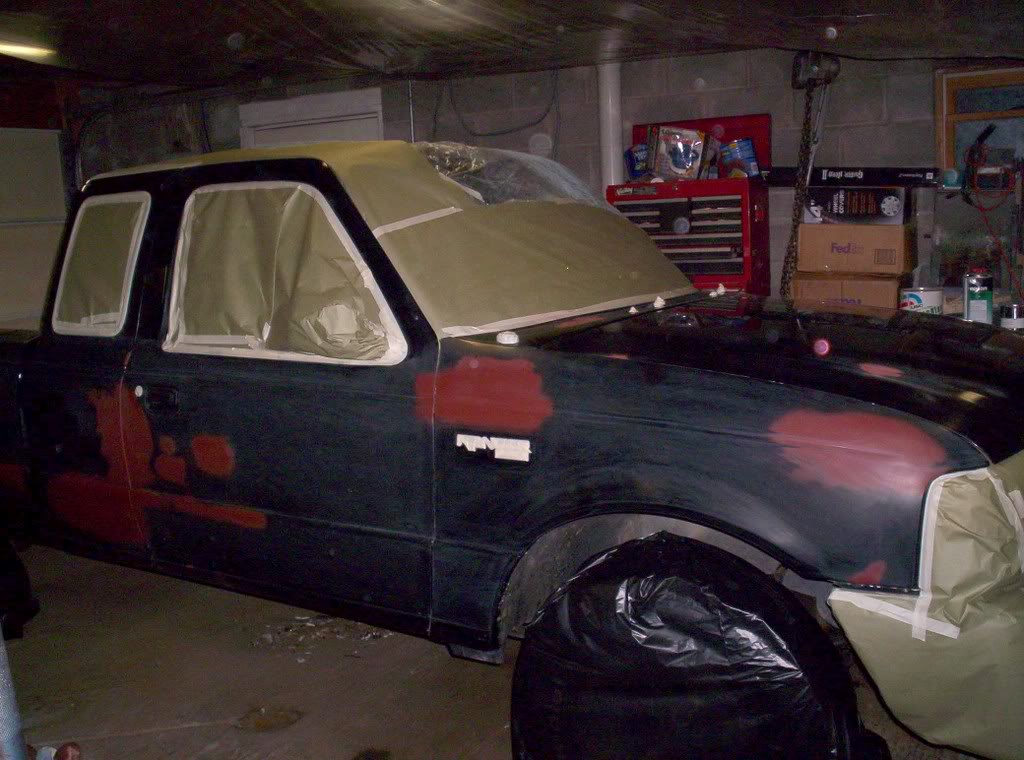
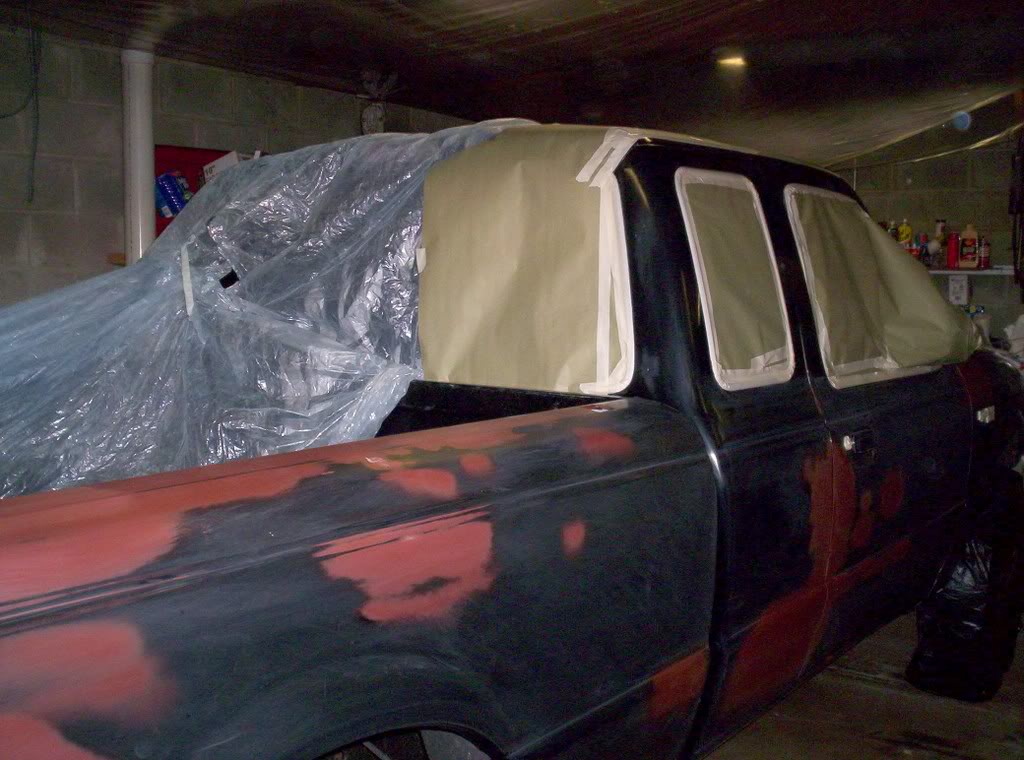
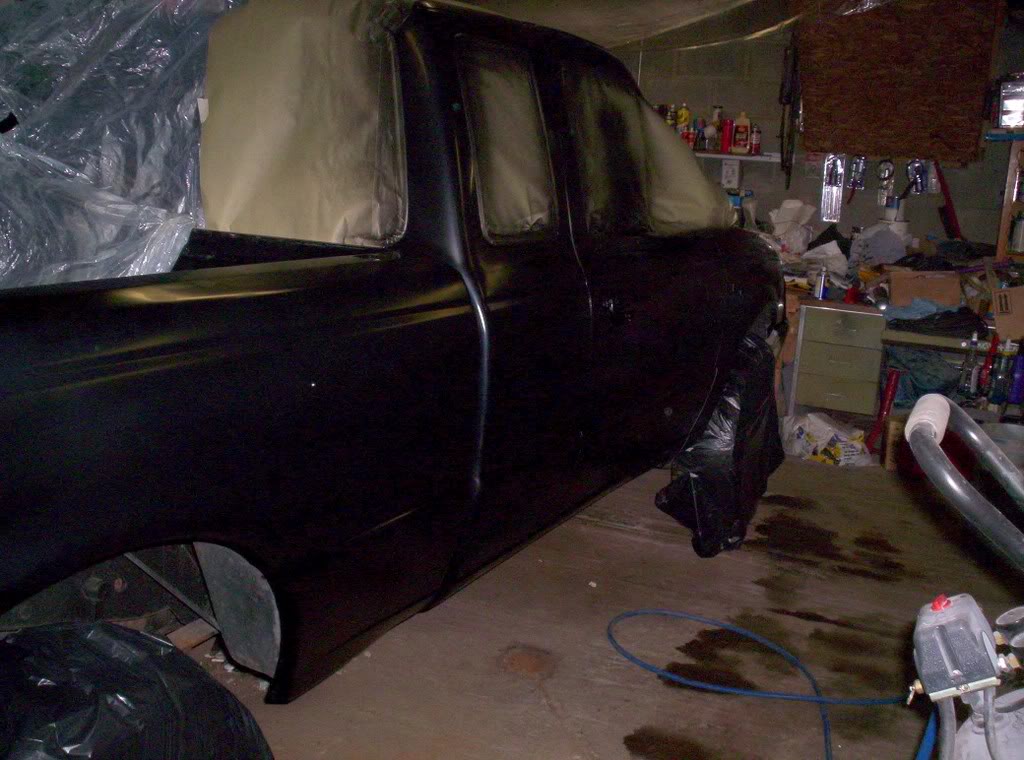
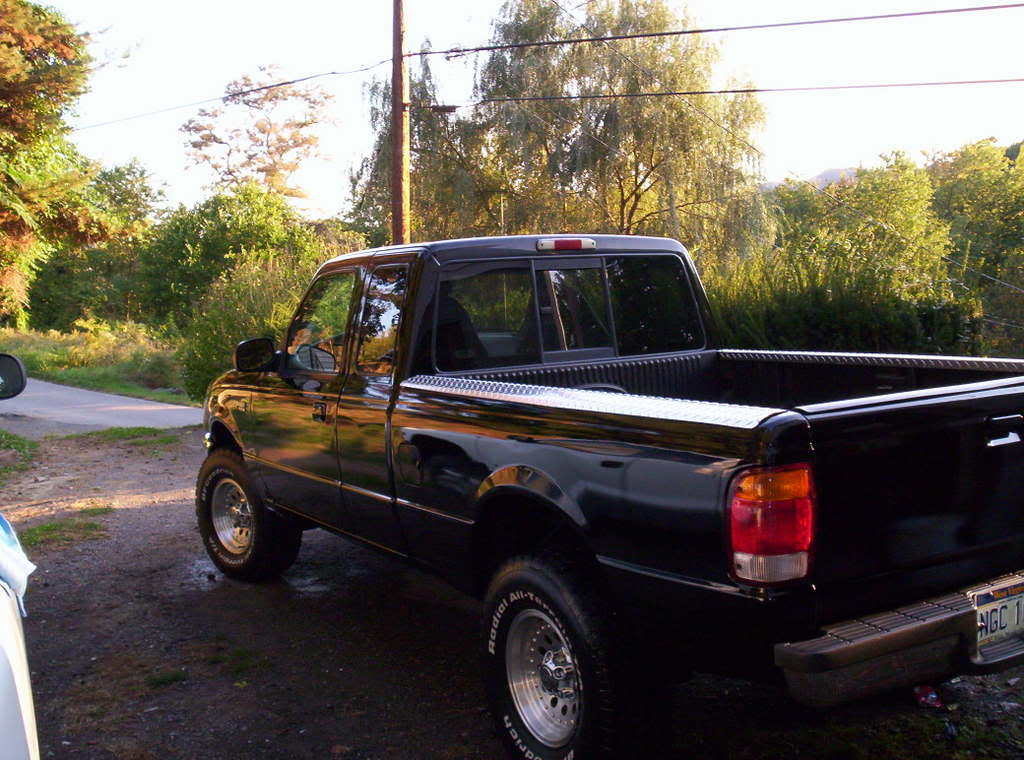
As usual my days off got screwed so I didn't make as much progress as expected. Saturday I had to deal with my daughters homecoming dance. We started out at 9am in the morning and I finally got done with the taxi service about 1 am... what a day! Sunday I was making good progress sanding, blocking, and repriming. That is until I got called out to work due to a water leak. Now starting tommorrow rain all week and I have to use it for a driver. I'm tempted to buy another vehicle to drive while I paint this thing, what a pita. Heres a couple pics. Basically just showing some more wet sanding. I have been sanding out nicks and scratches as well as blocking out body work.
John
John
#29
10-09-2007
Join Date: Jun 2007
Location: Phoenix, AZ
Posts: 1,462
Likes: 0
Received 0 Likes
on
0 Posts
#30
10-11-2007
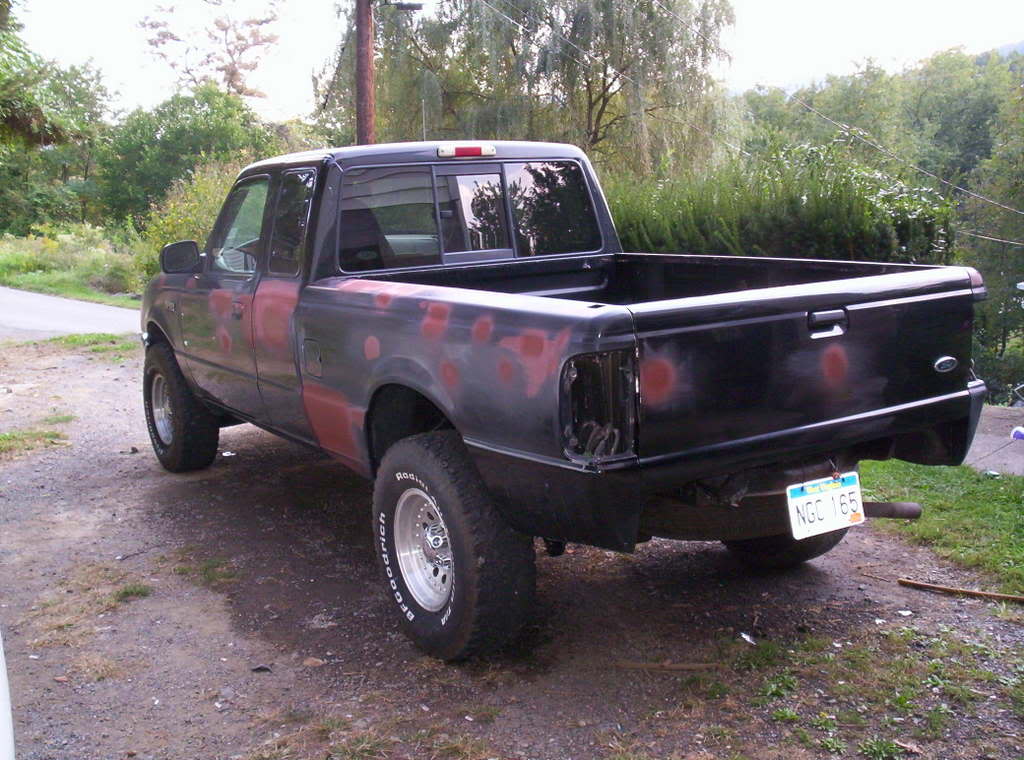
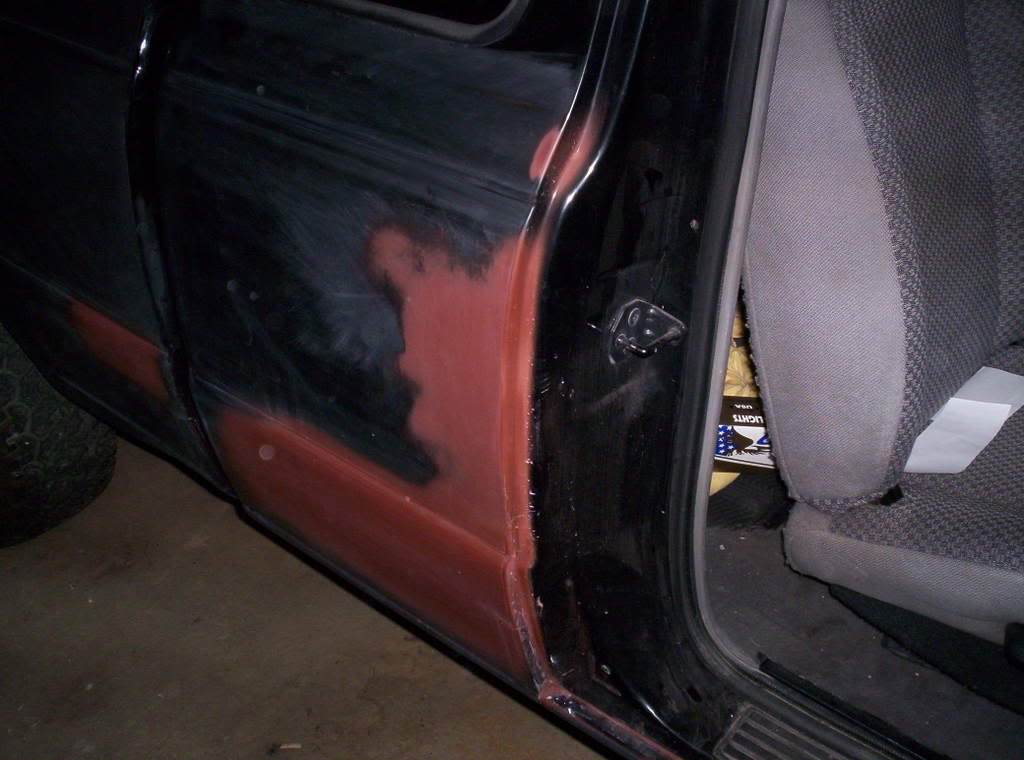
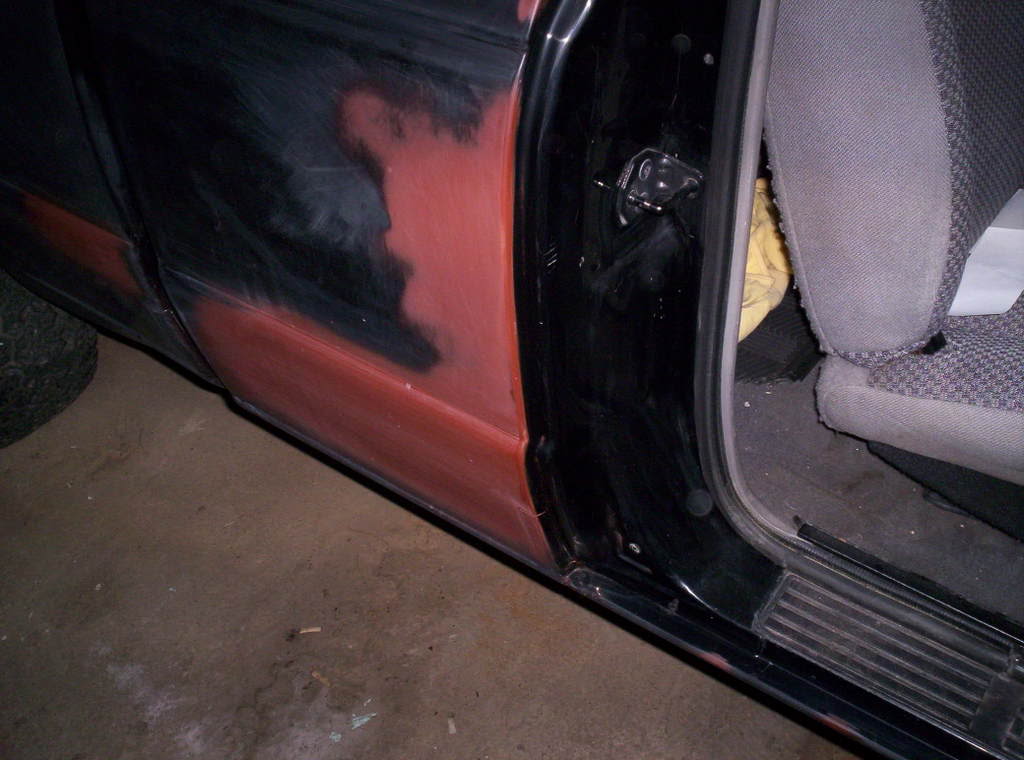
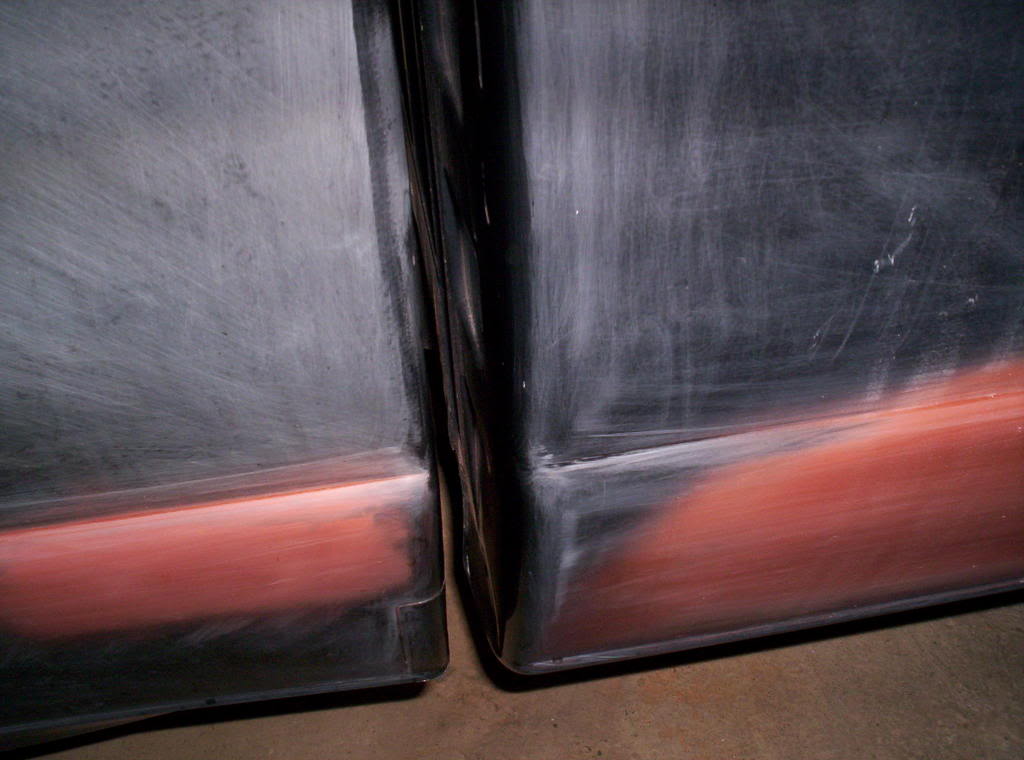
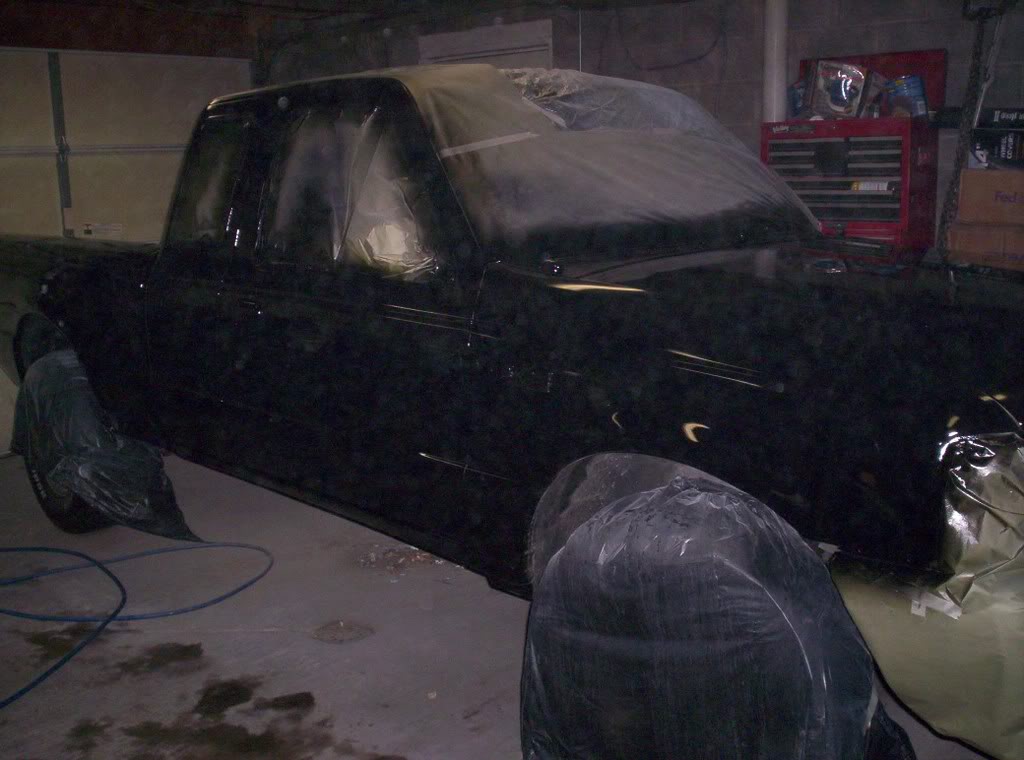
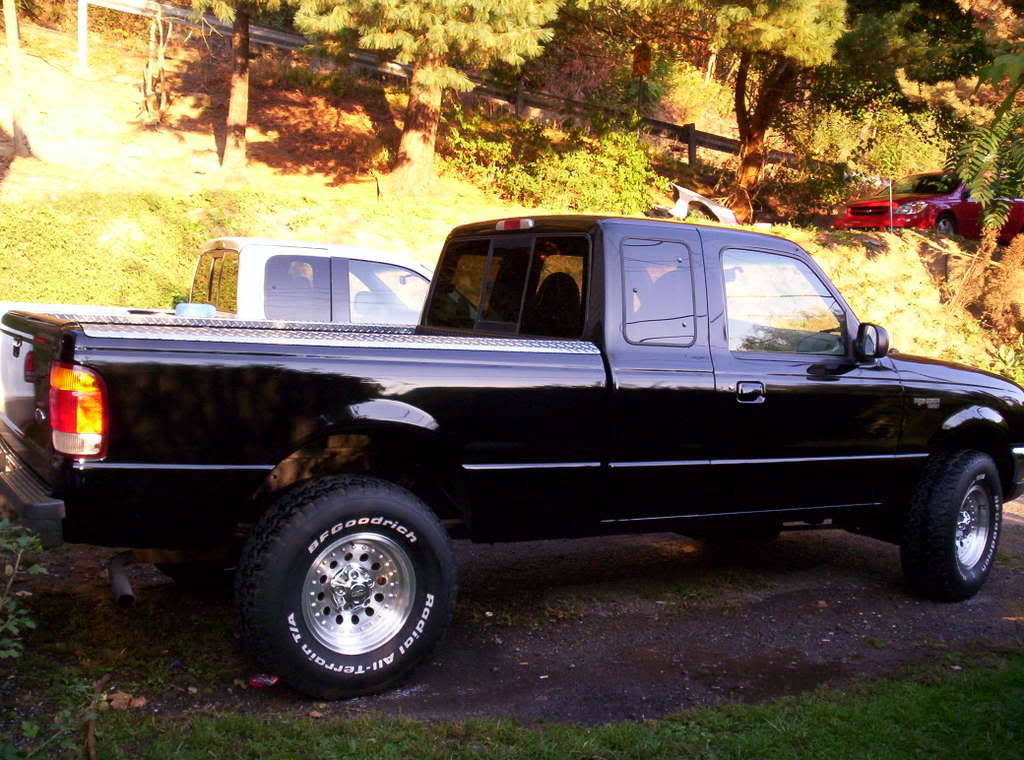
I have spent the week doing some final blocking and sanding little chips. The truck is now ready to mask and shoot with paint. Unless a catastrophy happens she will have paint by monday. This evening I took a couple of pictures to show some prep alot of people don't think about. Anywhere you spray primer by a door opening or near the gap of the bed and cab you will have overspray(or under the hood..ect). Murphy's law says you will not get enough paint in the groove to cover it and it will look like crap when you open the door or hood or whatever. The best way to deal with this is to clean it off before you paint. Then mask the jam's even if your not going to open the door when painting. Depending on your preference you may want to go back after paint and buff the jams for a professional looking job. I used laquer thinner to clean them up. This dulls the paint but I will hit it with a buffer later. BTW don't forget to clean around your emblems also.
John
John
John
John
#31
10-14-2007
Join Date: Mar 2007
Location: Fredericktown, Missouri
Posts: 813
Likes: 0
Received 0 Likes
on
0 Posts

#33
10-14-2007
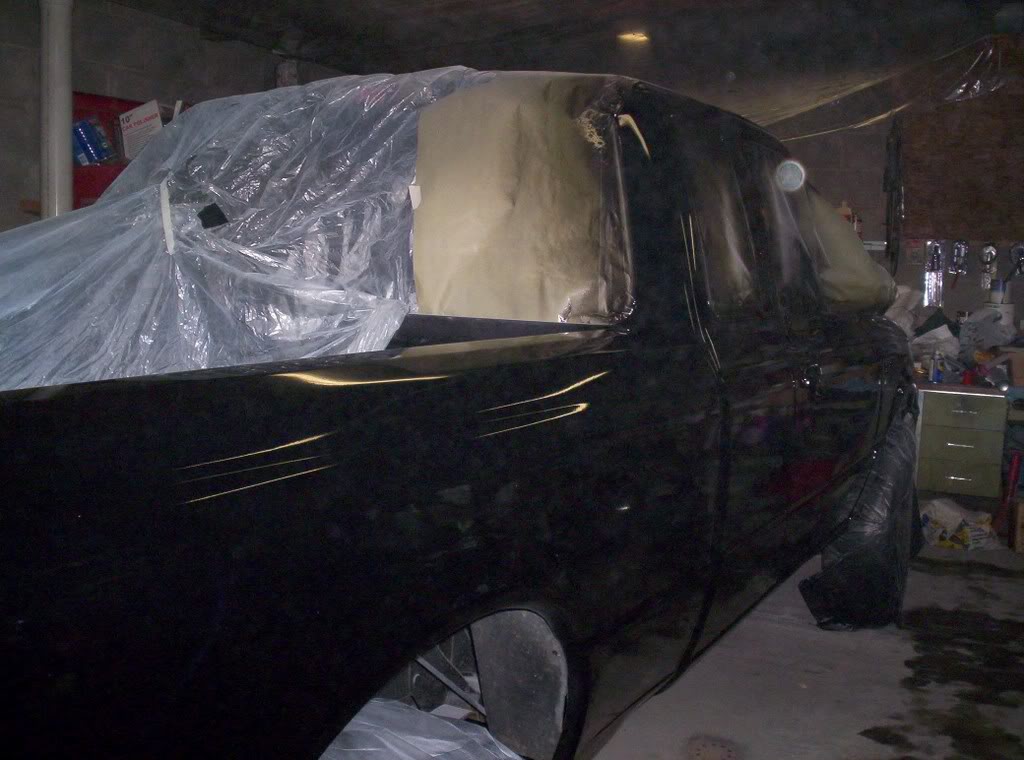
She's almost done!!! Well I determined that my garage is just not big enough to paint the truck in one shot. If it was deeper I probably could have done it but there is alot of stuff in my garage....mostly ranger parts. Anyway friday night I painted the ps side & hood and saturday I painted the drivers side and tailgate. I didn't paint the roof. Ok on with the pictures...The first couple are primer, followed by a couple with basecoat then clear.


Last edited by wvcat; 10-14-2007 at 04:23 PM.
#34
10-14-2007
#35
10-14-2007
Join Date: Mar 2007
Location: Walla Walla, WA
Posts: 705
Likes: 0
Received 0 Likes
on
0 Posts
#36
10-14-2007
#37
10-14-2007
Join Date: Mar 2007
Location: Fredericktown, Missouri
Posts: 813
Likes: 0
Received 0 Likes
on
0 Posts

#44
10-14-2007
Join Date: May 2005
Location: Livonia, Mi
Posts: 12
Likes: 0
Received 0 Likes
on
0 Posts
#46
10-15-2007
#47
10-15-2007
Join Date: Apr 2005
Location: Moncton
Posts: 447
Likes: 0
Received 0 Likes
on
0 Posts
#50
10-16-2007

Join Date: Feb 2007
Location: Spokane, Wa
Posts: 146
Likes: 0
Received 0 Likes
on
0 Posts


