Ranger Transformation (56k beware)


#27
 03-16-2009
Join Date: Nov 2008
Location: Saint Louis, MO
Posts: 148
Likes: 0
Received 0 Likes
on
0 Posts
Yea I was a little uneasy about baking my head lights but it turned out pretty well. I have a couple of tips to pass along to every one.
1.) lower your oven racks as low as they go to get away from the preheat coil, and make sure that it is done preheating. I had mine in and thought I would turn the heat up while one was in and it warped a little.
2.) Do them one at a time... trust me you wont be able to get all that glue off before it cools. I actually reheated mine several times, better to be safe with a colder temp and less time than warped lenses.
3.) Thoroughly clean the assembly before, not after. It is much harder when its baked on.
4.) Put the headlight assembly in with the lens up, on a wet towel, on a cookie sheet.
(I continually added water, I am unsure if it's necessary but oh well)
5.) I think that I ultimately did mine for 215 degrees for about 12 mins, but everyone does it a little different.
6.)Also when your lenses are off, use some headlight restorer, if necessary.
7.) When you tape it off DON'T USE MASKING TAPE, use painters tape. If you use masking tape then you will pull the reflective part off. I even had a little trouble with the painters tape being too sticky so I would stick it to my desk a couple of times to get a little sticky off.
8.) I used krylon fusion satin to paint mine and it seems like most ppl use that
9.) Use some type of silicone to reseal the headlight assy, I used clear bathroom silicone
Hopefully this helps some of you who are thinking about doing this.
#28
03-16-2009
Join Date: Jul 2008
Location: MINERAL POINT
Posts: 48
Likes: 0
Received 0 Likes
on
0 Posts
#30
03-16-2009
Join Date: Nov 2008
Location: Saint Louis, MO
Posts: 148
Likes: 0
Received 0 Likes
on
0 Posts
I was wondering if there were holes under the flares, I was thinking about pulling mine off. After seeing your pics I think I want to paint them and re-install them. I am getting a spare set of headlights to mod then do the swap. Your truck looks very nice. Good Job!!
Thanks for the compliments!

#34
03-16-2009
Join Date: Nov 2008
Location: Saint Louis, MO
Posts: 148
Likes: 0
Received 0 Likes
on
0 Posts
Actually it works great, you just have to make sure that there is nothing impeding it in the front or back. I had the same set-up on my Camaro for about 5 years and it save my A** many, many times.
#35
03-16-2009
Join Date: Nov 2008
Location: Saint Louis, MO
Posts: 148
Likes: 0
Received 0 Likes
on
0 Posts
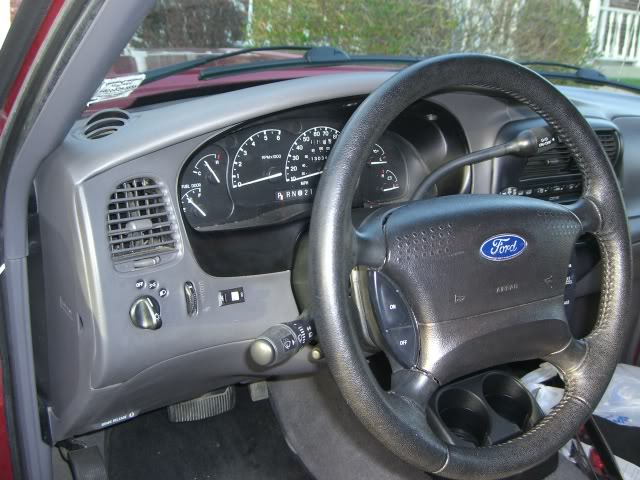
Thanks, Yea I really lucked into this gem back in august. If I didn't know what the new rangers looked like and someone told me it was an 08, I would believe it. The paint is in amazing shape for the year and the interior is 100% perfect. The pictures can't do it justice, I think that it looks way better in person.
#36
03-16-2009

Join Date: Feb 2009
Location: Chelsea,AL
Posts: 562
Likes: 0
Received 0 Likes
on
0 Posts
#38
03-17-2009
Join Date: Feb 2009
Location: Chelsea,AL
Posts: 562
Likes: 0
Received 0 Likes
on
0 Posts
#39
03-17-2009
Join Date: Nov 2008
Location: Saint Louis, MO
Posts: 148
Likes: 0
Received 0 Likes
on
0 Posts
Yea just make sure that you clean it really well, and wait a week before you touch it. It takes 7 days to be chip resistant, learned that one the hard way. I know that there are a lot of other ppl that have used krylon to paint the trim, and I think it looks great now, it just am not sure about its longevity. ie chips and dings from rocks, I am almost thinking that I should have used some bumper paint. But we will see I haven't had it on long enough to get a good idea of how it will hold up.
#40
03-26-2009
Join Date: Nov 2008
Location: Saint Louis, MO
Posts: 148
Likes: 0
Received 0 Likes
on
0 Posts
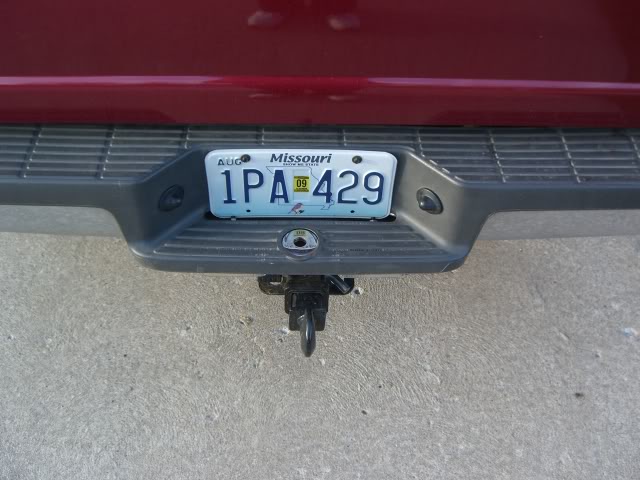
I just installed some rear lights and here are the pics. I used some fog lights from harbor freight and wired them into the fuse box's power terminal in the engine bay. Then I ran the wire into the cab to a switch in the dash, then out to the rear.
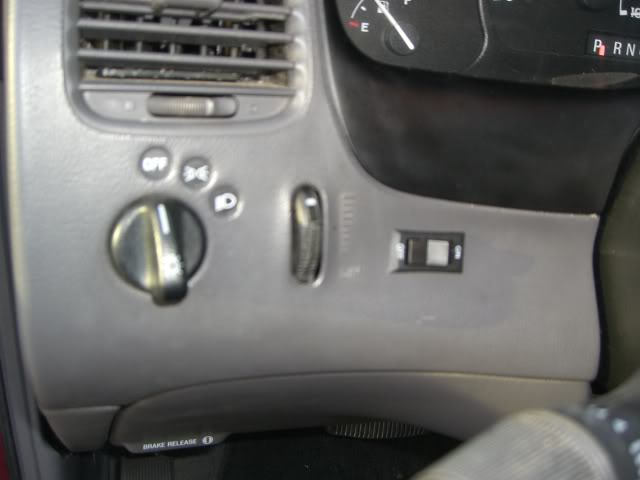
I wanted the switch to look as "stock" as possible. (it might look not look level in the picture, but it is.)
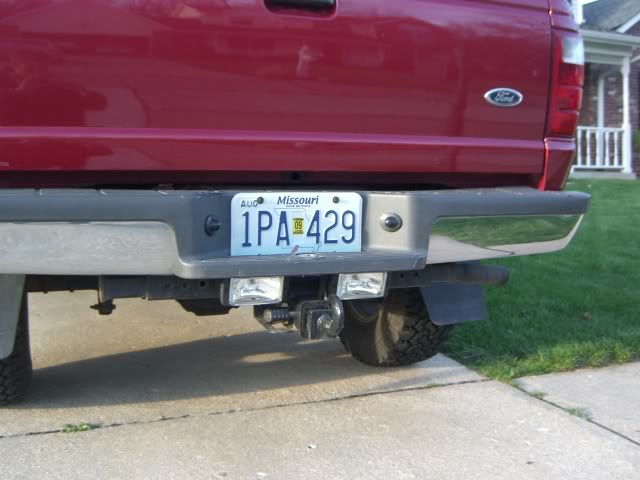
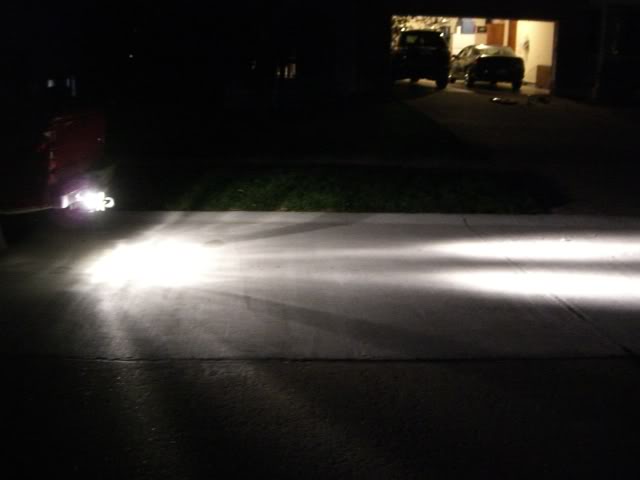
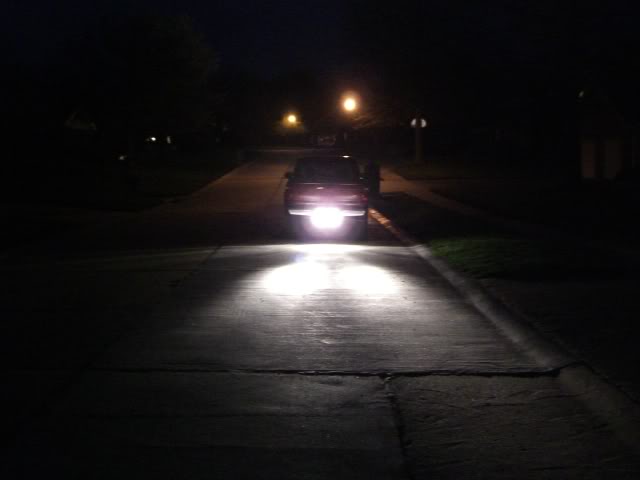
As you can see they are not visible from above
I wanted the switch to look as "stock" as possible. (it might look not look level in the picture, but it is.)
As you can see they are not visible from above
#41
03-26-2009
#42
03-26-2009
Join Date: Nov 2008
Location: Saint Louis, MO
Posts: 148
Likes: 0
Received 0 Likes
on
0 Posts
And the lights were from harbor freight. They were regularly $15 but i had a coup and I cant remember what I ended up paying. They even included wiring and the switch that I used. I would definitely recommend for cheap lighting!
#45
04-19-2009
I keep tossing around the idea of painting the rear. I am just not sure that it would look that good for long, I am worried about the paint wearing off. I am kinda waiting to see how the paint will hold up in other areas, before I decide.
And the lights were from harbor freight. They were regularly $15 but i had a coup and I cant remember what I ended up paying. They even included wiring and the switch that I used. I would definitely recommend for cheap lighting!
And the lights were from harbor freight. They were regularly $15 but i had a coup and I cant remember what I ended up paying. They even included wiring and the switch that I used. I would definitely recommend for cheap lighting!
#46
04-19-2009
#47
04-19-2009
Join Date: Jul 2007
Location: Colorado
Posts: 1,727
Likes: 0
Received 0 Likes
on
0 Posts
#49
04-20-2009
#50
04-20-2009
You might want to check with socalintn on longevity. He did his rear bumper a while back, and it looked amazing at the Knoxville meet back in march.


