The El Camino Project Log
#1
 03-11-2007


The El Camino Project Log
Here's my plan... Every time I work on the Camino, I'm going to document it and that way, in the future, if I get it to show quality and show it, I'll a have a full log showing all the work I've done.
Vitals:
1985 El Camino
305 Chevy smallblock 5.0l dynoed at 175hp as of 3/11/07
Hydroflo auto tranny (will be replaced eventually- stick conversion?)
150,000 miles
3/11/07
First and foremost, the old boy got a good healthy dose of Seafoam.
Video:
http://www.youtube.com/watch?v=v5C1BqJCyjY
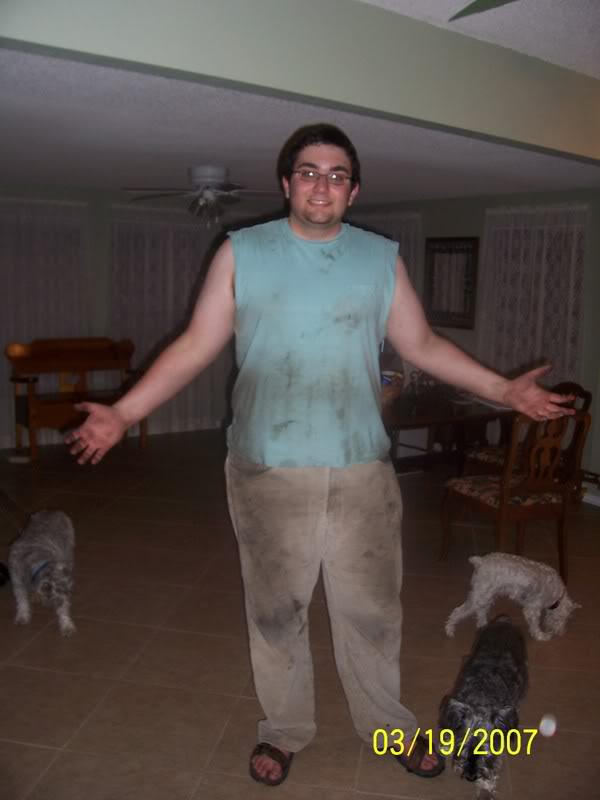
(I apologize for my attire, I didn't dress for the camera... Usually I look less fat and nasty
100_9863.jpg?t=1173671449
Here's what I'm beginning with.
100_9865.jpg?t=1173671475
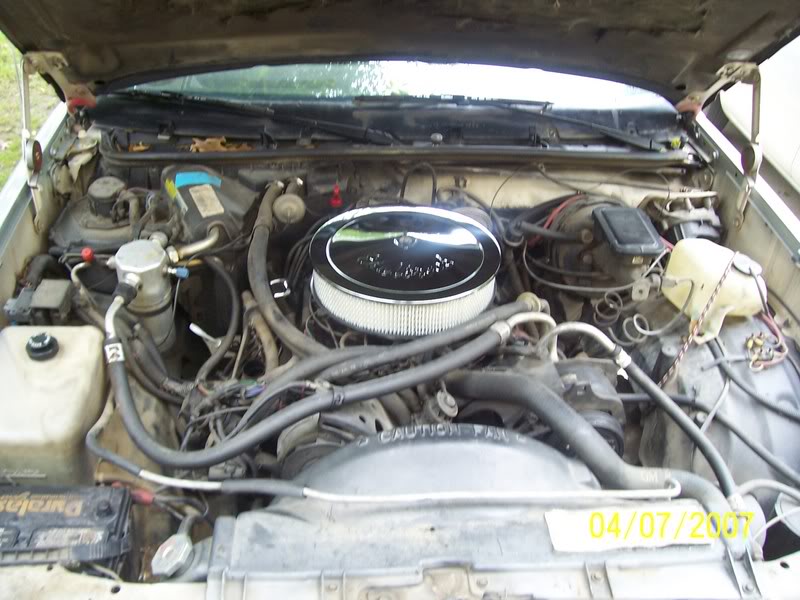
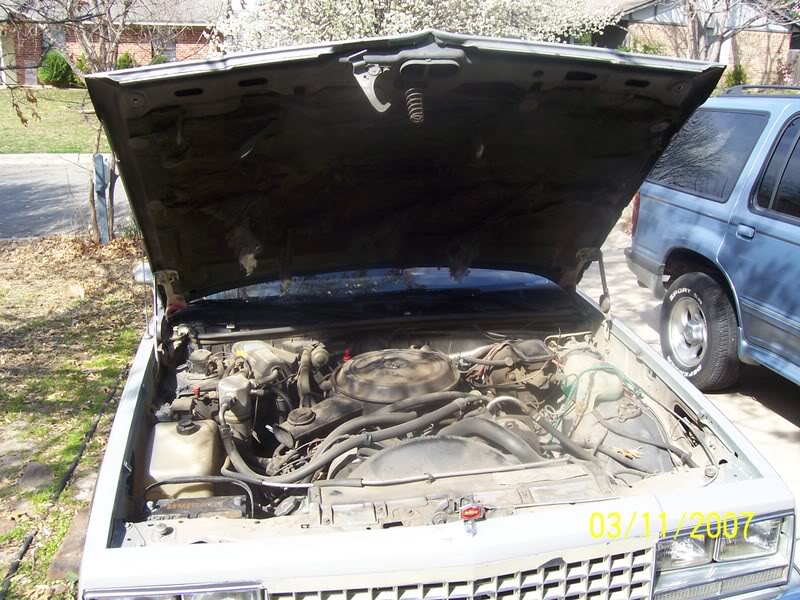
Under hood shot
100_9866.jpg?t=1173671512
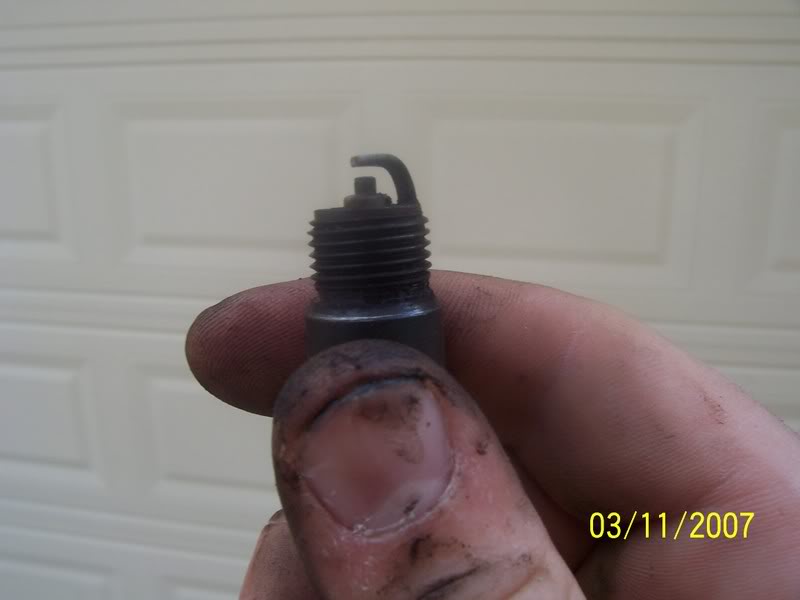
I pulled all the plugs and replaced them, thankfully they all looked exactly like this one- worn, but no corrosion, soot, oil, damage or anything indicating any damage to any cylinders.
100_9868.jpg?t=1173671600
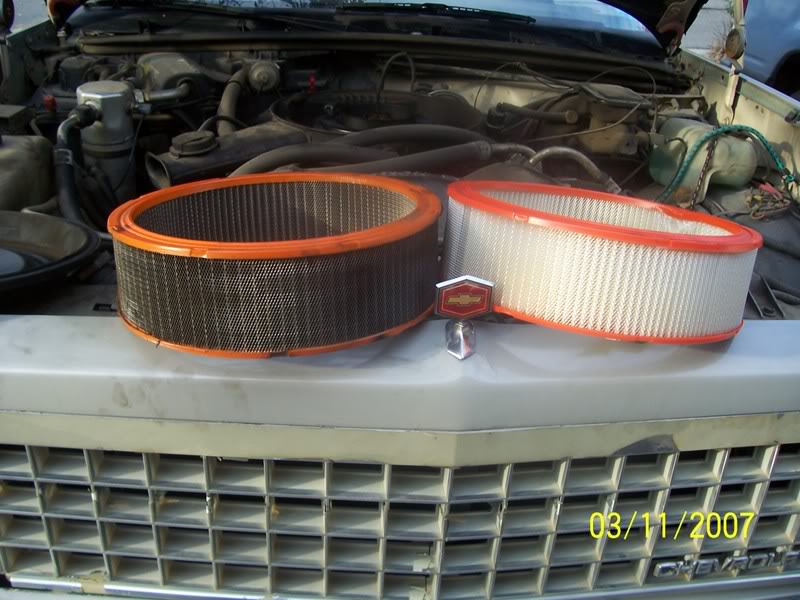
The air cleaner was INCREDIBLY dirty, and this more than anything else was probibly robbing some power.
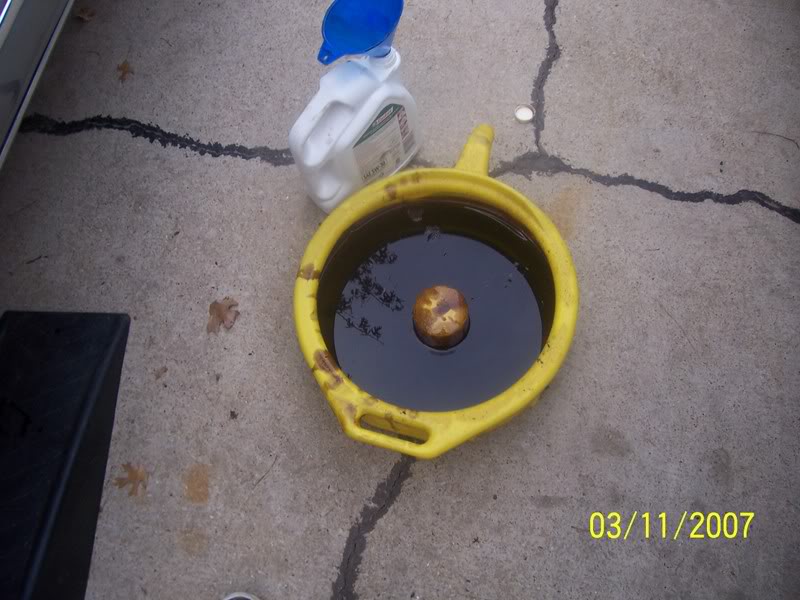
The oil was also very dirty, I'm sure the engine was glad to get some brand spankin' new Pennzoil!
It may be awhile before I post again in here because of work, I work all day mon-sat this week...
Vitals:
1985 El Camino
305 Chevy smallblock 5.0l dynoed at 175hp as of 3/11/07
Hydroflo auto tranny (will be replaced eventually- stick conversion?)
150,000 miles
3/11/07
First and foremost, the old boy got a good healthy dose of Seafoam.
Video:
http://www.youtube.com/watch?v=v5C1BqJCyjY
(I apologize for my attire, I didn't dress for the camera... Usually I look less fat and nasty
100_9863.jpg?t=1173671449
Here's what I'm beginning with.
100_9865.jpg?t=1173671475
Under hood shot
100_9866.jpg?t=1173671512
I pulled all the plugs and replaced them, thankfully they all looked exactly like this one- worn, but no corrosion, soot, oil, damage or anything indicating any damage to any cylinders.
100_9868.jpg?t=1173671600
The air cleaner was INCREDIBLY dirty, and this more than anything else was probibly robbing some power.
The oil was also very dirty, I'm sure the engine was glad to get some brand spankin' new Pennzoil!
It may be awhile before I post again in here because of work, I work all day mon-sat this week...
#2
03-12-2007
Looking great! And nice work on the preliminary work! I'd say check the cap, wires, PCV valve (if included) or filters, and run a good dose of injector cleaner through it.
As you can see in the comment on YouTube, you should have let it reach normal temp before revving it up. You can do this easily by adjusting the idle speed screw.
How is it running?
As you can see in the comment on YouTube, you should have let it reach normal temp before revving it up. You can do this easily by adjusting the idle speed screw.
How is it running?
#3
03-12-2007

#4
03-18-2007
Just a quick update, not much time to work today, but some some done.
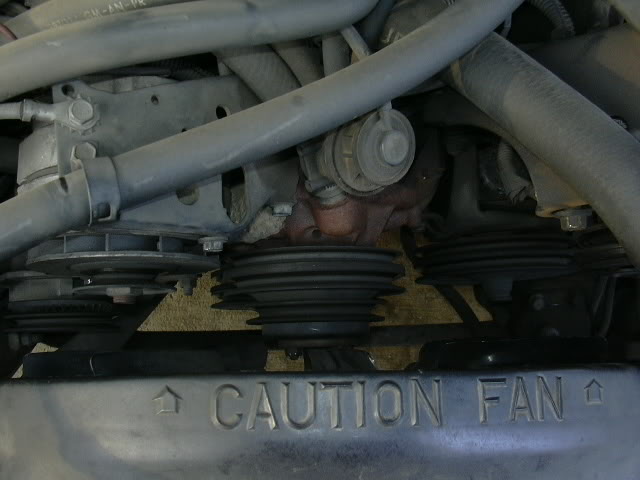
My plan was to change the belts today, so I started by taking off all the old belts.
DSCN0737.jpg?t=1174279680
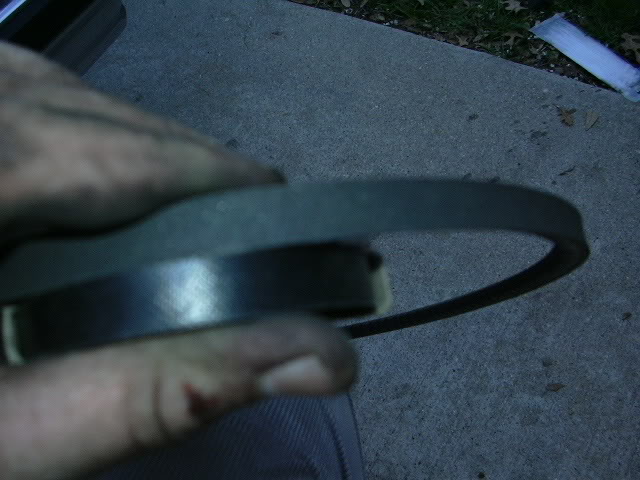
The pic is kind of crappy, but you can see that the old belts are cracked, fraying, and downright scary.
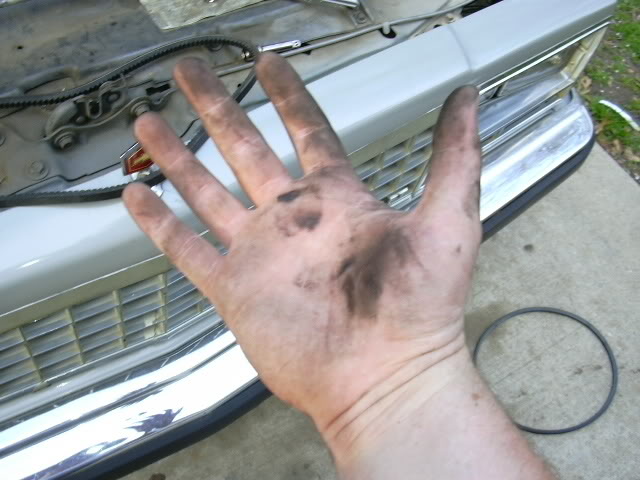
Well, it turns out that two of the four belts I picked up where a hair too wide, and didn't fit. I had to put the old belts back on for now, and tomarrow, I'll head back up to Autozone.... Good thing I saved the reciept! (And yes... The Camino did draw blood today )
)
Blech, all this mess and I still didn't even get done all I wanted to. Oh well, expect a big update tomarrow....
My plan was to change the belts today, so I started by taking off all the old belts.
DSCN0737.jpg?t=1174279680
The pic is kind of crappy, but you can see that the old belts are cracked, fraying, and downright scary.
Well, it turns out that two of the four belts I picked up where a hair too wide, and didn't fit. I had to put the old belts back on for now, and tomarrow, I'll head back up to Autozone.... Good thing I saved the reciept! (And yes... The Camino did draw blood today
)Blech, all this mess and I still didn't even get done all I wanted to. Oh well, expect a big update tomarrow....
Last edited by b3kbruiser; 03-19-2007 at 07:54 PM.
#5
03-19-2007
Ok, got a lot of work today. I got up at 8:30, went to the bank, autozone, and then came back home and spent, literally, the entire day working on the Camino.
I made, all in all, 4 trips to two different Autozones because the belts they kept giving me didn't fit right. Finally I drove the Camino up to an Autozone, with my tools, and changed the belts right there in the parking lot and then took the packaging into the store and payed for it then... They got to know me and I got to know them, lol.
After finishing the belts, I got a toothbrush, some mineral spirits, and some super heavy degreaser and went to town scrubbing, cleaning and generally waging war on the grease and grime. I think it looks damn good! Before/after shot.
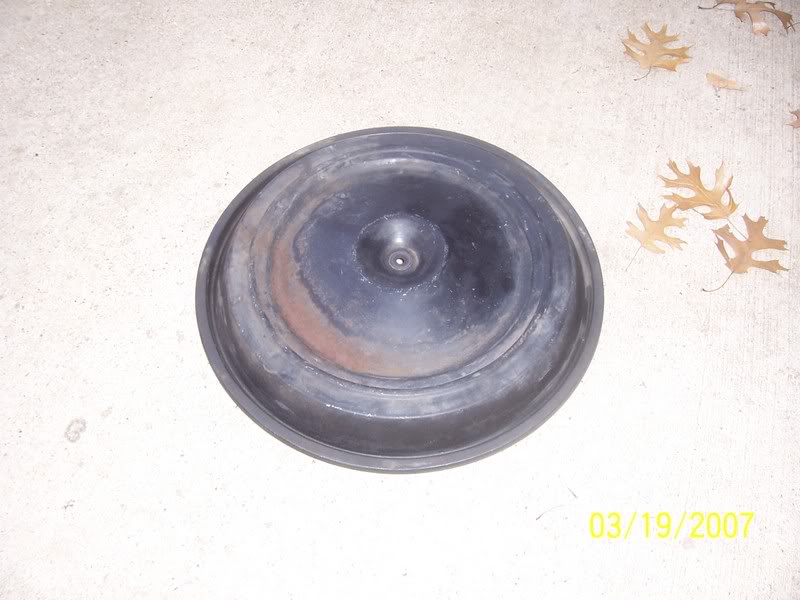
The Edelbrock air cleaner I bough doesn't have attachments for all of the stock carb's EGR and emmisions crap, so I had to return it. In that light, this is my stock air filter lid... It's starting rust, and since I can't get an Edelbrock air cleaner (yet) I need to do something about it.
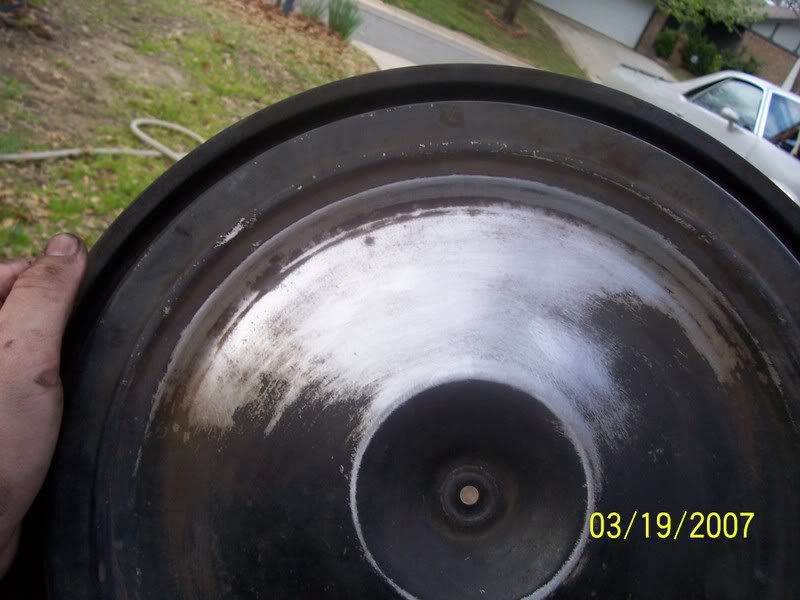
Here I am starting to sand down all the rust. It took a long time and a lot of work, but I made it.
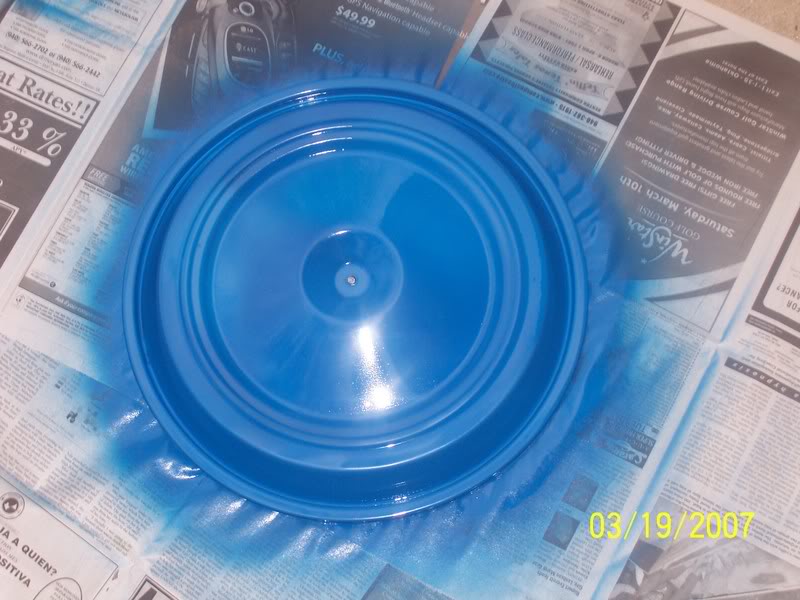
And I sprayed it down with some high-heat engine block paint. It's "Ford Blue"

And I think it looks downright spiffy in the newly cleaned engine bay.
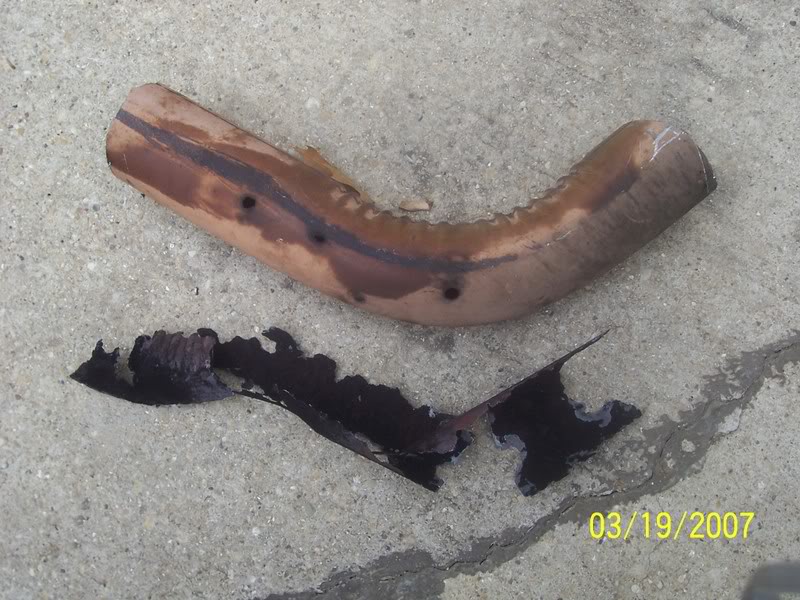
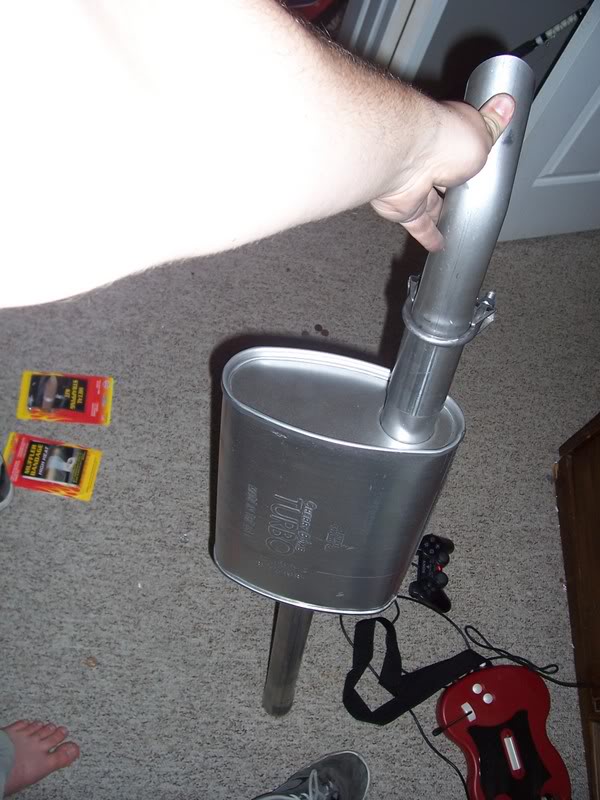
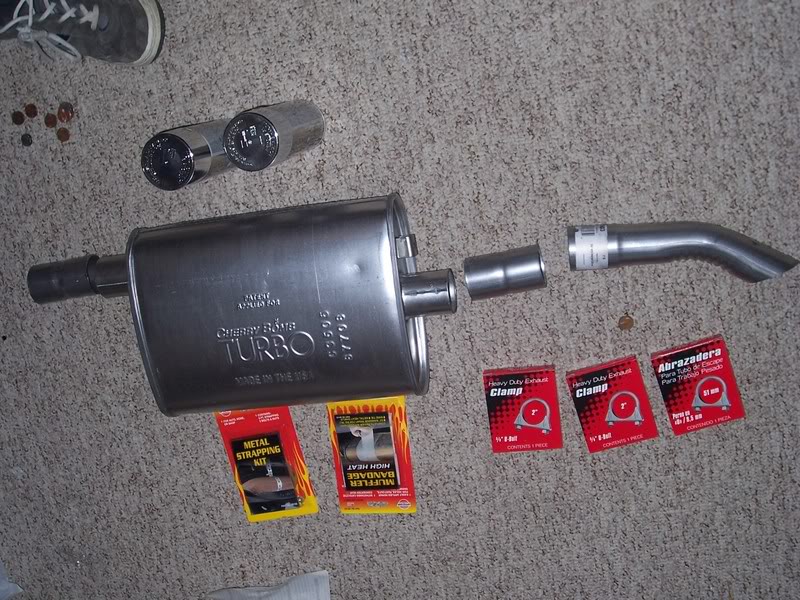
This is a section of the exhaust... It came from right after the cat. converter. It's downright pathetic. There are tiny holes everywhere on the exhaust pipe, and the muffler is rotted out. I can only patch one part of the system with flex pipe, so I tried to get as many of the holes as I could in one shot.I bought a section of flex pipe to patch the exhaust with, and forgot to take pics of the install. But I do have a rather nice straight pipes video
It's been a long day...
I made, all in all, 4 trips to two different Autozones because the belts they kept giving me didn't fit right. Finally I drove the Camino up to an Autozone, with my tools, and changed the belts right there in the parking lot and then took the packaging into the store and payed for it then... They got to know me and I got to know them, lol.
After finishing the belts, I got a toothbrush, some mineral spirits, and some super heavy degreaser and went to town scrubbing, cleaning and generally waging war on the grease and grime. I think it looks damn good! Before/after shot.
The Edelbrock air cleaner I bough doesn't have attachments for all of the stock carb's EGR and emmisions crap, so I had to return it. In that light, this is my stock air filter lid... It's starting rust, and since I can't get an Edelbrock air cleaner (yet) I need to do something about it.
Here I am starting to sand down all the rust. It took a long time and a lot of work, but I made it.
And I sprayed it down with some high-heat engine block paint. It's "Ford Blue"
And I think it looks downright spiffy in the newly cleaned engine bay.
This is a section of the exhaust... It came from right after the cat. converter. It's downright pathetic. There are tiny holes everywhere on the exhaust pipe, and the muffler is rotted out. I can only patch one part of the system with flex pipe, so I tried to get as many of the holes as I could in one shot.I bought a section of flex pipe to patch the exhaust with, and forgot to take pics of the install. But I do have a rather nice straight pipes video
It's been a long day...
#6
04-07-2007
Bit of an update...
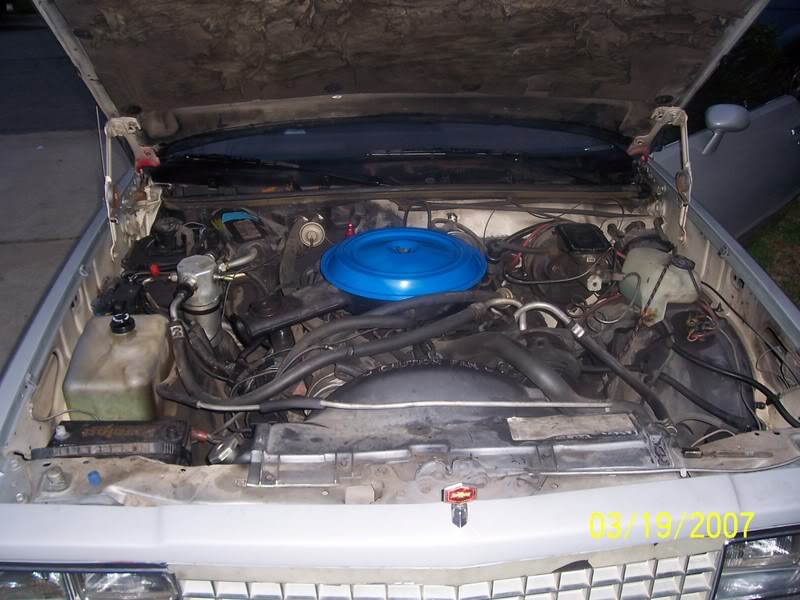
This is my engine bay as of 11:00am...
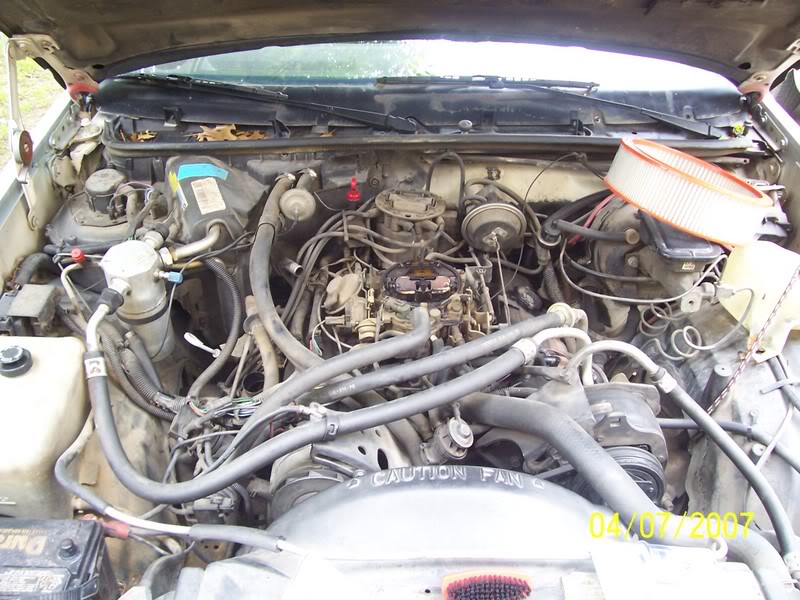
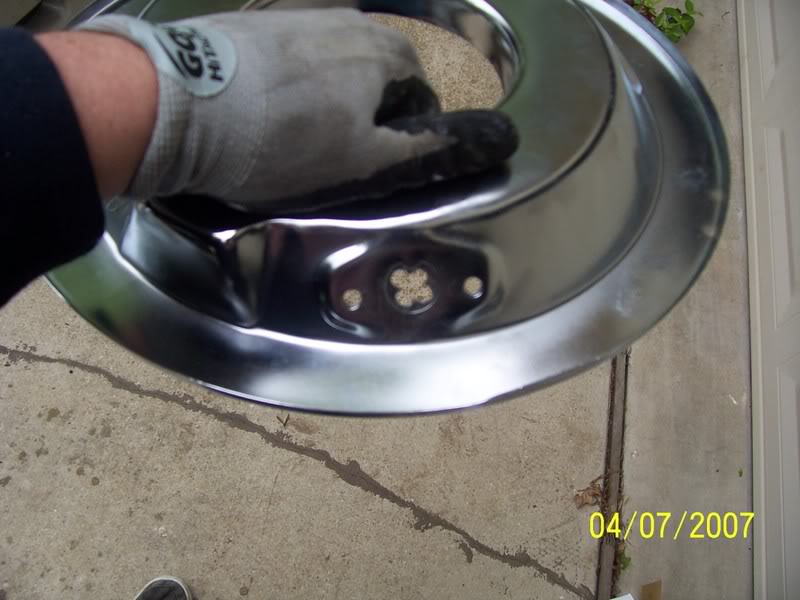
Got rid of the old blue air cleaner and cleaned up the carb.
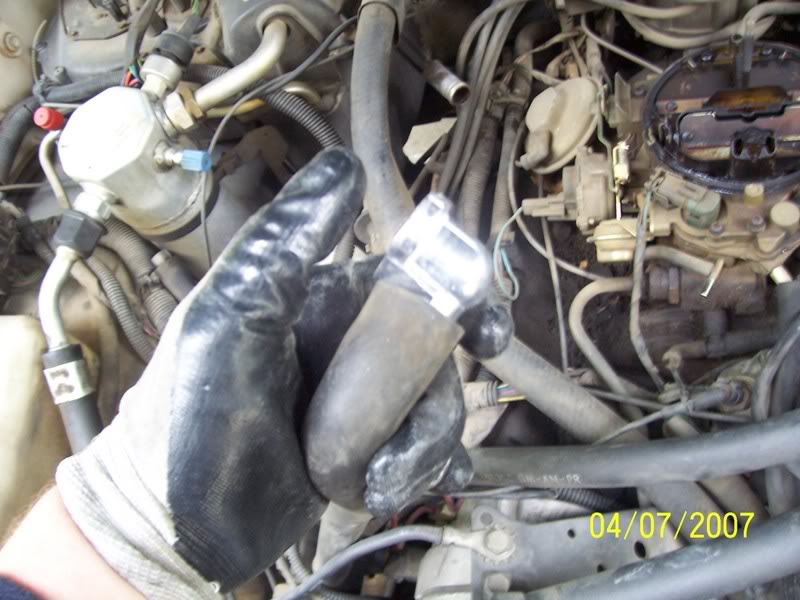
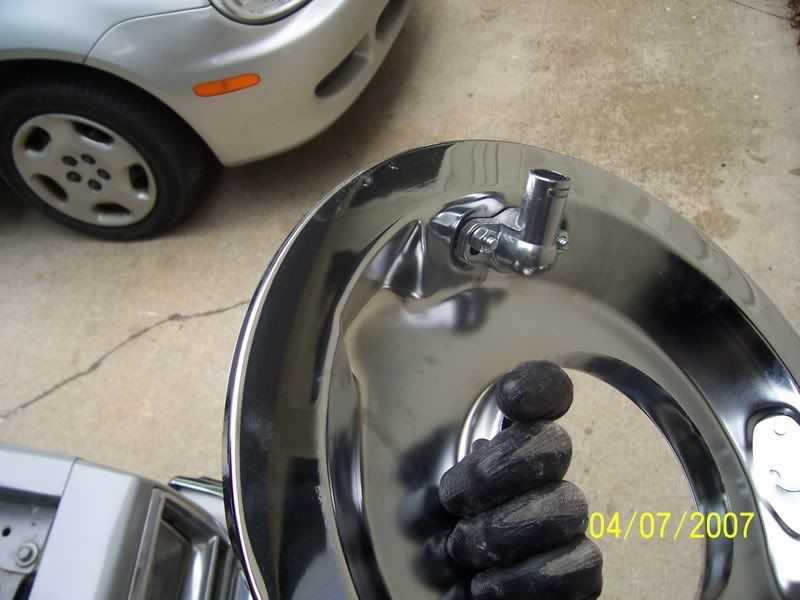
Crankcase ventelation hose gets this lovely metal doohickey
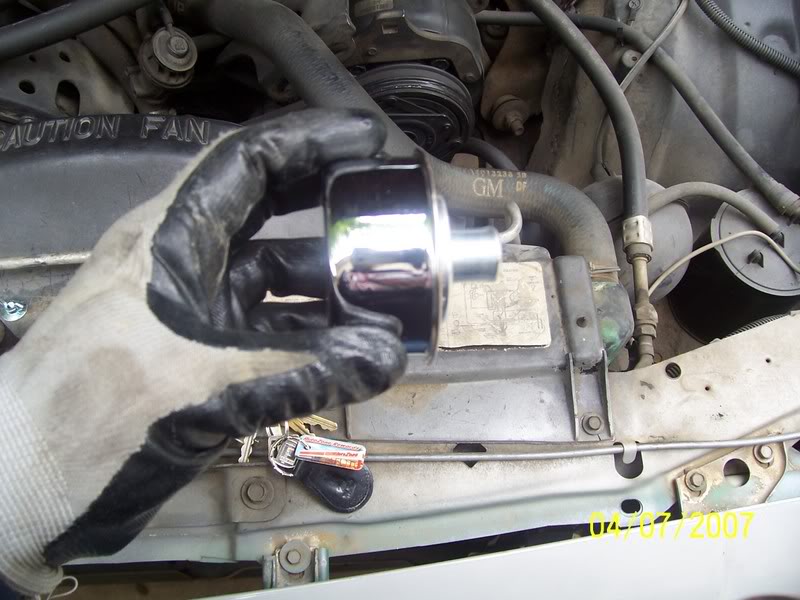
And the EGR tube gets it's own special little breather.
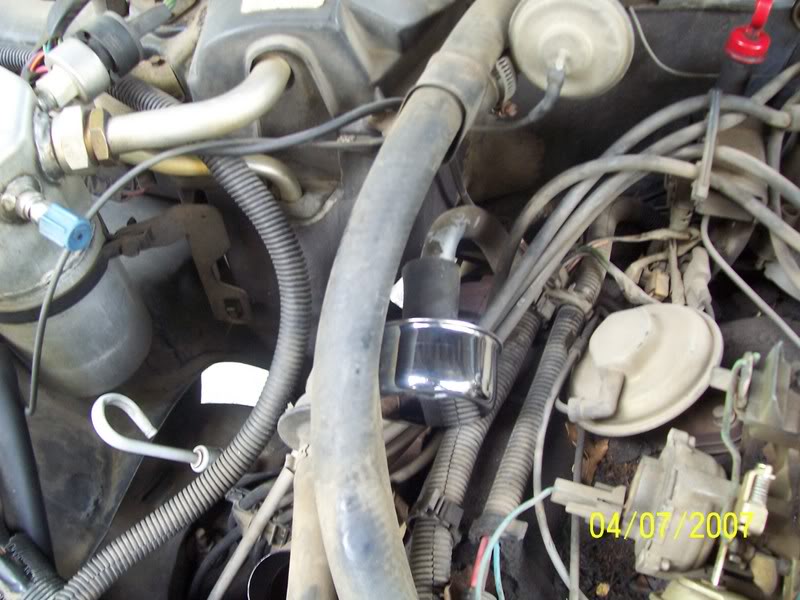
Mmmm, chrome.
Acouple of carefully drilled holes
And bolts
And...
Drumroll...
TADA!!! It looks SHARP under the hood. I love the way carbed engines look, and the Edelbrock breather rounds it off nicely.
I'd like to take a moment to point out the gloves I'm wearing... They're freaking incredible. They're Gojo brand gloves, one side is a rubbery material that gives me immense grip, even when oily or greasy, and and the other side is some kind of oil and grease repellant material, so that even when like an idiot I forgot to put the oil plug back in the oil pan, and got oil EVERYWHERE, my hands stayed clean... The thing that really made me go wow was I was fooling around with the idle air mixture, trying to set it just right and I accidentally stuck my hand in the running fan... Well, normally it's be a trip to the hospital, but the only damage was a little tear in one of the rubber fingertips... It smarted like hell but I didn't get hurt. Not too shabby for a $5 pair of gloves...
I also finally got around to installing new wires all the way around, and the old wires where extremally rusty and corroded. It made a huge difference in performance, the engine idles much better and revvs up more quickly and with more umph... For comparison:
http://www.youtube.com/watch?v=x0jDIihFe9Y
That was 2 weeks ago, on a 45 degree morning
http://www.youtube.com/watch?v=eiOyaK3sdqI
That was this morning, on a 39 degree morning (and I've lost some weight )
)
Coming up in the next month or two... Edelbrock Performer RPM intake, Edelbrock carb and Edelbrock valve covers. I decided to go with all Edelbrock because I got hooked up with a minor "sponsorship", the local Autozone is going to give me a discount if I buy all the expensive (aka high profit) stuff from them, and they carry mostly Edelbrock... So Edelbrock it is.
Tomarrow, a new distributer and good wash/wax and a photoshoot, but for now, so long and goodnight!
This is my engine bay as of 11:00am...
Got rid of the old blue air cleaner and cleaned up the carb.
Crankcase ventelation hose gets this lovely metal doohickey
And the EGR tube gets it's own special little breather.
Mmmm, chrome.
Acouple of carefully drilled holes
And bolts
And...
Drumroll...
TADA!!! It looks SHARP under the hood. I love the way carbed engines look, and the Edelbrock breather rounds it off nicely.
I'd like to take a moment to point out the gloves I'm wearing... They're freaking incredible. They're Gojo brand gloves, one side is a rubbery material that gives me immense grip, even when oily or greasy, and and the other side is some kind of oil and grease repellant material, so that even when like an idiot I forgot to put the oil plug back in the oil pan, and got oil EVERYWHERE, my hands stayed clean... The thing that really made me go wow was I was fooling around with the idle air mixture, trying to set it just right and I accidentally stuck my hand in the running fan... Well, normally it's be a trip to the hospital, but the only damage was a little tear in one of the rubber fingertips... It smarted like hell but I didn't get hurt. Not too shabby for a $5 pair of gloves...
I also finally got around to installing new wires all the way around, and the old wires where extremally rusty and corroded. It made a huge difference in performance, the engine idles much better and revvs up more quickly and with more umph... For comparison:
http://www.youtube.com/watch?v=x0jDIihFe9Y
That was 2 weeks ago, on a 45 degree morning
http://www.youtube.com/watch?v=eiOyaK3sdqI
That was this morning, on a 39 degree morning (and I've lost some weight
) Coming up in the next month or two... Edelbrock Performer RPM intake, Edelbrock carb and Edelbrock valve covers. I decided to go with all Edelbrock because I got hooked up with a minor "sponsorship", the local Autozone is going to give me a discount if I buy all the expensive (aka high profit) stuff from them, and they carry mostly Edelbrock... So Edelbrock it is.
Tomarrow, a new distributer and good wash/wax and a photoshoot, but for now, so long and goodnight!
Last edited by b3kbruiser; 04-07-2007 at 10:40 PM.
#8
04-30-2007

#9
05-05-2007
DISASTER!
 .
.
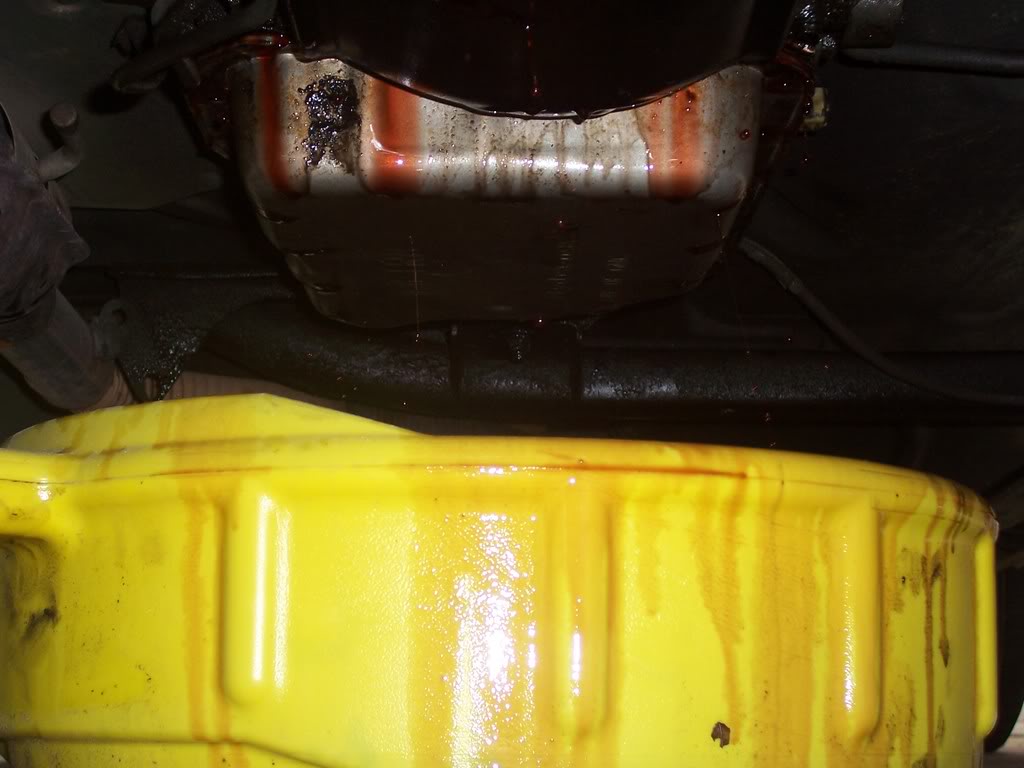
Tranny gasket is totally shot... Poured some tranny fluid in and it just leaked out the bottom like so... It was bad...
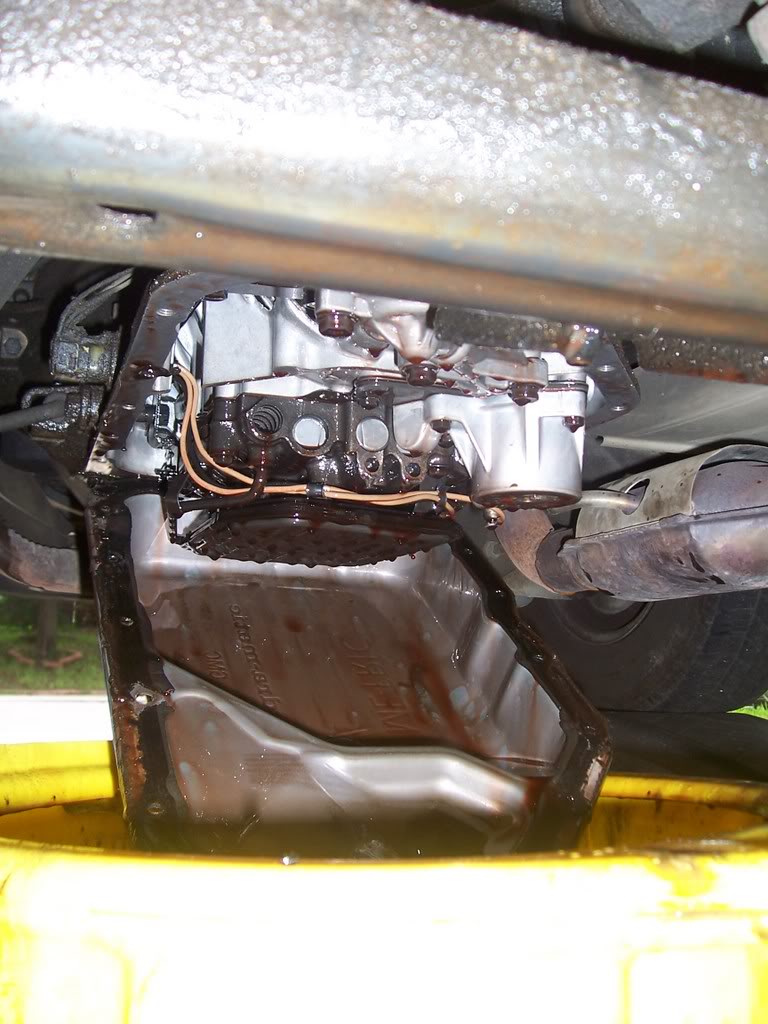
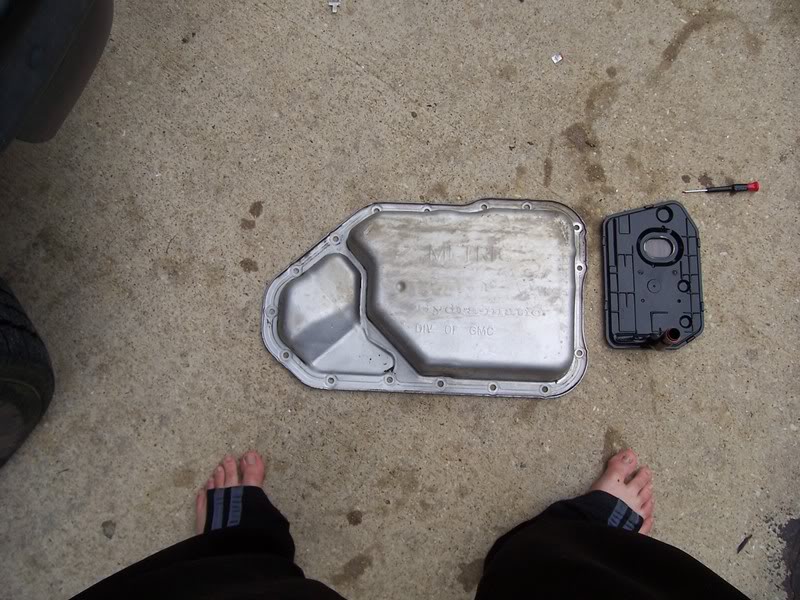
Dropped the pan, note how nasty *** the old gasket is.
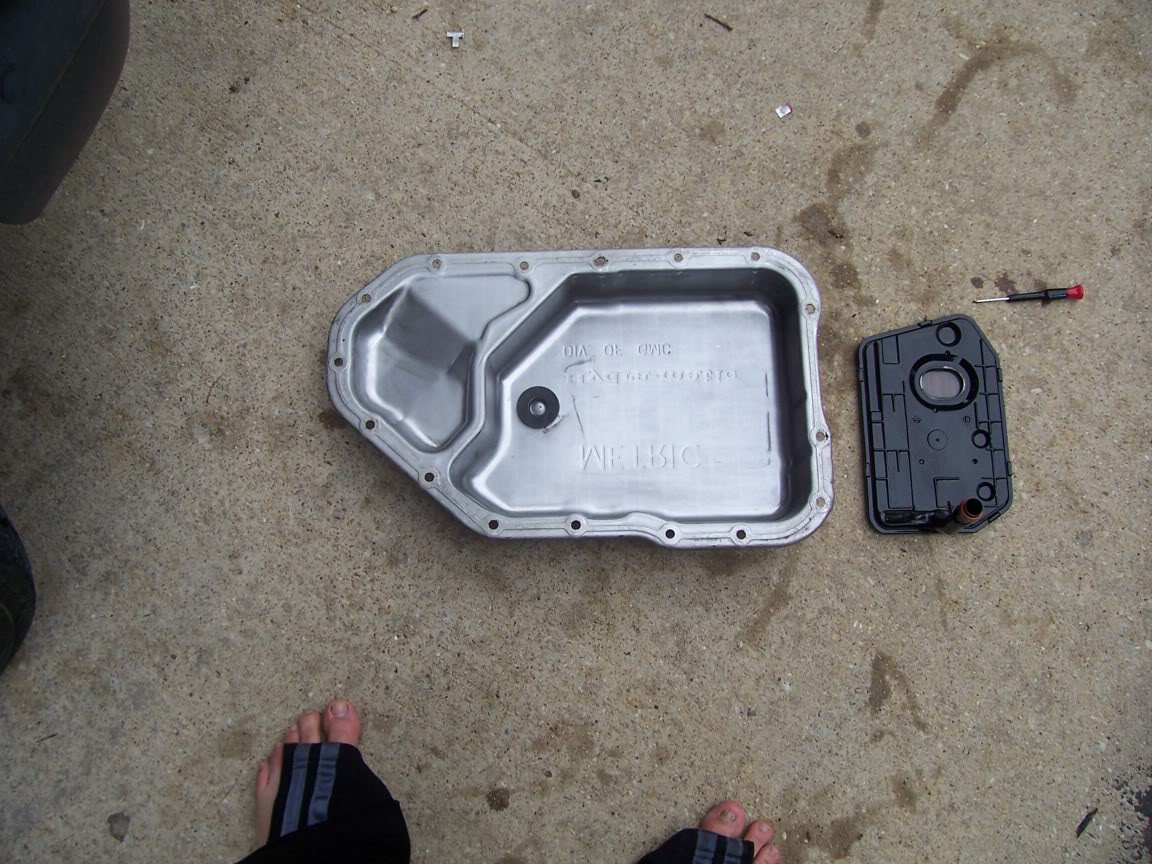

Cleaned the pan up, slapped on a new gasket, tomarrow morning we see if it holds... (On the 2nd pic the streaks are a reflection of my trees... Check out my nasty toenail on my right big toe... I dropped the tailgate of my Mazda, and the corner landed dead center on the toenail... Not fun.)
.Tranny gasket is totally shot... Poured some tranny fluid in and it just leaked out the bottom like so... It was bad...
Dropped the pan, note how nasty *** the old gasket is.
Cleaned the pan up, slapped on a new gasket, tomarrow morning we see if it holds... (On the 2nd pic the streaks are a reflection of my trees... Check out my nasty toenail on my right big toe... I dropped the tailgate of my Mazda, and the corner landed dead center on the toenail... Not fun.)
#10
06-01-2007

Join Date: May 2007
Location: Douglasville, GA
Posts: 20
Likes: 0
Received 0 Likes
on
0 Posts
#11
06-01-2007
Member
#12
06-01-2007
Join Date: Dec 2005
Location: Wyoming MN
Posts: 2,400
Likes: 0
Received 0 Likes
on
0 Posts
Originally Posted by greygooseranger
It should be a 700R4.... Overall a very good trans.....
This looks like a TH200C Tranny pan to me.
I could be wrong, Does you gear shift indicator look like this:
P R N D D2 D1
Or this P R N OD D 2 1 ?
If I am Right, Get a new tranny before you build the motor, that tranny can't take much performance. It's either that or a 200r4. That doesn't look even close to a 700r4 pan.

^ I know it's aftermarket but here is a 700r4 tranny pan.
~HJ
Last edited by HAZZARDJOHN; 06-01-2007 at 01:01 PM.
#13
06-01-2007
Join Date: Dec 2005
Location: Wyoming MN
Posts: 2,400
Likes: 0
Received 0 Likes
on
0 Posts
http://www.gnttype.org/techarea/pict...m200vs350.html
Mystery solved, It's a 200r4 pan.
TH200 had a similar pan but From what I can tell they eren't made after '78, although I have a buddy that has a 4.3 V6 87 caprice that has one, and it has to be from the factory as he bought it from the old man that bought it new.
~HJ
Mystery solved, It's a 200r4 pan.
TH200 had a similar pan but From what I can tell they eren't made after '78, although I have a buddy that has a 4.3 V6 87 caprice that has one, and it has to be from the factory as he bought it from the old man that bought it new.
~HJ
#14
06-01-2007
Member
#15
06-01-2007
Join Date: Dec 2005
Location: Wyoming MN
Posts: 2,400
Likes: 0
Received 0 Likes
on
0 Posts
Maybe yes, maybe no. They are good enought for Grand nationals, they will probably be good enough for a street built small block. However 700r4's and TH350 especially, are cheap and a direct swap. If you have the tranny out for any reason, I'd invest in one of those if it twer me.
Not to mention they don't require the "brain Box" to lock up the convertor.
~HJ
Not to mention they don't require the "brain Box" to lock up the convertor.
~HJ
#16
06-01-2007


#17
06-01-2007
Join Date: Dec 2005
Location: Wyoming MN
Posts: 2,400
Likes: 0
Received 0 Likes
on
0 Posts
Originally Posted by Gearhead61
Isn't the 200R4 a different version of the 700R4? One of them is 2wd one is 4wd, right? That's what I noticed when I was looking at 4.3L Vortecs for the Zuk.
Not the best source, but a good read:
http://en.wikipedia.org/wiki/Turbo-Hydramatic#200-4R
^ If that is a true article you can slide a TH400 right in there and not have to change motor mounts. It will hamper gas mileage though, but if you can kill a TH400, you did something impressive, stupid, or both!

~HJ
Last edited by HAZZARDJOHN; 06-01-2007 at 01:28 PM.
#18
06-01-2007
I'm not exactly sure which tranny it is... I haven't paid much mind because as soon as I get my own place here in a few months, I'm going to buy a mid-80's Camero shell with just body and manual tranny, swap em out, clean up the body, and sell the body again for the purchase price or better
#21
06-03-2007
Join Date: May 2007
Location: Douglasville, GA
Posts: 20
Likes: 0
Received 0 Likes
on
0 Posts
Originally Posted by b3kbruiser
I'm not exactly sure which tranny it is... I haven't paid much mind because as soon as I get my own place here in a few months, I'm going to buy a mid-80's Camero shell with just body and manual tranny, swap em out, clean up the body, and sell the body again for the purchase price or better
#22
07-01-2007

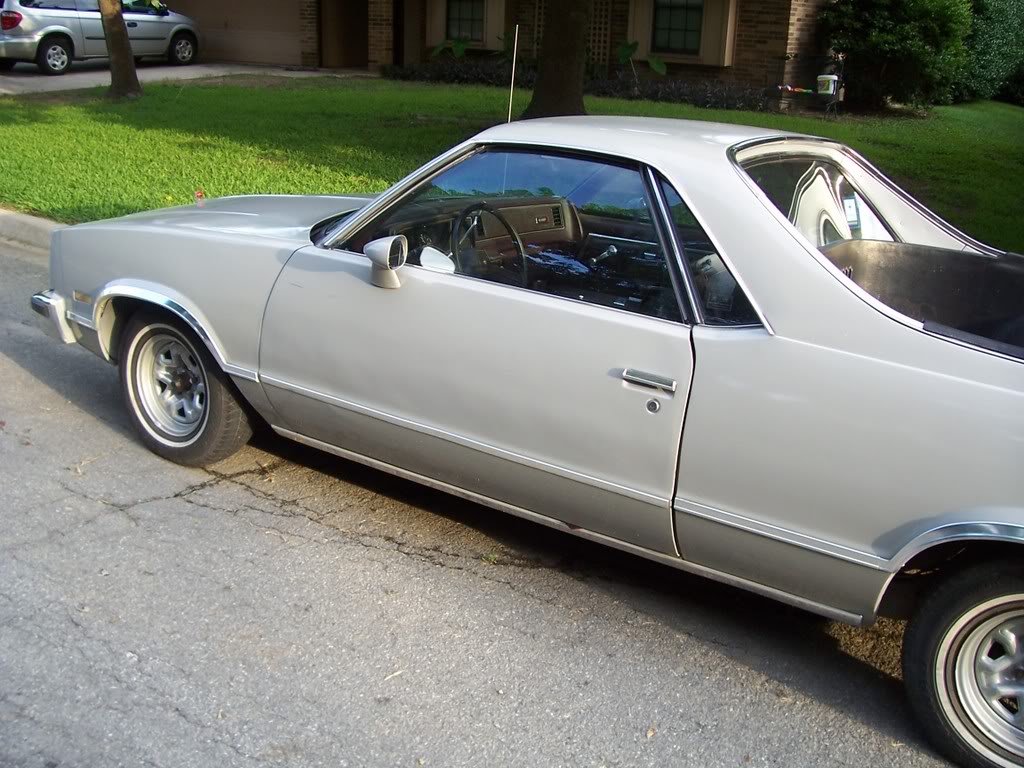
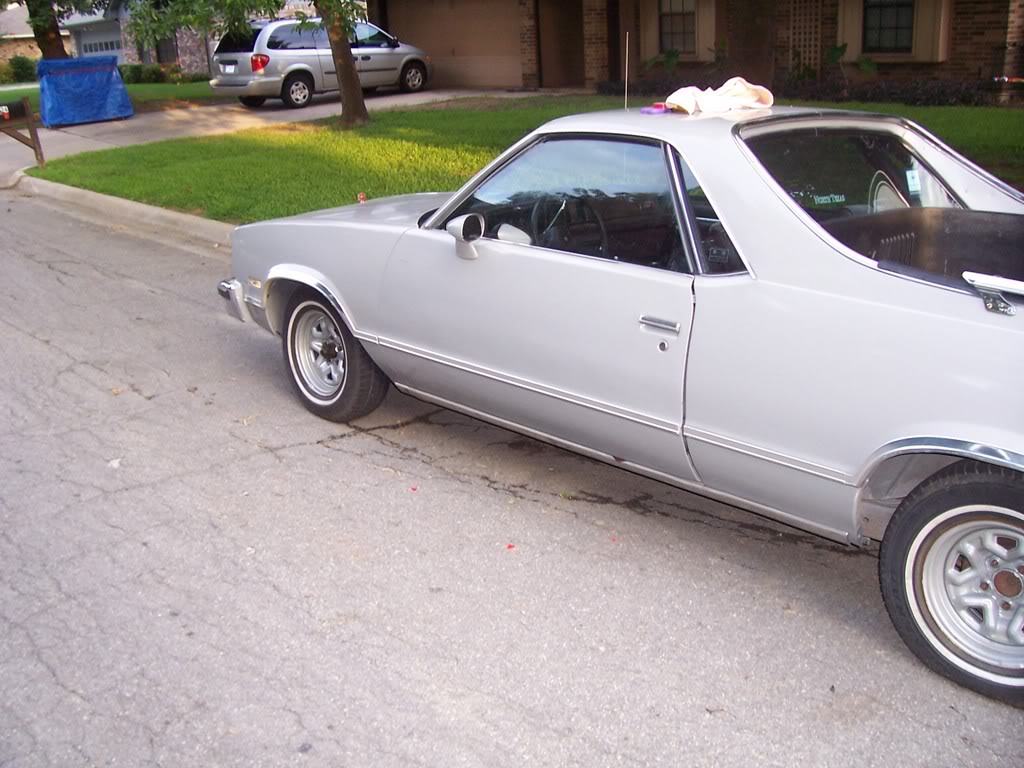
Notice anything different?
Original:
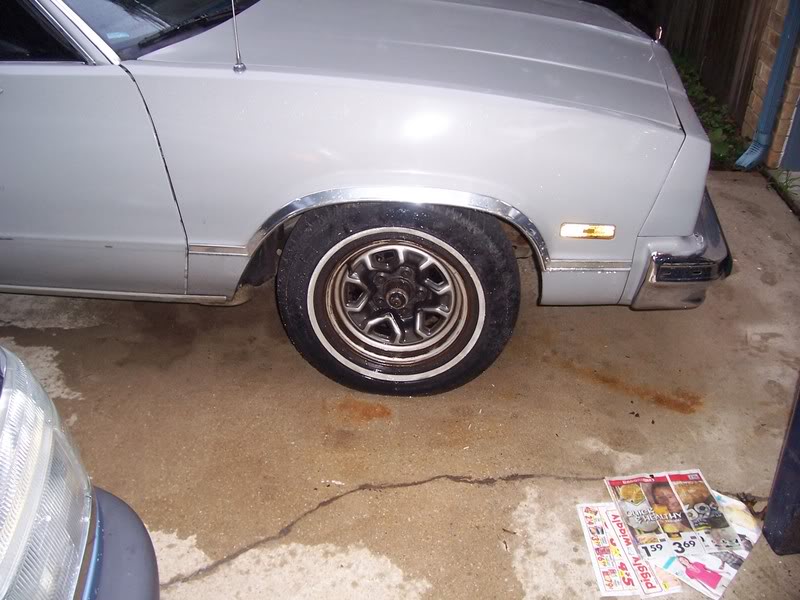
Now!:
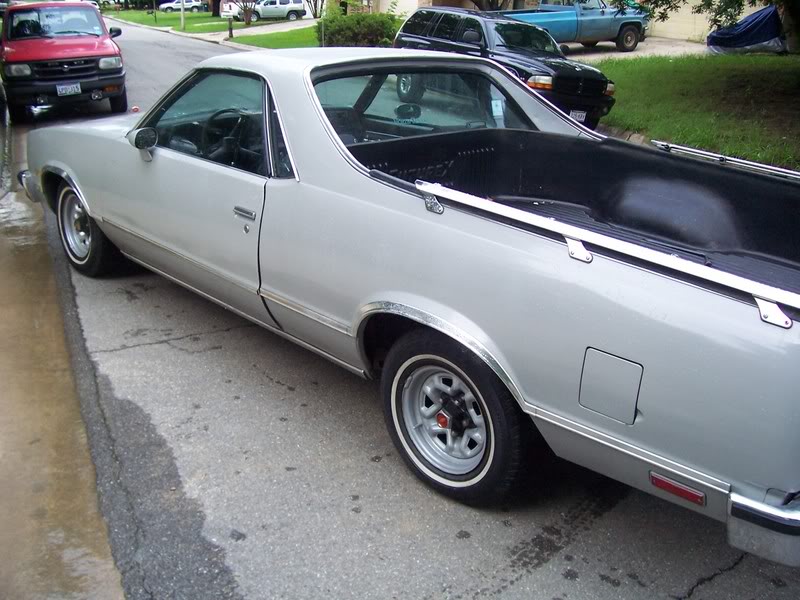
Money is tight (you'll all see why soon
 ) and I don't want to waste money on a set of new rims because honestly I'm indifferent to most rims. I spend this weekend scrubbing the rust off of the old rims, sanding them down, and repainting them with rust-preventing and weatherproof paint, and topped it all off with a special clear coat that's rust/dust/dirt/chip/water proof and meant just for wheels. Total cost: ~10hrs and $13
 Coming sometime this week I have a brand spankin' new 650CFM Holley carb, a brand spankin' new Edelbrock intake, along with chrome valve covers, timing chain cover, pullies, and depending on finances, MAYBE even a new camshaft. I've been saving up for awhile and it's all coming together!
Last edited by b3kbruiser; 07-01-2007 at 07:47 PM.
#23
07-31-2007
#25
08-21-2007
Well finally some progress...
My money has all been tied up in other areas, but finally I had some bank to spend...
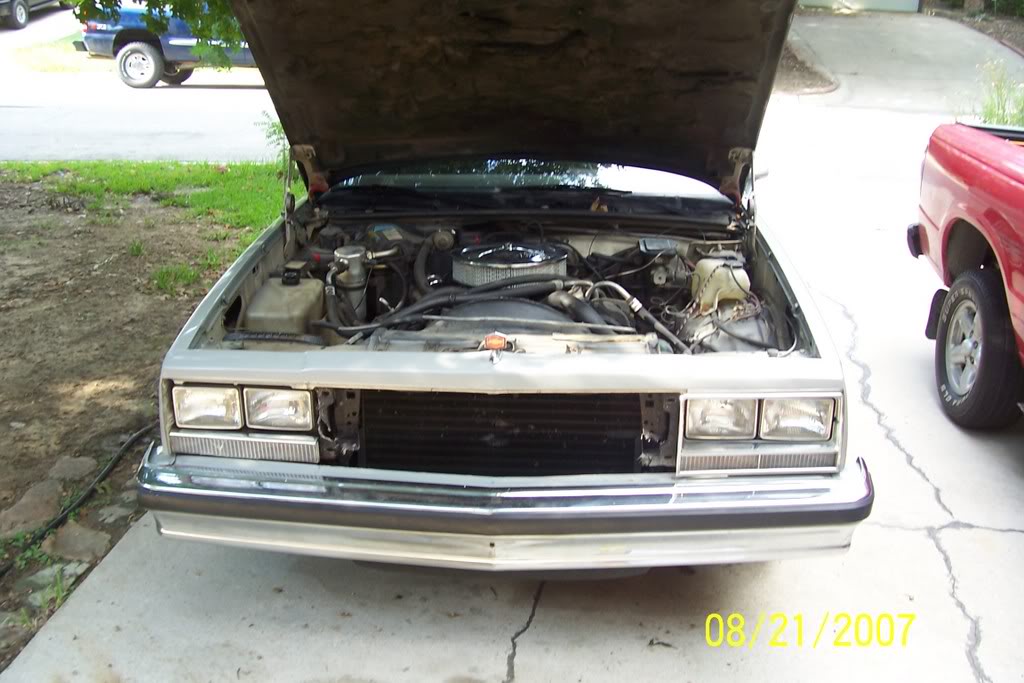
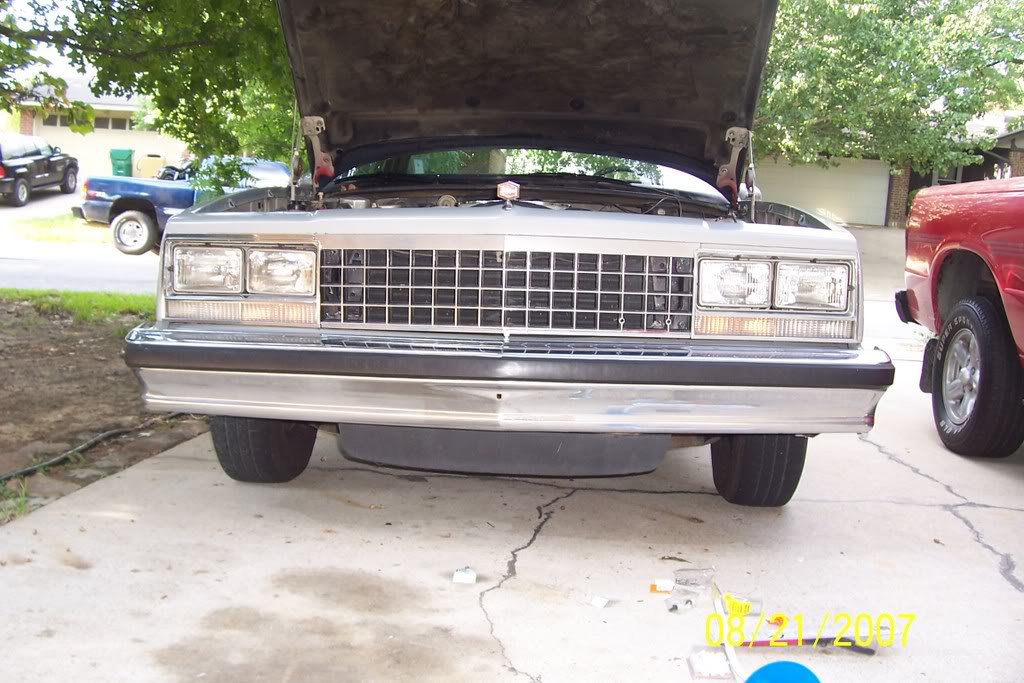
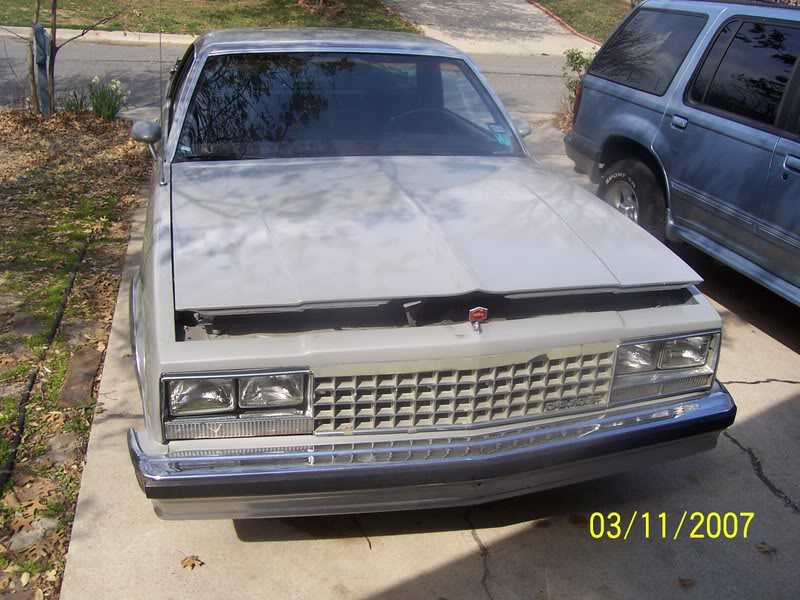
This is how the front end has been looking, it literally fell apart over the last 2
weeks... It's missing the grille, headlight bezel and everything is all out of line...
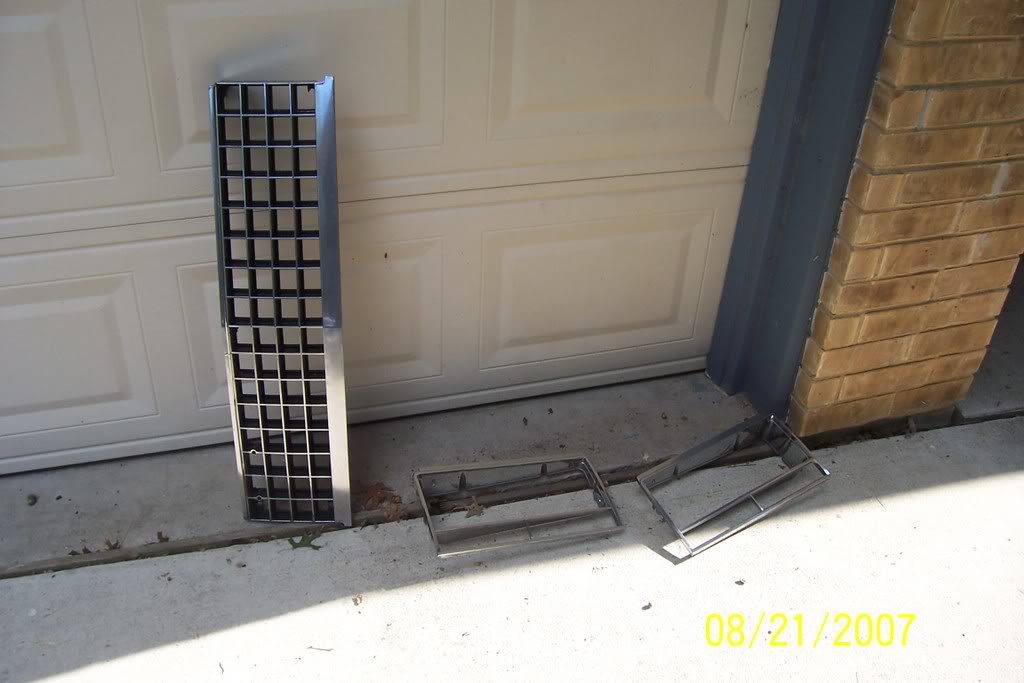
Yay... New parts... These where INCREDIBLY hard to find, for whatever reason...
Whoohoo it's mounted!
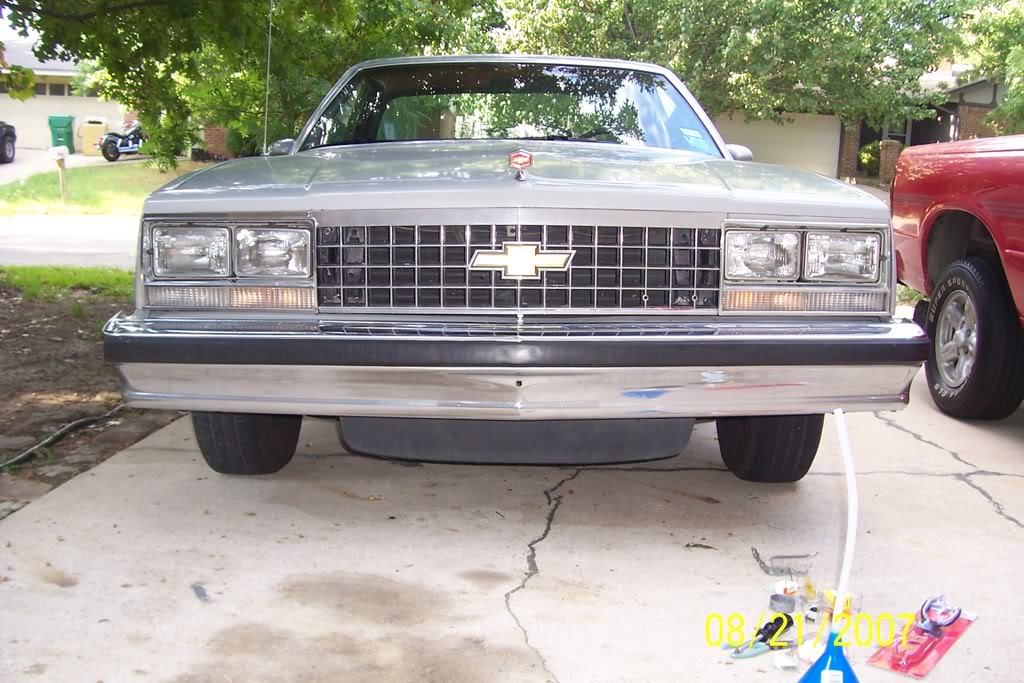
And to top it off!
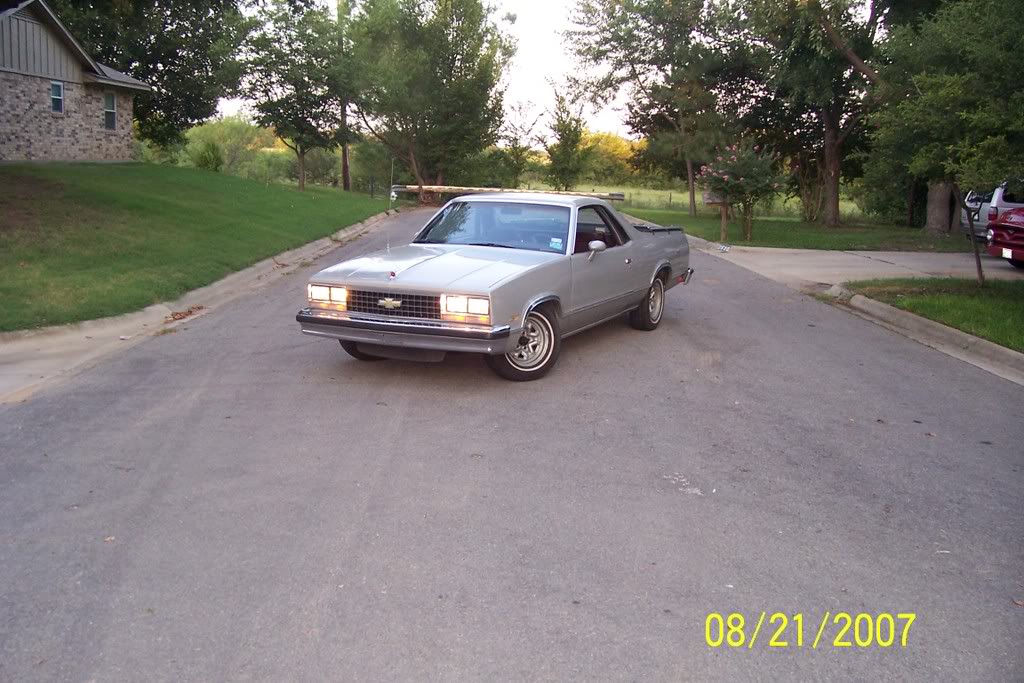
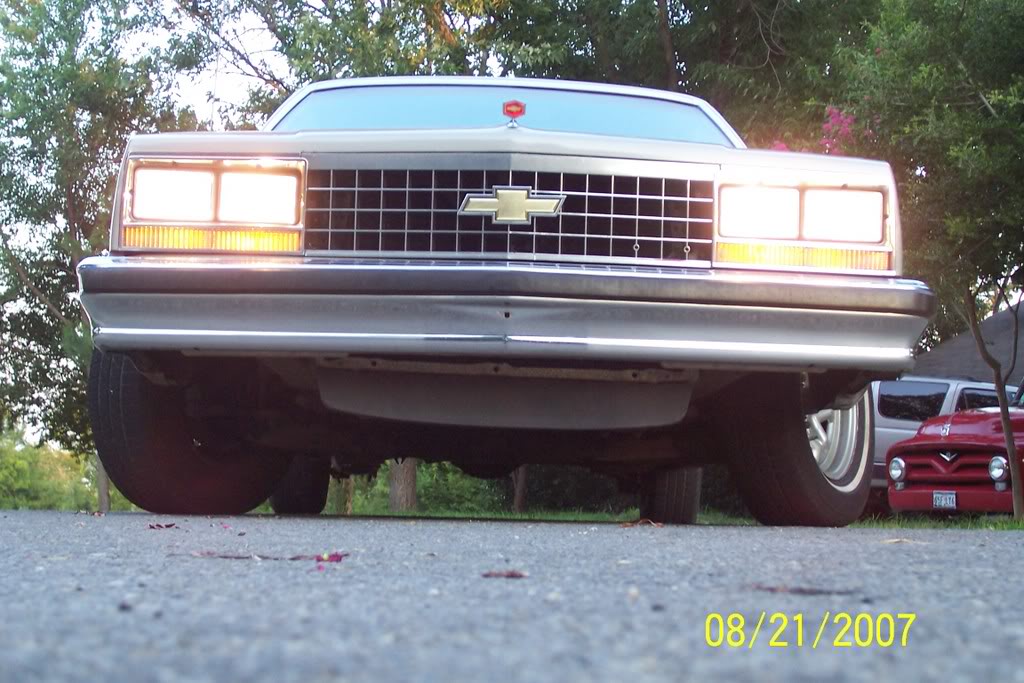
I think it looks pretty freaking sharp. Also, not pictured, the trim is mounted on the doors. The only thing I don't like is the two holes for the original emblem that just said "CHEVROLET" and looked tacky, I want to get an engine displacement decal that says "350" or "396" to go there, and yes, my long-term future plans do include a Big Block Chevy, I'm already shopping for bare blocks
My money has all been tied up in other areas, but finally I had some bank to spend...
This is how the front end has been looking, it literally fell apart over the last 2
weeks... It's missing the grille, headlight bezel and everything is all out of line...
Yay... New parts... These where INCREDIBLY hard to find, for whatever reason...
Whoohoo it's mounted!
And to top it off!
I think it looks pretty freaking sharp. Also, not pictured, the trim is mounted on the doors. The only thing I don't like is the two holes for the original emblem that just said "CHEVROLET" and looked tacky, I want to get an engine displacement decal that says "350" or "396" to go there, and yes, my long-term future plans do include a Big Block Chevy, I'm already shopping for bare blocks


