A before & after thread (lots of pics)
#1
 03-07-2010


Join Date: Jun 2006
Location: edenton,nc
Posts: 2,708
Likes: 0
Received 0 Likes
on
0 Posts
A before & after thread (lots of pics)
This year seams to be the year I worked on the old interior 
Many of you have seen bits and pieces over the last few months but I'm 99% done so a main thread is now due.So far the cost for material=277.00,gas=97.00 laber,with much help=a few nicks,scratches and a cool looking blood blister lol and 20.00 bucks for lunch
1st off all the old stuff from around November of 09.
the old 60/40 unit that was traded
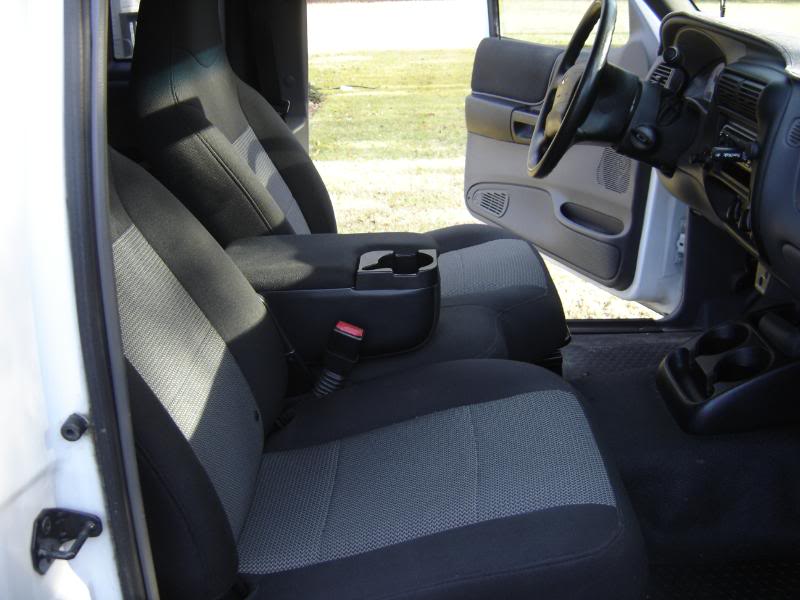
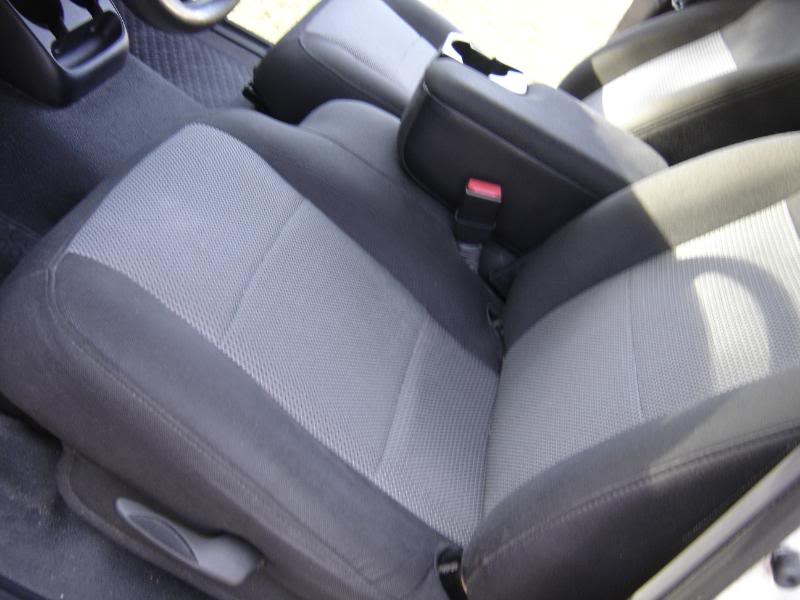
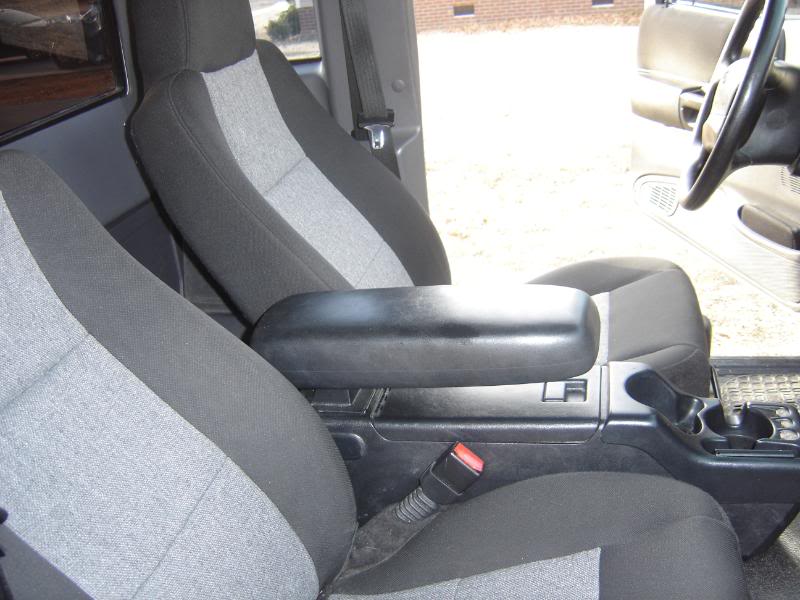
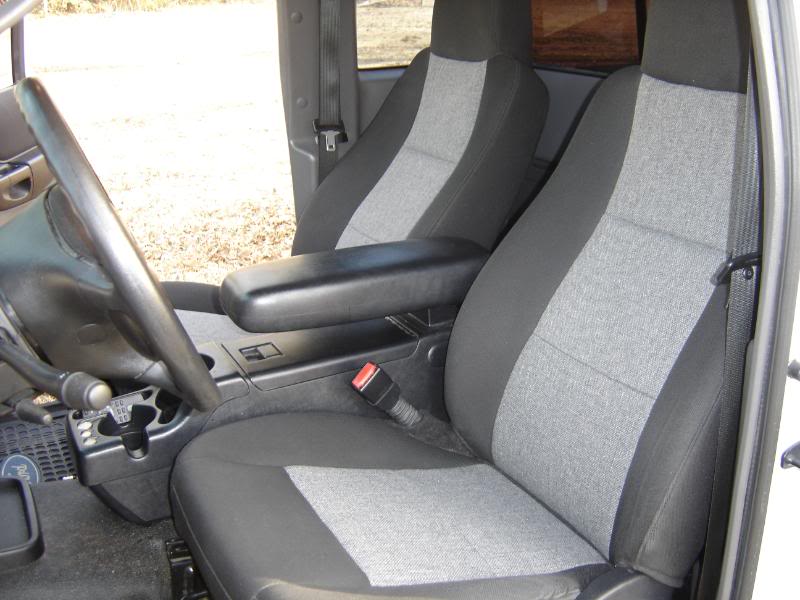
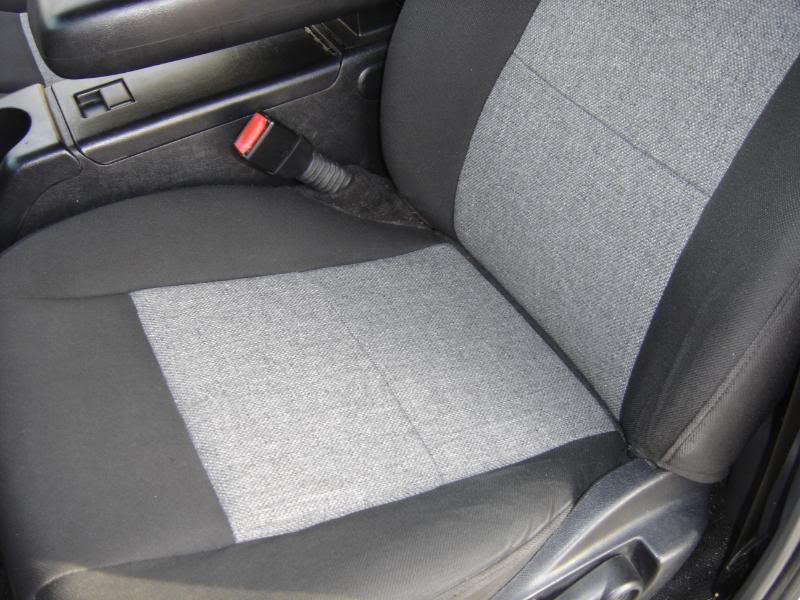
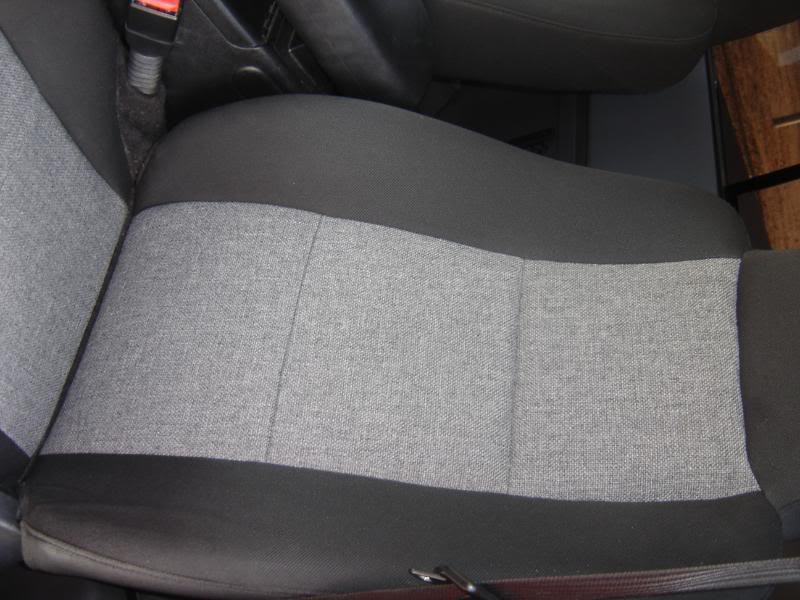
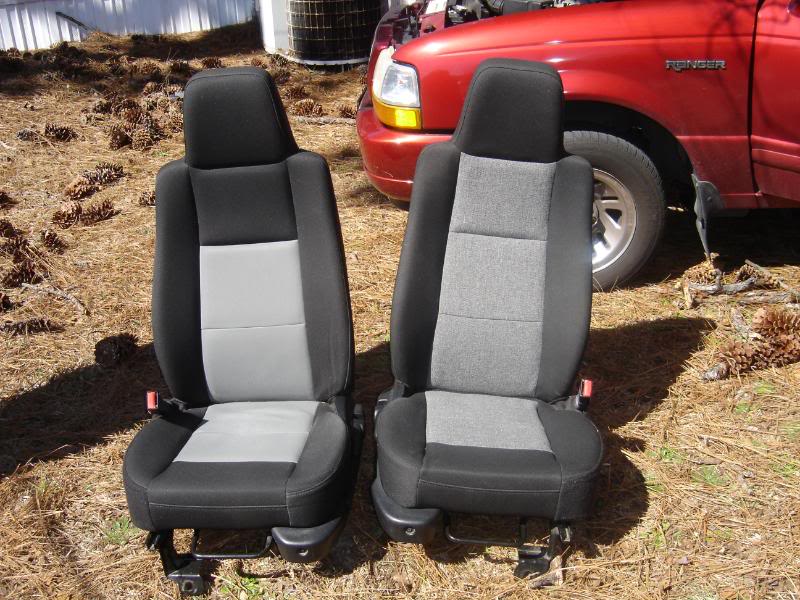
Then replaced to the buckets and center console units with light gray inserts
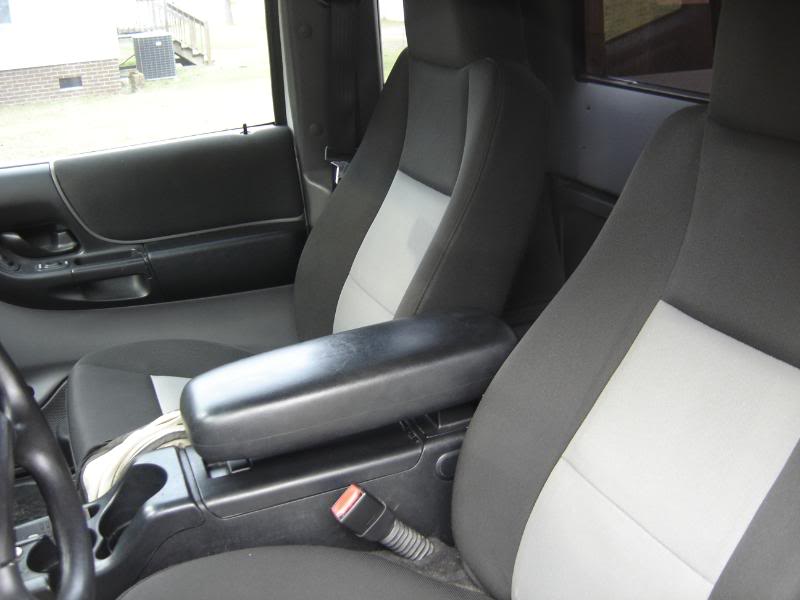
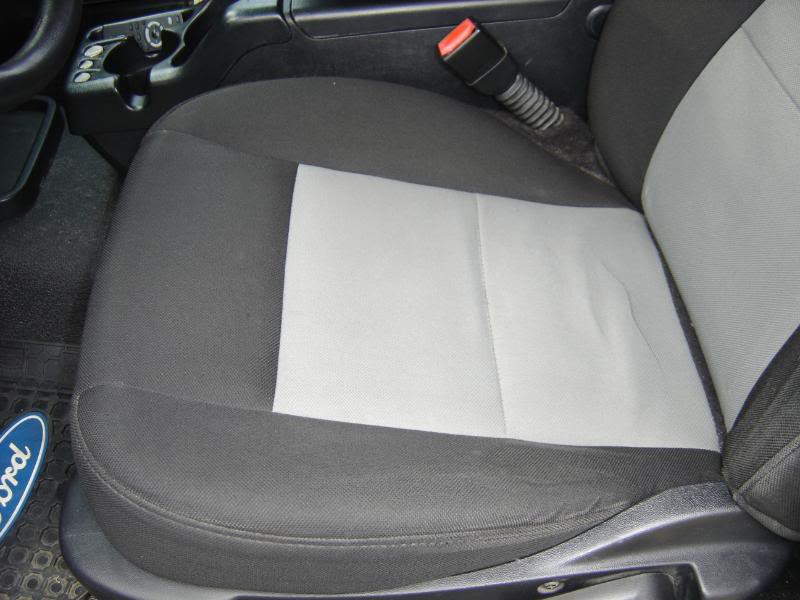
To the new inserts replaced and the dreaded bunching in the drivers seat fixed
A big thanks for Troy(AKA)drppdyllwrngr on doing them
Now a caparison side by side pics


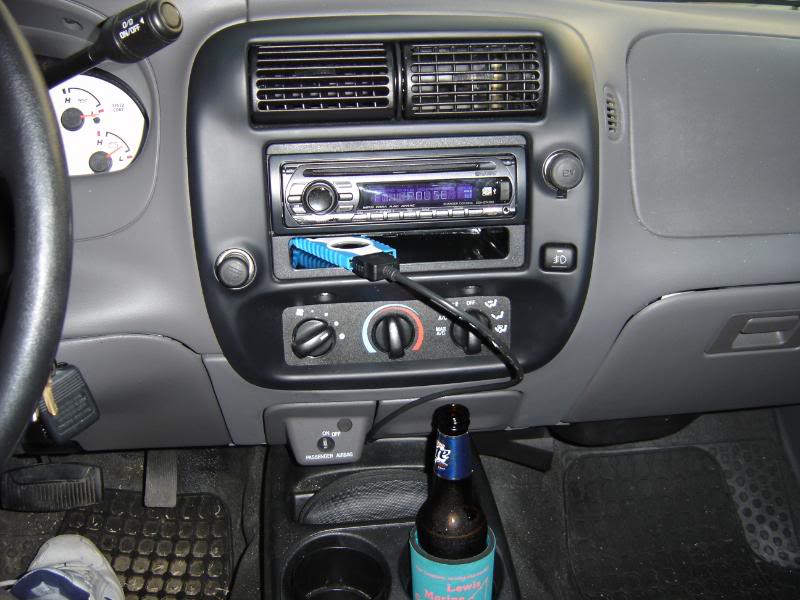
the old head unit,dont mind the drive way beer lol
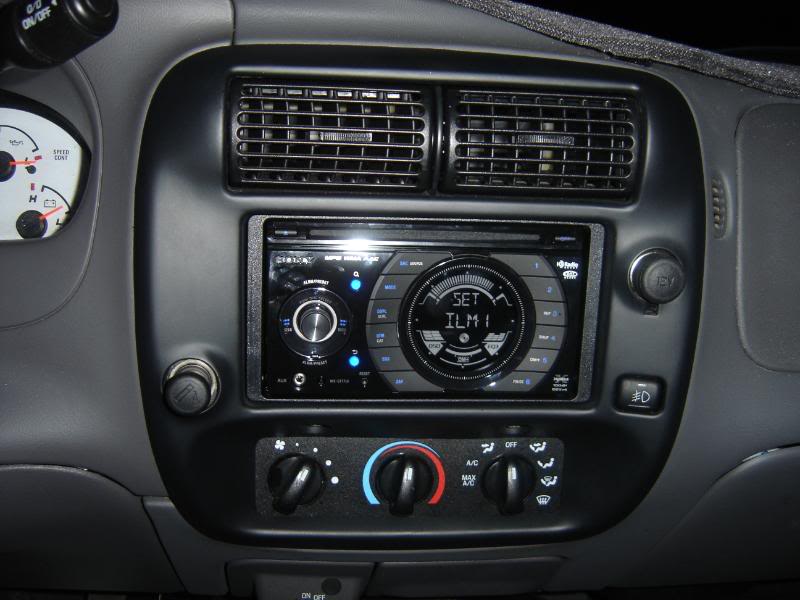
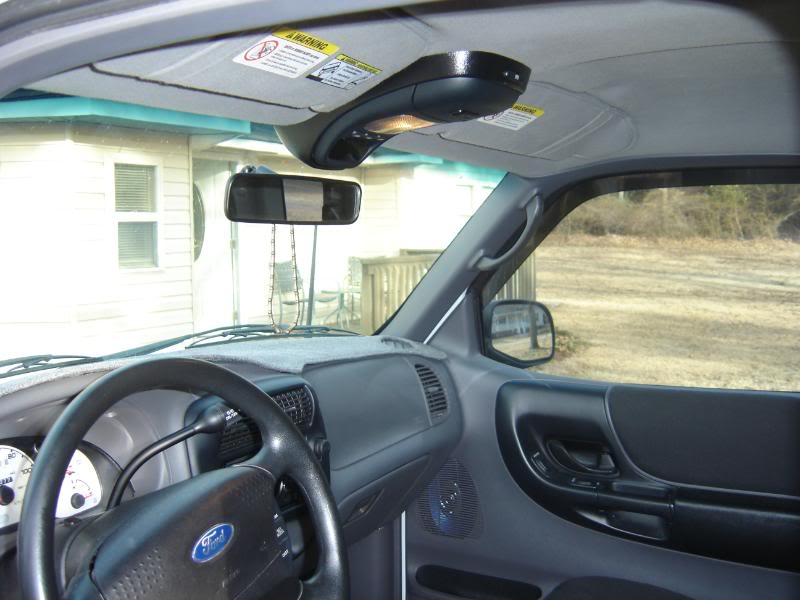
The new one eyed unit lol
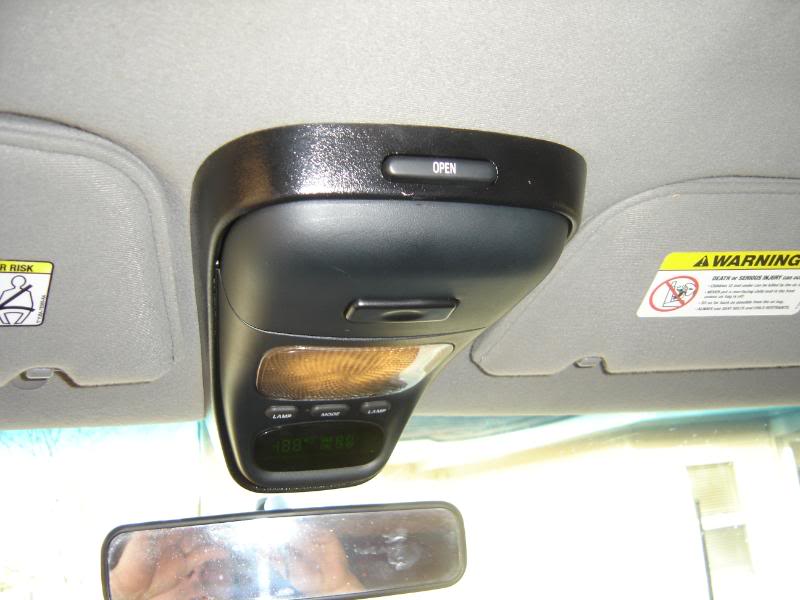
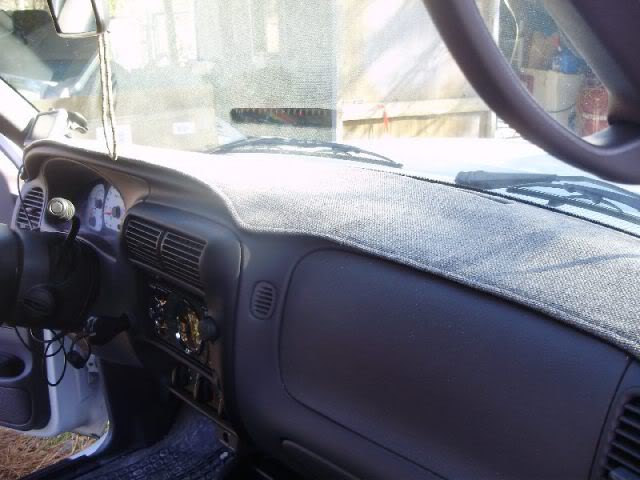
And i guess finally the OHC and recovered dash mat with the same material
as the new seat centers
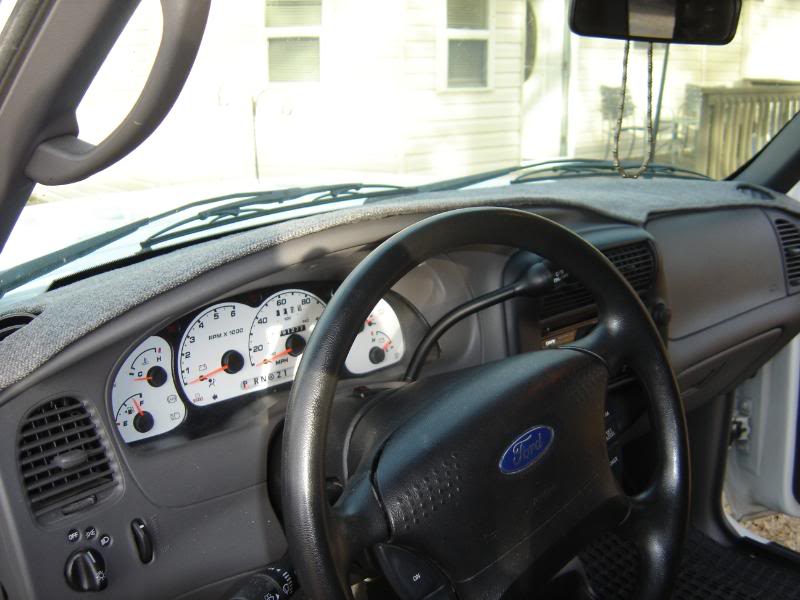
Not bad if I say so my self thought we ran out of time to recover the upper door panels now I'm out of idea's for any more improvement
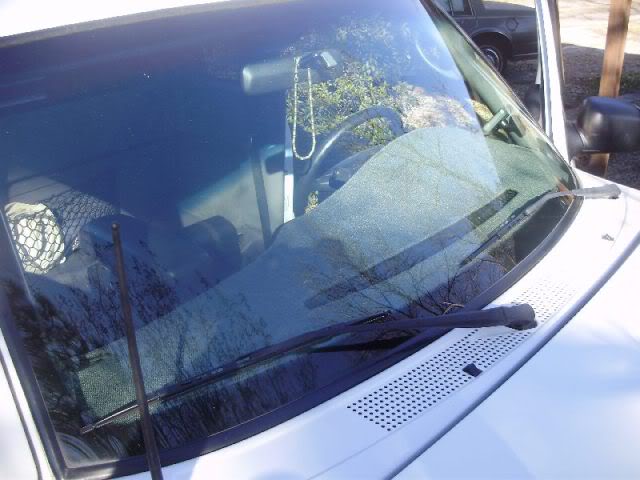
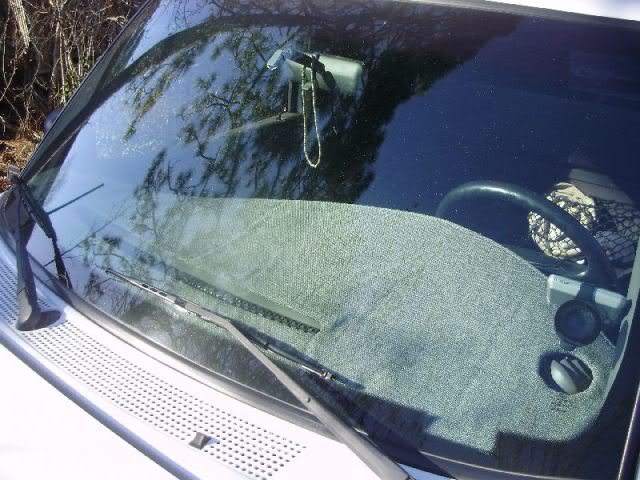
On thing for sure pictures never do the real justice lol
Many of you have seen bits and pieces over the last few months but I'm 99% done so a main thread is now due.So far the cost for material=277.00,gas=97.00 laber,with much help=a few nicks,scratches and a cool looking blood blister lol and 20.00 bucks for lunch
1st off all the old stuff from around November of 09.
the old 60/40 unit that was traded
Then replaced to the buckets and center console units with light gray inserts
To the new inserts replaced and the dreaded bunching in the drivers seat fixed
A big thanks for Troy(AKA)drppdyllwrngr on doing them
Now a caparison side by side pics
the old head unit,dont mind the drive way beer lol
The new one eyed unit lol
And i guess finally the OHC and recovered dash mat with the same material
as the new seat centers
Not bad if I say so my self thought we ran out of time to recover the upper door panels now I'm out of idea's for any more improvement
On thing for sure pictures never do the real justice lol


#5
03-07-2010
Join Date: Jun 2006
Location: edenton,nc
Posts: 2,708
Likes: 0
Received 0 Likes
on
0 Posts
Thanks
here is the thread i posted on the unit . I'm very happy with it and sounds great
https://www.ranger-forums.com/f41/my...myself-101690/
Wait when did you take those pics where was I lol
there all most gone now once the sun heated it up a bit but the glue is still making me lol
lol
here is the thread i posted on the unit . I'm very happy with it and sounds great
https://www.ranger-forums.com/f41/my...myself-101690/

there all most gone now once the sun heated it up a bit but the glue is still making me
lol

#10
03-08-2010
Join Date: Jun 2006
Location: edenton,nc
Posts: 2,708
Likes: 0
Received 0 Likes
on
0 Posts
thanks and worth the wait to get it done as well as it did turn out
that's all ways ends up being the way it works lol. Im just happy ill be able to expand a 2nd amp to this unit that i was not on the old one.
Thanks but in all the pictures do it no real justice as it does in person
Thanks but in all the pictures do it no real justice as it does in person
#11
03-08-2010
Join Date: May 2007
Location: Illinois
Posts: 757
Likes: 0
Received 0 Likes
on
0 Posts
#12
03-09-2010
Join Date: Jun 2006
Location: edenton,nc
Posts: 2,708
Likes: 0
Received 0 Likes
on
0 Posts

Thread
Thread Starter
Forum
Replies
Last Post


