1"BL install on 2002 ranger 4-door (photos)
#1
 08-08-2010


Join Date: May 2010
Location: Petoskey, MI
Posts: 203
Likes: 0
Received 0 Likes
on
0 Posts
1"BL install on 2002 ranger 4-door (photos)
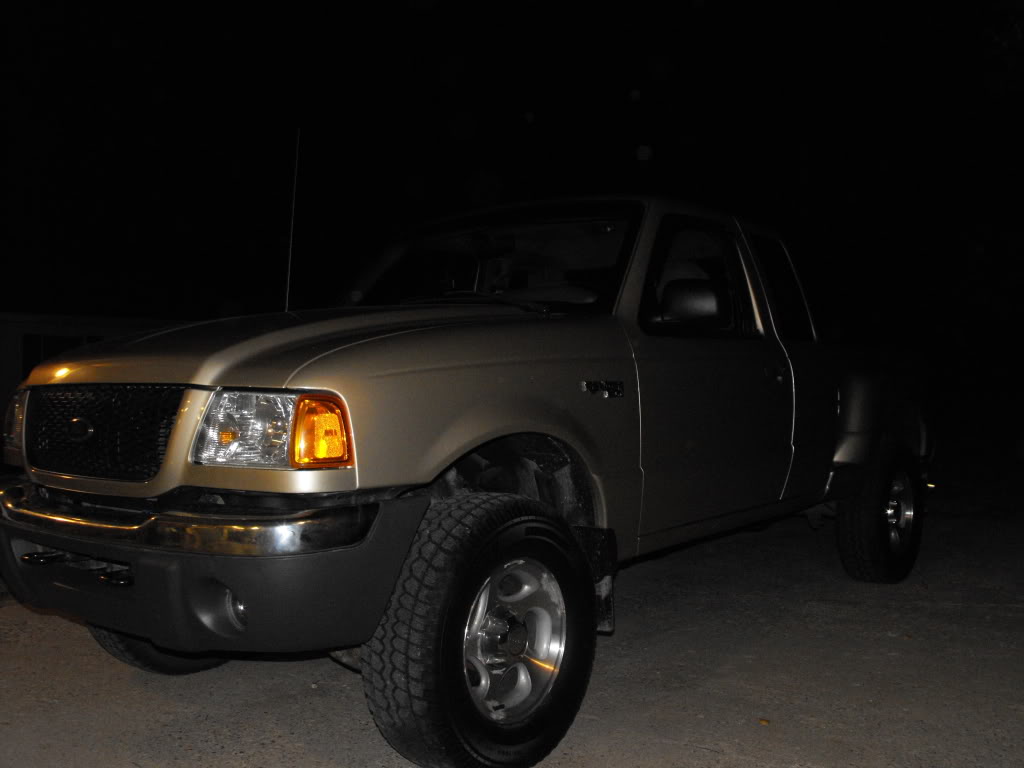
So, old news to most, but a new process for me, we got my 1" bl installed last night! As promised, here is the process in photos for anyone looking into the 1" lift and wanted a glimpse into what they would be getting themselves into.
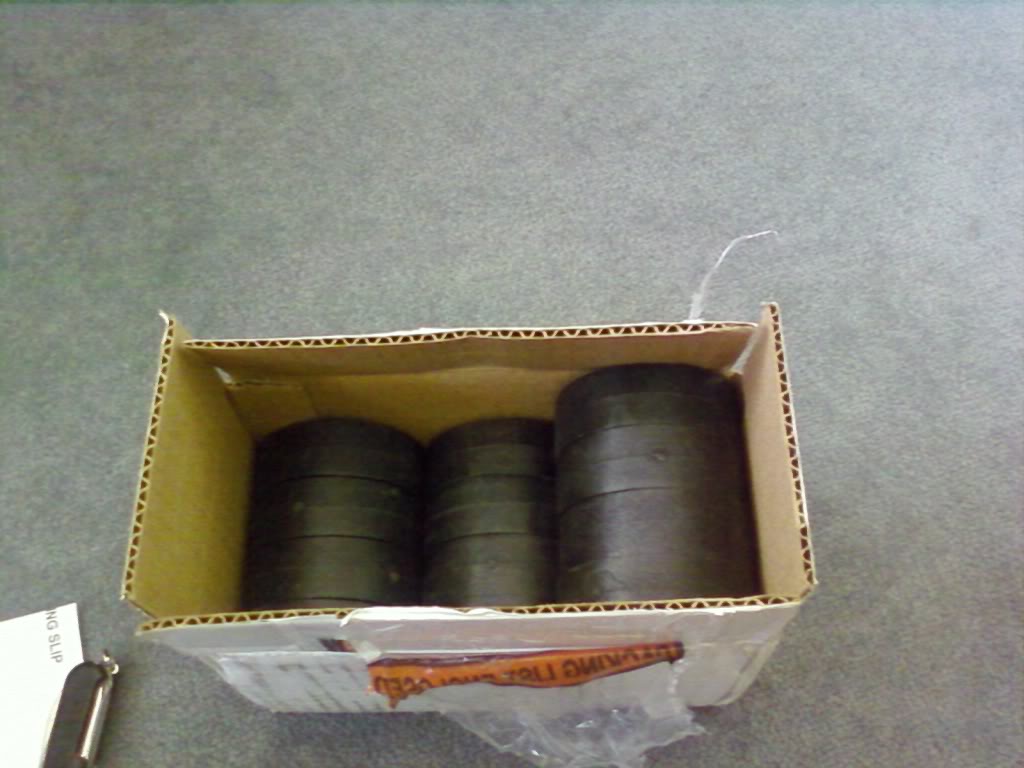
As a reminder : (What you need)
Qty 12 Performance Accessories 1" lift blocks (Big Block 1"X3")
Qty 2 M12-1.75X150MM 10.9 Bolts (Front of bed)
Qty 6 M12-1.75X130MM 10.9 Bolts (4 for bed, 2 for core support)
Qty 2 M12-1.75X110MM 10.9 Bolts (Rear cab)
Qty 2 Nylok Nuts for Core Support
Qty18 1/2" Grade 8 Washers
Qty 8 5/8" Grade 8 Washers
*Qty 2 Re-use Your stock Rear cab bolts for the Foot-wells*
Qty 1-2 PB blaster (use a few days ahead of time, a couple weeks ahead for salt belt)
Refer to the 1” body lift supplies sticky for a good list of steps, this is short-hand of how we did it.
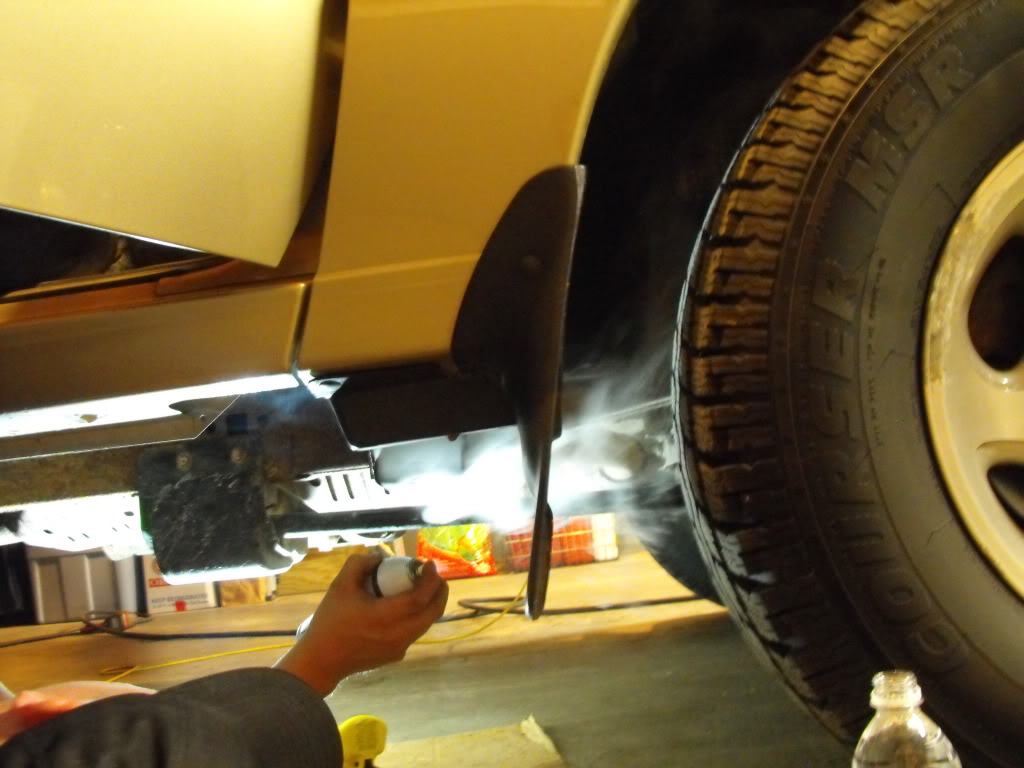
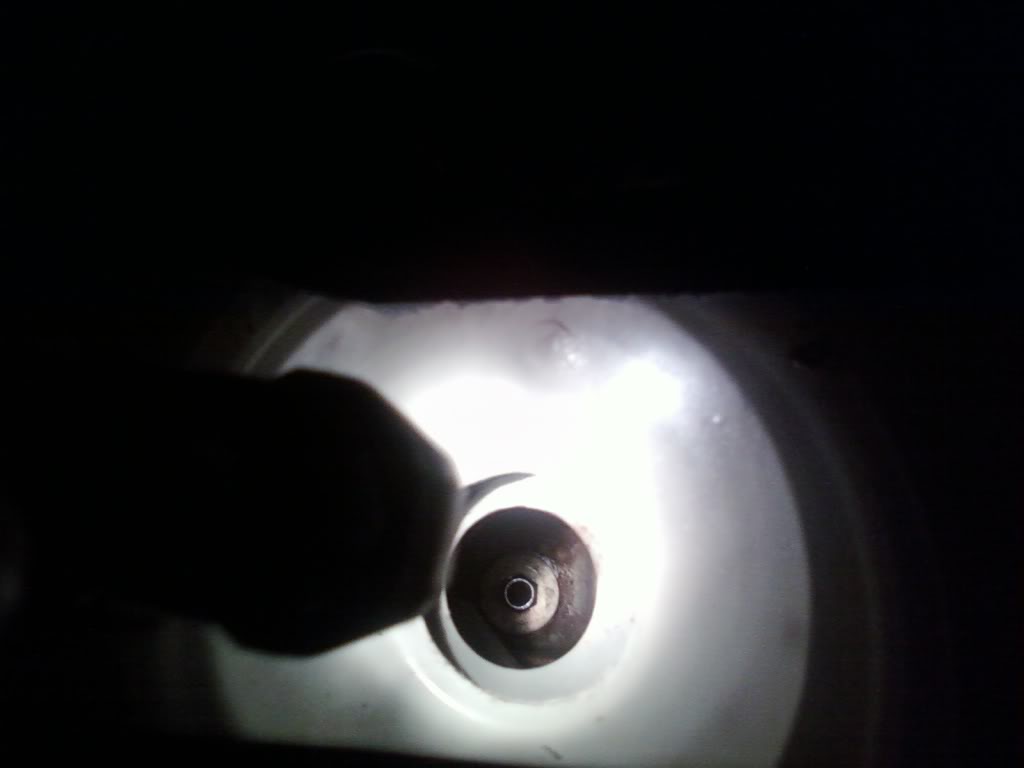
Here are some shots of the spray points for the core support, and cab mounts, pretty self explanatory. Make sure to also get your 6 bed mounts, I don’t have them pictured.
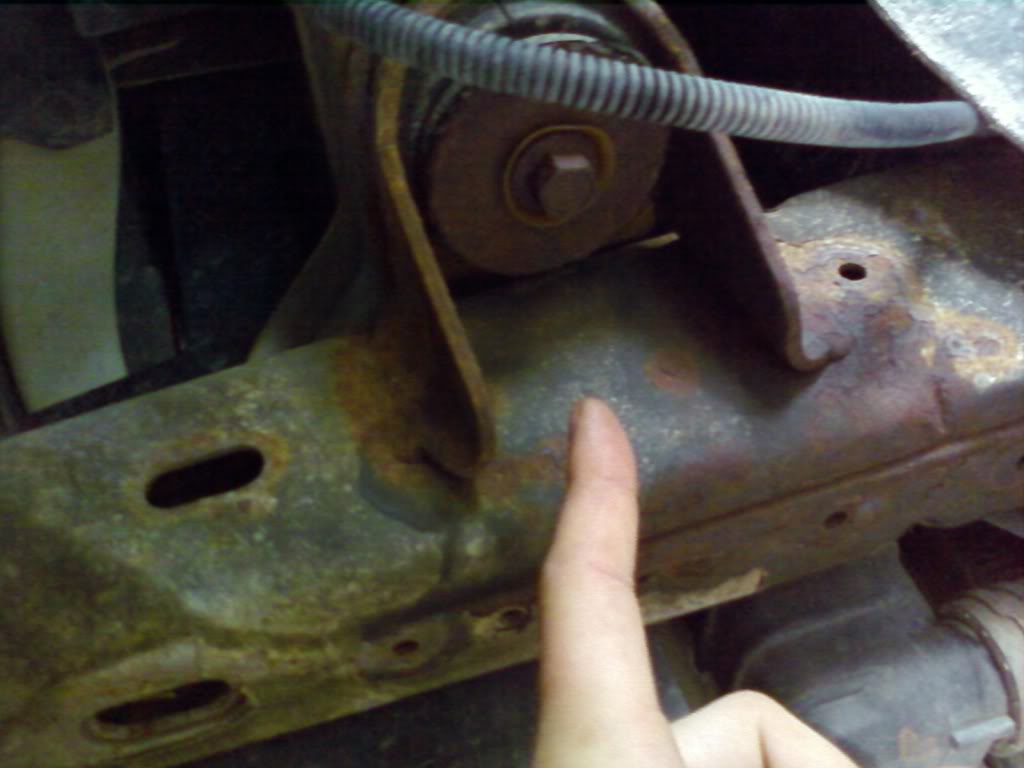
Core
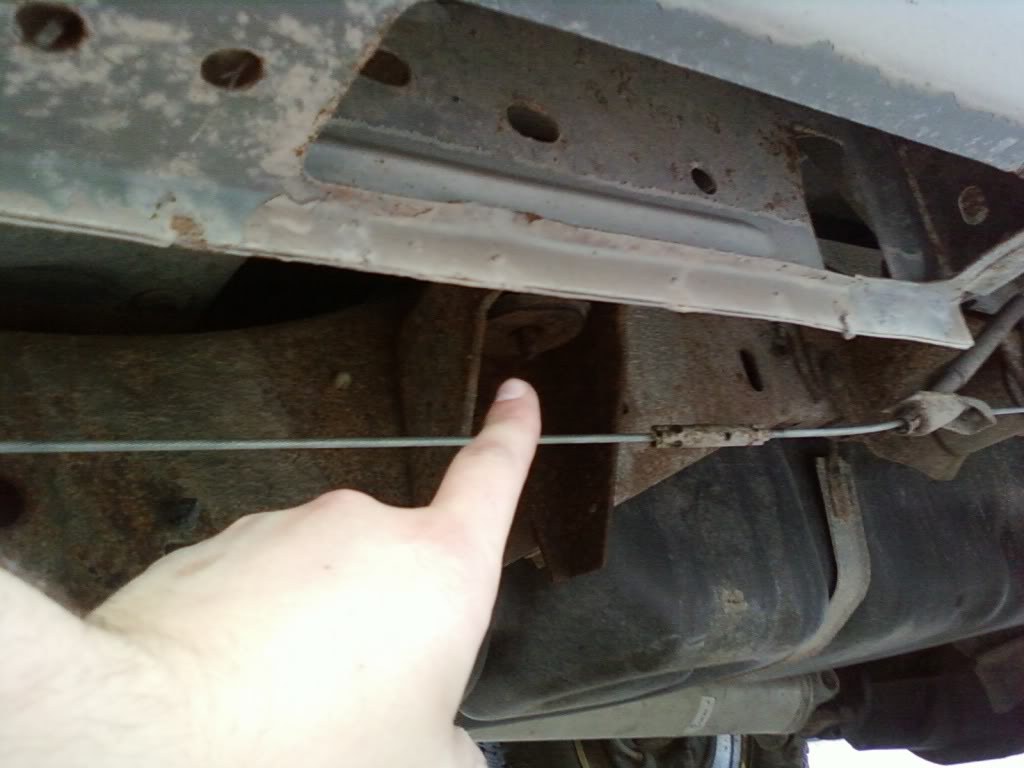
Rear Cab

Front Cab
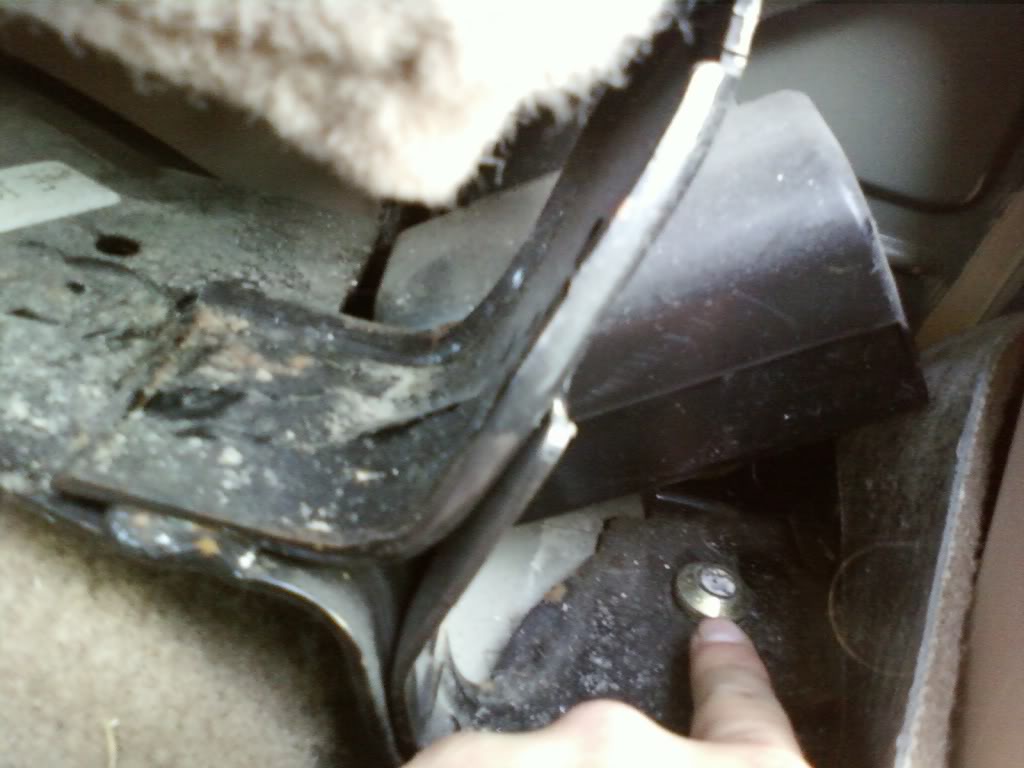
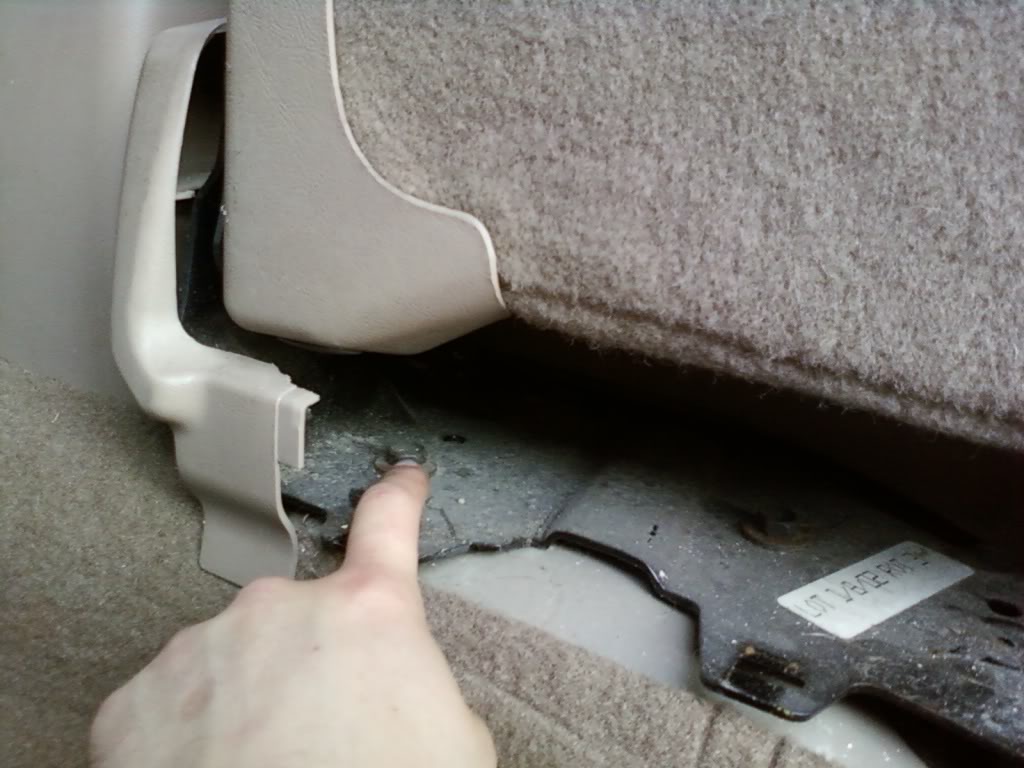
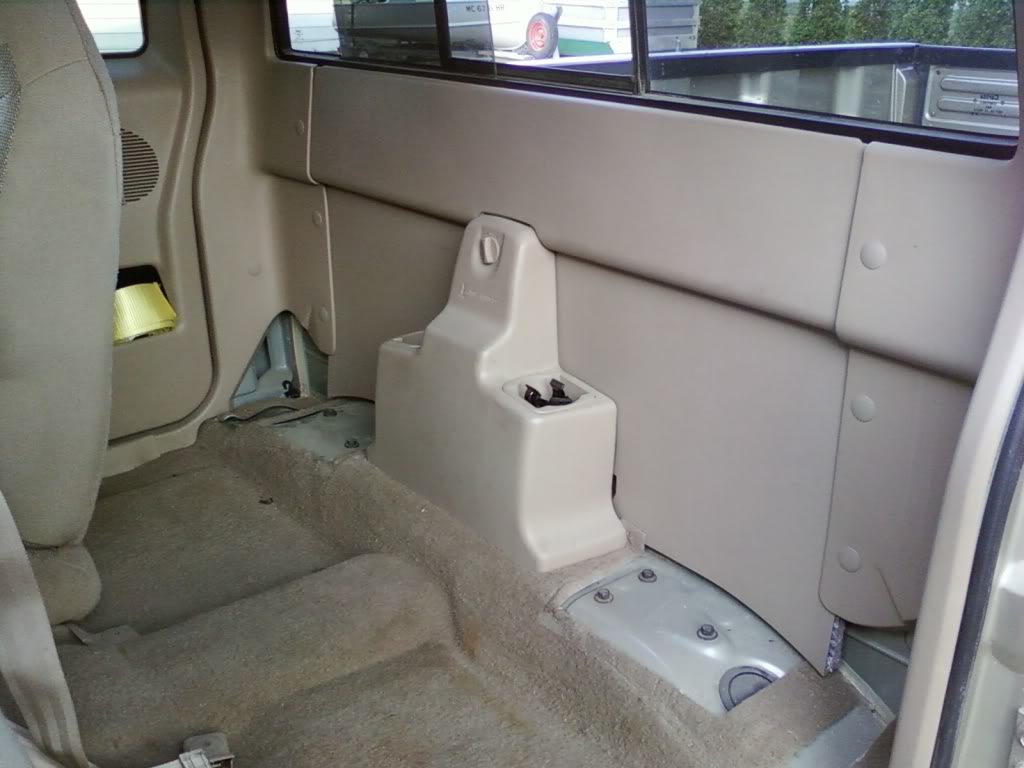
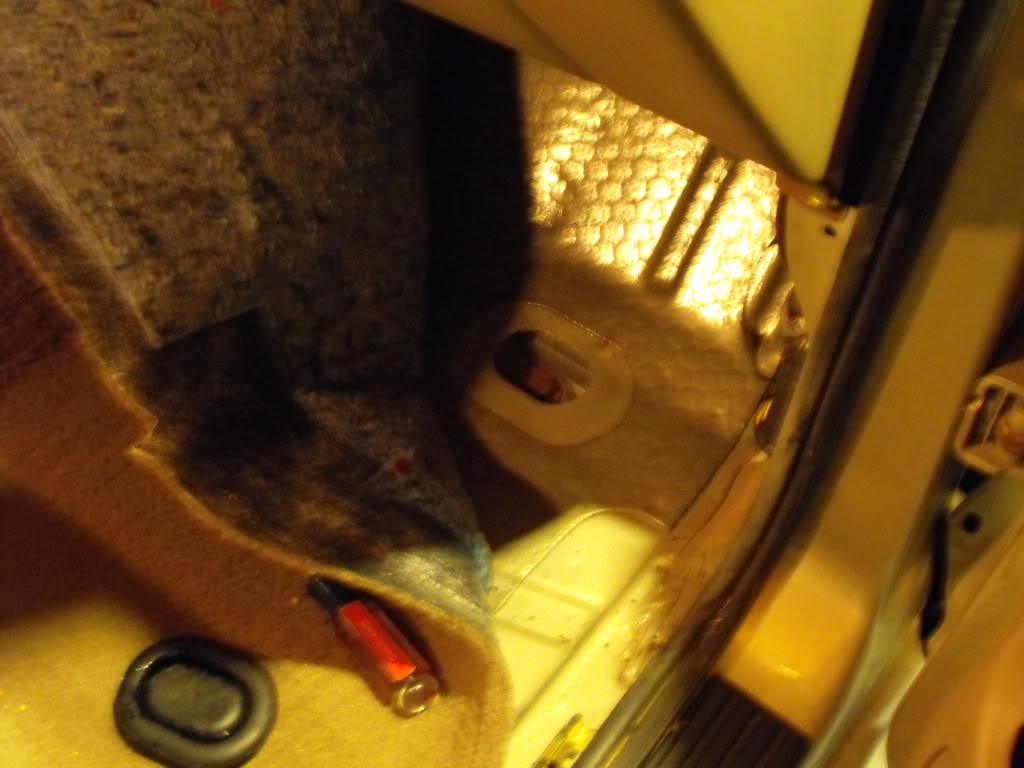
Make sure to get your Jump seats out ahead of time, its 4-13mm bolts and 2-T45 torx bolts to get them out. Also get your kick panels out so you can roll back your carpet for access to the footwell bolts.
We started with the bed of my Ranger first, it is 6 T55 torx bolts to free it. Do one side at a time, and have the guy planting the lift blocks pay attention to clearances under the bed. My stepside bed was extremely light, we just had one guy pick up the bed while the other planted the blocks. Then we got the bolts and washers lined up with the blocks and got the torque to 55 lb-ft on the bolts after both sides were on the lift blocks and ready to go.

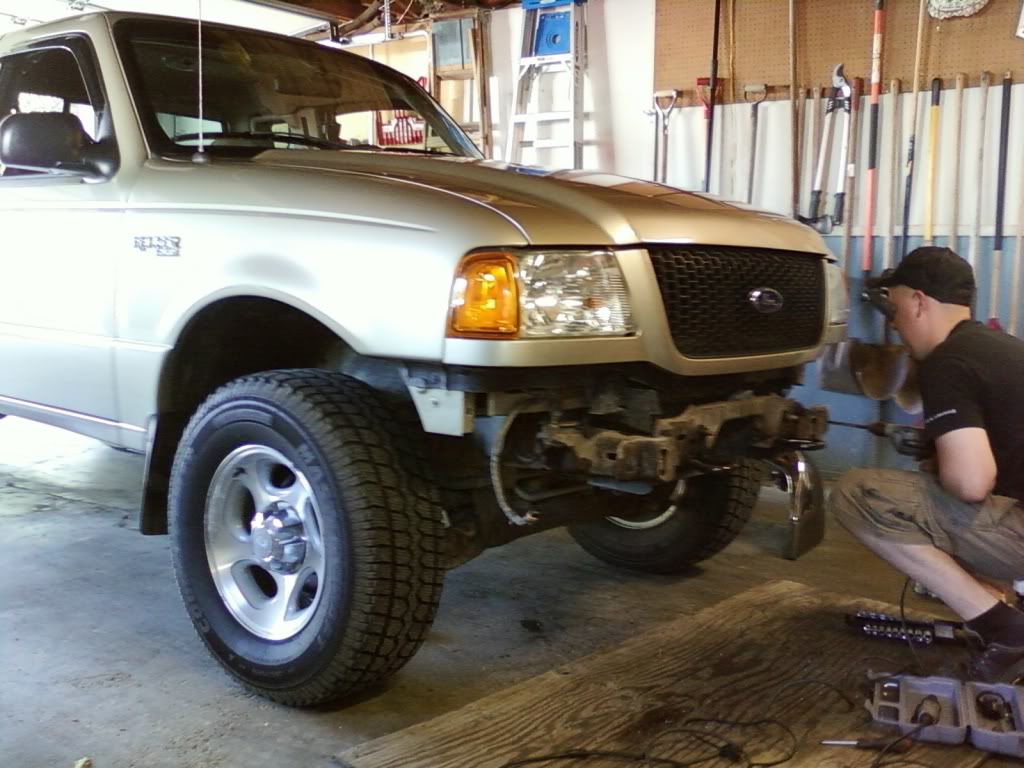
Cab/Body height
Next up was the cab. We took our time and got out the bolts one side at a time like the bed, loosening but not removing the opposite side. For the cab, we used a floor jack and a block of wood. Take extra care with the engine compartment; watch your brake lines and other trouble spots. This is not nearly as concerning or time consuming as a 3” body lift, but take your time anyhow. For the cab, the core support gave us the most trouble and possibly the most trouble of anything on the truck. Make sure you get the nut well coated with PB blaster; I had a severe brain fart and got the bulk of my coats on the head of this bolt (underside) so it was a total pain. Make sure to thread lock your bolts for the re-install. Before you do a final torque down, make sure all of your body lines are looking good, crooked trucks are not cool. It’s a good idea to take some measurements before you break everything loose so you can go back to those measurements once your blocks are under your truck. After this you can torque em down to 55 lb-ft as well. Overall the process took us 3 hours, about dead on what everyone else in the 1” supplies sticky were ball parking. And this was with a few laptop video intermissions, and a handful of beverage breaks.

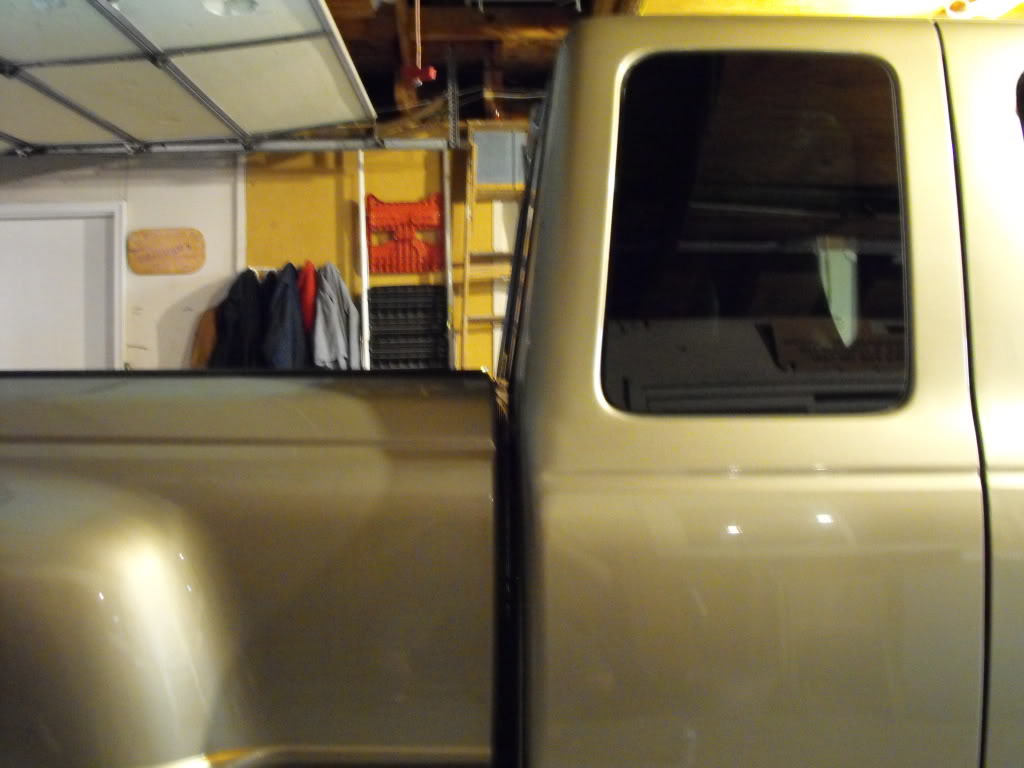
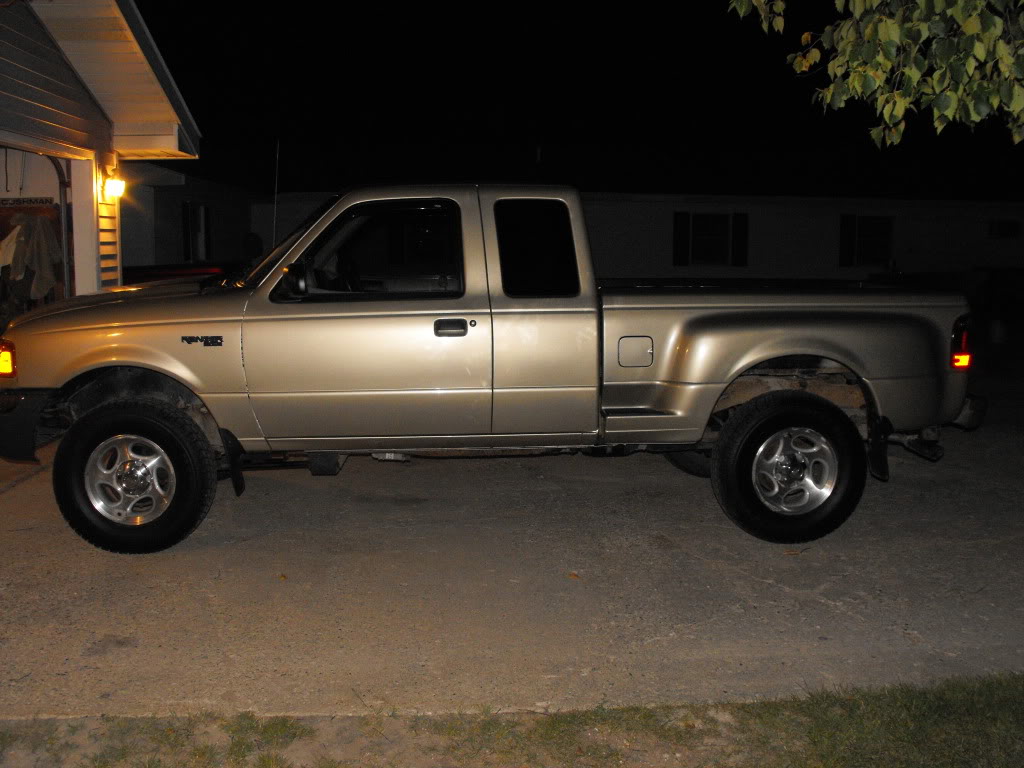
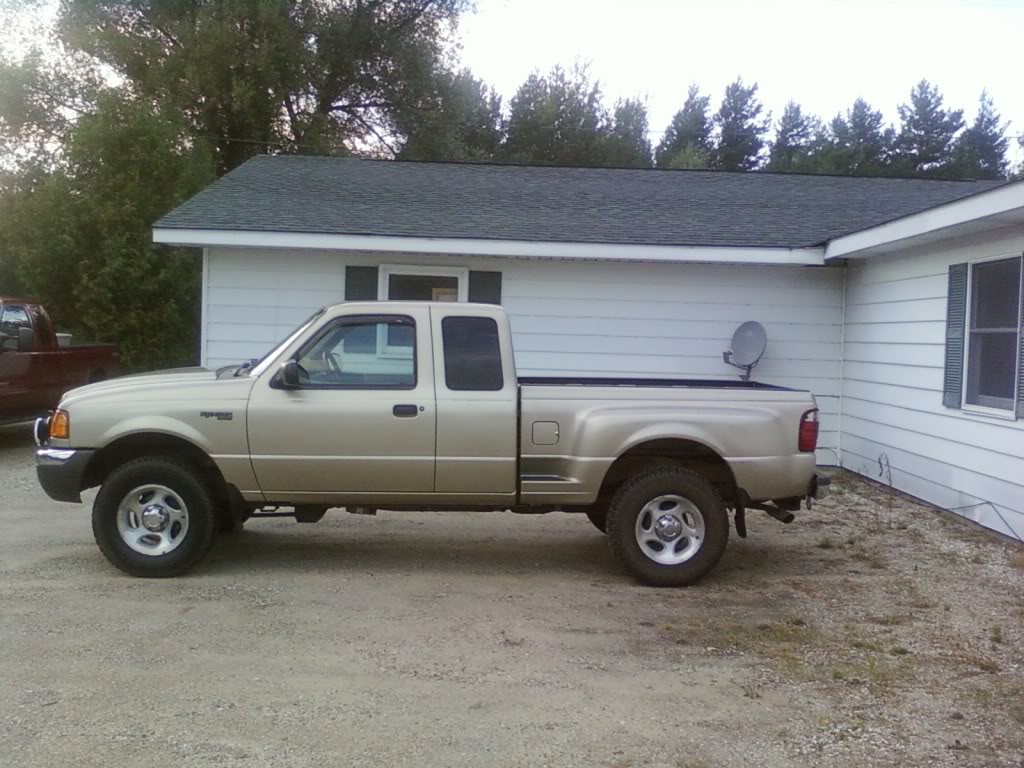
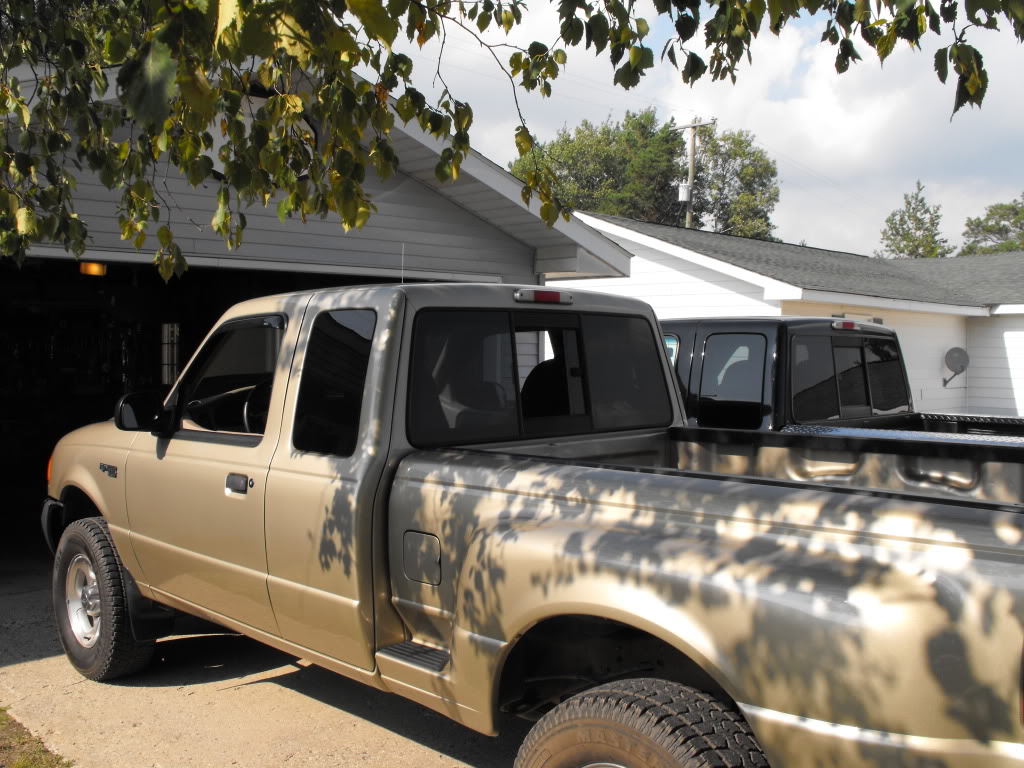
Here are some photos after the lift-before the bumper lift.
After finishing the lift, the lower bumper was driving me crazy, so I went right for the Bumper mod right off the get go. We short-handed this process by using a dermal to bridge the gap between the �” hole drilled instead of reaming the hole out with the drill. The process went pretty quick, about 30-45 minutes and the bumper was back on and we were doing final adjustments. I am much happier after getting the front bumper back in the air a bit; the rear doesn’t bother me as much.

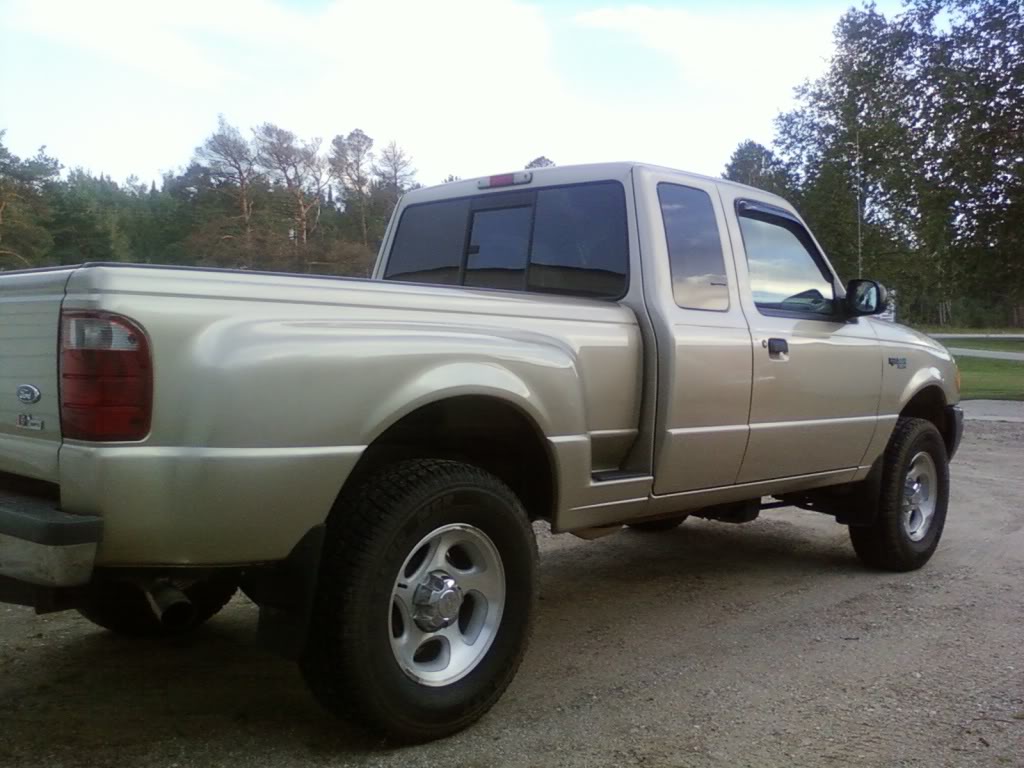
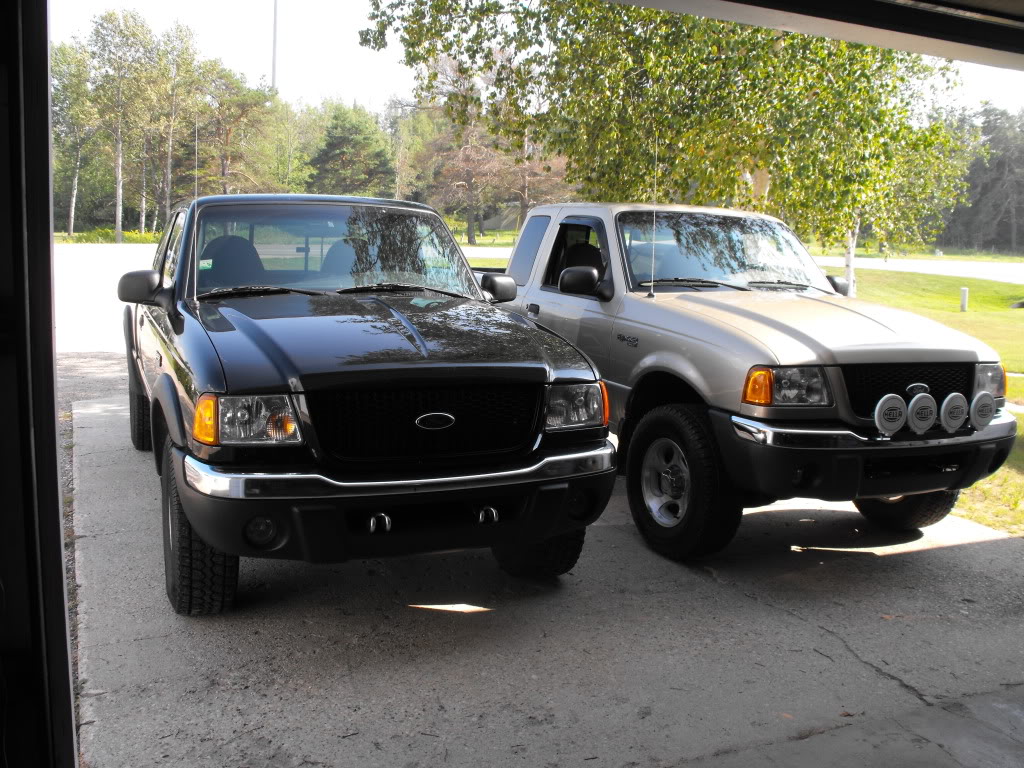
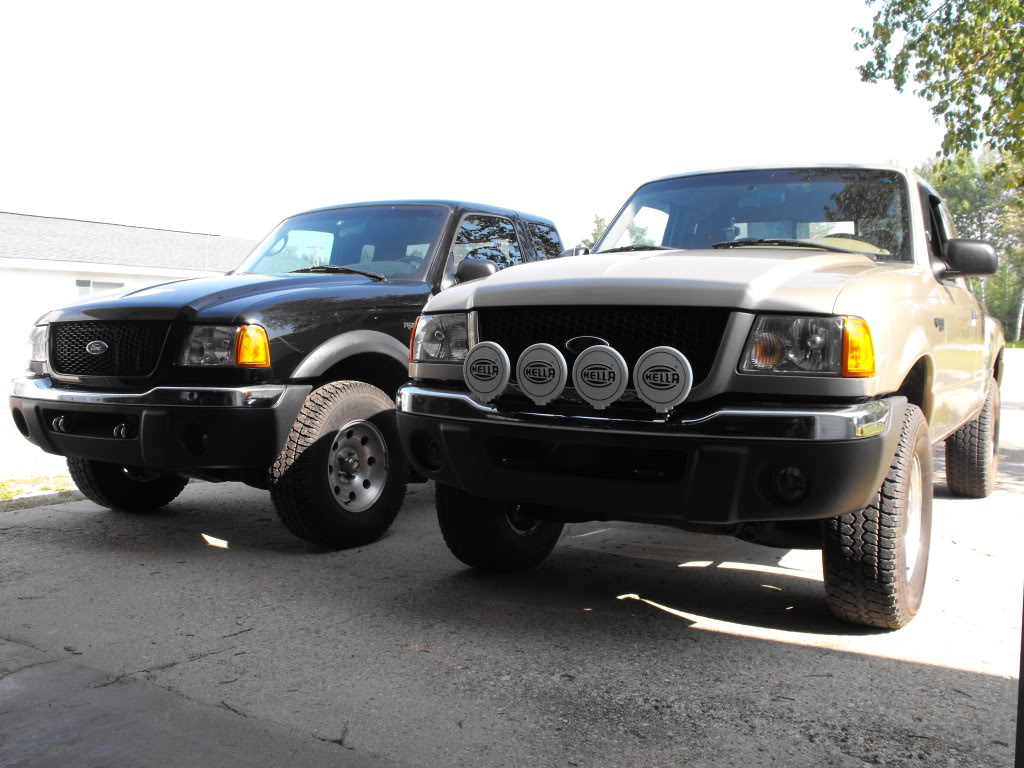
And here is the final product:

As a reminder : (What you need)
Qty 12 Performance Accessories 1" lift blocks (Big Block 1"X3")
Qty 2 M12-1.75X150MM 10.9 Bolts (Front of bed)
Qty 6 M12-1.75X130MM 10.9 Bolts (4 for bed, 2 for core support)
Qty 2 M12-1.75X110MM 10.9 Bolts (Rear cab)
Qty 2 Nylok Nuts for Core Support
Qty18 1/2" Grade 8 Washers
Qty 8 5/8" Grade 8 Washers
*Qty 2 Re-use Your stock Rear cab bolts for the Foot-wells*
Qty 1-2 PB blaster (use a few days ahead of time, a couple weeks ahead for salt belt)
Refer to the 1” body lift supplies sticky for a good list of steps, this is short-hand of how we did it.
Here are some shots of the spray points for the core support, and cab mounts, pretty self explanatory. Make sure to also get your 6 bed mounts, I don’t have them pictured.
Core
Rear Cab
Front Cab
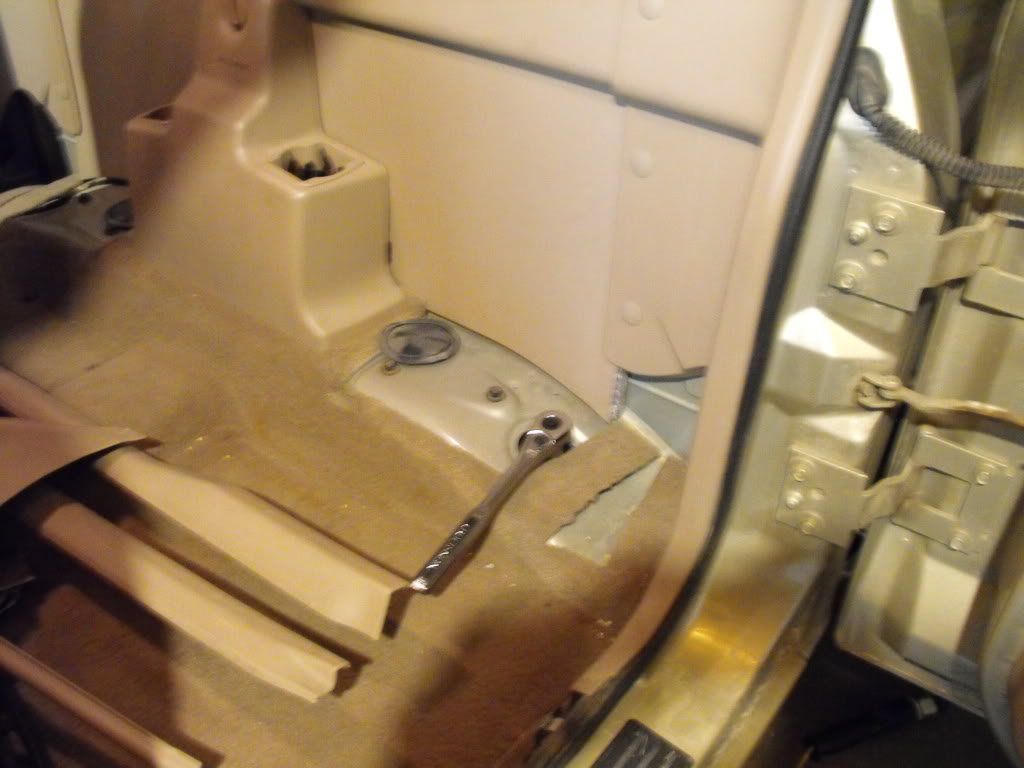
Make sure to get your Jump seats out ahead of time, its 4-13mm bolts and 2-T45 torx bolts to get them out. Also get your kick panels out so you can roll back your carpet for access to the footwell bolts.
We started with the bed of my Ranger first, it is 6 T55 torx bolts to free it. Do one side at a time, and have the guy planting the lift blocks pay attention to clearances under the bed. My stepside bed was extremely light, we just had one guy pick up the bed while the other planted the blocks. Then we got the bolts and washers lined up with the blocks and got the torque to 55 lb-ft on the bolts after both sides were on the lift blocks and ready to go.
Cab/Body height
Next up was the cab. We took our time and got out the bolts one side at a time like the bed, loosening but not removing the opposite side. For the cab, we used a floor jack and a block of wood. Take extra care with the engine compartment; watch your brake lines and other trouble spots. This is not nearly as concerning or time consuming as a 3” body lift, but take your time anyhow. For the cab, the core support gave us the most trouble and possibly the most trouble of anything on the truck. Make sure you get the nut well coated with PB blaster; I had a severe brain fart and got the bulk of my coats on the head of this bolt (underside) so it was a total pain. Make sure to thread lock your bolts for the re-install. Before you do a final torque down, make sure all of your body lines are looking good, crooked trucks are not cool. It’s a good idea to take some measurements before you break everything loose so you can go back to those measurements once your blocks are under your truck. After this you can torque em down to 55 lb-ft as well. Overall the process took us 3 hours, about dead on what everyone else in the 1” supplies sticky were ball parking. And this was with a few laptop video intermissions, and a handful of beverage breaks.
Here are some photos after the lift-before the bumper lift.
After finishing the lift, the lower bumper was driving me crazy, so I went right for the Bumper mod right off the get go. We short-handed this process by using a dermal to bridge the gap between the �” hole drilled instead of reaming the hole out with the drill. The process went pretty quick, about 30-45 minutes and the bumper was back on and we were doing final adjustments. I am much happier after getting the front bumper back in the air a bit; the rear doesn’t bother me as much.
And here is the final product:
Last edited by eernger; 08-08-2010 at 09:44 PM.


#4
08-08-2010
Join Date: May 2010
Location: Petoskey, MI
Posts: 203
Likes: 0
Received 0 Likes
on
0 Posts
#5
08-08-2010
#6
08-08-2010
Join Date: May 2010
Location: Petoskey, MI
Posts: 203
Likes: 0
Received 0 Likes
on
0 Posts
#8
08-09-2010

I had the 1" on mine with 32's and it was pushing it. It all depends on the wheels. If you sticking with stock you could run a 285/75 comfortably. It wont take long before you decide to switch to a 3". It makes a BIG difference.
#9
08-09-2010
im runnin 33's with no lift or t bars, the valance will need maybe half and inch taken out were it meets the fender down to the bottom, but you can cut it can no on is the wiser. also you dont have flares so ur good there, u may rub at full lock with some compression on the suspension but its only the innner fender, it wont be bad. as for the rear, once again no flares... so you should be alright. im runnin 8 wides and bearly can get the tires to toutch the rear wells and im pushing it pretty damb hard. food for though.
good documentaion of your job too
good documentaion of your job too
#10
08-09-2010


#11
08-09-2010

#12
08-09-2010
Join Date: May 2010
Location: Petoskey, MI
Posts: 203
Likes: 0
Received 0 Likes
on
0 Posts
#13
08-09-2010
Join Date: May 2010
Location: Petoskey, MI
Posts: 203
Likes: 0
Received 0 Likes
on
0 Posts
That is a nice shot man! i might have to just go for it and tbar-shackle it for now, and just not go driving down some of the more flexy territory i frequent.
#14
08-09-2010
Join Date: May 2010
Location: Petoskey, MI
Posts: 203
Likes: 0
Received 0 Likes
on
0 Posts
1" doesn't sound like much, but it makes a HUGE difference on these trucks. I did mine about 3 months ago and I couldn't be happier-well, I guess i'd be happier if somebody would give me a Superlift with Fox coilovers. 1" BL+TB Crank+265-75R16s looks about perfect on my truck.
MikeR
MikeR


#19
08-09-2010
Join Date: May 2010
Location: Petoskey, MI
Posts: 203
Likes: 0
Received 0 Likes
on
0 Posts
No problem man! ya they are not for everyone. I just had a 3" on my last truck, and i really wasn't entirely happy with it, so i just went 1" and im going to save the difference for putting towards my super lift next spring.
#21
09-26-2010
I have 8" wide rims. So with a 1" BL I could fit 285/75 pretty easily then? I have 265's currently and I don't think there would be any way of fitting anything bigger in there right now without some kind of lift. And I would rather stay away from cranking the tbars or getting new keys.
#22
09-27-2010
Lift looks good, Ryan. I missed the thread first time 'round. I was very satisfied with my 1" BL and it did exactly what I wanted it to do: clear the 32's a little better. Had I not been a HUGE BL hater, I woulda just opted for the 3" and called it good. There's only a handful of 1" BL owners who actually kept the 1". Most upgraded to 3" including myself.
Matt Jelly..... Depends on your backspace, just crank the bars and you've got tons of clearence for 285/75's without any lift. I ran it cranked on the stock 16's with no where near close to rubbing. Guys do it left and right with 33x10.50's and 285/75r16's. Adding a 1" BL helps alot though....alot like my reason for the 1" but my reasons were thanks to 8's with 4" backspace.
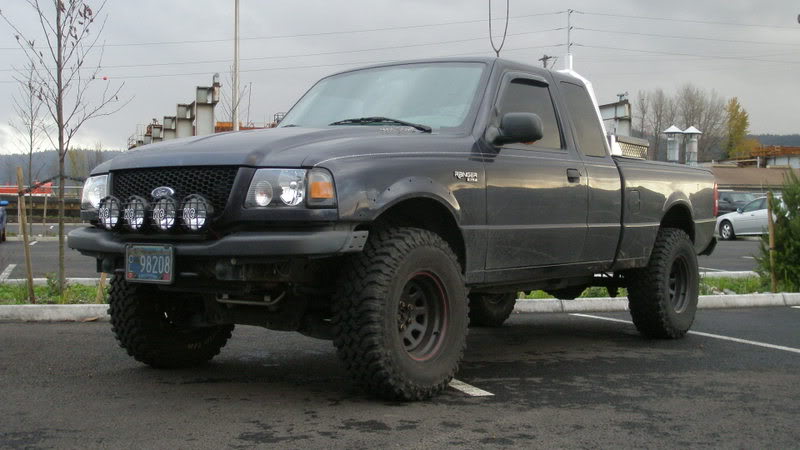
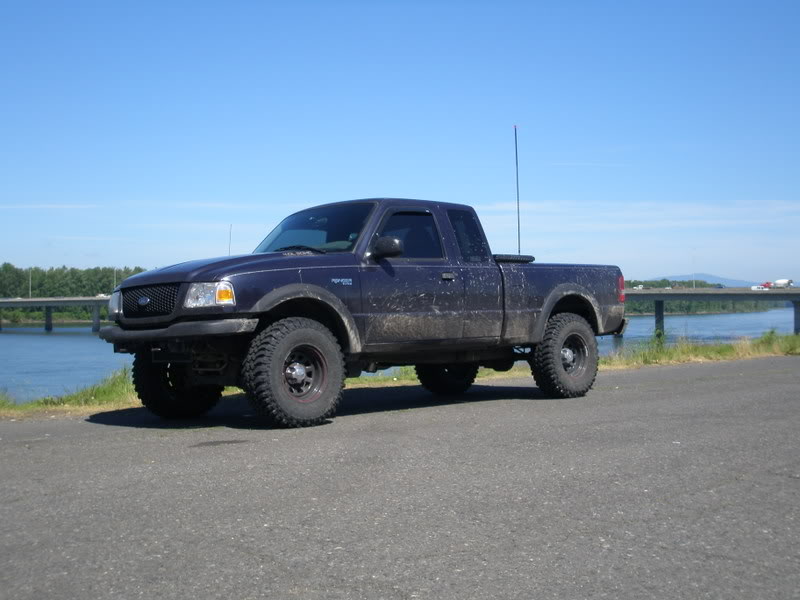
And time to ***** my truck!!
1" BL and 32x11.50's on 15x8's.....
Matt Jelly..... Depends on your backspace, just crank the bars and you've got tons of clearence for 285/75's without any lift. I ran it cranked on the stock 16's with no where near close to rubbing. Guys do it left and right with 33x10.50's and 285/75r16's. Adding a 1" BL helps alot though....alot like my reason for the 1" but my reasons were thanks to 8's with 4" backspace.
And time to ***** my truck!!
1" BL and 32x11.50's on 15x8's.....
#25
09-28-2010
Join Date: May 2010
Location: Petoskey, MI
Posts: 203
Likes: 0
Received 0 Likes
on
0 Posts
Lift looks good, Ryan. I missed the thread first time 'round. I was very satisfied with my 1" BL and it did exactly what I wanted it to do: clear the 32's a little better. Had I not been a HUGE BL hater, I woulda just opted for the 3" and called it good. There's only a handful of 1" BL owners who actually kept the 1". Most upgraded to 3" including myself.
Matt Jelly..... Depends on your backspace, just crank the bars and you've got tons of clearence for 285/75's without any lift. I ran it cranked on the stock 16's with no where near close to rubbing. Guys do it left and right with 33x10.50's and 285/75r16's. Adding a 1" BL helps alot though....alot like my reason for the 1" but my reasons were thanks to 8's with 4" backspace.
And time to ***** my truck!!
1" BL and 32x11.50's on 15x8's.....


