4.0 OHV rebuild.
#1
 05-12-2009


4.0 OHV rebuild.
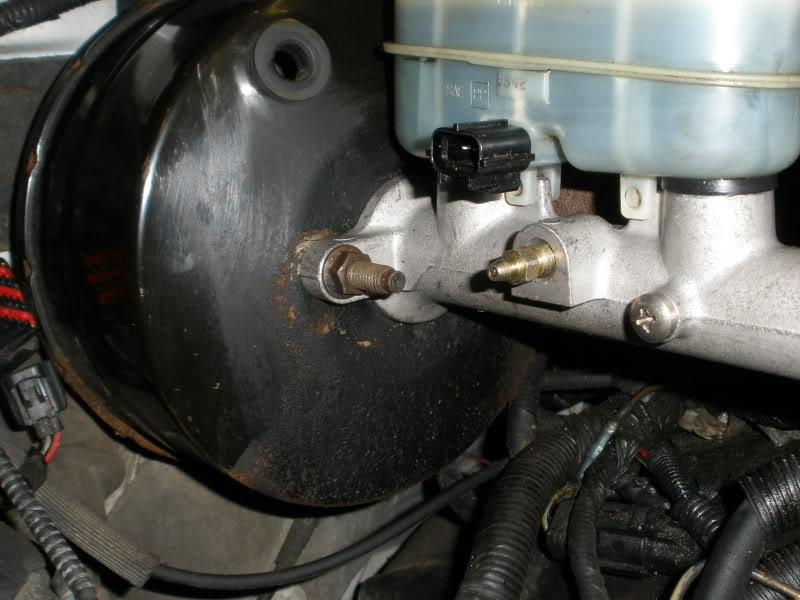
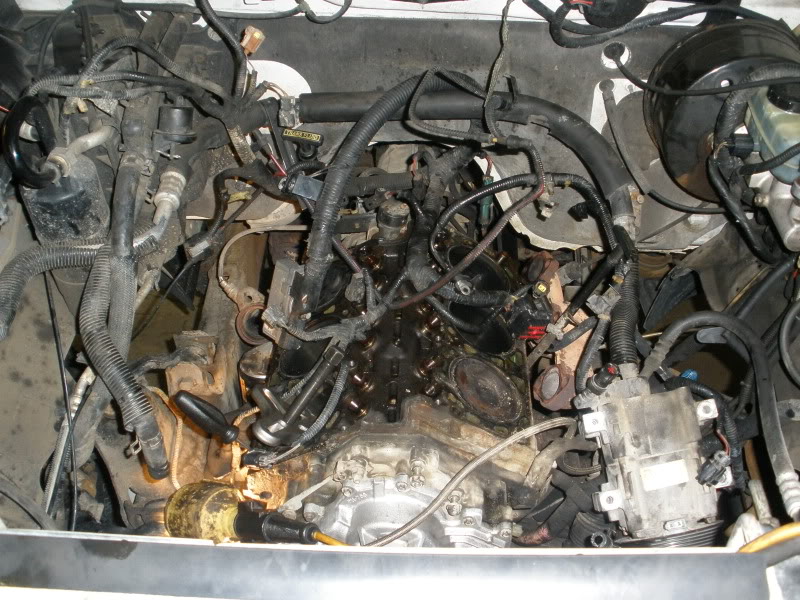
Well I cracked both heads so I decided to take the motor apart and rebuild it. About 3 months ago my waterpump shaft snapped and my truck overheated so thats what caused my heads to crack. Truck ran great, only burned a little bit of antifreeze. I also decided to replace master cylinder and do some other maintnance.
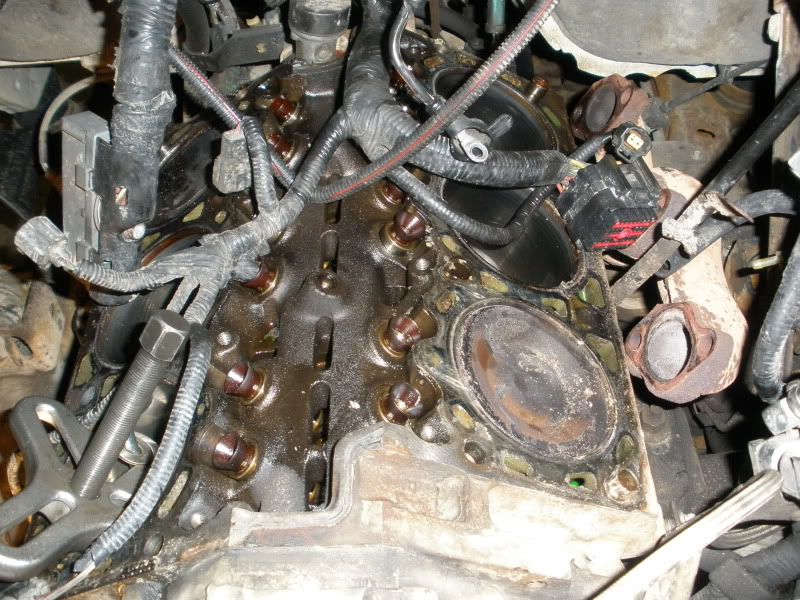
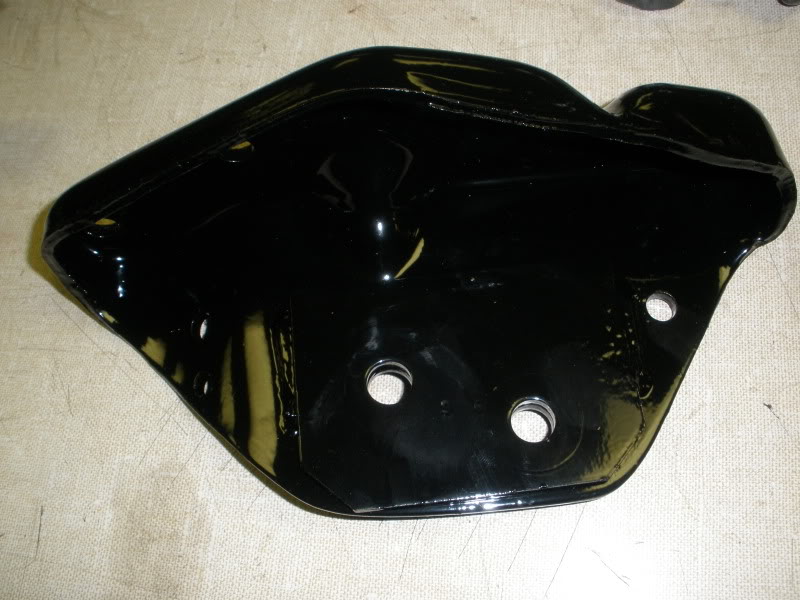
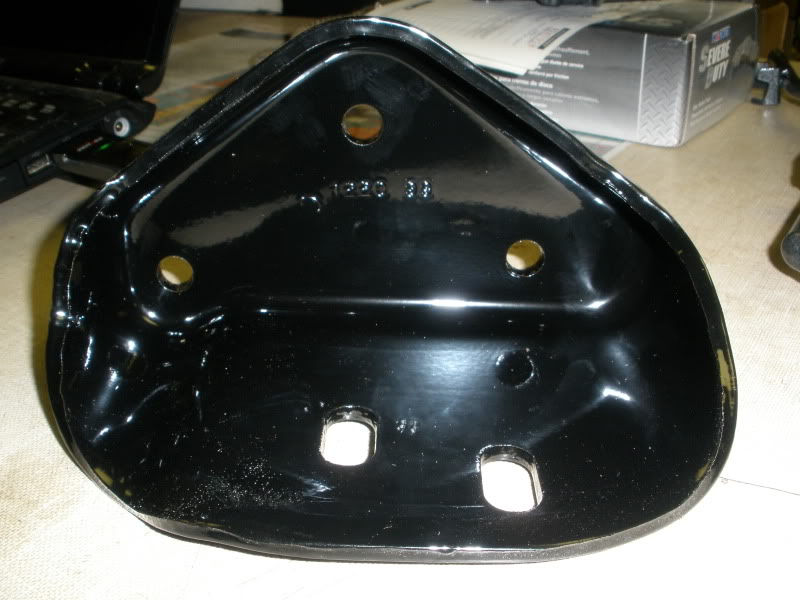
Well I decided to take apart upper end in truck and then take block out by itself. Heads are fixed and i got to put new exhaust seats in and 2 intake seats. All my brackets are getting powdercoated hamertone black which is a killer color. My block and heads are getting spray bombed gloss black, my water pump is going to be aluminum colored paint.
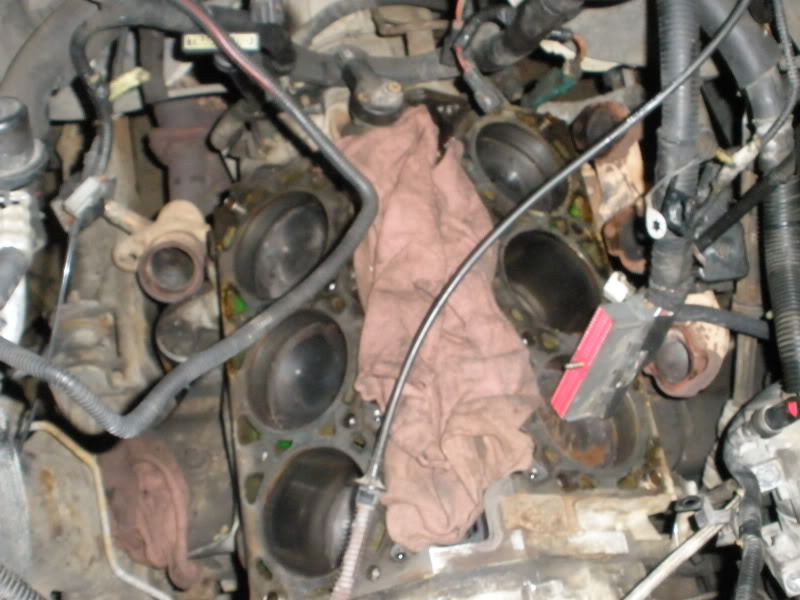
I got my block out today, so tomorrow im hoping to clean up my engine compartment. All new sensors and gaskets are getting used.
Now on with some pics:
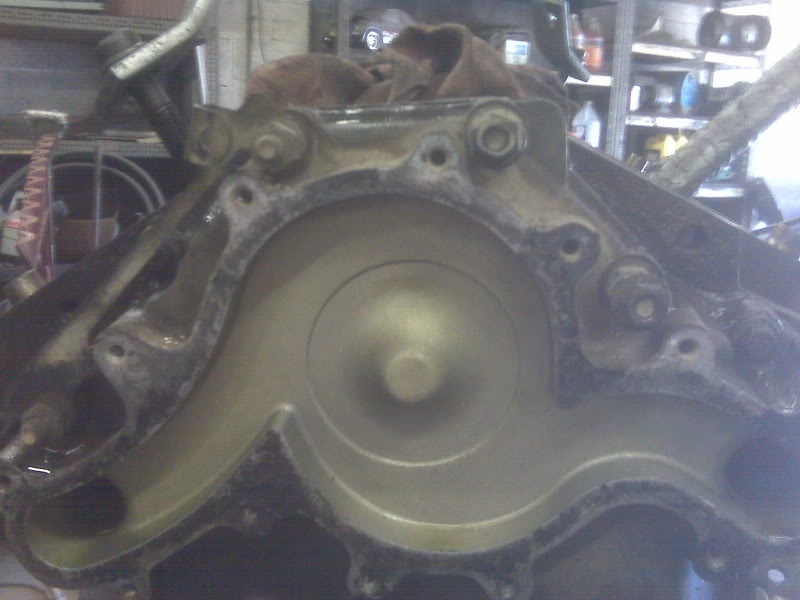
Front timing cover seal was leaking pretty good to:

New Master:
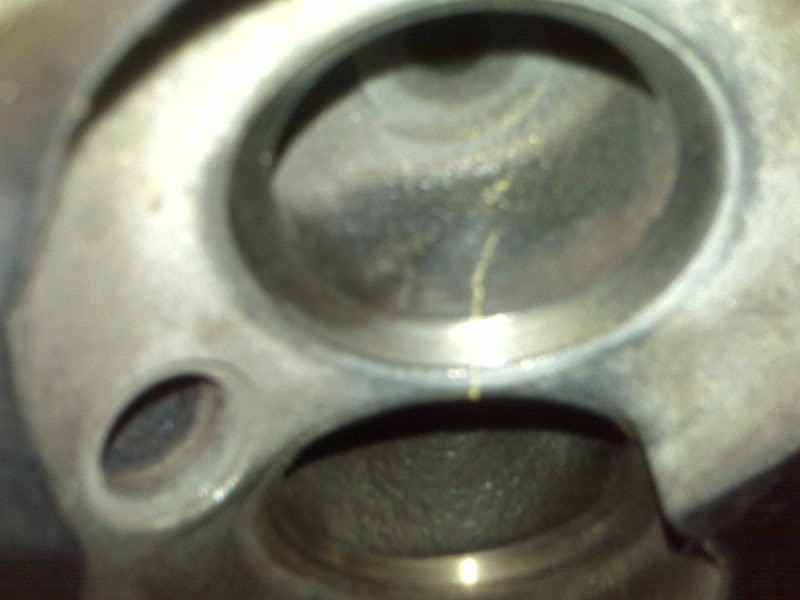
One of the cracks:
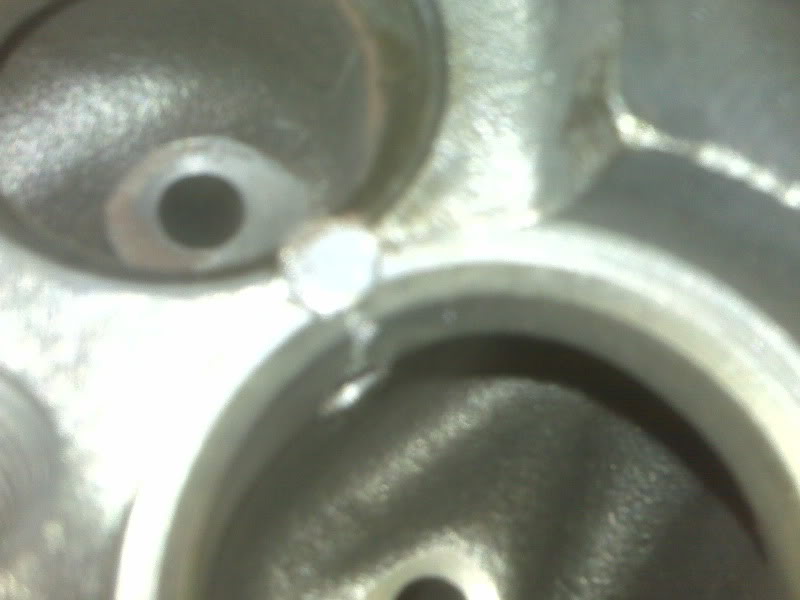
Crack repaired:
New Torque converter:

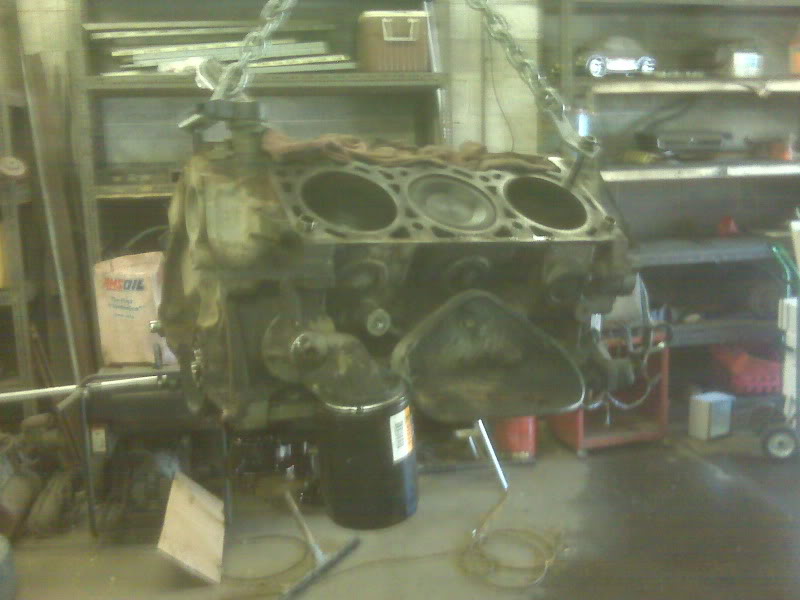
Motor out:
Well I decided to take apart upper end in truck and then take block out by itself. Heads are fixed and i got to put new exhaust seats in and 2 intake seats. All my brackets are getting powdercoated hamertone black which is a killer color. My block and heads are getting spray bombed gloss black, my water pump is going to be aluminum colored paint.
I got my block out today, so tomorrow im hoping to clean up my engine compartment. All new sensors and gaskets are getting used.
Now on with some pics:
Front timing cover seal was leaking pretty good to:
New Master:
One of the cracks:
Crack repaired:
New Torque converter:
Motor out:
#2
05-14-2009
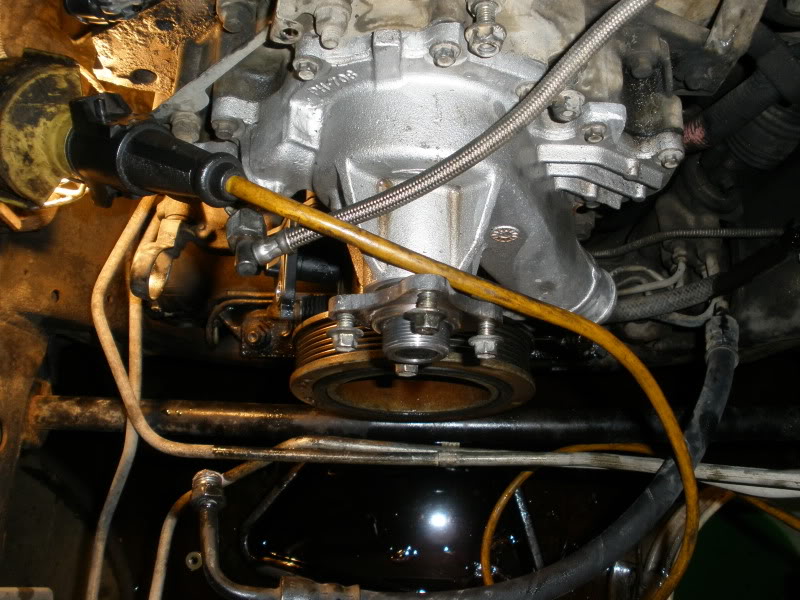
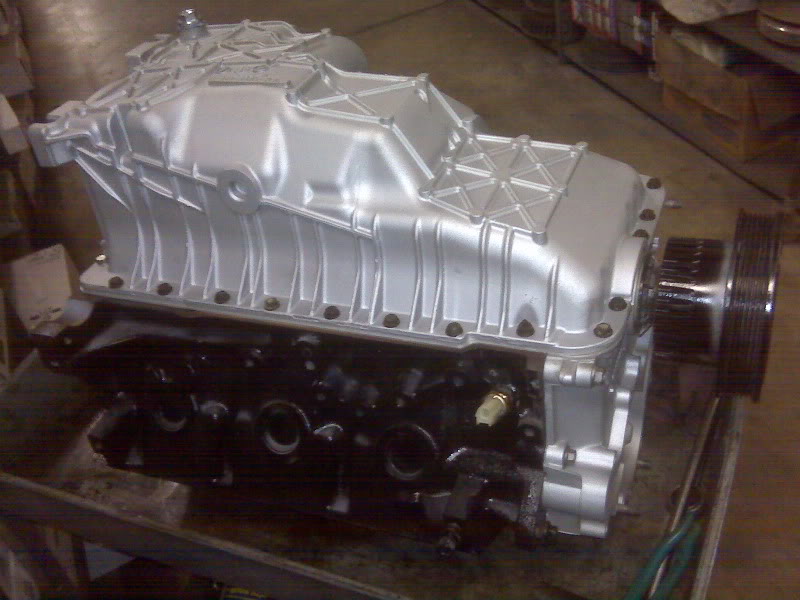
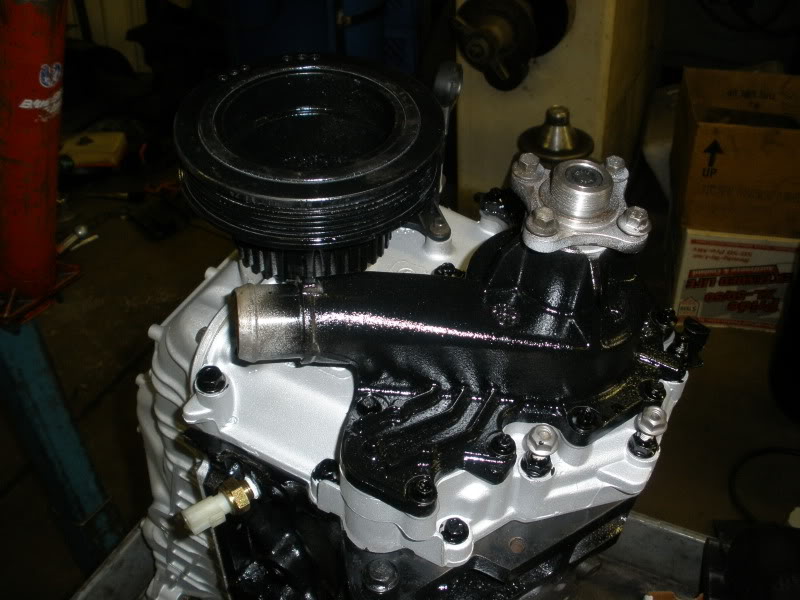
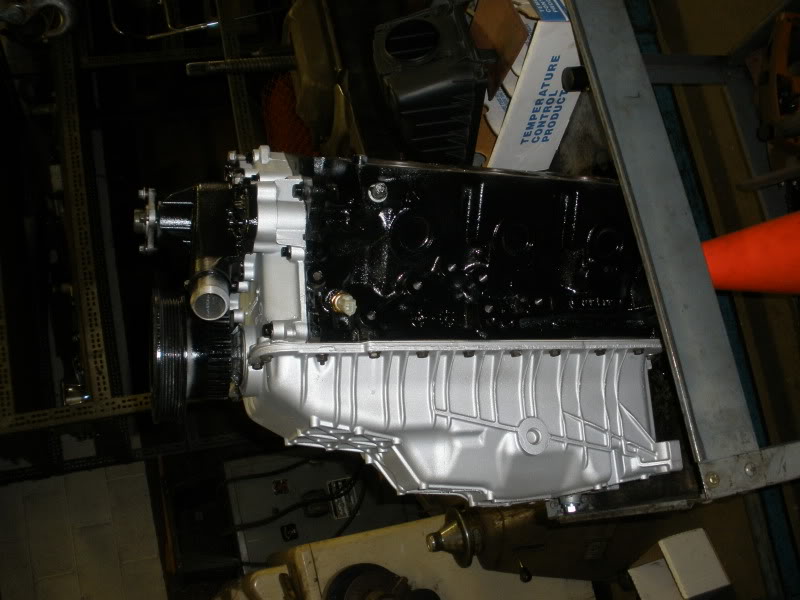
Well got the main and rod bearings replaced and started reassembly. I got the pistons cleaned and put in, oil pump and screen, timing cover, oil pan, waterpump and harmonic balancer.
Been so busy at work I haven't been able to install all new exhaust seats and 2 bad intake seats, Hopefully tomorrow. If not tomorrow it's going to have to wait till monday when I return from Army drills.
Been so busy at work I haven't been able to install all new exhaust seats and 2 bad intake seats, Hopefully tomorrow. If not tomorrow it's going to have to wait till monday when I return from Army drills.

#4
05-14-2009
#5
05-14-2009
#7
05-15-2009
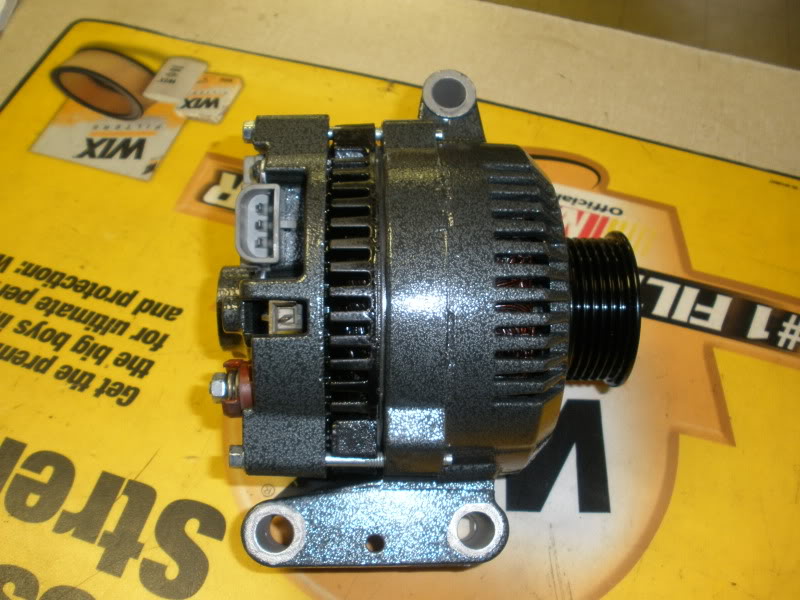
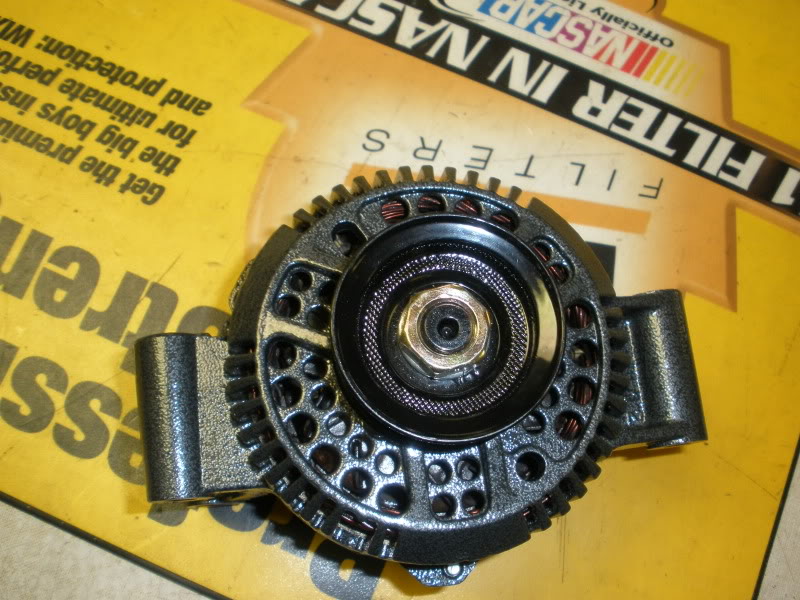
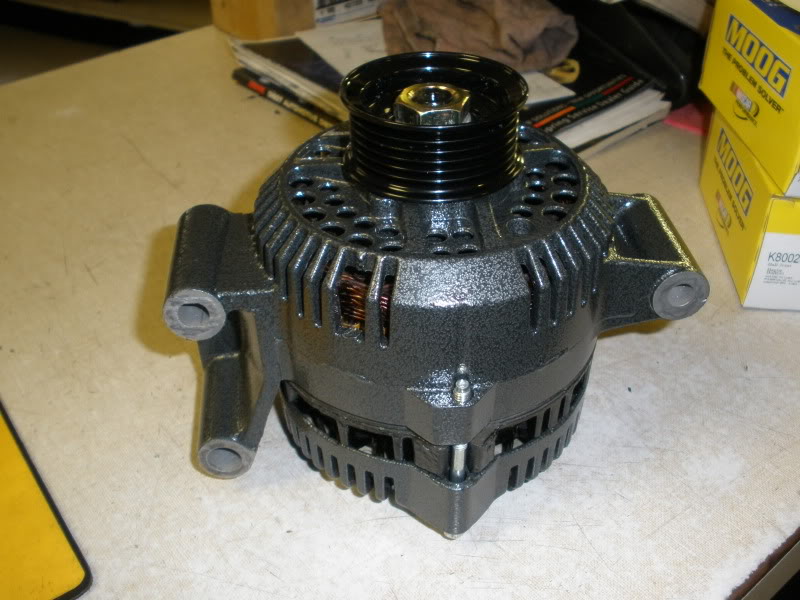
Well ran to a little snag today. 1 of the 2 heads I pinned didn't hold so now im on the look out for another 4.0 head. The 1 good head is all set and ready to get put back on. I also got my alternator back from the rebuilder and a bunch of other parts from my powdercoater. Im still waiting on my lower intake, exhaust manifolds, and my valve covers.
#11
05-16-2009
#13
05-16-2009

#16
05-16-2009
#18
05-21-2009
Well motors in, Everythings bolted down and ready to go.... Except my exhaust and im missing a clip that I need for my throttle body. I have to remove my front driveshaft so I can get my front Y-pipe in place and I gotta order a nex clip. then I can top off the fluids and I'll be good to go.
Okay, on with the pics I know you all love.
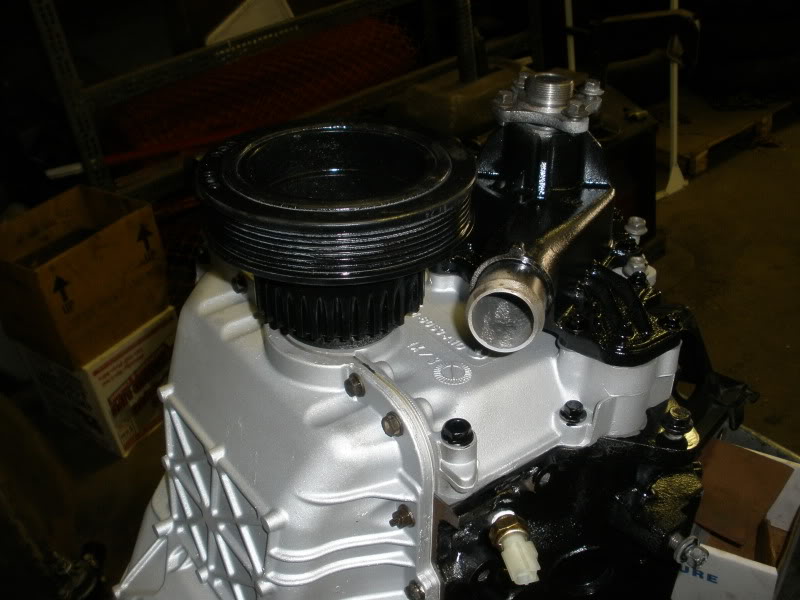
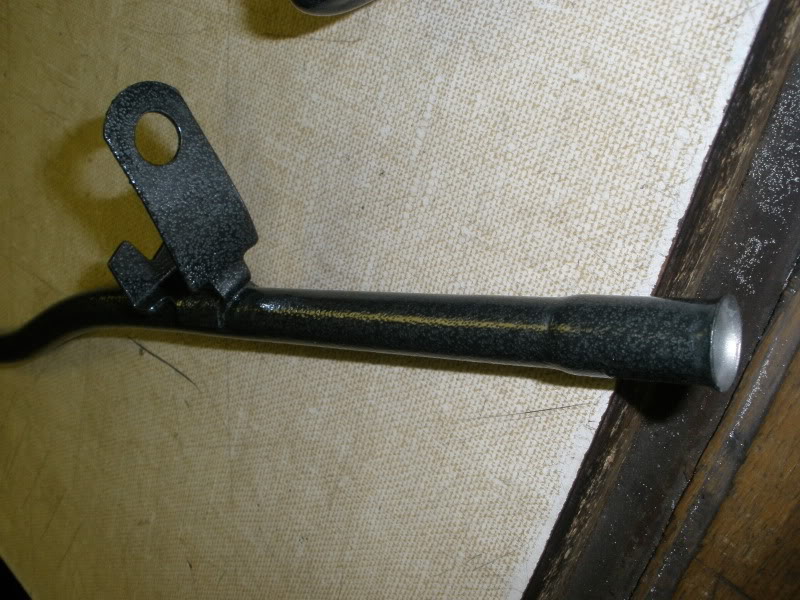
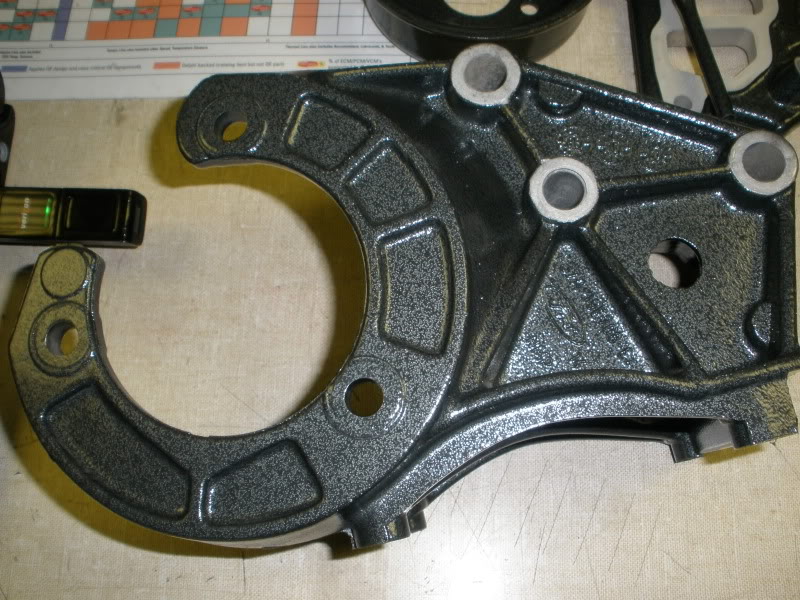
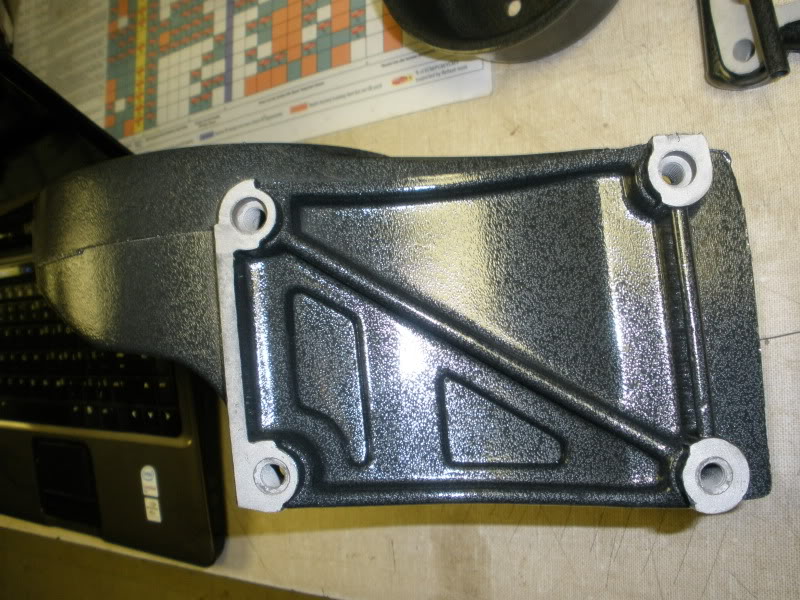
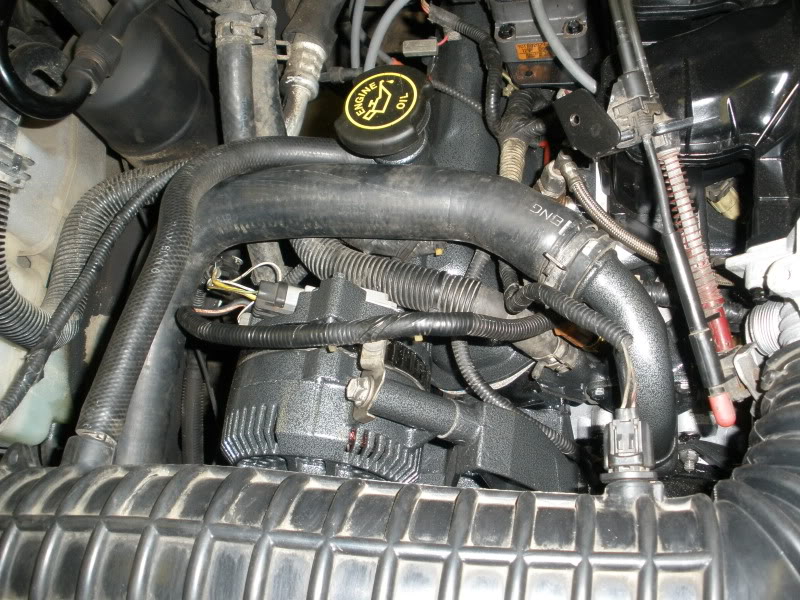
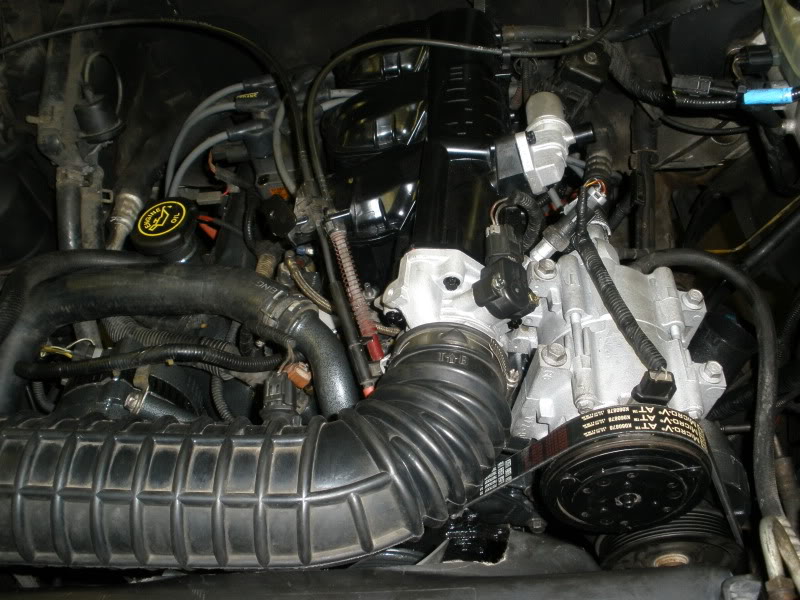
Motor in the truck, notice all the powdercoat and the now black engine compartment:
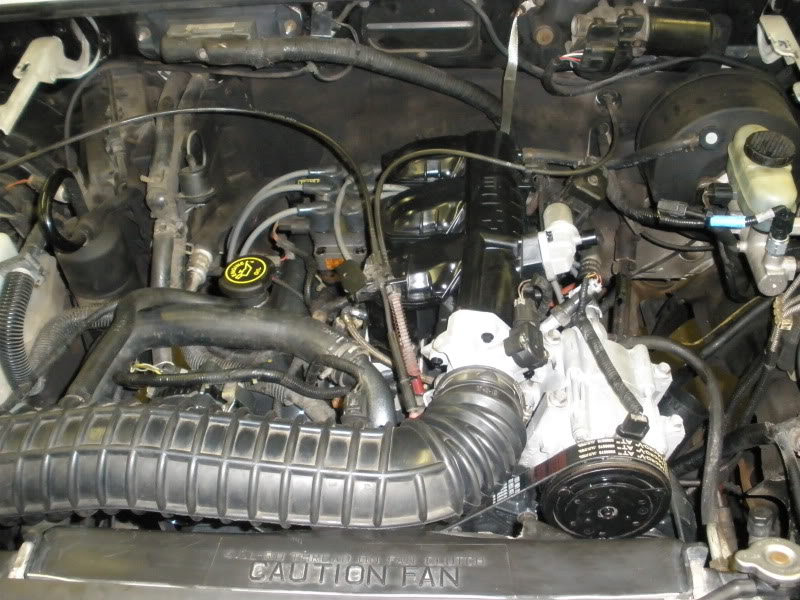
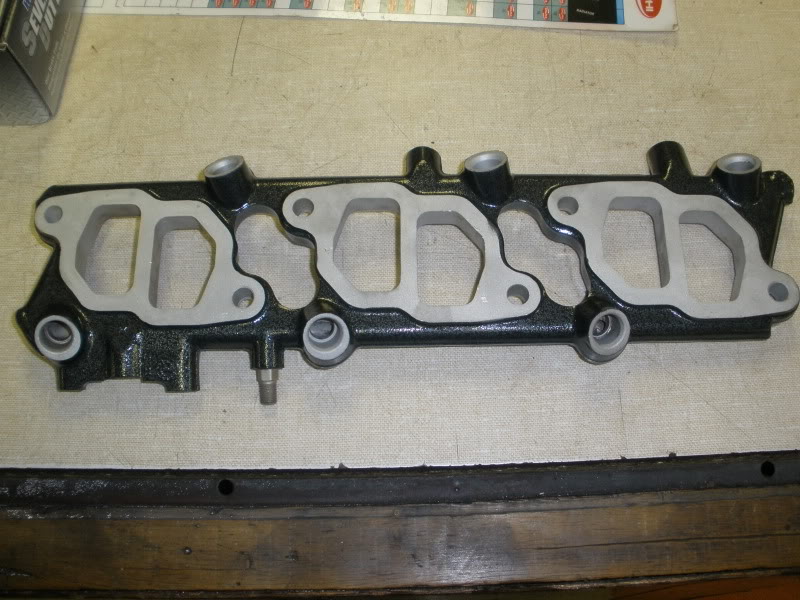
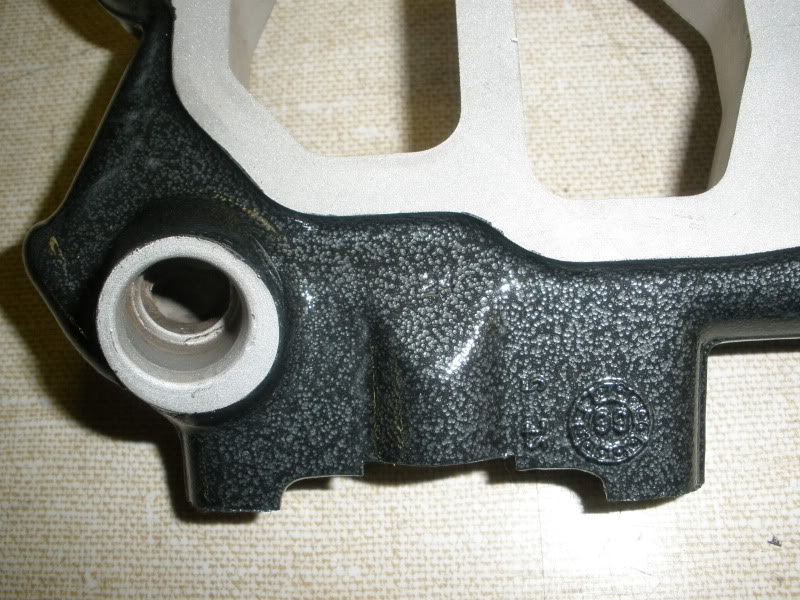
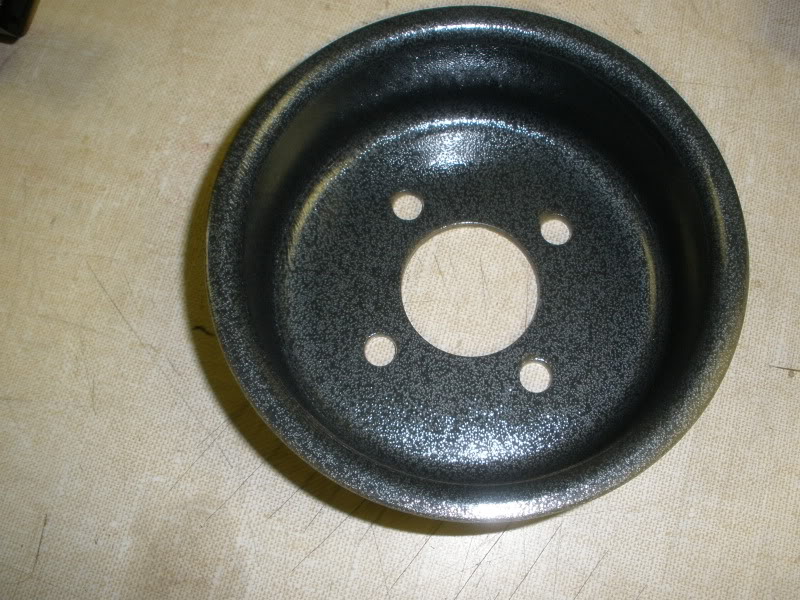
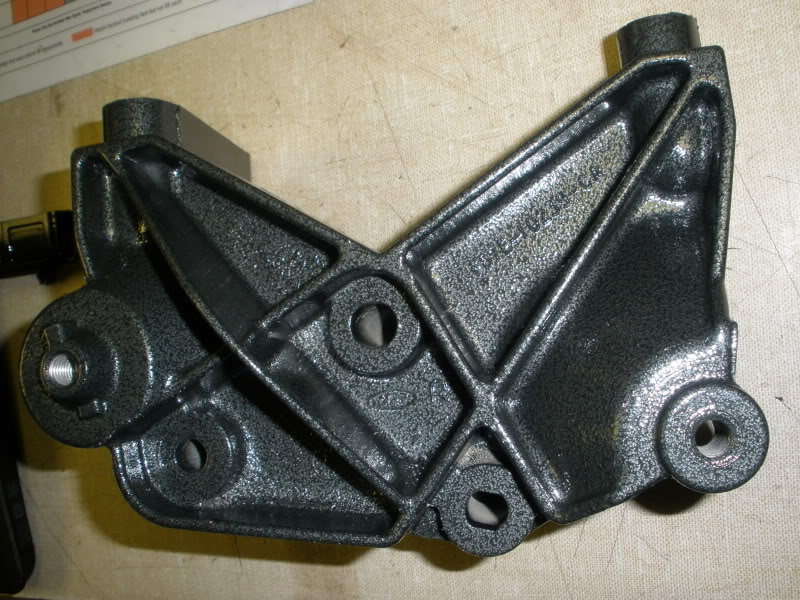
You can see the everything matches, Powdercoated intake, valve covers, alternator brackets, MAF, water pump pulley:
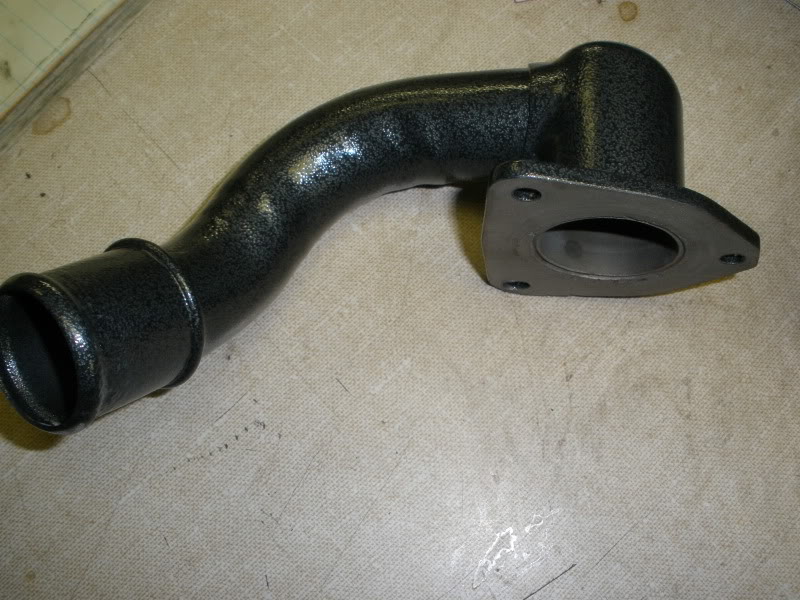
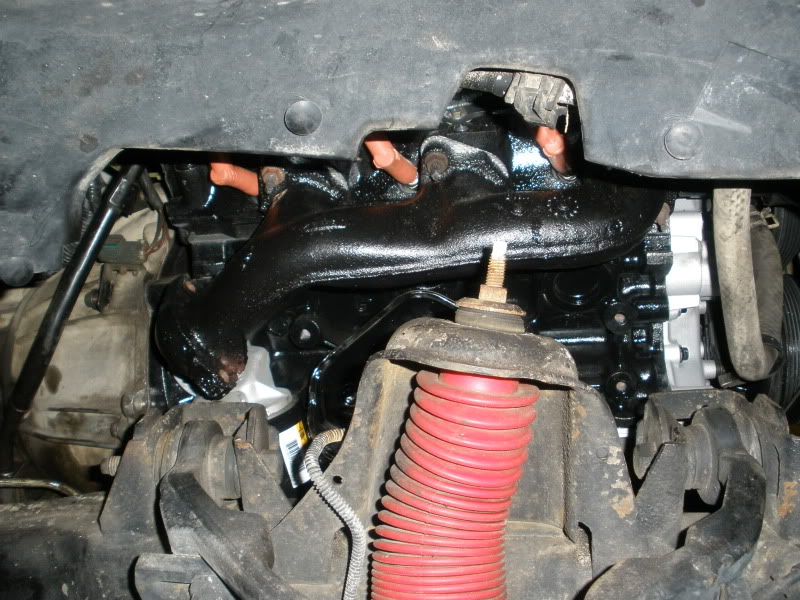
Powdercoated Manifolds:

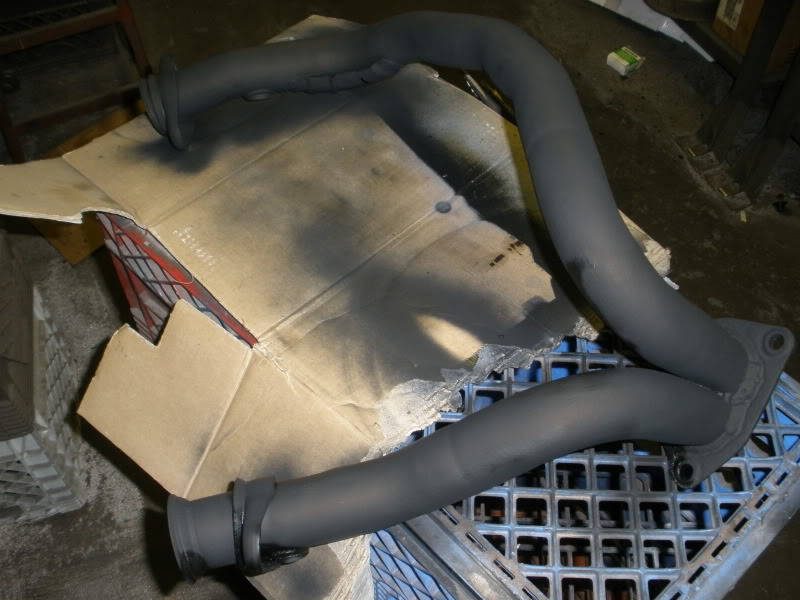
Y-Pipe:
Okay, on with the pics I know you all love.
Motor in the truck, notice all the powdercoat and the now black engine compartment:
You can see the everything matches, Powdercoated intake, valve covers, alternator brackets, MAF, water pump pulley:
Powdercoated Manifolds:
Y-Pipe:
#19
05-22-2009

I hear ya.. but I'd like to point out something. It's not the OHC vs OHV *design* that's at fault. It's the casting thickness and heat disipation paths that are.
OHC design is significantly more efficient.
The problem with our engines is that this motor started off as a german 2.6L (or maybe it was a 2.8L?) Since then (the early 70s) this motor has been bored, stroked, and thinned out to within an inch of it's life.
Our heads are simply too thin. So is the block. They just can't be overheated without major problems.
Case in point.. look at the 4.6L and 5.4L fords. They were designed from scratch vs being a stretched previous design.
I've personally seen the durability tests and teardowns at windsor engine plant. Trust me.. the OHC mod motors will go places and endure MUCH more than the old OHV 5.0L ever could.
Rich
#20
05-22-2009
Join Date: Feb 2007
Location: Temperance Mi
Posts: 677
Likes: 0
Received 0 Likes
on
0 Posts
#21
05-22-2009
Yes I did , I have a cam Synchronizer on mine and I replaced it anyway so it wasn't a big deal just pop out the cam plug. I re-used the pistons, rods, cam, and crank. At 150,000 they all still looked brand new. No wear at all on the bearing surfaces.
#22
05-22-2009
#23
05-22-2009
Join Date: Feb 2007
Location: Temperance Mi
Posts: 677
Likes: 0
Received 0 Likes
on
0 Posts
#24
05-23-2009
Valvoline oil changed every 3,000-4,000 miles used with a wix premium filter. Every other oil change I use a bottle of Slip coat made by a local Michigan company called Hapco.
#25
05-23-2009
Not when pulling the cam Synchro, just unbolt holdown and pull up. When re-installing the sensor has to line up to a certain degree with the #1 cylinder at TDC of Compression stroke. It tells you in the Haynes manual. I can't remember the degrees off hand.


