When you click on links to various merchants on this site and make a purchase, this can result in this site earning a commission. Affiliate programs and affiliations include, but are not limited to, the eBay Partner Network.
Hey! My 1st post so please bear with me. I decided to replace the stock stereo in my Ranger for upgraded options like Bluetooth and hands free phone. Spur of the moment project that I have tried to keep on a small budget. I purchased the Kenwood KDC-X304 CD-Receiver on Facebook Marketplace (brand new, previous owner said it did not fit their MINI ) $125. Next I went to Canadian Tire and purchased E2 Dash Install/Trim kit and Car Stereo Wiring Connector/Wiring Harness. This is my 1st attempt at car audio installation, YouTube videos have been helpful to show removal of Ranger center bevel. I will be installing everything tomorrow, but I have prepped the wiring harness and trim kit. Here is the progress and details:
Spent $111 at Canadian Tire for Trim kit, harness, butt connectors, electrical snips/crimper tool, electrical tape. Also bought fuses to replace blown cigar lighter fuse and combination wrenches (metric!).
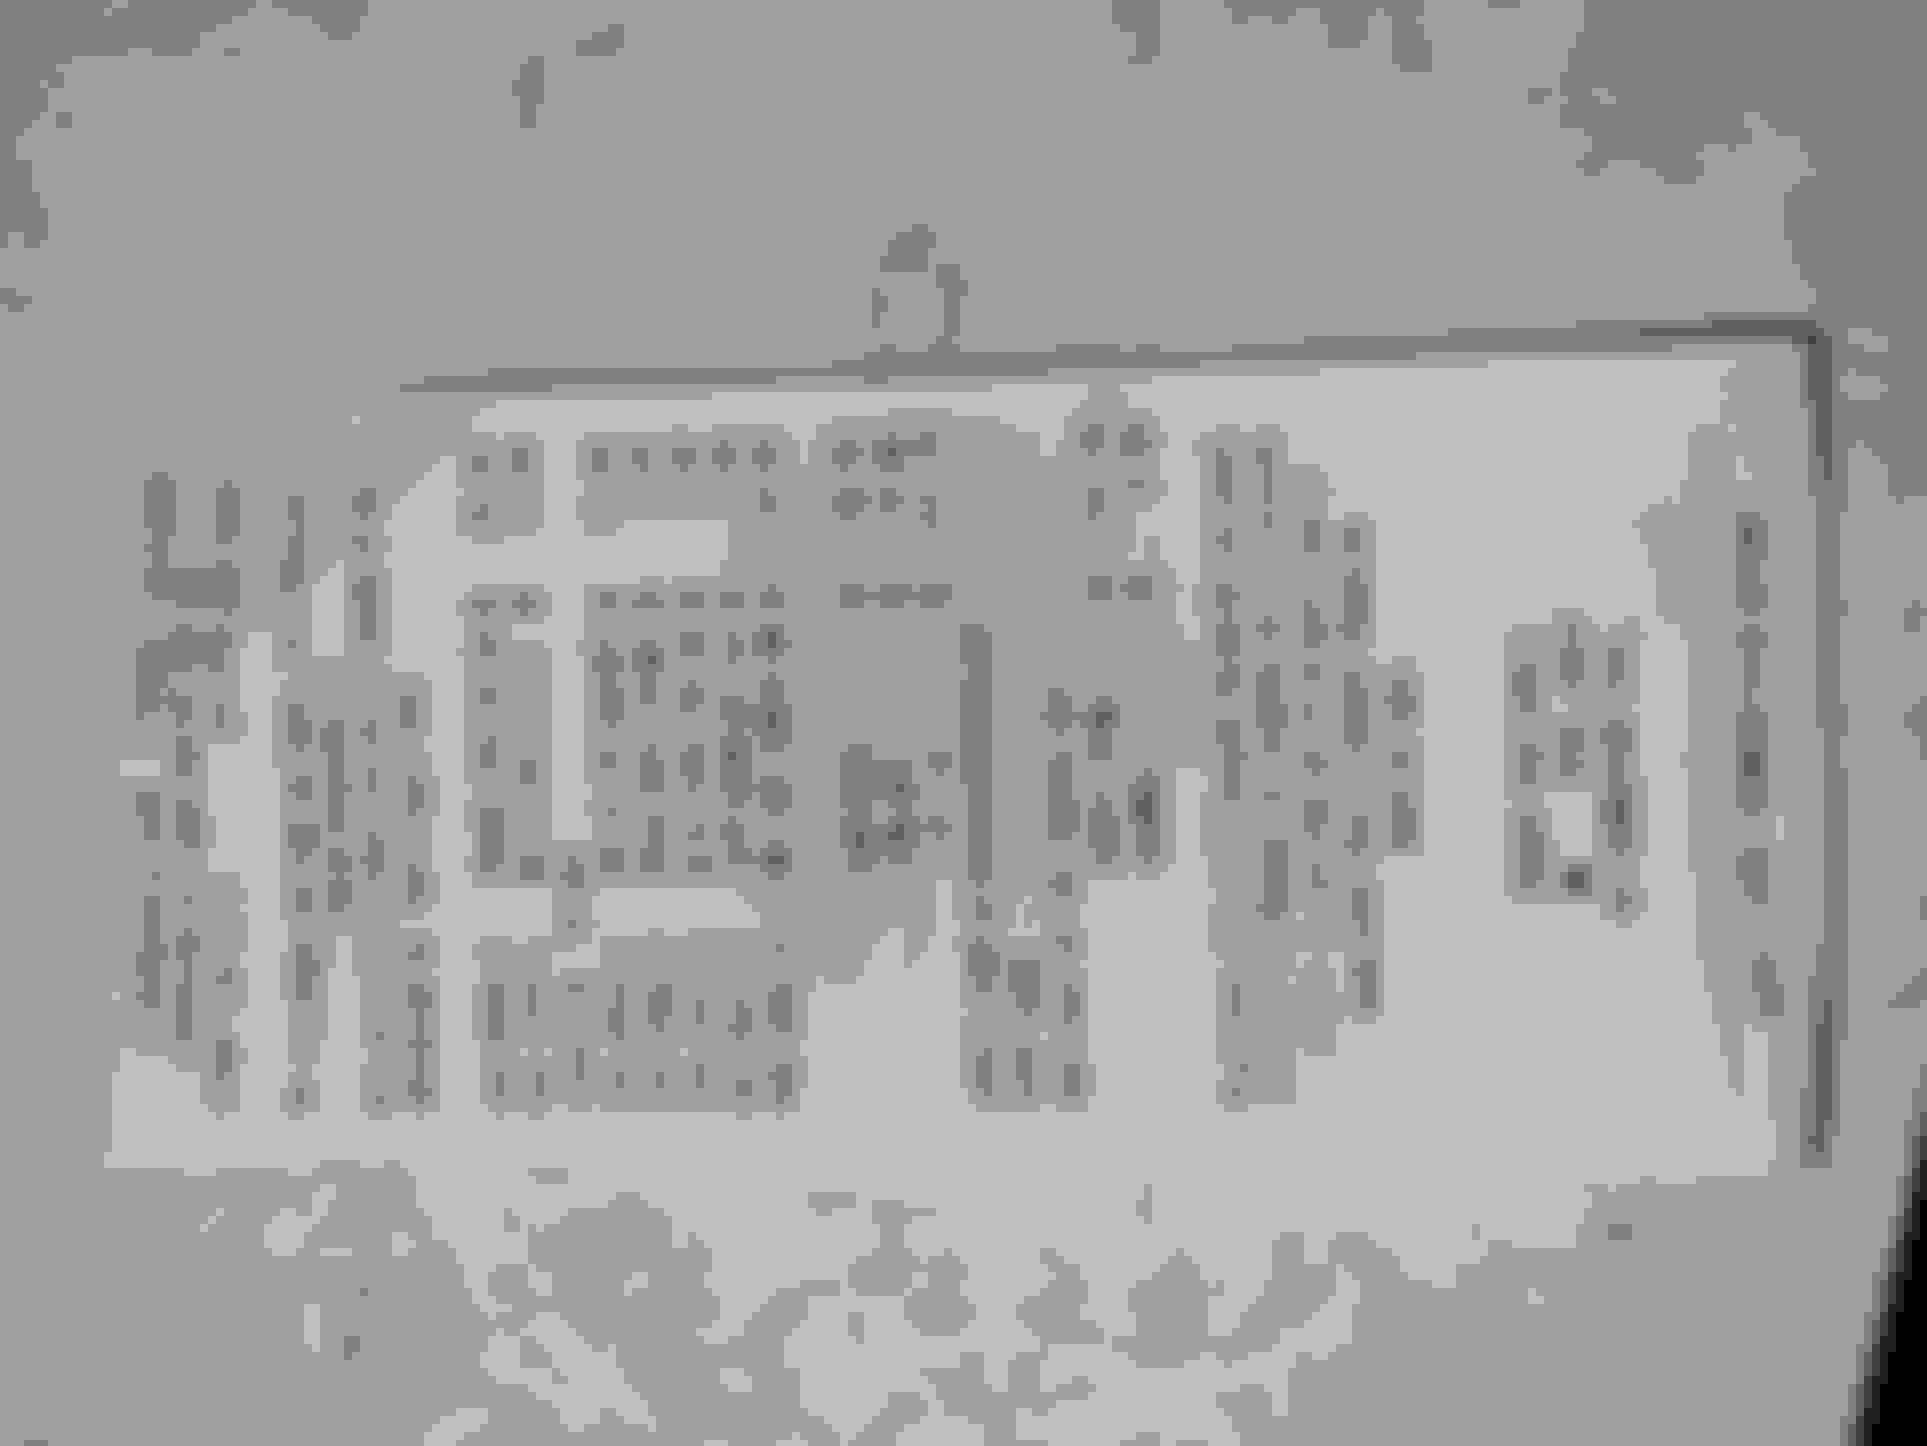
I have already put together the wiring harness now, did not get many photos. 1st photo is wiring connector that comes with the stereo unit. I used 18-22 gauge butt connectors to connect all wires and crimped them together. I used electrical tape over all butt connectors, hoping they stay connected forever. Afterwards I wrapped the wires with electrical tape to keep everything together. There were extra wires from the C.T. harness and Kenwood harness, I taped all the ends and left them outside of the main bundle. The extra/unused wires were:
from C.T. harness;
- 8. Black/White = amp ground
- 9. Orange = illumination/dimmer
-10. Orange/Black = grounding dimmer
- Blue and Blue/White
from Kenwood harness (all 3 wires were labelled with stickers and bent over, seemingly optional);
- a. Brown = navigation system
- b. Blue/white = optional power amp or antenna control terminal (realizing now I did not connect the Blue/White wires, I believe it's not important)
- c. Light Blue/Yellow = steering wheel controls
I believe the white connector from the Canadian Tire harness will connect to the factory harness ... TBD.
Next was the trim kit, the instructions from the box were clear and detailed. I removed all the tabs that are not needed for the 2011 Ranger. Some of the plastic tabs can be bent and removed, but the two large tabs at the top require a knife or Dremmel to remove. I then removed the metal sleeve from the stereo unit and slid it into the trim, from the front. Bend all possible metal tabs from the sleeve into the plastic trim unit, being careful not to snap plastic trim. Keep bending tabs until sleeve is solid in plastic trim.
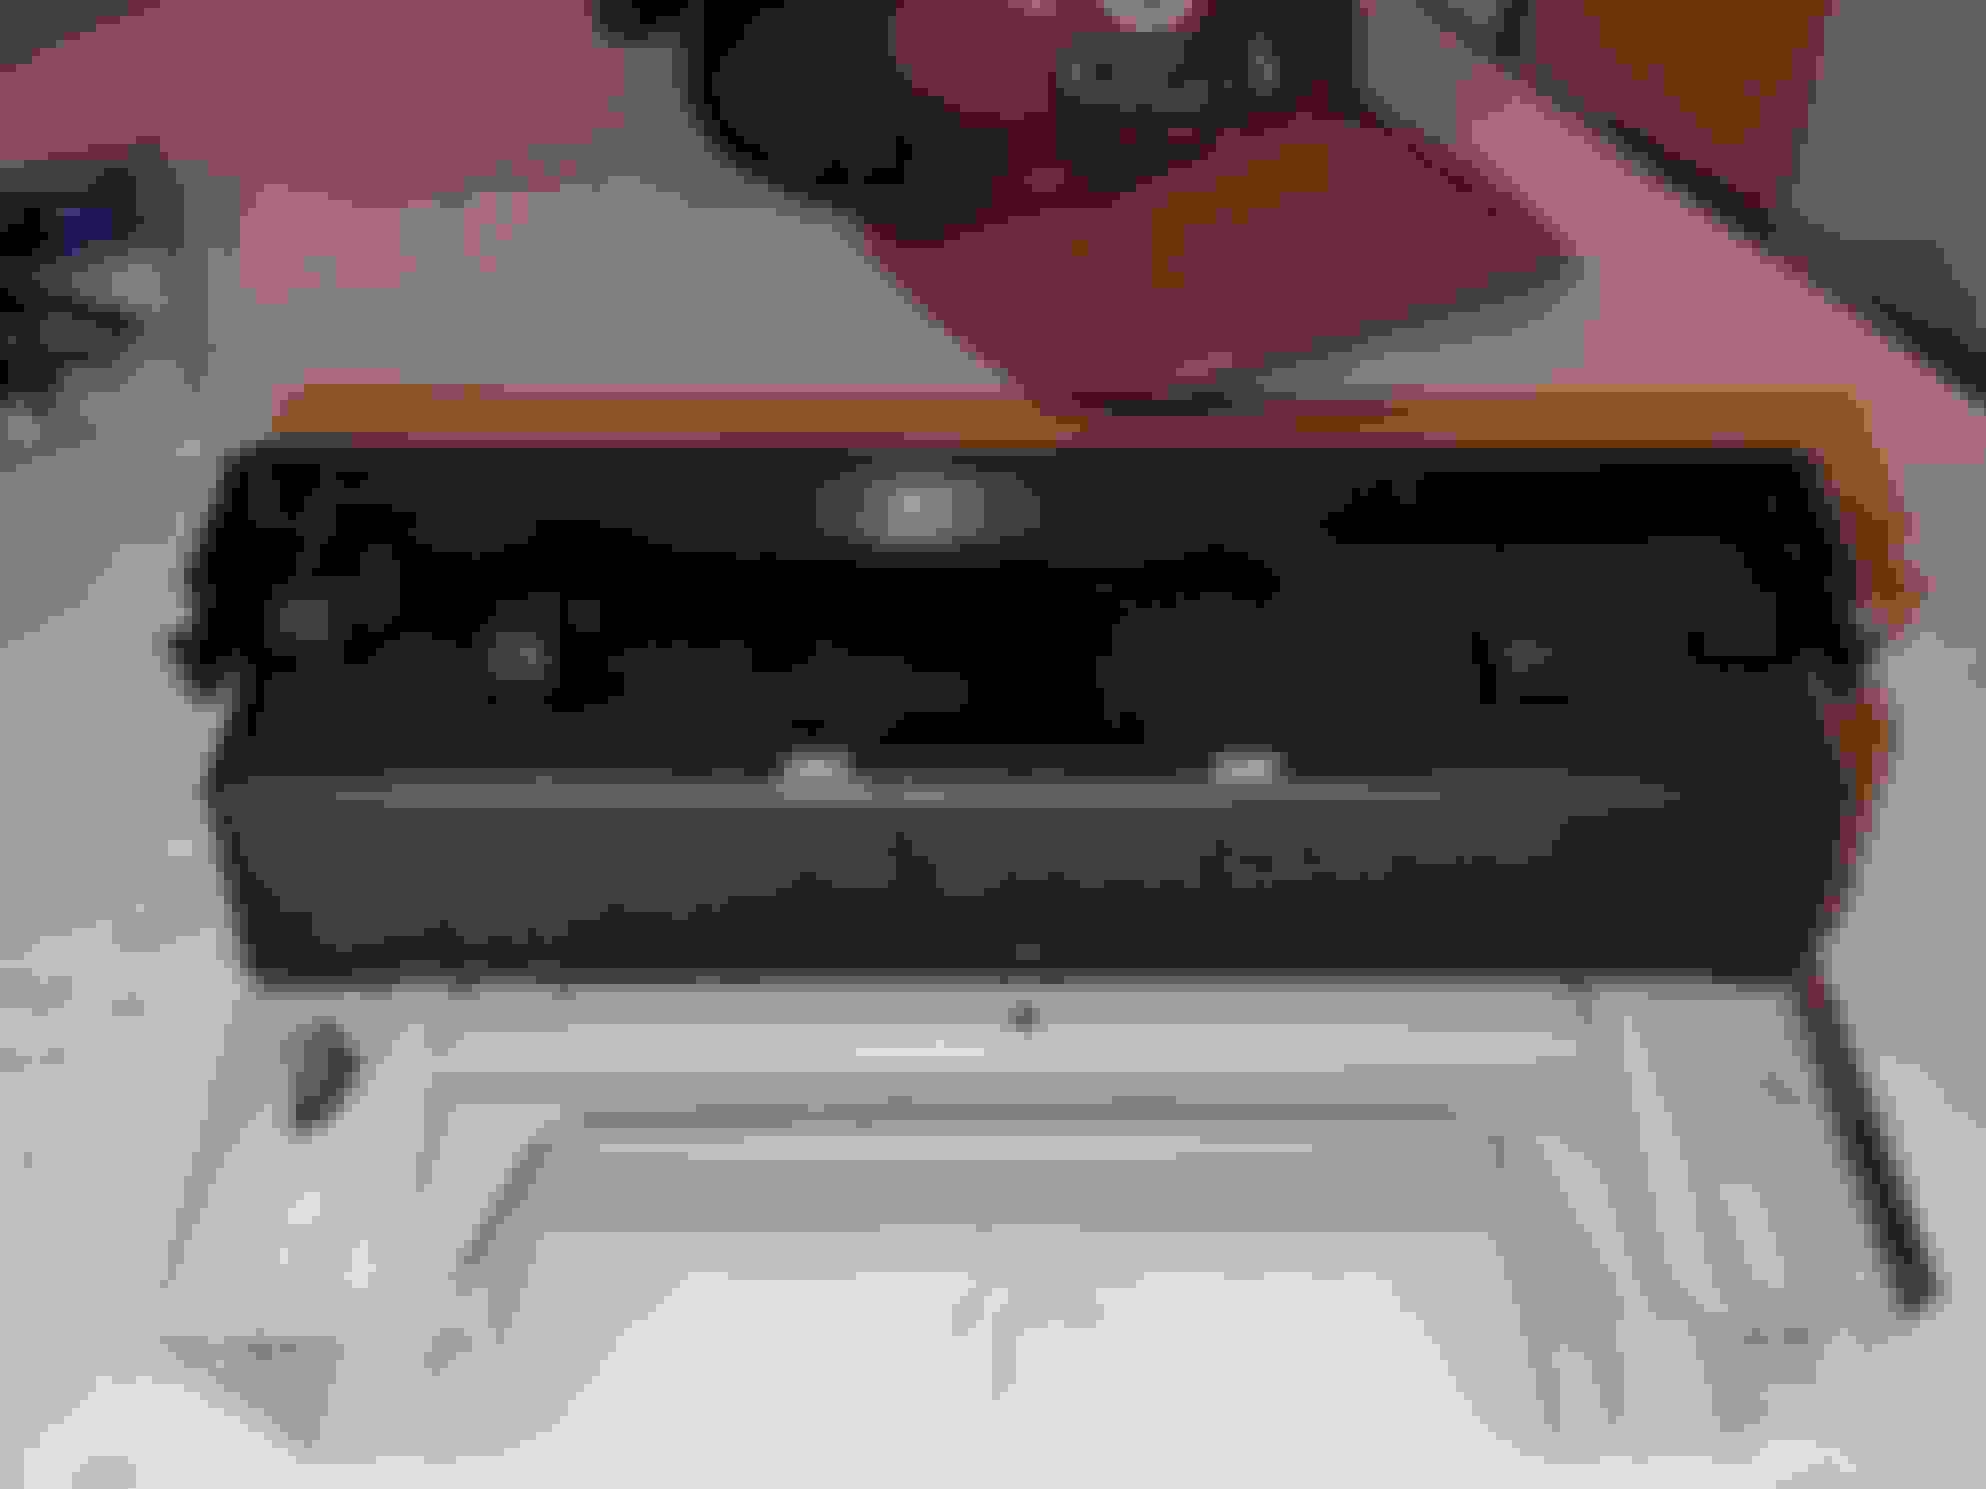
Lastly for today is the back side of the stereo unit. The wiring harness connection and antenna connection is flipped on this unit compared to the stock stereo. I am hoping that the stock antenna cable will reach the extra 6" to connect top the stereo. Otherwise I have seen antenna cable extensions (typically 4') at Canadian Tire, hopefully not needed.
Also, this stereo come with an external microphone for hands free calling. The microphone cable appears to be about 7' long with a plug in the back of the stereo unit. I plan to position the mic in the headliner above my rear view mirror and fish the wire to the stereo.
Thanks for reading! Update to to follow!
Hi...I would contact PAC sound, they make units for the wide range of various Fords to supplant the SYNC 3 frameworks. I don't see one for the Ranger yet, however on the off chance that anybody will make one, it will be them.
Hi...I would contact PAC sound, they make units for the wide range of various Fords to supplant the SYNC 3 frameworks. I don't see one for the Ranger yet, however on the off chance that anybody will make one, it will be them.
 03-28-2021


 ) $125. Next I went to Canadian Tire and purchased E2 Dash Install/Trim kit and Car Stereo Wiring Connector/Wiring Harness. This is my 1st attempt at car audio installation, YouTube videos have been helpful to show removal of Ranger center bevel. I will be installing everything tomorrow, but I have prepped the wiring harness and trim kit. Here is the progress and details: