Paint Blending Advice...
#1
 05-10-2009


Paint Blending Advice...
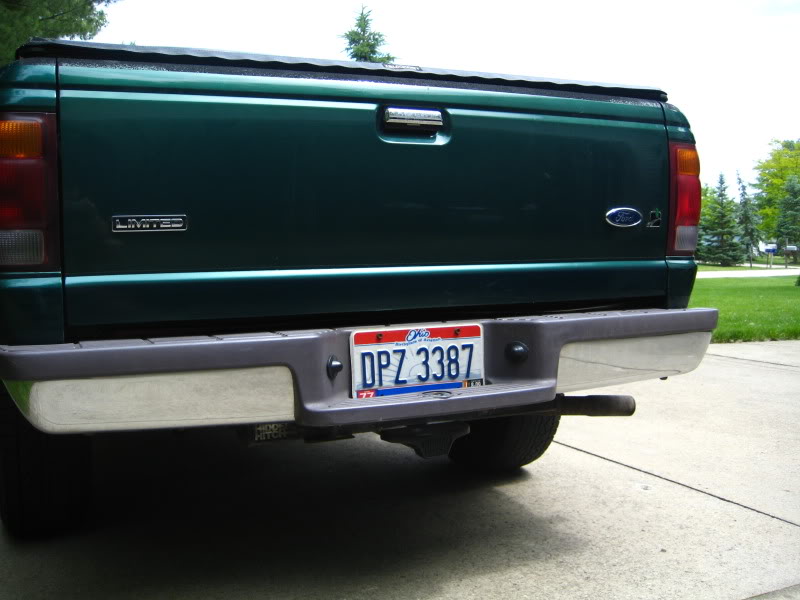
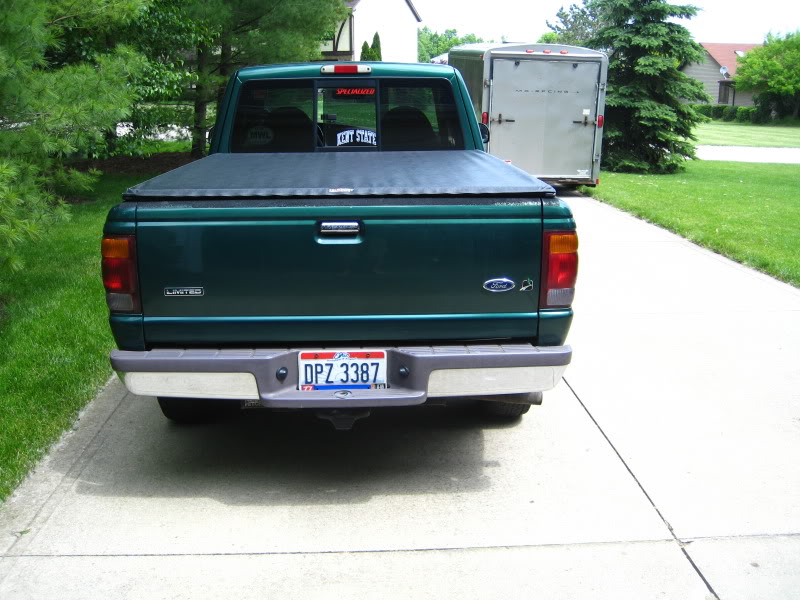
the bottoms of my doors took a beating this winter with me at school because my truck went pretty much all winter and was only washed once. The rust is growing and i want to get some paint on the bottoms to prevent it from getting any worse.
my plan is to take the doors off, grind down the paint to bare metal (about an inch) then prime/basecoat/clear. problem is i dont have a spray gun so this will all be rattle canned.
My question lies in how i should mask off the area. Will i be fine having some overspray onto the existing paint? Should i tape directly where the bare metal meets the existing paint? will it feather in alright with that straight line masked off (i plan on buffing it with rubbing compound an giving it a good coat of wax afterwards).
yes i would prefer to get it done professionally but at $90 a pint, plus labor, its not worth it for the simple fix that is only to buy time before i get rid of my truck in a few years.
any help would be appreciated.
heres the area i want to paint
Last edited by jtslmn720; 05-11-2009 at 12:04 AM.
#2
05-10-2009

Its hard to try and explain how to do this while im not there, but heres a shot
If you are only doing this on the bottom of the door, lets do our best to keep it under the lower door body line that is on our cars. Grind down the area and do your damndest to keep the area as small as you can. Try not to grind more than 1/3 way up on that section unless you really have to. Do your repair as you would normally. Im not sure what you are adealing with, but im assuming a little primer would be thrown on there.
Now, keep your primer less than 1/2 of the way up the section of the panel we are working on. If that goes well, sand it and prep it. Sand the primer with around 600 grit wet sandpaper and sand the existing paint with about 800 grit or a grey scuff pad up to that lower body line. Do your best not to break through the stock clear. Use some masking tape and tape off of that lower body line and get ready to spray.
You say you want to use rattle cans (get one of color and one of clear) so using light coats, start to cover the primer areas first. Once you have the primer covered, with your last coat kinda blend the color into the upper parts close to where you masked the paper. TRY not to get color ALL THE WAY to the edge of the paper! thats what the clear is for. Once the color is dry, clearcoat the whole area from the bottom of the door, to the body line you taped off.
Its late, im sure i confused you a bit, so i apologize :D but ill come back to this thread so ask away and ill see if i can clarify. Ive been painting a while so all of this is second nature to me now, so its hard to know how to put it in words if i dont know how much someone else knows about hte subject.
#3
05-10-2009
#4
05-11-2009
I'm with Steve,
After you grind and do your bodywork, wetsand up to the body line. Clean it all up and mask the area off. Prime just up past where you have bare metal. Wet sand the primer. Paint the primer. Next coat just paint a little further up covering your fresh paint. do the same with every coat but don't go clear up to the body line. Then clear the whole panel.
After you grind and do your bodywork, wetsand up to the body line. Clean it all up and mask the area off. Prime just up past where you have bare metal. Wet sand the primer. Paint the primer. Next coat just paint a little further up covering your fresh paint. do the same with every coat but don't go clear up to the body line. Then clear the whole panel.
#5
05-11-2009
dont wet sand any of the base unless it looks like the surface of the moon (grainy). itll work better that way. put on a few coats of clear (with a rattle can id probably do 4 or 5, dry film thickness is always really poor with spray bombs) and after a few days you should be able to lightly colorsand the clear and buff it to make it smooth.
I dont care who you are, using a rattle can to clear will look great when its first done, but after it shrinks it always looks peely and like poo. Its the nature of the product.
#6
06-07-2009
okay well first test was my tailgate because if i messed up i would just bedline the bottom section...
unfortunately forgot to take pics of the prep but i ground off all the paint down to the bare metal on both sides. put on 5-6 layers of primer. the inside of the tailgate i covered in about 10 layers of glossy black rust paint.
the paint side i wet sanded down smooth (i have to work on this because with the base color on i can see spots that i missed or should have done more). Base color went on really well, did about 8-9 coats because i did them really lightly. waited for it to harden and then did 5-6 layers of clear.
right now i cant tell how well it matches. they are very very close but with the paint being 11 years old and having the clear coat still orange peeled the new paint looks a little darker. clear just went on yesterday so im going to wait a week for it to get really hard and then start color sanding.
but on to the pics, let me know what you think. you can see the seem where the clear stops so that will be gone once i color sand and polish it.
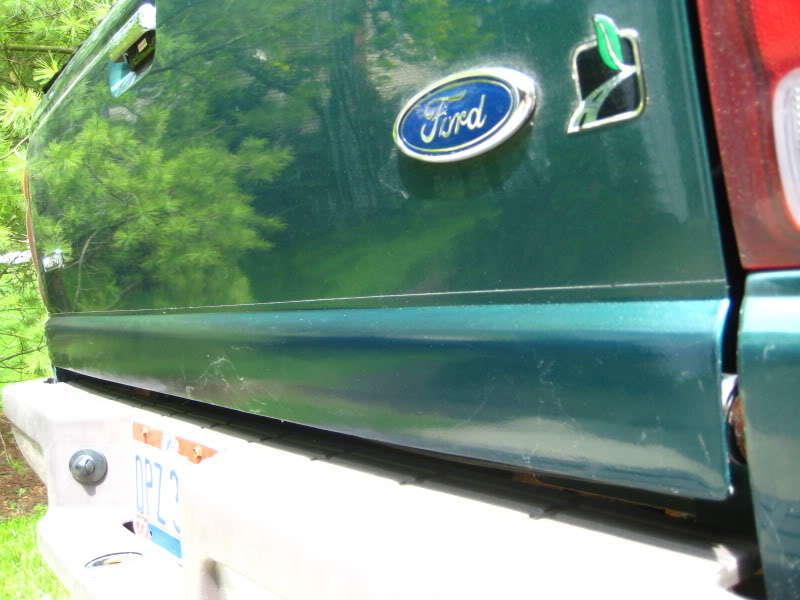
thats dust on the bottom of the tailgate. pollen is still bad right now
limited badge is coming off in the next 5 mins ha, i dunno what i was thinking. free from jusnes mod so i threw it on
unfortunately forgot to take pics of the prep but i ground off all the paint down to the bare metal on both sides. put on 5-6 layers of primer. the inside of the tailgate i covered in about 10 layers of glossy black rust paint.
the paint side i wet sanded down smooth (i have to work on this because with the base color on i can see spots that i missed or should have done more). Base color went on really well, did about 8-9 coats because i did them really lightly. waited for it to harden and then did 5-6 layers of clear.
right now i cant tell how well it matches. they are very very close but with the paint being 11 years old and having the clear coat still orange peeled the new paint looks a little darker. clear just went on yesterday so im going to wait a week for it to get really hard and then start color sanding.
but on to the pics, let me know what you think. you can see the seem where the clear stops so that will be gone once i color sand and polish it.
thats dust on the bottom of the tailgate. pollen is still bad right now
limited badge is coming off in the next 5 mins ha, i dunno what i was thinking. free from jusnes mod so i threw it on
#7
06-07-2009
it looks pretty good. The color and everything looks nice as well. As far as the clearcoat line goes, if you reverse mask in that area, it can help keep a softer line for when it comes time to polish. Also, if you sand with some 1500 grit or so past where you mask, it also makes the edge easier to polish away. just do it lightly though, you dont want to burn through the original paint.
Ill try to get a pic of what reverse masking is.
Ill try to get a pic of what reverse masking is.
#8
06-07-2009
ok Here.
we are gonna mask this -
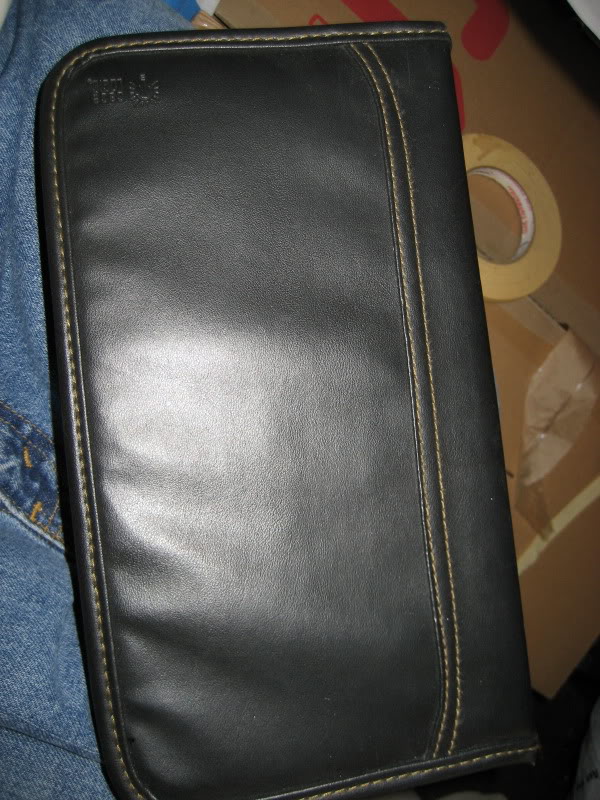
normally, you would have your paper and tape and you would lay it down like this right?
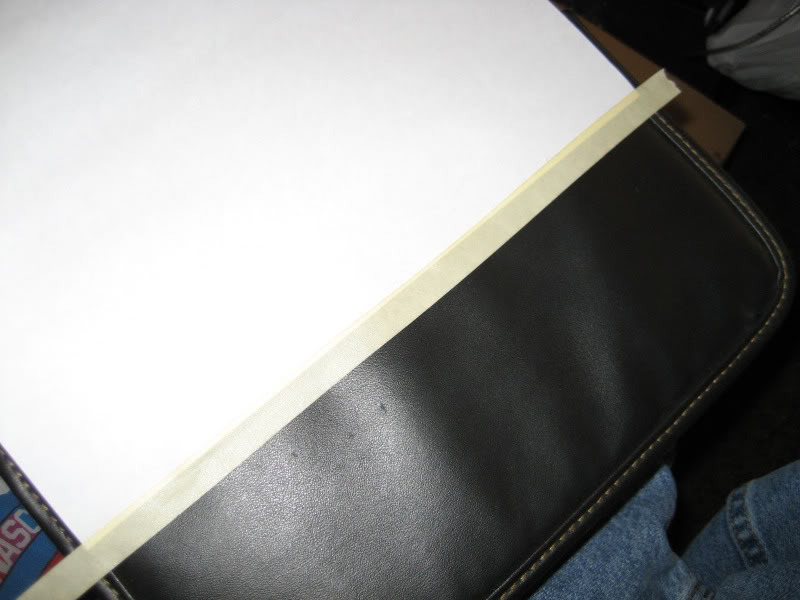
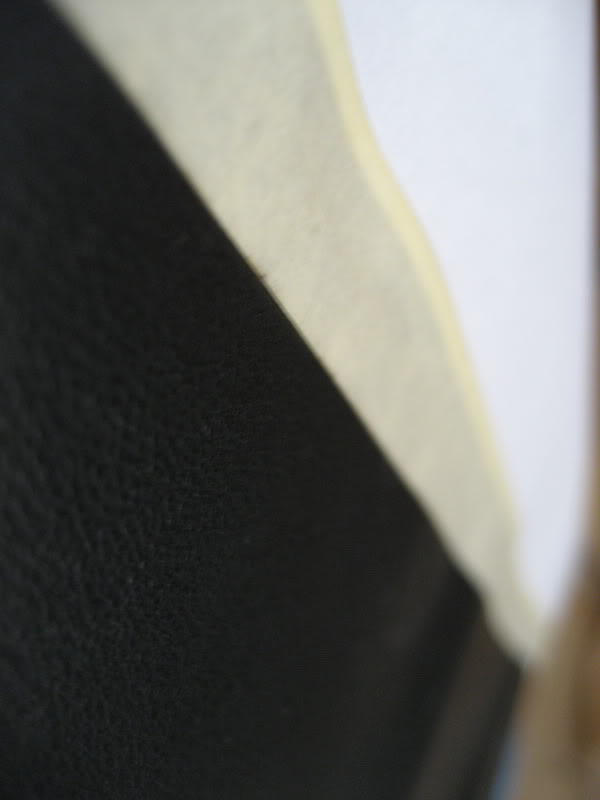
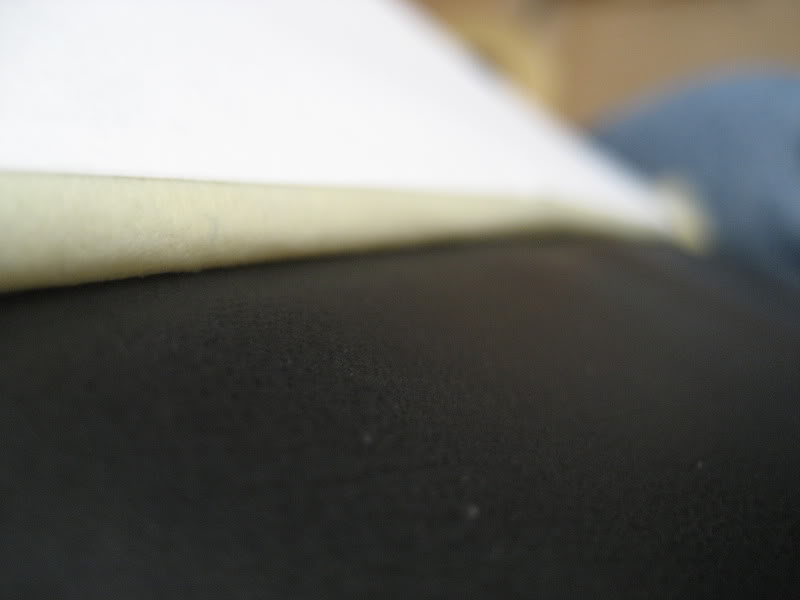
however, when you paint directly up to the tape edge, paint will accumulate there and create a hard line. this is that edge where the tape line just stops.
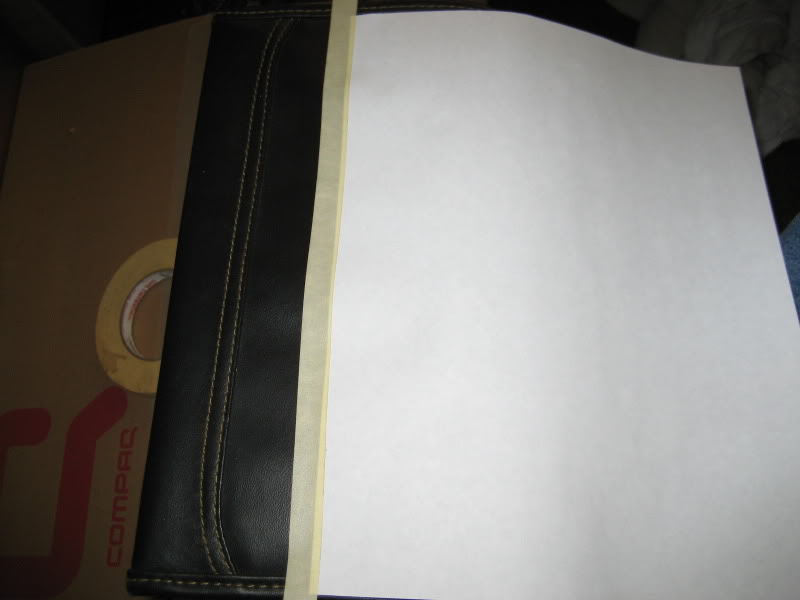
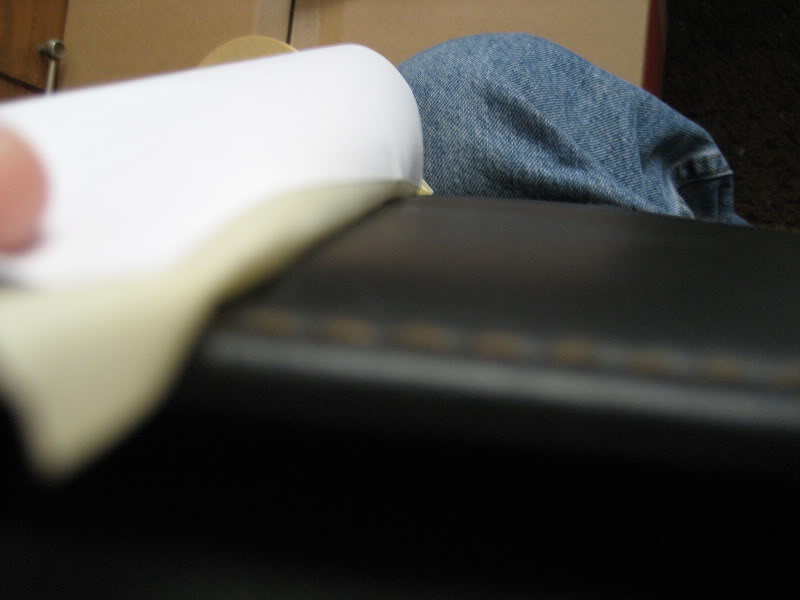
instead of doing it that way, reverse mask it. take your paper, but start with it so it drapes over the area you are gonna paint on. like so...
Then just flip the paper over.
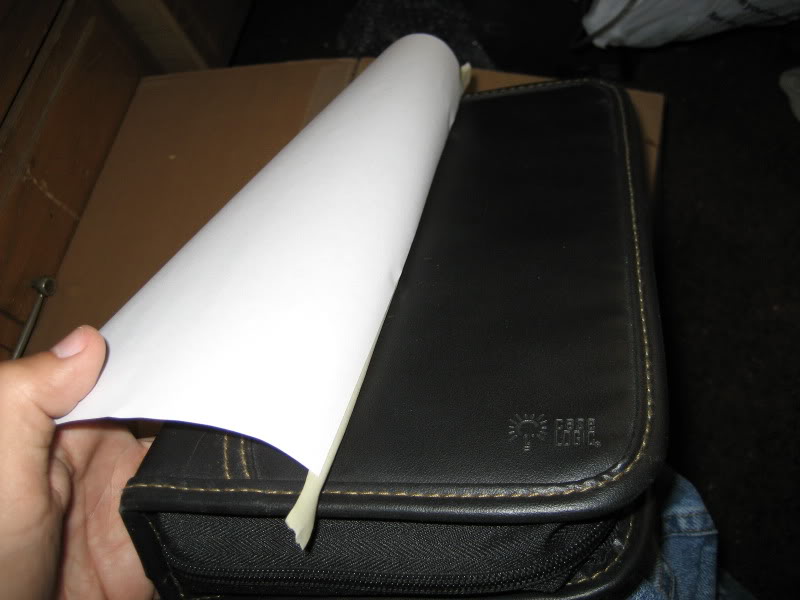
What this does, is keep the tape from laying down perfectly flat and helps soften the edge where the paint builds up. That is because the tape does not lay flat, instead there is a roll in the edge that allows a softer line of overspray.
If you sand underneath where you put the tape line and take it back another inch or so with 1500 grit, you can polish the line down a lot easier. just dont hit it TOO hard otherwise the clear line can start to tear back and leave a squiggily line of clear thats just kind of ugly.
Hope some of that helps.
we are gonna mask this -
normally, you would have your paper and tape and you would lay it down like this right?
however, when you paint directly up to the tape edge, paint will accumulate there and create a hard line. this is that edge where the tape line just stops.
instead of doing it that way, reverse mask it. take your paper, but start with it so it drapes over the area you are gonna paint on. like so...
Then just flip the paper over.
What this does, is keep the tape from laying down perfectly flat and helps soften the edge where the paint builds up. That is because the tape does not lay flat, instead there is a roll in the edge that allows a softer line of overspray.
If you sand underneath where you put the tape line and take it back another inch or so with 1500 grit, you can polish the line down a lot easier. just dont hit it TOO hard otherwise the clear line can start to tear back and leave a squiggily line of clear thats just kind of ugly.
Hope some of that helps.
#9
06-07-2009
#10
07-22-2009

Thread
Thread Starter
Forum
Replies
Last Post


