bumper build (finally)
#51
 09-19-2009


the bumper looks pretty wicked man! i'm totally impressed, what I would recommend, for the lights IN the bumper, as that would look pretty wicked, is set them back 4 inches or so (the farther back, the more of a spot they are going to become) this will protect them much more, and weld some bars across the holes, something like 1/4" round stock or so, that will not allow much to get past... 3 vertical 3 horizontal or such... you should be able to pick up enough to make that, from a hardware store for no more than about 10$
#52
09-19-2009
Join Date: Nov 2008
Location: san jose, Costa Rica
Posts: 1,319
Likes: 0
Received 0 Likes
on
0 Posts
yeah the 4 lights go as far back as possible to protect them and over goes some tubbing as i did in the drwaing first page. excect im not sure bout the tubbing over the headlights.. but the center tubing goes. prlly diferent support in the middle that was ment to protect the lights.
im going to see if i can find a cheap saw drill to make the hole to put the stock lamps on the bumper in the sides.
im going to see if i can find a cheap saw drill to make the hole to put the stock lamps on the bumper in the sides.
#54
09-19-2009
Join Date: Jun 2007
Location: Phoenix, AZ
Posts: 1,462
Likes: 0
Received 0 Likes
on
0 Posts
#55
09-19-2009
you know thinking about it, you probably don't need to go much farther back than about 2 inches...
and for the grills, here is what I was thinking... sorry to bastardize your picture, but i think it gets my point across, the light grill, just weave them in and out, kinda like i have shown, even 1/4 might be overkill... you just want something that won't bend when you push on it (while woven like that) i would also tack weld the crosses...
on this pic, i also changed what i think you should do with your lower bumper supports, the area with the purple is a structural area (that is missing) from your mounts, with the slight different change inthe design i have drawn, it will make a BIG difference, you want as much material measuring from connection points, in a straight line... so connection points on the bumper would be the welds, and on the body would be the bolts green lines are where you are going to see cracks (if you see any)
#56
09-19-2009
Join Date: Nov 2008
Location: san jose, Costa Rica
Posts: 1,319
Likes: 0
Received 0 Likes
on
0 Posts
oh ok i get what u say bout the light.. yeah i was thinking of throw it back a few inches. thought u were saying bout the lights on top.
and that plate is only for giving some support as the line is net nearly straight. as a matter a fact i had to weld 2 pieces together for each bracket. adn 2 triangles for extra support in it. also i befed a little more the main brackets that are behind. ill post some pics tomarrow.
and that plate is only for giving some support as the line is net nearly straight. as a matter a fact i had to weld 2 pieces together for each bracket. adn 2 triangles for extra support in it. also i befed a little more the main brackets that are behind. ill post some pics tomarrow.
#57
09-19-2009
#58
09-20-2009
Join Date: Nov 2008
Location: san jose, Costa Rica
Posts: 1,319
Likes: 0
Received 0 Likes
on
0 Posts

#61
09-23-2009
Join Date: Nov 2008
Location: san jose, Costa Rica
Posts: 1,319
Likes: 0
Received 0 Likes
on
0 Posts
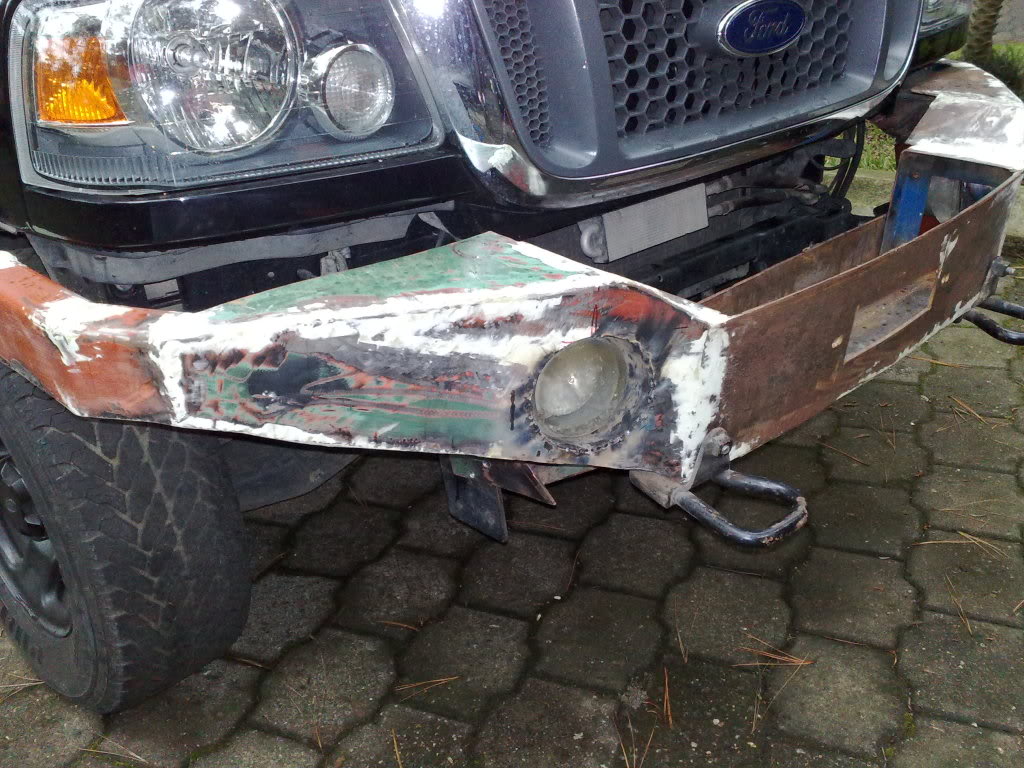
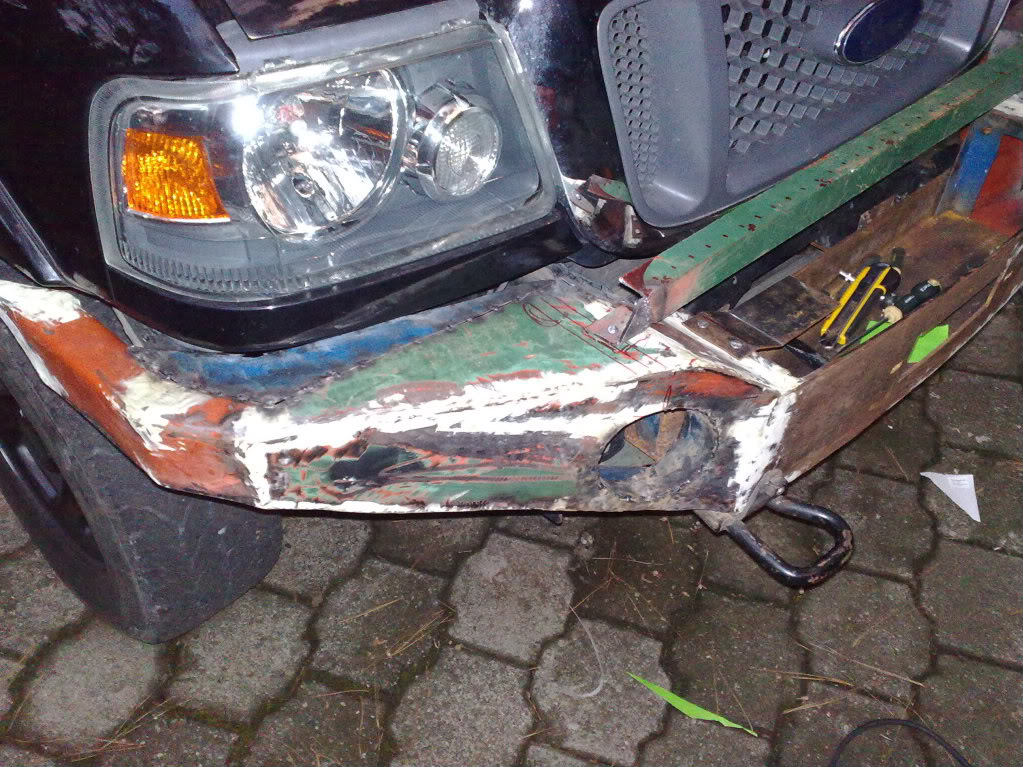
havent done much this days.. to much work/university/rain...
but i did find the 5" saw drill to make the holes for the stock fog lights... did them already.. now im trying to see how the hell i make them look decent there. i was trying to see if i could put them in andle so they looked straight foward... but i guess ill set it back 1 1/2" all around so they will look slightly towards the sides... but that doesent bother me. i actually like it lookng slighty to the side as the car lights look straight foward i dont need them looking to the front.. specialyy if im adding 4 lamps on thop of the bumper.
if i can work tomarrow ll post pics. hope i can get into paninting it on monday or tuesday next week..
now is when i really do honor to what i said at the begining... slow build...
#63
09-24-2009
Join Date: Nov 2008
Location: san jose, Costa Rica
Posts: 1,319
Likes: 0
Received 0 Likes
on
0 Posts
#64
09-25-2009
Join Date: Nov 2008
Location: san jose, Costa Rica
Posts: 1,319
Likes: 0
Received 0 Likes
on
0 Posts
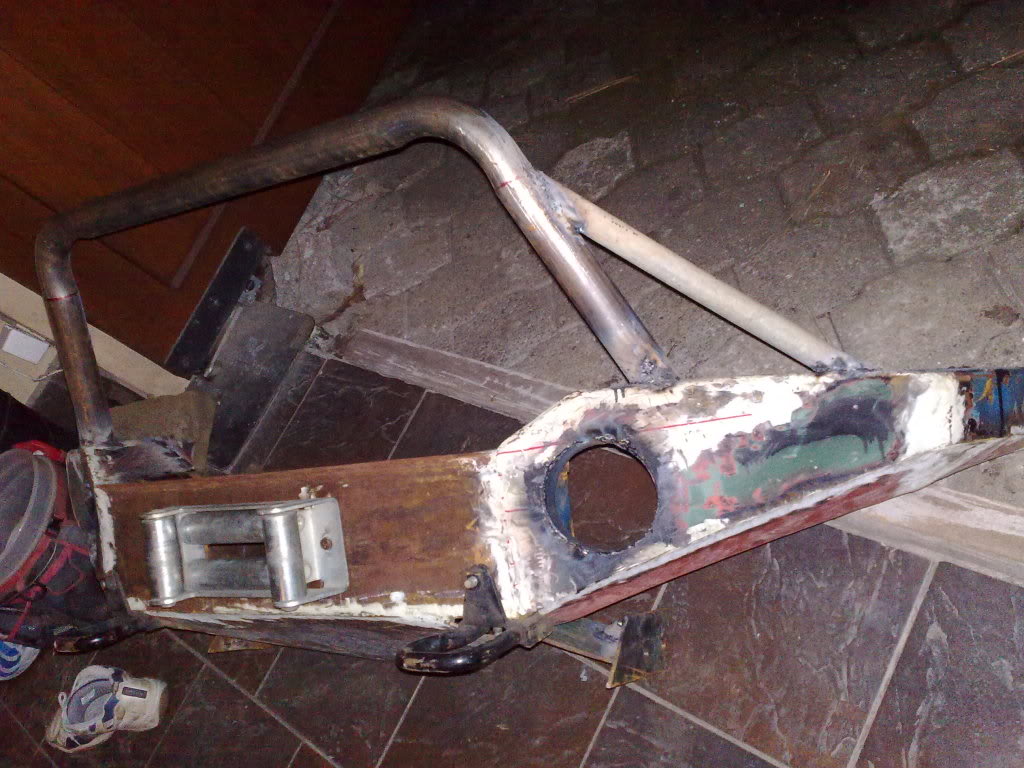
woot! painting it on wensday :)
im going on monday to get a tube bended for the upper part to protect my 4 lights
did the light bar, still need to finish it though... and filled a couple holes on the sides i hated .
also did put the solenoid mount for the winch fits likes a surgeon glove under the light bar
before
after
and the same on the other side.. but a lil different as the gap was much smaller
this pic is with the bumper not fitted correctly to the truck thats why its not squared
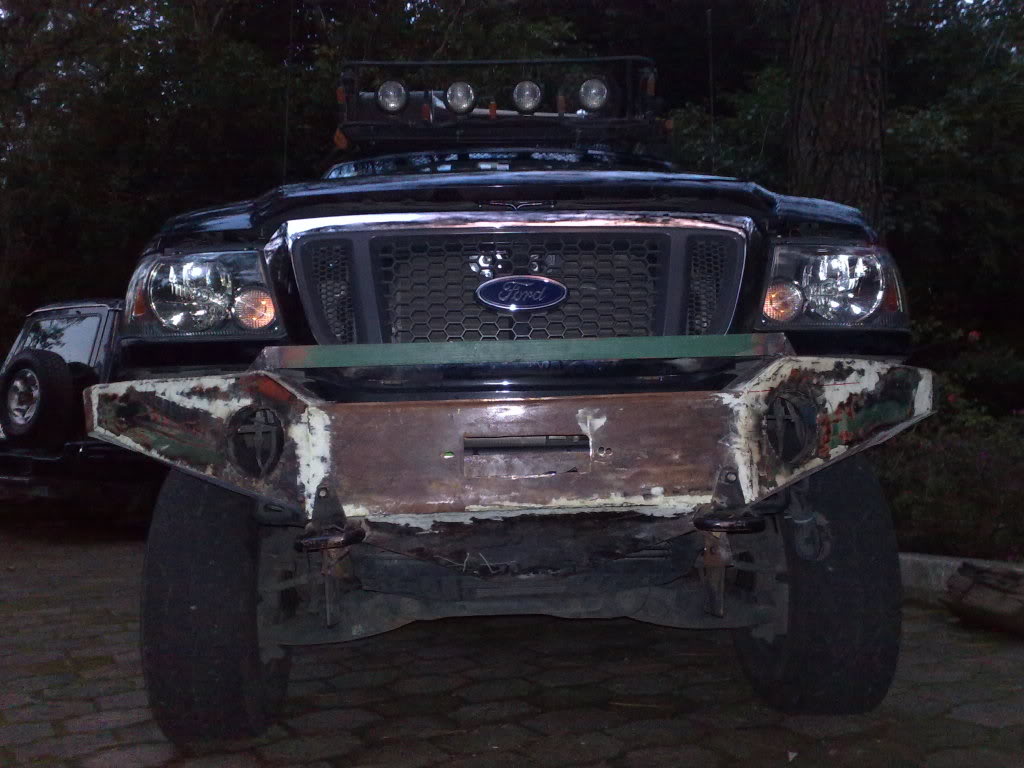
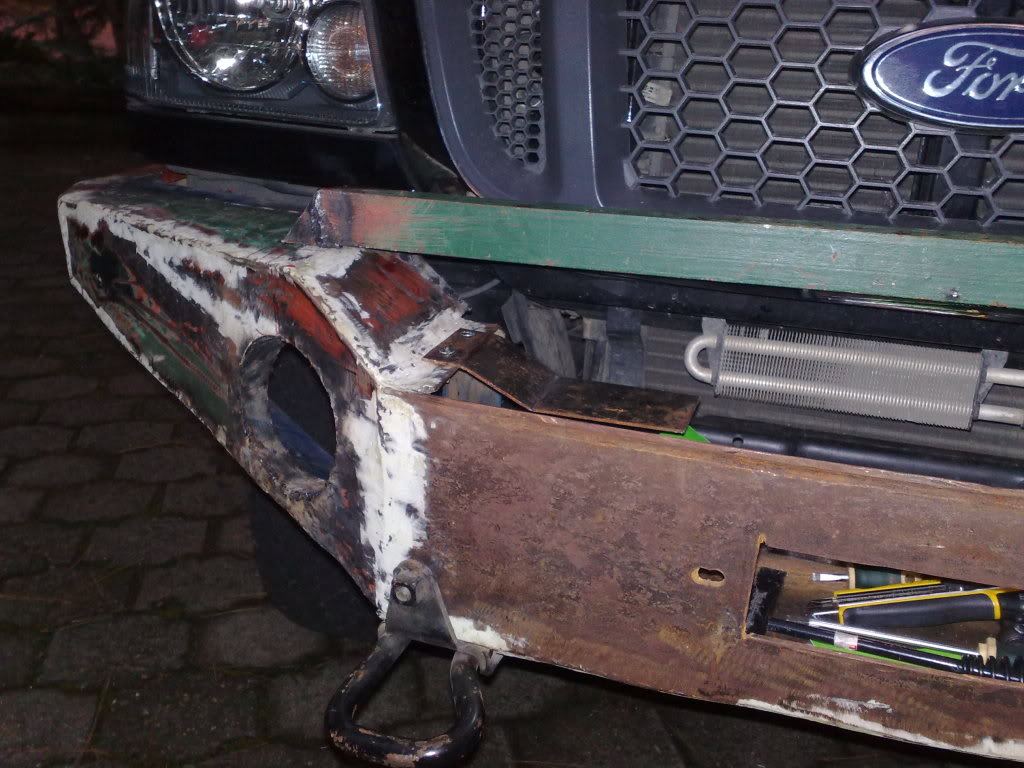
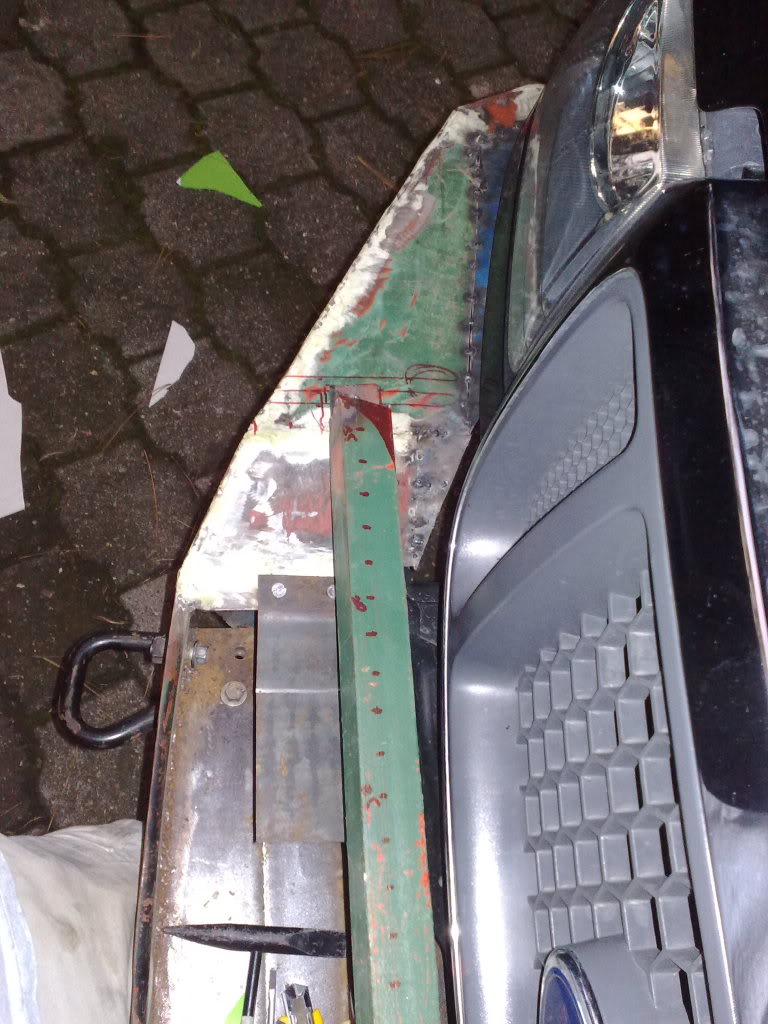
hope it doesent rain this days as im too lazy to take the bumper off..again...
im going on monday to get a tube bended for the upper part to protect my 4 lights
did the light bar, still need to finish it though... and filled a couple holes on the sides i hated .
also did put the solenoid mount for the winch fits likes a surgeon glove under the light bar
before
after
and the same on the other side.. but a lil different as the gap was much smaller
this pic is with the bumper not fitted correctly to the truck thats why its not squared
hope it doesent rain this days as im too lazy to take the bumper off..again...
#66
09-26-2009


I need to add my stock fogs into my bumper. it would be easier if I had dont it plate style like yours but mine is all 2" tube steel so I have 2 layers to figure out how to make it work.
gona look a million times better with paint on it i'm sure. Its so hard to see past all the nastyness haha
gona look a million times better with paint on it i'm sure. Its so hard to see past all the nastyness haha
#68
09-26-2009
Join Date: Nov 2008
Location: san jose, Costa Rica
Posts: 1,319
Likes: 0
Received 0 Likes
on
0 Posts
its some type of past used to do finishing touches in some paint shops here before paint. still need to add a big layer before painting it
im glad i deided to go heads up in doing the bumper alone. have learned alot from my mistakes and how to fix em up and figuring how to do alot of stuff i had no idea on were to start on it.
guess itl be easier to do my rear bumper now :)
im glad i deided to go heads up in doing the bumper alone. have learned alot from my mistakes and how to fix em up and figuring how to do alot of stuff i had no idea on were to start on it.
guess itl be easier to do my rear bumper now :)
#69
09-26-2009
Join Date: Nov 2008
Location: san jose, Costa Rica
Posts: 1,319
Likes: 0
Received 0 Likes
on
0 Posts
its some type of past used to do finishing touches in some paint shops here before paint. still need to add a big layer before painting it
im glad i deided to go heads up in doing the bumper alone. have learned alot from my mistakes and how to fix em up and figuring how to do alot of stuff i had no idea on were to start on it.
guess itl be easier to do my rear bumper now :)
im glad i deided to go heads up in doing the bumper alone. have learned alot from my mistakes and how to fix em up and figuring how to do alot of stuff i had no idea on were to start on it.
guess itl be easier to do my rear bumper now :)
#70
09-26-2009
Join Date: Nov 2008
Location: san jose, Costa Rica
Posts: 1,319
Likes: 0
Received 0 Likes
on
0 Posts
woot 4 new toys. GF b-day present

not the best lamps but theyl do the job :) 7" btw
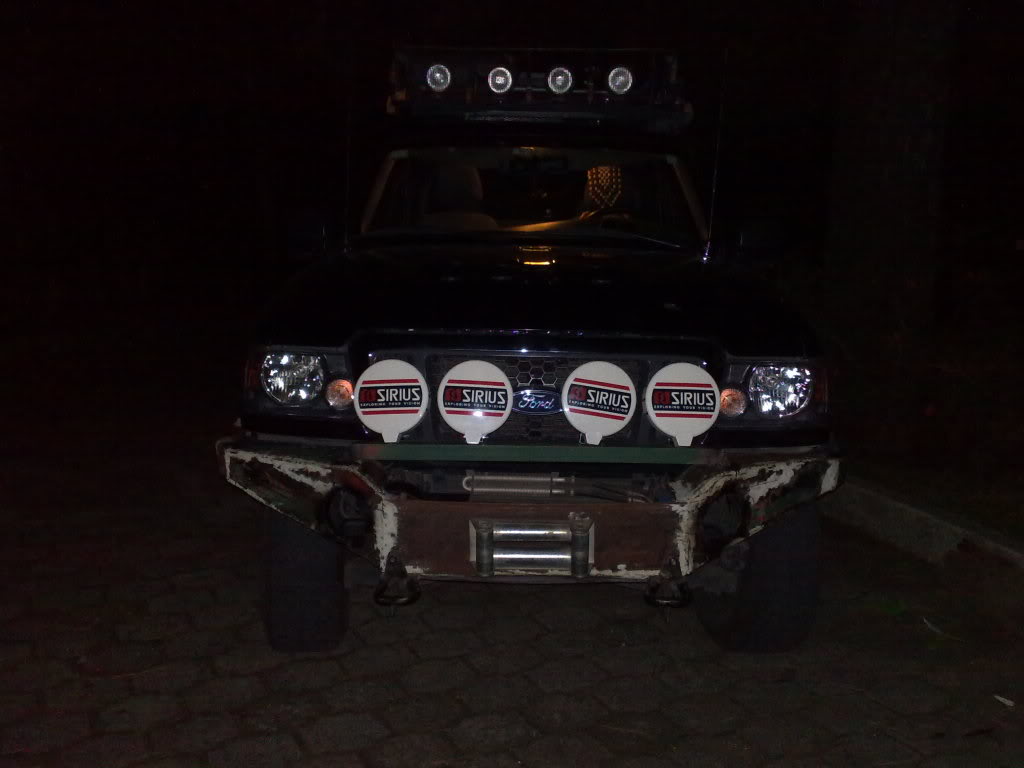
havent mounted hhavent done the holes on the tab yet... tomarrow i guess :)
not sure though if i want to leave the ford emblem on the center showing or not.... guess ill leave the holes open for both setups so i can change that later :S
not the best lamps but theyl do the job :) 7" btw
havent mounted hhavent done the holes on the tab yet... tomarrow i guess :)
not sure though if i want to leave the ford emblem on the center showing or not.... guess ill leave the holes open for both setups so i can change that later :S
#71
09-27-2009
Join Date: Jan 2005
Location: Rancho Cucamonga
Posts: 231
Likes: 0
Received 0 Likes
on
0 Posts
#72
09-29-2009
Join Date: Nov 2008
Location: san jose, Costa Rica
Posts: 1,319
Likes: 0
Received 0 Likes
on
0 Posts
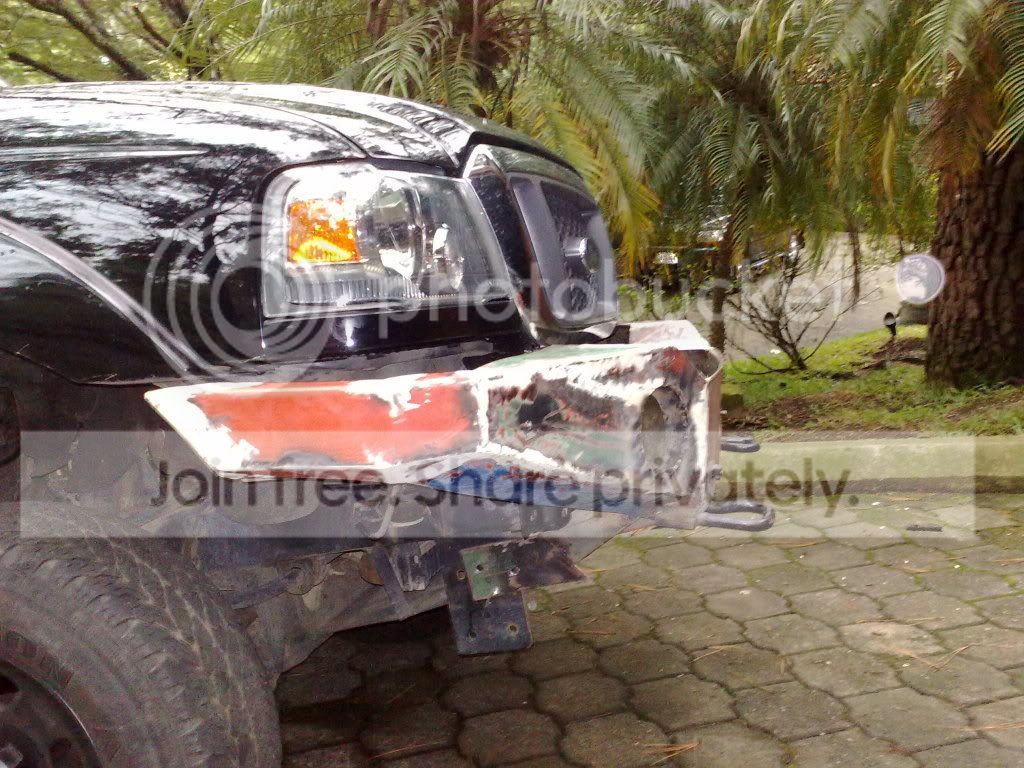
lil update.. havent been able to do much. forgot to take pics when i had it mounted on the truck with the lamps... looked pretty nice..
is off now before final touches and hopefully paint thursday and friday
a pair of sots on the floor
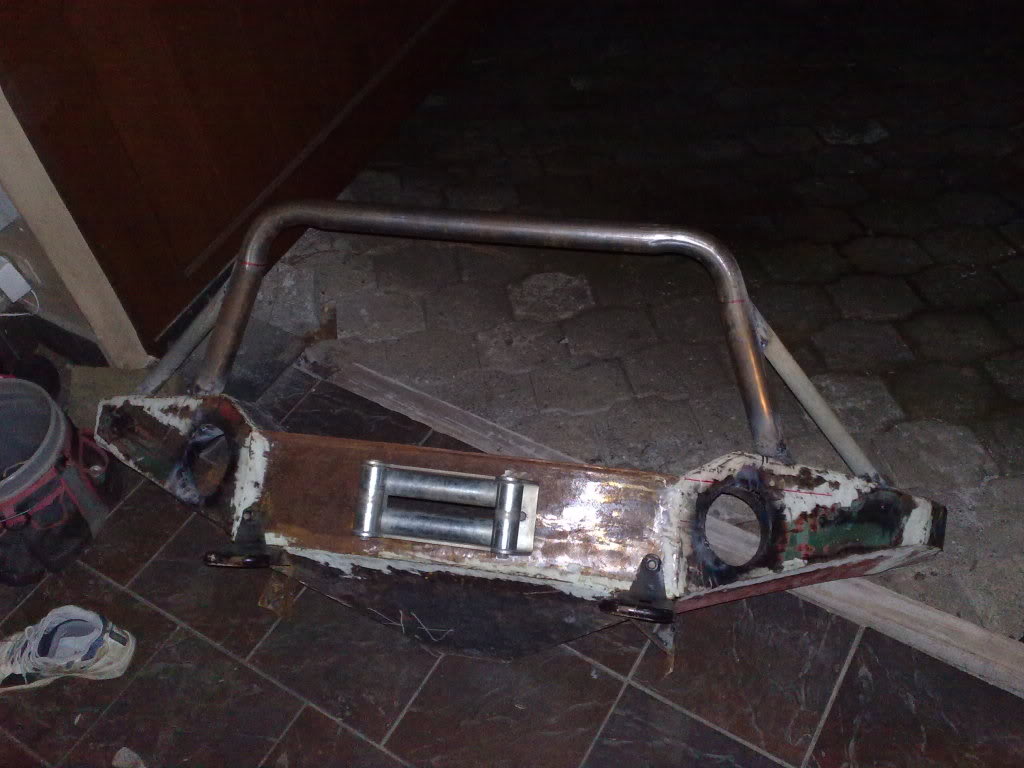
with the lamps its not tht high.. actualy its in line with top of the grill
is off now before final touches and hopefully paint thursday and friday
a pair of sots on the floor
with the lamps its not tht high.. actualy its in line with top of the grill
#73
09-29-2009

#74
09-30-2009
Join Date: Nov 2008
Location: san jose, Costa Rica
Posts: 1,319
Likes: 0
Received 0 Likes
on
0 Posts


