Fabrication & Tool Tech Need assistance with or got ideas for custom metal fabrication? Want to show off your fabrication abilities or custom modifications? This is the sub-forum for you.

Taylor's steel rear bumper

Thread Tools
 
Search this Thread
 
  #1  
Old 01-16-2011
Taylor's Avatar
Ive been dubbed....an old volk
Thread Starter
iTrader: (18)
Join Date: Mar 2010
Location: Nashville, NC
Posts: 7,110
Likes: 0
Received 3 Likes on 3 Posts
Taylor's steel rear bumper

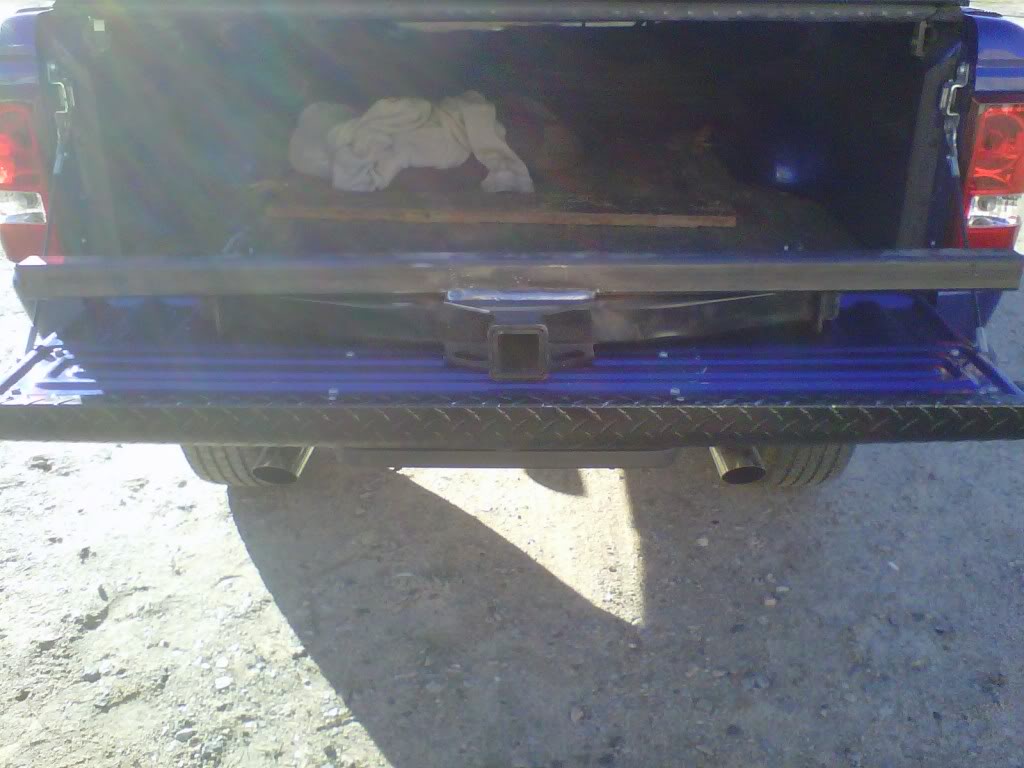
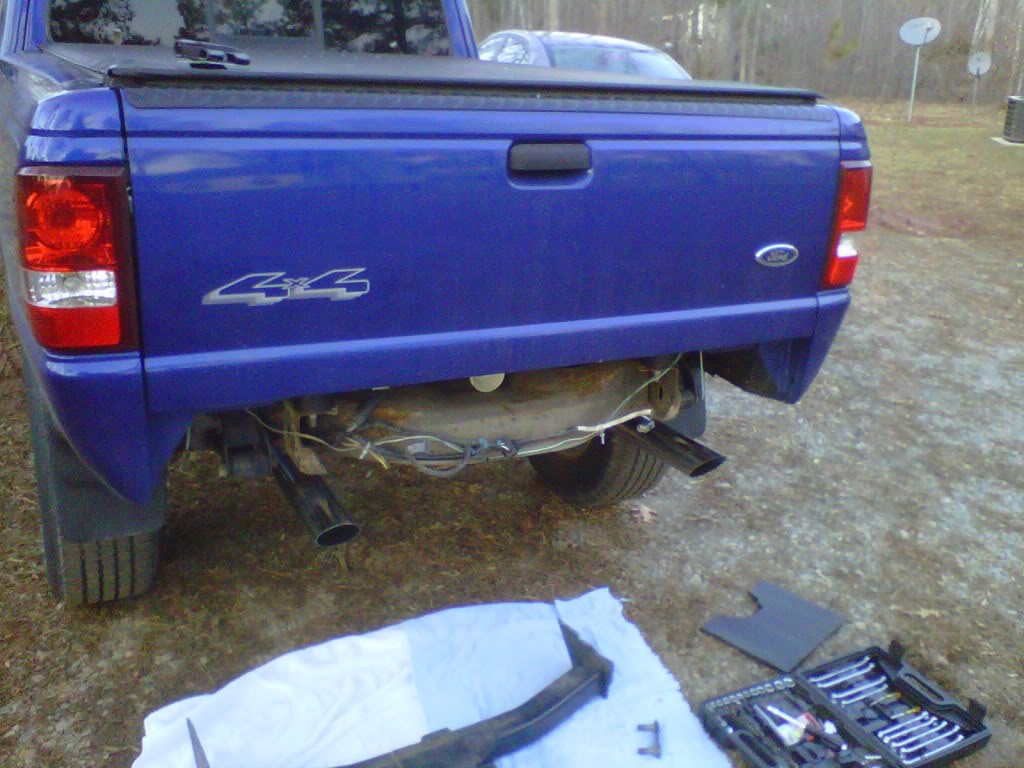
Well, starts off as a "teaser" because im not finished with the bumper yet.

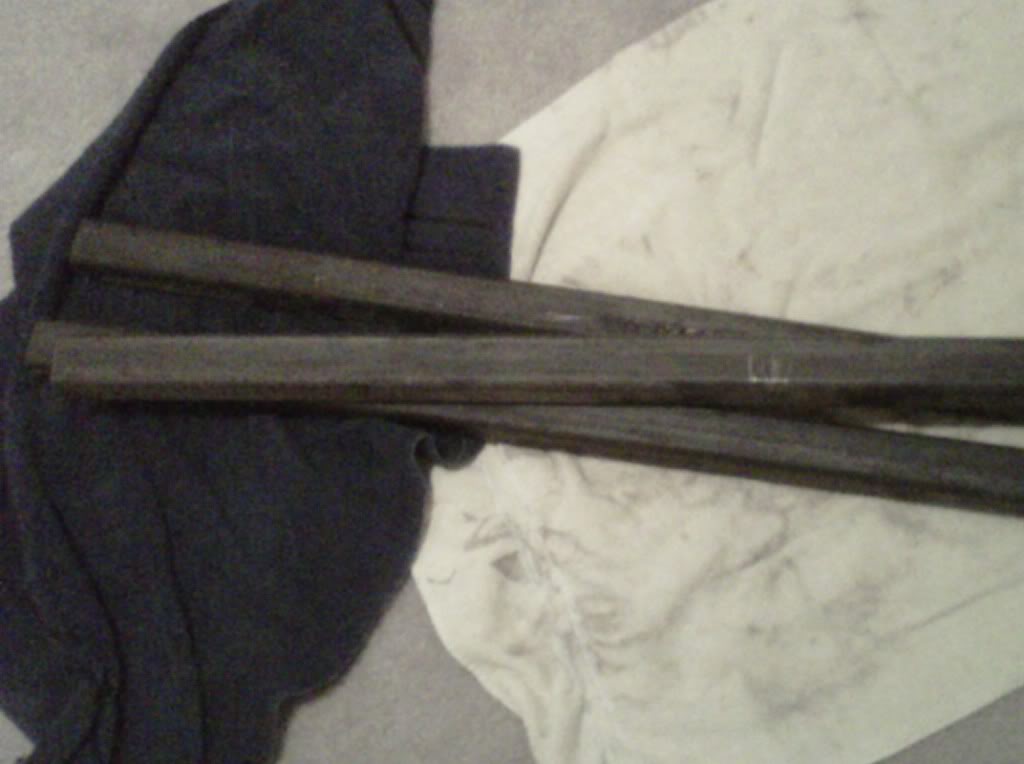
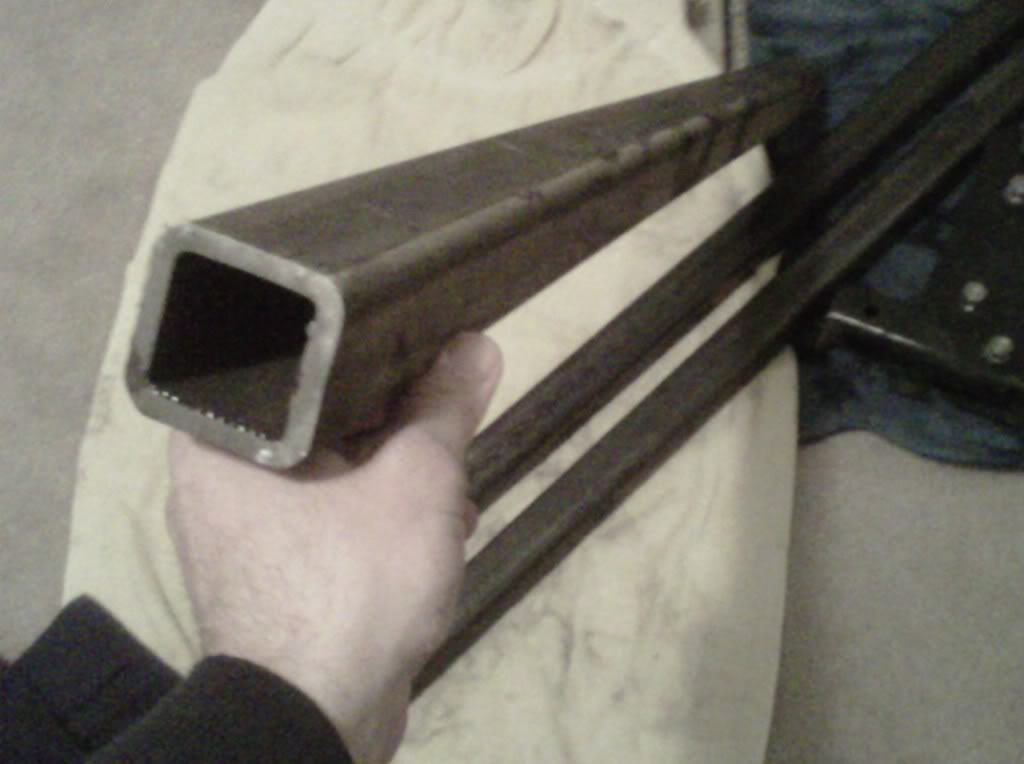
Hacked up my rear hitch some. Using 2 inch square tubing. 1/4 inch thick. Beef.

Ill be stick welding all of this. 8018 rods. Bumper will include rear hitch, and two clevises.

More pics to come later.
Name:  IMG00202-20110116-1658.jpg
Views: 133
Size:  132.4 KB
Name:  IMG00203-20110116-1739.jpg
Views: 137
Size:  52.7 KB
Name:  IMG00204-20110116-1739.jpg
Views: 115
Size:  53.8 KB
 
  #2  
Old 01-16-2011
btm757's Avatar
Member
iTrader: (5)
Join Date: Jun 2009
Location: Norfolk / Chesapeake, VA
Posts: 3,980
Likes: 0
Received 1 Like on 1 Post
You might make me want one
 
  #3  
Old 01-16-2011
evilclown312's Avatar
Member
iTrader: (3)
Join Date: Dec 2008
Location: Logan ohio
Posts: 2,772
Likes: 0
Received 1 Like on 1 Post
I got somthing like this in the works as well!
 
  #4  
Old 01-16-2011
TrePaul86's Avatar
Member
iTrader: (8)
Join Date: Apr 2007
Location: Gresham, OR
Posts: 1,369
Likes: 0
Received 3 Likes on 3 Posts
Wirelessly posted (Droid X)

Why would you stick weld it? Just gonna create more work for you when you go to clean it up.
 
  #5  
Old 01-16-2011
Bird76Mojo's Avatar
Member
iTrader: (2)
Join Date: Dec 2009
Location: Central, IL.
Posts: 1,434
Received 5 Likes on 5 Posts
If a stick is all he's got then it'll be fine. As long as he's ready to do PLENTY of grinding afterwards. lol


GB :)
 
  #6  
Old 01-16-2011
TrePaul86's Avatar
Member
iTrader: (8)
Join Date: Apr 2007
Location: Gresham, OR
Posts: 1,369
Likes: 0
Received 3 Likes on 3 Posts
If it's what you have, it's what you have. I would suggest MIG... Something that's not as dirty as SMAW.
 
  #7  
Old 01-17-2011
Taylor's Avatar
Ive been dubbed....an old volk
Thread Starter
iTrader: (18)
Join Date: Mar 2010
Location: Nashville, NC
Posts: 7,110
Likes: 0
Received 3 Likes on 3 Posts
Well, it will all be welded at work. Long story short, its too much of a hassle to mig weld it at work due to my supervisor and the maintenance guys.

And as for cleaning it up when finished...it depends on how good you are at stick welding.....hehehe
 
  #8  
Old 01-17-2011
Taylor's Avatar
Ive been dubbed....an old volk
Thread Starter
iTrader: (18)
Join Date: Mar 2010
Location: Nashville, NC
Posts: 7,110
Likes: 0
Received 3 Likes on 3 Posts
Oh and I have a quick question.

I posted this in another thread, but will the two stock bumper mount bolt holes be strong enough for towing and pulling other vehicles with the bumper?

Also can I use the stock bolts, or should I get some 8 hardware?
 
  #9  
Old 01-17-2011
TrePaul86's Avatar
Member
iTrader: (8)
Join Date: Apr 2007
Location: Gresham, OR
Posts: 1,369
Likes: 0
Received 3 Likes on 3 Posts
Wirelessly posted (Droid X)

Originally Posted by Taylor
Well, it will all be welded at work. Long story short, its too much of a hassle to mig weld it at work due to my supervisor and the maintenance guys.

And as for cleaning it up when finished...it depends on how good you are at stick welding.....hehehe
Still gonna take quite a bit of time to clean up, regardless of how good you are
 
  #10  
Old 01-17-2011
Taylor's Avatar
Ive been dubbed....an old volk
Thread Starter
iTrader: (18)
Join Date: Mar 2010
Location: Nashville, NC
Posts: 7,110
Likes: 0
Received 3 Likes on 3 Posts
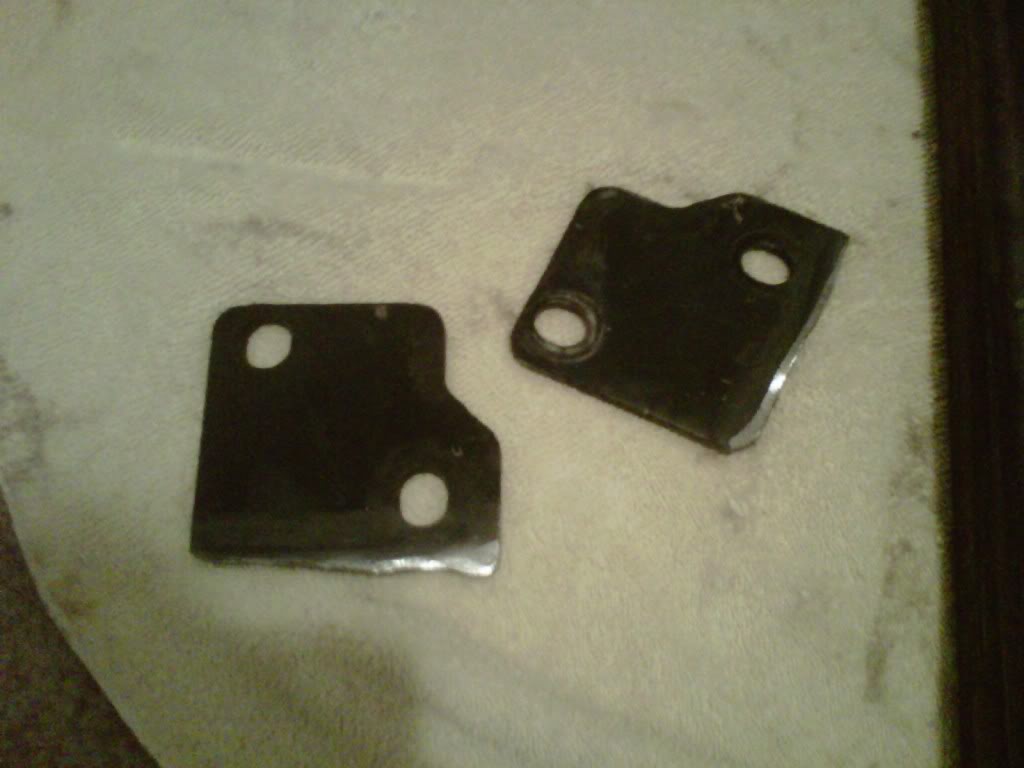
Here are my templates for the hitch mount holes. These were the original mouting points on the hitch (minus the third bolt that bolted to the bottom side of the frame)

Edges all cleaned up. These will double as templates and reinforcement for the mouting.

These will be welded onto the hitch where it will mount to the frame
Name:  IMG00205-20110117-1853.jpg
Views: 116
Size:  55.9 KB

The question still remains as if the 2 holes on each side for mounting will be strong enough for towing and pulling?
 
  #11  
Old 01-17-2011
Bird76Mojo's Avatar
Member
iTrader: (2)
Join Date: Dec 2009
Location: Central, IL.
Posts: 1,434
Received 5 Likes on 5 Posts


GB :)
 
  #12  
Old 01-17-2011
TrePaul86's Avatar
Member
iTrader: (8)
Join Date: Apr 2007
Location: Gresham, OR
Posts: 1,369
Likes: 0
Received 3 Likes on 3 Posts
It's not just the tensile strength of the bolt... It's also the base metal, and being that looke 3/16" or smaller, it's gonna be a hard guess.
 
  #13  
Old 01-18-2011
btm757's Avatar
Member
iTrader: (5)
Join Date: Jun 2009
Location: Norfolk / Chesapeake, VA
Posts: 3,980
Likes: 0
Received 1 Like on 1 Post
I just go with grade 8 bolts. if its good enough for buildings its good enough for my truck. besides hitches normally call for grade 8
 
  #14  
Old 01-18-2011
Bird76Mojo's Avatar
Member
iTrader: (2)
Join Date: Dec 2009
Location: Central, IL.
Posts: 1,434
Received 5 Likes on 5 Posts
OP - Trace those brackets out on a sheet of 1/4" steel and drill/cut the brackets out of the 1/4" - Then weld that to your bumper. If you can, use 3/4 grade 8 hardware for mounting. It'll tow enough and pull more than enough to rip the truck in half. That's how my old 89 Rangers bumper is mounted. I built it and abused it majorly.

Also, it's more of the shear strength of the bolt that comes into play I'd say. The way most rear bumpers would be mounted, the bolts wouldn't be under tension but shear loads instead.


GB :)
 
  #15  
Old 01-18-2011
Taylor's Avatar
Ive been dubbed....an old volk
Thread Starter
iTrader: (18)
Join Date: Mar 2010
Location: Nashville, NC
Posts: 7,110
Likes: 0
Received 3 Likes on 3 Posts
The plates I just cut are about 1/4 (7/32 to be exact)

Also, these plates combined with the portion of the hitch that I'm welding it to will be about a half inch, so I should be good haha

And yeah I plan on running grade 8 hardware.
 
  #16  
Old 01-18-2011
Taylor's Avatar
Ive been dubbed....an old volk
Thread Starter
iTrader: (18)
Join Date: Mar 2010
Location: Nashville, NC
Posts: 7,110
Likes: 0
Received 3 Likes on 3 Posts
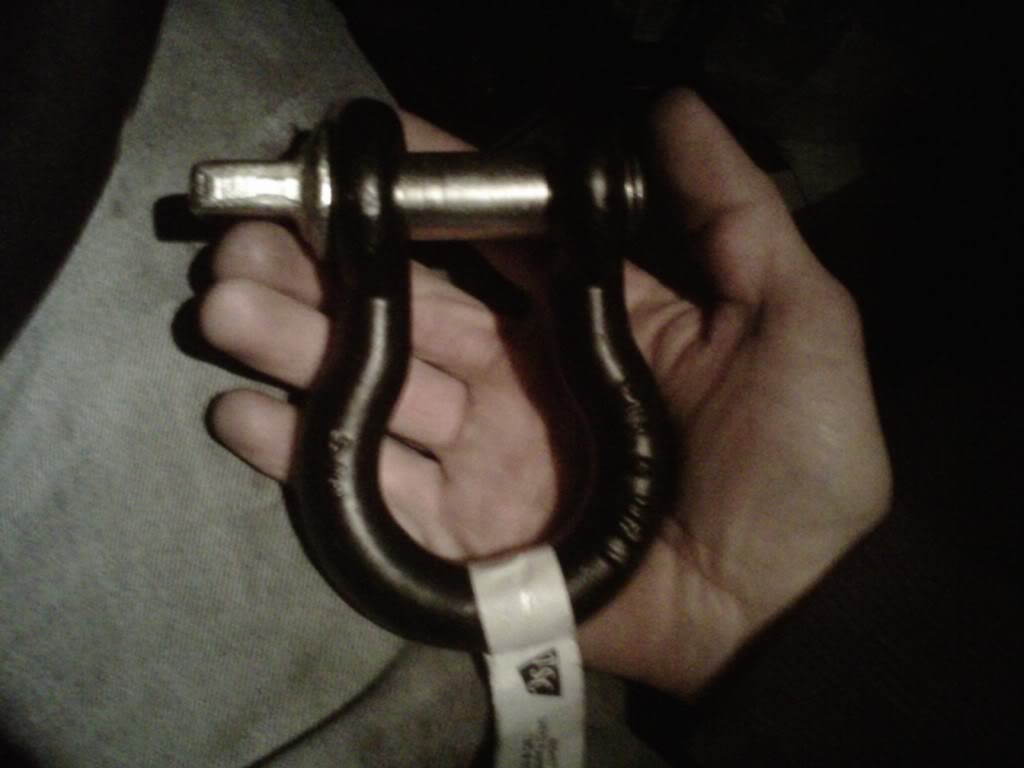
Picked two of these up today.

3/4" clevises. these things are huge. If im gonna go, might as well go big. lol.

Name:  IMG00206-20110118-1823.jpg
Views: 116
Size:  51.8 KB

And I have also decided that the plated that the clevise will mount on will also be bolted to the bottom of the frame right underneath where the bumper mounts are. Yay.
 
  #17  
Old 01-18-2011
Taylor's Avatar
Ive been dubbed....an old volk
Thread Starter
iTrader: (18)
Join Date: Mar 2010
Location: Nashville, NC
Posts: 7,110
Likes: 0
Received 3 Likes on 3 Posts
hmm...Im thinking that I should have bought the clevises with the cotter pins instead of the threaded pins.

Any suggestions? Im worried that they might vibrate loose while on the road.
 
  #18  
Old 01-18-2011
04blackedge's Avatar
RF Veteran
iTrader: (13)
Join Date: Jan 2007
Location: Durham, NC
Posts: 23,426
Likes: 0
Received 6 Likes on 6 Posts
I've yet to have the clevis on my shackle come loose, I have heard that happening to some guys though. Mine normally seizes shut and I have to break it lose with a screwdriver handle lol
 
  #19  
Old 01-18-2011
littlered's Avatar
Member
iTrader: (2)
Join Date: Sep 2008
Location: Lewistown, Mo
Posts: 1,542
Likes: 0
Received 1 Like on 1 Post
You could use thread locker but if you tighten them good enough they shouldnt rattle out. The biggest problem you will have is getting it lose after it rusts.
 
  #20  
Old 01-18-2011
TrePaul86's Avatar
Member
iTrader: (8)
Join Date: Apr 2007
Location: Gresham, OR
Posts: 1,369
Likes: 0
Received 3 Likes on 3 Posts
Wirelessly posted (Droid X)

Originally Posted by 04blackedge
I've yet to have the clevis on my shackle come loose, I have heard that happening to some guys though. Mine normally seizes shut and I have to break it lose with a screwdriver handle lol
Not to mention yours is a but bigger than 3/4" right? Lol
 
  #21  
Old 01-18-2011
04blackedge's Avatar
RF Veteran
iTrader: (13)
Join Date: Jan 2007
Location: Durham, NC
Posts: 23,426
Likes: 0
Received 6 Likes on 6 Posts
Originally Posted by TrePaul86
Wirelessly posted (Droid X)


Not to mention yours is a but bigger than 3/4" right? Lol
Just a tad haha
 
  #22  
Old 01-18-2011
Taylor's Avatar
Ive been dubbed....an old volk
Thread Starter
iTrader: (18)
Join Date: Mar 2010
Location: Nashville, NC
Posts: 7,110
Likes: 0
Received 3 Likes on 3 Posts
Well I might go back and trade them tomorrow anyways.

Dont wont to worry about it bouncing down the road. Would I have trouble getting the cotter pin off once it rust (or will it rust?)

I thought the pins were rust resistant or something.
 
  #23  
Old 01-18-2011
Jelly's Ford's Avatar
Member
iTrader: (3)
Join Date: Mar 2010
Location: KnoxVegas, TN
Posts: 874
Likes: 0
Received 3 Likes on 3 Posts
I am liking the build!

About the cotter pins, I would make sure they are stainless. I got several pins all over my Gravely walk-behind mower that is 3 years old and none of them have rusted. But the gravely is only out for like 2/3 of the year anyways lol.
 
  #24  
Old 01-19-2011
Taylor's Avatar
Ive been dubbed....an old volk
Thread Starter
iTrader: (18)
Join Date: Mar 2010
Location: Nashville, NC
Posts: 7,110
Likes: 0
Received 3 Likes on 3 Posts
Today got 3/4" hitch pins with cotter pins instead of the threaded ends that came with the clevises.

welded on the shim/template/reinforcement everything plates today. Now I have 1/2 inch of base metal so Im good lol.

No pics today, will post pics when holes are drilled and hitch mounted to truck.
 
  #25  
Old 01-21-2011
Taylor's Avatar
Ive been dubbed....an old volk
Thread Starter
iTrader: (18)
Join Date: Mar 2010
Location: Nashville, NC
Posts: 7,110
Likes: 0
Received 3 Likes on 3 Posts
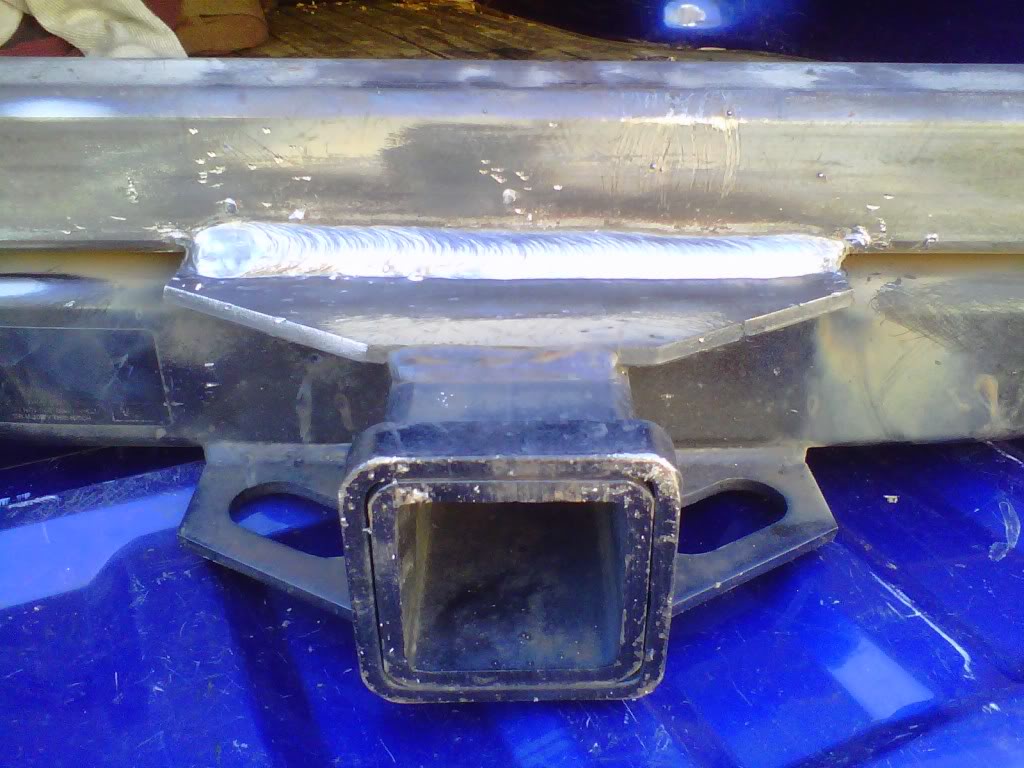
Welded on first piece of skware toobing tewday.

Will add another plate on each side connecting tubing to hitch for extra reinforcement.

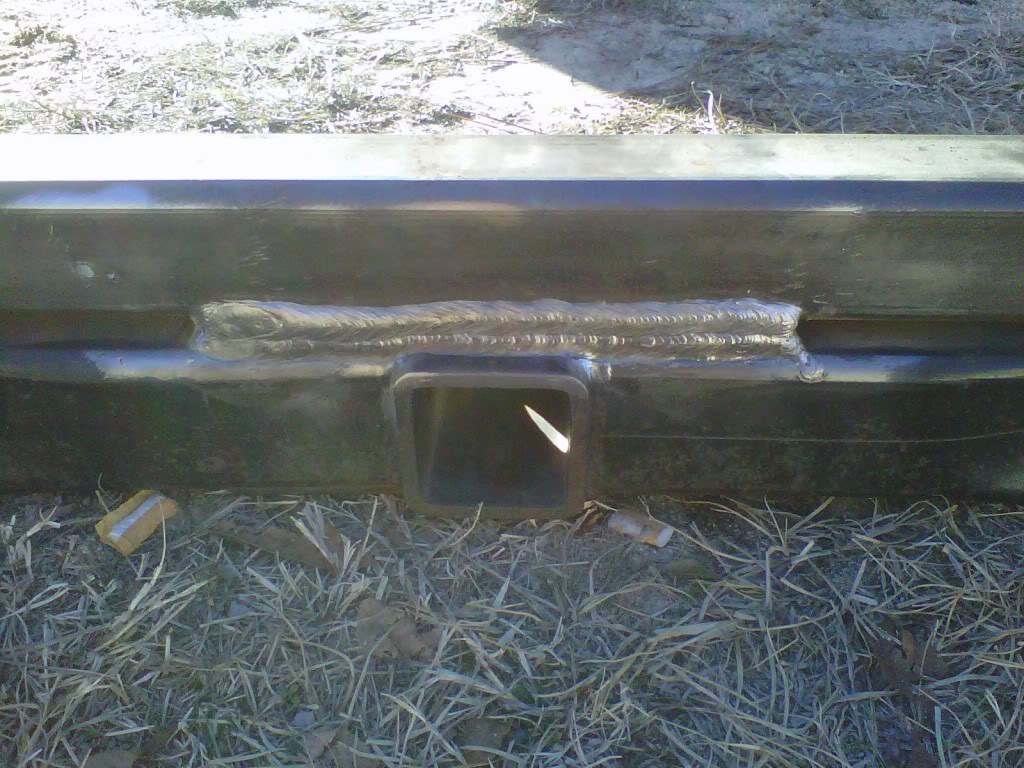
Welds are beefy, and this sucker isnt going anywhere.

some pretty stick weld picture.
Name:  IMG00209-20110121-1547.jpg
Views: 126
Size:  116.8 KB
Name:  IMG00208-20110121-1546.jpg
Views: 111
Size:  157.8 KB
Name:  IMG00210-20110121-1548.jpg
Views: 131
Size:  90.1 KB

The only cleanup needed: Knock off a couple of spatterballs, and wire brush. TADA.

Bumper is now about halfway done.


Quick Reply: Taylor's steel rear bumper


All times are GMT -6. The time now is 08:09 AM.