Body lifted trucks trailer hitch fix...
#1
 01-05-2009


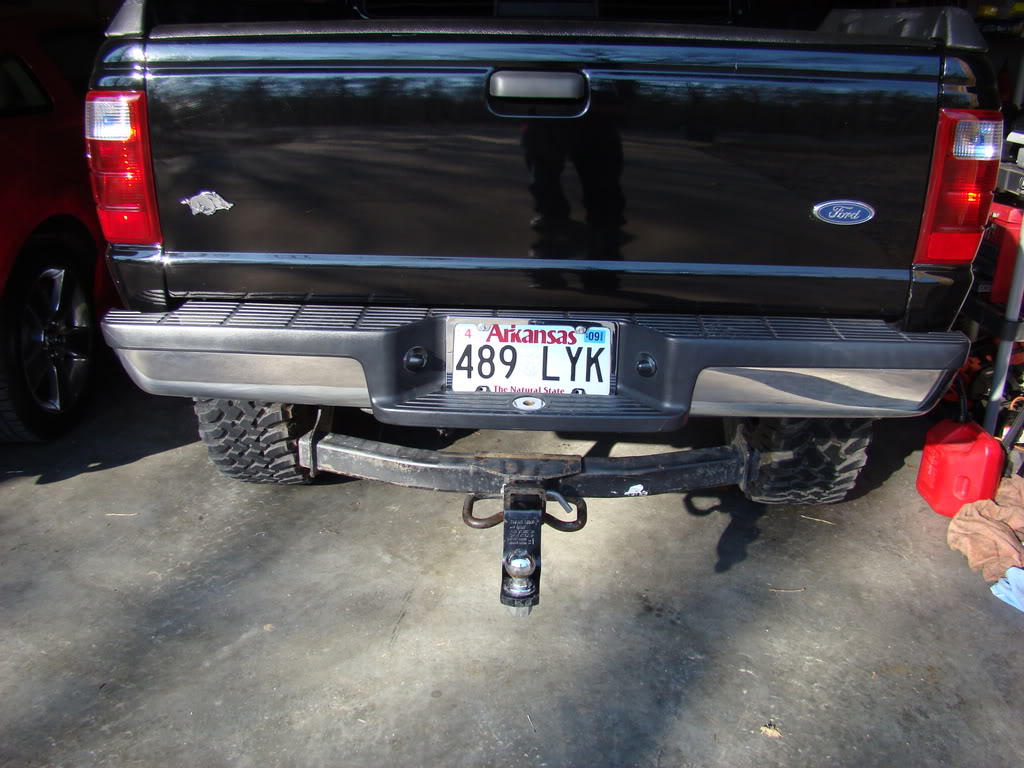
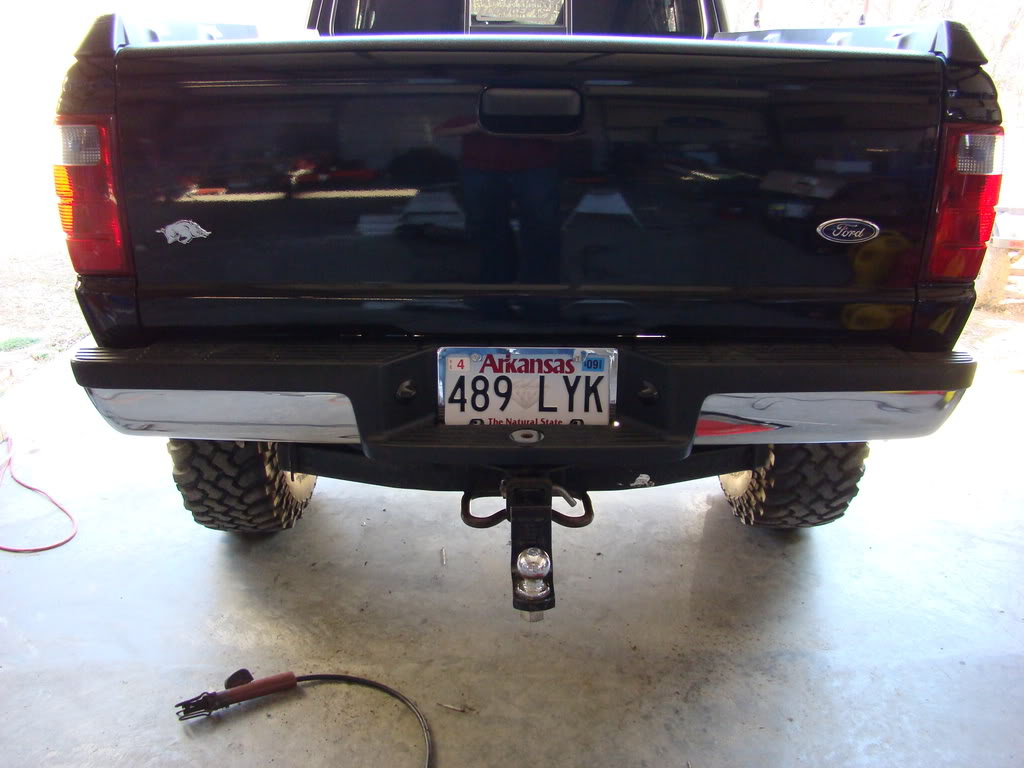
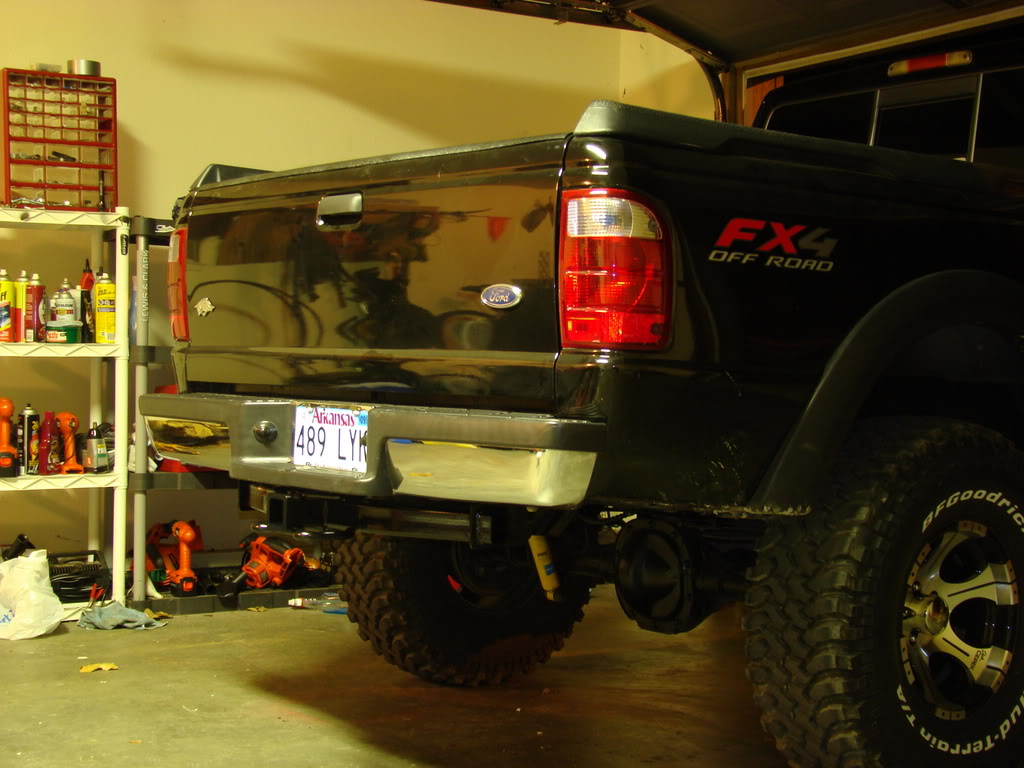
Well on Friday I went to my local salvage yard and finally got a hitch for the Ranger. I lucked out, A mid-late 90s ranger had the bed off of it and had a beautifully exposed Ford factory hitch. As everyone knows i have the P.A. 3 inch Body Lift on my truck and hitches that are made for factory set up trucks hang down very low. Well heres what i did...
Step One:
Mount the hitch you purchased or currently have. Measure from the bottom of the hitch to the ground. Make sure your on level ground and tire pressure is equal.

Step Two:
Cut the hitch off half way in between the botton bar and frame with a reciprocating saw with a FRESH blade.
Step Three:
Bend tabs out with a large hammer on the bottom piece with the hitch on it. Then make sure the hitch can go around the existing mounts left on the truck with no force. Leave the mounts tight on the truck and make sure bumper is PERFECTLY aligned with the bed..
Step Four:
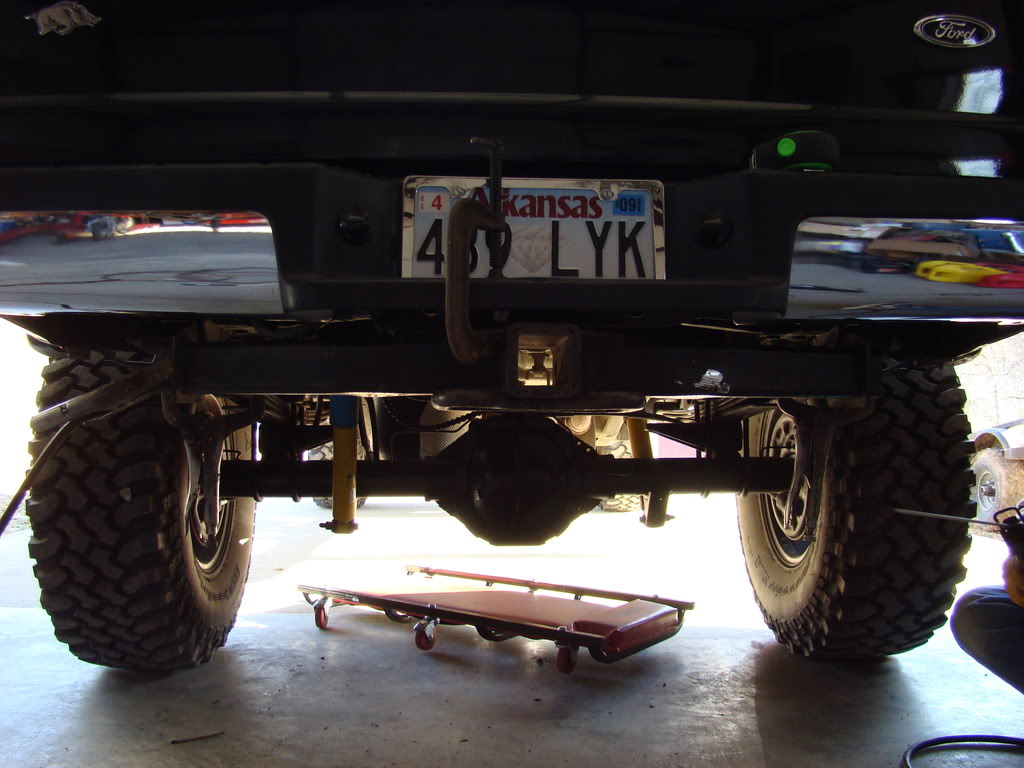
Using welder's clamps, align hitch with the bumper, measure on level ground from the bottom of the hitch to the ground. Check to make sure you have equal distance on each side. Make sure to get all angles in alignment. Use Clamps to hold the hitch into place. Take your time doing this, try to get it straight as possible. I moved my hitch up exactly 3.5 inches. CLAMP IT TIGHT!
Step Five:
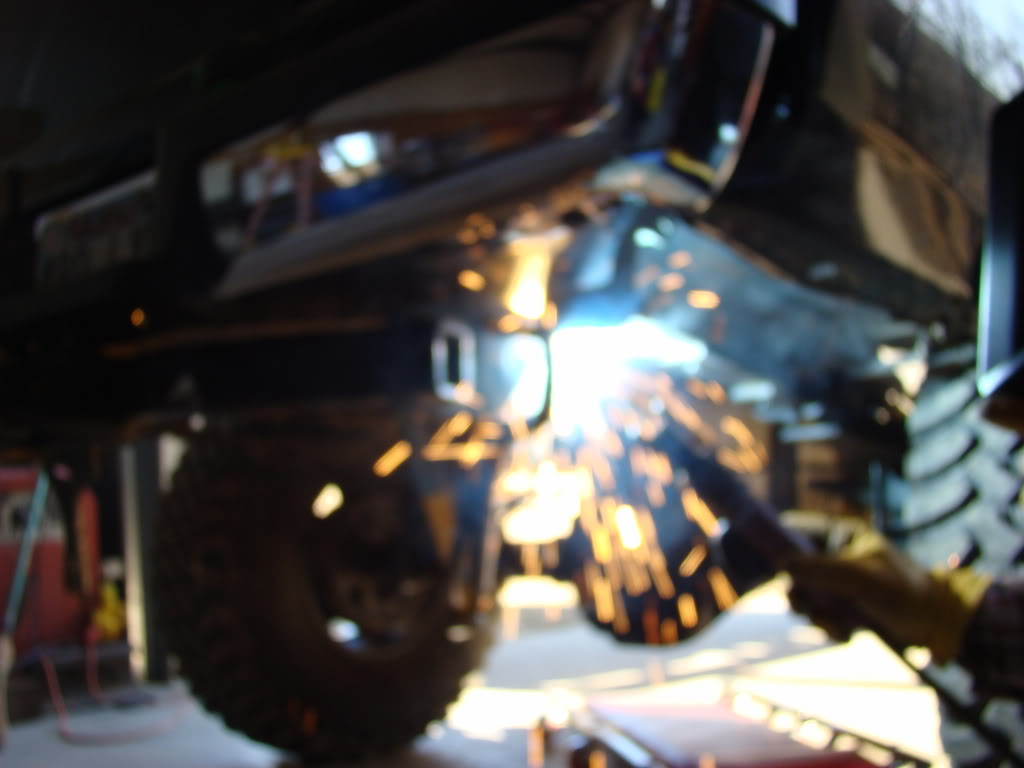
Using A Welder, tack weld the hitch into place.
Step 6:
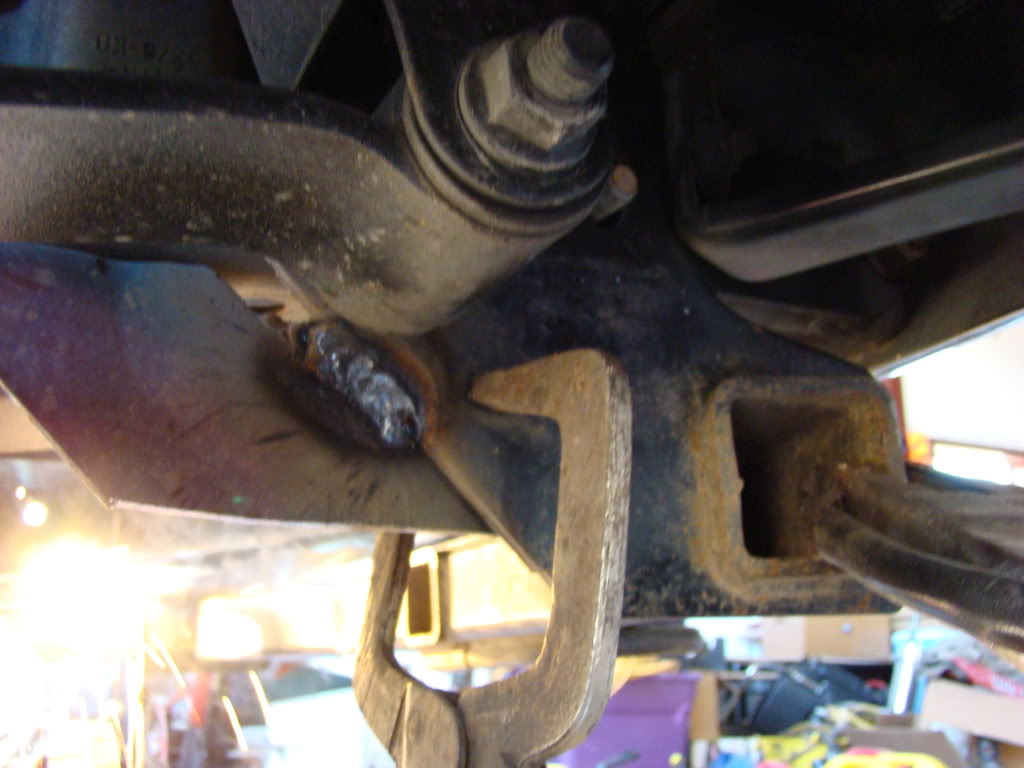
After you have secured your hitch with small welds, un-bolt it and finish your welds up all the way around the top if necessary and add any other support you feel necessary. Then re-install.
Step 7:
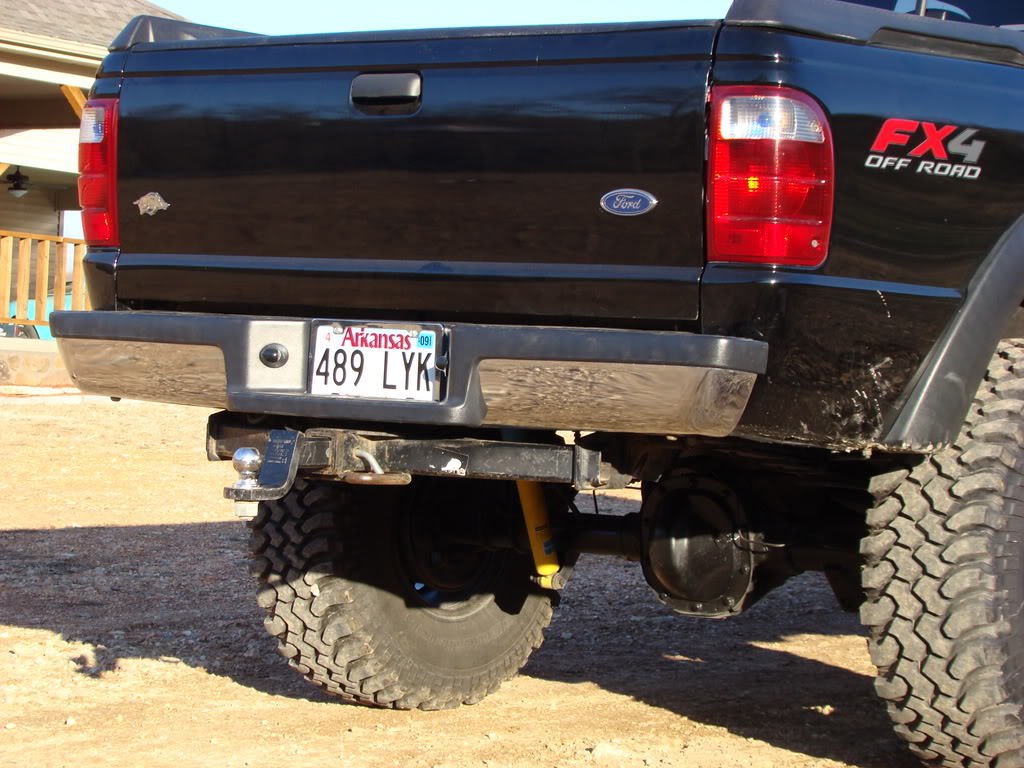
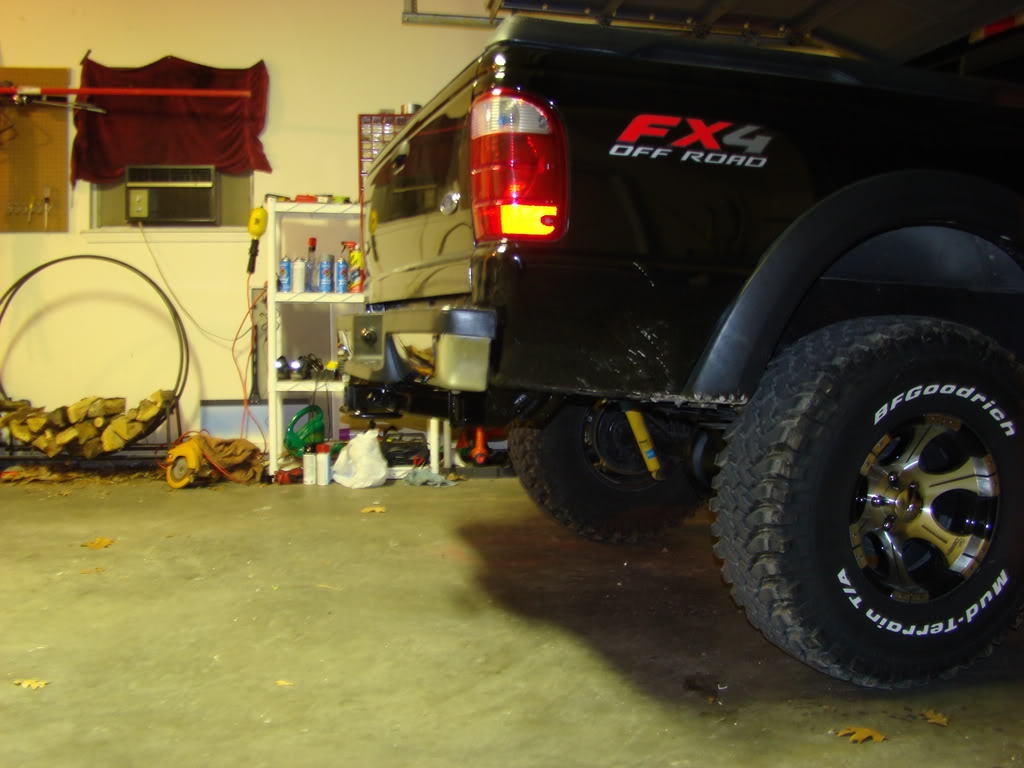
Go back and check all bolts, brackets and welds then give that thing a fresh sanding and painting. Here is the end result:
Step One:
Mount the hitch you purchased or currently have. Measure from the bottom of the hitch to the ground. Make sure your on level ground and tire pressure is equal.
Step Two:
Cut the hitch off half way in between the botton bar and frame with a reciprocating saw with a FRESH blade.
Step Three:
Bend tabs out with a large hammer on the bottom piece with the hitch on it. Then make sure the hitch can go around the existing mounts left on the truck with no force. Leave the mounts tight on the truck and make sure bumper is PERFECTLY aligned with the bed..
Step Four:
Using welder's clamps, align hitch with the bumper, measure on level ground from the bottom of the hitch to the ground. Check to make sure you have equal distance on each side. Make sure to get all angles in alignment. Use Clamps to hold the hitch into place. Take your time doing this, try to get it straight as possible. I moved my hitch up exactly 3.5 inches. CLAMP IT TIGHT!
Step Five:
Using A Welder, tack weld the hitch into place.
Step 6:
After you have secured your hitch with small welds, un-bolt it and finish your welds up all the way around the top if necessary and add any other support you feel necessary. Then re-install.
Step 7:
Go back and check all bolts, brackets and welds then give that thing a fresh sanding and painting. Here is the end result:


#7
01-05-2009


#9
01-05-2009
#11
01-05-2009
LOL I pulled a 16 ft. Trailer with 4 quads on it off my Bumper over 400 miles. I'm not at all worried about it holding up. We did this to my dads body lifted 04 gmc and it was like that for 4 years with no issues. And he hauled a 30ft camper with that hitch at least 20 times.
#12
01-05-2009
#13
01-05-2009
Join Date: Oct 2006
Location: Virginia Beach, VA
Posts: 193
Likes: 0
Received 0 Likes
on
0 Posts

#14
01-05-2009
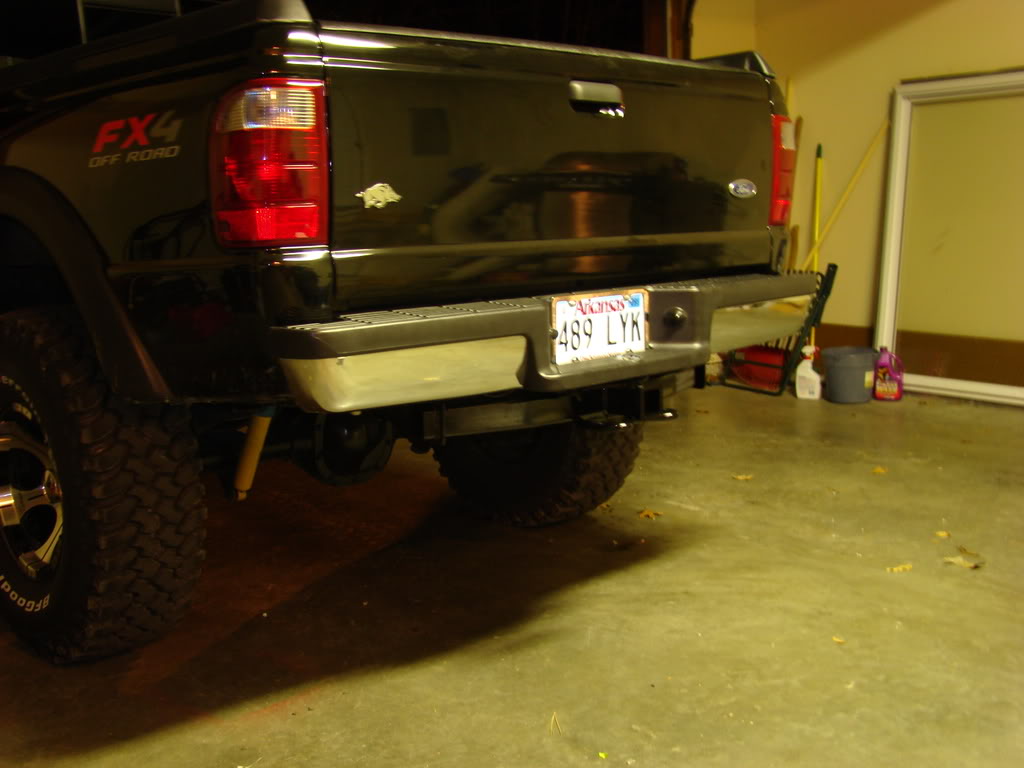
That's about where mine was... I couldn't handle it. I wheel too much, it would drag like crazy. LOL i just went outside and jacked my truck up under the receiver hitch and lifted the truck off the ground. I think the welds will be just fine. the largest thing i pull is a 14ft trailer with 2 quads. and maybe a pop-up camper.
#15
01-05-2009
Join Date: Oct 2006
Location: Virginia Beach, VA
Posts: 193
Likes: 0
Received 0 Likes
on
0 Posts
#16
01-05-2009


#19
01-06-2009
#20
01-06-2009
Join Date: Dec 2006
Location: Deltona, Fl.
Posts: 3,486
Likes: 0
Received 0 Likes
on
0 Posts
#23
01-06-2009

Thread
Thread Starter
Forum
Replies
Last Post
rangererv
General Technical & Electrical
20
05-30-2006 01:43 PM
Alon
General Ford Ranger Discussion
20
12-13-2004 05:17 AM


