Interior idea
#1
 03-03-2009


Join Date: Oct 2005
Location: Marietta, GA
Posts: 758
Likes: 0
Received 0 Likes
on
0 Posts
#2
03-03-2009
Join Date: Feb 2009
Location: Surprise, AZ
Posts: 14
Likes: 0
Received 0 Likes
on
0 Posts
#3
03-03-2009
Join Date: Oct 2005
Location: Marietta, GA
Posts: 758
Likes: 0
Received 0 Likes
on
0 Posts
#5
03-03-2009
Join Date: Oct 2005
Location: Marietta, GA
Posts: 758
Likes: 0
Received 0 Likes
on
0 Posts


#9
03-03-2009
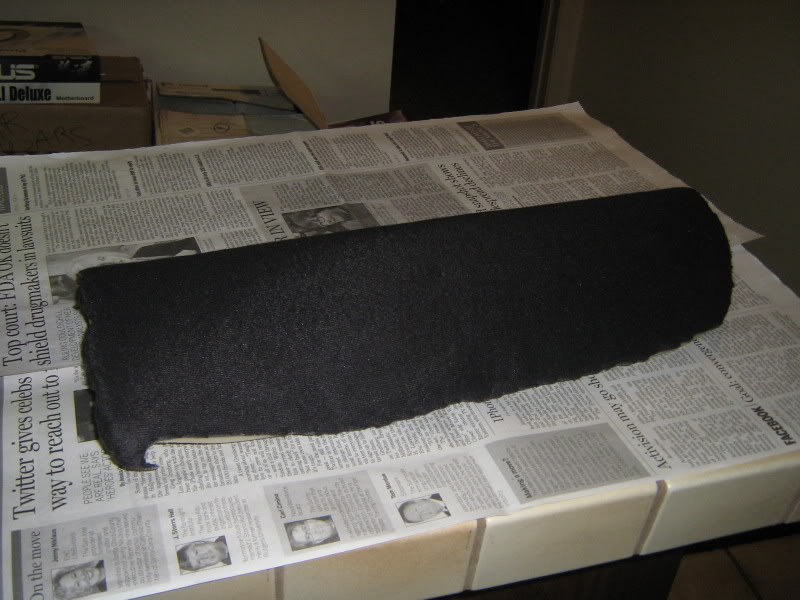
Yes this is what my interior use to look like.
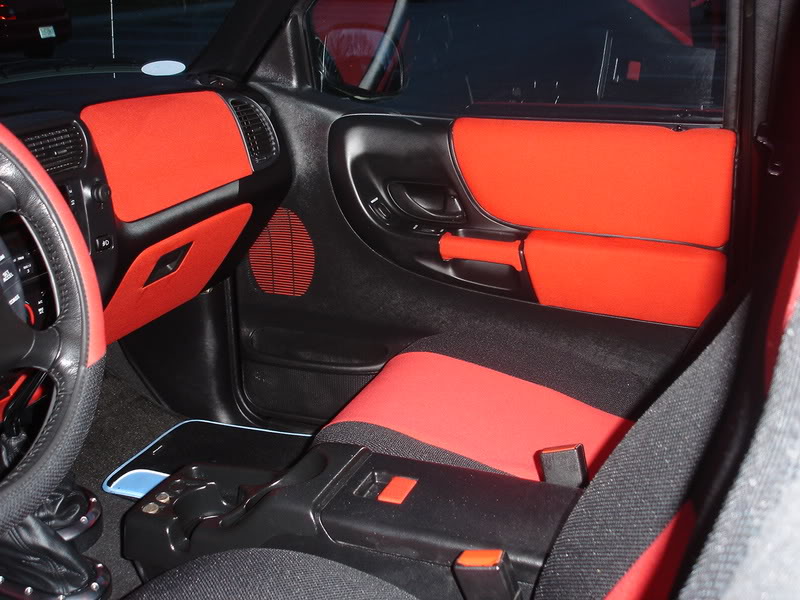
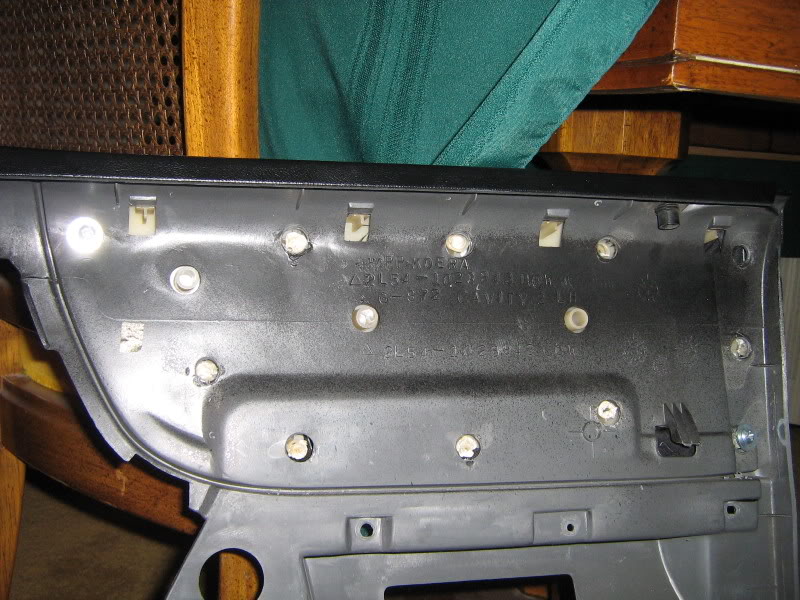
The panels are held on by melted plastic tabs. To get them off i heated them up with a lighter till the plastic was soft. I used 3m spray adhiesive and a staple gun to hold the new fabric on.
Also black leather doesnt stretch like clothe does so it is going to be hard to do the corners. Ecspecially where the lock pin is, it was a pain even with the thin stretchy fabric i had.
#10
03-03-2009
Join Date: Nov 2008
Location: Colorado
Posts: 1,829
Likes: 0
Received 0 Likes
on
0 Posts
#11
03-03-2009
Join Date: Oct 2005
Location: Marietta, GA
Posts: 758
Likes: 0
Received 0 Likes
on
0 Posts
#12
03-03-2009

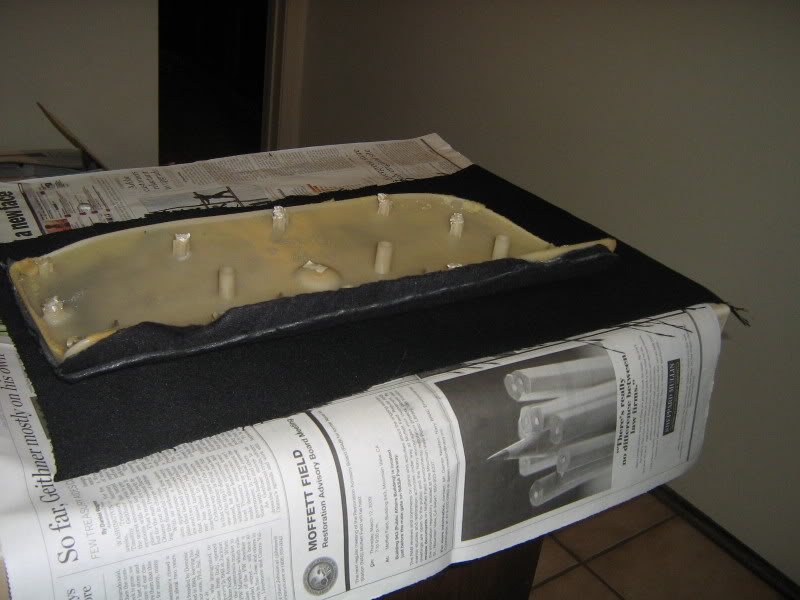
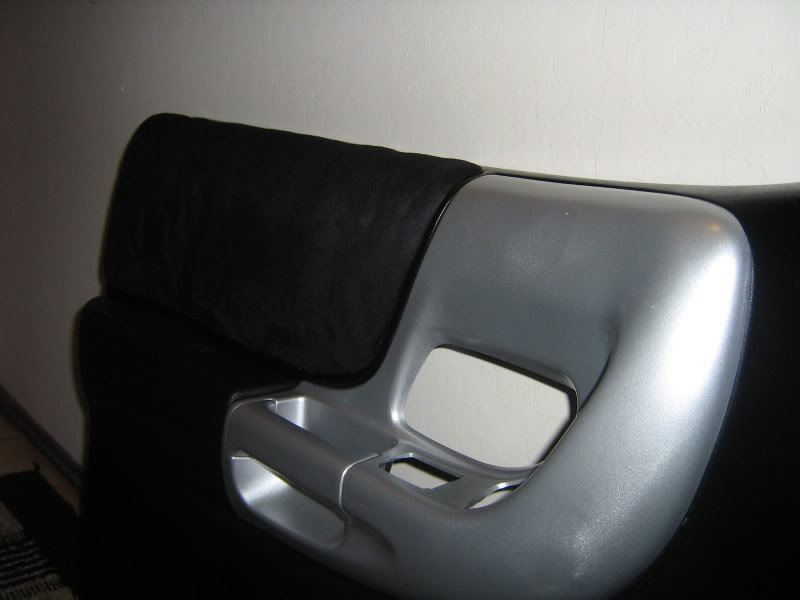
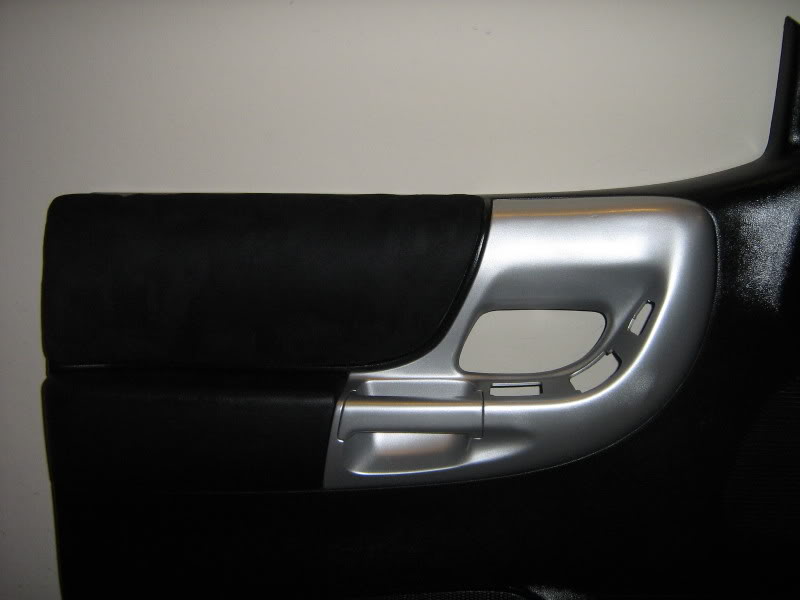
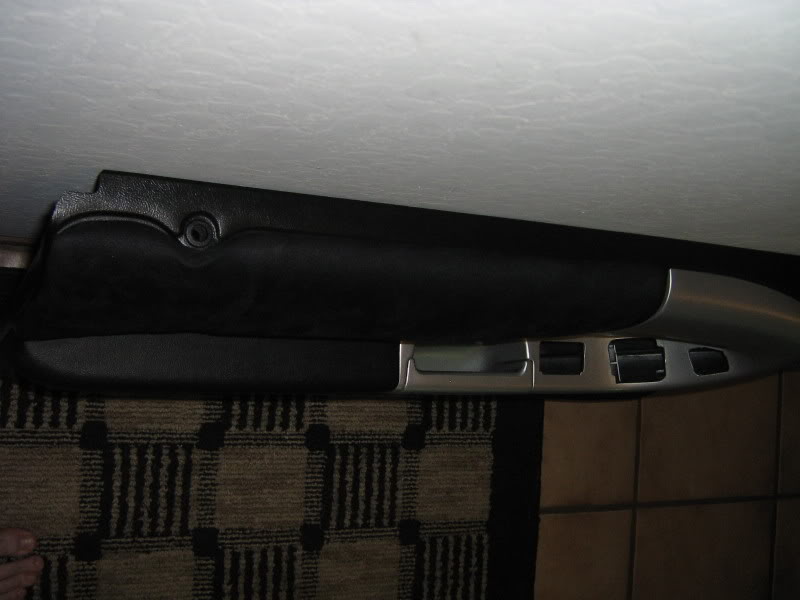
Like what Trent and Brett said need to melt down those little plastic welds/rivets and to mount it back up I used 1/2" sheet metal screws and washers. I left the stock fabric on and just put the new fabric over the old. I may or may not keep it like this since it leaves a small gap at the top right corner. Here are some comparison shots between one that I finished and the other that I need to finish.


#13
03-04-2009
Join Date: Nov 2007
Location: Vacaville, CA
Posts: 1,100
Likes: 0
Received 0 Likes
on
0 Posts
#14
03-04-2009
#15
03-04-2009
Join Date: Oct 2005
Location: Marietta, GA
Posts: 758
Likes: 0
Received 0 Likes
on
0 Posts
#17
03-04-2009
Join Date: Oct 2005
Location: Marietta, GA
Posts: 758
Likes: 0
Received 0 Likes
on
0 Posts
#18
03-06-2009
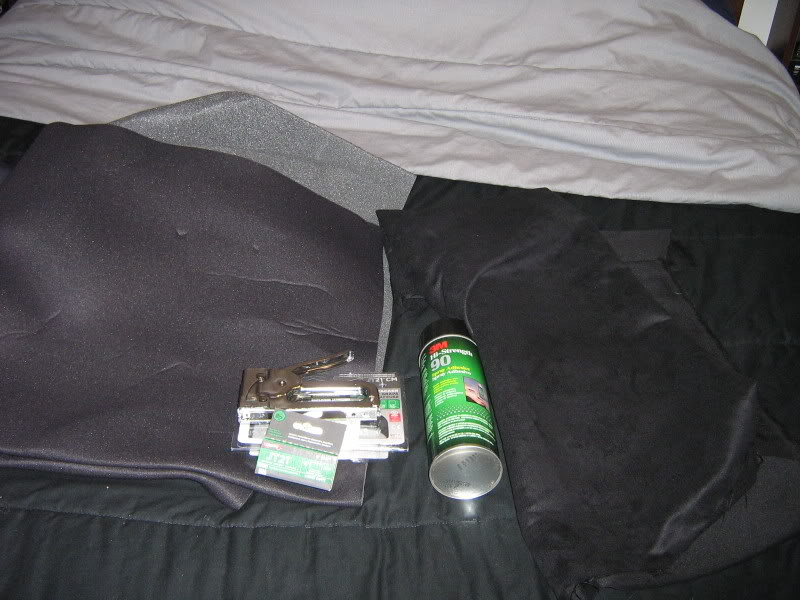
Ok so here is a quick overview of how I redid my door panel material.
Items used:
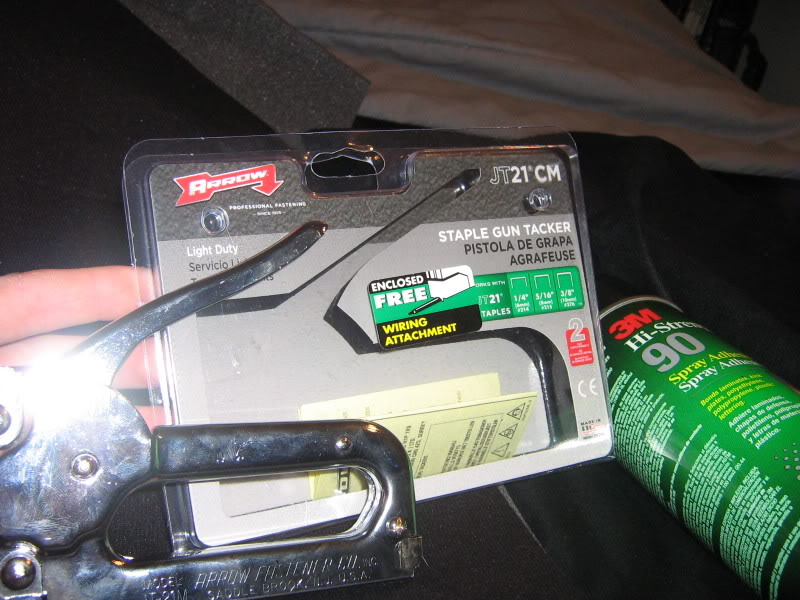
Arrow Brand Staple Gun uses JT21 Staples
1/4" JT21 Staples
1/2" Sheet metal screw or self taping screws and washers.
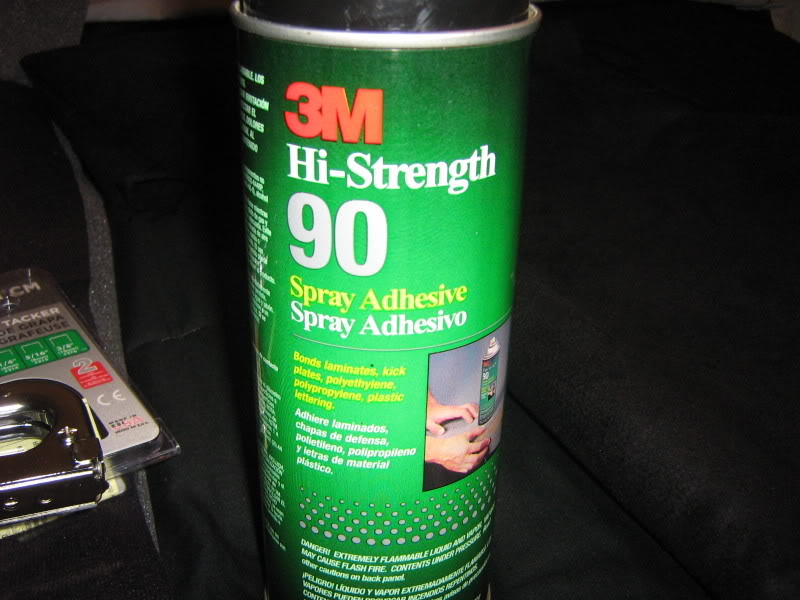
3M Adhesive Spray Glue or Headliner Glue
A thin foam material (picked up at fabric store)
Material of choice (I used Black Suede)
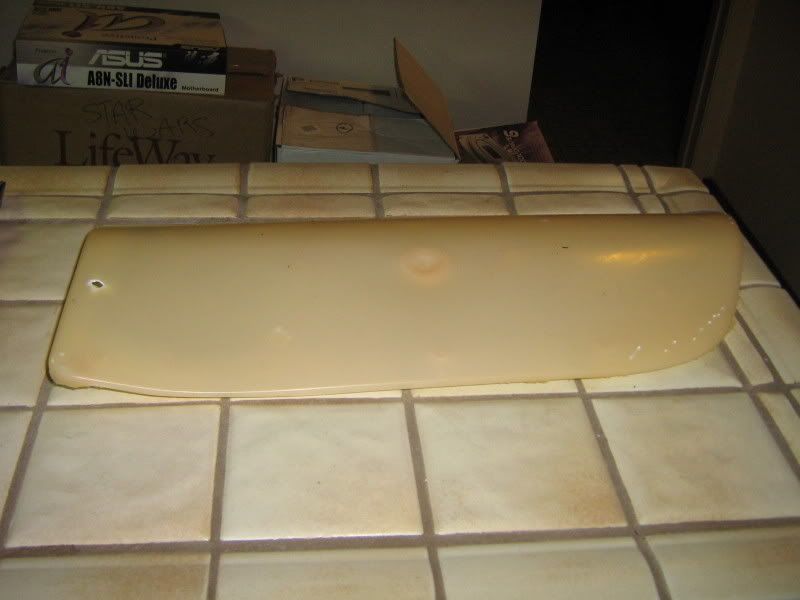
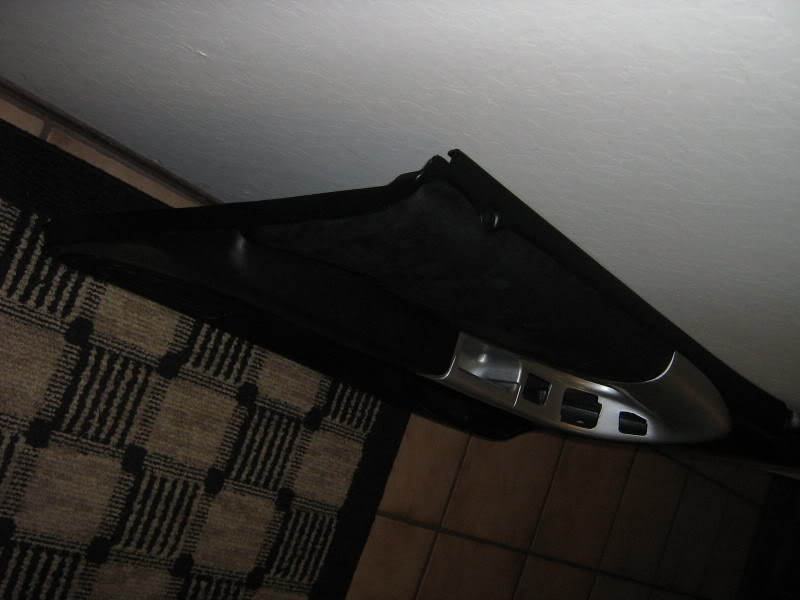
I removed my old material on this one and it looks a lot nicer and fits the door panel then my other one in which I didn't remove the old material.
1. Start by taking off the old material and remove as many staples as possible.
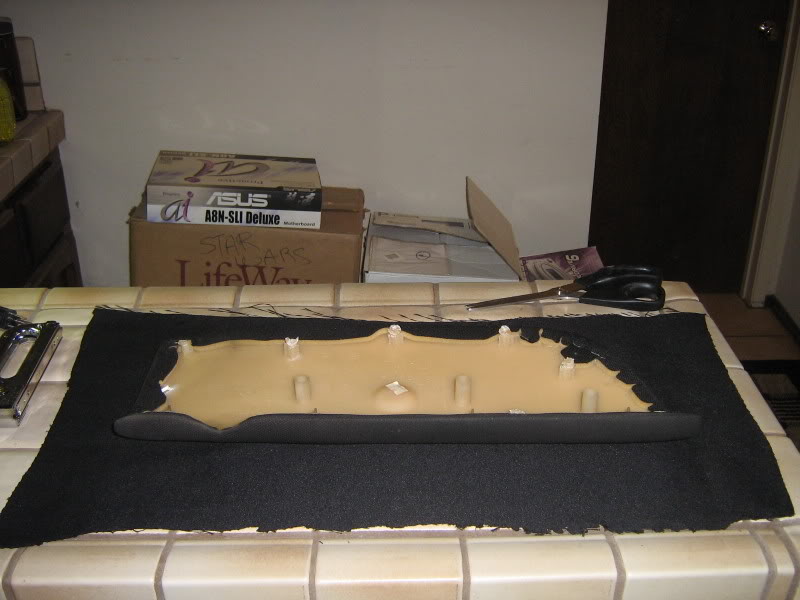
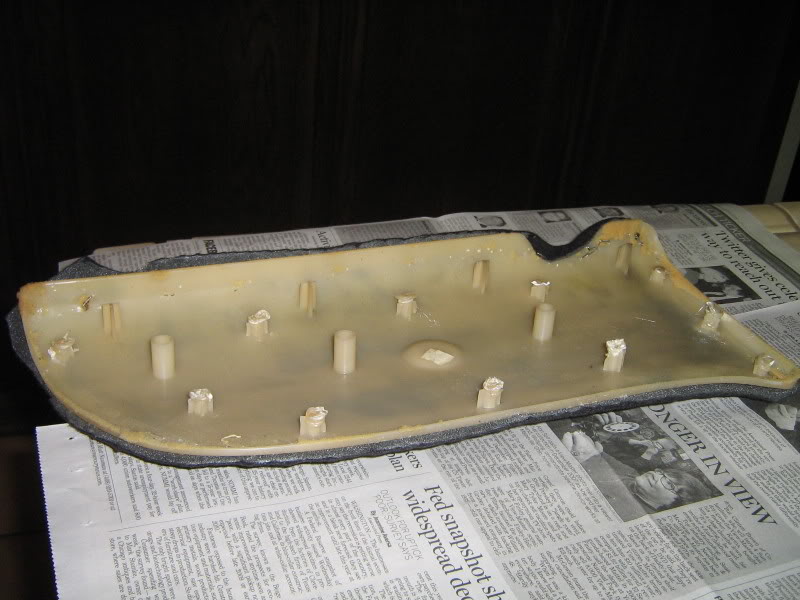
2. Then get the Foam material and cut to roughly the size of the abs board.
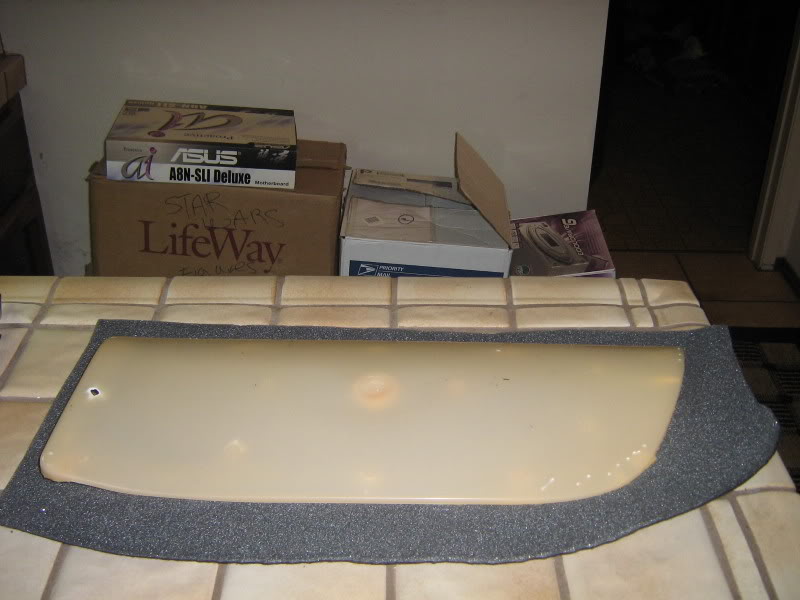
3. Spray on the glue on both the board and the material. Wait for about 60 seconds before applying the material. You want the gasses to remove from the glue right after you spray it. If you don't it won't set right.
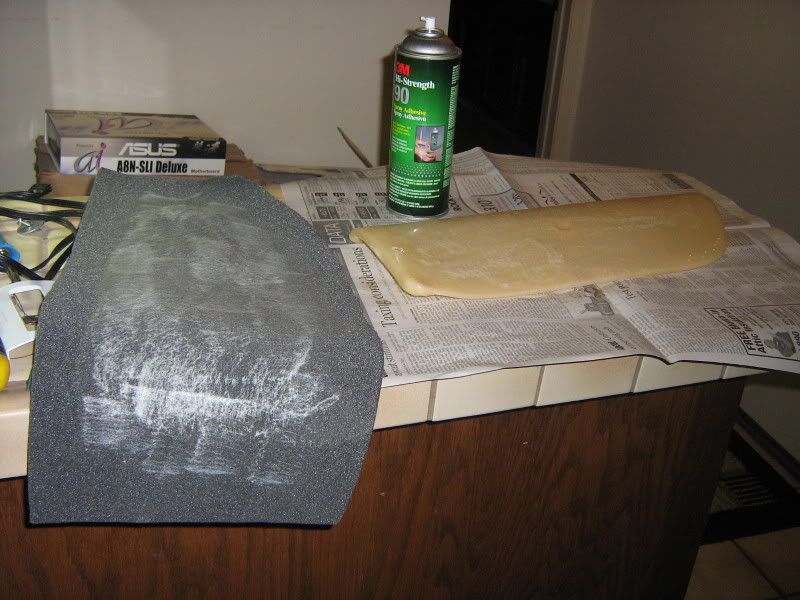
4. Apply the material and press firmly. I used the glue can and rolled it all over the surface to get good contact.
5. I added two layers of this material so repeat step 3.
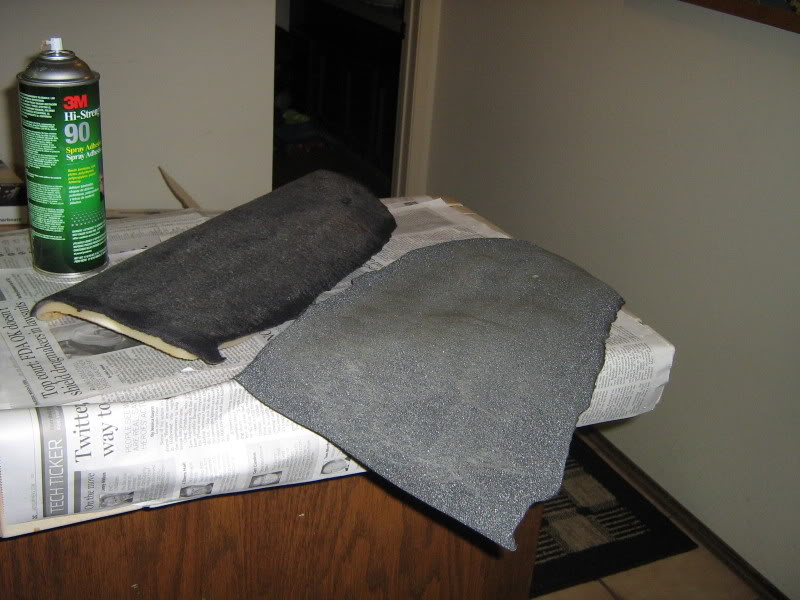
6. As you can see I didn't want the material to fold over the edges so I trimmed to fit the material to the abs base.
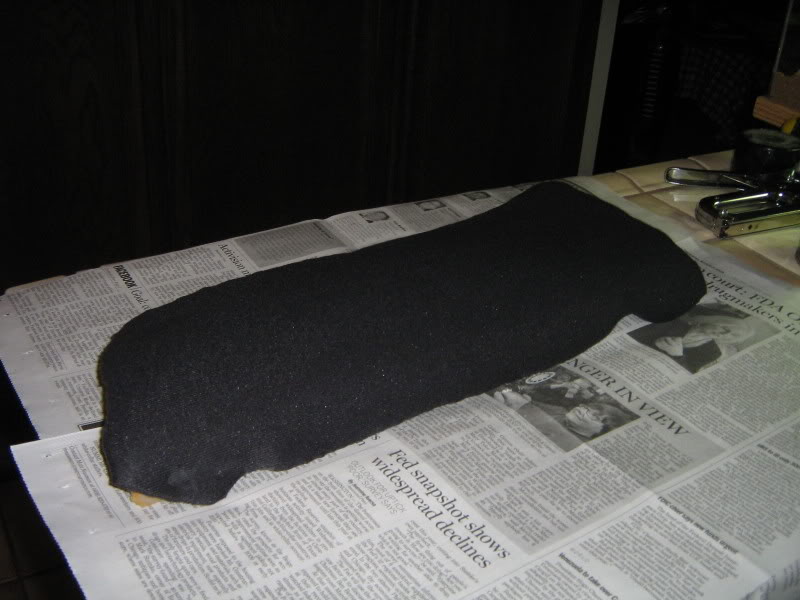
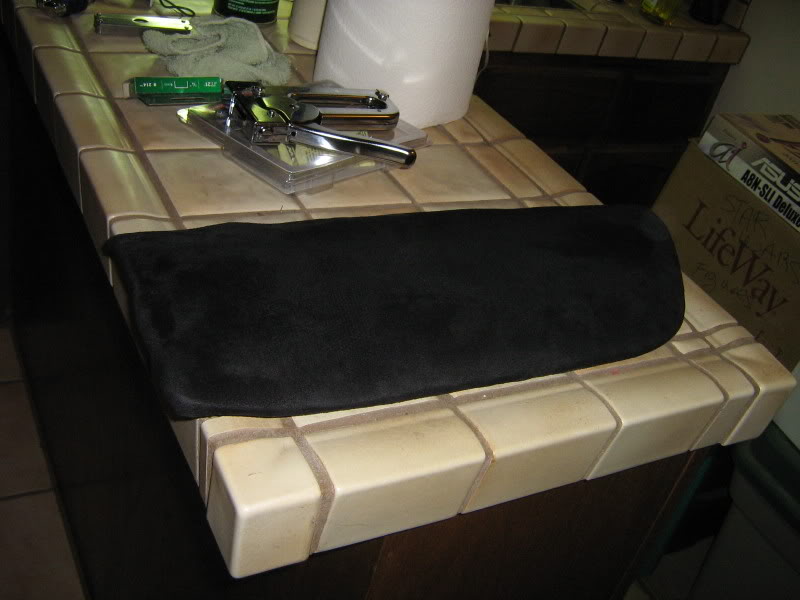
7. Get your material ready and sized the way you want it. Cut and get ready to start forming it around the ABS Base. It's a little tricky but just stretch the material and staple only certain sections of it and just rework the corners. You may have to remove and add staples as you go. Just take your time and stretch the corners out to not get any wrinkles. I started out with the Door Lock indent and worked the material around the rest of the way.
8. Once the material is all set and the way you like it then staple or trim any access material and admire your work!

9. Once done push the abs board back onto the door panel. Get your drill and your 1/2" Sheet metal screw with washer's and drill them down into the holes of the plastic rivets/welds. And when the fitment is right your done.
Notes: I didn't use any 3m Glue on the material that will be showing since it's a pain to work with and the glue will bleed through even on my suede material. Staples will be just fine to hold the material.
Items used:
Arrow Brand Staple Gun uses JT21 Staples
1/4" JT21 Staples
1/2" Sheet metal screw or self taping screws and washers.
3M Adhesive Spray Glue or Headliner Glue
A thin foam material (picked up at fabric store)
Material of choice (I used Black Suede)
I removed my old material on this one and it looks a lot nicer and fits the door panel then my other one in which I didn't remove the old material.
1. Start by taking off the old material and remove as many staples as possible.
2. Then get the Foam material and cut to roughly the size of the abs board.
3. Spray on the glue on both the board and the material. Wait for about 60 seconds before applying the material. You want the gasses to remove from the glue right after you spray it. If you don't it won't set right.
4. Apply the material and press firmly. I used the glue can and rolled it all over the surface to get good contact.
5. I added two layers of this material so repeat step 3.
6. As you can see I didn't want the material to fold over the edges so I trimmed to fit the material to the abs base.
7. Get your material ready and sized the way you want it. Cut and get ready to start forming it around the ABS Base. It's a little tricky but just stretch the material and staple only certain sections of it and just rework the corners. You may have to remove and add staples as you go. Just take your time and stretch the corners out to not get any wrinkles. I started out with the Door Lock indent and worked the material around the rest of the way.
8. Once the material is all set and the way you like it then staple or trim any access material and admire your work!
9. Once done push the abs board back onto the door panel. Get your drill and your 1/2" Sheet metal screw with washer's and drill them down into the holes of the plastic rivets/welds. And when the fitment is right your done.
Notes: I didn't use any 3m Glue on the material that will be showing since it's a pain to work with and the glue will bleed through even on my suede material. Staples will be just fine to hold the material.
#19
03-18-2009
Join Date: Jun 2008
Location: newark, oh
Posts: 448
Likes: 0
Received 0 Likes
on
0 Posts
#20
03-18-2009
Join Date: Apr 2008
Location: Kutztown, PA
Posts: 1,980
Likes: 0
Received 0 Likes
on
0 Posts
#21
03-18-2009
#22
03-18-2009
Join Date: Jun 2008
Location: Houston, TX
Posts: 121
Likes: 0
Received 0 Likes
on
0 Posts

Thread
Thread Starter
Forum
Replies
Last Post


