
ANOTHER BL question..lol
#1
 01-04-2009


getting ready to do the 3" PA BL on my 06 auto. YES i have searched threads on this. Found out about the infamous A/C line and e-brake cable. I was just wandering if there was anything else like wires or something along that line i need to be mindful of. I should be getting the kit in the mail this week thus for i have not seen the installation instructions yet either. Also like to request some pics of 3" BL on 33's. I've done the t-bar crank and rear shackles already was just wandering what im lookin forward to here as far as what they'll look like. NO i don't wanna run 35's right now..lol!! Maybe later though!!
#2
01-04-2009

This help any? It on a 98 but I dont think there is much of a difference.
http://therangerstation.com/tech_lib..._BodyLift.html
http://therangerstation.com/tech_lib..._BodyLift.html
#3
01-04-2009
This help any? It on a 98 but I dont think there is much of a difference.
http://therangerstation.com/tech_lib..._BodyLift.html
http://therangerstation.com/tech_lib..._BodyLift.html


#7
01-04-2009
LMAO!!! I was waitin on you to chime in!!! Oh on the filler neck extension. Anything special or just some rubber hose from lowes/home depot? Hey Chris next weekend still lookin good on the wheels?
#8
01-04-2009

#13
01-04-2009


#16
01-05-2009
^^HAHA.
I'm unsure what the summit instructions include, but the PA ones are actually some of the best instructions i've seen. They pretty much cover all the little things that you must watch out for. The kit also includes every little piece you'll need...including those filler neck extentions in two different sizes.
Idk if you've got a hitch or not, but hitch install could be a pain if your hitch mounts to the side of frame....you'll have your bumper and the hitch bolted on using the same bolts and the same holes in the frame...definately a two person job at least. The rear bumper brackets will need to be widened in order to fit the hitch between the frame and the bumper brackets. Some put the bumper brackets in a vice and beat them out. Others(like me) choose to space them further apart on the bumper using either washers or a spacer plate.
Positive battery cable might be sorta tight even after unbolting the bracket from the engine block. So to cure that issue, I broke the push in holder thingy that holds the harness to the back of the a/c condensor and that gave me the proper amount of slack.
The E-brake cable i did nothing with...didn't use the bracket in the kit as i was able to get away with it in all the bodylifts i've installed.
If you can get away without using the ground strap extentions, go ahead and dont use them. On mine, the frame extention on the passenger side i didn't need theextention. Same goes with the engine bay drop...i just relocation the top of the strap to the hole or stud below the hole PA wants you to use.
IF the front bumper brackets studs decide to break loose on you...you can easily use 1/2" bolts instead. On Marie's truck, I used 1/2 x 1.50 allen head bolts for a nice clean look when looking at the bumper hole since her front bumper brackets didn't have the studs on them.
Rear bumper brackets in the instructions say to use the outrigger bumper supports(the diagonal ones). On 3 bodylifts, i have been unable to make those darn diagonal brackets work with the PA brackets. Oh...get a set of Torx sockets...you'll need 'em.
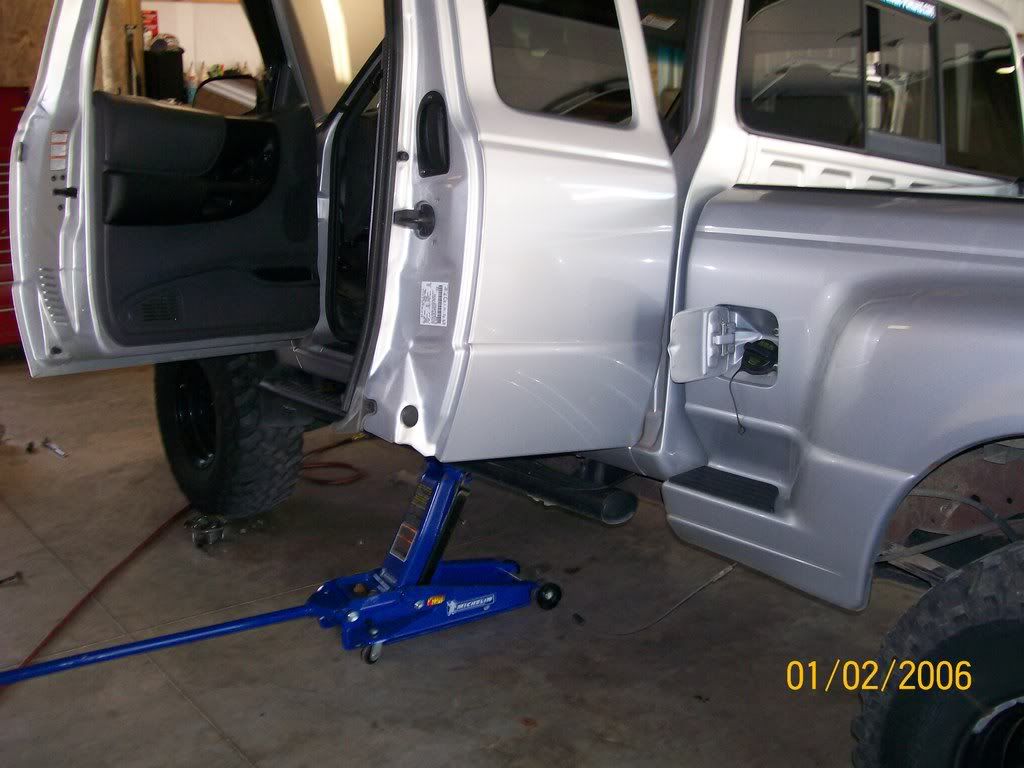
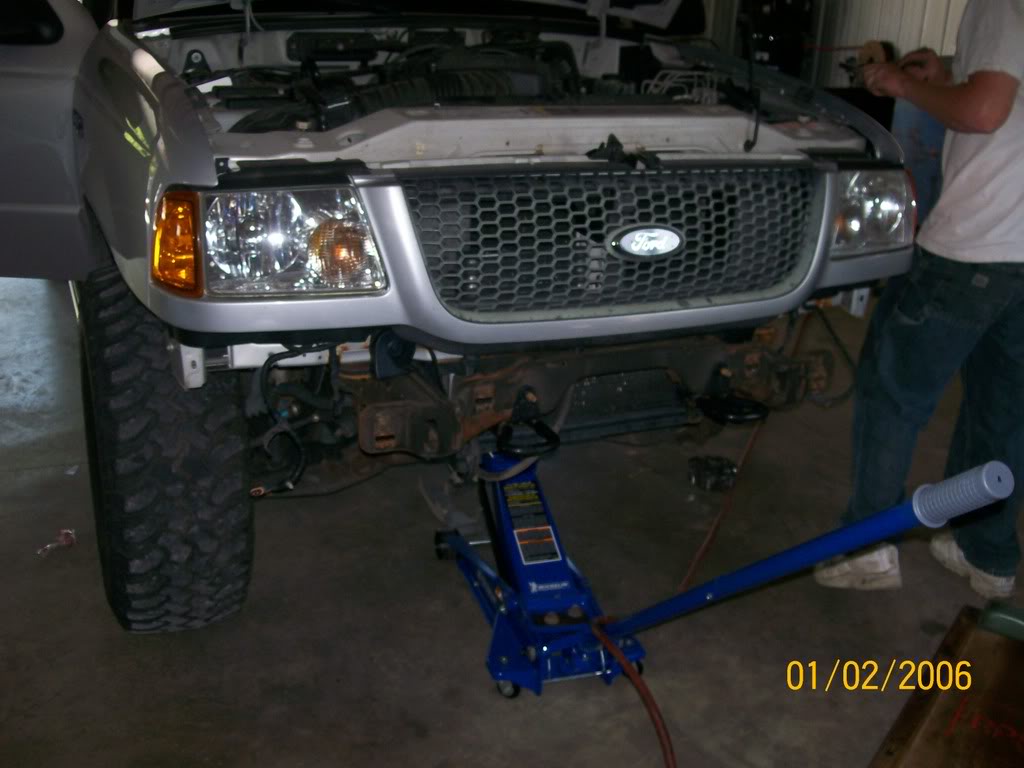
I use a 3ton harbor freight jack and a 12x12 block of wood to jack the body up. The bed I just use my muscles and pick the bed up and put in the block. Proper torque on the bolts is approx 83 ft/lbs i believe. Get them all torqued down properly and the bodylines should line up perfect between the bed and the cab.
Myself and trent have the PA instructions on our comps...so we could shoot it your way. Talking about the 01-05(and up) kit's instructions.
I'm unsure what the summit instructions include, but the PA ones are actually some of the best instructions i've seen. They pretty much cover all the little things that you must watch out for. The kit also includes every little piece you'll need...including those filler neck extentions in two different sizes.
Idk if you've got a hitch or not, but hitch install could be a pain if your hitch mounts to the side of frame....you'll have your bumper and the hitch bolted on using the same bolts and the same holes in the frame...definately a two person job at least. The rear bumper brackets will need to be widened in order to fit the hitch between the frame and the bumper brackets. Some put the bumper brackets in a vice and beat them out. Others(like me) choose to space them further apart on the bumper using either washers or a spacer plate.
Positive battery cable might be sorta tight even after unbolting the bracket from the engine block. So to cure that issue, I broke the push in holder thingy that holds the harness to the back of the a/c condensor and that gave me the proper amount of slack.
The E-brake cable i did nothing with...didn't use the bracket in the kit as i was able to get away with it in all the bodylifts i've installed.
If you can get away without using the ground strap extentions, go ahead and dont use them. On mine, the frame extention on the passenger side i didn't need theextention. Same goes with the engine bay drop...i just relocation the top of the strap to the hole or stud below the hole PA wants you to use.
IF the front bumper brackets studs decide to break loose on you...you can easily use 1/2" bolts instead. On Marie's truck, I used 1/2 x 1.50 allen head bolts for a nice clean look when looking at the bumper hole since her front bumper brackets didn't have the studs on them.
Rear bumper brackets in the instructions say to use the outrigger bumper supports(the diagonal ones). On 3 bodylifts, i have been unable to make those darn diagonal brackets work with the PA brackets. Oh...get a set of Torx sockets...you'll need 'em.
I use a 3ton harbor freight jack and a 12x12 block of wood to jack the body up. The bed I just use my muscles and pick the bed up and put in the block. Proper torque on the bolts is approx 83 ft/lbs i believe. Get them all torqued down properly and the bodylines should line up perfect between the bed and the cab.
Myself and trent have the PA instructions on our comps...so we could shoot it your way. Talking about the 01-05(and up) kit's instructions.
#17
01-05-2009
Shane nailed everything on the head, of course. This is a folder of pics that Shane sent me, helps a lot when your curious about how to mount certain things. I didn't use a e-brake cable extension or any ground extensions, didn't need too. Hitch is a pain in the ***, I had to bench press it in place while laying on my back and then use my head and arm to hold it in place while I put a bolt in, then it was so tight fit I had to use my floor jack to move the hitch in to place so I could get the bolts through. Here's the folder:
http://s188.photobucket.com/albums/z...%20Components/
http://s188.photobucket.com/albums/z...%20Components/
#18
01-05-2009
OHHHHHHHH YEAHHHHH...
gotta add this...
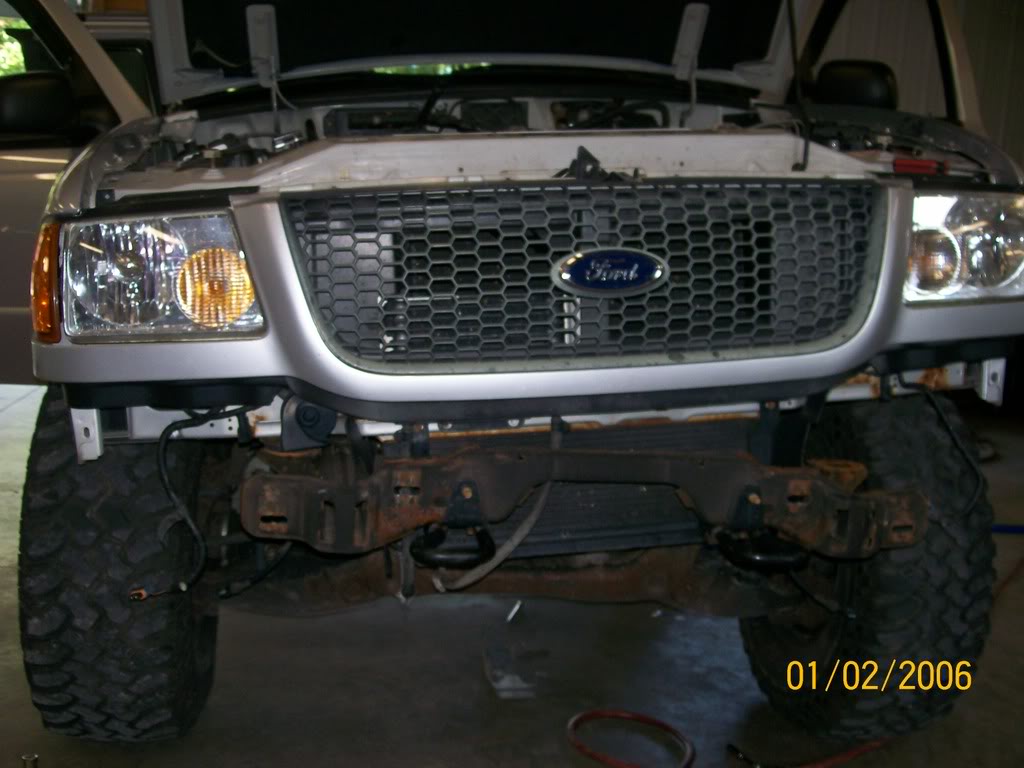
Get yourself the fan removal tools....you'll need 'em. Take the fan off and the shroud. Pay very close attention to the radiator while jacking the cab up. Get the radiator off the mounts BEFORE jacking the cab up, and make sure to periodically check the rad and make sure it's clear of the mounts of the core support. The lower rad drop brackets...MIGHT need to be ' V'd '....meaning....put them in a vice, and make a slight 'V' of the long sides. This is to make sure they clear the coresupport. You COULD get away w/o removing either fan or shround...but i've been unsuccessful at doing this. I don't suggest it. Risk destroying a fan shroud should you try(sorry marie!!) and possibly wedge the rad sideways and destroy a rad mount on the core support....so keep your eyes open should you decide to not remove the fan or shroud. So...get your tools and DONT LOSE THEM!! lol.
I also suggest painting all your parts black prior to the install. This is a step i wish i did before my install, and i did do this prior to marie's install. Rad drops, ground ext's, bumper brackets, etc....
oh...and shoot....who doesn't like pics....
https://www.ranger-forums.com/forum2...ad.php?t=76117
gotta add this...
Get yourself the fan removal tools....you'll need 'em. Take the fan off and the shroud. Pay very close attention to the radiator while jacking the cab up. Get the radiator off the mounts BEFORE jacking the cab up, and make sure to periodically check the rad and make sure it's clear of the mounts of the core support. The lower rad drop brackets...MIGHT need to be ' V'd '....meaning....put them in a vice, and make a slight 'V' of the long sides. This is to make sure they clear the coresupport. You COULD get away w/o removing either fan or shround...but i've been unsuccessful at doing this. I don't suggest it. Risk destroying a fan shroud should you try(sorry marie!!) and possibly wedge the rad sideways and destroy a rad mount on the core support....so keep your eyes open should you decide to not remove the fan or shroud. So...get your tools and DONT LOSE THEM!! lol.
I also suggest painting all your parts black prior to the install. This is a step i wish i did before my install, and i did do this prior to marie's install. Rad drops, ground ext's, bumper brackets, etc....
oh...and shoot....who doesn't like pics....
https://www.ranger-forums.com/forum2...ad.php?t=76117
#19
01-05-2009
#20
01-05-2009
#22
03-01-2009
Join Date: Nov 2008
Location: vienna va
Posts: 663
Likes: 0
Received 0 Likes
on
0 Posts

Thread
Thread Starter
Forum
Replies
Last Post
EMB1230
General Ford Ranger Discussion
14
06-24-2010 12:53 PM
Tys 4x4 FTW
General Ford Ranger Discussion
21
02-08-2010 08:09 AM


