
Replacing Rear Bumper Trim Piece
#1
 10-04-2013


Replacing Rear Bumper Trim Piece
My 2003 Mazda B2300's rear bumper trim had seen better days.

I thought about going with Mazda chrome bumpers but got hung up on the correct part numbers.
I have since found out that I have a Ford Ranger rear bumper (OEM from the factory) and not the Mazda rear bumper as shown in their parts lists.
Ford Part Number: 4L5Z-17B807-BAC
My "Mazda" rear steel bumper was stamped: Ford F87B347B
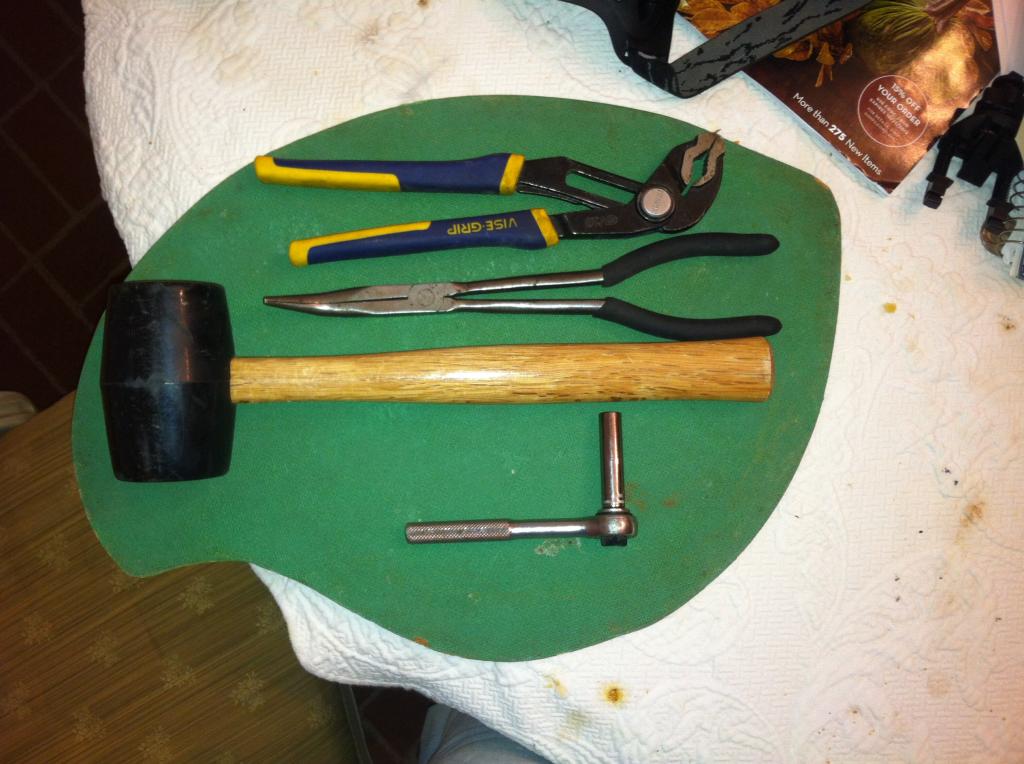
Tools I used:

This head lamp is a must have any time you're under your truck. Indispensable in my opinion. Uses 18650 batteries and is a high output LED lamp.
Here's how I did it:
1. Remove the tailgate from the vehicle.
2. Lay some kind of cardboard, foam pad etc., under the rear bumper area of the truck.
3. Remove the license plate and its screws.
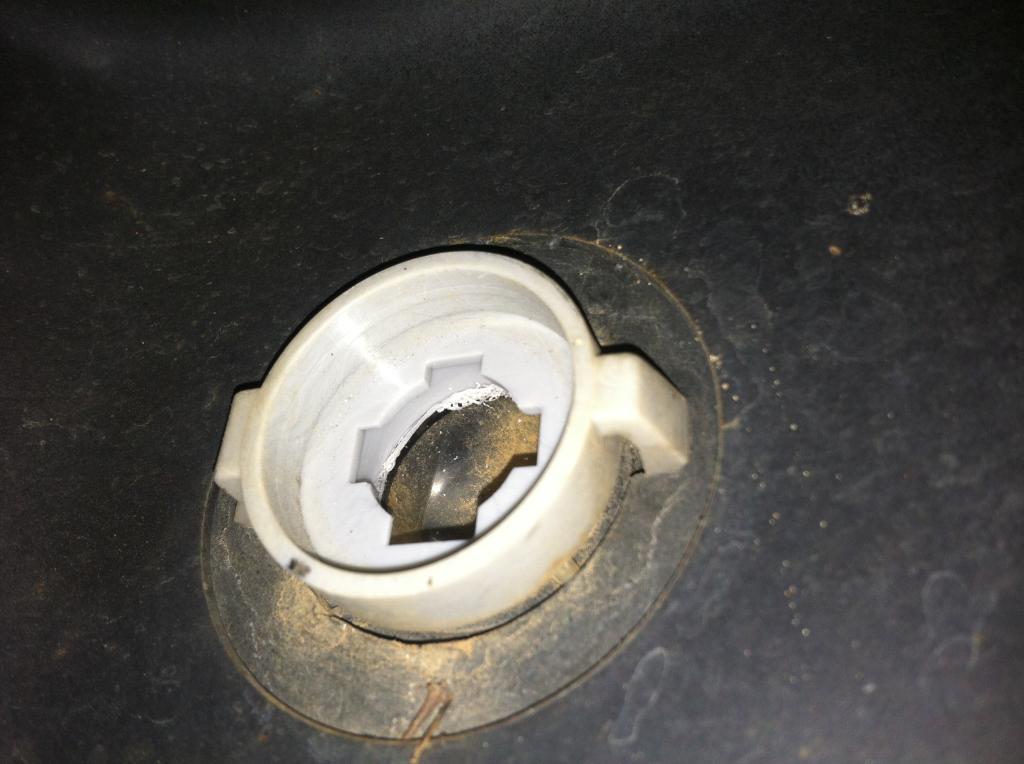
4. With your head lamp on, and laying under the rear bumper, locate the two license plate light holders and release the light socket from both license plate light assemblies.
4. Now compress one of the two tabs and push it out. Then compress the 2nd tab and remove the light assembly on both sides.
5. Starting from one end of the bumper, and using your pliers of choice compress the plastic tab that is a part of the bumper trim assembly and push it out.
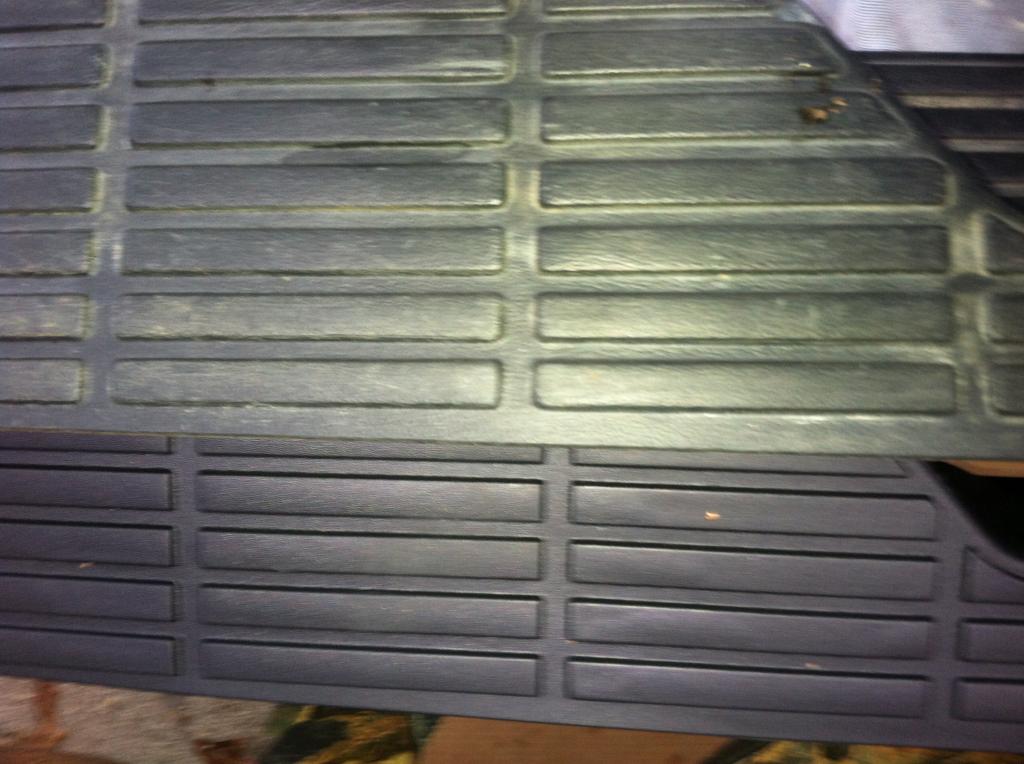
Here's what these plastic tabs look like on the underside of the bumper trim:
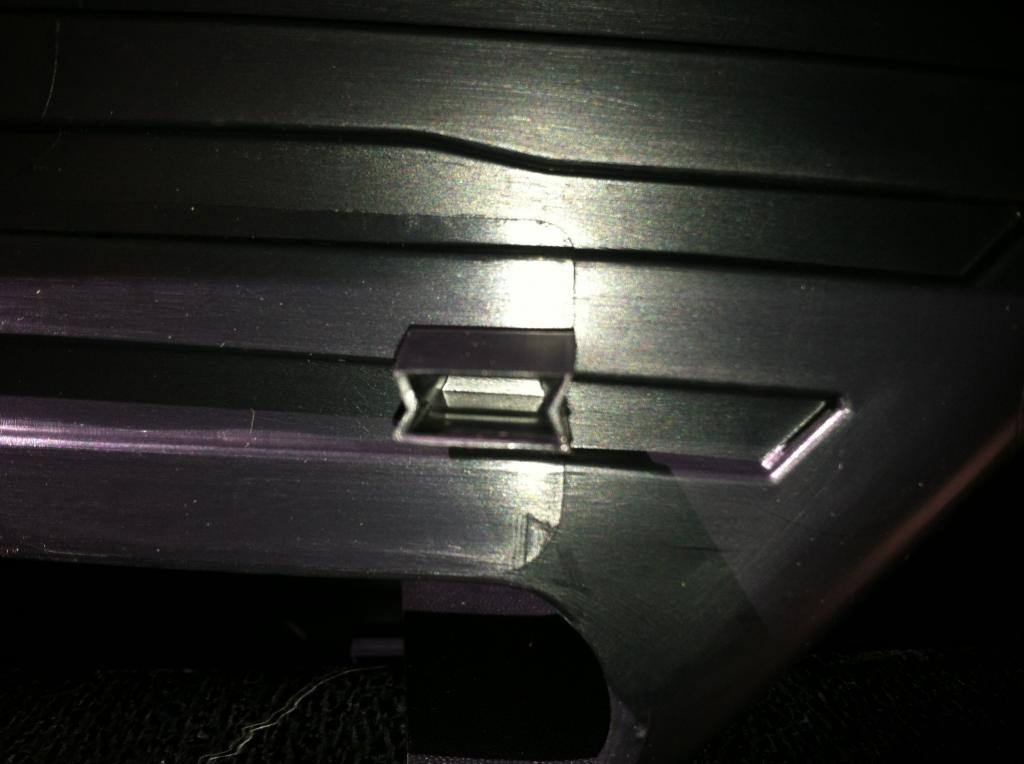
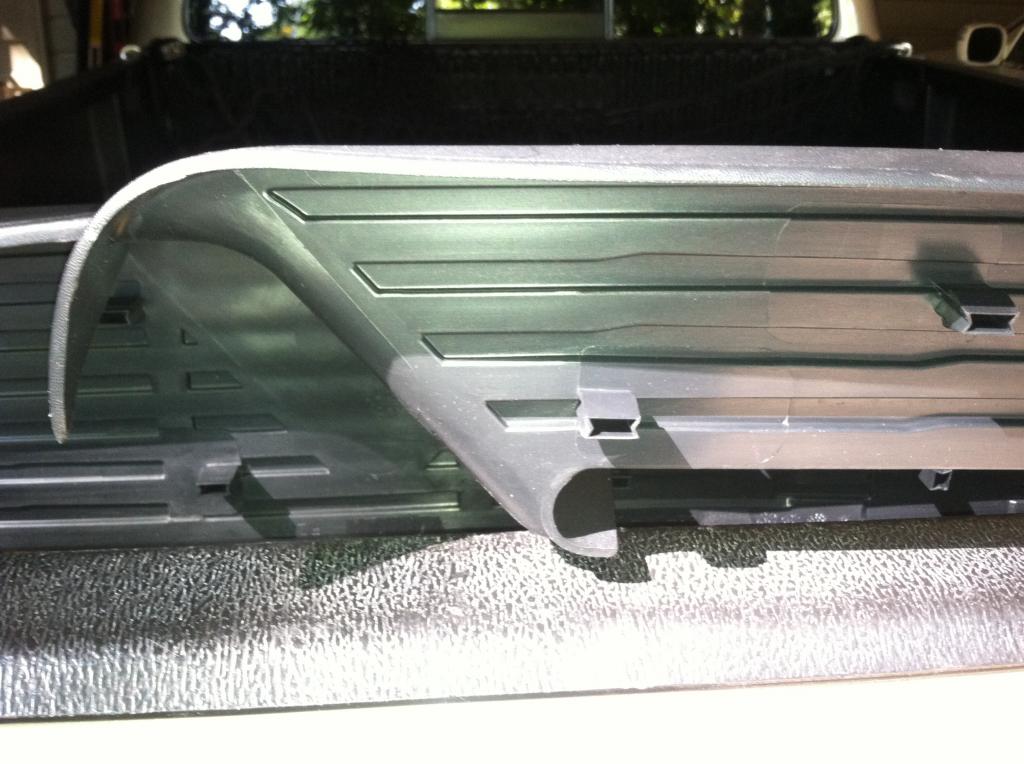
Do this for about 3 of the tabs in close proximity to each other.
6. Now lift up on the bumper trim and stuff a rag under it as far as it will go. This will aid in popping the other tabs as you move along the rear bumper releasing the various tabs holding the trim piece in place.
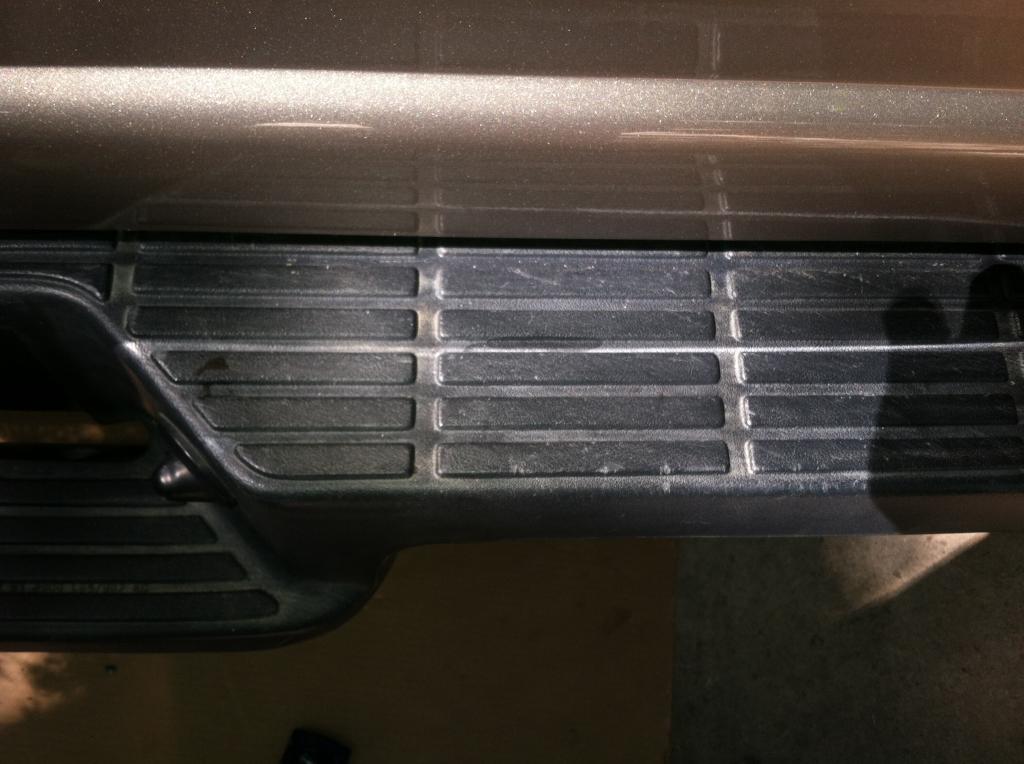
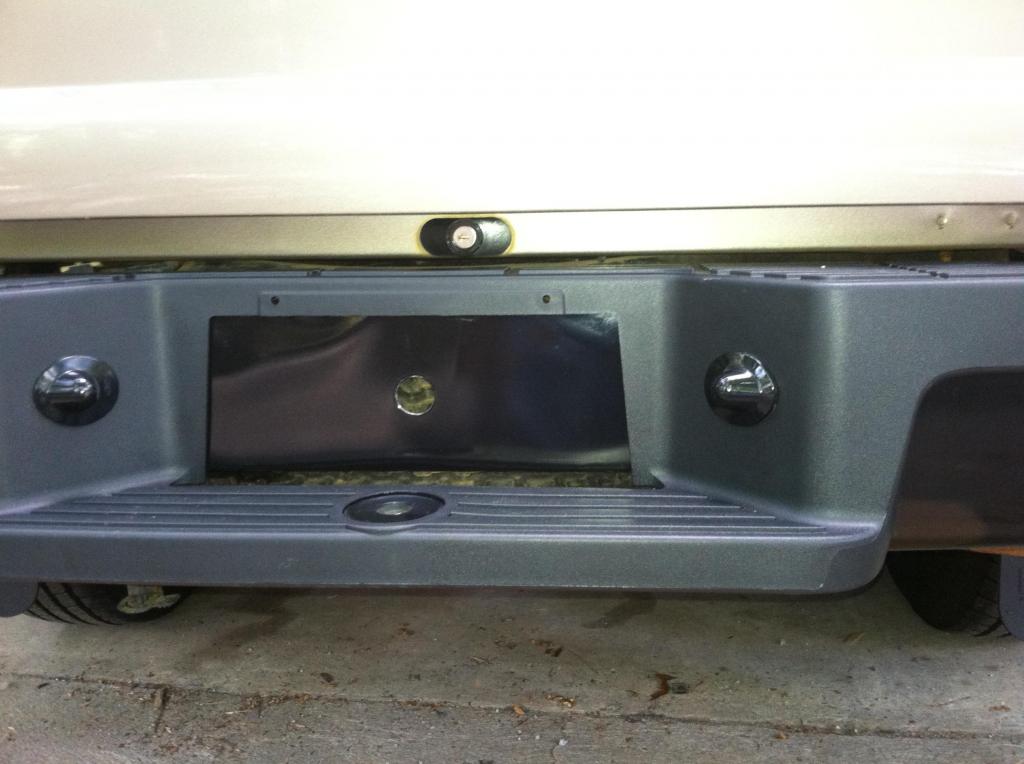
7. With the trim piece now removed you will probably be faced with something like this:

Nasty!
8. Using your favorite soap (I used Dawn dish detergent) and a brush I washed all of that crud off of the exposed steel bumper.
9. I then used Scholl S3 Gold polishing compound and a terry cloth towel to rubout the finish and that got me to this:

10. I then applied Glare Car Polish 2 times and got this:
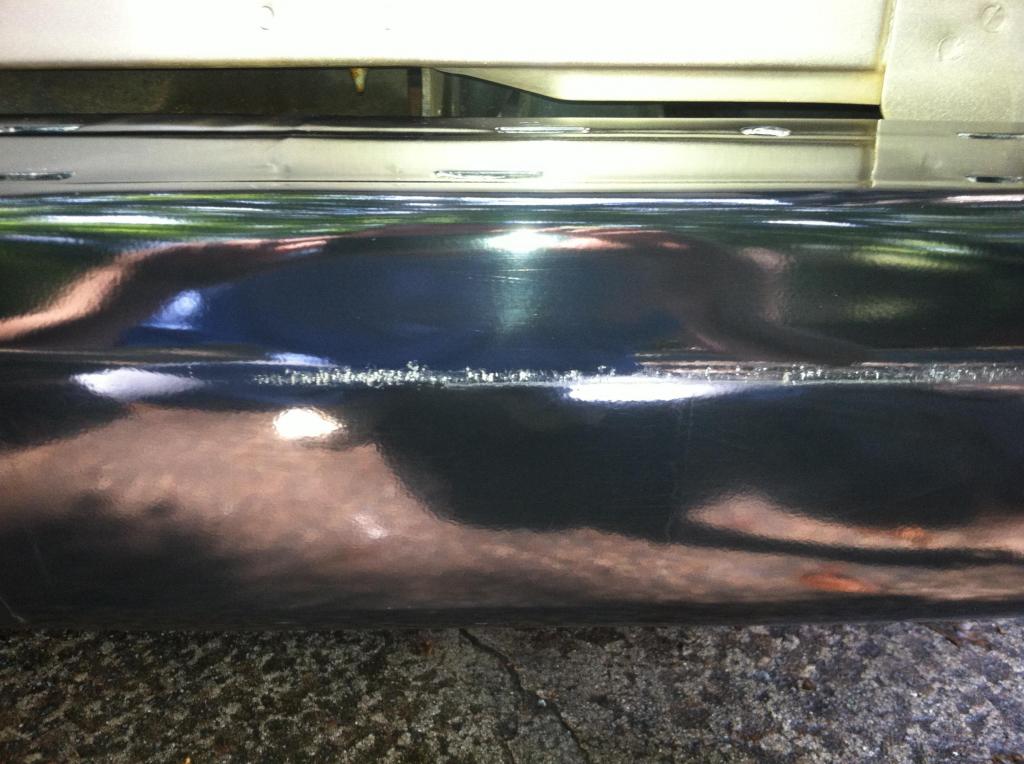
A super slick finish that should shed the crud better than the OEM finish of 11 years ago.
11. I then aligned the new trim piece, and using my rubber mallet, hammered it into place.
Make sure to use your head lamp and check the tab alignment from underneath of the bumper before you start hammering as the tabs are simply plastic and they can break off if they are not aligned with the bumper tab slots.
The tabs need to be hammered pretty hard into place Otherwise. if you don't double-check by looking from underneath the bumper you may believe that the trim is in place while it actually is not fully "tabbed" into position. So keep cross-checking between your hammer blos and the 100% seating of the plastic tabs from underneath.
12. Reinstall your license plate lighting assemblies
13. Reinstall your license plate.
14. Reinstall your tailgate.
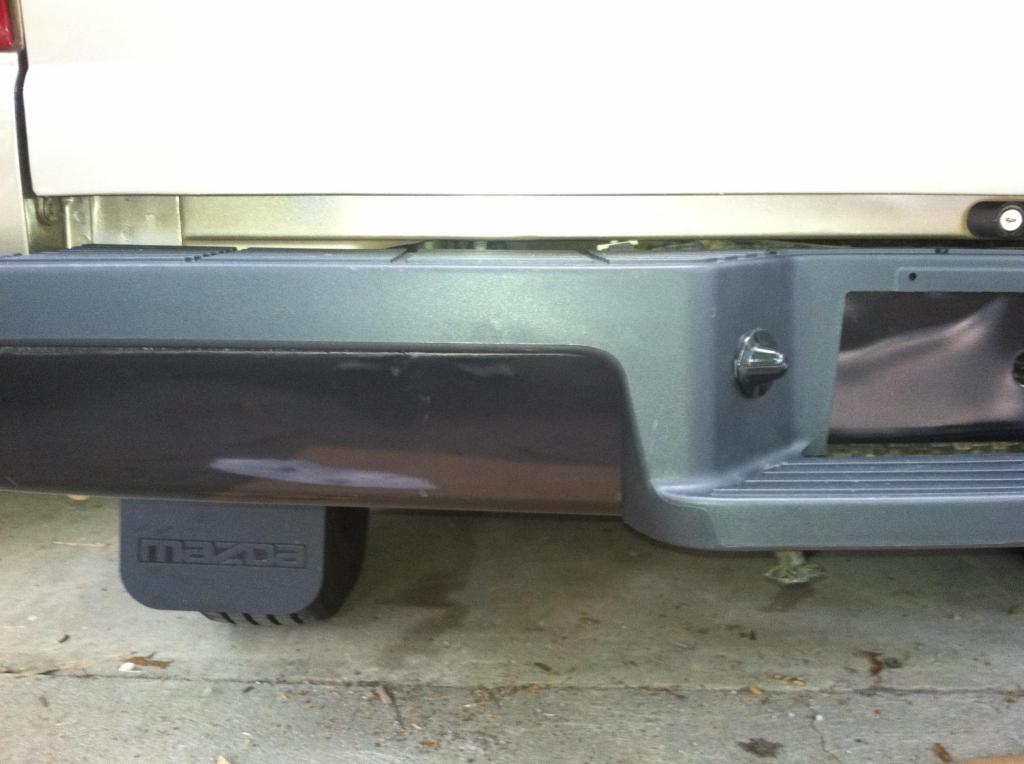
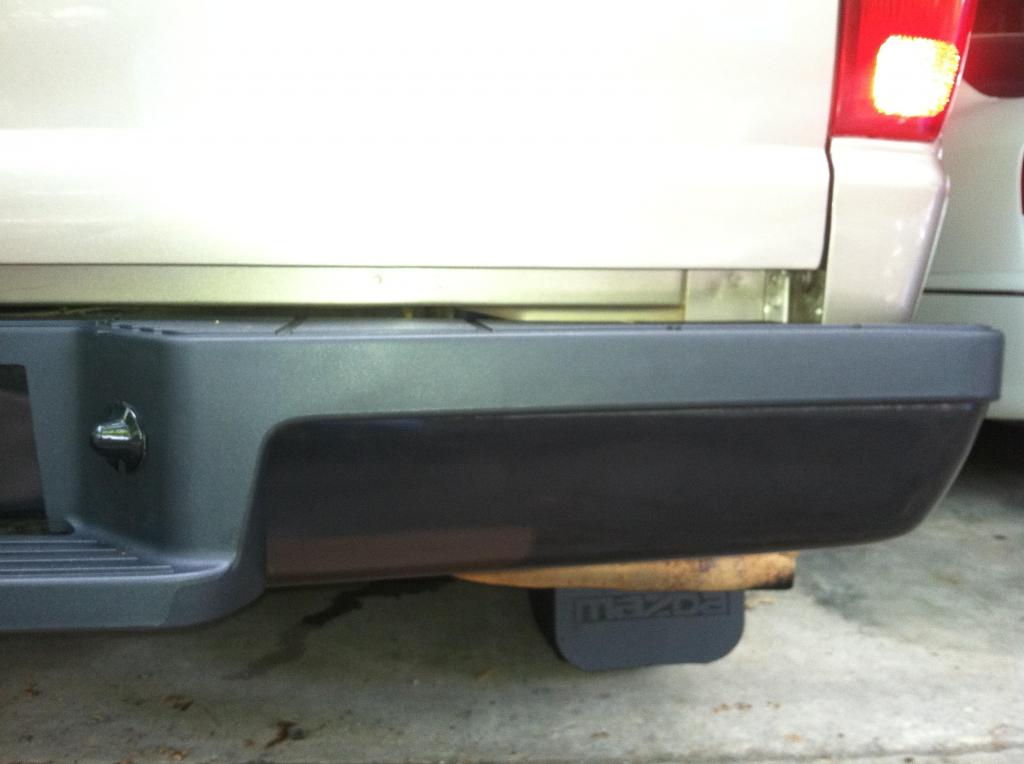
The final product:


I thought about going with Mazda chrome bumpers but got hung up on the correct part numbers.
I have since found out that I have a Ford Ranger rear bumper (OEM from the factory) and not the Mazda rear bumper as shown in their parts lists.
Ford Part Number: 4L5Z-17B807-BAC
My "Mazda" rear steel bumper was stamped: Ford F87B347B
Tools I used:

This head lamp is a must have any time you're under your truck. Indispensable in my opinion. Uses 18650 batteries and is a high output LED lamp.

Here's how I did it:
1. Remove the tailgate from the vehicle.
2. Lay some kind of cardboard, foam pad etc., under the rear bumper area of the truck.
3. Remove the license plate and its screws.
4. With your head lamp on, and laying under the rear bumper, locate the two license plate light holders and release the light socket from both license plate light assemblies.
4. Now compress one of the two tabs and push it out. Then compress the 2nd tab and remove the light assembly on both sides.

5. Starting from one end of the bumper, and using your pliers of choice compress the plastic tab that is a part of the bumper trim assembly and push it out.
Here's what these plastic tabs look like on the underside of the bumper trim:


Do this for about 3 of the tabs in close proximity to each other.
6. Now lift up on the bumper trim and stuff a rag under it as far as it will go. This will aid in popping the other tabs as you move along the rear bumper releasing the various tabs holding the trim piece in place.

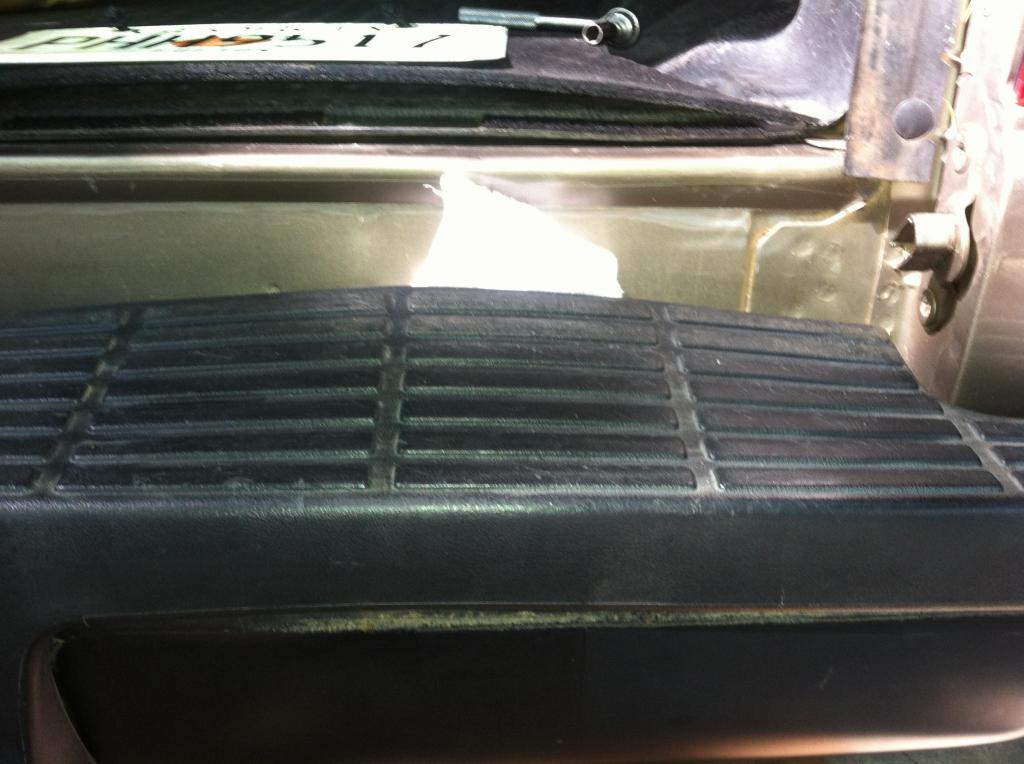
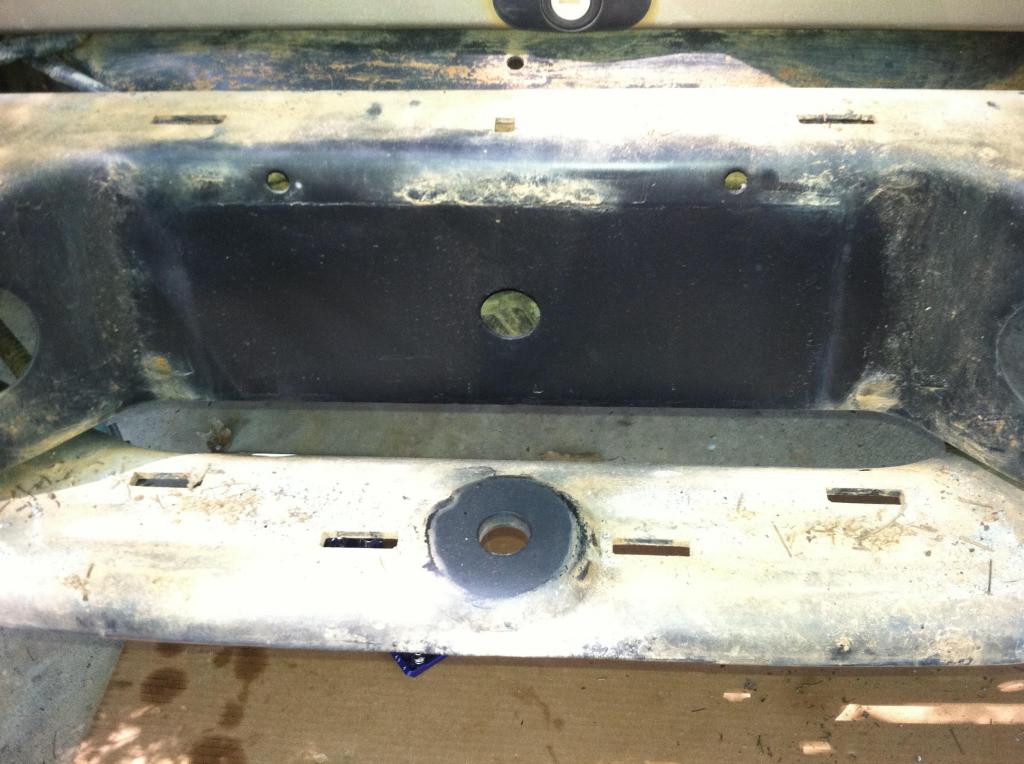
7. With the trim piece now removed you will probably be faced with something like this:


Nasty!
8. Using your favorite soap (I used Dawn dish detergent) and a brush I washed all of that crud off of the exposed steel bumper.
9. I then used Scholl S3 Gold polishing compound and a terry cloth towel to rubout the finish and that got me to this:


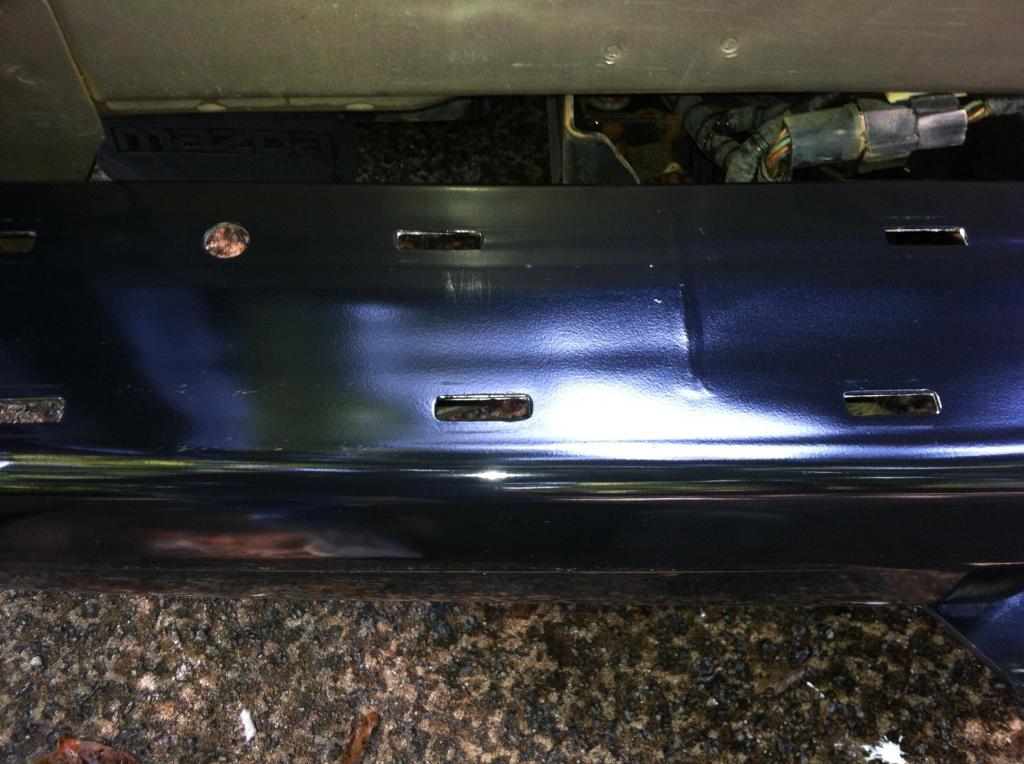
10. I then applied Glare Car Polish 2 times and got this:

A super slick finish that should shed the crud better than the OEM finish of 11 years ago.
11. I then aligned the new trim piece, and using my rubber mallet, hammered it into place.
Make sure to use your head lamp and check the tab alignment from underneath of the bumper before you start hammering as the tabs are simply plastic and they can break off if they are not aligned with the bumper tab slots.
The tabs need to be hammered pretty hard into place Otherwise. if you don't double-check by looking from underneath the bumper you may believe that the trim is in place while it actually is not fully "tabbed" into position. So keep cross-checking between your hammer blos and the 100% seating of the plastic tabs from underneath.
12. Reinstall your license plate lighting assemblies
13. Reinstall your license plate.
14. Reinstall your tailgate.
The final product:


Last edited by GMG; 10-11-2013 at 07:14 AM.
#2
10-04-2013

#5
10-06-2013


#6
10-07-2013
#7
10-07-2013
So, you may want to purchase some 3M 3/4" paint protection film and apply it to that line so that you don't have the same situation as on my truck.
I didn't realize that line existed until I removed the trim piece. So I didn't have any film available.
#8
10-08-2013
Perhaps a heat gun would work as well.
However, I don't think I could have seated those tabs without a rubber mallet and giving them a solid whack.
Since the rear bumper is slightly bent, I have one tab that won't seat (yet). The sun may just flex it enough to seat over time.

Thread
Thread Starter
Forum
Replies
Last Post
sheltra87
OLD - Interior, Exterior, Electrical, & Misc.
4
04-11-2012 04:36 PM
BlackRanger04
OLD - Interior, Exterior, Electrical, & Misc.
10
12-11-2010 05:26 PM
Want to Buy: WTB: plastic trim piece on engine.. (see pic)
DaveG
OLD - Interior, Exterior, Electrical, & Misc.
2
12-11-2010 03:17 PM


