When you click on links to various merchants on this site and make a purchase, this can result in this site earning a commission. Affiliate programs and affiliations include, but are not limited to, the eBay Partner Network.
Tools needed:
5.5mm socket
10mm wrench or deep socket
2 small flat head screwdrivers
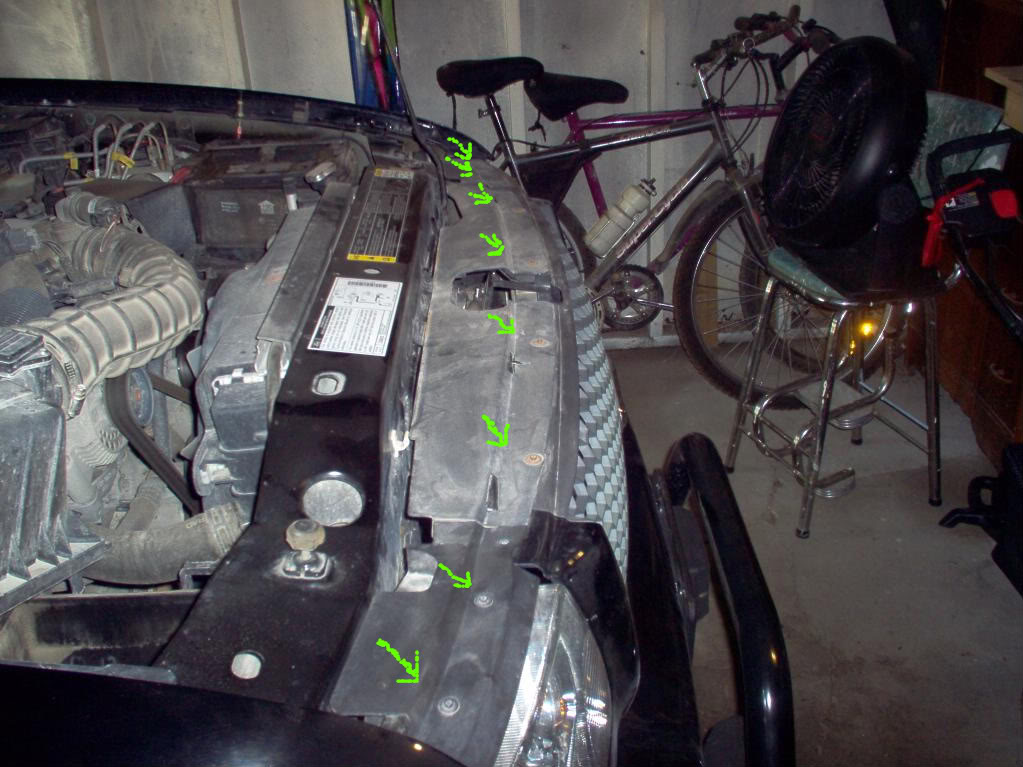
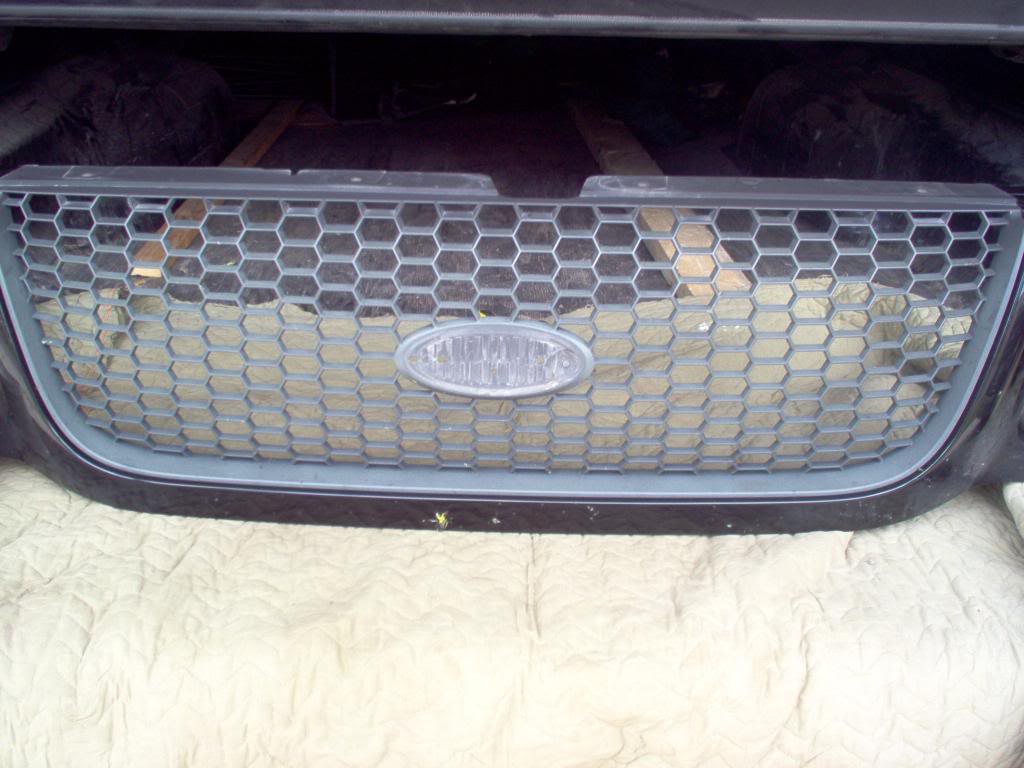
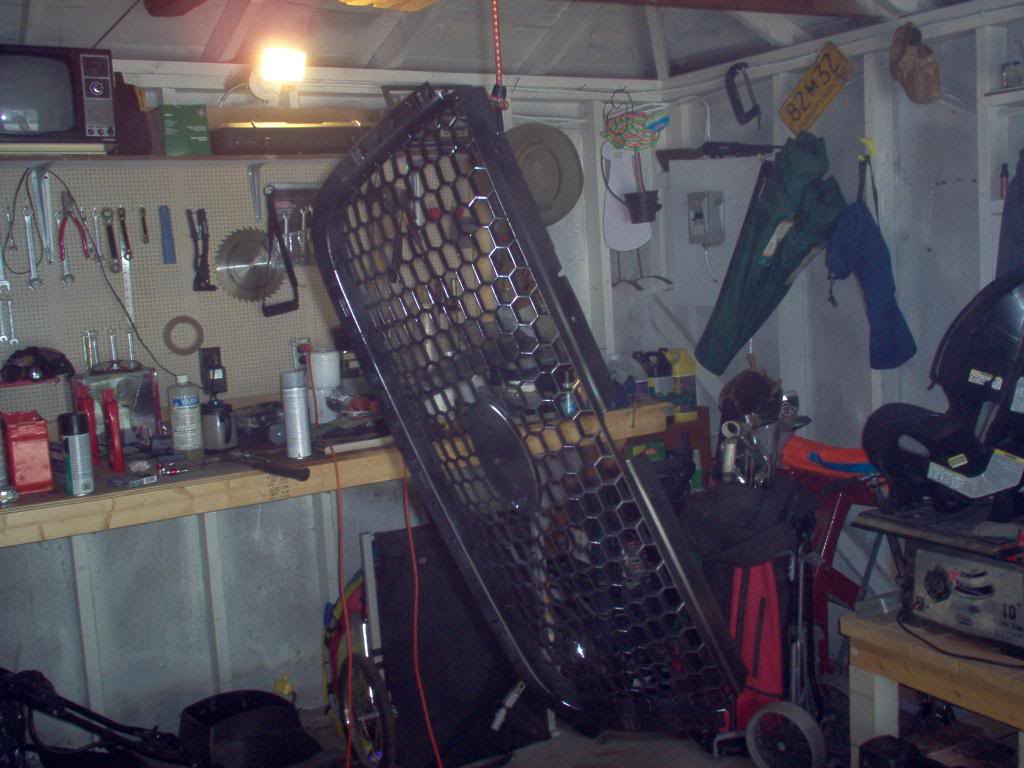
Remove light shrouds using 5.5mm socket, remove grille shroud using 5.5mm socket
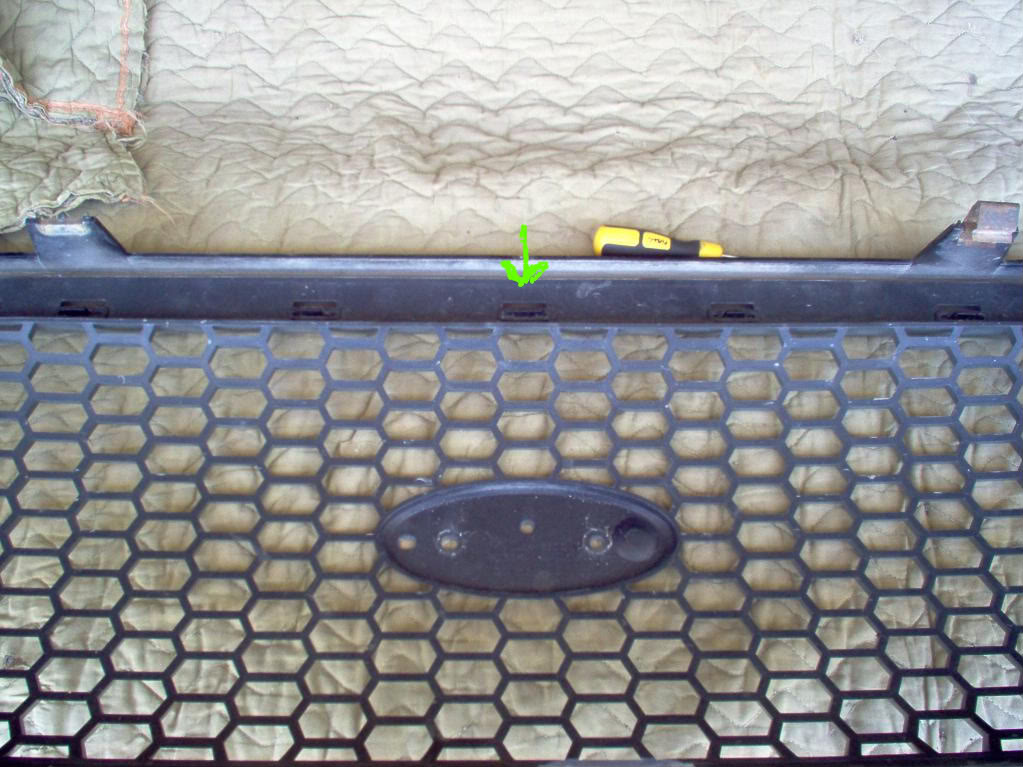
Remove grille bolts using 5.5mm socket, one each side.
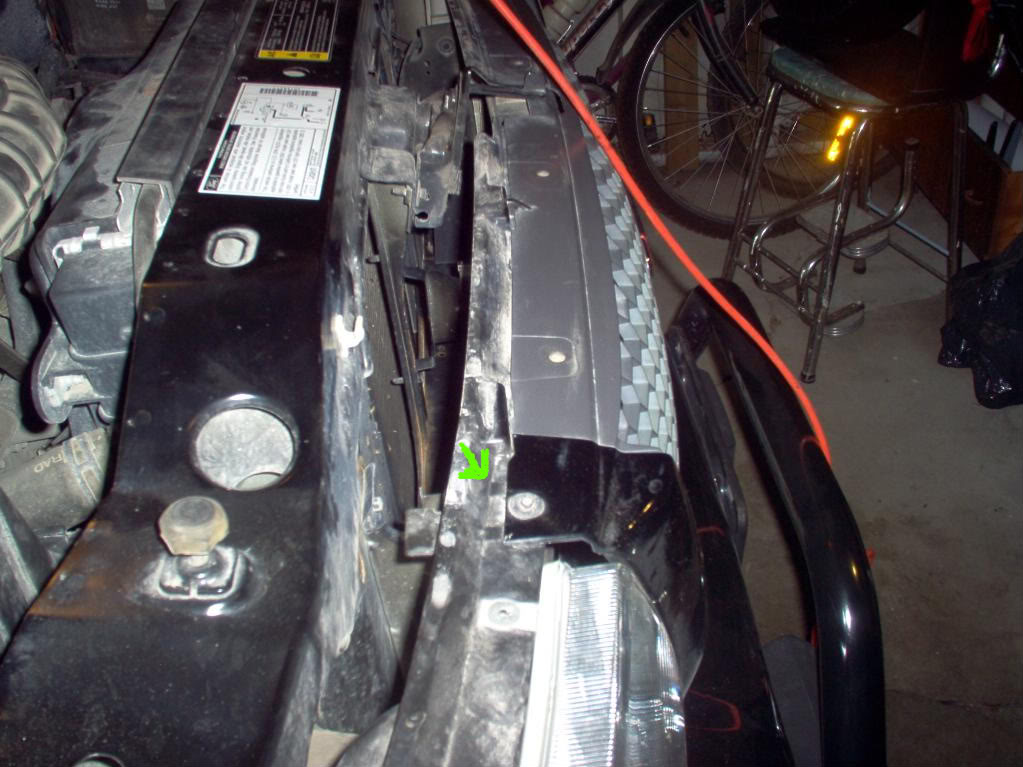
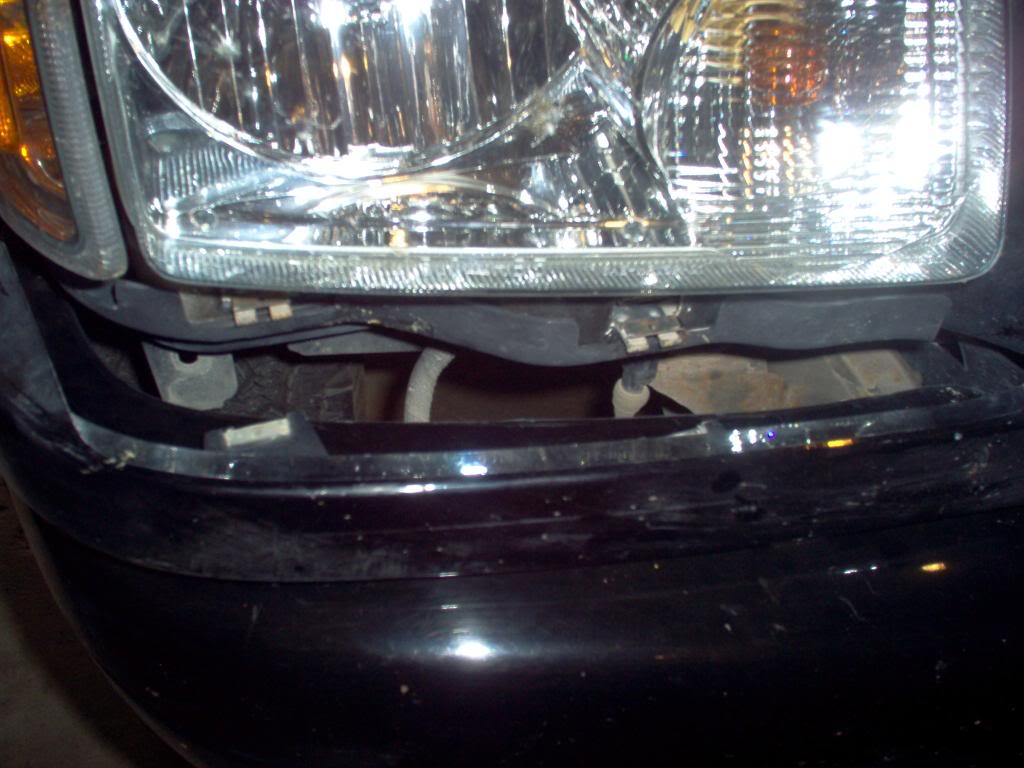
Remove clips on bottom of front clip. Two under each light, two under center of clip. Gently but firmly pull on front of clip and they should let go, if not you can use a flat head screwdriver to press down on clips to aid in removal.
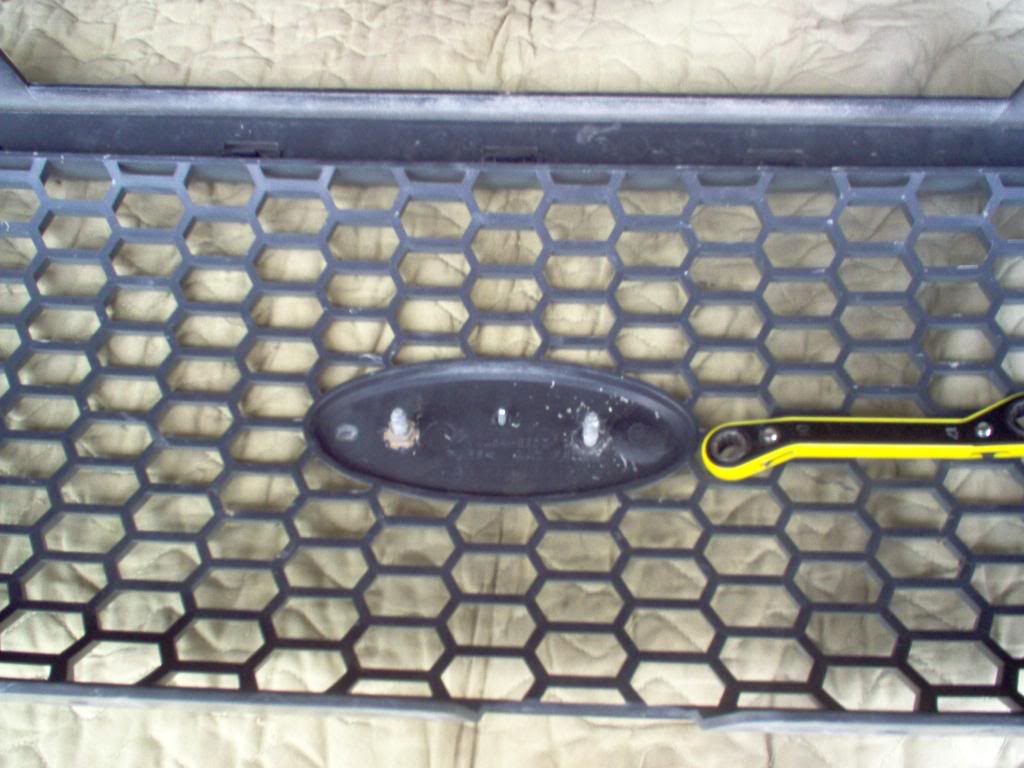
The front clips is now out, place grille on a blanket on the tailgate. Using a 10mm wrench remove the retaining nuts from the back of the oval emblem.
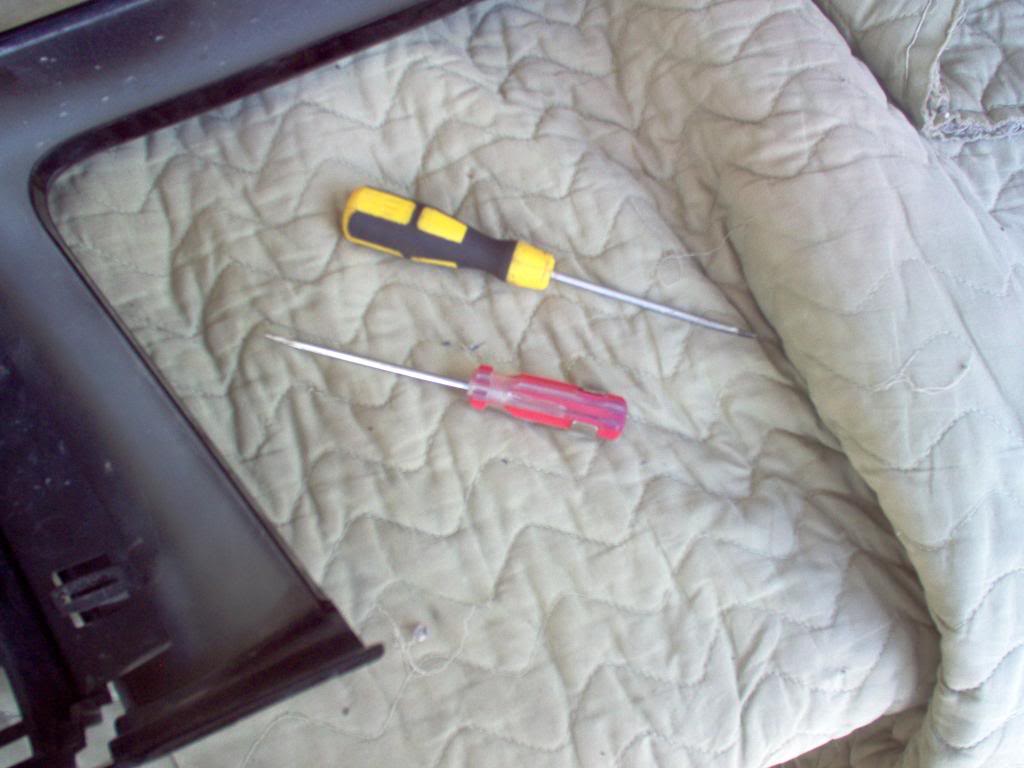
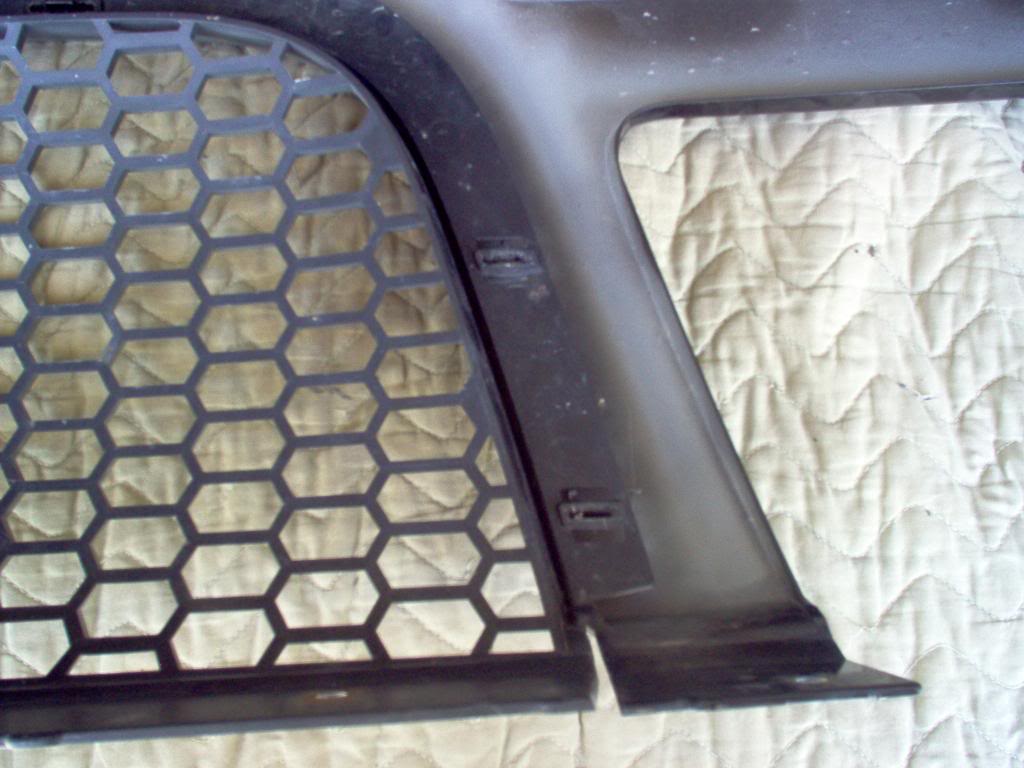
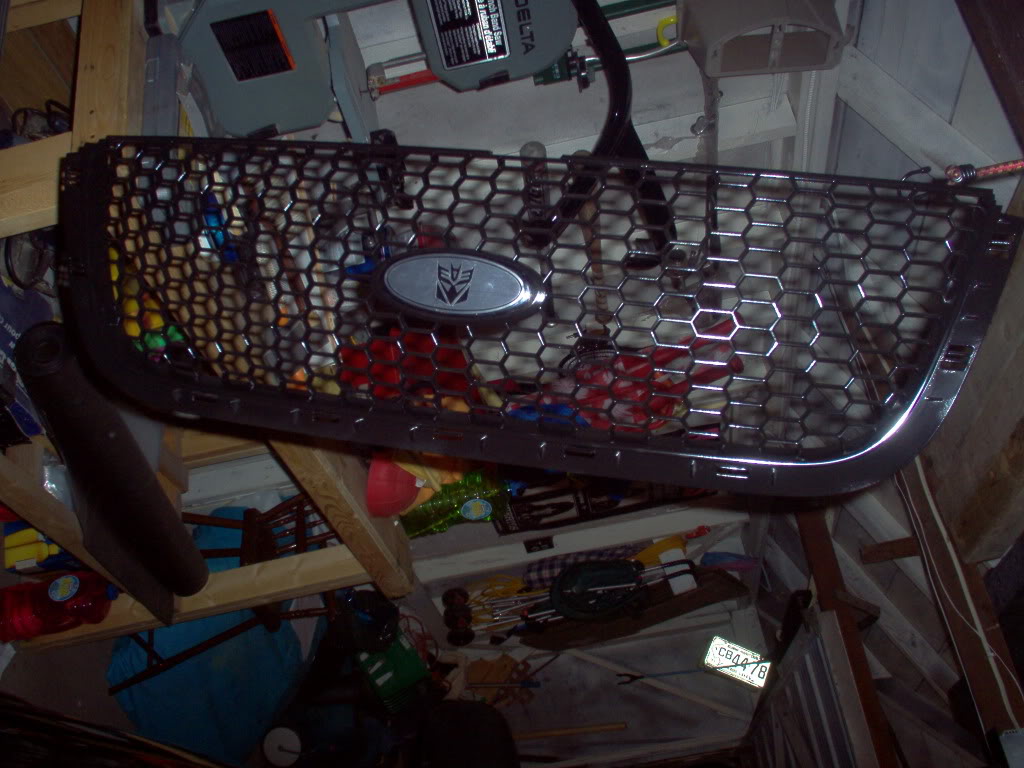
Now for the grille removal you'll need two small flathead screwdrivers.
Insert as shown and very gently pry and wiggle the clips and they will let go.
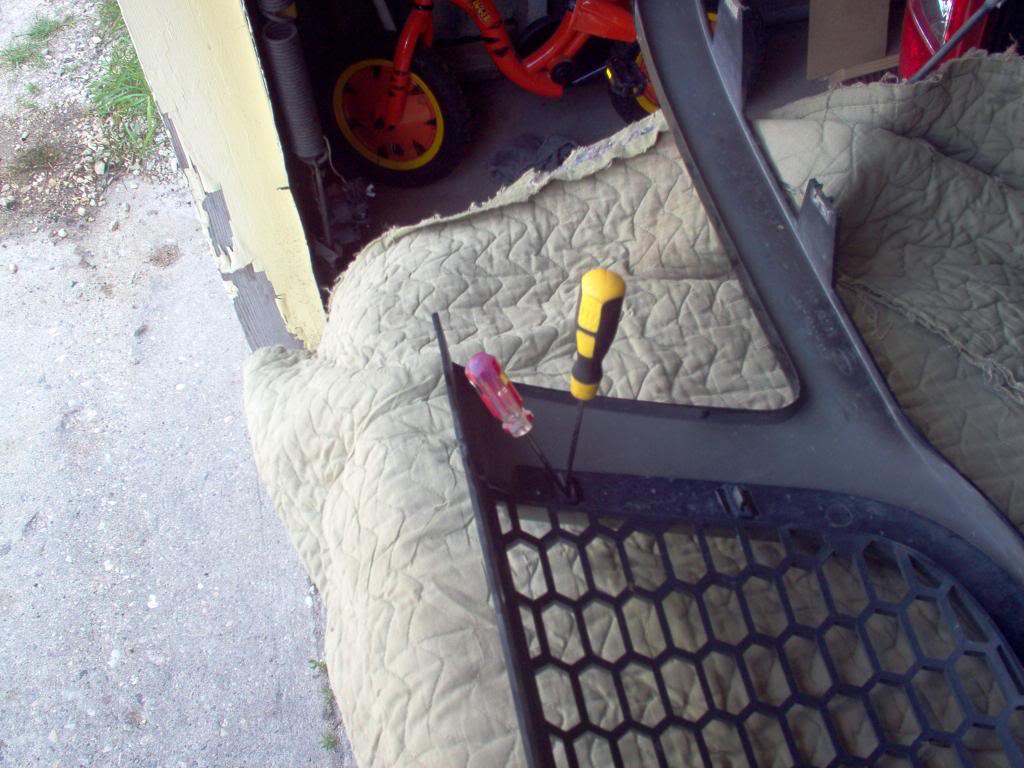
Start from the outsides and work your way in releasing clips as you go.
Two on each side.
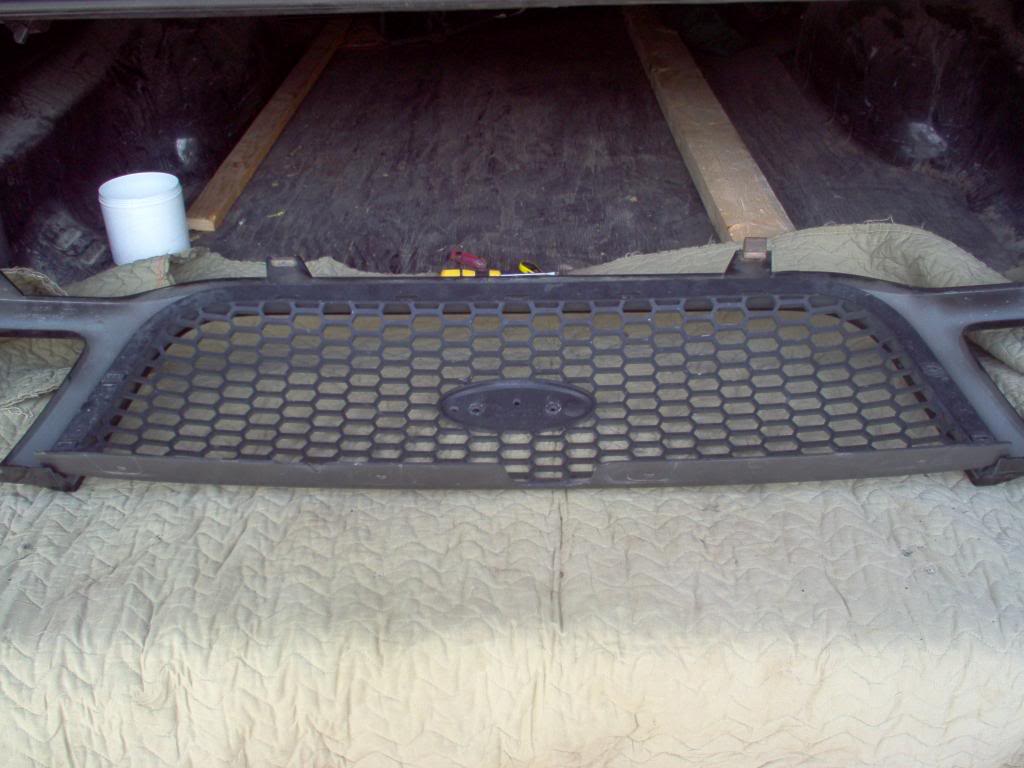
Five along the bottom, center clip has tabs on both sides.
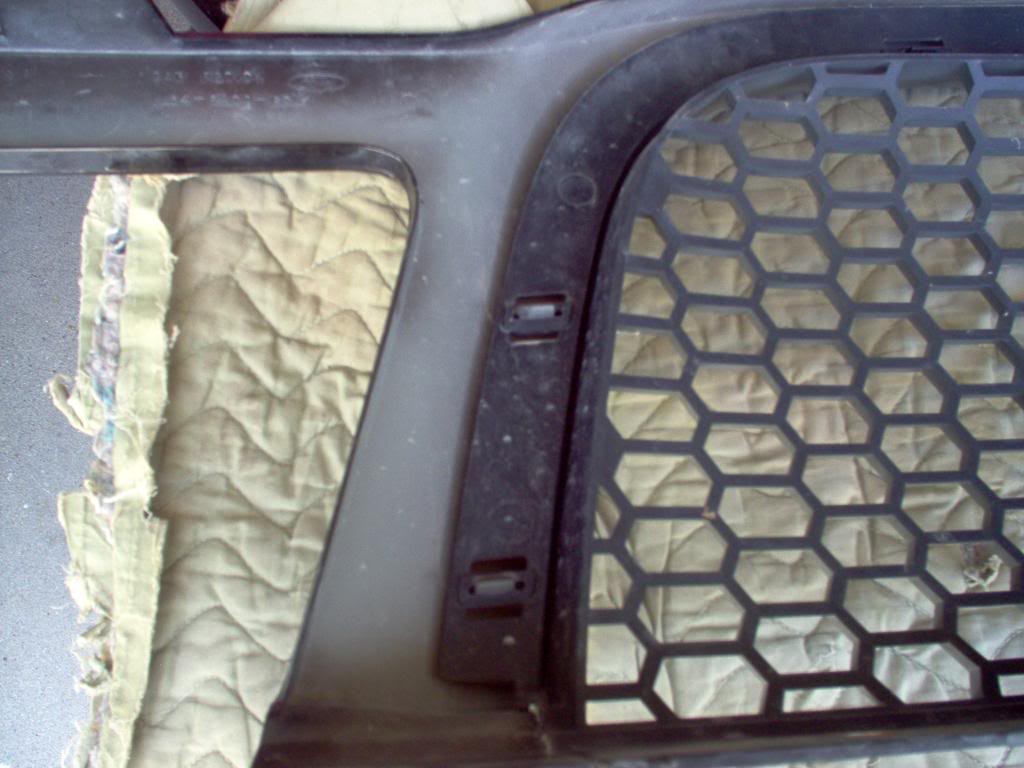
Here is two clips out.
Grille is now out.
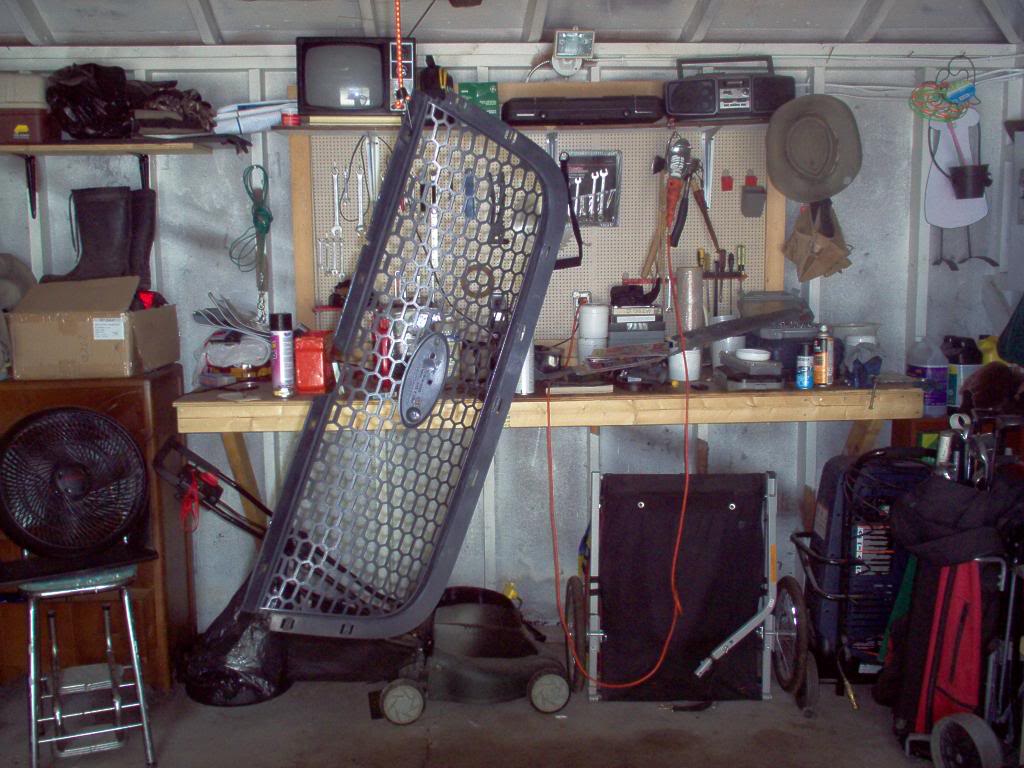
Clean grille removing all debris on grille I used a scrubbrush and a bottle brush to clean using hot soapy water, rinse and clean with isopropyl, allow to dry.
Hang grille so that you can access all sides, using very light coats go at the grille from every angle you can to get into all crevices.
I wound up giving it 5 light coats to cover everything, I used Rustoleum for plastic it gave it a nice semigloss finish
Allow everything to set for 24 hours to cure and put back together.
Last edited by 98liftedranger; Dec 2, 2011 at 12:19 PM.
Im fixin to try this cause my grill has gone from black to grey, I want it black again. Hopefully I can do this without busting a bunch of those cheap clips, plastic and I do not get along well.
Okay, I will let it go this time! *GRIN* I did my grille about 2 1/2 years ago. Used Krylon Fusion Sating Black. Looks just as good as the day I did it. Just take your time when removing the grille from the shell!
I tried the screwdriver method but got nowhere. What worked for me was just hitting each of those gray clips with a hammer to push it in, and then using a plastic prybar to separate. I did this in the grass so I wouldn't scuff up the assembly, placing the clip I was about to hit over my shoe with the clip just offset. I gave it a good smack with a hammer to push it into the slot, and then used a plastic prybar to separate. Start at one end and work your way down each clip in turn, keep the parts separated with your hand so it doesn't snap back together. Wear gloves.
That's a good, alternate method of separating the grille from the surround. Almost always two ways to do things. If one doesn't work for the individual, maybe the other will; either way, it's a PITA.. Thanks for the tip, cbarney522!