
How-To: Install 100w H3 Reverse Bulbs in Stock Housings


How-To: Install 100w H3 Reverse Bulbs in Stock Housings
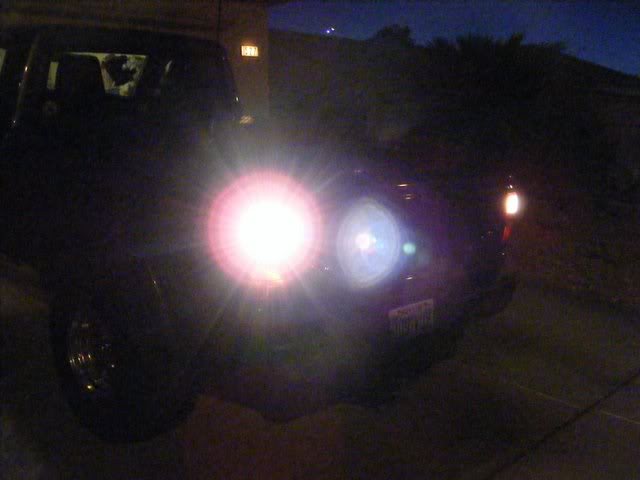
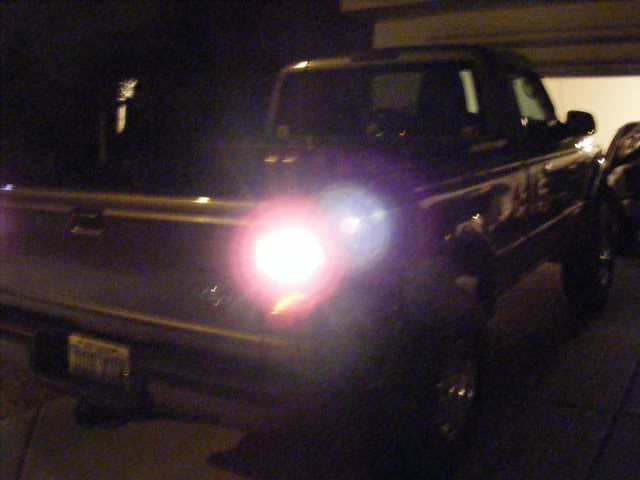
This is a mod that was born through bordem and extra lights around. So there may be a better method, or different method to go about doing it. It involves taking a standard 100w H3 bulb into the stock reverse light socket.
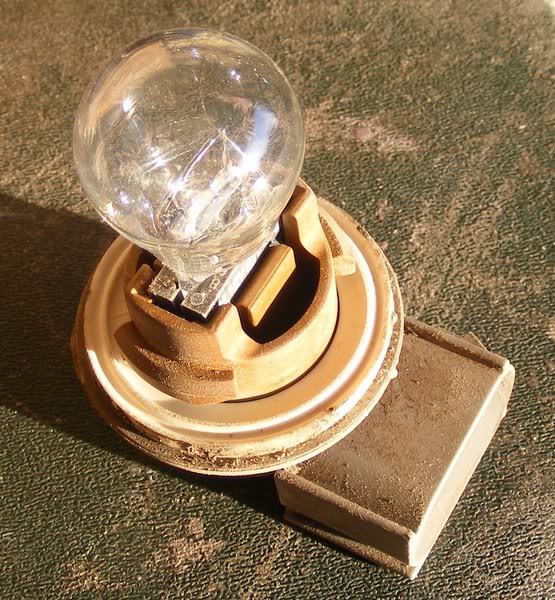
First step is to remove the reverse light socket from the tail lamp assembly.
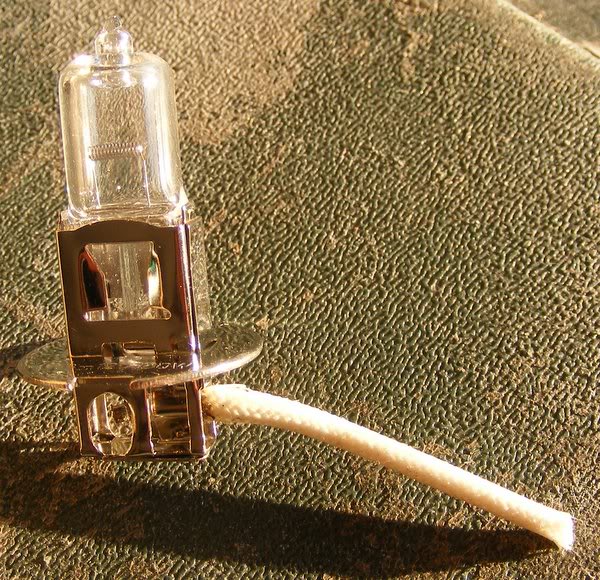
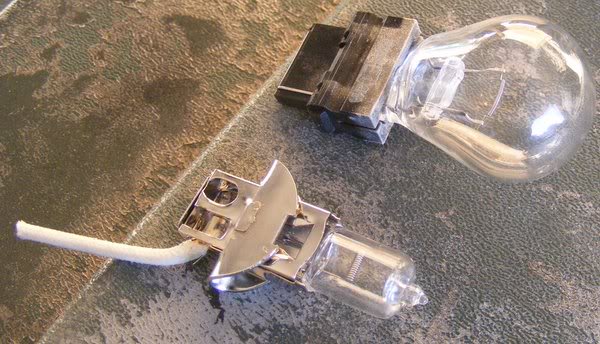
Remove the bulb, and take your H3 bulb
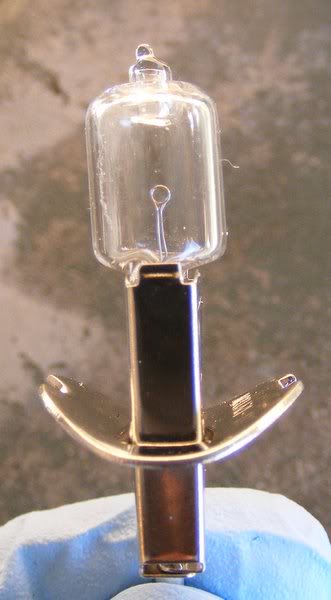
While holding it, carefully tweak the tabs up with pliers like shown
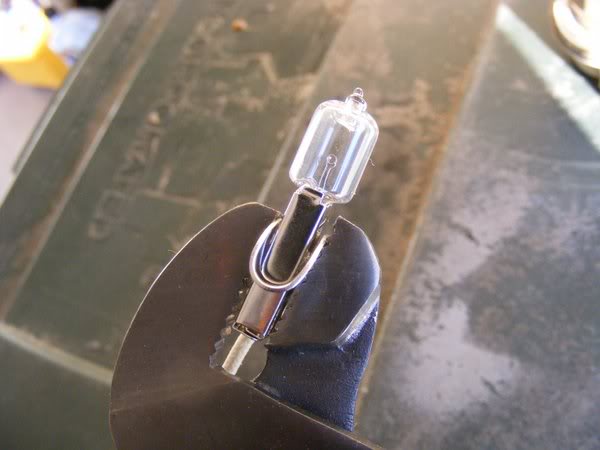
Complete the bend using channel locks or something similar, again finesse. They're fragile.
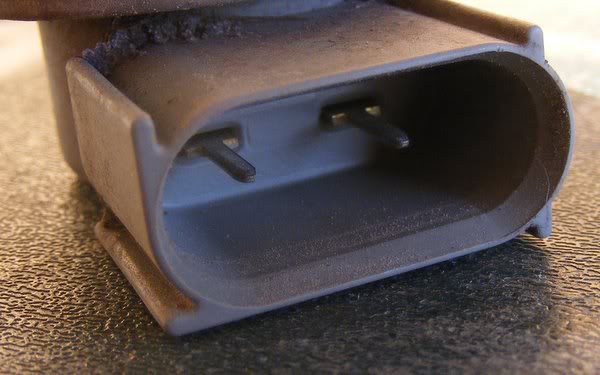
I don't have pictures but you will need to grind/cut down the longest ends of the tabs, so that the bulb slides into the housing. You will need to drill a small 1/8" hole into the bottom of the socket to run the bulb wire through it. You can seal it with silicone or something similar. Then use a spade connector or the like to allow you to disconnect the bulb if need be.

When the bulb is installed, it is grounded through the stock tabs. However, since you are touching both tabs, you cannot run the stock wiring since the factory power wire will go straight to ground (no good).
Leave the stock ground wire hooked up and cut the Black/Red wire (on my 2005) and wire that to terminal 86 on the relay. Wire up the wire that is attached to the bulb using the wire to terminal 87
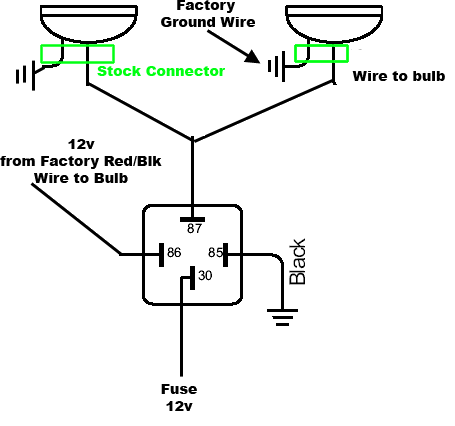
The reason you want to run a relay is due to 100w lights pull about 9a each. Which is too much load for the stock wiring/switch to handle. Here is the location of my relay, it is up above the stock spare tire well.

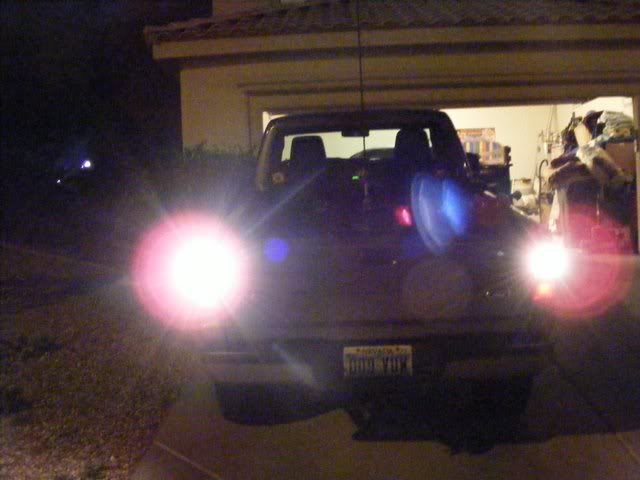
Hope it makes a little sense! After running the relay you are also pretty much "pre-wired" back there to properly add auxiliary reverse lights for added lighting.
First step is to remove the reverse light socket from the tail lamp assembly.
Remove the bulb, and take your H3 bulb
While holding it, carefully tweak the tabs up with pliers like shown
Complete the bend using channel locks or something similar, again finesse. They're fragile.
I don't have pictures but you will need to grind/cut down the longest ends of the tabs, so that the bulb slides into the housing. You will need to drill a small 1/8" hole into the bottom of the socket to run the bulb wire through it. You can seal it with silicone or something similar. Then use a spade connector or the like to allow you to disconnect the bulb if need be.
When the bulb is installed, it is grounded through the stock tabs. However, since you are touching both tabs, you cannot run the stock wiring since the factory power wire will go straight to ground (no good).
Leave the stock ground wire hooked up and cut the Black/Red wire (on my 2005) and wire that to terminal 86 on the relay. Wire up the wire that is attached to the bulb using the wire to terminal 87
The reason you want to run a relay is due to 100w lights pull about 9a each. Which is too much load for the stock wiring/switch to handle. Here is the location of my relay, it is up above the stock spare tire well.
Hope it makes a little sense! After running the relay you are also pretty much "pre-wired" back there to properly add auxiliary reverse lights for added lighting.


Thread
Thread Starter
Forum
Replies
Last Post
Want to Buy: Black & Decker 18v Battery (housings only), KY
buggman
Miscellaneous Items
4
Jul 9, 2010 10:12 PM
Want to Buy: 02+ headlight housings
JakeH05
OLD - Interior, Exterior, Electrical, & Misc.
7
Jun 30, 2010 05:08 PM
demiseranger
OLD - Interior, Exterior, Electrical, & Misc.
6
Jan 5, 2010 11:22 PM
Want to Buy: Stock fog light housings for 02 FX4
powerranger262
OLD - Interior, Exterior, Electrical, & Misc.
3
Aug 9, 2009 07:41 AM
Goodysgotacuda
New Ideas
22
Mar 30, 2009 07:10 PM


