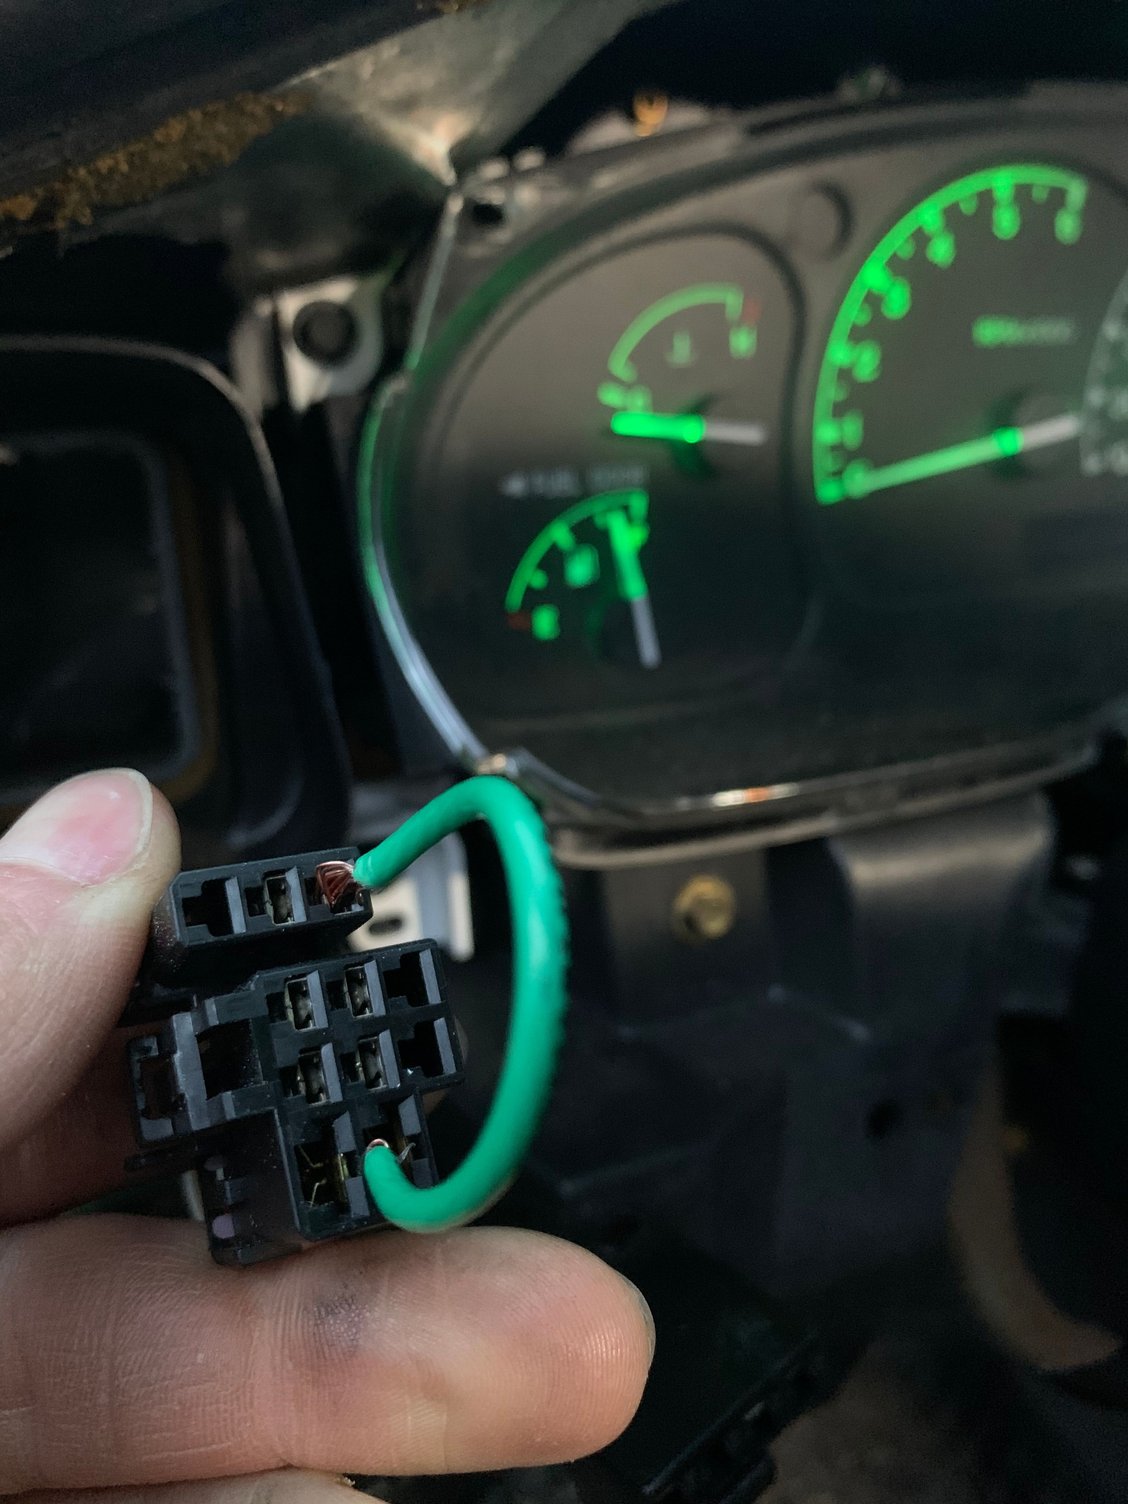
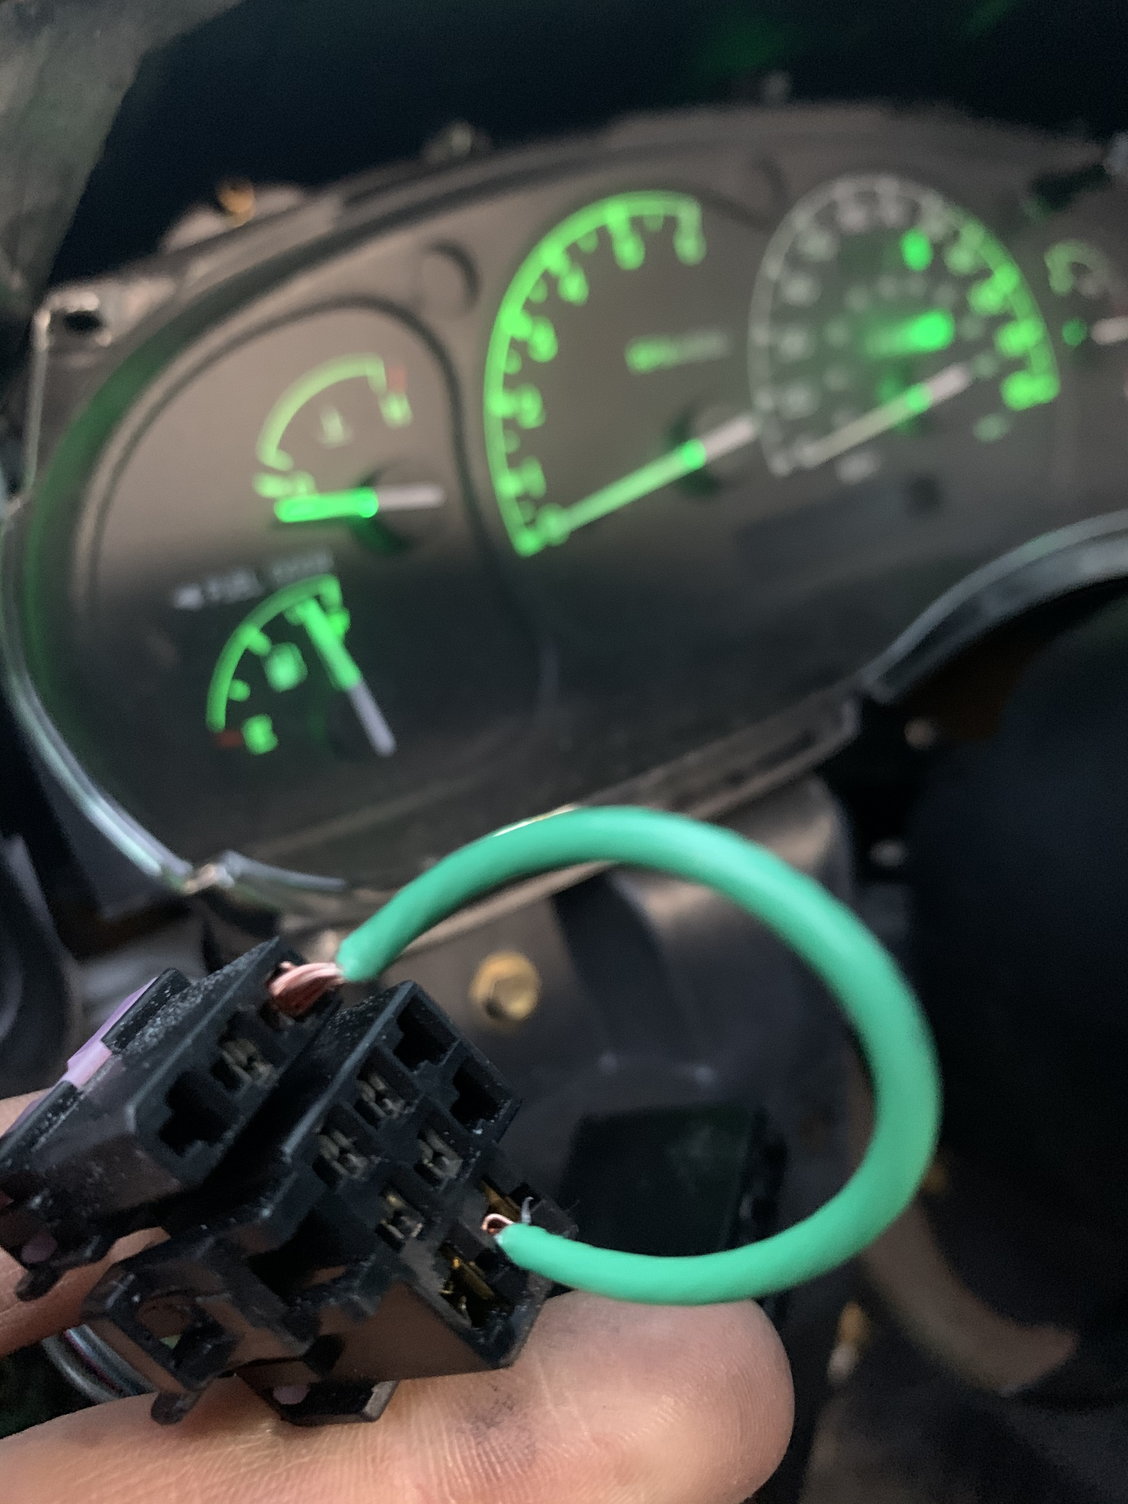
How-To: Replacing Instrument Cluster Lights
#26
Check the back side of your headlight switch. Give it a good push to make sure everything is still connected. I had my instrument cluster lights, all of them, go out suddenly. I also lost my clearance lights and tail lights at the same time. After checking all the fuses with a multimeter and swapping relays around, I pushed the wiring harness connector on the back of the headlight switch, and everything works now.
#28
3 of the 6 pins on my original headlight switch were burnt out. After replacing the old with the new, my headlights work, tail lights, 3 indicator lights (off, parking lights, and head lights) by the headlight **** do work.
Dash lights do not work still. Could all have my dash lights, not the warning lights, have shorted and all 6 bulbs need to be replaced?
If not the dash light bulbs which part of the wiring harness should I inspect next?
I am going to double check the fuses too.
Dash lights do not work still. Could all have my dash lights, not the warning lights, have shorted and all 6 bulbs need to be replaced?
If not the dash light bulbs which part of the wiring harness should I inspect next?
I am going to double check the fuses too.
#29
Your pictures and instructions for changing dash bulbs was extremely helpful, did the entire process in less than 75 minutes. Viewed the site prior to going to auto store to pick up the bulbs only had one problem. I found your site looking for how to get my check engine light replaced and your directions did not mention that there were other bulbs on the dash, the white connectors have small bulbs and the black ones take the 194 listed on pictures. Put the 6 new bulbs in for the dash lights found the check engine still out, switched the bulb from the gas cap to the check engine this worked. Took truck back to emissions test center, passed the test, good for two more years.
The following users liked this post:
RudyM (05-30-2021)
#34
Hey sorry if I'm resurrecting an old dead thread. But I really liked the how to on this topic or if there is a newer thread? Now for my question I want to change the bulbs on the cluster but in different color ie: red for RPM blue for speed etc now I was wondering if I needed to peel off the black overlay in the panel and scratch off the tint film so the colors would shine thru? And if so anyone know a simple way to take off the needles? I read you could use a fork but don't want to put the needles back on in the wrong position I know I can mark it with a Sharpie. Also does anyone know what bulb slot is for what gauge and how many for each guage? I know it's 6 bulbs for the main illumination which all i want to switch out and size is 194. Sorry for long post and resurrecting this thread.
#35
#36
#37
Warning lights replacement bulb size number
I see some old posts with suggestions about what the replacement bulb is for the warning lights in instrument panel. The illumination/backlight bulbs are 194s. What are the warning light bulbs? They are smaller that the 6 illumination bulbs with the black sockets.
Can anyone confirm what the replacement bulb is for the 10-12 beige sockets? Thanks.
Can anyone confirm what the replacement bulb is for the 10-12 beige sockets? Thanks.
#39
Thanks for that. I have a 1997 2.3 XLT.
I looked at the #74s online. They seem to look just like 194s. I thought the warning light bulbs were small and thin above the base. Does your 2002 use 194s for the background illumination? Do you
know/remember if the 194s and 74s look the same?
Thanks for your feedback. It is appreciated.
I looked at the #74s online. They seem to look just like 194s. I thought the warning light bulbs were small and thin above the base. Does your 2002 use 194s for the background illumination? Do you
know/remember if the 194s and 74s look the same?
Thanks for your feedback. It is appreciated.
#40
Thanks for that. I have a 1997 2.3 XLT.
I looked at the #74s online. They seem to look just like 194s. I thought the warning light bulbs were small and thin above the base. Does your 2002 use 194s for the background illumination? Do you
know/remember if the 194s and 74s look the same?
Thanks for your feedback. It is appreciated.
I looked at the #74s online. They seem to look just like 194s. I thought the warning light bulbs were small and thin above the base. Does your 2002 use 194s for the background illumination? Do you
know/remember if the 194s and 74s look the same?
Thanks for your feedback. It is appreciated.
The two are completely different in size with the 194 more that double the size of the bulb and a different size base. I sourced my 74s locally as I wanted to make sure I was getting a long life bulb.
#41
#42
Follow these instructions, and pictures to change the instrument cluster bulbs on a Ranger (mine is a 1999, I'm not sure on what years will be the same).
It takes 6 194LL light bulbs, go ahead and change all 6 while the instrument cluster is out.
="4"%Step #1 Using a 7mm socket, remove the 2 screws holding the radio bezel


="4"%Step #2 Pull radio bezel out slightly

="4"%Step #3 Using 7mm socket, remove 4 screws holding kick-panel below steering wheel. Note: 2 screws are under hood release handle


="4"%Step #4 Drop hood release bracket and pull kick panel out


="4"%Step #5 Using 8mm socket, remove 4 of the 5 screws holding kick panel metal brace


="4"%Step #6 Just loosen 5th screw in kick panel metal brace enough to drop brace to clear bottom 2 screws in instrument cluster bezel


="4"%Step #7 Using 7mm socket, remove bottom 2 screws in instrment cluster bezel


="4"%Step #8 Using 7mm socket, remove top 3 screws in instrument cluster bezel


="4"%Step #9 With tilt steering wheel, drop to lowest position. Also pull tranny shifter to "1" position (if automatic). Note: Make sure emergency brake is set! Pull Instrument cluster out from the
top


="4"%Step #10 Using 7mm socket, remove 4 screws holding instrment cluster


="4"%Step #11 Gently pull instrument cluster out from the right side, far enough to reach the 3 electrical connectors. Electrical connectors have release tabs to push in before pulling
connectors:


="4"%Step #12 Instrument cluster lights are in black caps. Turn caps counter-clockwise to remove light bulbs


="4"%Step #13 Light bulbs pull out of black caps


Reassemble in opposite direction
It takes 6 194LL light bulbs, go ahead and change all 6 while the instrument cluster is out.
="4"%Step #1 Using a 7mm socket, remove the 2 screws holding the radio bezel


="4"%Step #2 Pull radio bezel out slightly

="4"%Step #3 Using 7mm socket, remove 4 screws holding kick-panel below steering wheel. Note: 2 screws are under hood release handle


="4"%Step #4 Drop hood release bracket and pull kick panel out


="4"%Step #5 Using 8mm socket, remove 4 of the 5 screws holding kick panel metal brace


="4"%Step #6 Just loosen 5th screw in kick panel metal brace enough to drop brace to clear bottom 2 screws in instrument cluster bezel


="4"%Step #7 Using 7mm socket, remove bottom 2 screws in instrment cluster bezel


="4"%Step #8 Using 7mm socket, remove top 3 screws in instrument cluster bezel


="4"%Step #9 With tilt steering wheel, drop to lowest position. Also pull tranny shifter to "1" position (if automatic). Note: Make sure emergency brake is set! Pull Instrument cluster out from the
top


="4"%Step #10 Using 7mm socket, remove 4 screws holding instrment cluster


="4"%Step #11 Gently pull instrument cluster out from the right side, far enough to reach the 3 electrical connectors. Electrical connectors have release tabs to push in before pulling
connectors:


="4"%Step #12 Instrument cluster lights are in black caps. Turn caps counter-clockwise to remove light bulbs


="4"%Step #13 Light bulbs pull out of black caps


Reassemble in opposite direction
The following users liked this post:
RudyM (05-30-2021)
#43
I wanted to have them all in hand but decided to get the cluster pulled out to verify first. Multiple sources didnít show the the 74 bulb at all so glad I saw a reference in this forum and pulled the unit first. Mine can sit a few days waiting on the bulbs (purchased locally but still had to wait a couple days to get enough).
Buy a couple extra 74s and do the HVAC controls while you are at it.
The following users liked this post:
jockodog (02-20-2020)
#45
Great article with excellent pictures. Thanks for your hard work. Makes it a snap to replace those bulbs. My 1999 Ranger had 5 bulbs for dash illumination. The smaller bulbs are for various other lights like turn siganls and status lights. You don't have to disconnect the three plugs that go to the dash module and completely remove it. You can pull out the dash module, tip it up, and remove the 5 larger(black) bulb holders from underneath.
#47
#48
Thank you so much for this post!
I'm not at all a truck/car guy, just a Youtube hero. This project was the first time I've ever attempted taking apart anything in a vehicle on my own and it turned out great!
Your step by step made it super easy even for a novice like myself. Took me a little over an hour to get LED lamps in there.
I'm not at all a truck/car guy, just a Youtube hero. This project was the first time I've ever attempted taking apart anything in a vehicle on my own and it turned out great!
Your step by step made it super easy even for a novice like myself. Took me a little over an hour to get LED lamps in there.
#49
I get the emergency lights in mine (i.e. check engine, door ajar, etc) but everything else is completely dark. I just used this guide to change the bulbs today but it didn't work. Do you know what fuses i might need to change in order to see if that helps? Thanks.
#50
Rolling it all the way up, does the cargo light for the bed come on ?


