
Headlight / 4Wd Switch Knob Question


Headlight / 4Wd Switch **** Question
I know I can go out and pull the ***** from my EDGE but I was wondering if anyone has pulled these ***** and compared them to the H/AC ***** ?

Where the **** 'locates' itself on the shaft is totally on a different degree. However, they all are round shafts with a flat. Just the flats are on different locations. I have used a headlight switch in the 4x4 spot before, but the indicator on the **** is wayyy off. Hopefully that makes sense.
LOL! I got like...seriously......7 sets of blue ones and like 3 sets of green ones. Anybody want some?
As soon as I get the replacements I will take a look see what is happening with them.
Thanks,
Member

Joined: Oct 2005
Posts: 2,804
Likes: 6
From: Northern IL
The base of the HVAC ***** are much thicker than the headlight/4x4 switch ones.
Im not really sure how the flat on the shaft is index to the pointer.
I would love a set of the blue ***** but I no longer have ***** on my HVAC. I really want to change the color of that EATC.
Im not really sure how the flat on the shaft is index to the pointer.
I would love a set of the blue ***** but I no longer have ***** on my HVAC. I really want to change the color of that EATC.
I was in the truck and thought of the **** fitment.
I pulled the Temp ****, the headlight know and the 4x4 *****.
All had the same shaft size but the flats were in different location.
The base of the headlight and 4x4 ***** were thinner but workable.
The shaft flat positioning is the problem and will need some thought.
Anyone have any thoughts on the Flat of the Shaft Position ?
Thanks,
Member
Joined: Jun 2009
Posts: 976
Likes: 1
From: Deer Park, TX
Dont know how good it would hold up, but maybe take a dremel and cut the part that goes on the shaft off, and jb weld it to where it points the right direction. There is prolly a better way, but physics is draining me right now...
I am going to mill the flat out of the shaft hole and put in a set screw.
The set screw will be positioned to hit the flat on the shaft with the pointer in the correct position.
The **** will need to be machined a little to conform to the base of the Headlight and 4x4 ***** areas but I think this will work out OK.
Now to change the Blue pointer dots to RED.
Member
Joined: Nov 2008
Posts: 433
Likes: 1
From: Toronto, Ontario
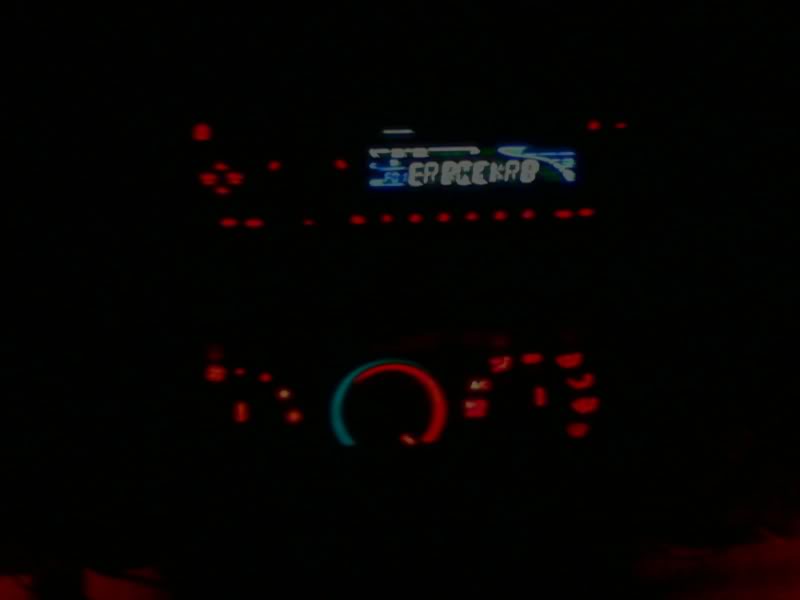
woah..sounds like the hard way..what i did with my hvac ***** was..used a small screwdriver to pop out the little plastic piece (the pointer dot)...and sanded off the green..to make them red i used some tailight tape (the kind people put on when they have a broken light) and popped in the lil plastic thing..does that make any sense?
Pictures a bit blurry, looks a lot better in person..now im trying to find a way to remove the green filter on the OHC so i can have a red display..(i wanna fit a digital clock in there somehow, since i dont have the temp or compass thing)
Pictures a bit blurry, looks a lot better in person..now im trying to find a way to remove the green filter on the OHC so i can have a red display..(i wanna fit a digital clock in there somehow, since i dont have the temp or compass thing)
OK on the color, great idea using the taillight repair material.
I am using after market ***** with Blue pointers, sort of round dot that is blue, it was the only color they had, clearance.
Not sure if I can even change the color until I get them and look.
They have been ordered for a few day now, just waiting and thinking; that is where I am getting my self in trouble, too much thinking.
So first I need to mount the ***** in all 5 locations, then worry about the color of the pointer.
Thanks for the idea of the tail light material, good one and maybe other will take note of it.
Check out this thread: https://www.ranger-forums.com/forum2...ights-4x4.html for further updates.
Last edited by Scrambler82; Oct 21, 2009 at 03:45 PM. Reason: Admin - you can delete thisone, sorry double post
If you look at the back side of the **** it will be round with a flat spot. Line it up so that the flat spot lines up with the flat spot on the rod it fell off of.


Thread
Thread Starter
Forum
Replies
Last Post
hurley
OLD - Interior, Exterior, Electrical, & Misc.
1
Aug 1, 2014 11:57 AM
Jwad00
General Technical & Electrical
1
Sep 5, 2009 03:45 PM
lifted97ranger
General Technical & Electrical
60
Mar 22, 2008 06:11 PM


