When you click on links to various merchants on this site and make a purchase, this can result in this site earning a commission. Affiliate programs and affiliations include, but are not limited to, the eBay Partner Network.
Had a build thread on another ranger forum but it seems to be dying out so I thought I would get one going here. I have started using this truck as a plow truck for a few years and it has been handling it quite well.
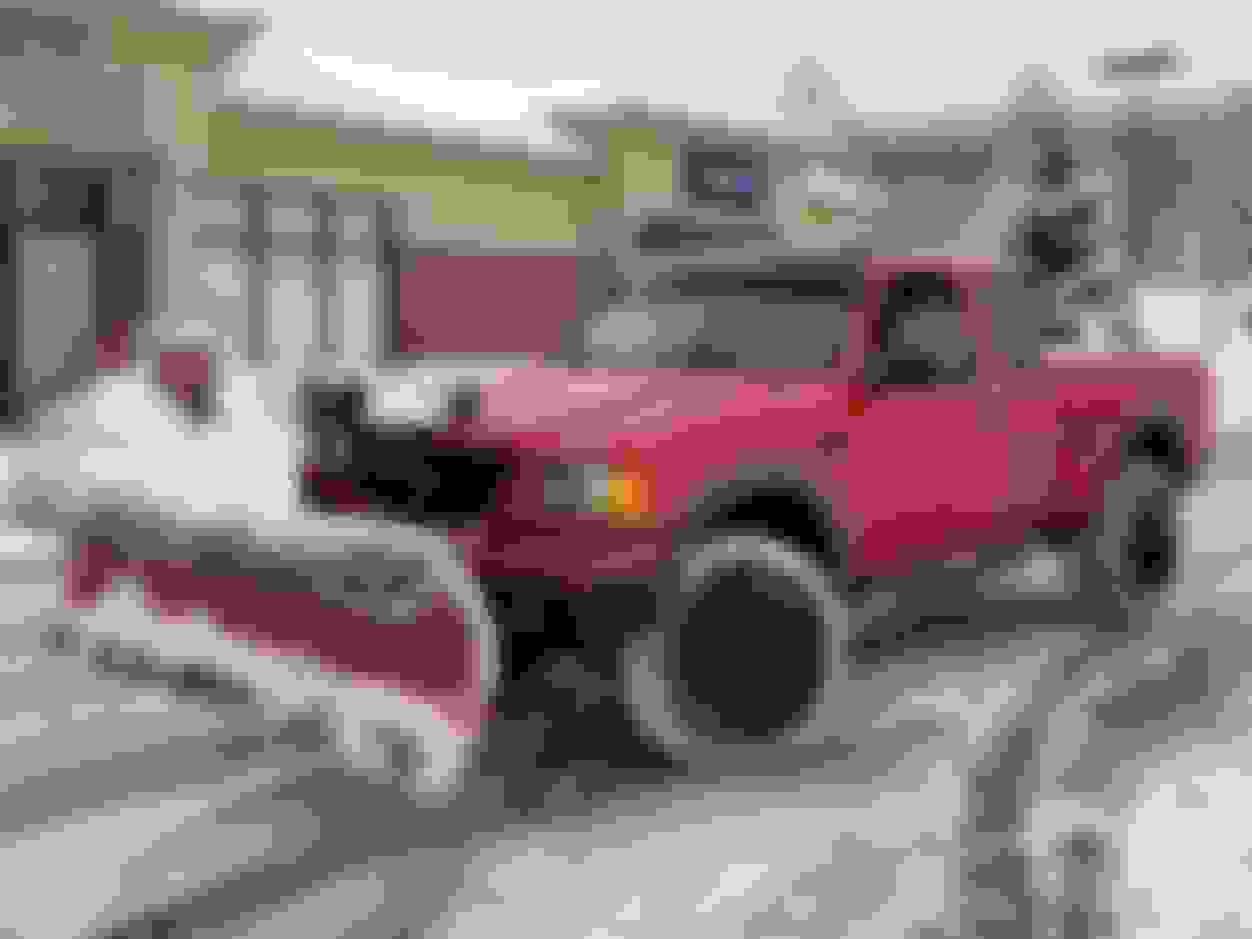
Here it is after the first season.
Got stuck a few times with wranglers on there so it needed some beefy tires, never got stuck running these duratracs.
Body lift and tires installed.
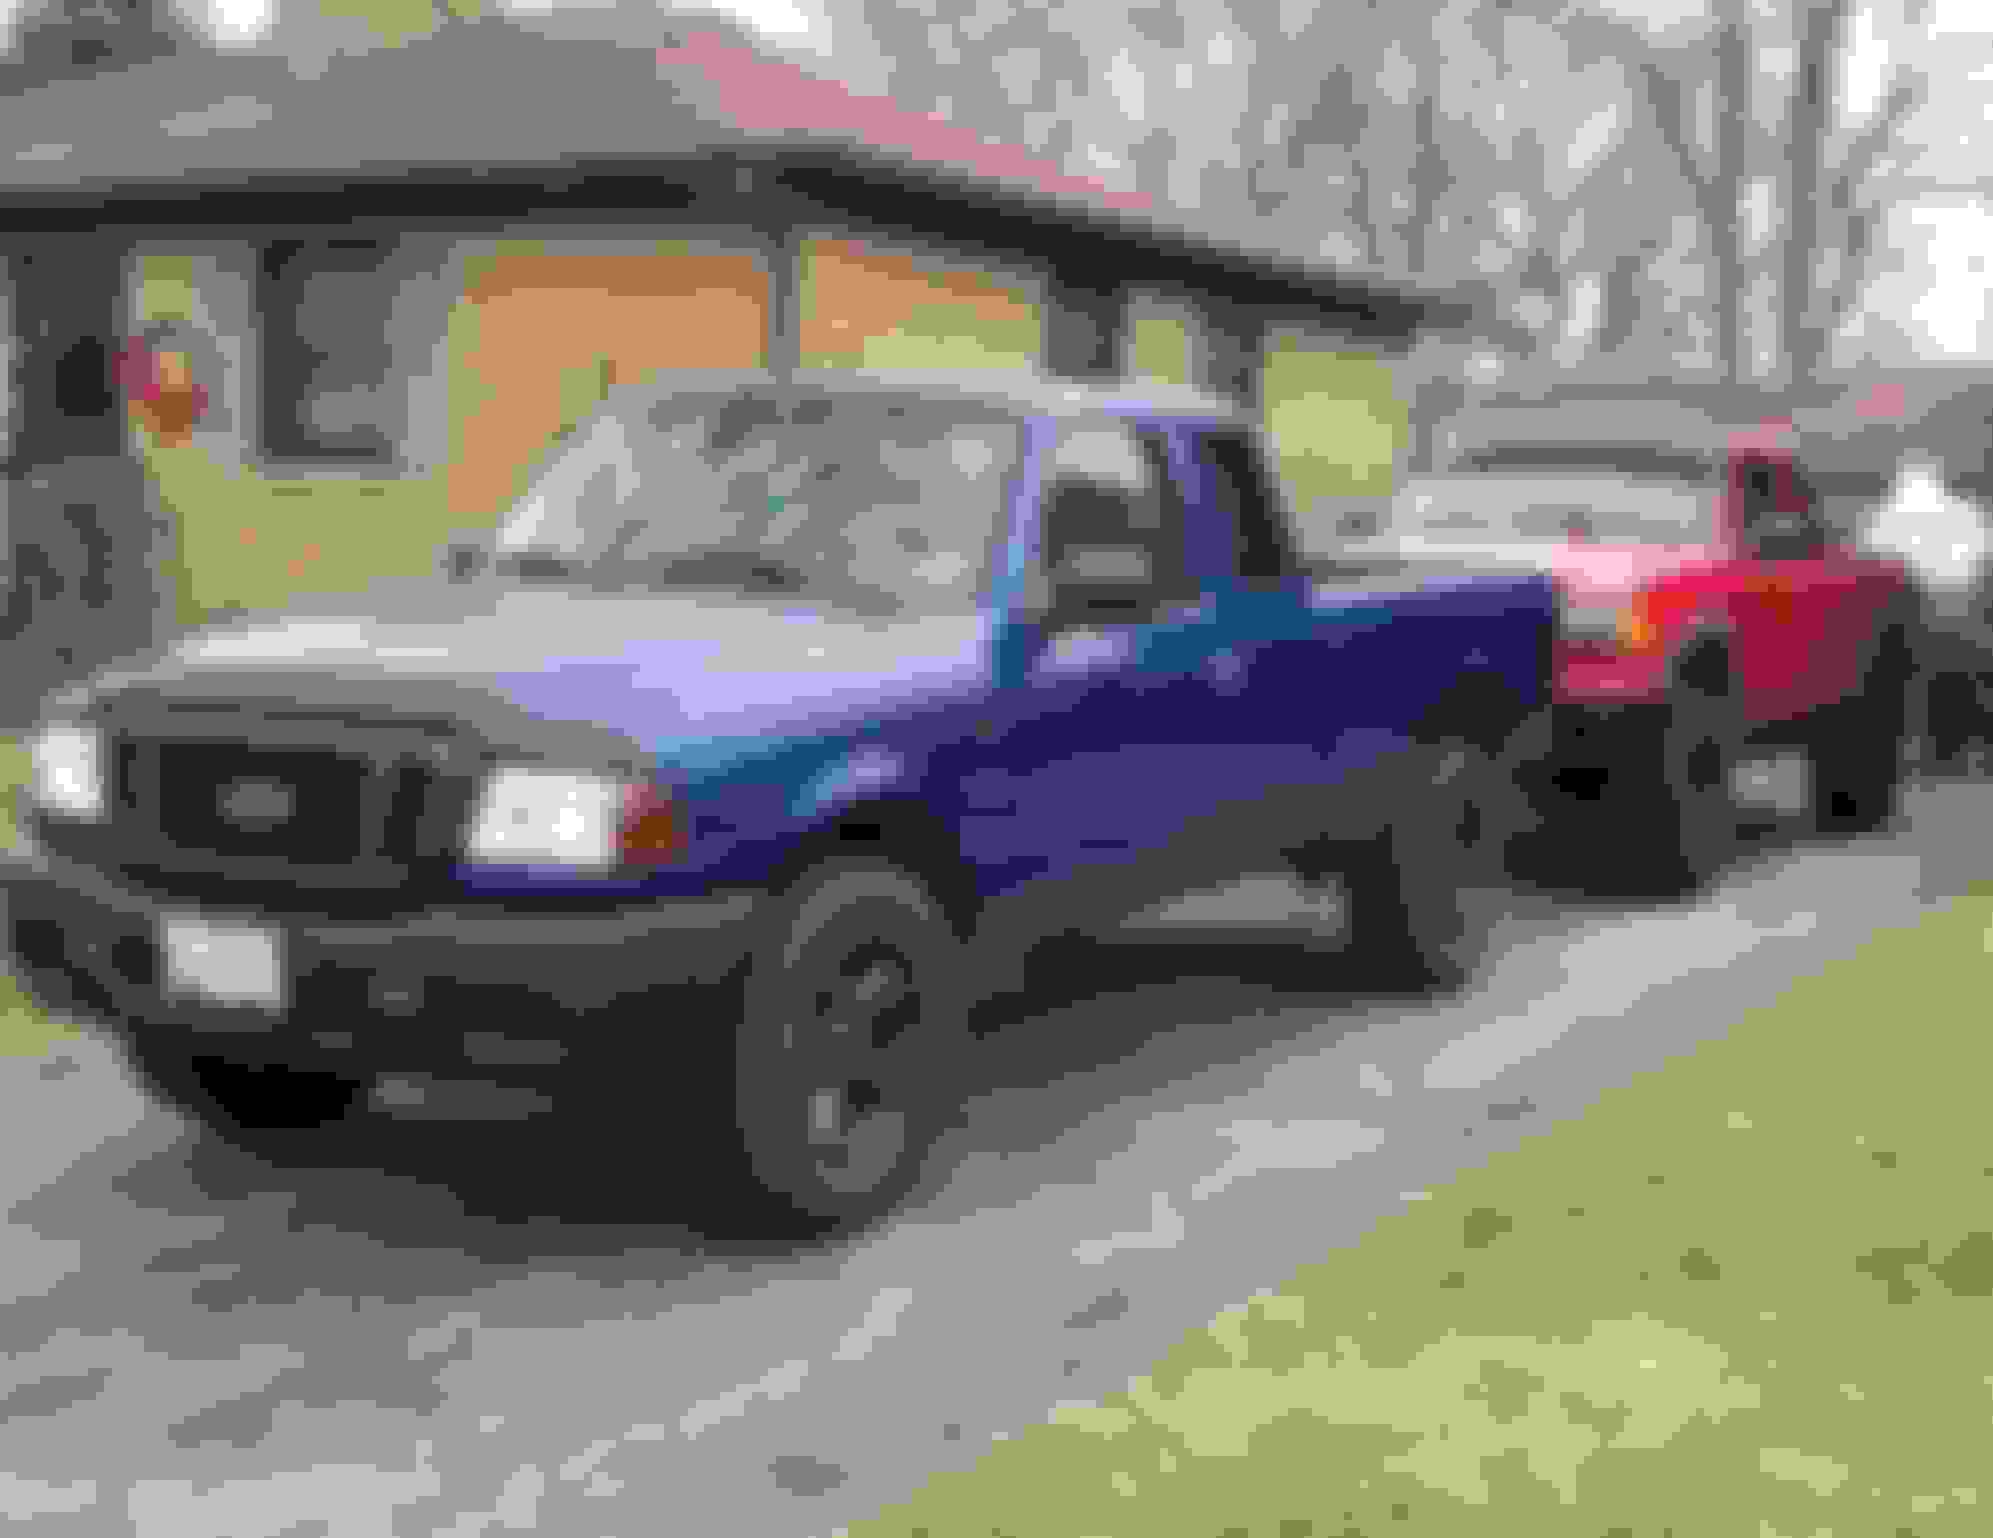
And this is how she sits today. I have a lot of work to get done this summer on it as the salt has been accelerating the destruction of the body.
Last edited by afkrejci90; 04-20-2019 at 11:20 AM.
I just have buckets of salt in the bed. The pump runs off of electric. Even though my truck has the 130 amp alternator its not up to par to supply enough power. The diode pack is shot and not charging at the correct the voltage and completely killed the truck one time out. Getting a 200 amp alternator to throw in there and beefing up the wiring.
You may be able to use a smaller 12volt battery(35-50ah), with an isolator, for the pump, that takes the load off the alternator, the second battery acts as a buffer of sorts, battery gets recharged as you drive between locations at higher RPMs
Thing about alternators is that they only produce 1/2 the rated amps with engine under 1,200rpms, have to be above 1,800rpm to get full amps
So 130amp is about 65amps, 200amp about 100amp
The vehicles stock alternator is usually 10% above max vehicle amp draw with everything on, at idle
So if a vehicle comes with a 100amp alternator its draw is about 45amps
That's a good idea. Would be nice when the plow pump activates that it doesn't dim my lights. Was going to put another battery in parallel to boost the current capacity.
The current alternator is shot so a replacement is necessary. The rpms are usually high enough when the pump is activated but all of the lights still dim.
Bottom of the rear doors met their fate with rust and were beyond repair. Picked up a slightly rusted out set that were manageable.
A few pin holes of rust sandblasted and filled with fiberglass filler and these were all set to go.
Coated the interior of these doors with internal frame coating. Its thin enough that it should seap into the crimp seams of the door shell and seal up any rust that the sandblasting couldn't reach. Also topped it off with fluid film to keep out any moisture.
First coat of primer to see if I got it flat and did't miss anything.
Primered and ready for color.
Paint came out good with some bits of dust that can be sanded out.
Added seam sealer around the crimp seams. Not as clean looking as on newer cars but its on doors that wont be seen much anyways.
Not sure if the color on the truck has faded or there was a problem with the paint. I plan on getting the whole thing repainted soon so not much of an issue, I can at least have my dome light back since the door sensors now work again.
Bought a donor truck, just wanted it for the bed that was in a repairable shape.
Current bed was just too far gone.
Got the donor bed off and tackled the rust with some rust converter. Had to notch out some bad sections from the cross supports. Also coated the inside of those with some internal frame coating.
The only part of this bed that had any real rust issues. There was a heat shield here so I'm sure that helped contribute to it.
Last edited by afkrejci90; 11-16-2019 at 03:39 PM.
Reason: missing photos
Frame is in good shape still. The only issues I've found is that there is a hole in the tire carrier and the brake lines need replacing. You can see where I made a quick fix for the rear brakes and just threw a line on here to get back on the road.
The cab corners have been bugging me the most. I've been able to prolong the repair by coating them with fluid film and paint but its time to get them back to solid metal.
This side didn't need a patch panel but I cut it out anyways to get to the problem lurking inside. I didn't get a picture of the other side but the rust had already come through.
This was the backside of the original factory metal. A little bit of surface rust but if left alone it would eventually find its way through. Also every piece of foam I find on this truck drives me nuts because thats where you can usually find rust on these trucks.
The reason for cutting into both sides. This is the drivers side that poked through. I also wanted to treat the rust on top of the wheel well.
There was no way to completely remove all of the rust given the tight clearances in there so I just laid down a few coats of POR-15 to seal it off from any moisture. Also added seam sealer to the joint where the wheel well meets the truck bed.
Hit the exposed metal with some etch primer and some enamel paint before reassembling. Where the wheel arch meets the well will be getting sealed up with seam sealer.
Got the panels welded back in place. Welds aren't perfect since it was hard to dial in my welder on such thin metal. Filler will take care of that ugliness.
Got a new set of fender flares to replace the faded stock flares.
Began tackling the cab corners before they got even worse. I don't think this could have gone another year with out becoming a lost cause. Little did I know before starting this project how much of a pain this would be without a proper patch panel.
You can see here how the engineers decided how to seal off the 'B' pillar with a piece of plastic and foam adhering it to the metal. Who would have thought the foam would just hold moisture and rot out the corner? Snow and ice get packed into the crevice through the openings in the rocker panel and it goes nowhere until it completely melts away.
For all those welding critiquers, bear with me as this is only the second time I have welded and dialing in the settings was a challenge for such thin metal.
Rust spread to a non replaceable panel, I was able to cut it out and reuse it after throwing it in the blast cabinet.
Cleaned up all the loose rust and any hidden soft spots in the metal and hit it with a few coats of a rust converter. Replacing all of it with fresh metal would have been time consuming as I was under a time crunch.
I picked up a spare cluster a few years ago and just never did this upgrade. Most of the bulbs in my cluster finally went out so why not do some custom work? Hard to drive this at night with only two backlight bulbs working.
Laid down some LED strips to even out the light spread instead of just using 194 bulbs. I did use LED replacements for the 194's since there are light pipes for each socket.
Used a buck converter to ensure the strips don't receive a voltage higher than 12v since the alternator charges at about 15v, not easy to replace if they burn out.
Sanded off the green tint and went with a color scheme similar to the new F series trucks. It looks way better in person, the green tint makes it look dated.
Last edited by afkrejci90; 03-12-2020 at 08:24 PM.
Extending the rocker panel all the way to the back of the corner. No more cavity with a piece of plastic plugging up the hole.
Completing the rest of the lip on the rocker.
Couldn't use the edge from the replacement panel so I had to make a new piece for that.
Before closing in this corner I hit every seam possible with seam sealer to prevent any intrusion of moisture.
Tried to use as much of the original material as possible but after throwing it in the blast cabinet I wasn't left with much. Made this curve so I would have something solid to shape and weld the sheet metal to.
Fitting the last large piece.
Getting everything tacked together and lined up in its original position.
Wasn't sure how to make the curved pieces to fill the gap near the pinch welds, so I threw in some backing metal to hold the body filler.
The other side is in worse shape, I'm surprised the step bars didn't rip off with any weight on them.
This ended up being too rotten to try and replace and I didn't feel like wasting time trying to build all of this back in. The body mount is still solid so I just converted the rust and cocooned it in place.
I didn't get a clear picture of but you can sort of see how I sealed up the rotten area.
A coat of epoxy primer for maximum corrosion resistance and seam sealer to keep the salt out.
I hate spraying red but this time I got the color to match much better.
Not bad for a 2k rattle can. Used spraymax clear since I didn't want the garage being coated with clear coat dust.
Doors back on and rolled out of the garage. There are holes still in the rocker panel, didn't have time to tackle that I was trying to get the corners done to get back out and start pushing snow again. I'll take of that in the coming months.
Alternator was not up to the task, didn't realize I only had a 95 amp. Bearings in this thing were shot and the voltage regulator was draining my battery. Upgraded to a 370 amp JS alternator, also did the big 3 upgrade.
Back with some progress. Time to tackle the frame rot and replace the rear run of the brake line. Frame was covered in a lot of flaky rust which was easily taken care of with a needle scaler.
The spare tire carrier was rotted through in a few places so I welded in a few patches.
Began coating the frame in POR-15. The silver makes it so much easier to see where you have previously painted. Threw on a minimum of three coats and more where in spots where there would be road abrasion. Then top coated with the UV stable top coat.
Threw away all of the steel speed nuts and replaced most of the hardware with stainless steel
Ran new nickel copper brake lines with stainless fittings to the back after the originals finally rotted through one night while out plowing.
Factory bump stops were destroyed when I was trying to remove them. Upgraded to Sumo Springs to keep the back end level when towing or putting something heavy in the bed.
Made some more progress and getting closer wrapping up the work for the winter. Went to throw on the gas tank and found a problem I overlooked when cleaning up the frame. The slot for the rear fuel strap was rotten and when I hit it with the needle scaler, it pulverized most of the metal there. Didn't realize what was supposed to be there and decided it wasn't important to fix. Trying to grind off this paint and get clean metal to weld to was a pain but I managed to get it done.
The last time I replaced the drum brakes in the back I swore I would never bother with those again. Did the cobra disc brake swap.
Getting the hard to reach parts of the bed painted and seam sealed.
Moving on to the rest of the bed, seam sealer in all of the susceptible seams before laying down raptor liner.
Haven't gotten much done since the last update, but finally got the coilover swap done. Also ran new brake lines for the front after the originals disintegrated after removing the calipers.
Clear coat was peeling off the original hood so I picked up the 04+ style for a front end swap.
Found some new seats at the junkyard that were in ok shape but were just covered in dirt, ripped the fabric off and threw them in the wash. Cleaned up nicely, but I will eventually cover them in leather.
 04-19-2019