91 3.0 Rebuild
#1
 09-26-2017


Well, hopefully tomorrow I will start on rebuilding the top end of the 3.0.
I got most of the part ordered. Looking to start tear down of the engine tomorrow.
The goal of this project -
1 - To have a complete, running, driving and CA smogale engine.
2 - To not have to worry about engine and engine related issues, so I can focus on other aspects of the truck.
3 - To have fun and take pride in a vehicle I own.
I plan on taking as many pics of the process as I can, using this thread as a place to keep them. This should also give me a good visual representation of how to put everything back together. I will try and make each post as detailed as possible, so anyone wanting to follow behind me, know exactly the whats and whos and hows. But, again thats mostly for me.
I have done this type of project several times, last time was on a 98 Mustang 3.8. Tho, this will be the first time by myself...
Looking for ALL THE FEEDBACK! Good, Bad, Ugly. Especially the bad and ugly (if you dont know you are making a mistake, you are doomed to repeat that mistake).
I will admit, I have not looked for this, but it popped in my head while typing this out.. Is there an Android app that will make posting pics to the forum easier? I will start the search myself, but checking if anyone is already using something...
#2
09-26-2017

On my 99 I needed a 27mm wrench to get the EGR chimney pipe off.
Not sure if it's the same for the 91.
I had to use oxy/acetylene to break the big nut on the exhaust manifold for the chimney as well as some of the exhaust studs/bolts.
As for the photos, I just click the advanced button and then go to "manage attachments"
Not sure if it's the same for the 91.
I had to use oxy/acetylene to break the big nut on the exhaust manifold for the chimney as well as some of the exhaust studs/bolts.
As for the photos, I just click the advanced button and then go to "manage attachments"
#4
09-27-2017


OHV engines are much easier than OHC models for top end work, good first solo project
Good read here on changes to the 3.0l OHV Vulcan engine over the years: Rebuilding The Ford 3.0L Engine
1986 to 2008, good long run for a good reliable engine
Good read here on changes to the 3.0l OHV Vulcan engine over the years: Rebuilding The Ford 3.0L Engine
1986 to 2008, good long run for a good reliable engine
#5
09-28-2017
Alrighty!! Ready for Image Overload.
The first several pics are just the engine bay unmolested (by me).
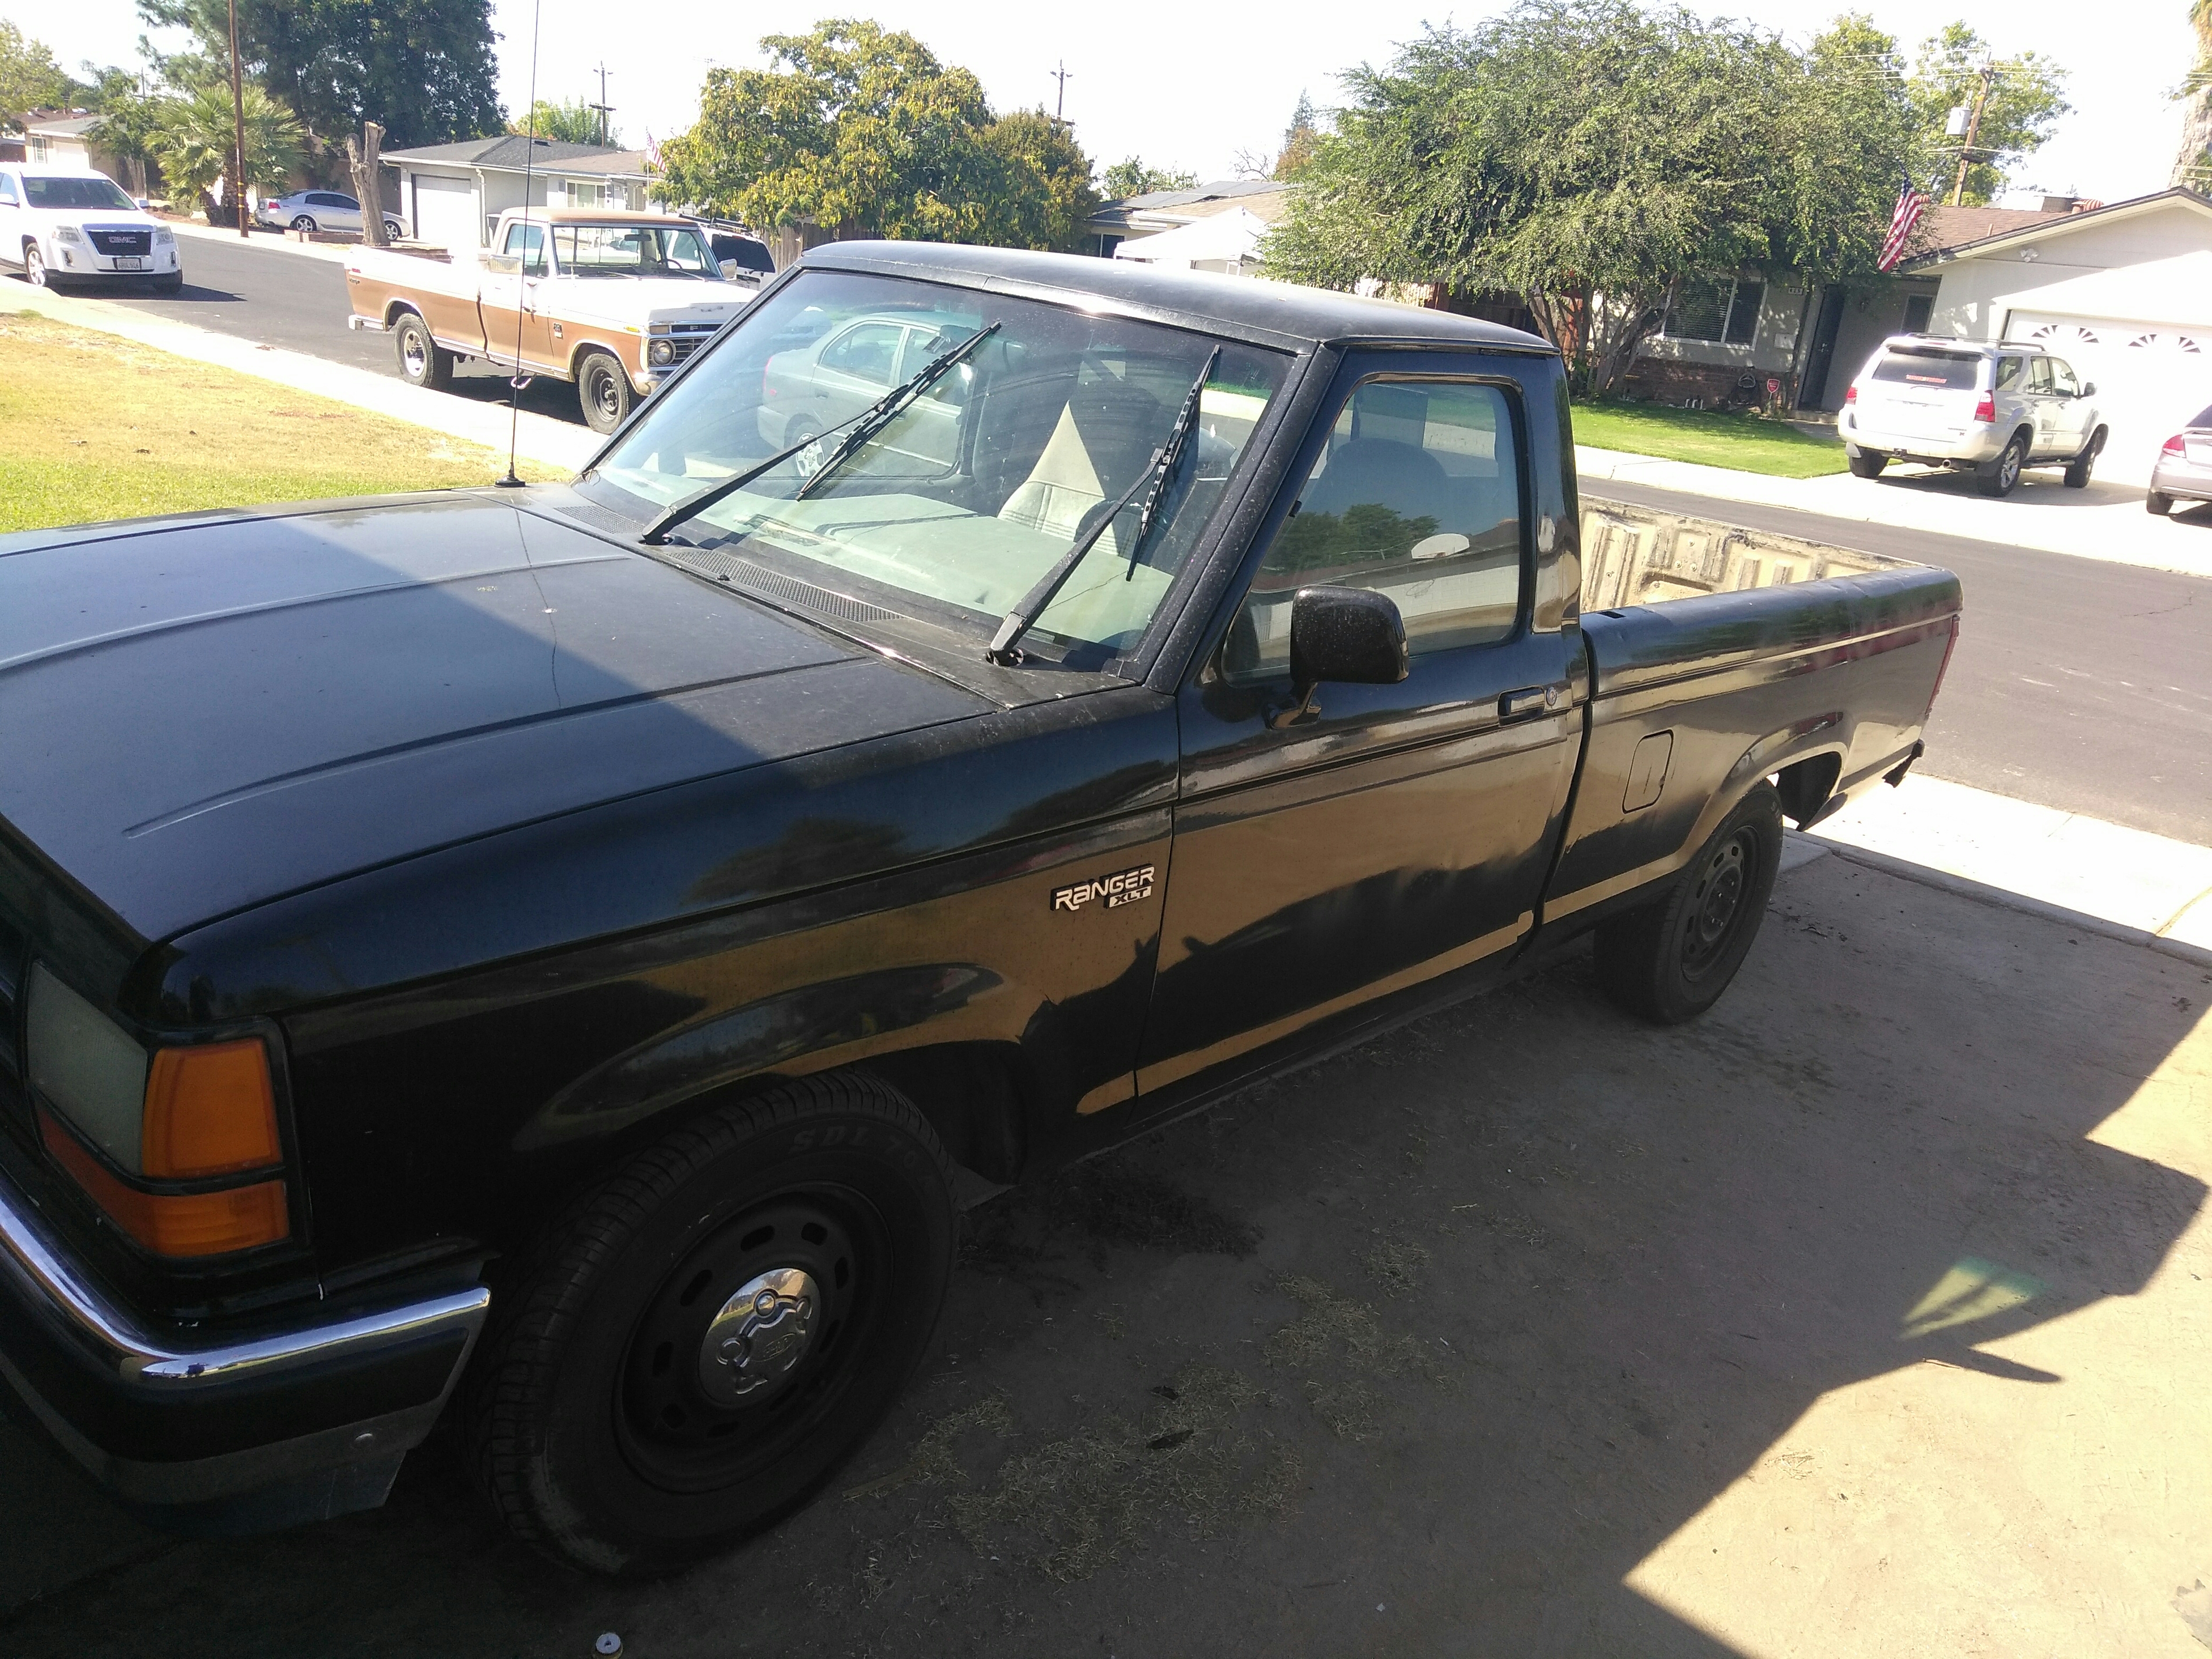
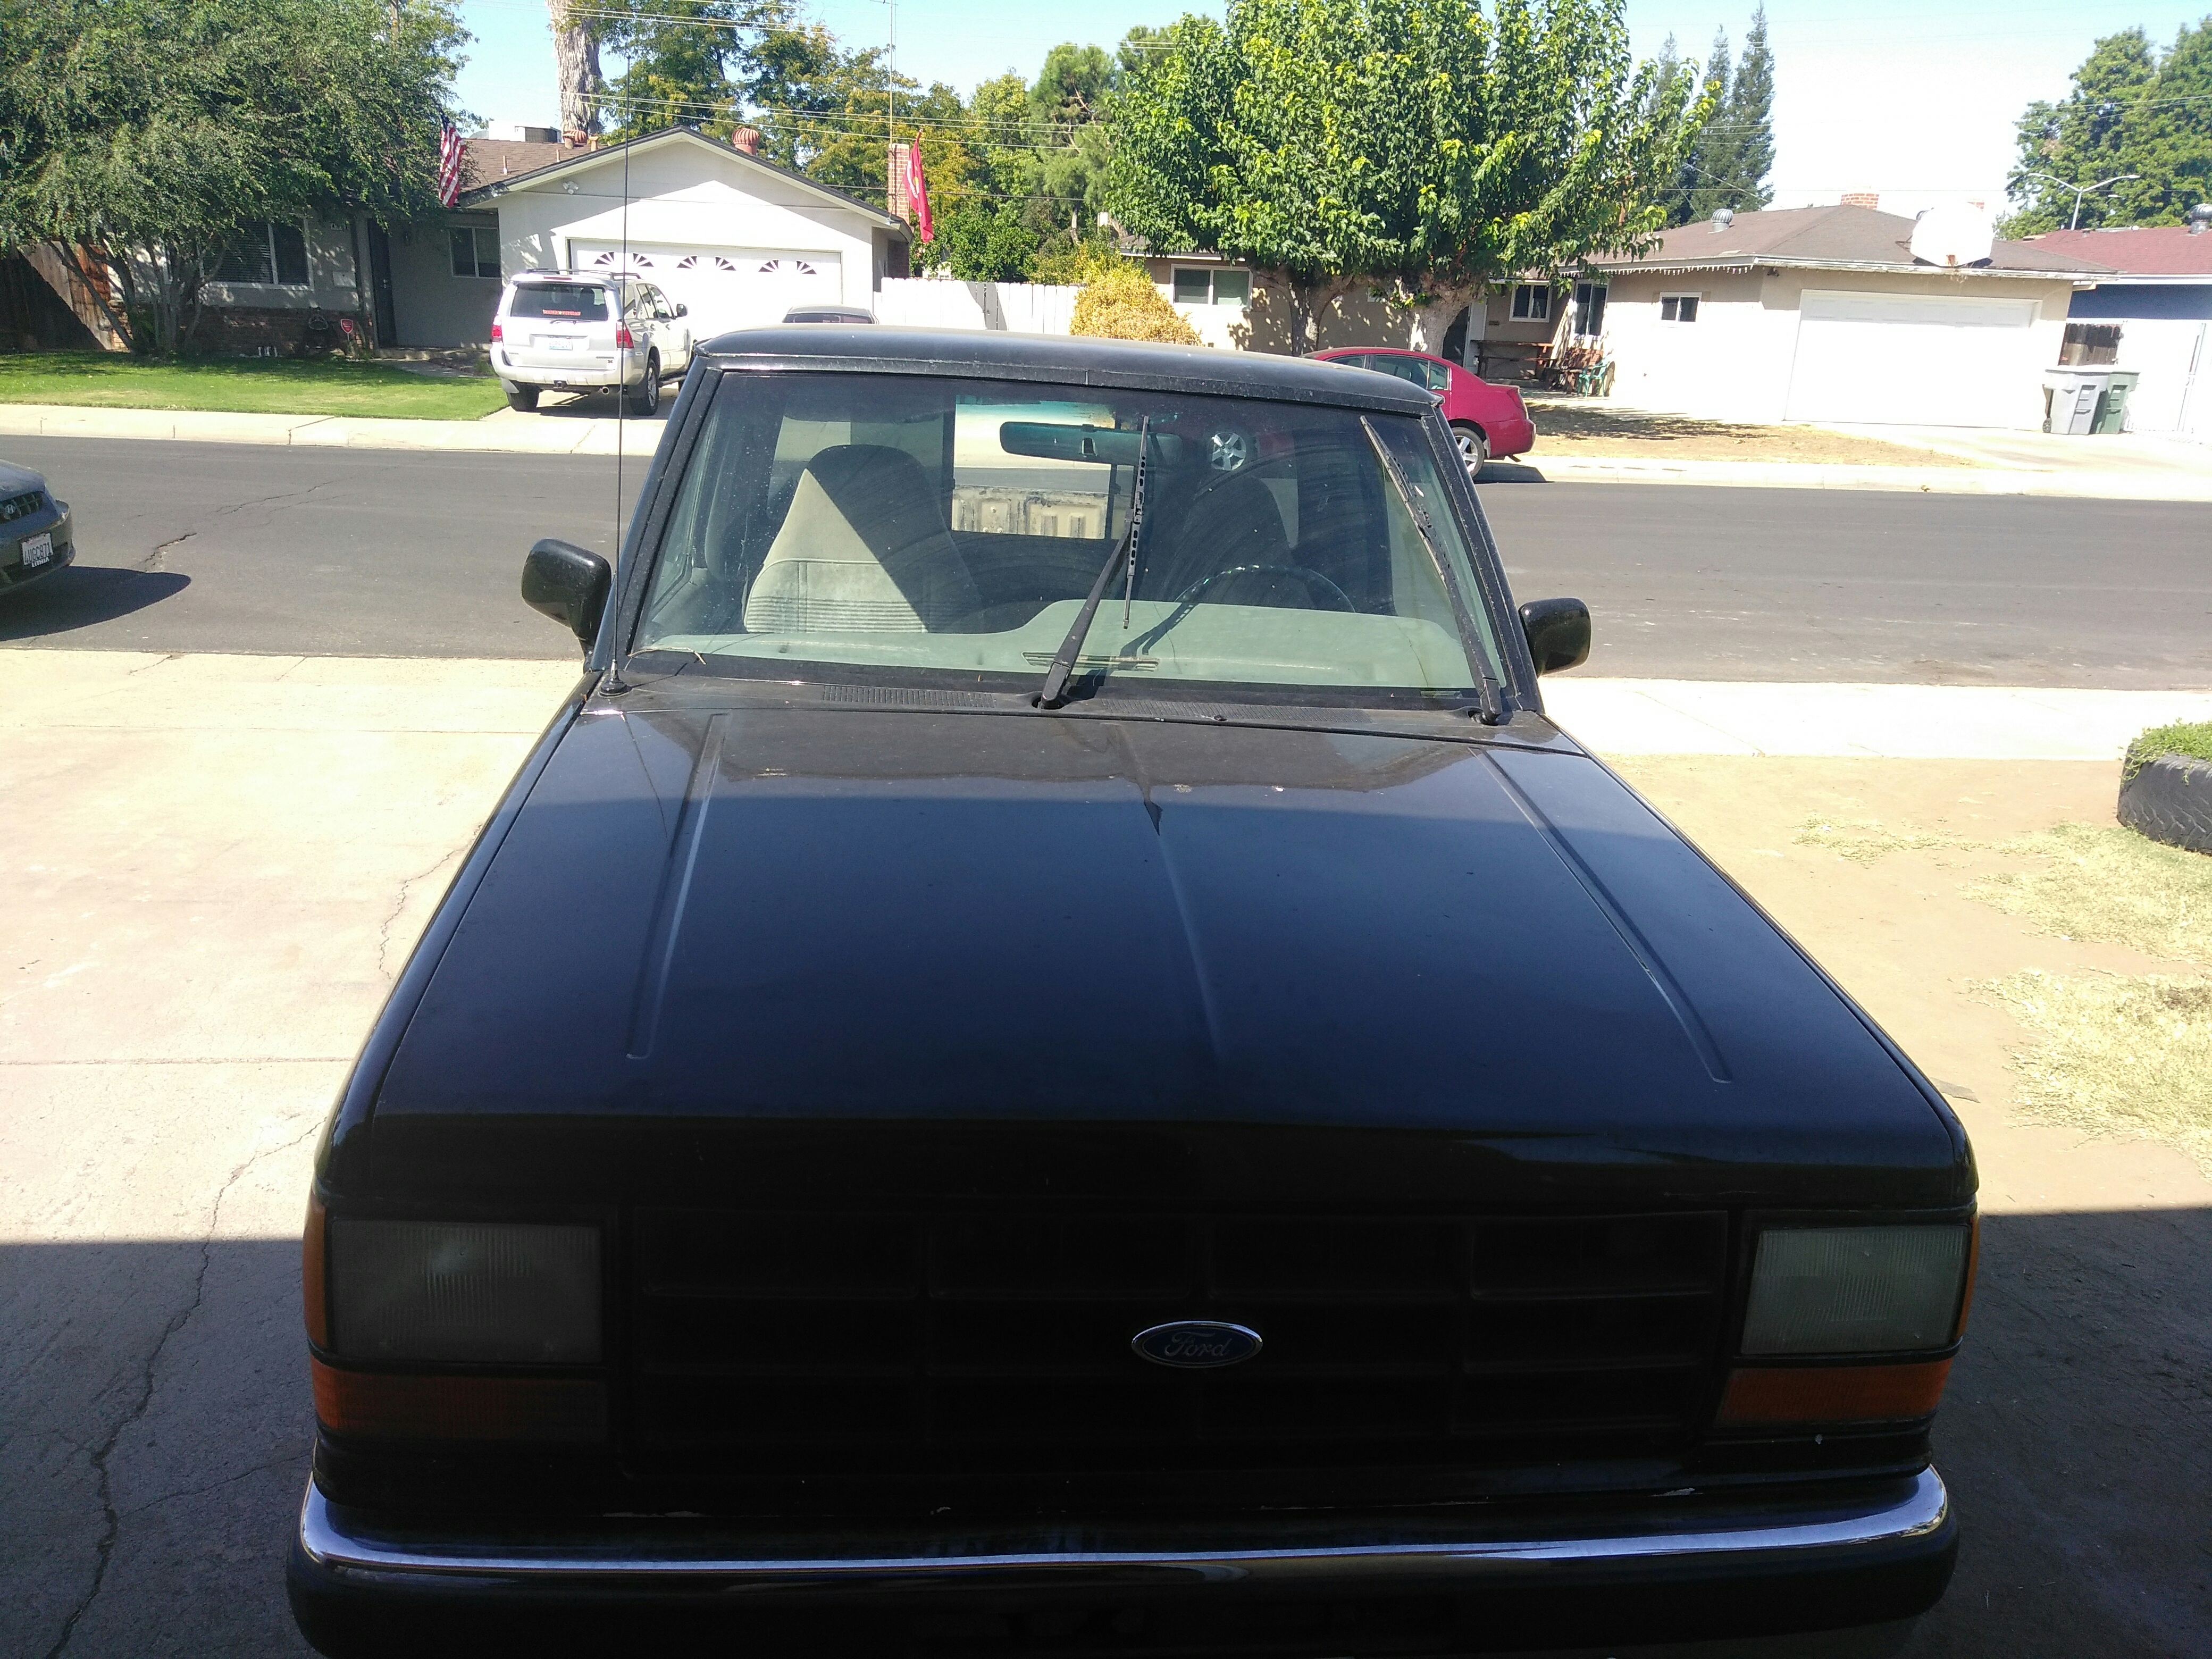
Lets start with a couple pics of the exterior of the truck.
And here are the unmodified underhood pics.
(Yes, I noticed later, there was some AC parts disconnected. I have since decided to completely disconnect the AC.)
01
03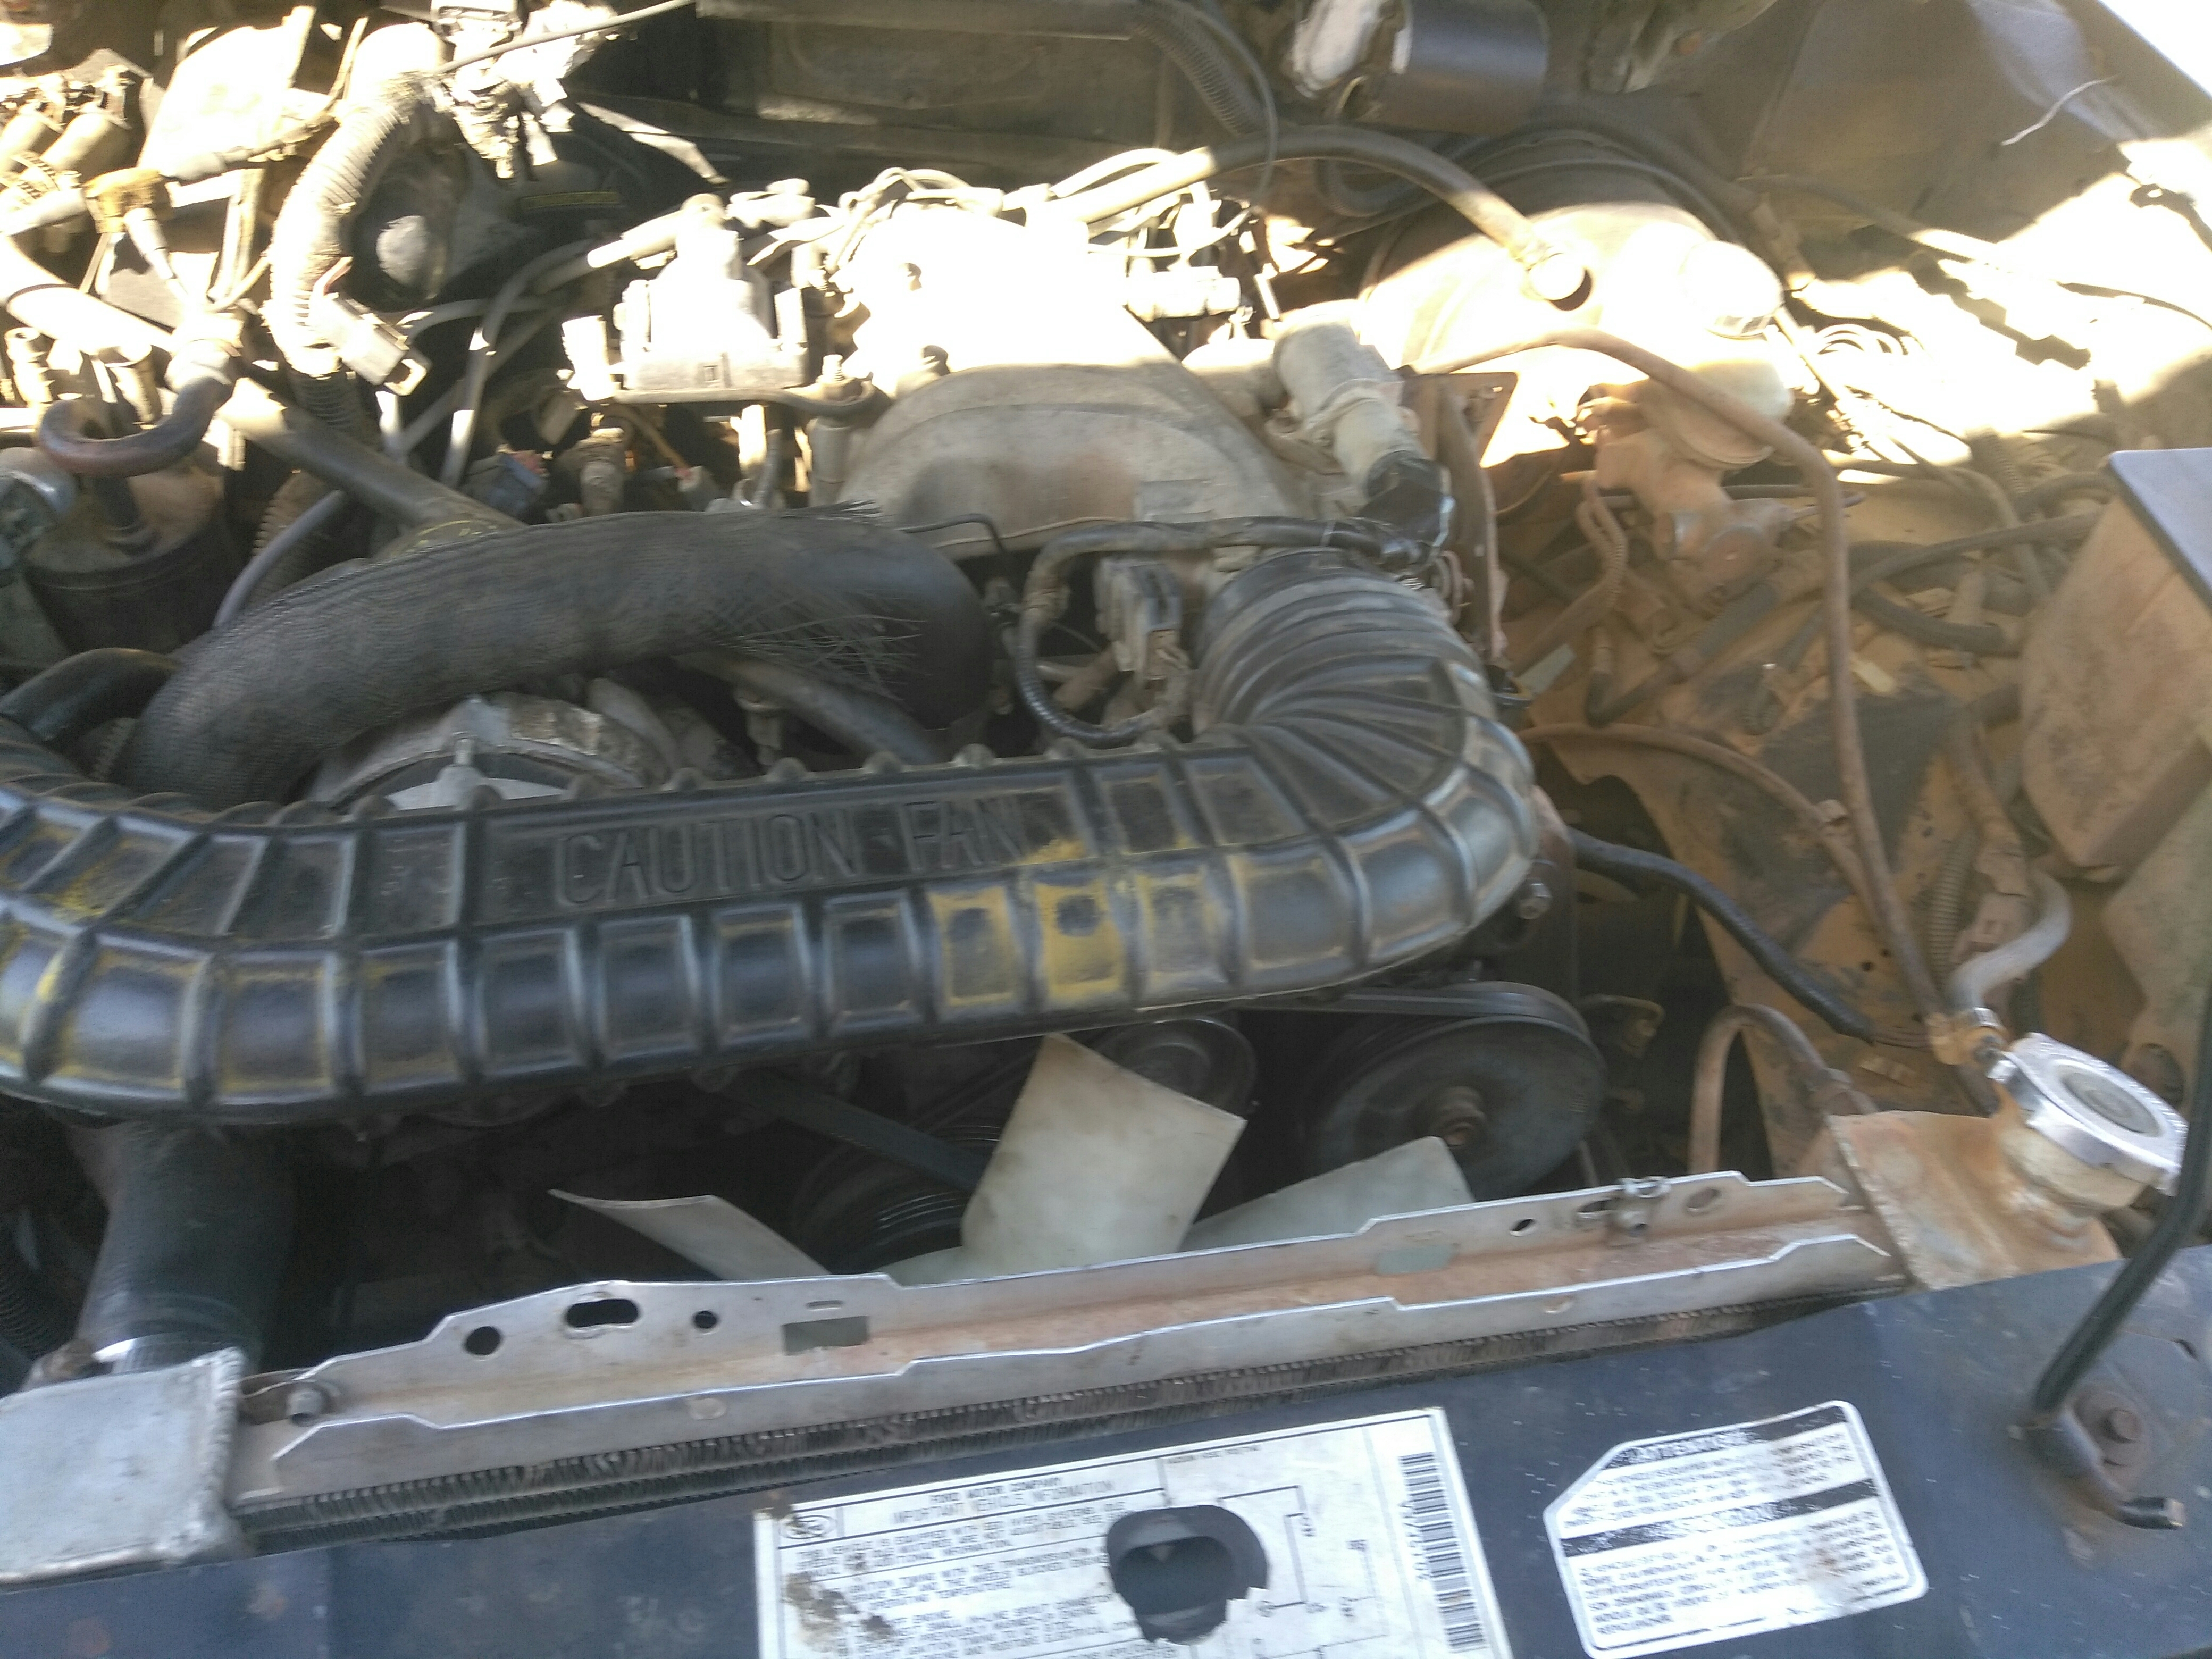
04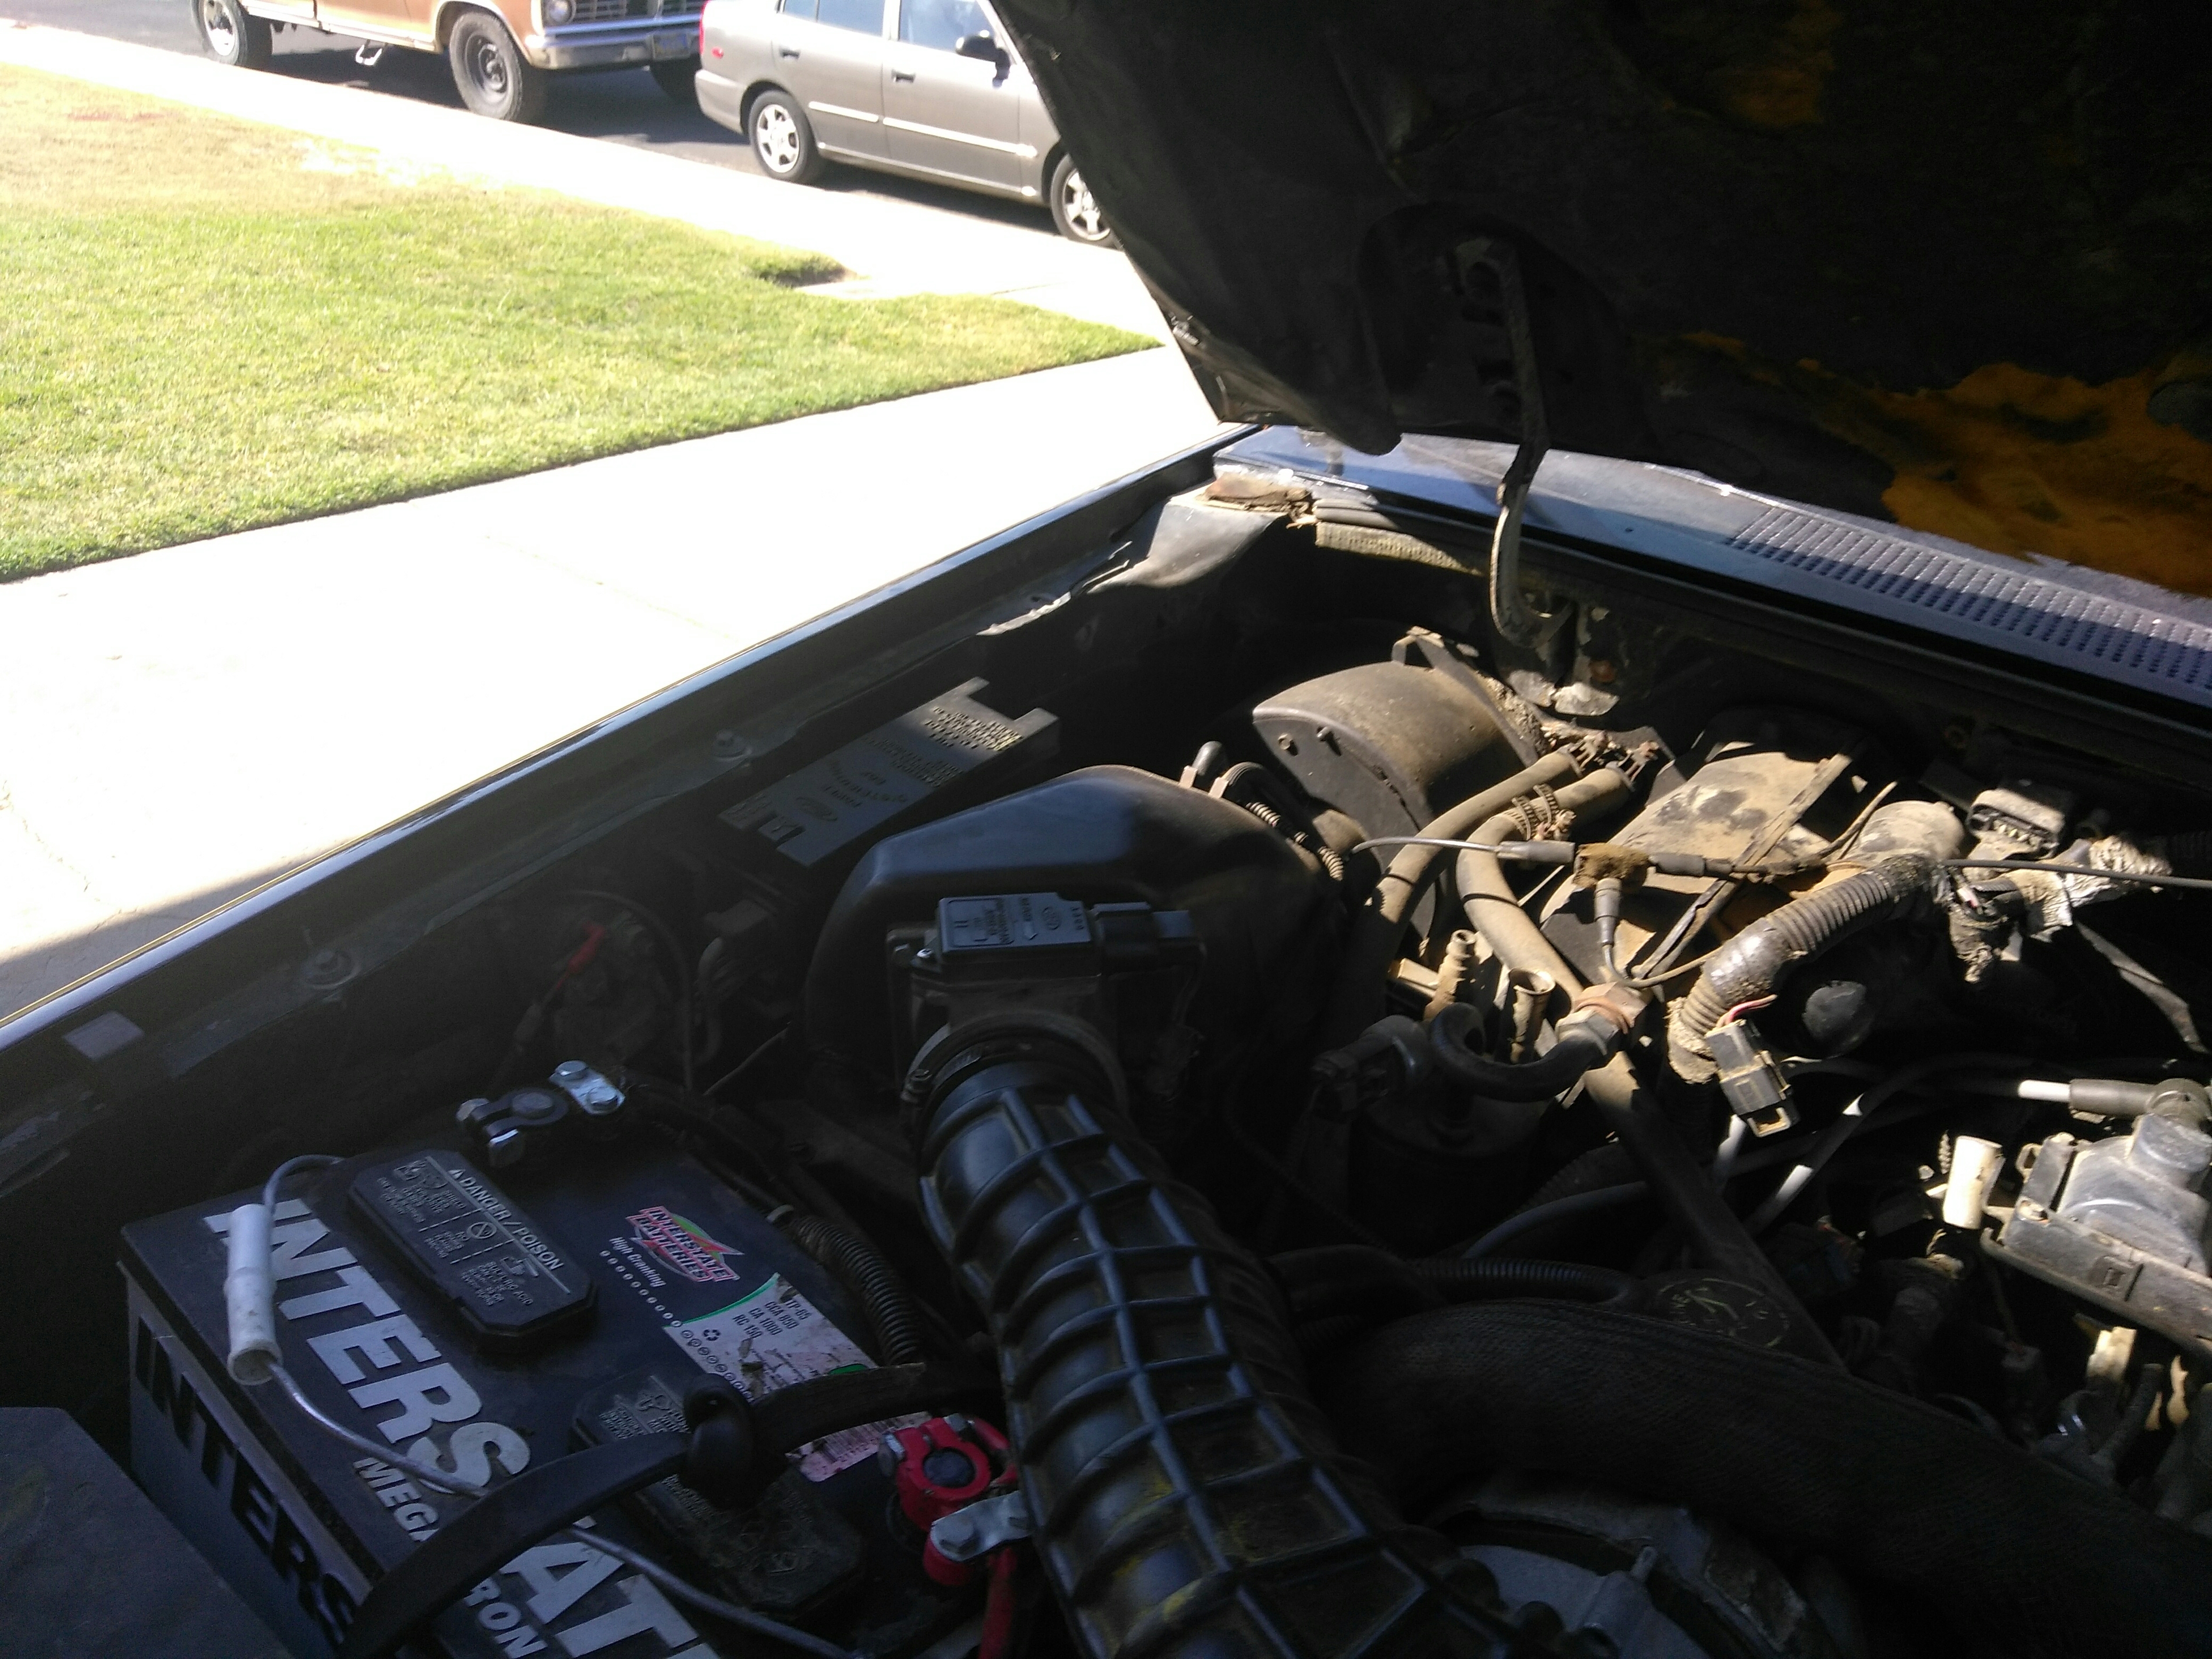
05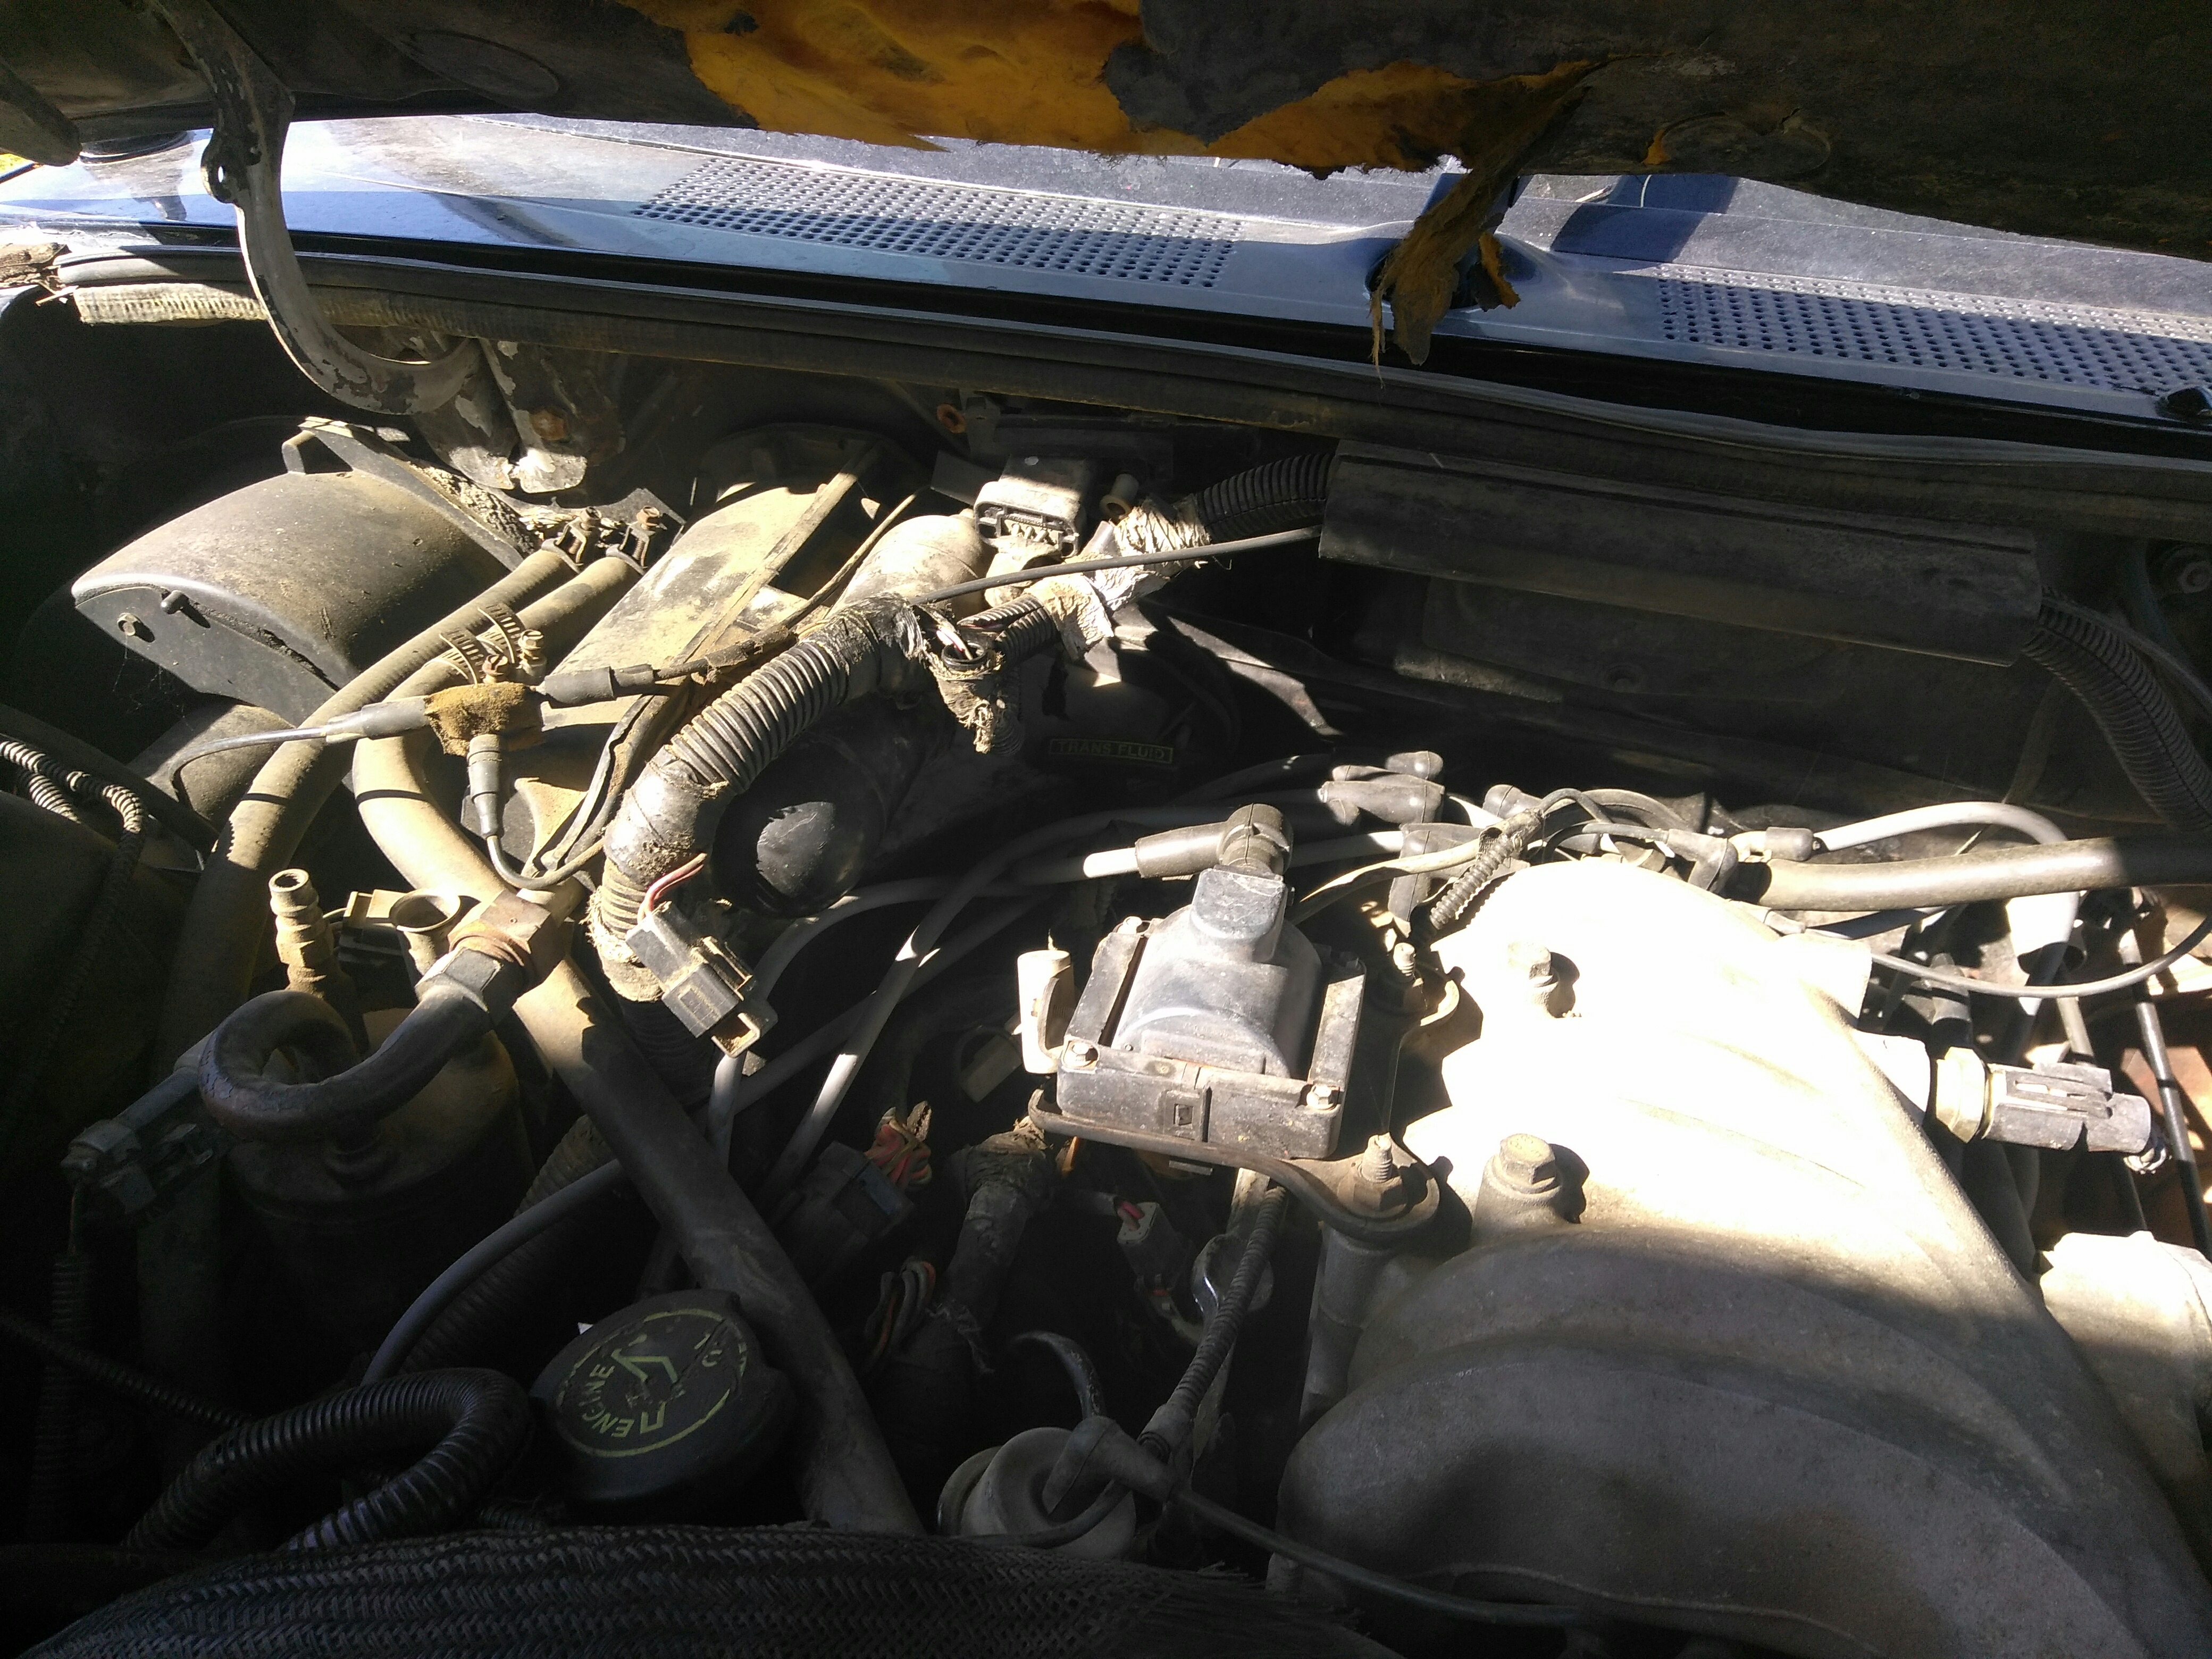
06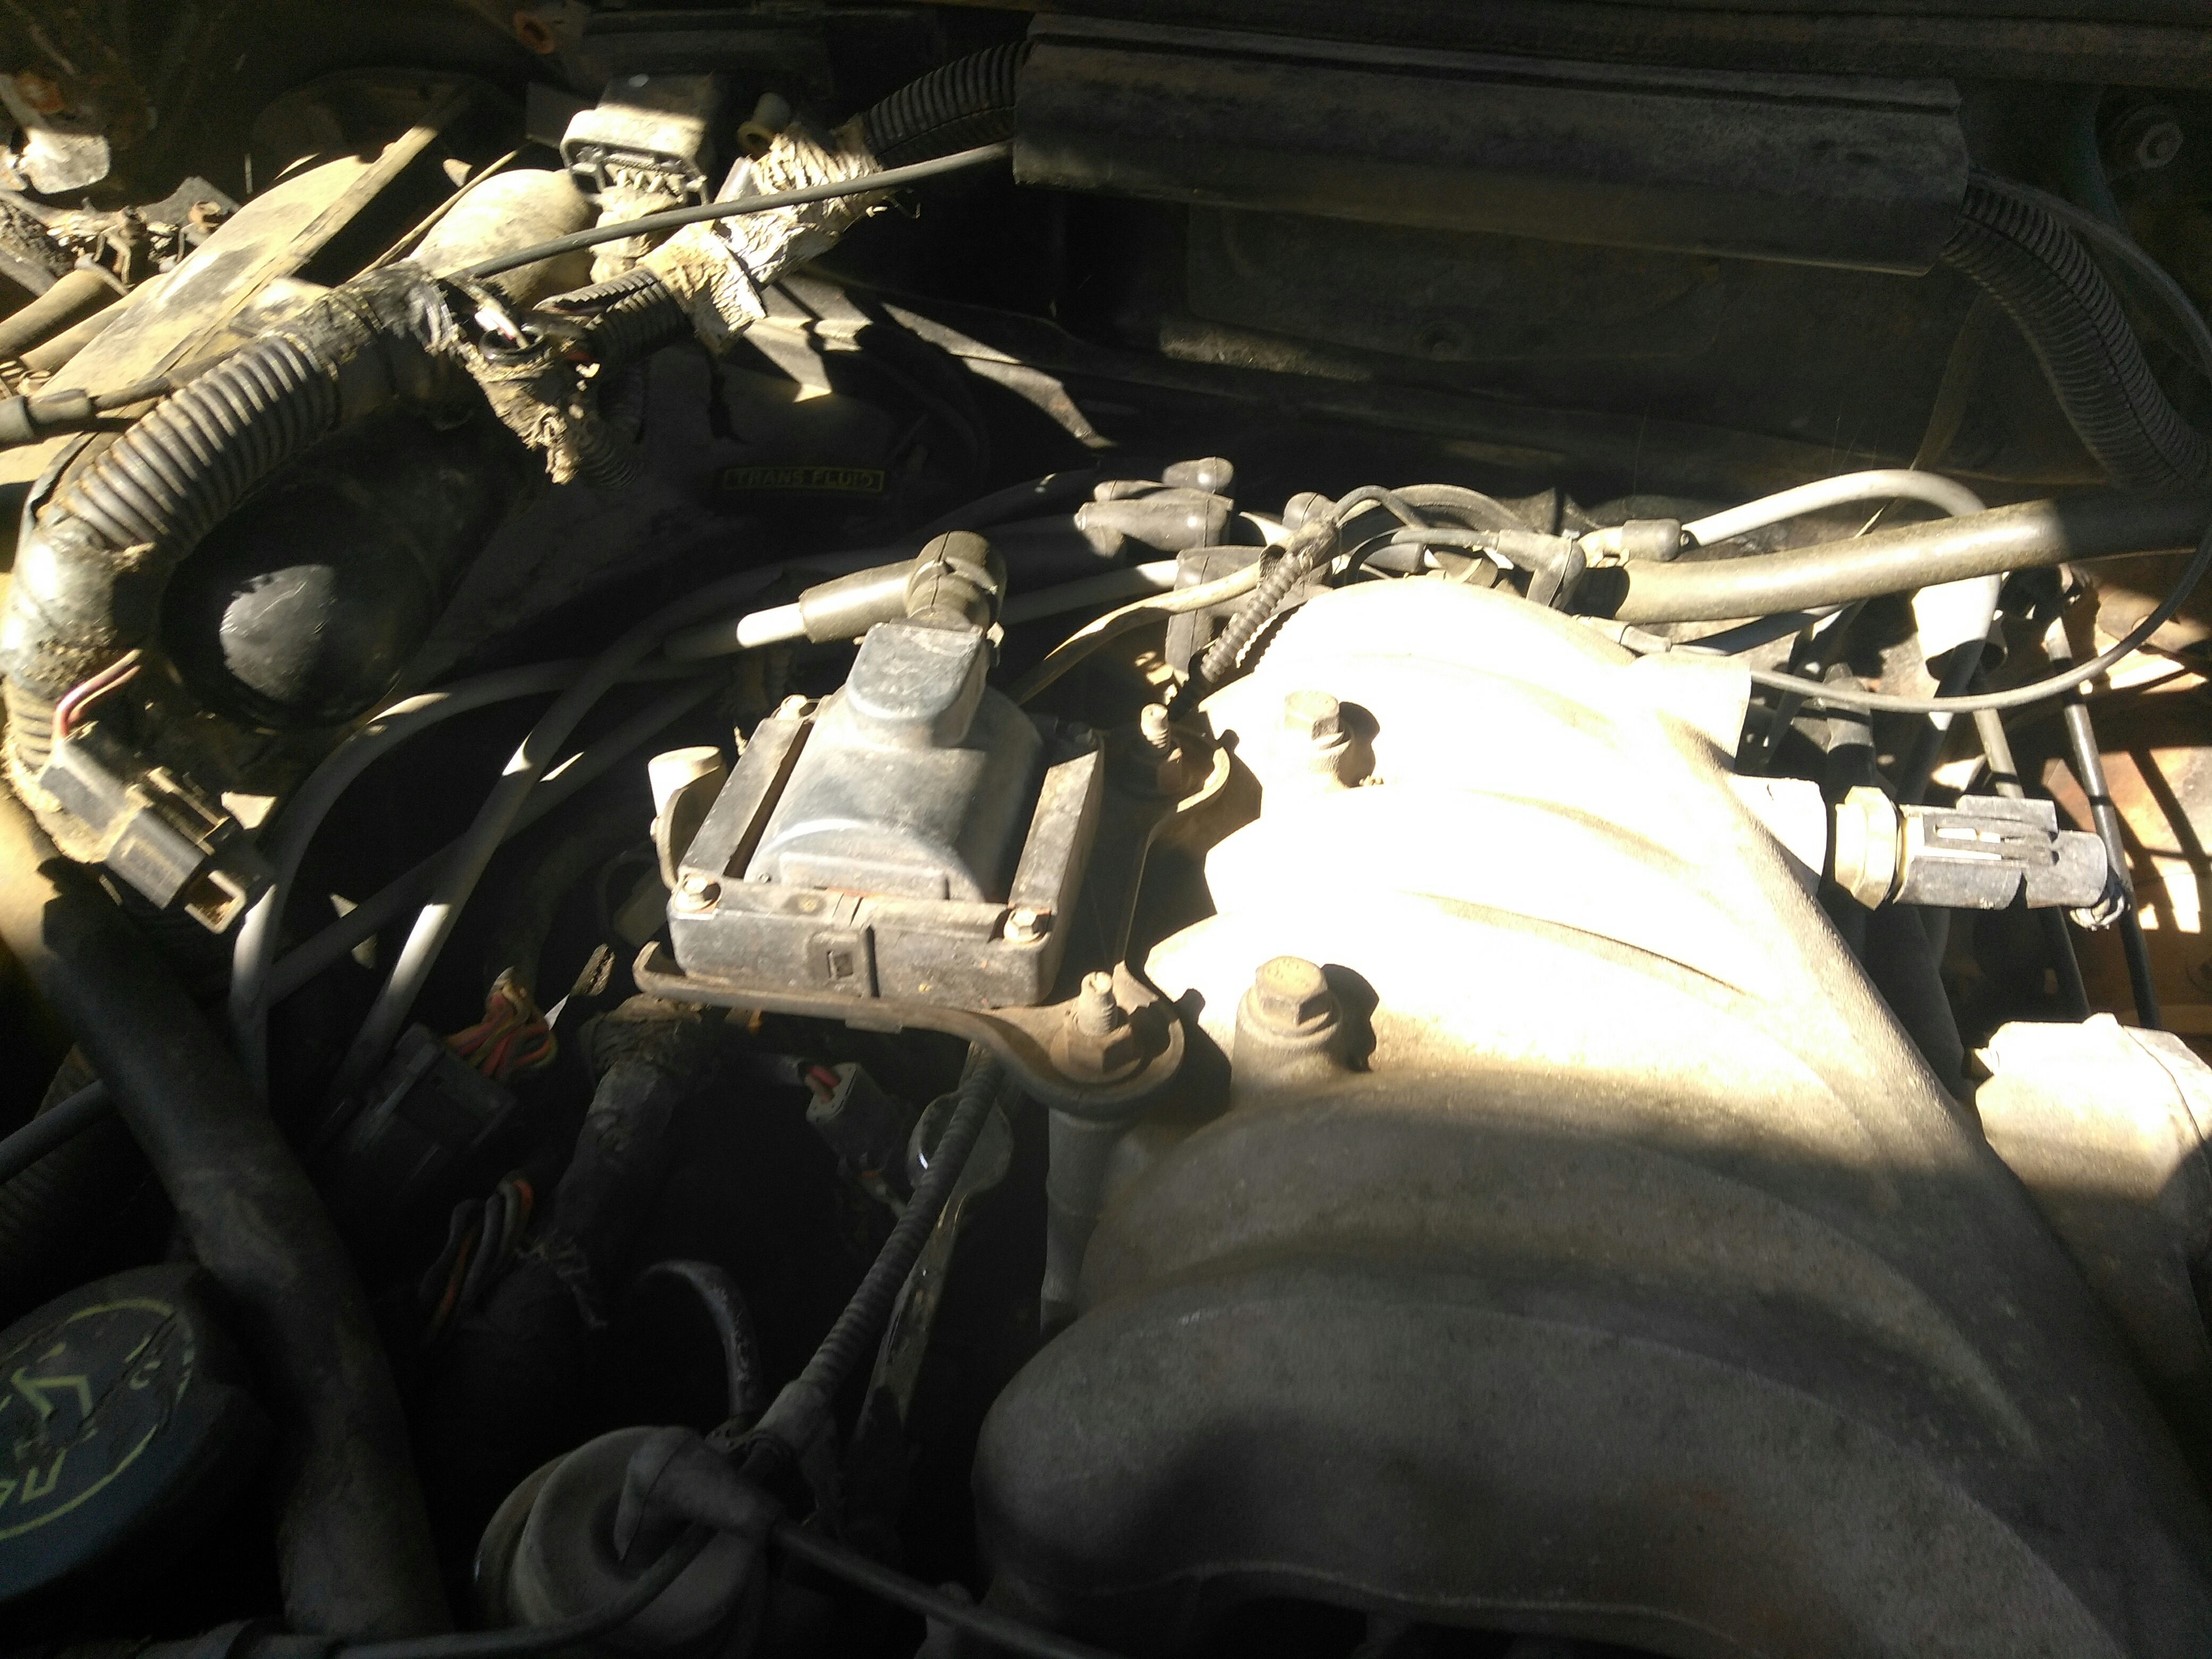
07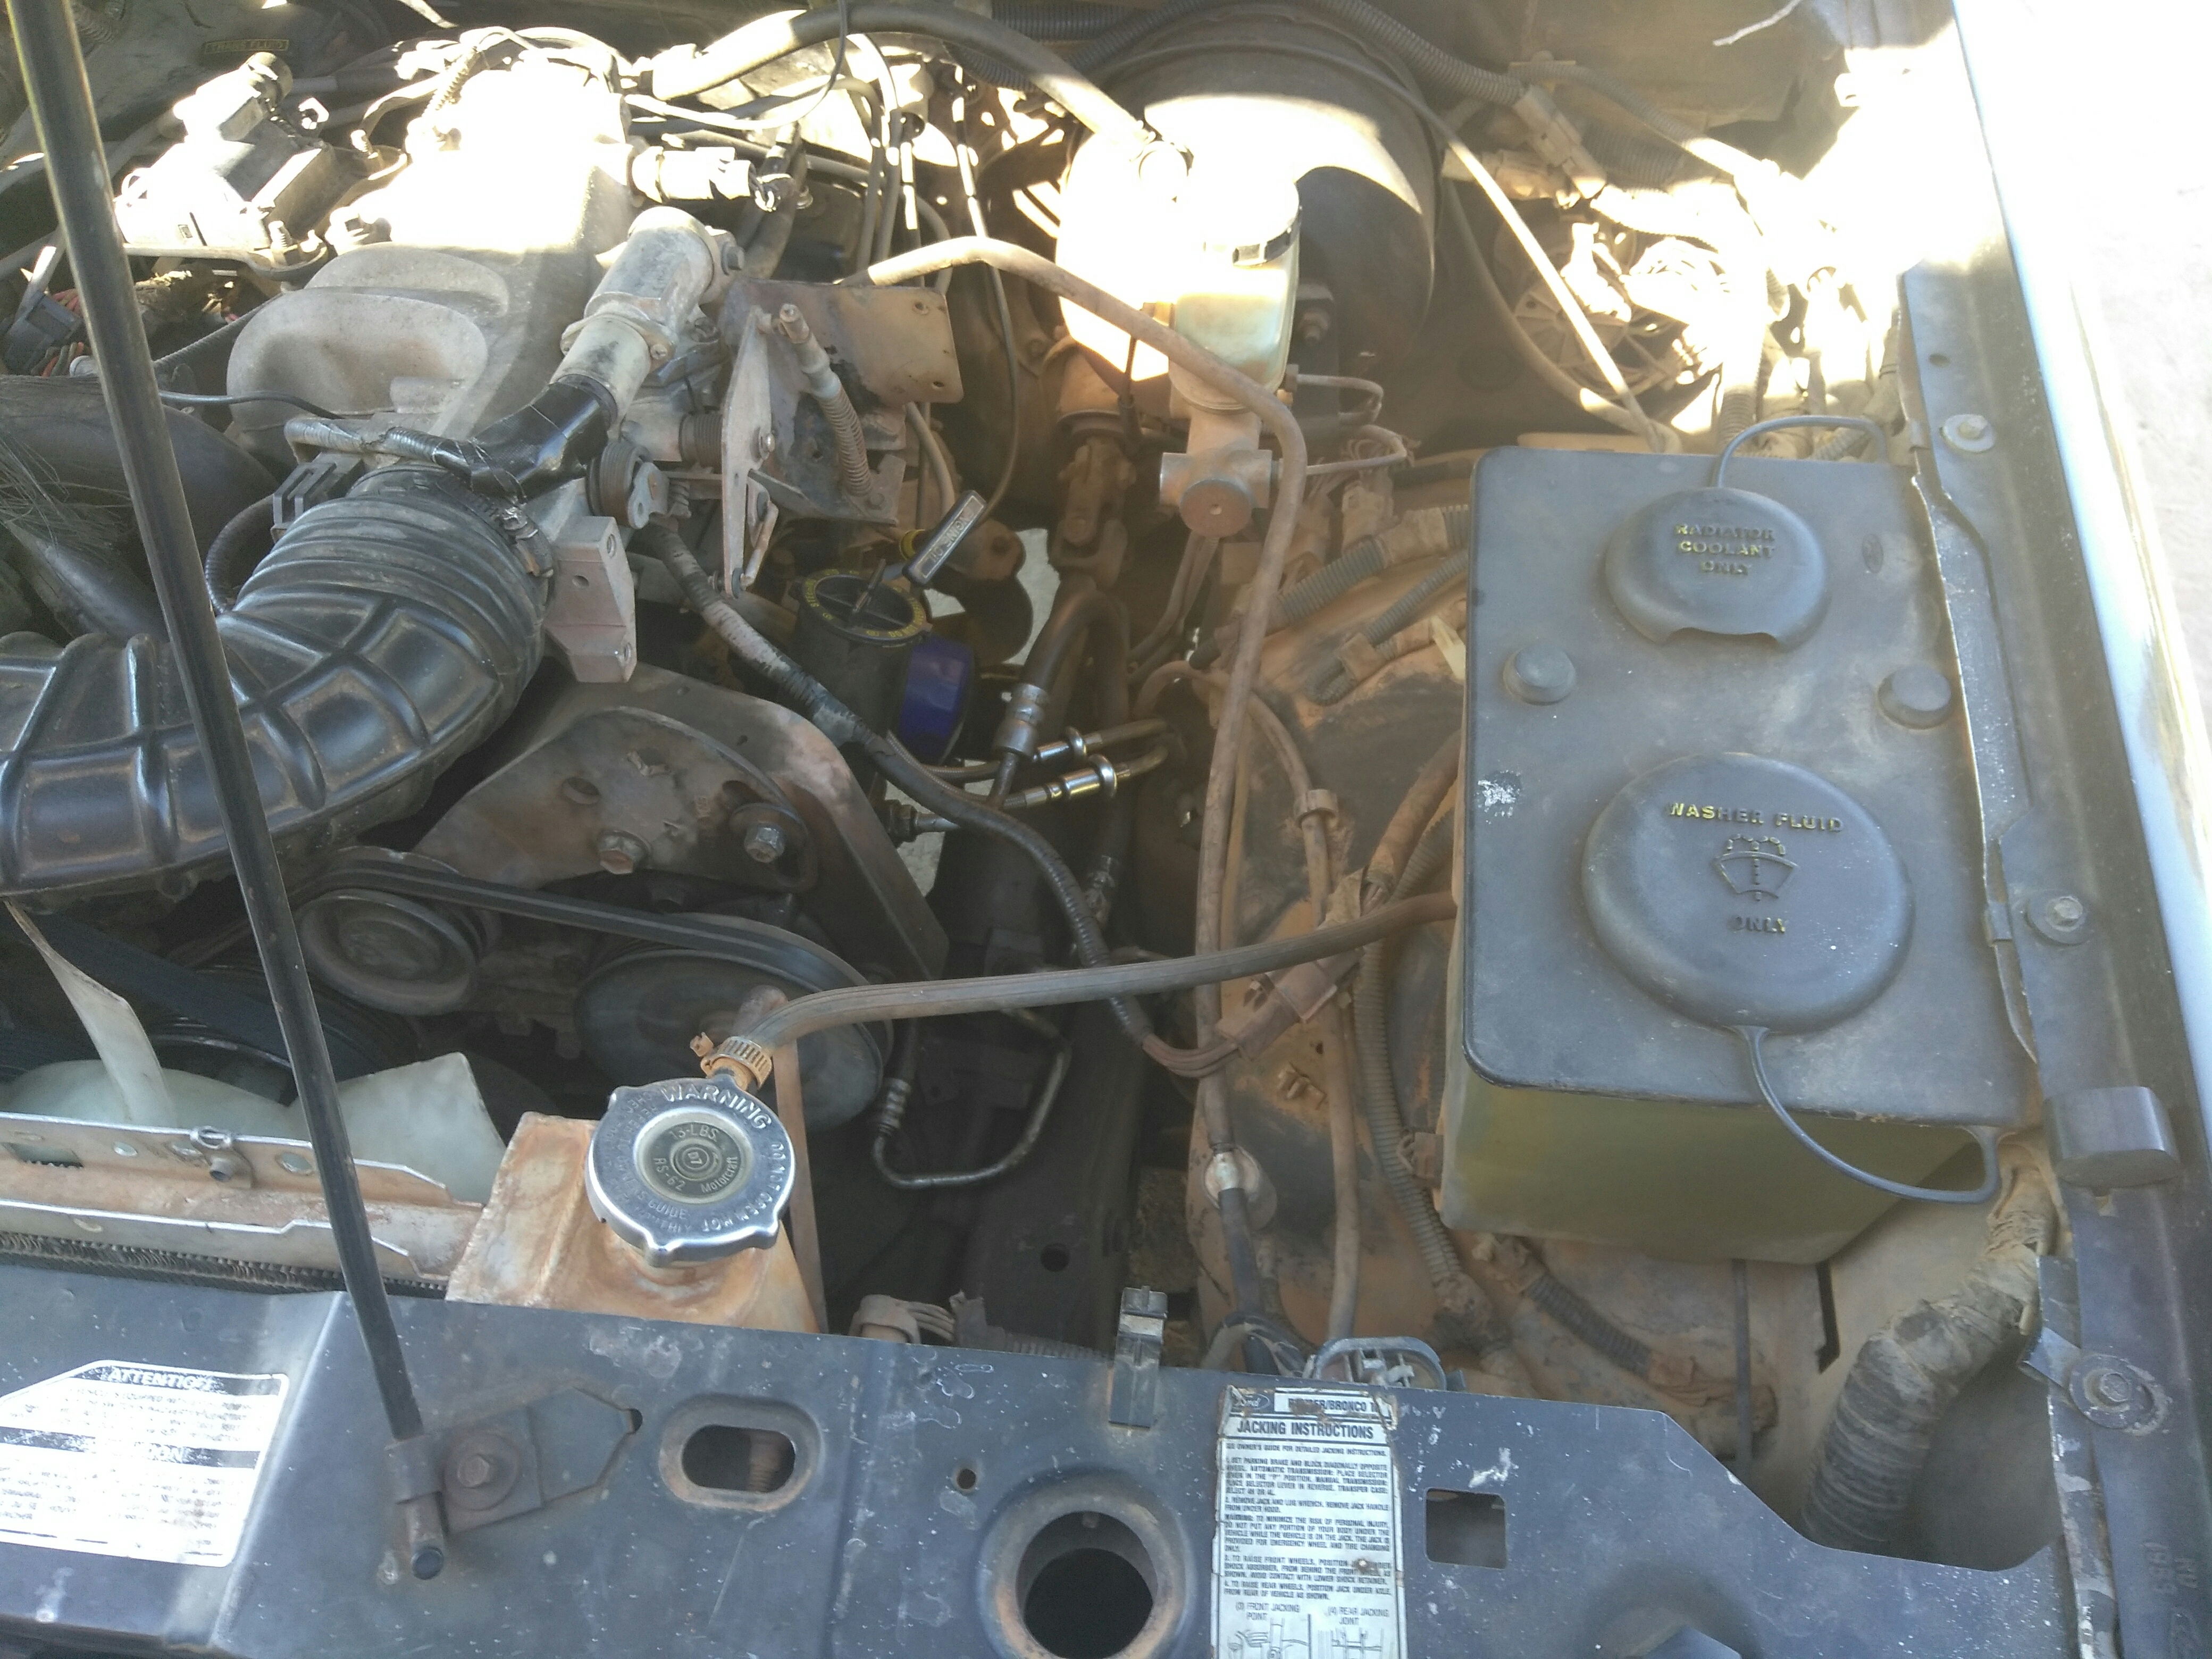
08
09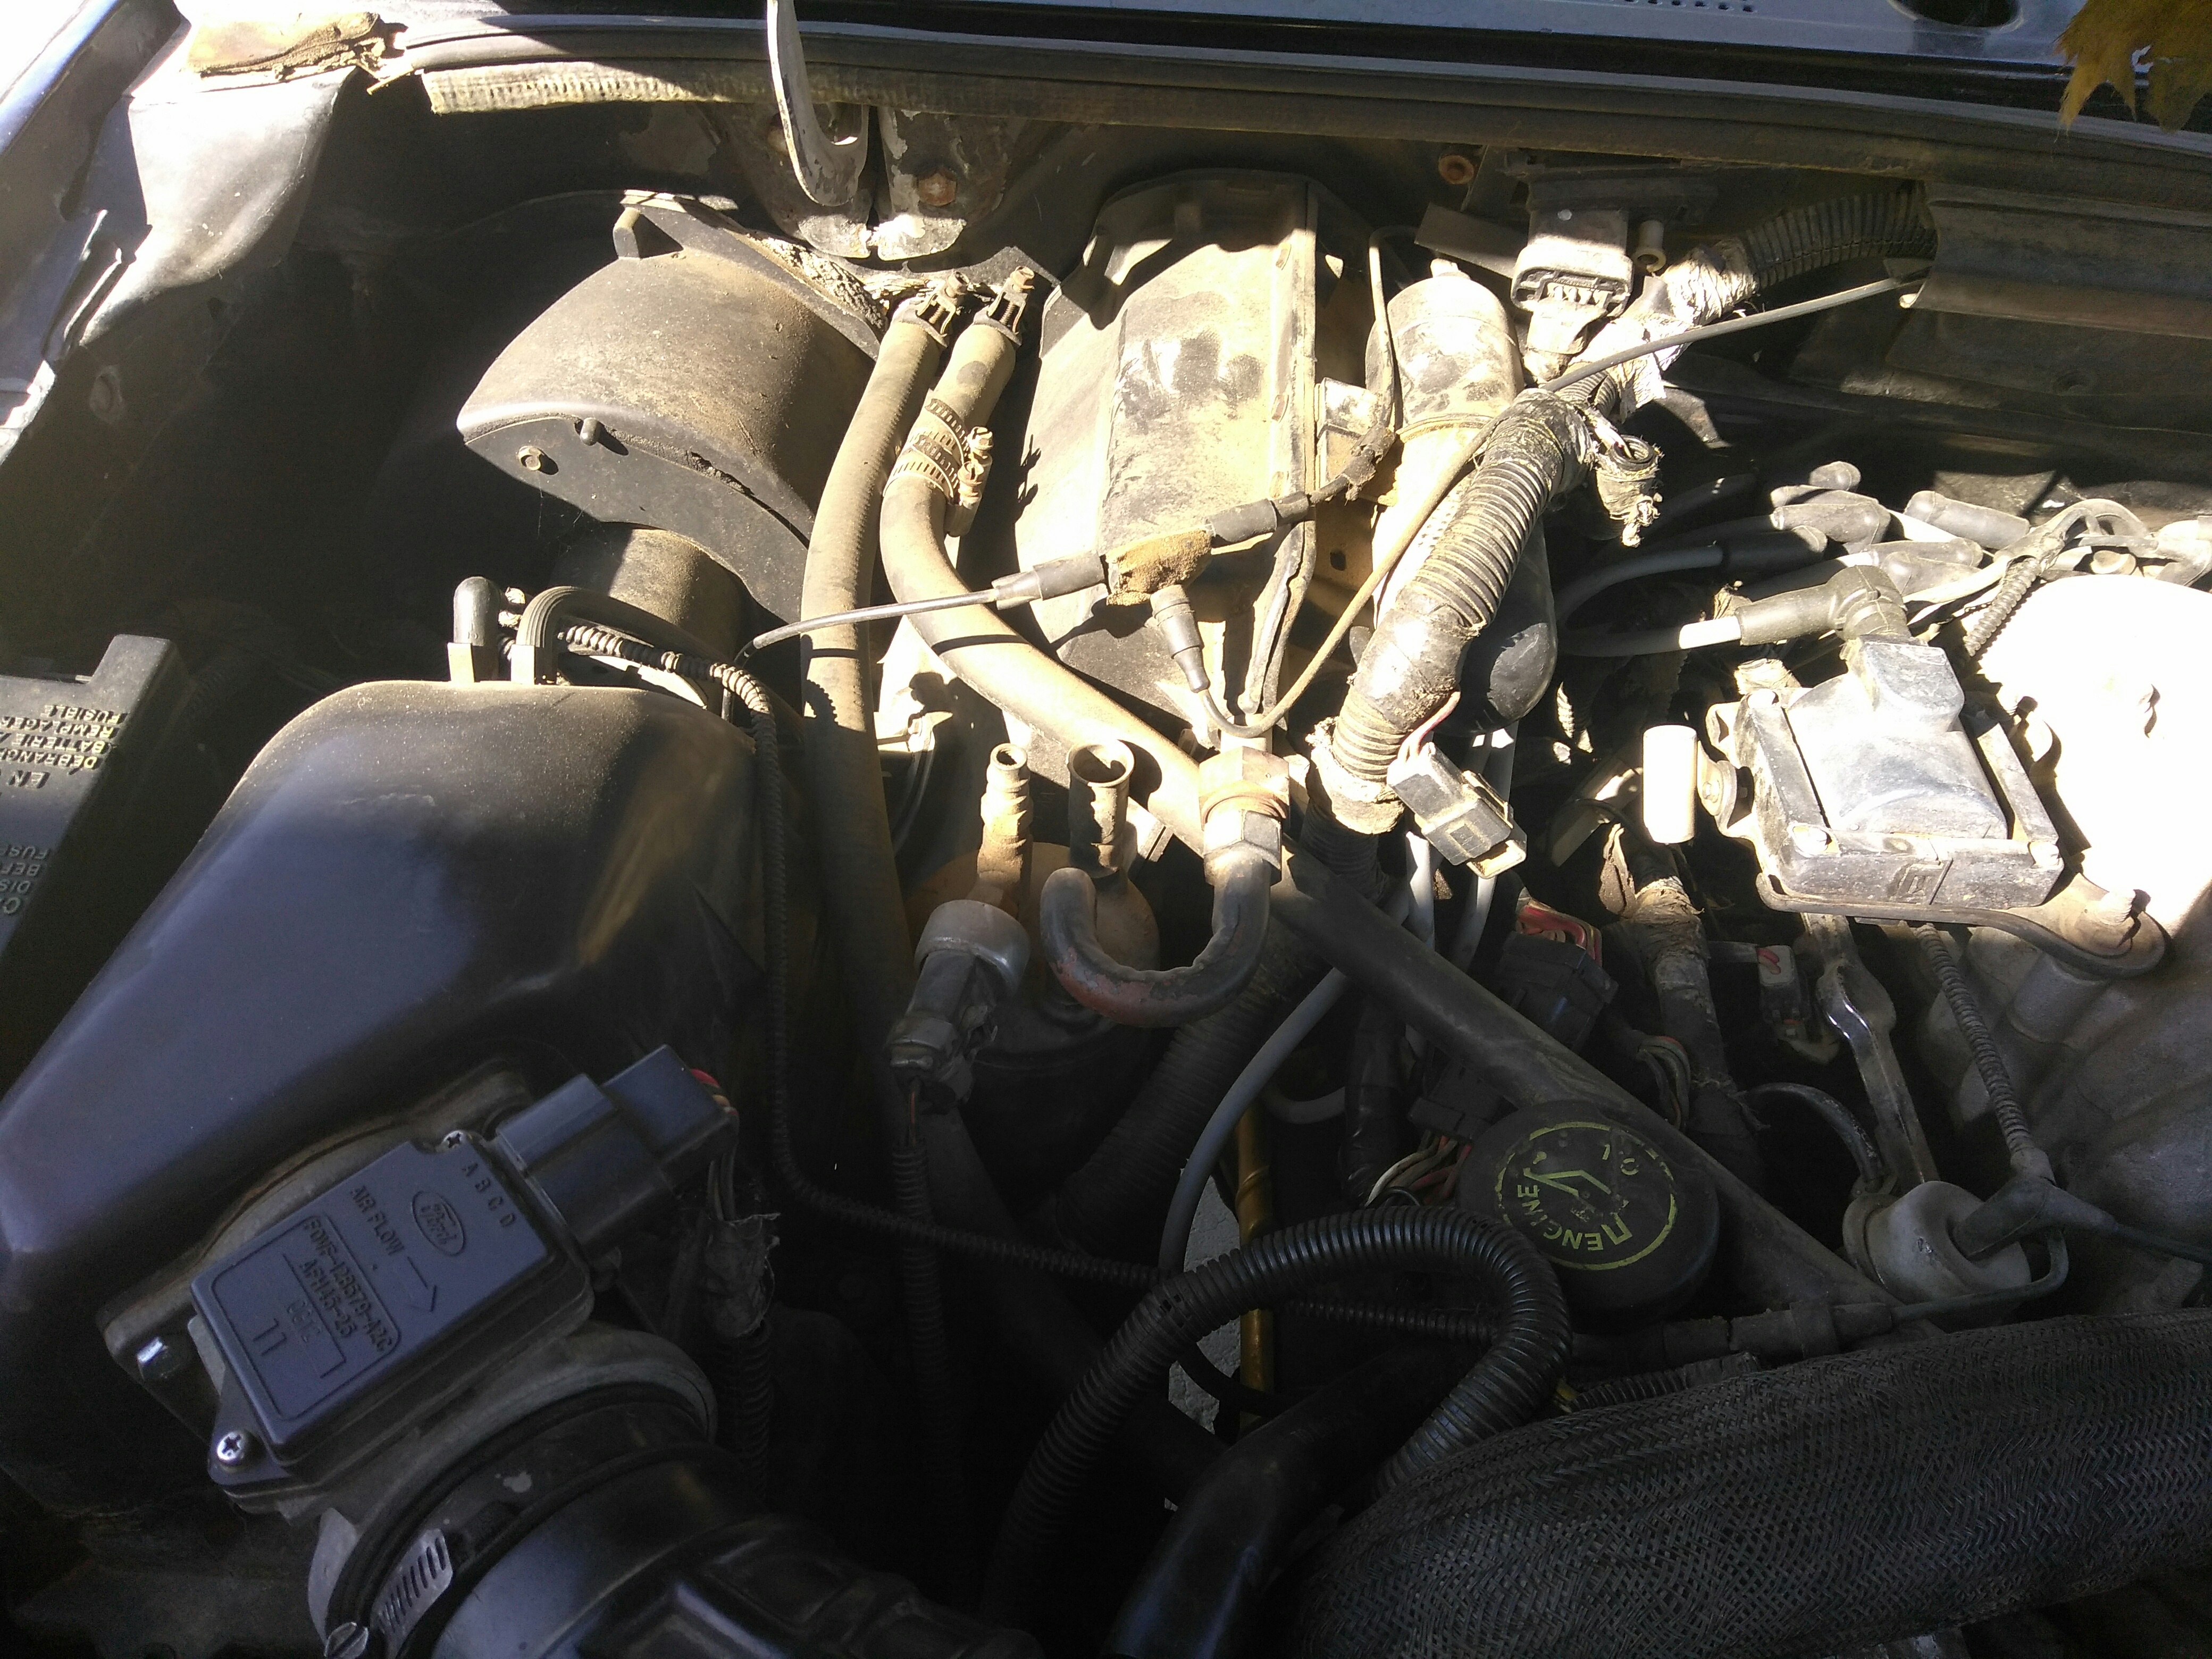
I think this is where I started actually doing some removal.
Step #0 - Drain Fluids. Engine Oil and Coolant.
During this time, I noticed what appeared to be fresh Trans Oil dripping from the Trans Cooler and all under the vehicle.
Step #1 - Remove Battery
10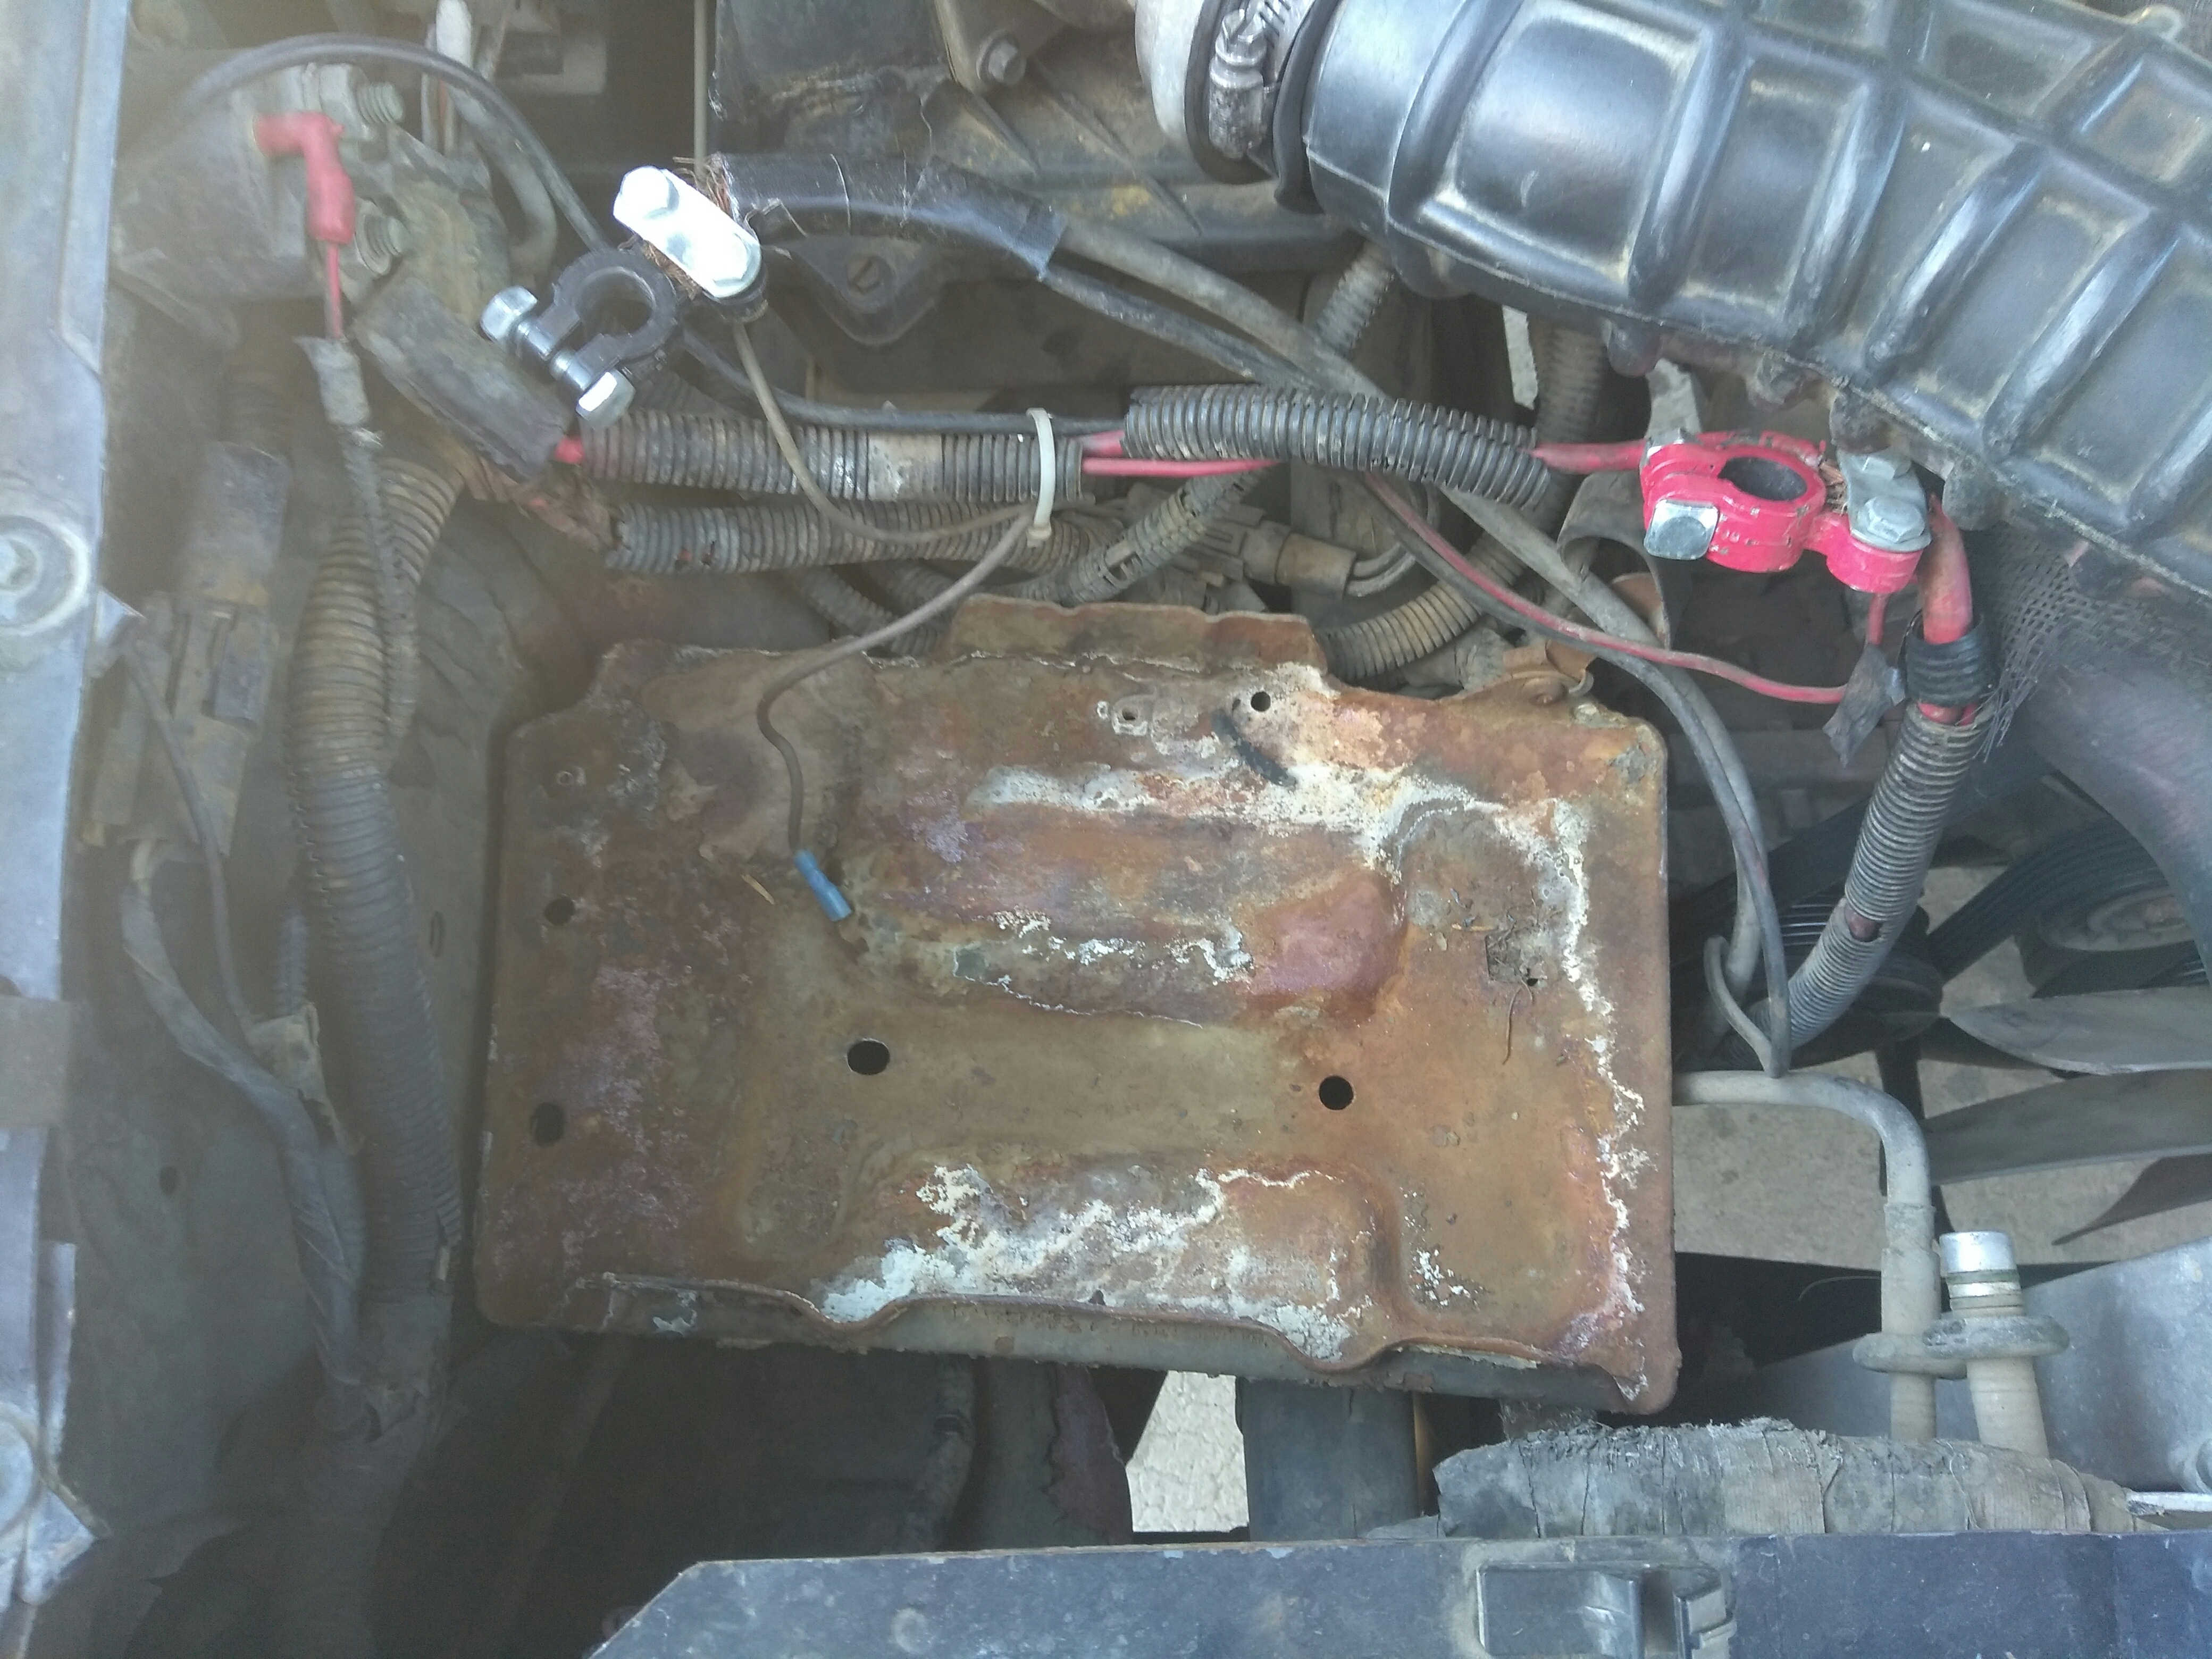
Heater Hoses removed from Firewall
- Note both hoses were VERY brittal
12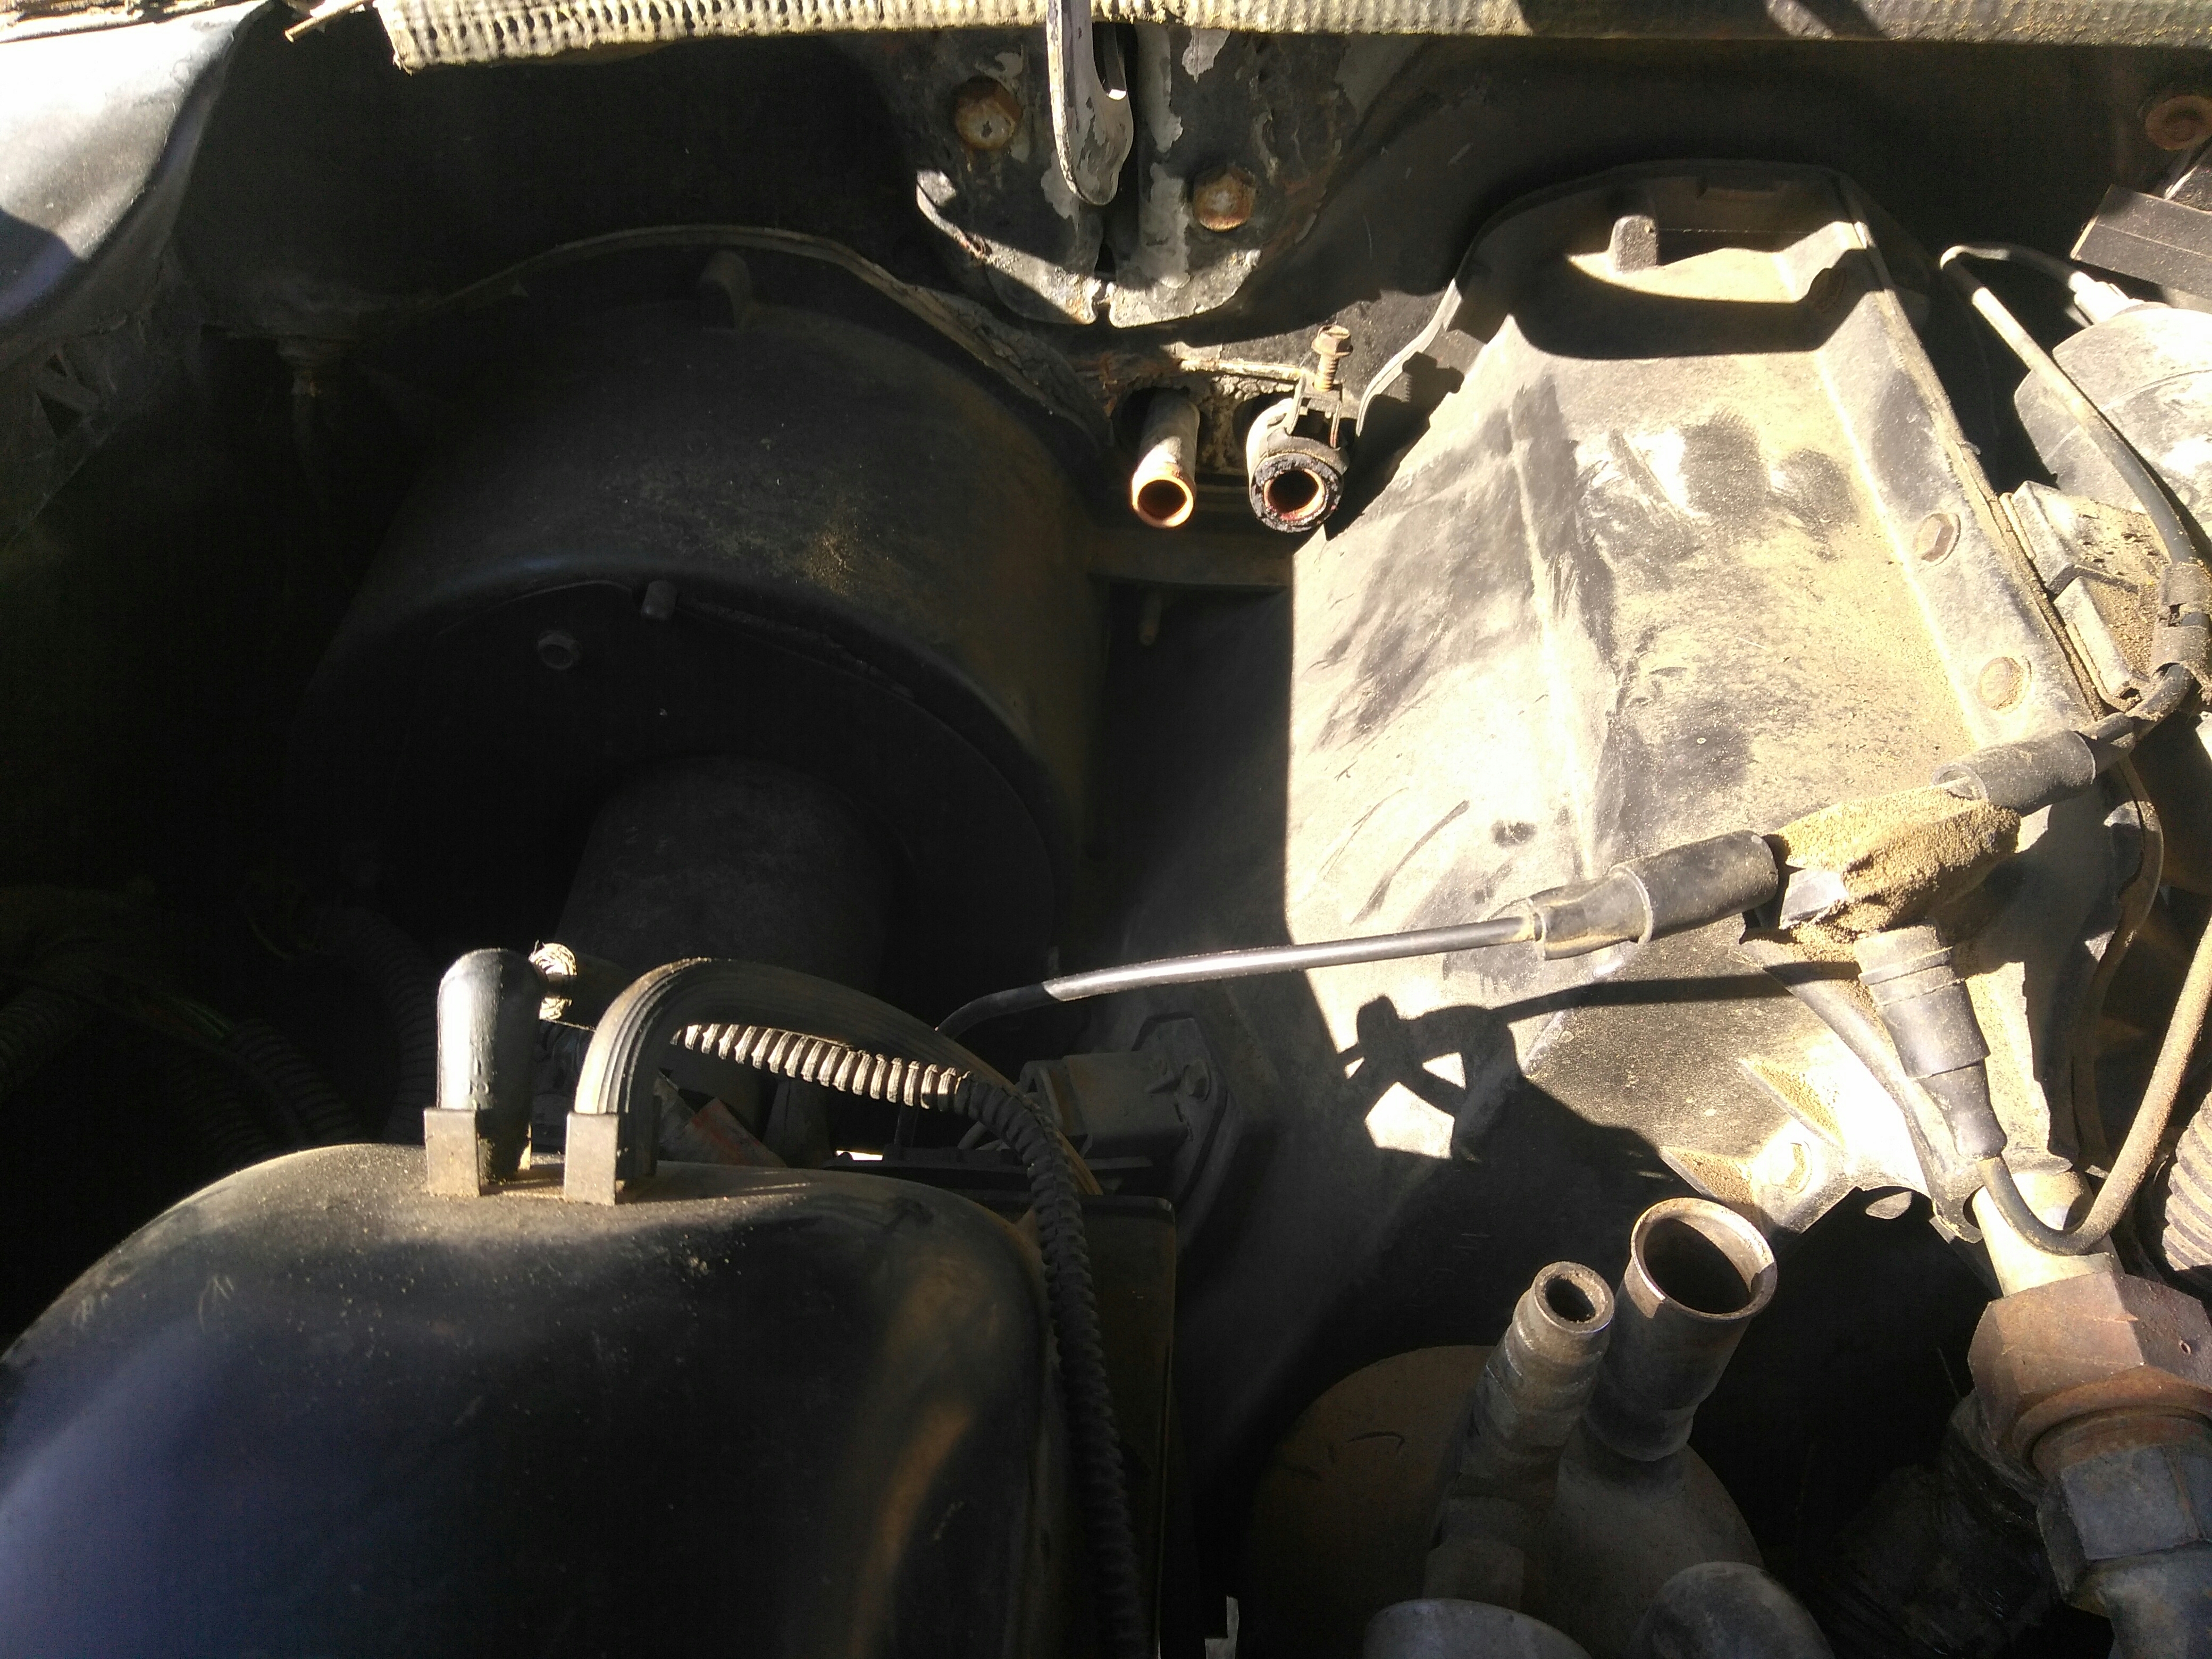
Heater Hoses removed from Block
- Note both hoses were VERY brittal
13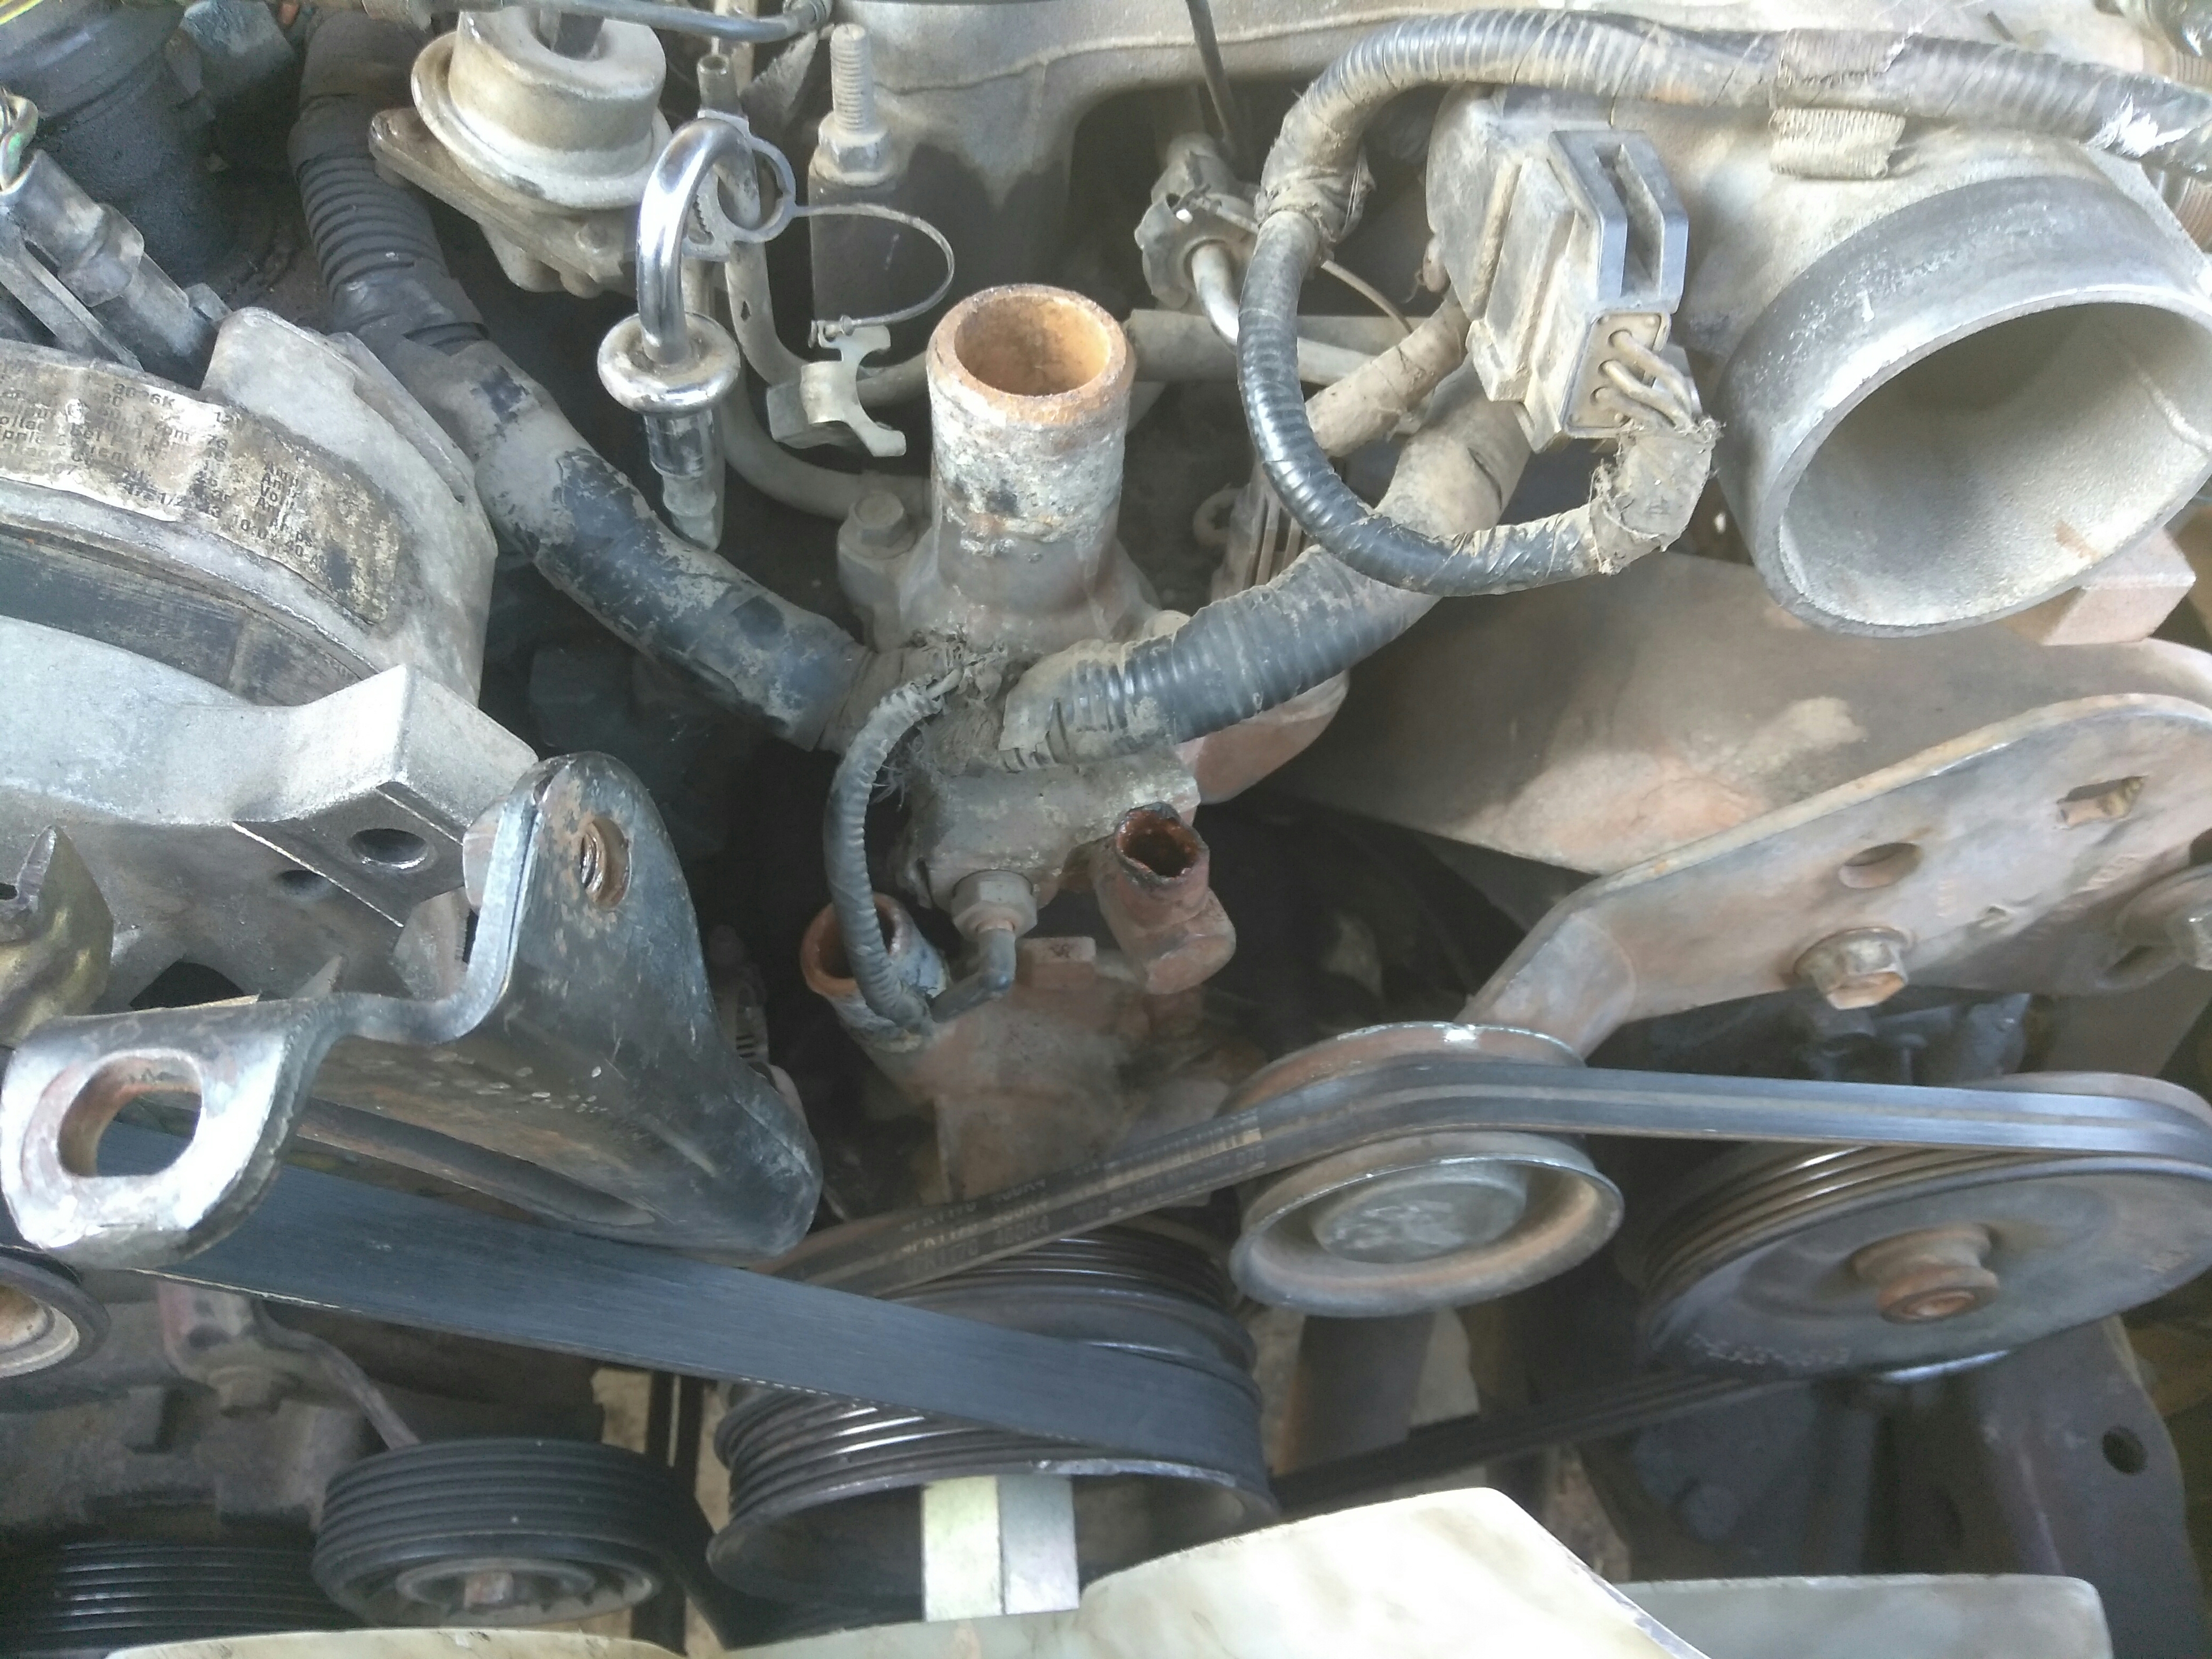
Upper Radiator Hose Removed
14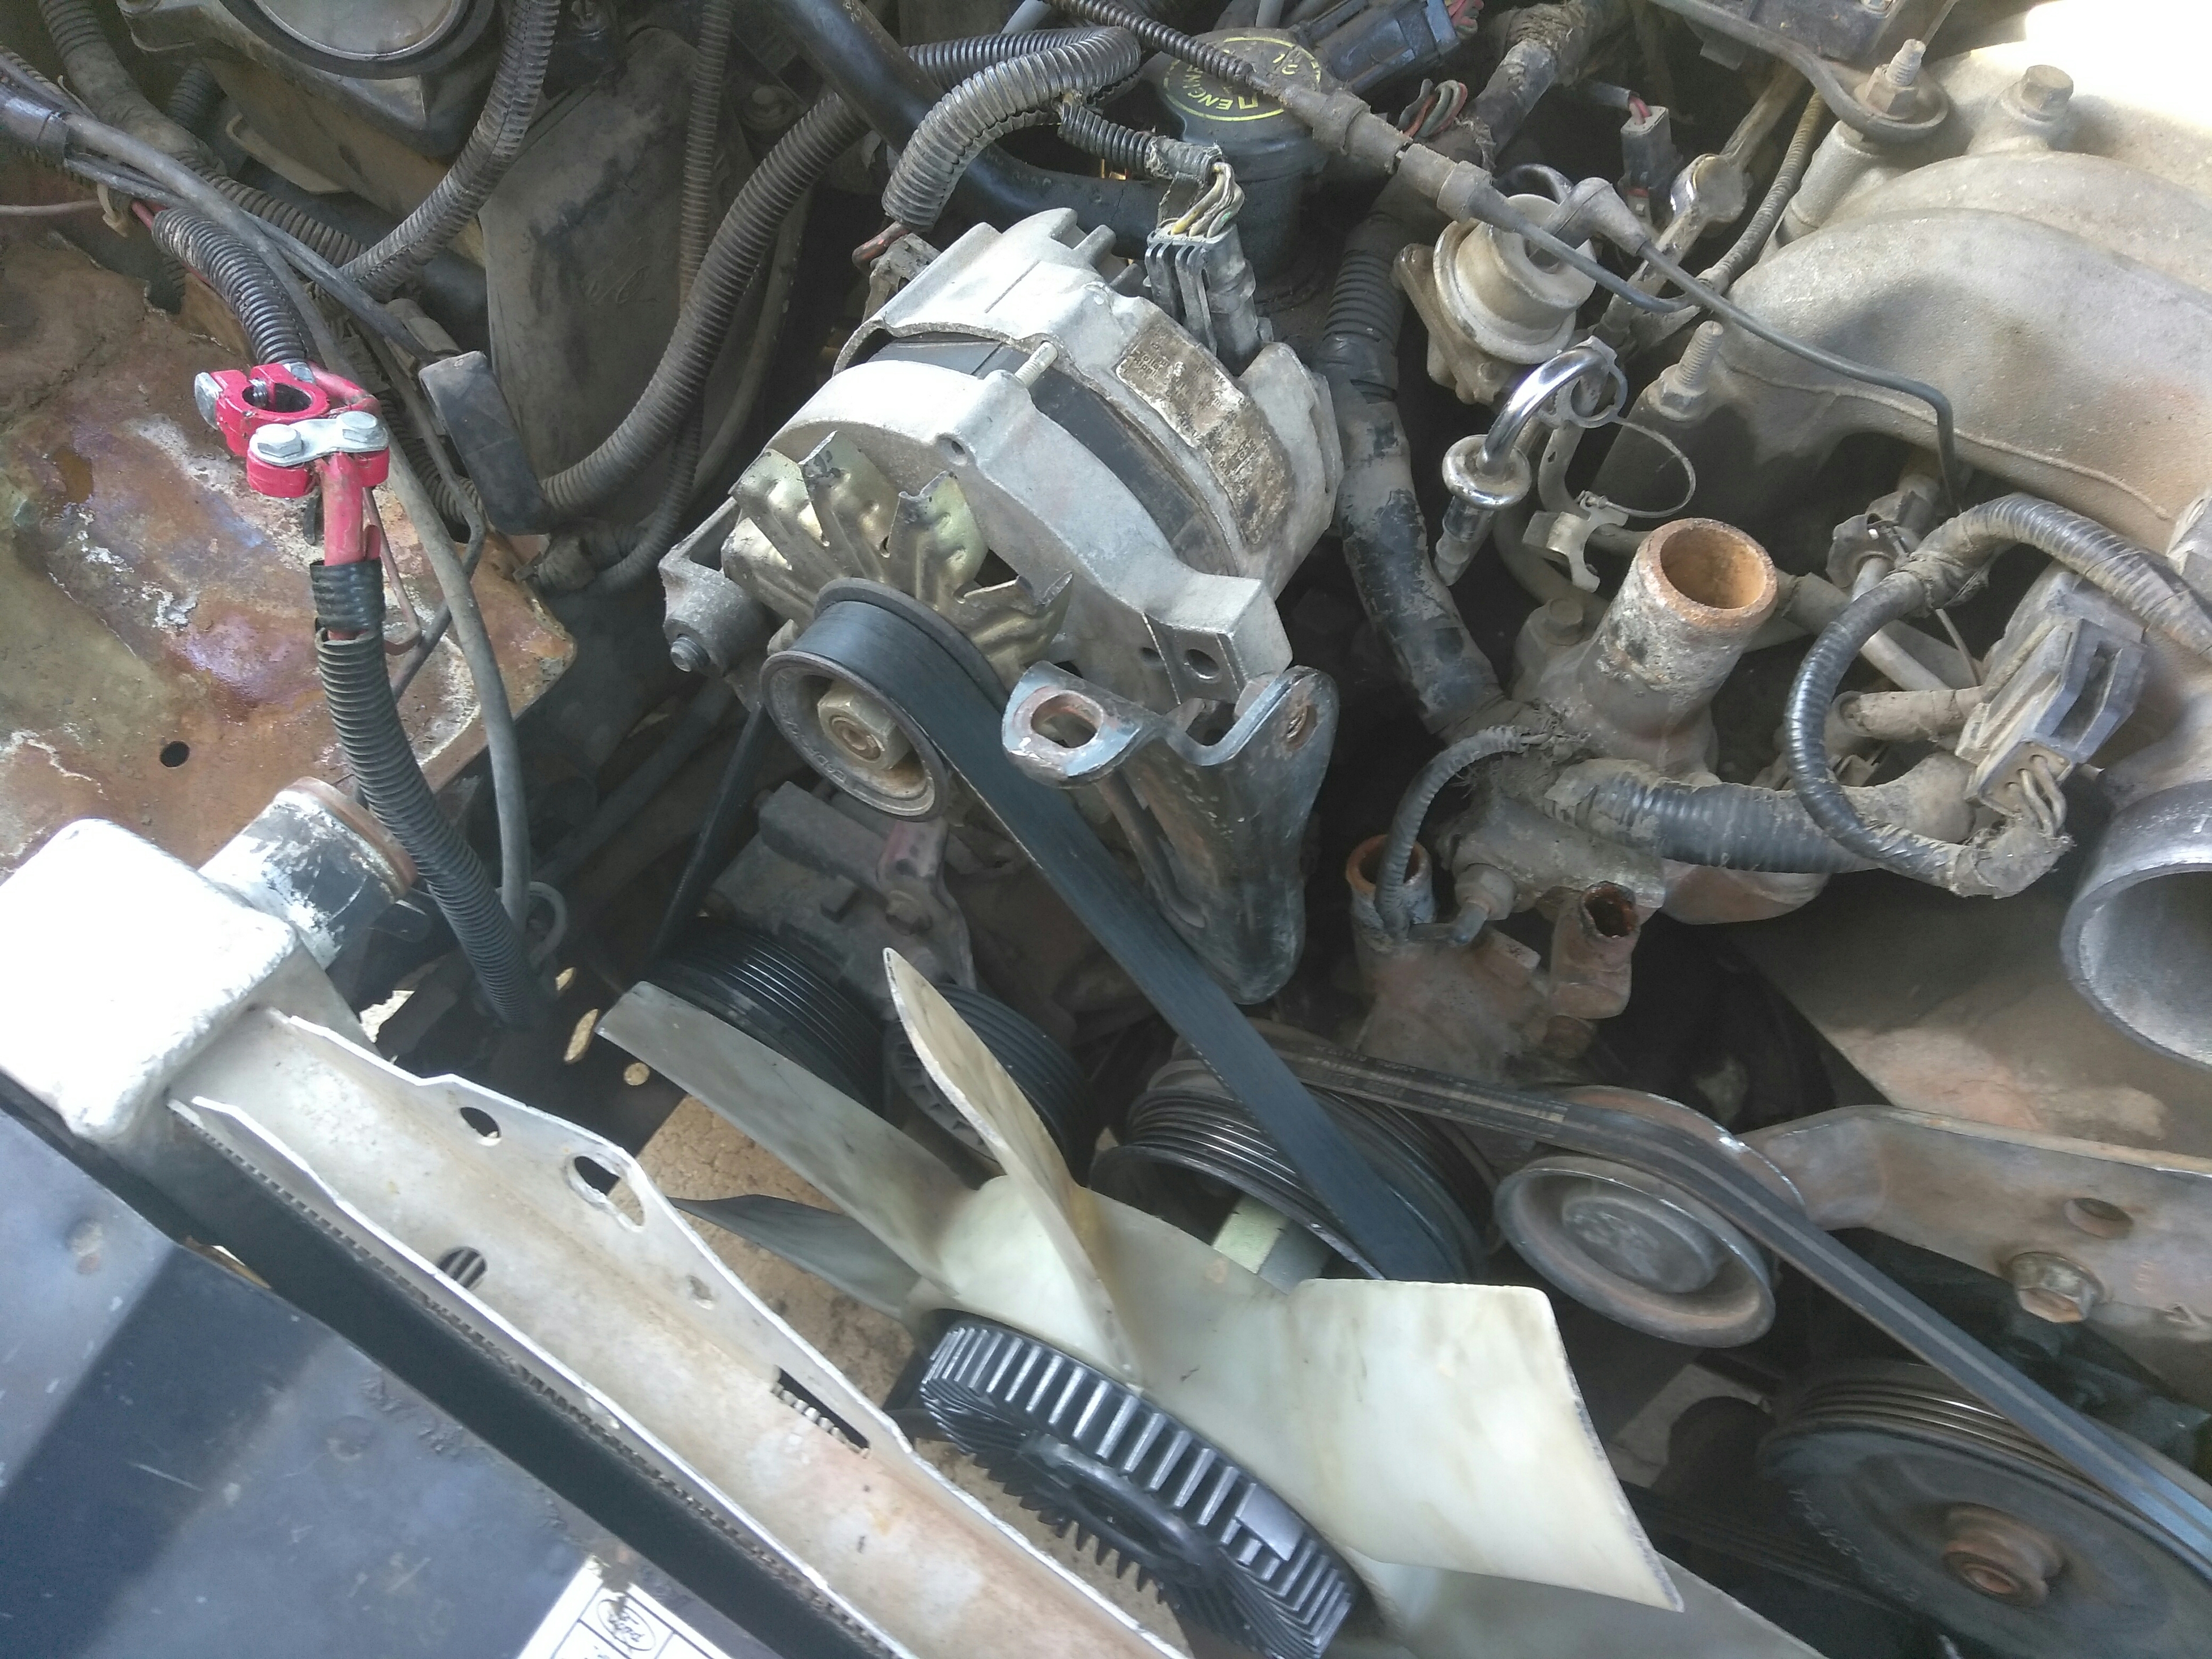
I also removed Lower Radiator Hose.
Air Intake Hose Removed
02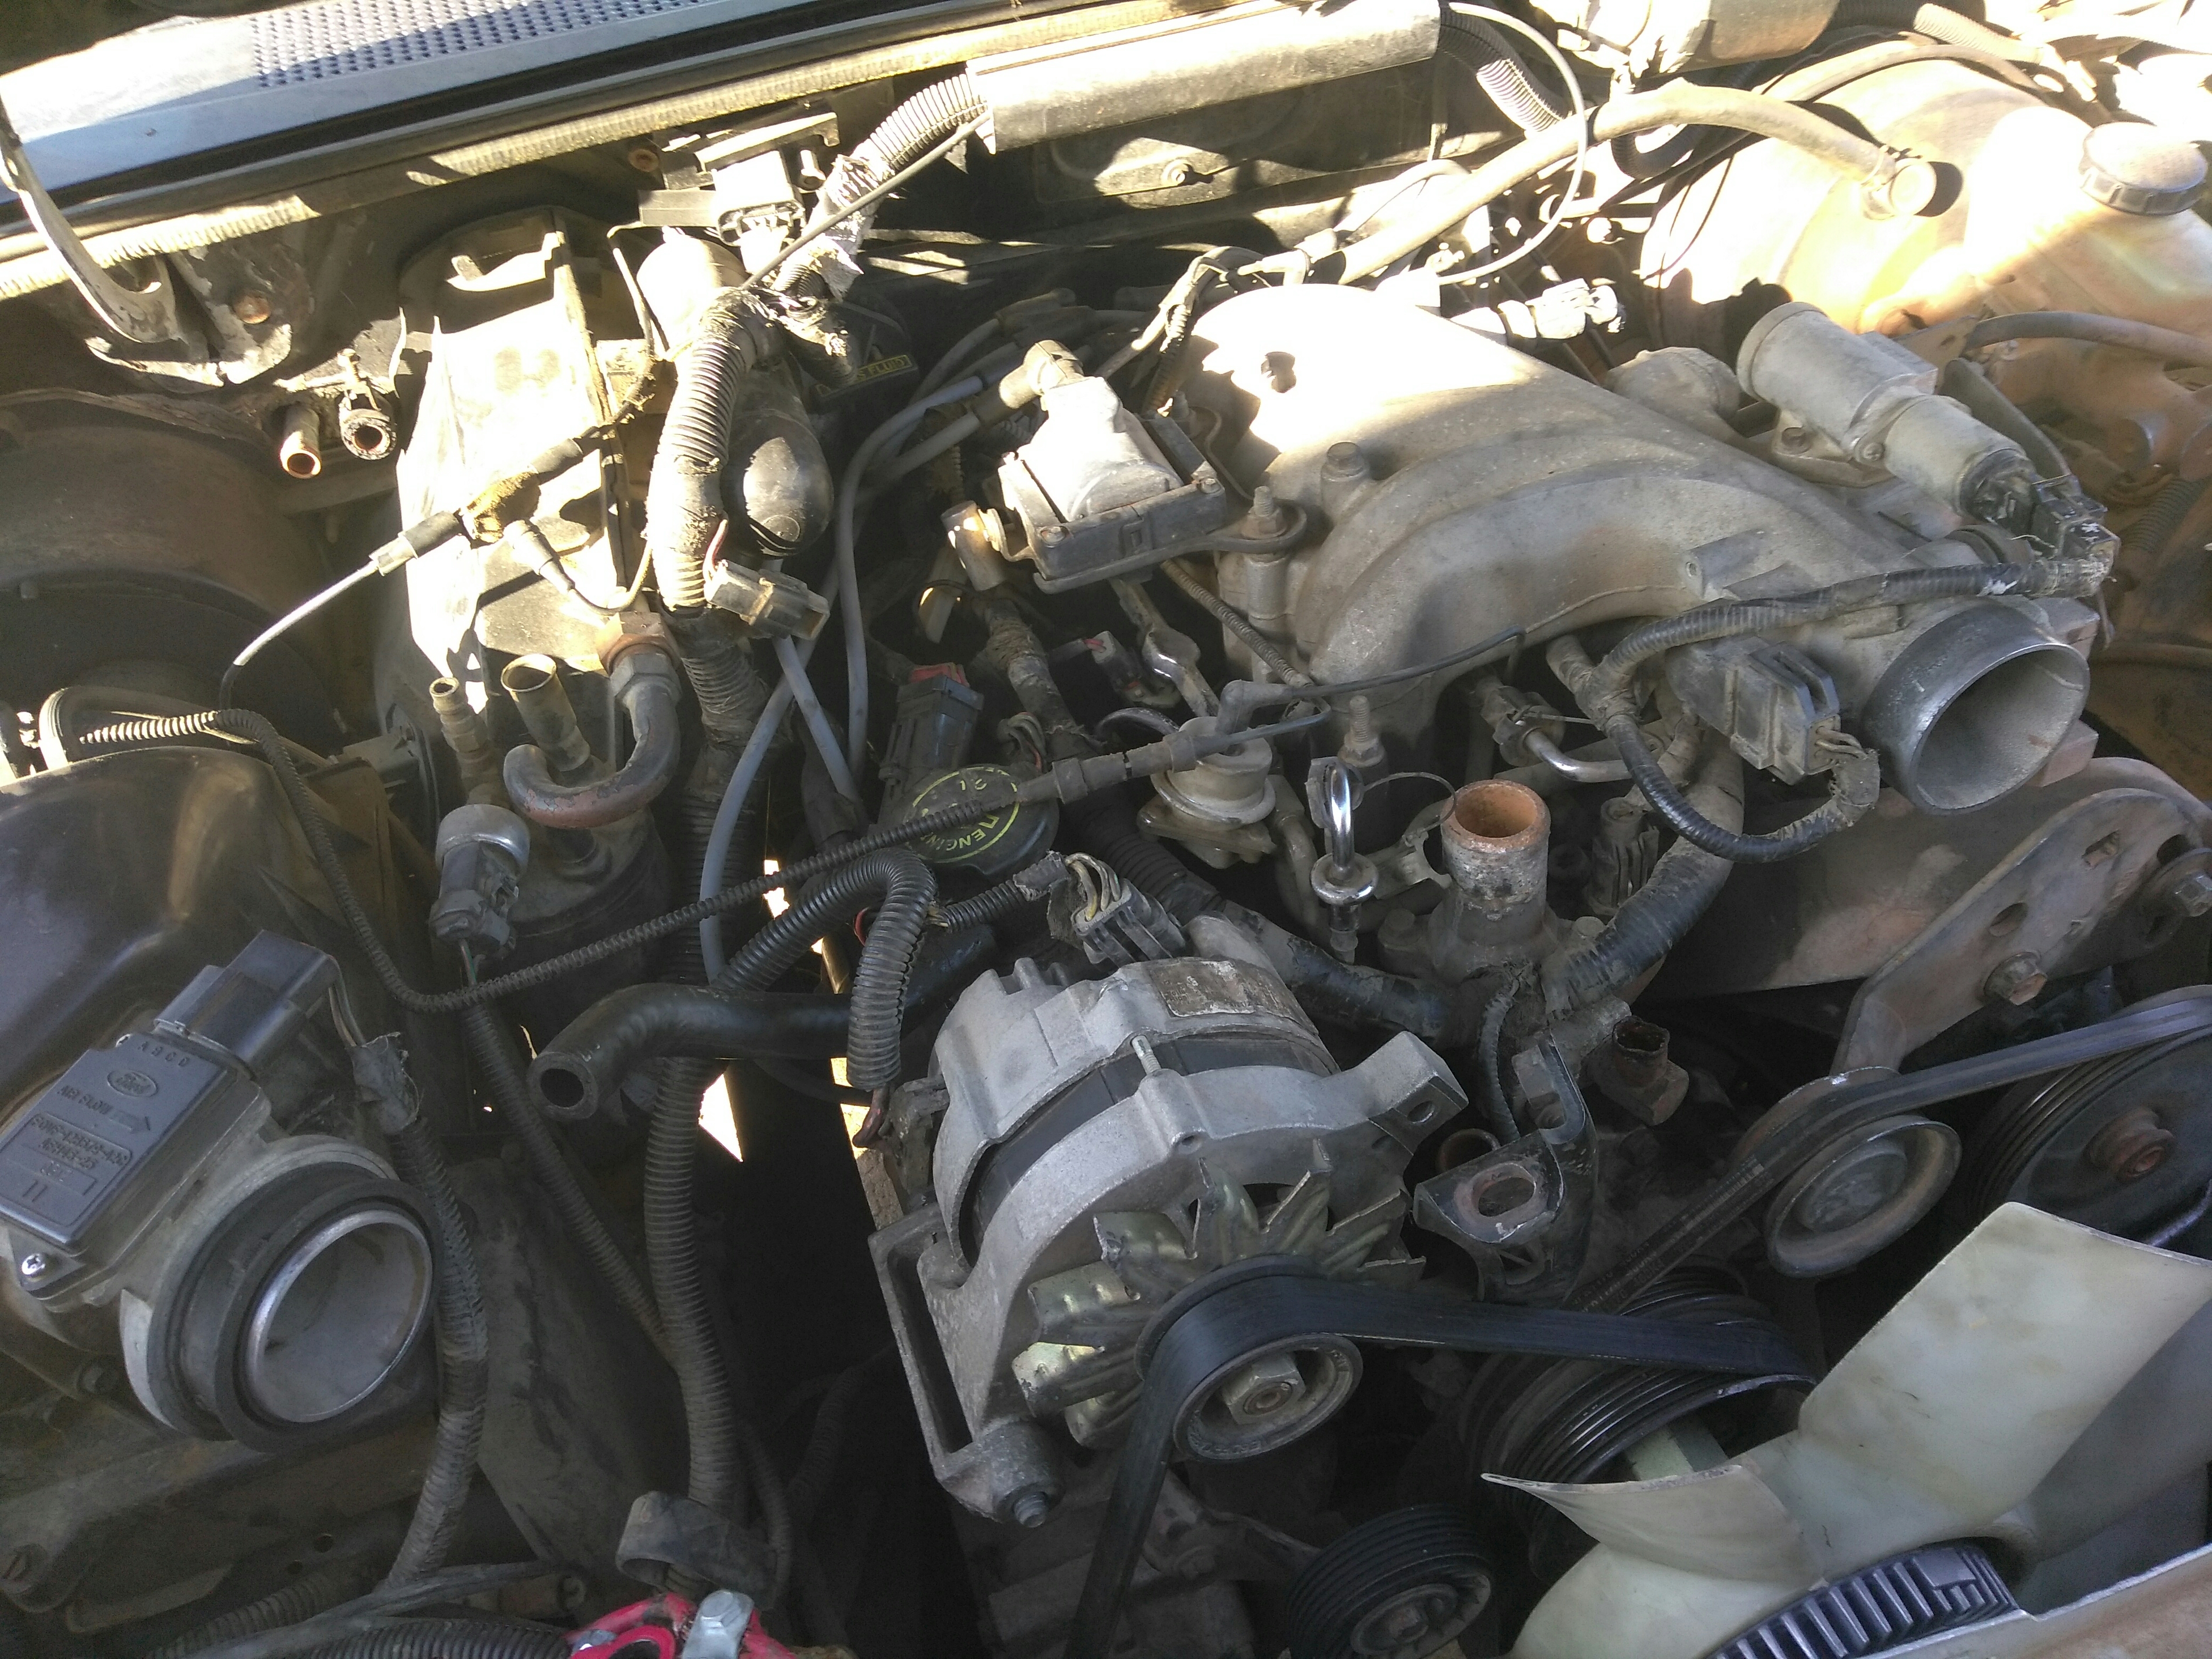
Vacuum Lines
This is the Break Booster.
15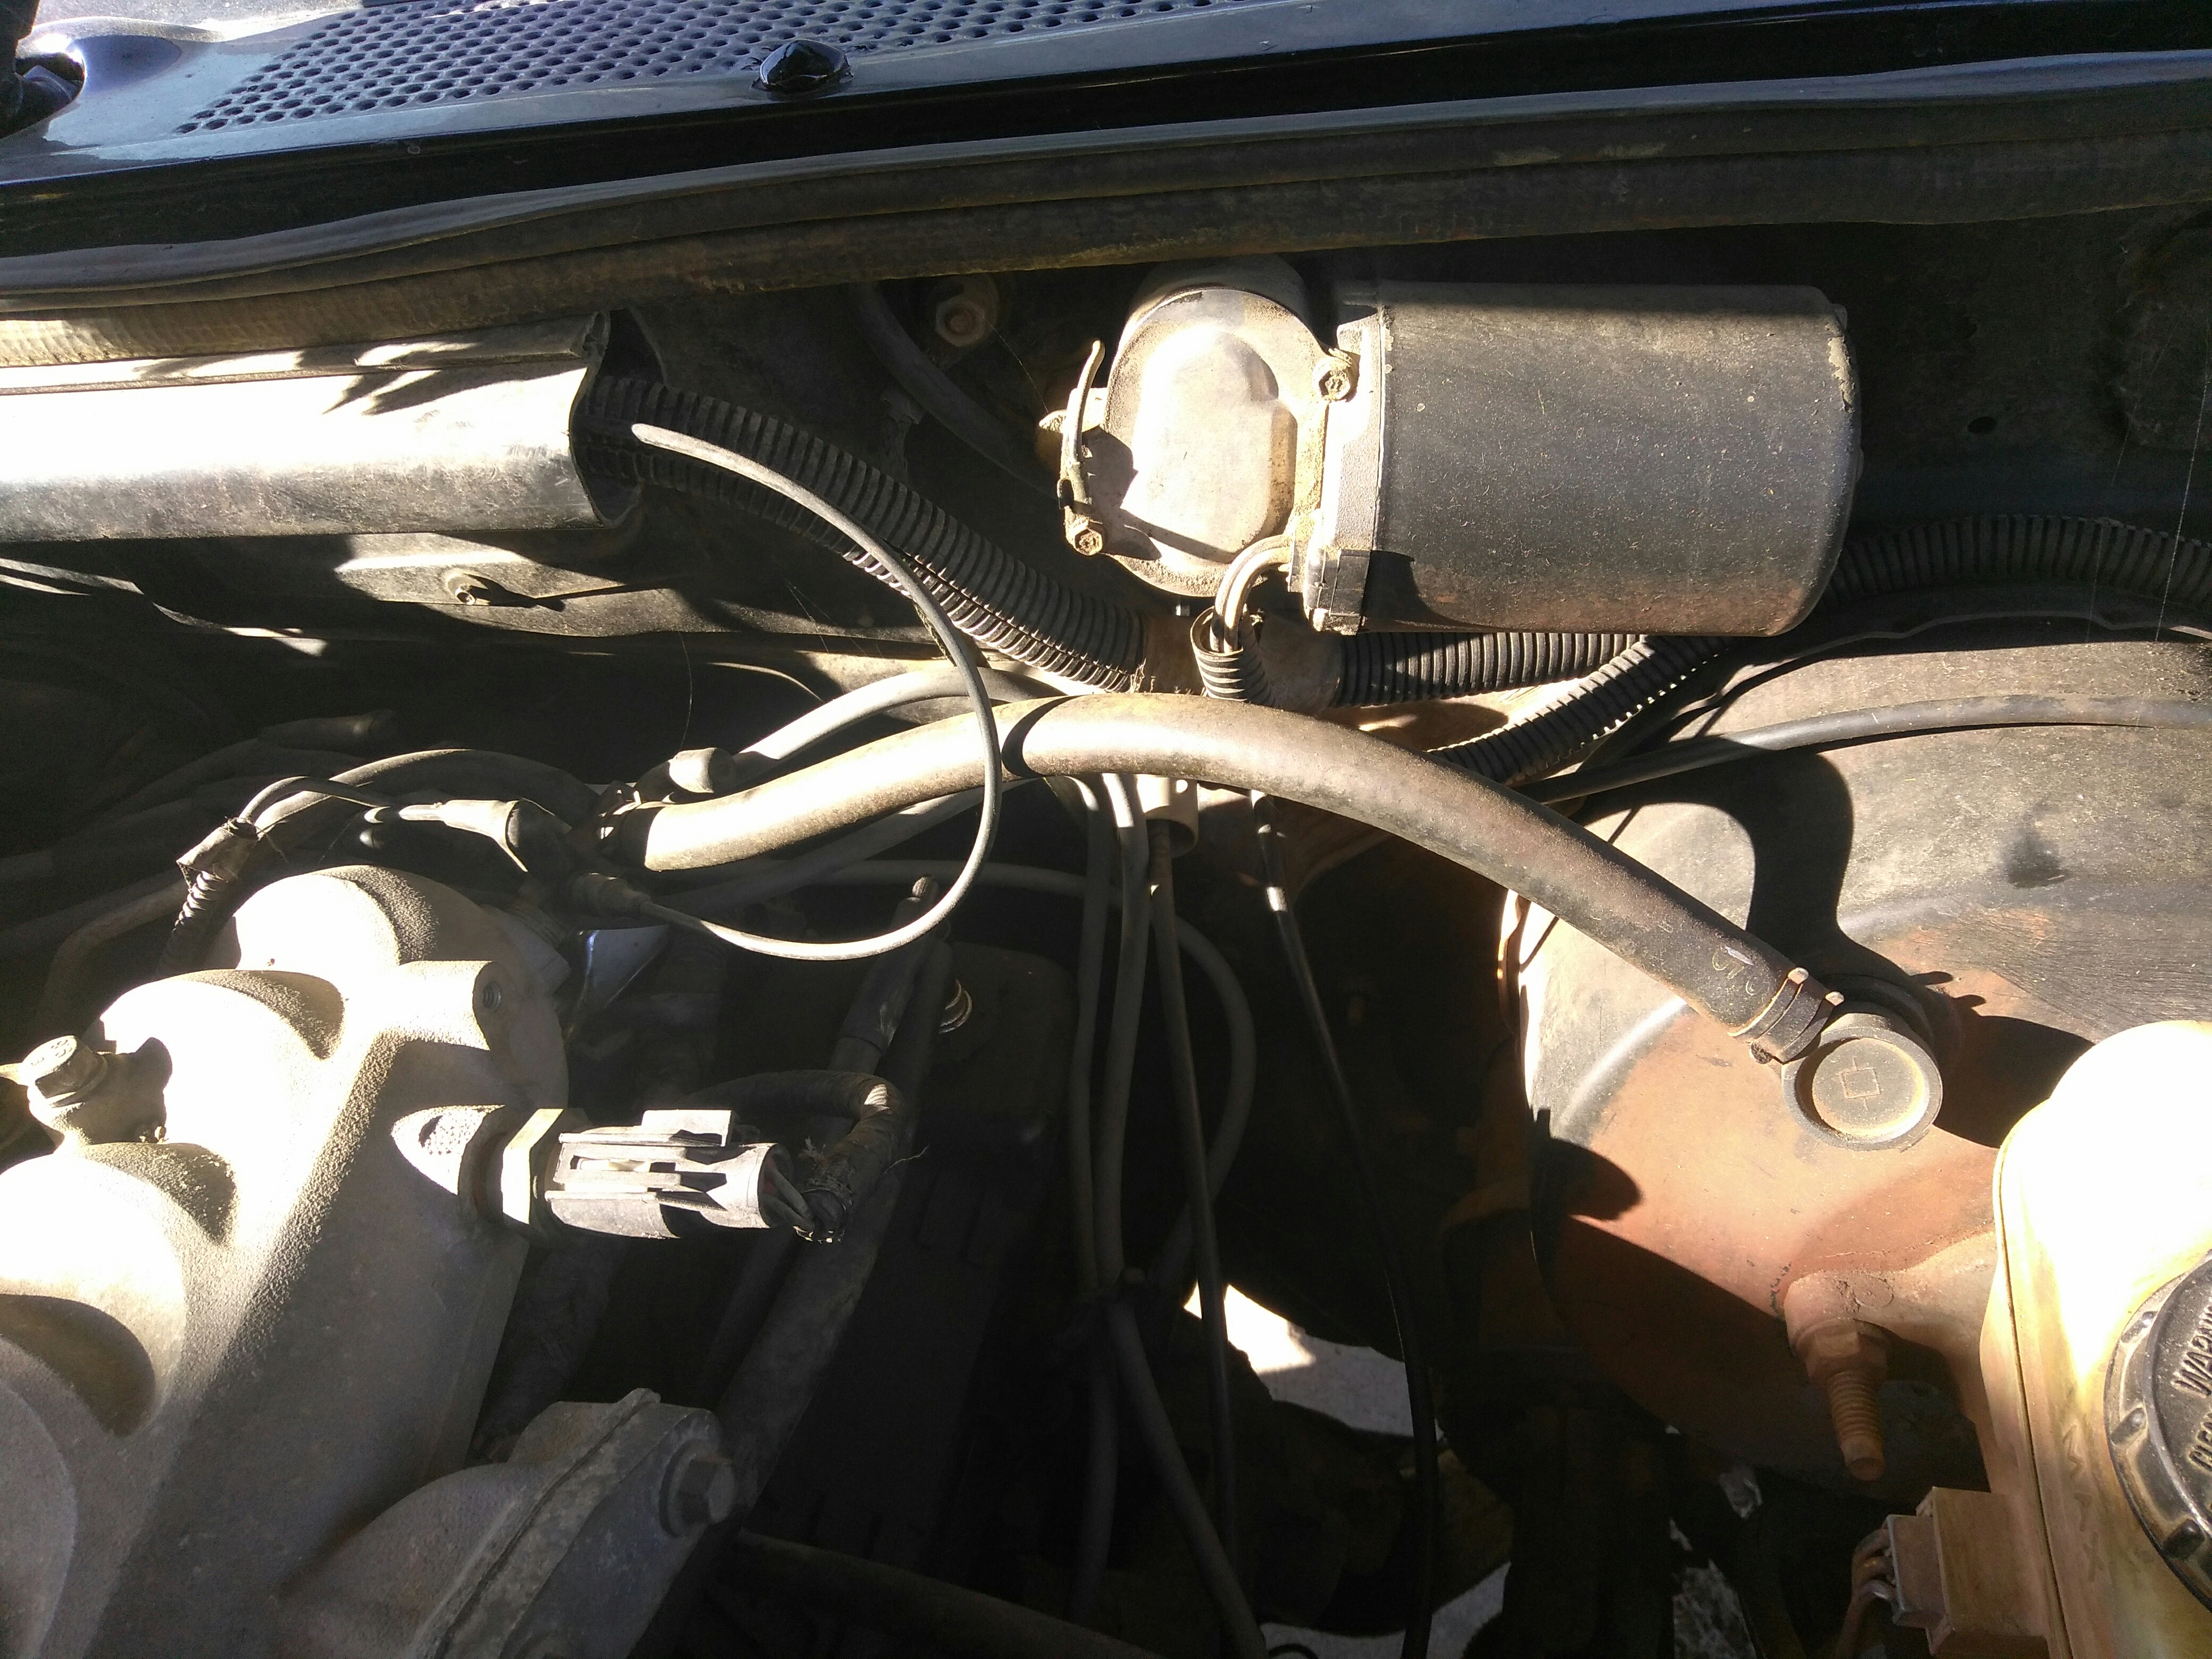
16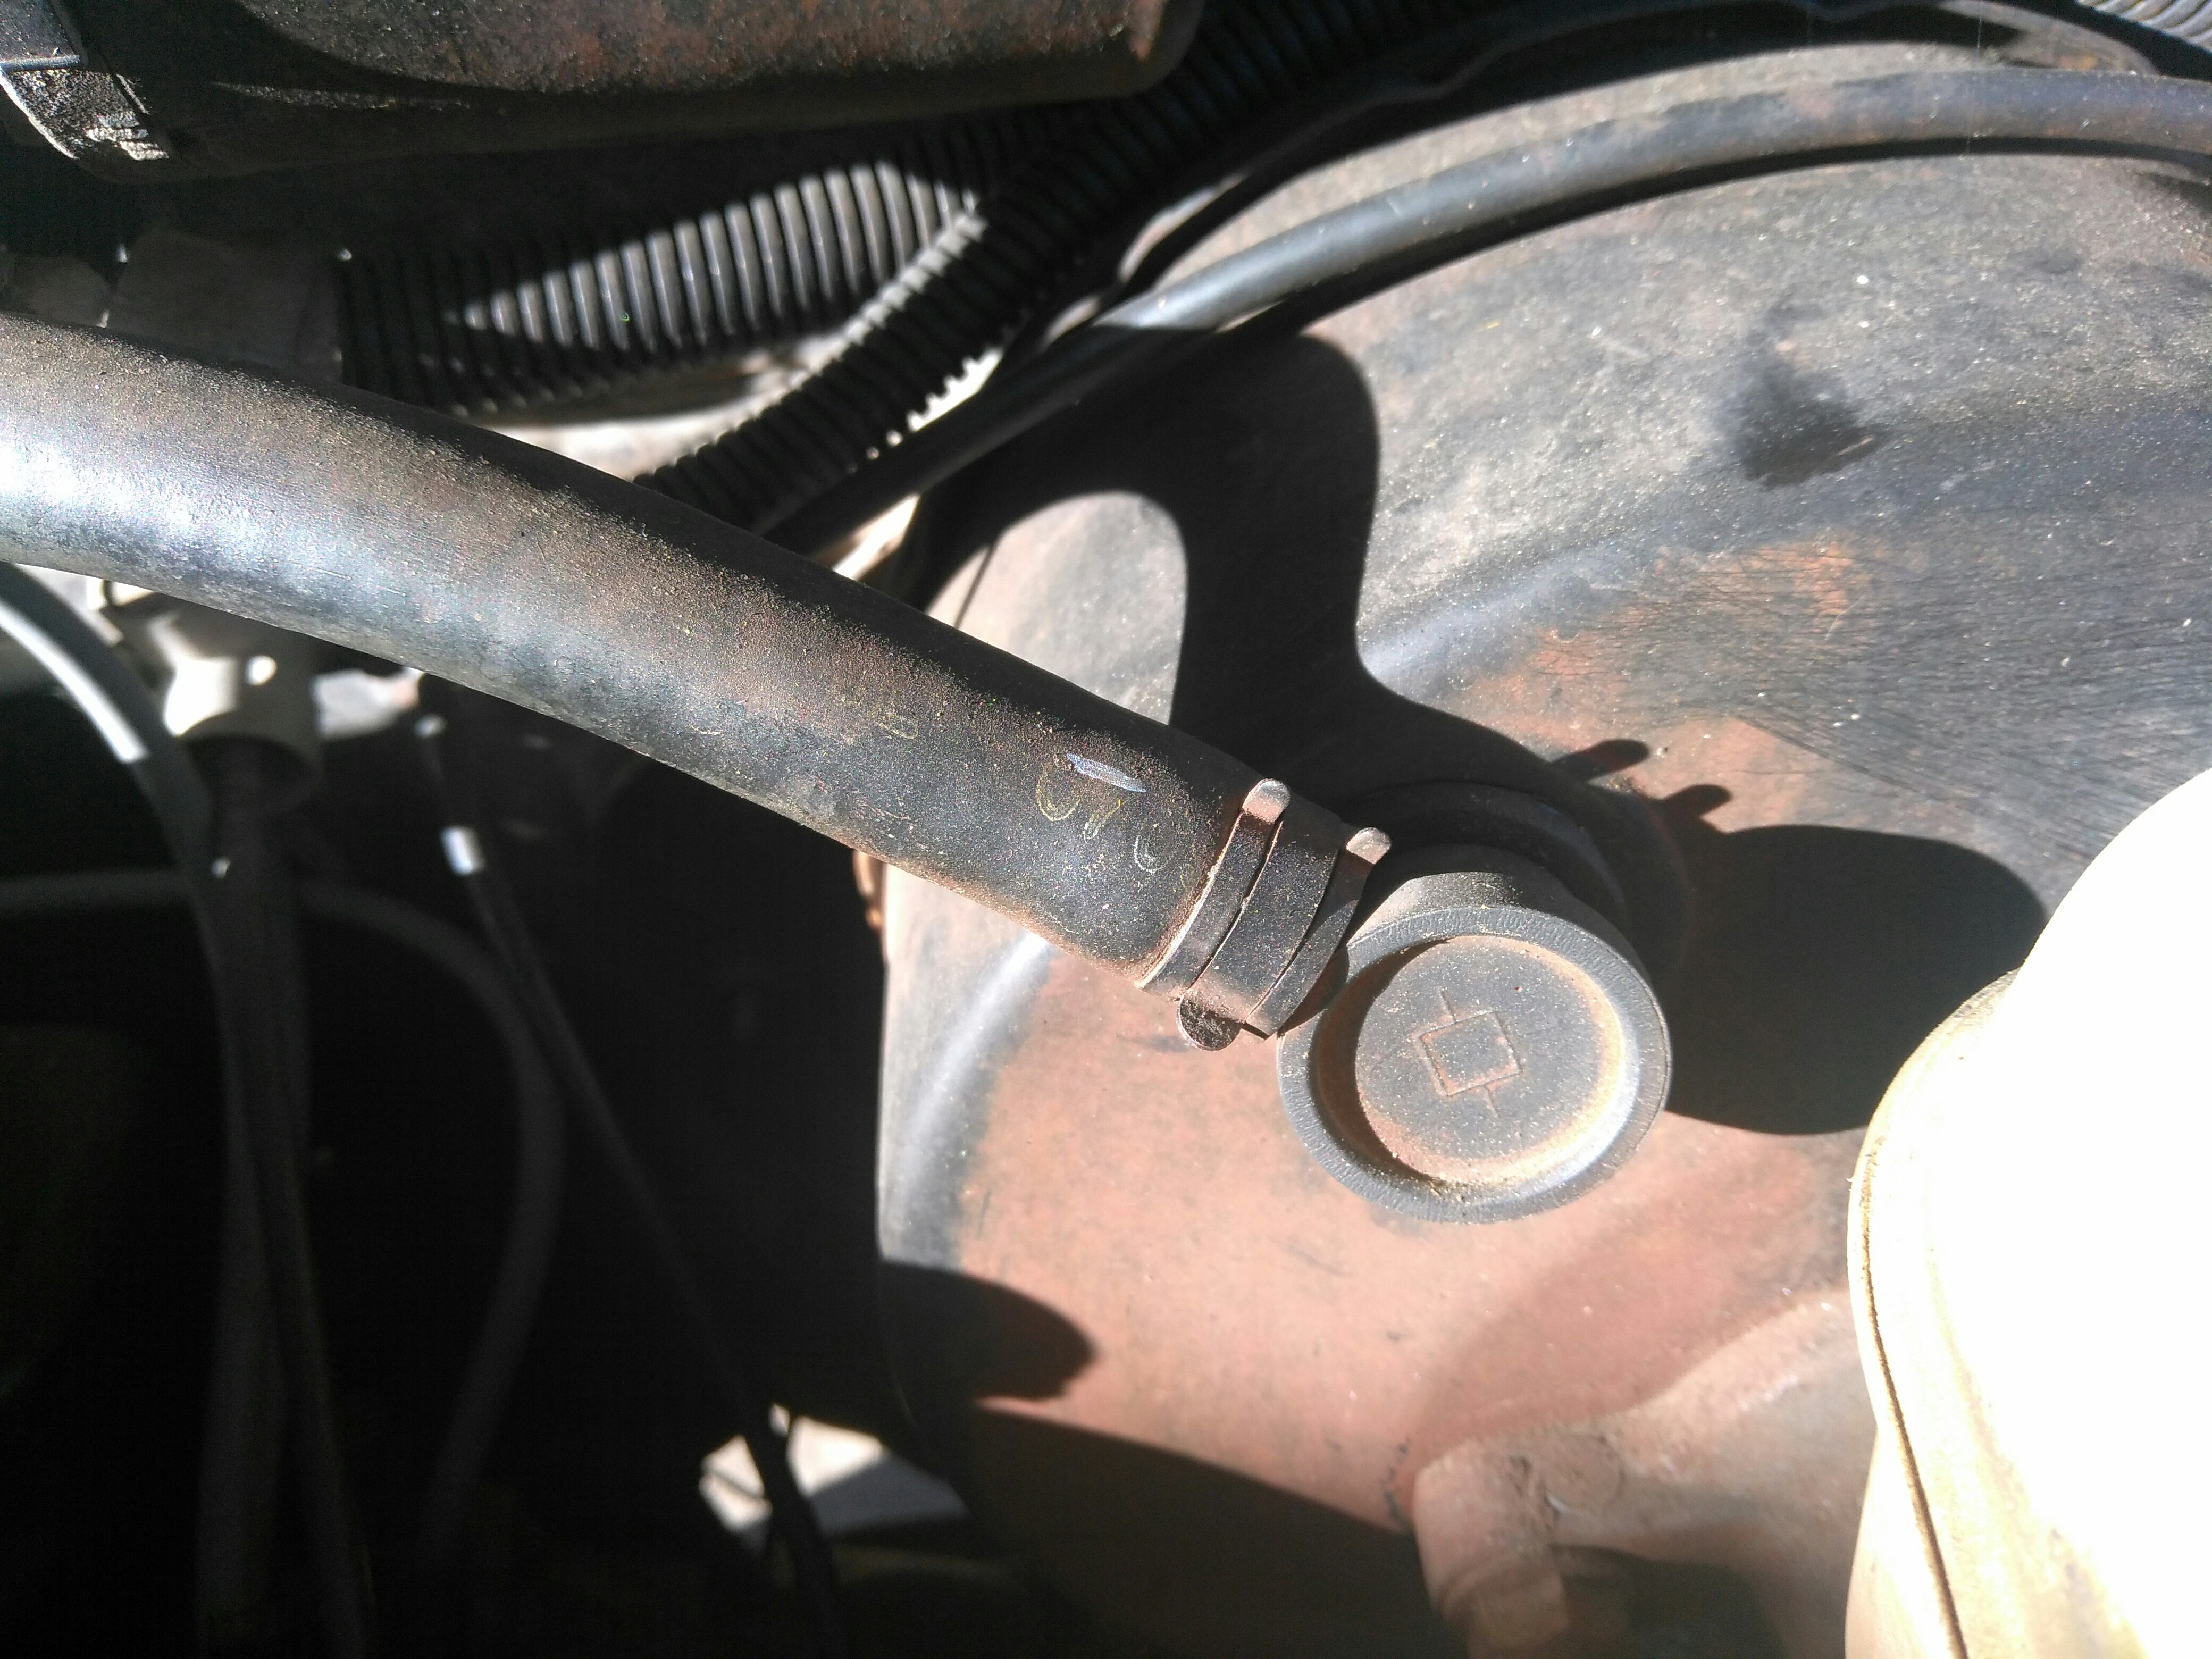
17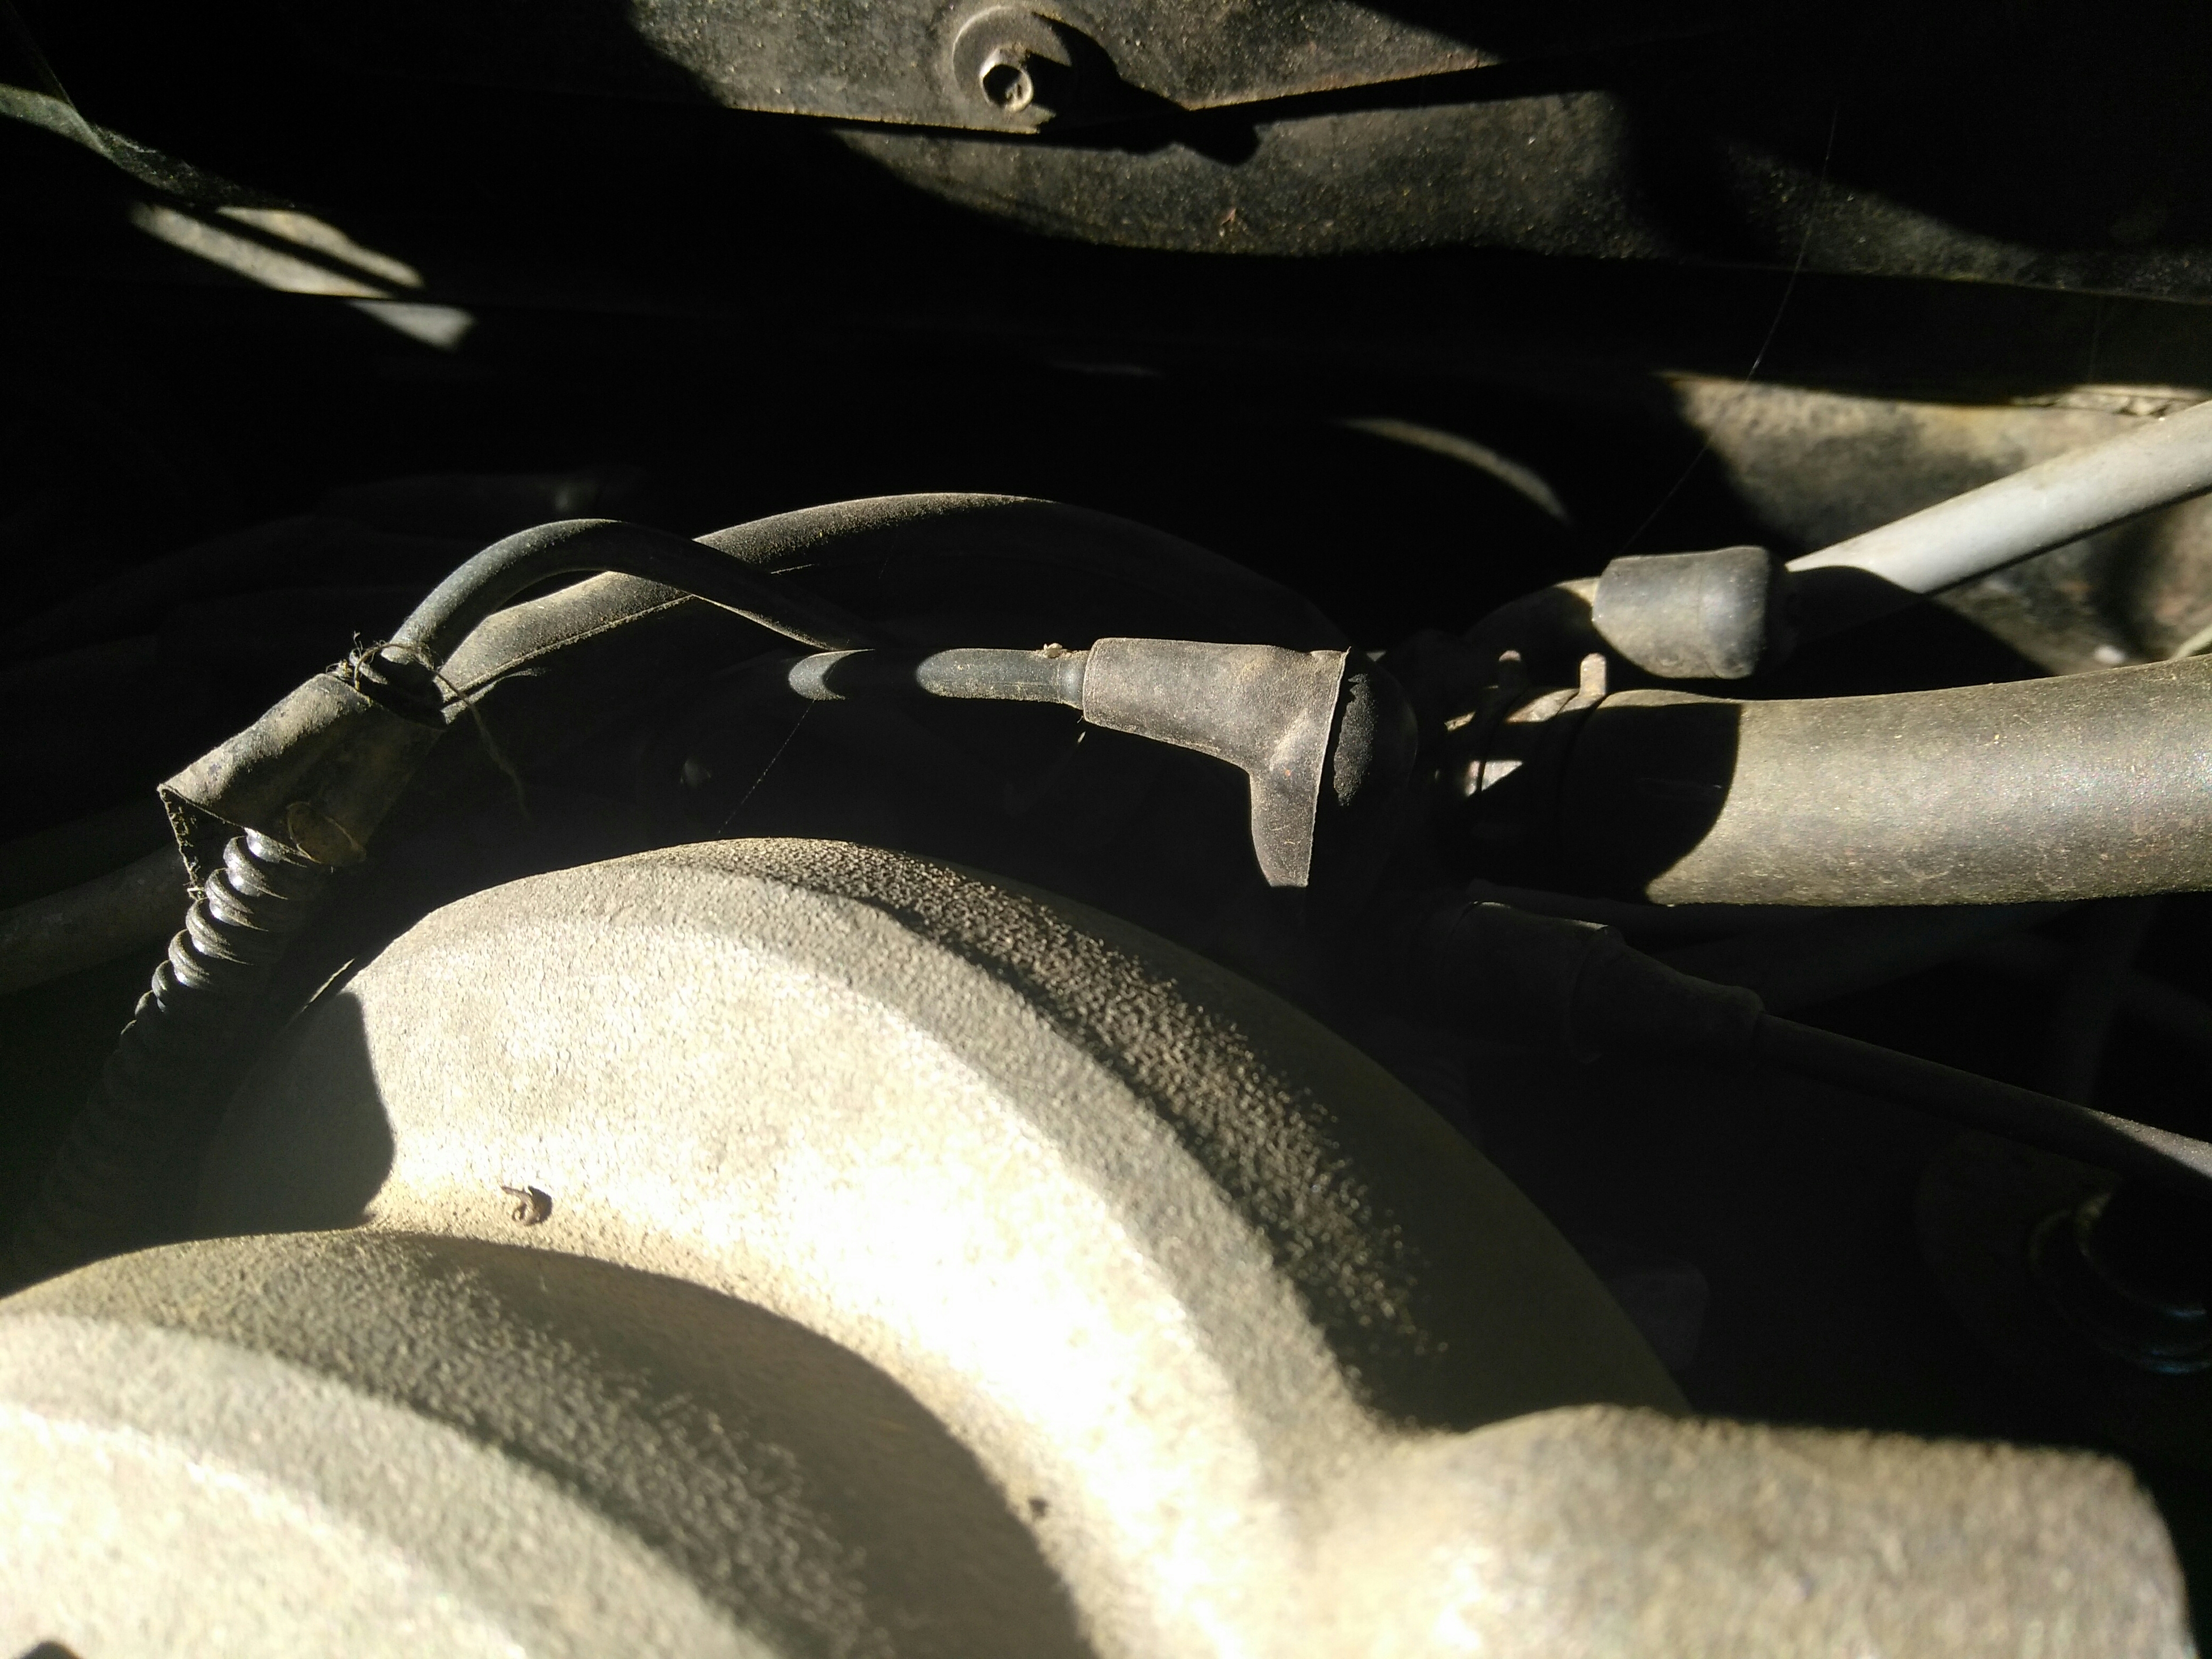
This is were the pics stopped (Phone Died :( )
Mapped the rest of the Vacuum Ports
As I will be ditching the AC, I will not need all of them.
X - AC / Dash Controls
X - Metal Tube / Under Body / Automatic Transmission?
1 - Brake Booster. This is the larger hose.
2 - EGR (the thin line that goes under the upper intake to the flying saucer thingy on the pass side head.
3 - Air Intake Box.
-Note. There is a Second line on this box that goes to a lower location on the Air Intake closer to the Firewall. I will get a Pic of this on Day 2.
Mapping the ports, I removed the remainder of the Air Intake Box.
There was a part of the box that was previously broken.
I got that Epoxied. Hopefully should take care of that.
Then there is this spot. Its where the Vacuum Line from above connects.
It looks to control a manual Control Door. I was kinda surprised to see this.
It is very brittle and feels like it is gonna fall apart holding it.
Not Pictured. I removed the Upper Intake and disconnected most of the Electrical that I was able to reach.
That concludes Day 1.
Whooooooo...
The first several pics are just the engine bay unmolested (by me).
Lets start with a couple pics of the exterior of the truck.
And here are the unmodified underhood pics.
(Yes, I noticed later, there was some AC parts disconnected. I have since decided to completely disconnect the AC.)
01
03
04
05
06
07
08
09
I think this is where I started actually doing some removal.
Step #0 - Drain Fluids. Engine Oil and Coolant.
During this time, I noticed what appeared to be fresh Trans Oil dripping from the Trans Cooler and all under the vehicle.
Step #1 - Remove Battery
10
Heater Hoses removed from Firewall
- Note both hoses were VERY brittal
12
Heater Hoses removed from Block
- Note both hoses were VERY brittal
13
Upper Radiator Hose Removed
14
I also removed Lower Radiator Hose.
Air Intake Hose Removed
02
Vacuum Lines
This is the Break Booster.
15
16
17
This is were the pics stopped (Phone Died :( )
Mapped the rest of the Vacuum Ports
As I will be ditching the AC, I will not need all of them.
X - AC / Dash Controls
X - Metal Tube / Under Body / Automatic Transmission?
1 - Brake Booster. This is the larger hose.
2 - EGR (the thin line that goes under the upper intake to the flying saucer thingy on the pass side head.
3 - Air Intake Box.
-Note. There is a Second line on this box that goes to a lower location on the Air Intake closer to the Firewall. I will get a Pic of this on Day 2.
Mapping the ports, I removed the remainder of the Air Intake Box.
There was a part of the box that was previously broken.
I got that Epoxied. Hopefully should take care of that.
Then there is this spot. Its where the Vacuum Line from above connects.
It looks to control a manual Control Door. I was kinda surprised to see this.
It is very brittle and feels like it is gonna fall apart holding it.
Not Pictured. I removed the Upper Intake and disconnected most of the Electrical that I was able to reach.
That concludes Day 1.
Whooooooo...
Last edited by loomdog32; 09-28-2017 at 05:50 PM.
#6
09-29-2017
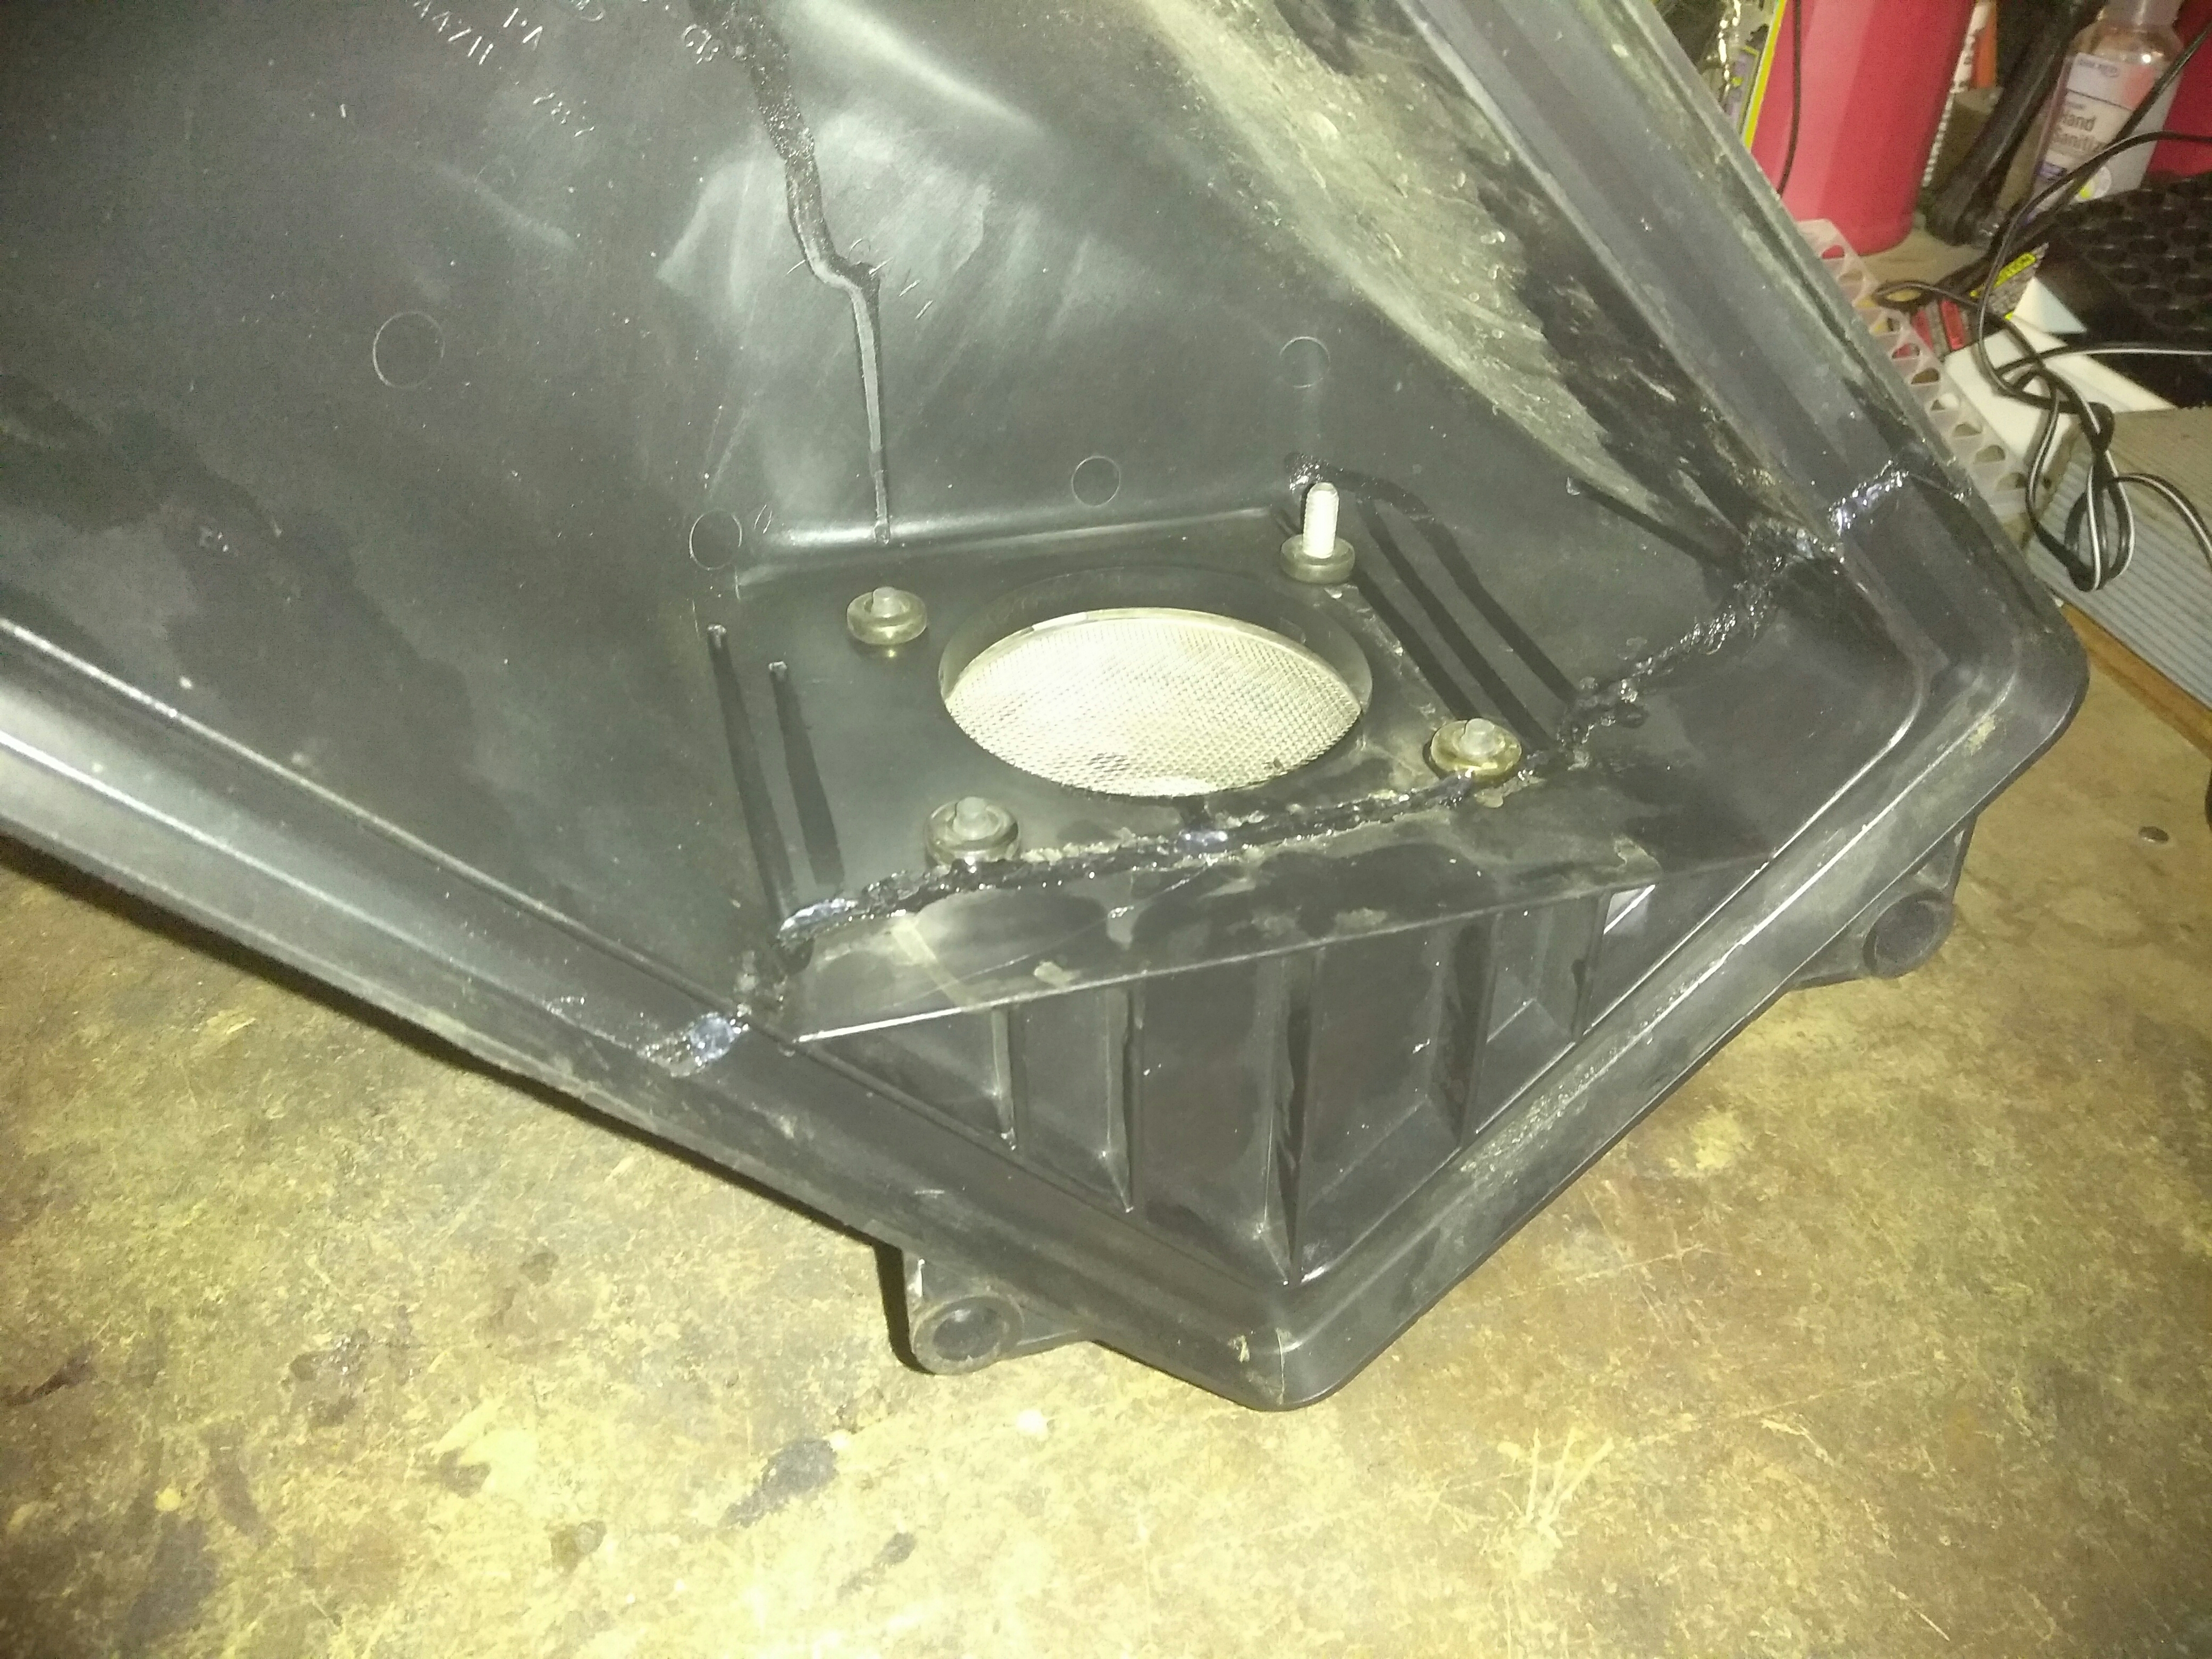
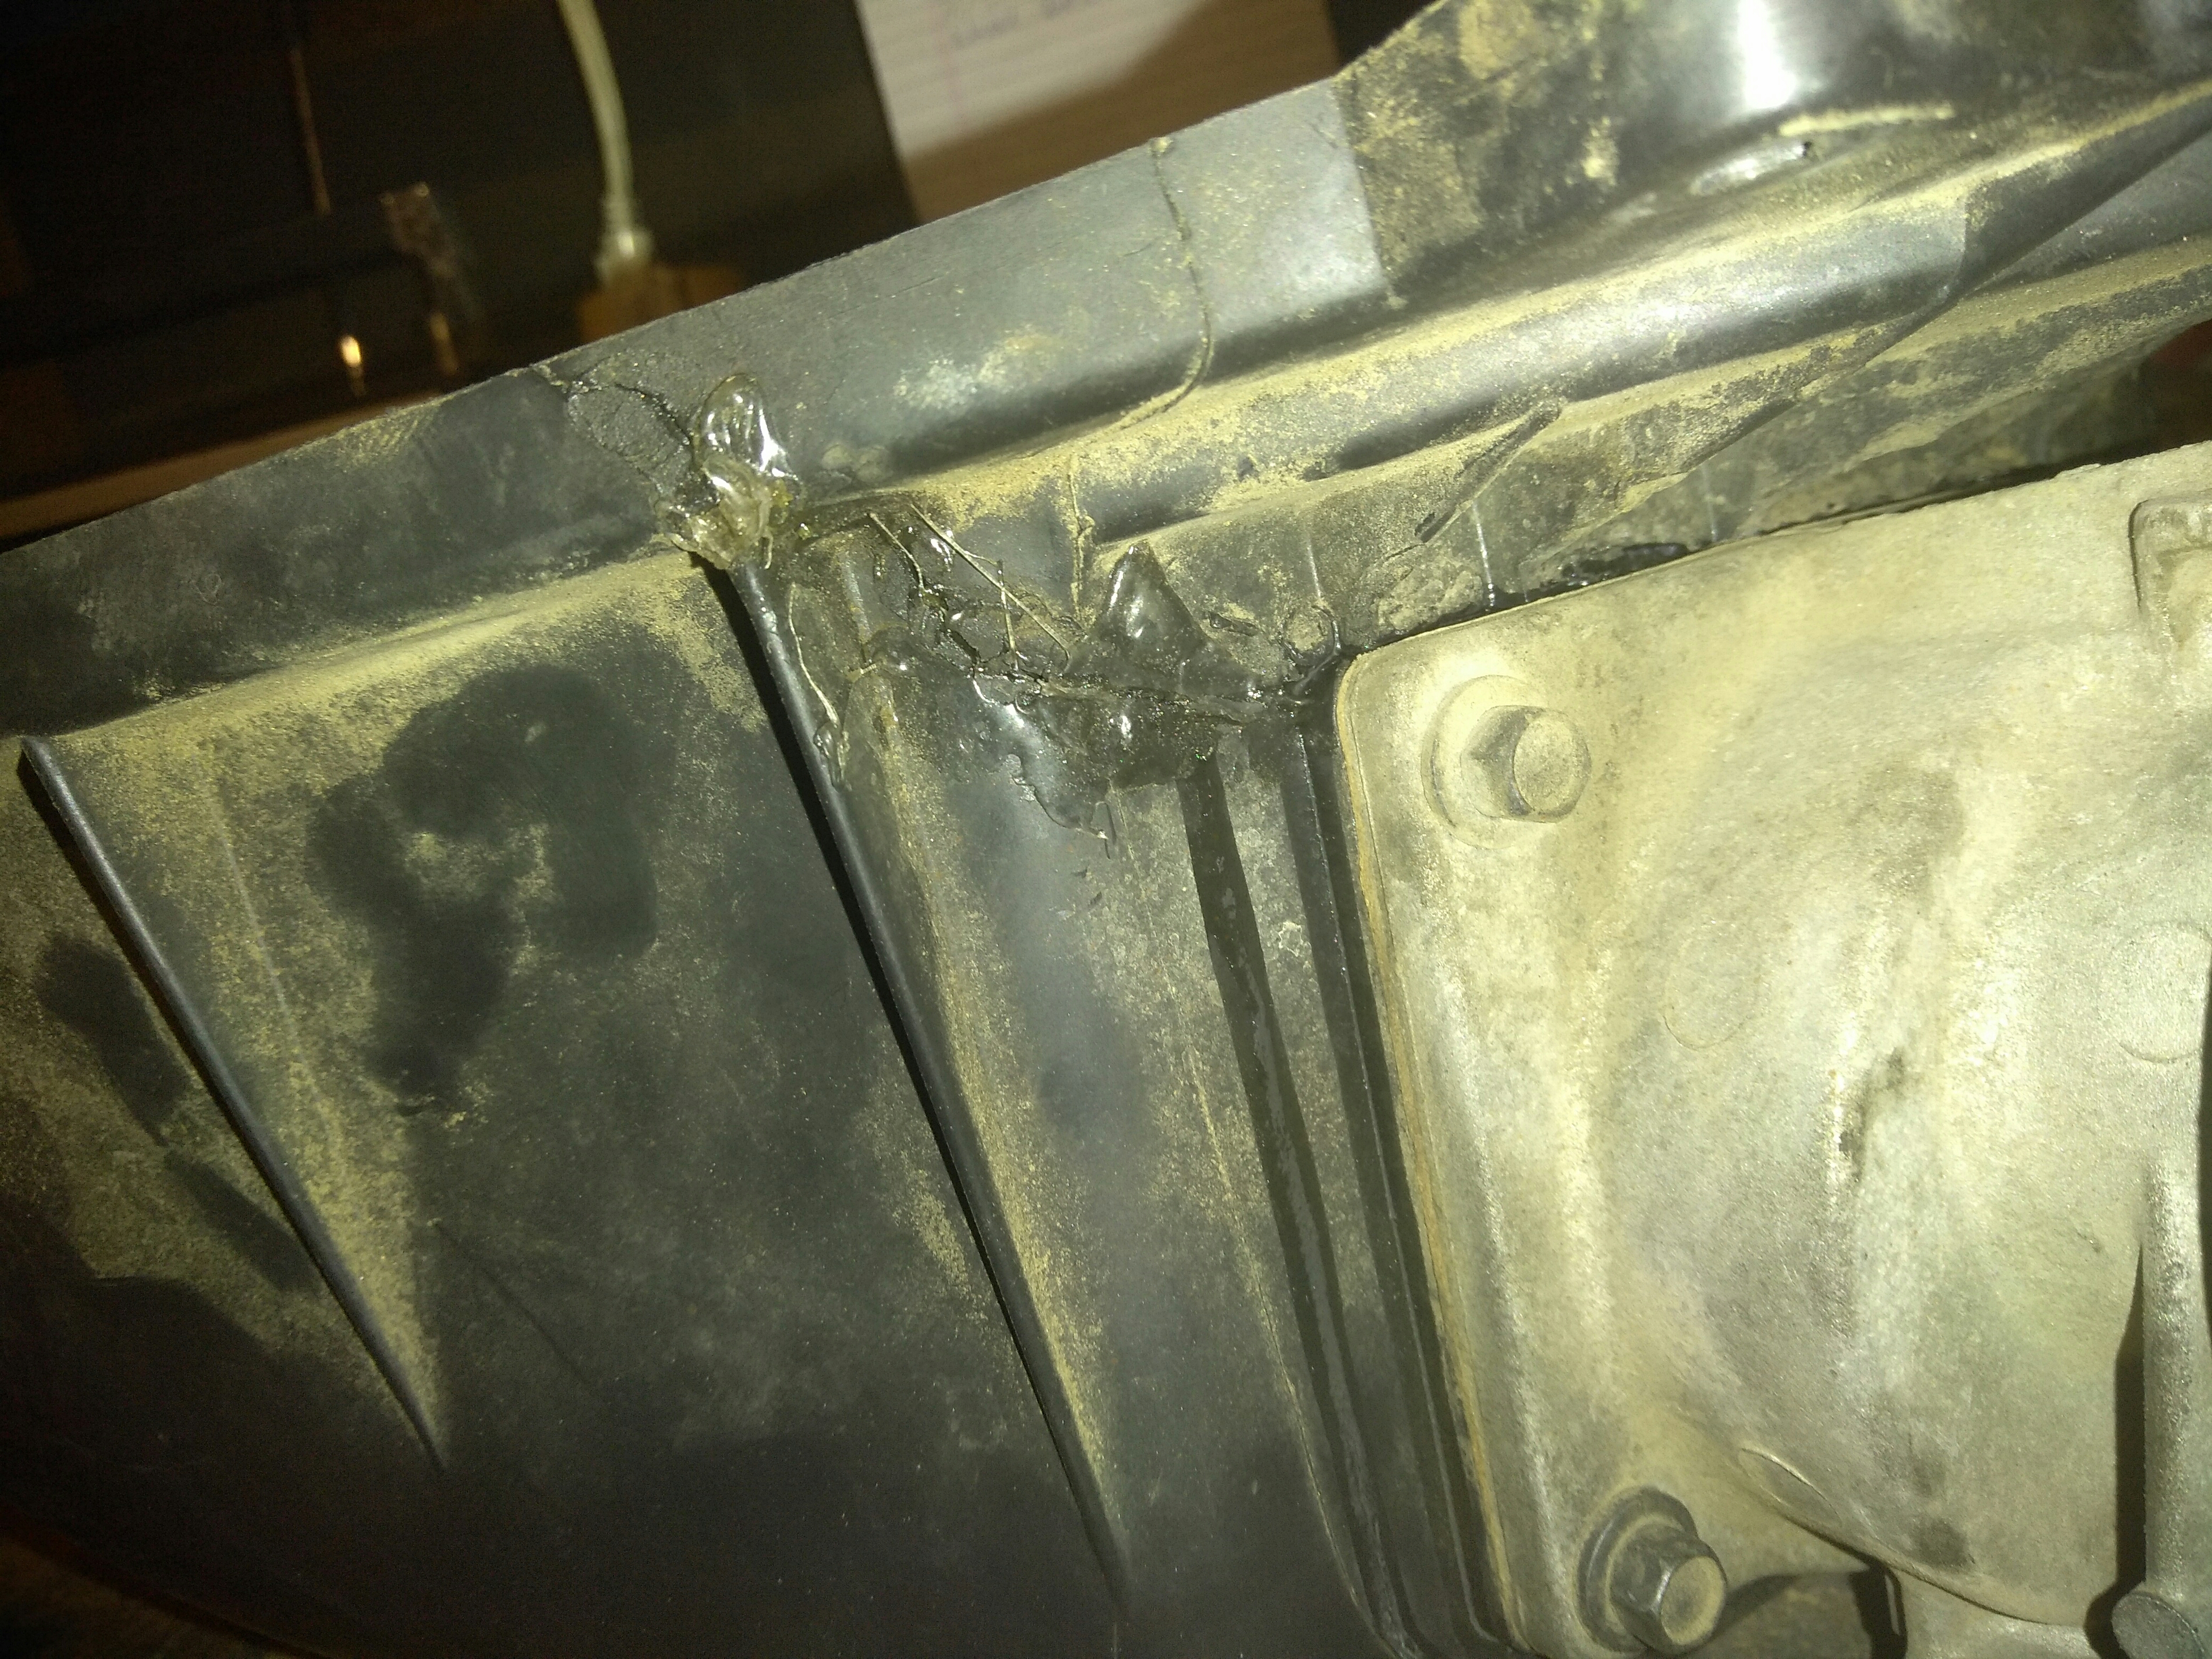
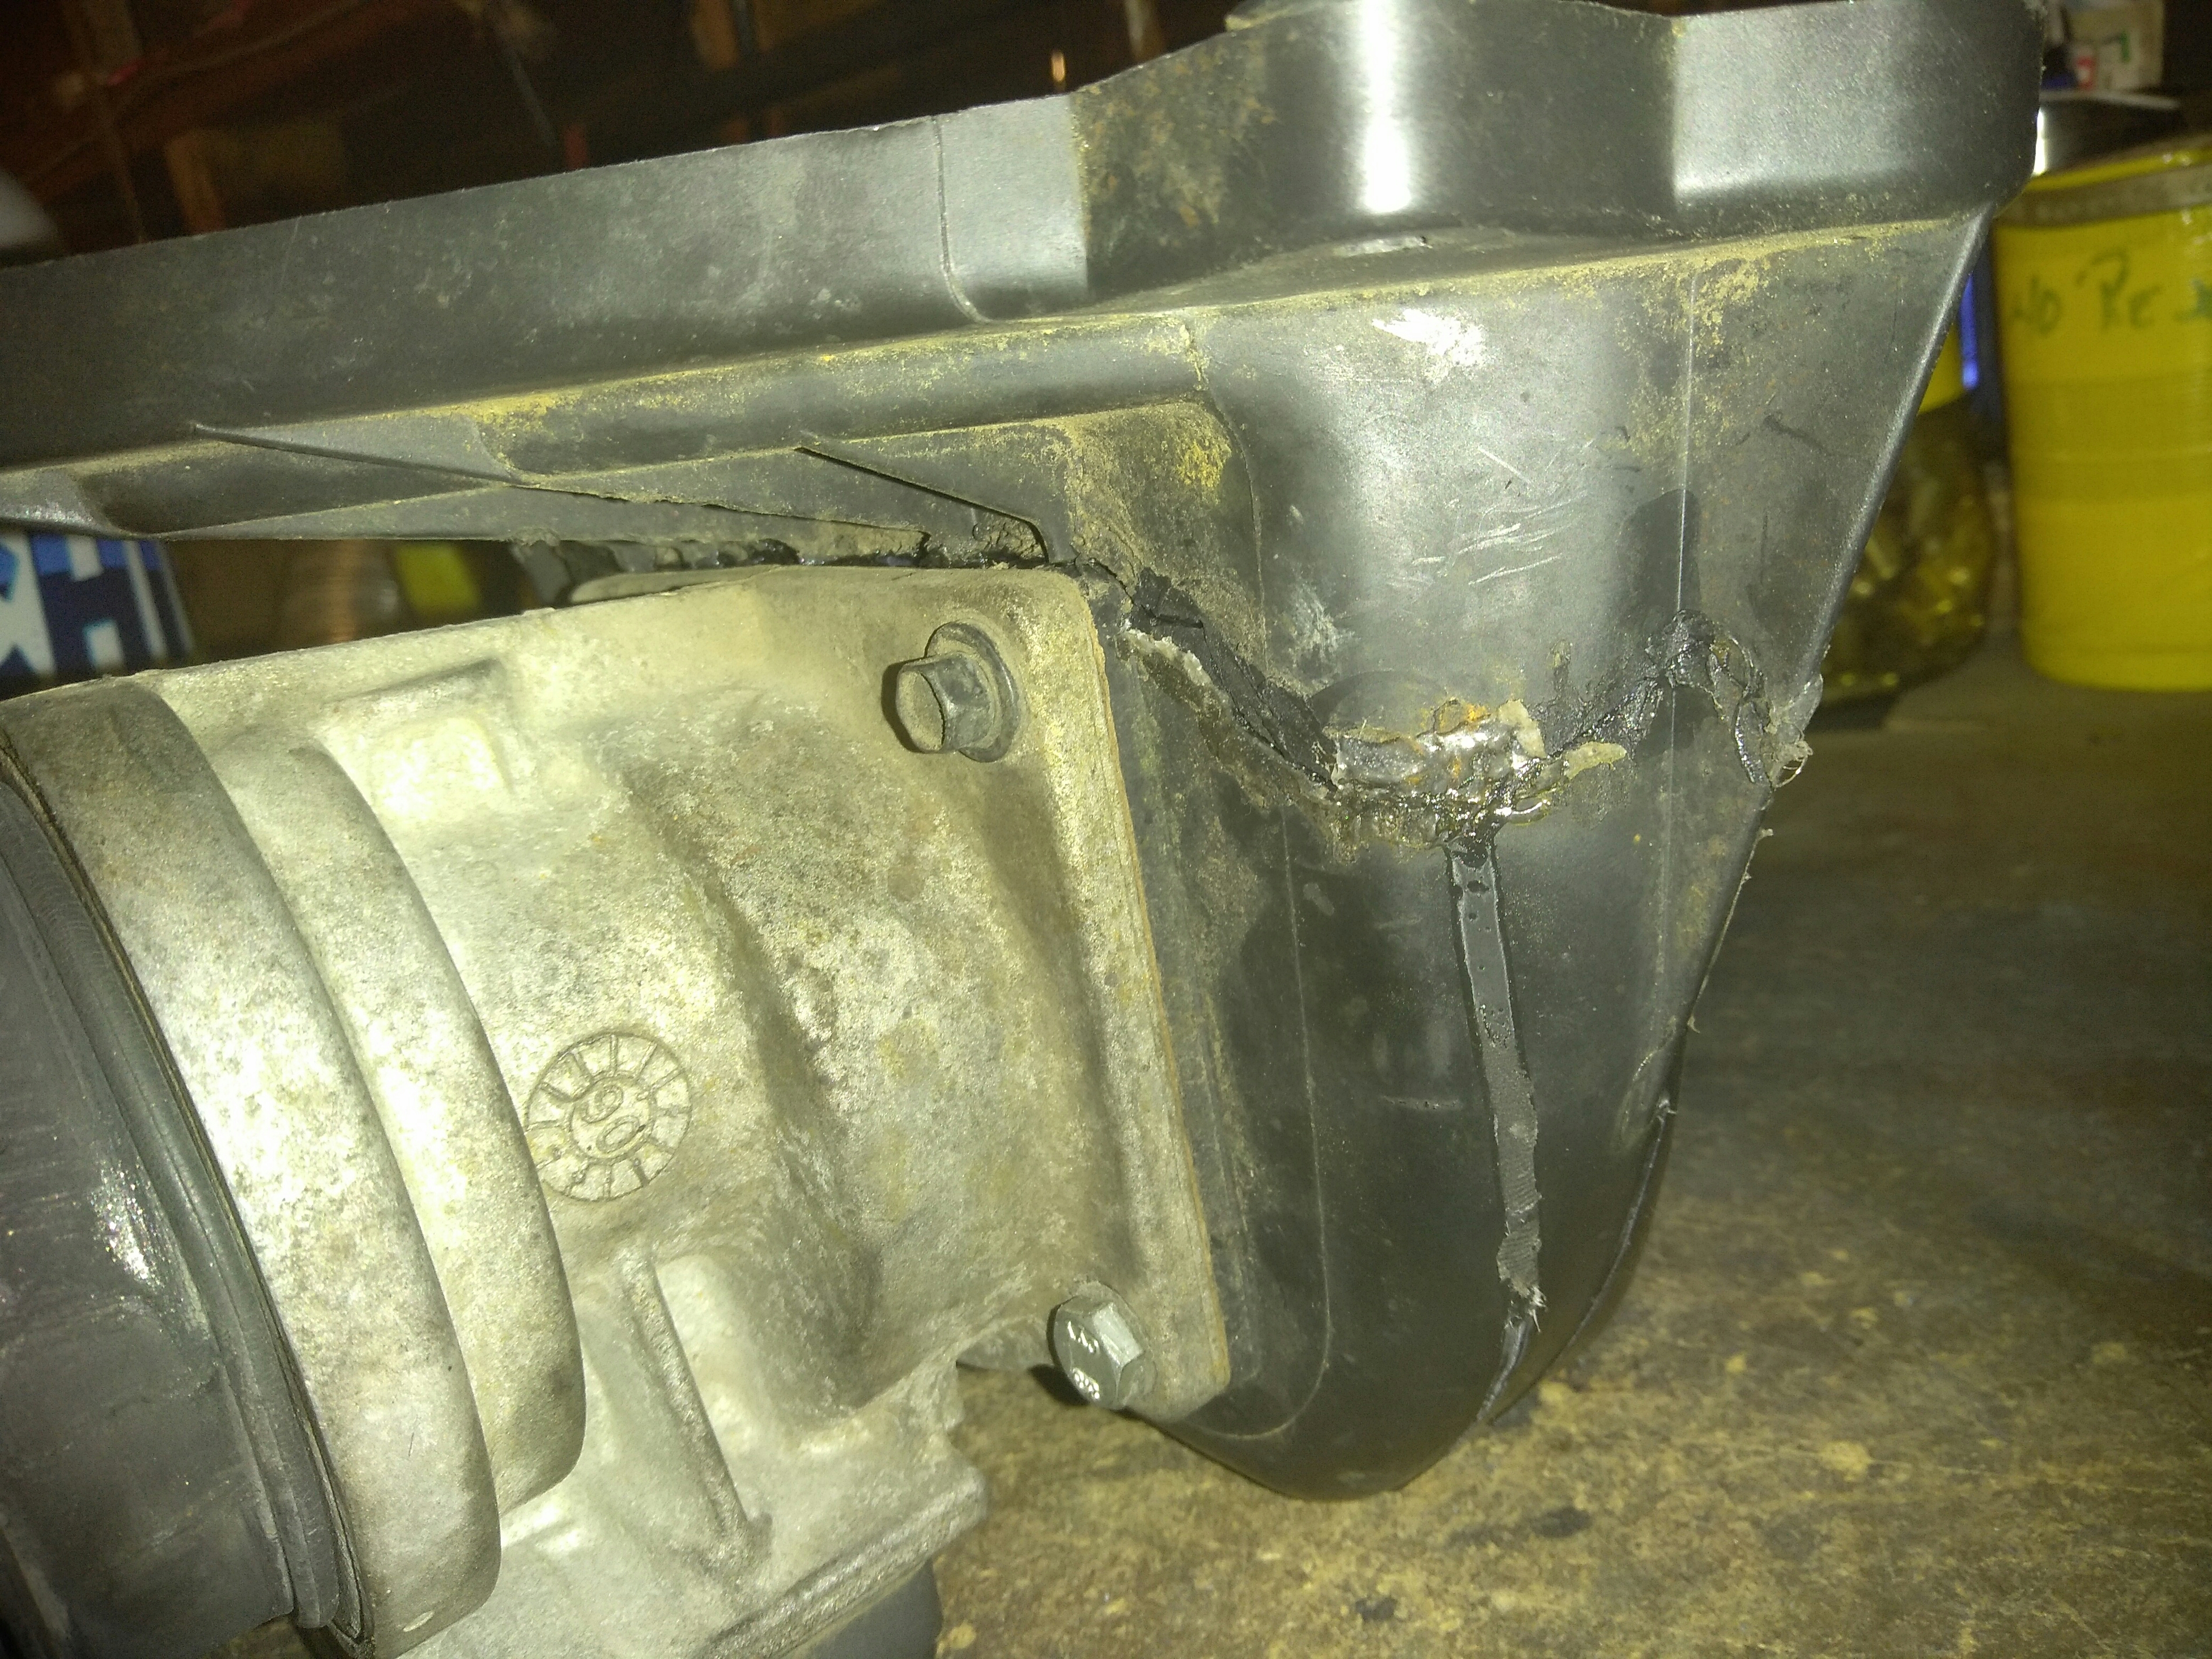
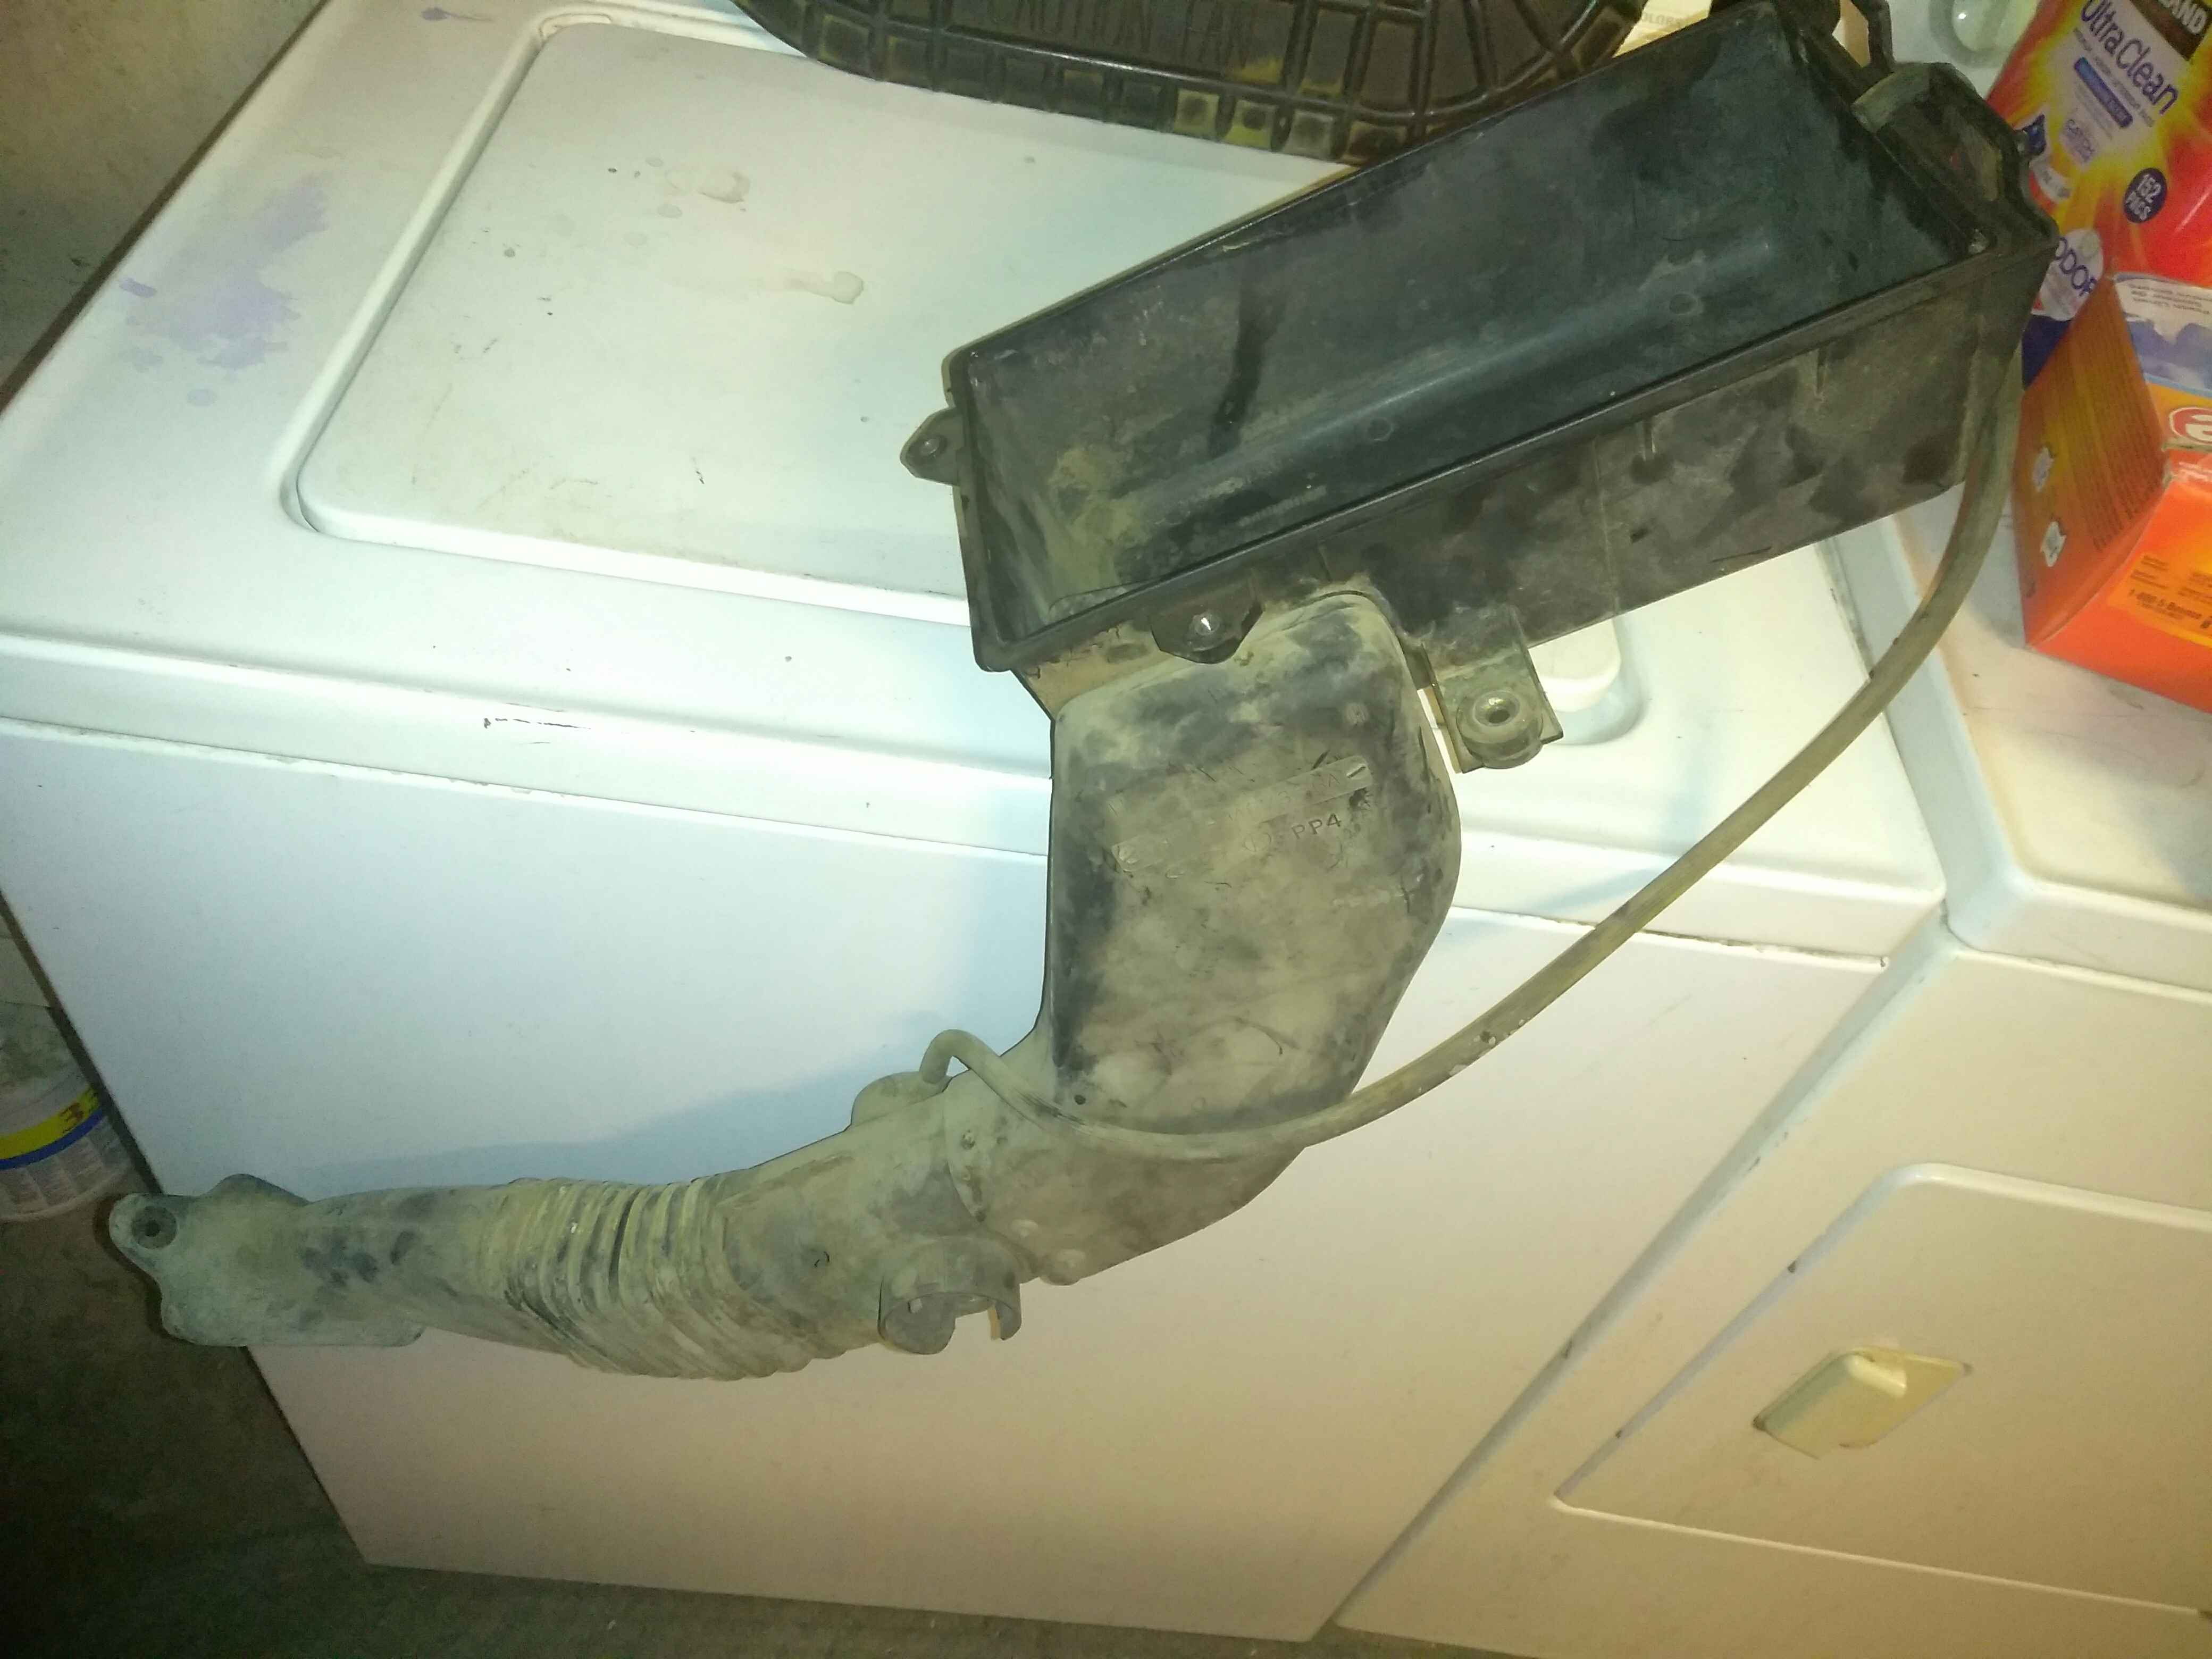
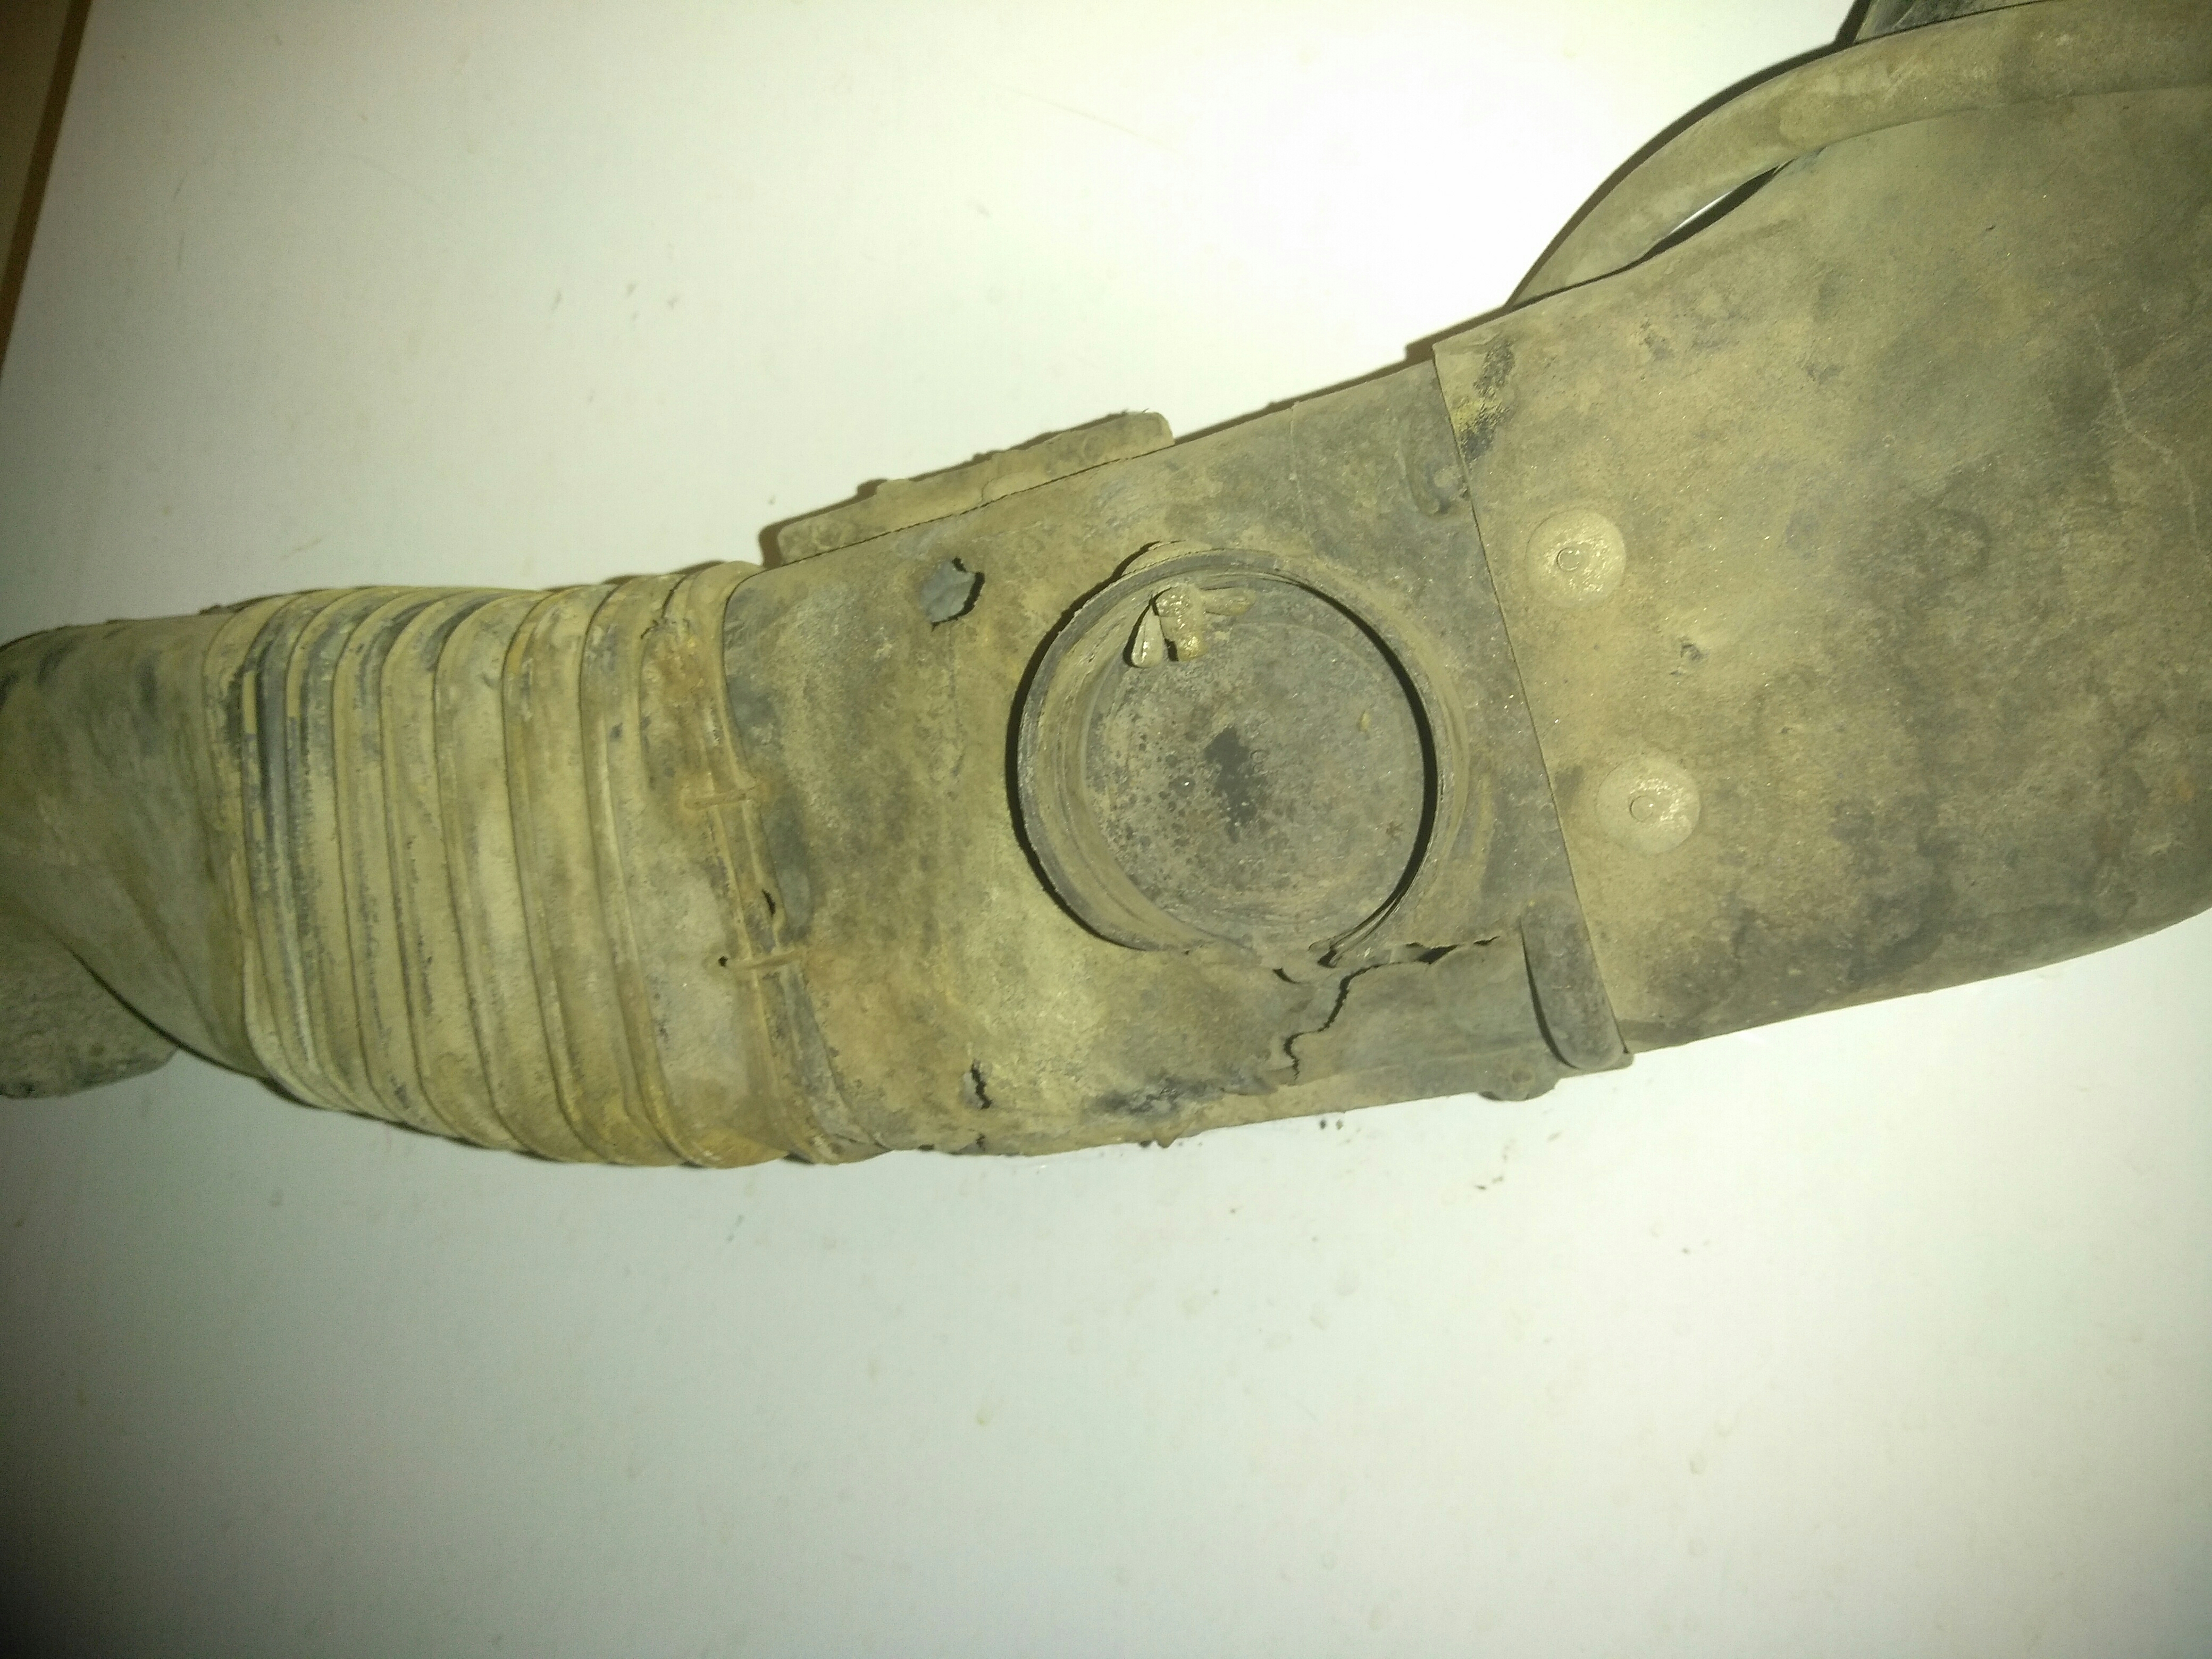
Here are the pics of the Air Intake Box.
It cracked just below the MAF Sensor mount.
I expoisd the split. Seems to be solid now.
On the lower hose that connects to the body below the pass headlight,
there was this vacuum door. Brittle and half deteriorated.
Can I take the door out? WIll this affect the computer or smog?

I hope to get more work in on the truck tomorrow. Hopefully have it down to bare short block.
It cracked just below the MAF Sensor mount.
I expoisd the split. Seems to be solid now.
On the lower hose that connects to the body below the pass headlight,
there was this vacuum door. Brittle and half deteriorated.
Can I take the door out? WIll this affect the computer or smog?
I hope to get more work in on the truck tomorrow. Hopefully have it down to bare short block.
#7
10-01-2017
Ill try ad get the pics from today upload later.
I hit a snag with the fuel rails (disconnecting the spring connectors)
and the power steering pump (pulling the pully and a rounded off connecter grrrr)
Under hood doesn't look much different. I did start taking off some of the AC components (fan and motor, dryer. Working on the Evap).
I hit a snag with the fuel rails (disconnecting the spring connectors)
and the power steering pump (pulling the pully and a rounded off connecter grrrr)
Under hood doesn't look much different. I did start taking off some of the AC components (fan and motor, dryer. Working on the Evap).
#8
10-01-2017
The one exciting thing, I did get some of the Intake pieces cleaned.
The lower intake snorkel. Wow. It is actually black!! Still need to figure out how Im gonna repair it. Unless I can find a replacement at one of the yards near me (there are 3 pull your own parts, just south of town, one of them fairly large and a couple they pull yards, but they tend to be expensive).
The lower intake snorkel. Wow. It is actually black!! Still need to figure out how Im gonna repair it. Unless I can find a replacement at one of the yards near me (there are 3 pull your own parts, just south of town, one of them fairly large and a couple they pull yards, but they tend to be expensive).

Thread
Thread Starter
Forum
Replies
Last Post


