
dropped 91 4.0 auto..


Thread Starter
|
Member

Joined: Mar 2010
Posts: 33
Likes: 0
From: New Richland MN
dropped 91 4.0 auto..
well heres the story.... My dad calls me up and asks if i want to start anther project .,.. I have a 45x30 shop that has 4 projects in it and theres 3 out side weighting to get in so I reply with not really but curious I asked what he had in mind... well come to find out he had purchased his neighbors 4.0 auto standard cab short box for 200$$ .... I asked why so cheep is it totaled .. turns out the motor was blown ..
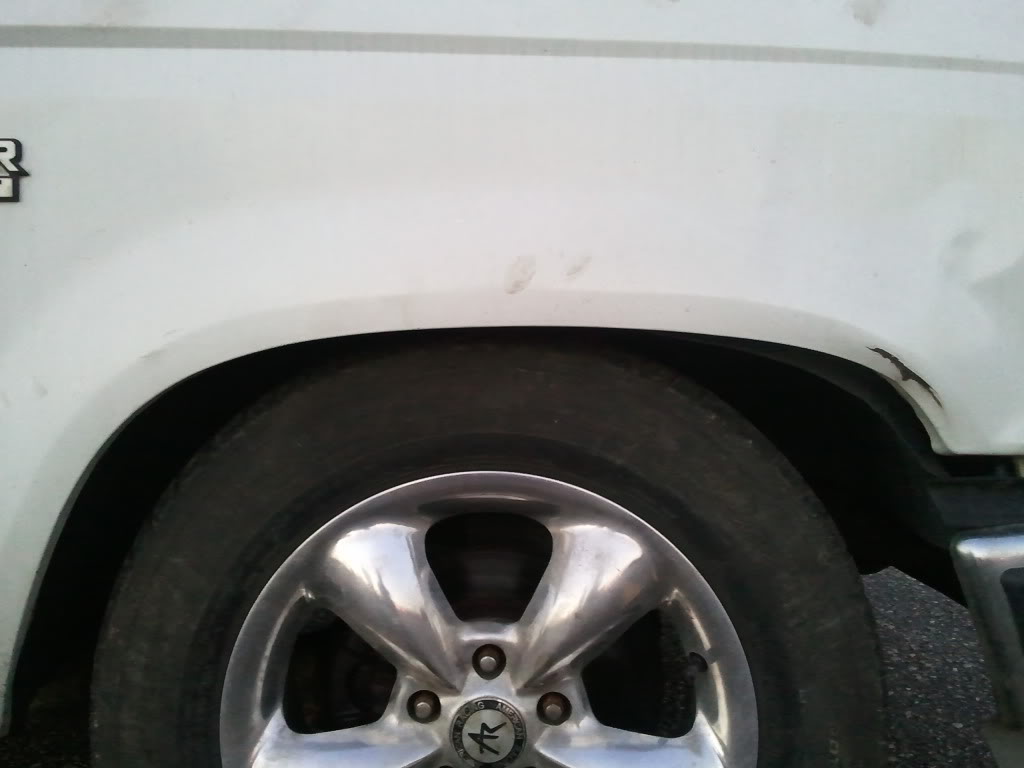
I went over and looked at the truck and its very clean .. it was parked up against a tree that swayed in the wind and pushed the bumper in a little but other then that no rust and it has a complete under coating .. he wanted me to put a diff motor in it for him to use as a daily.. I told him as soon as i get one of my others out i would get it in and swap it for him ....
so two weeks go by and I finished one of the vehicles and called him and told him i was ready for it.. he tells me that he has decided its to small for what he needs to use it for and that if i want it i can have the truck.. (in the two weeks he had picked up an 83xxx mile 4.0 from the local salvage yard).. so thats were it all started ...
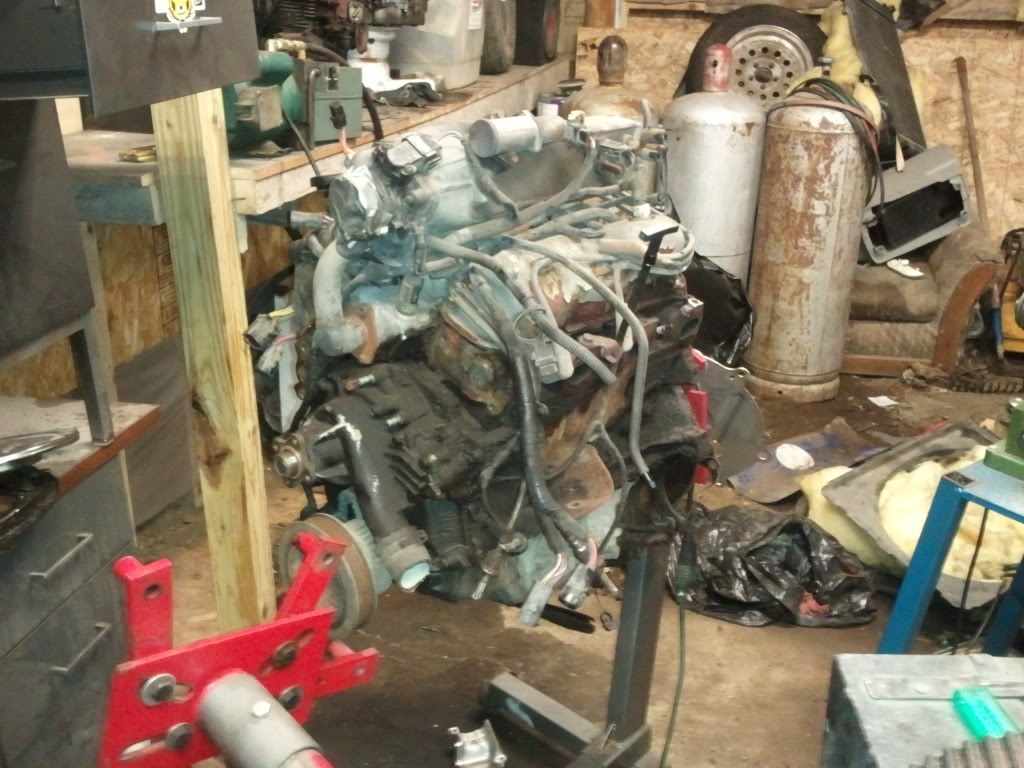
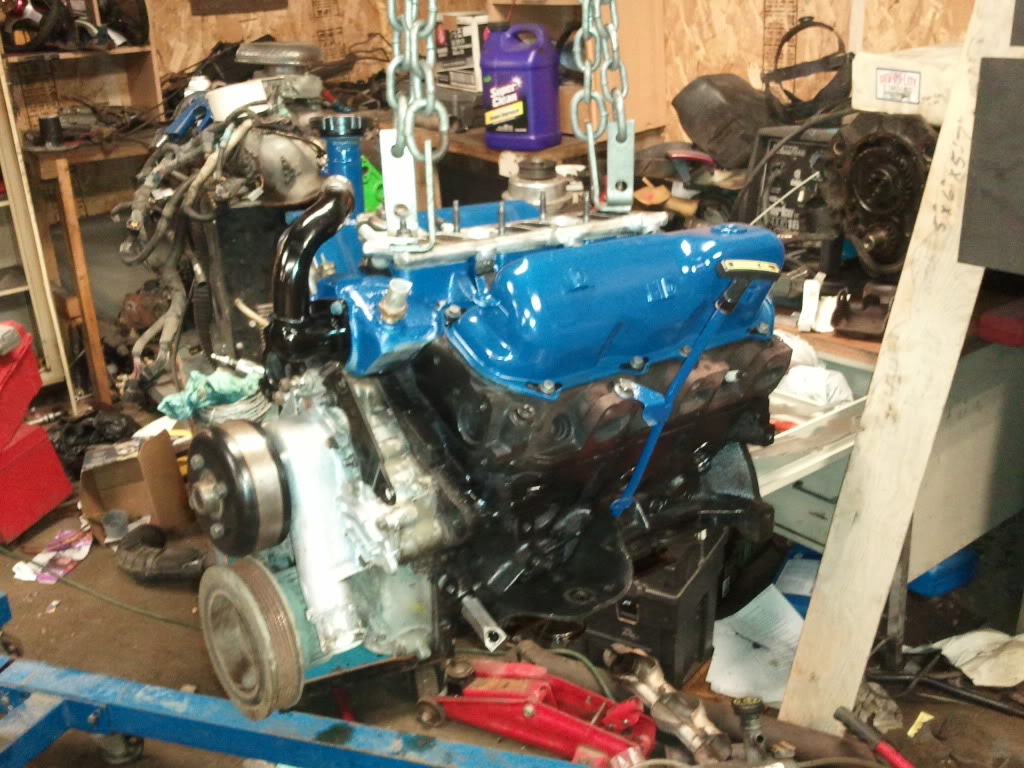
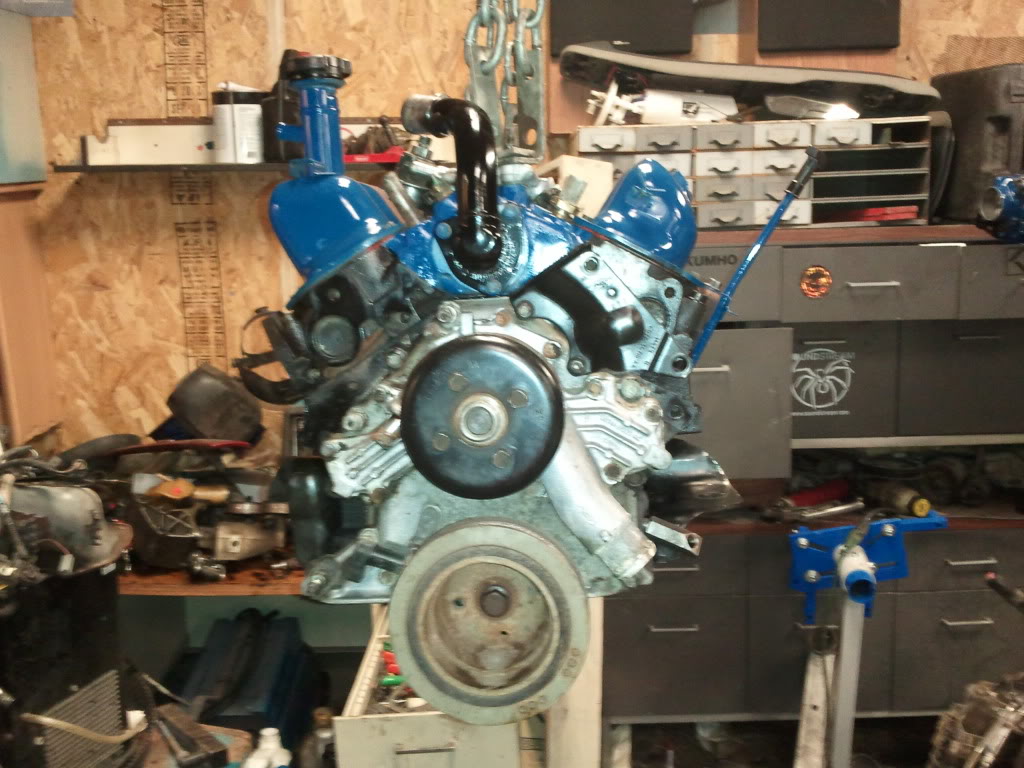
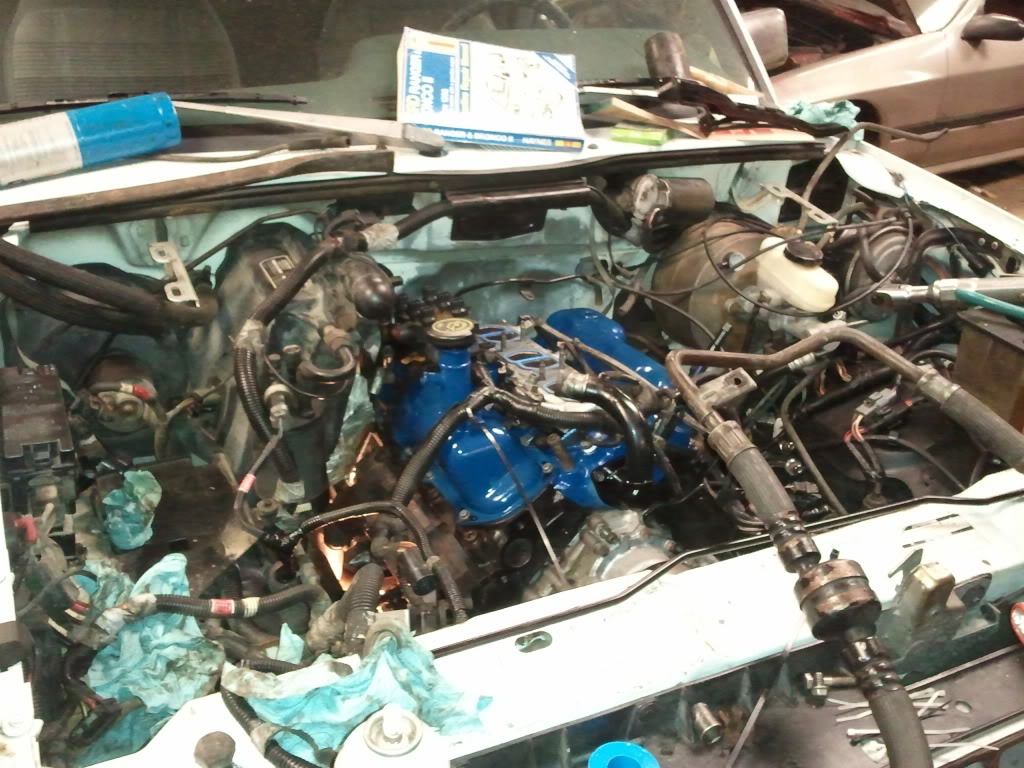
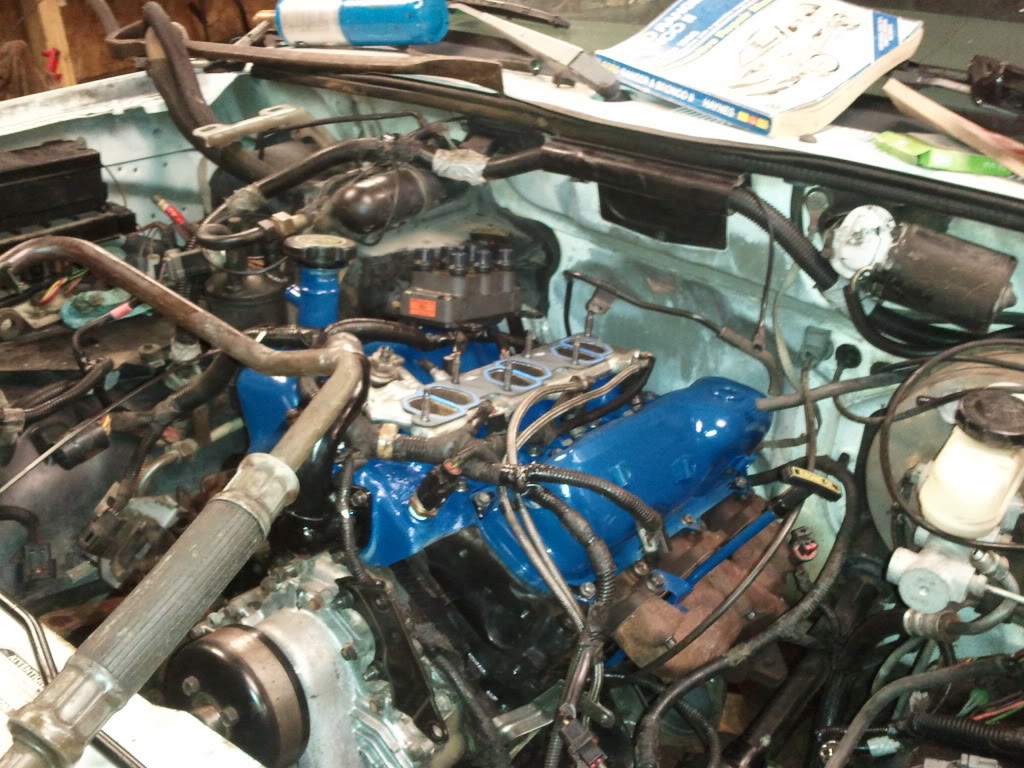
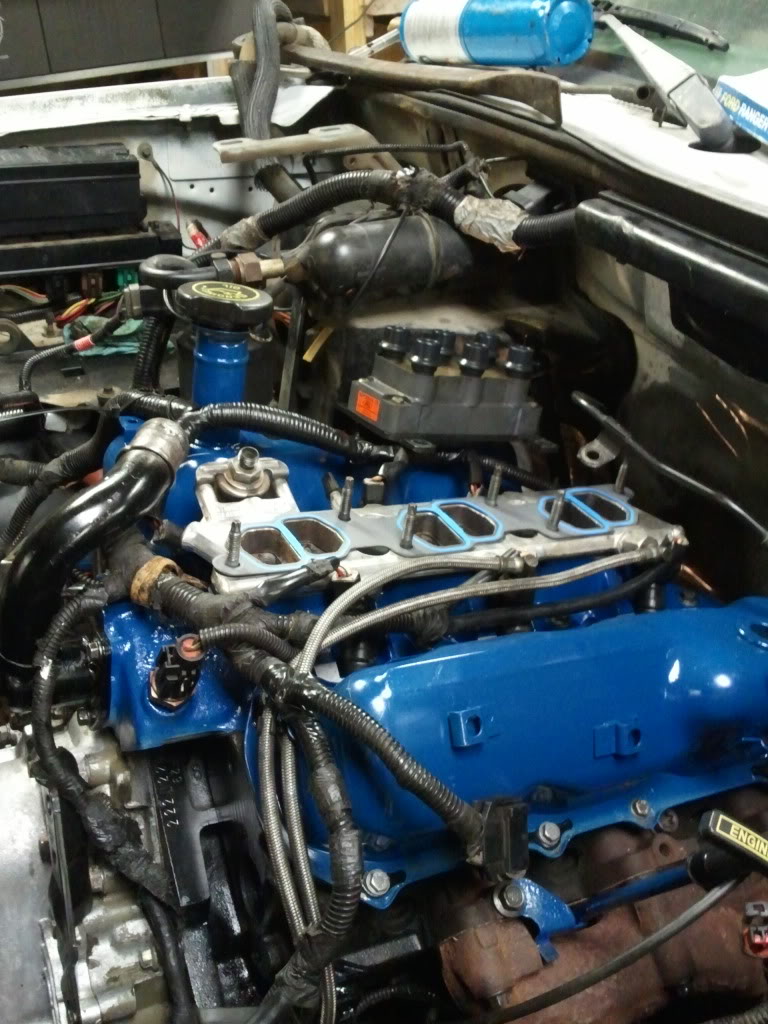
I brought the truck home tore out the old engine and tore the newer one apart and installed new rings and had the heads cleaned and a valve job done,, I took the top end apart and cleaned and painted every thing ,,
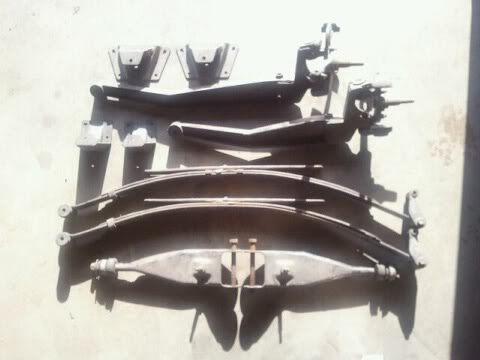
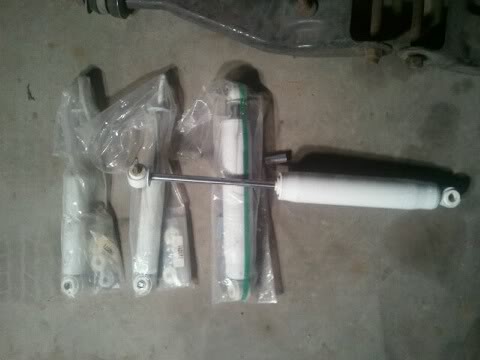
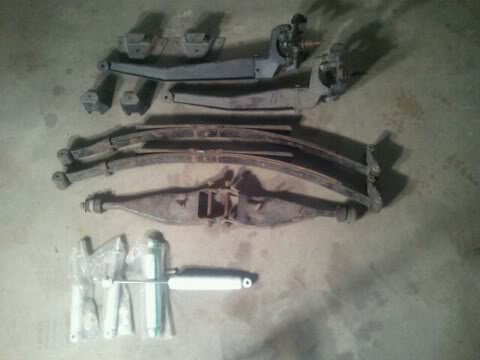
this weekend Im heading out to Wisconsin to pick up a beltech 3/4 lowering kit..I have a few pairs of rims lying around the shop.. havent decided witch set im going to use yet .,.
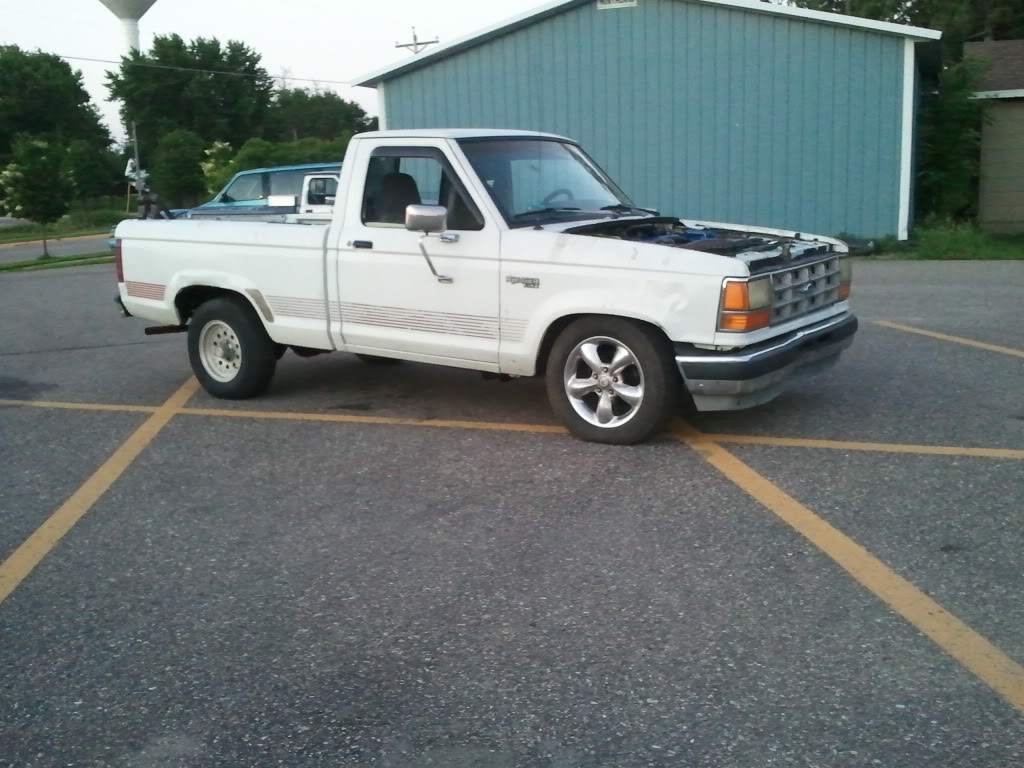
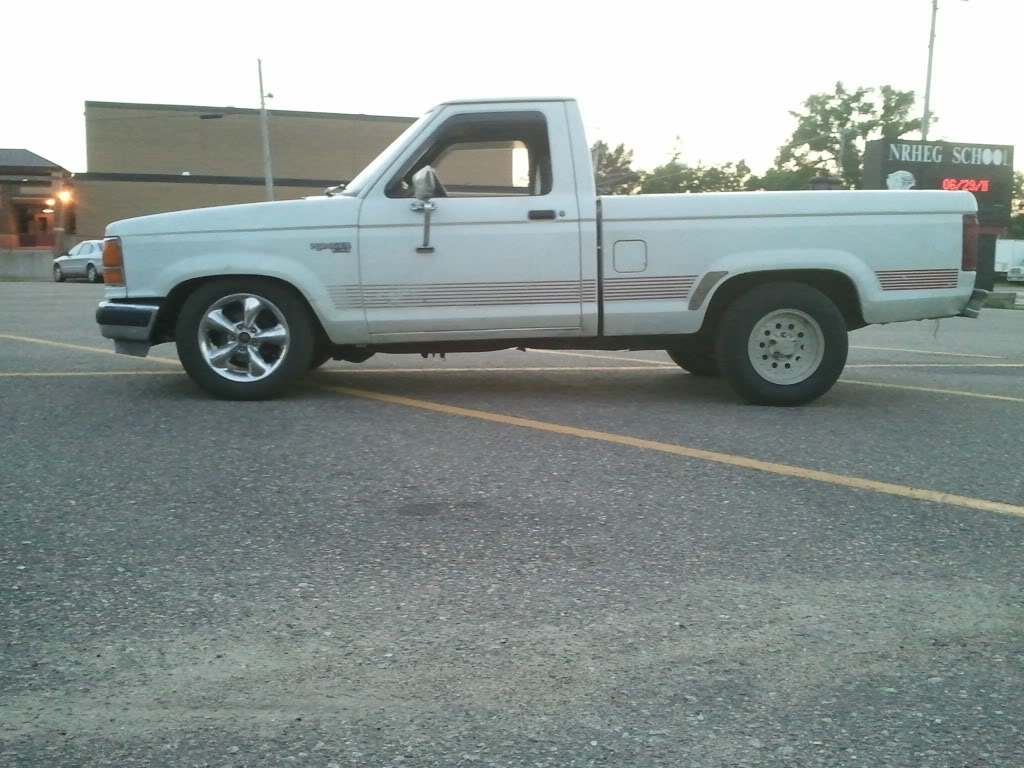
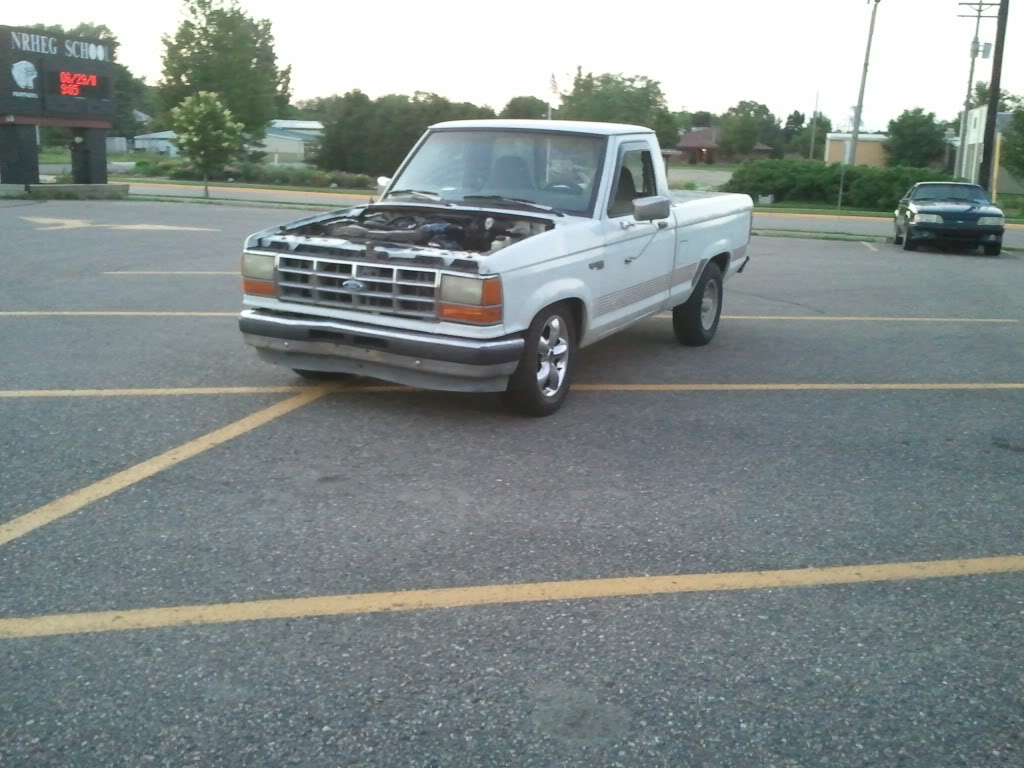
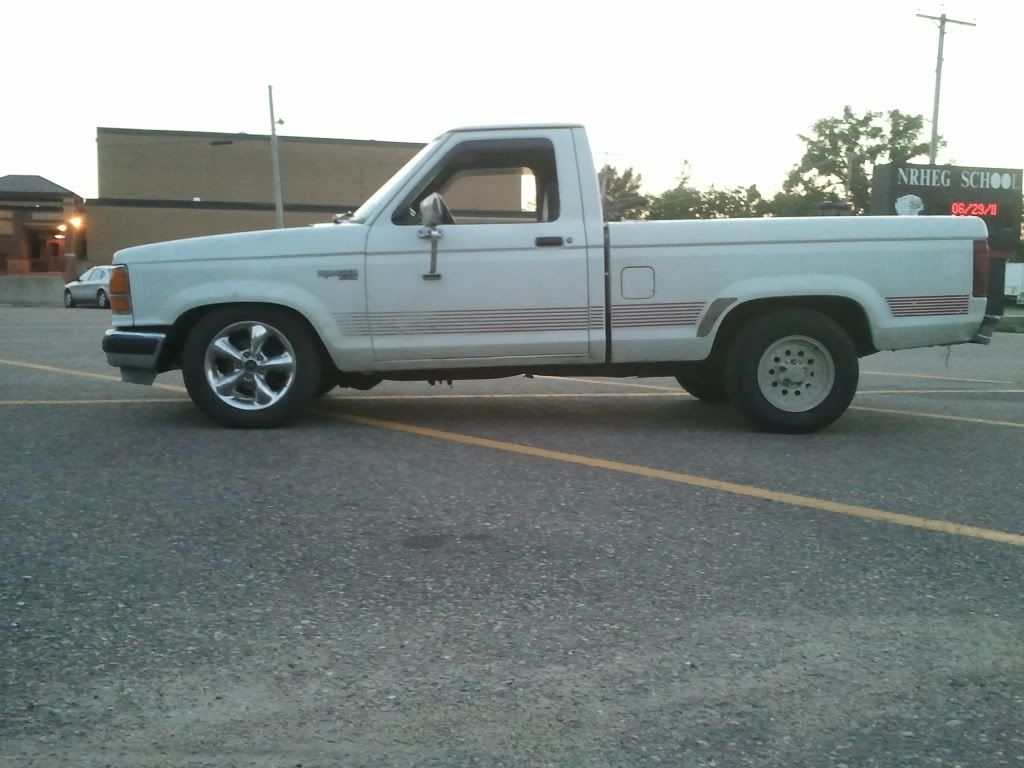
and I know this thread is useless with out pics so here they are ..
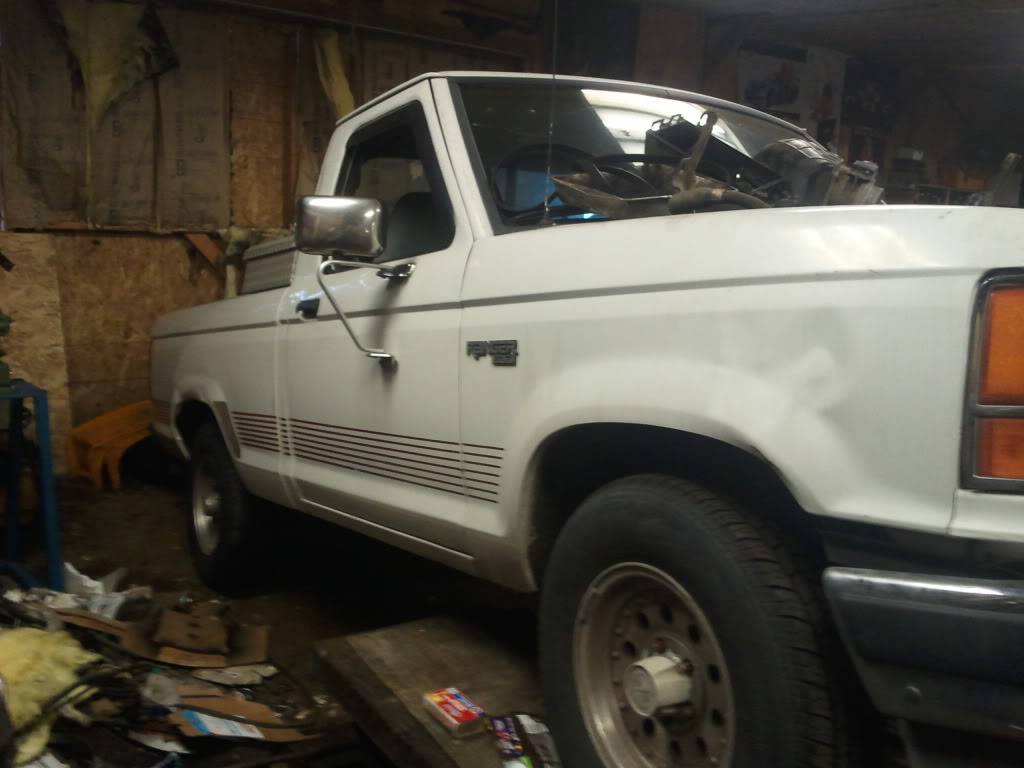
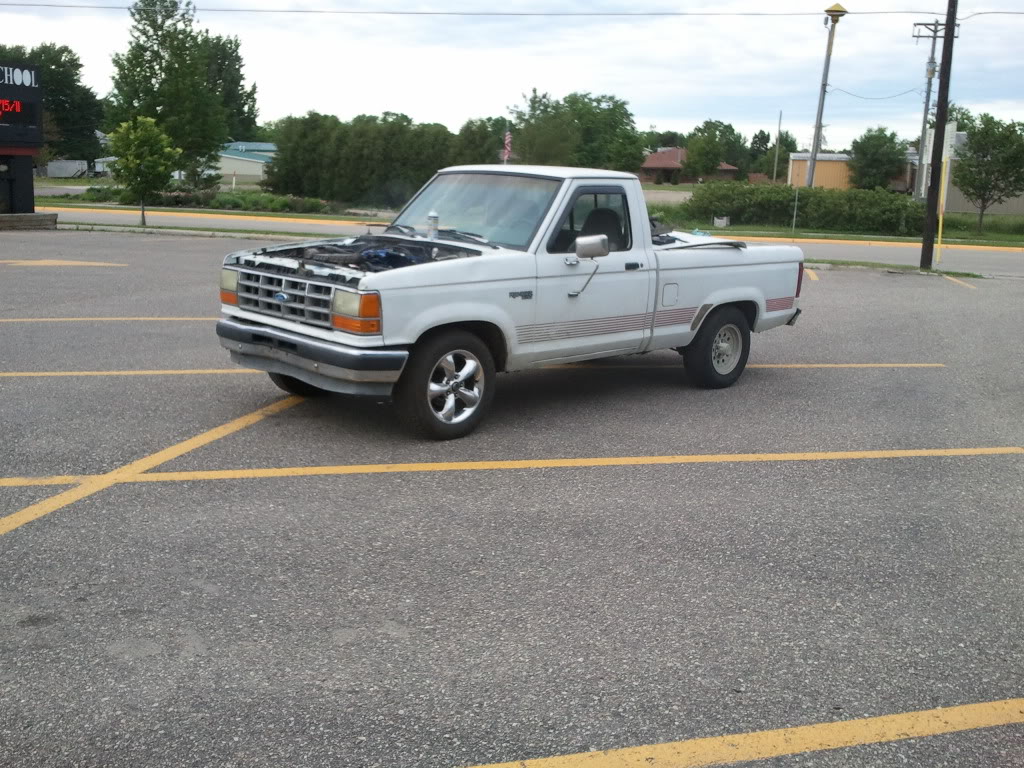
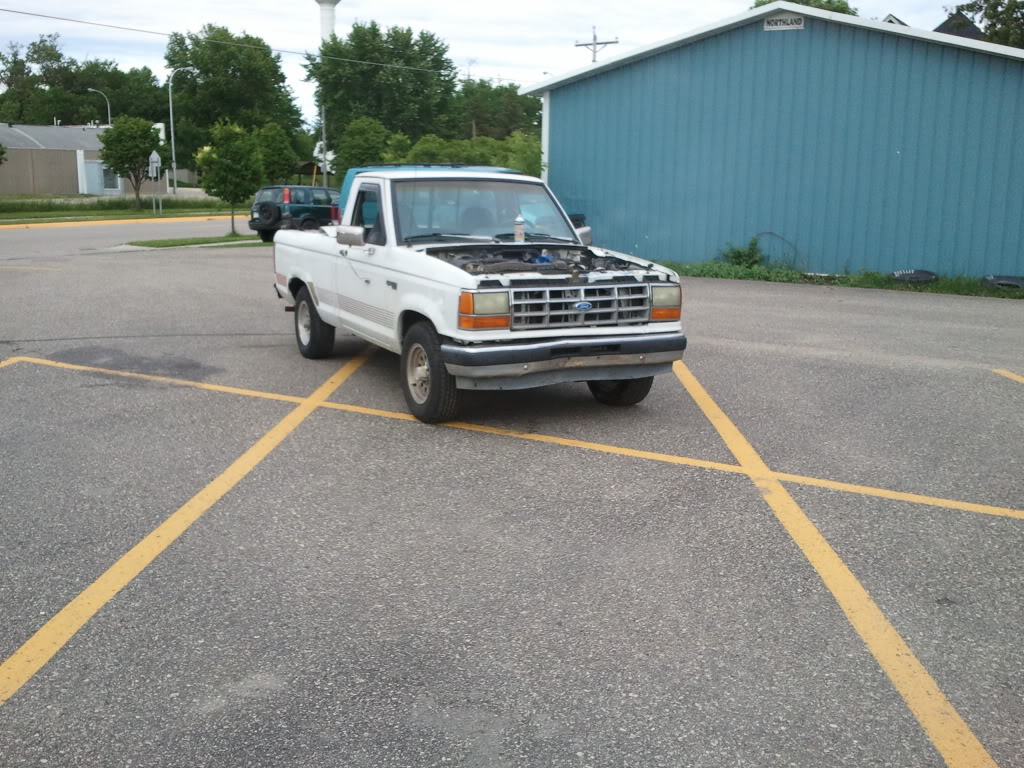
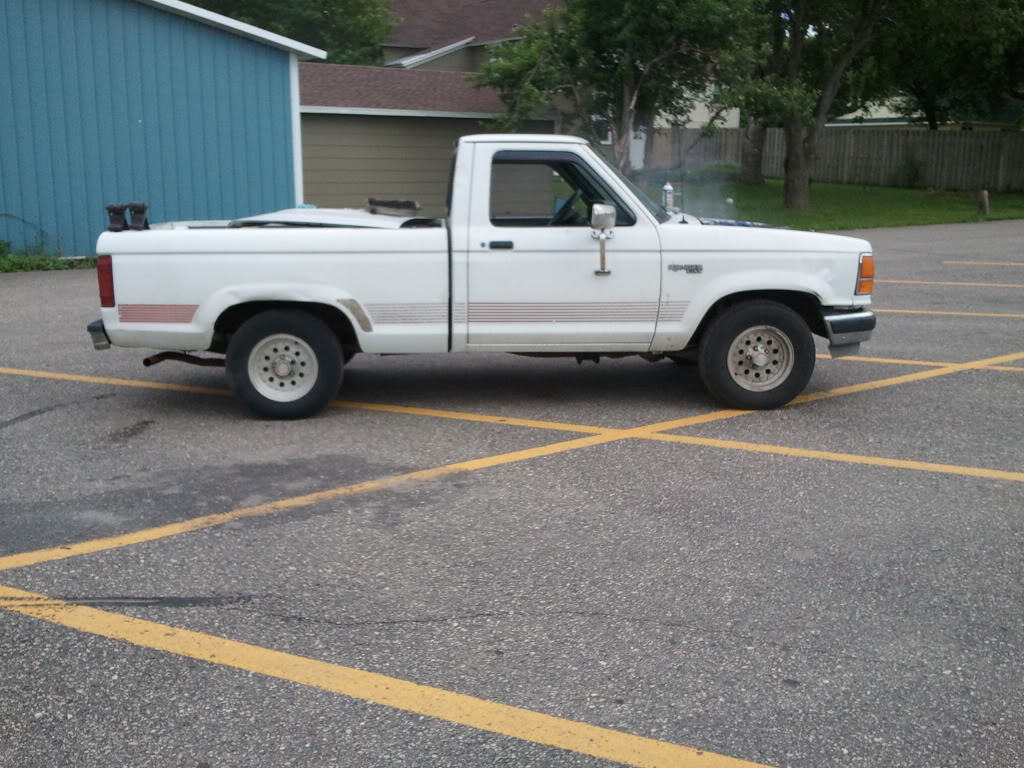
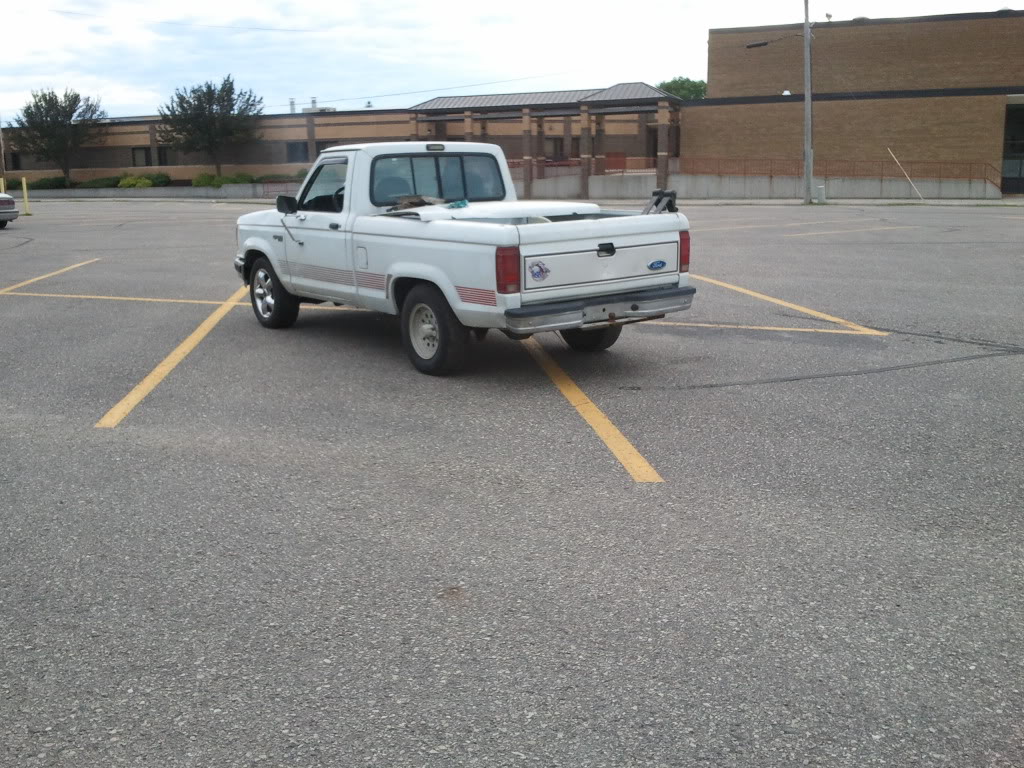
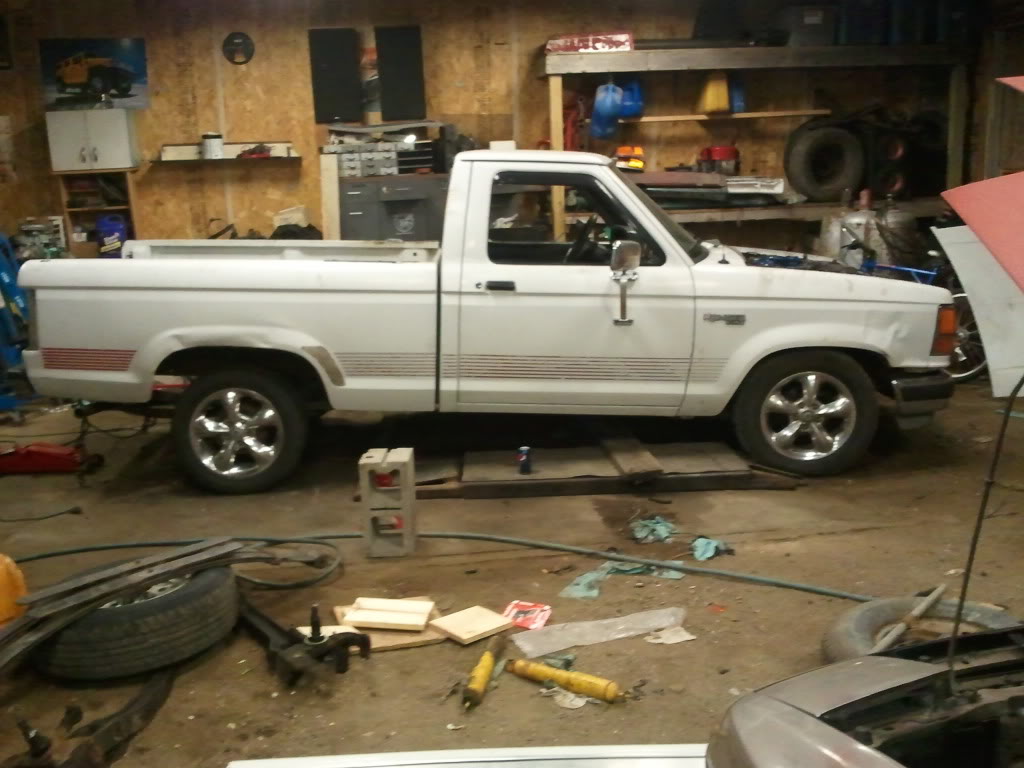
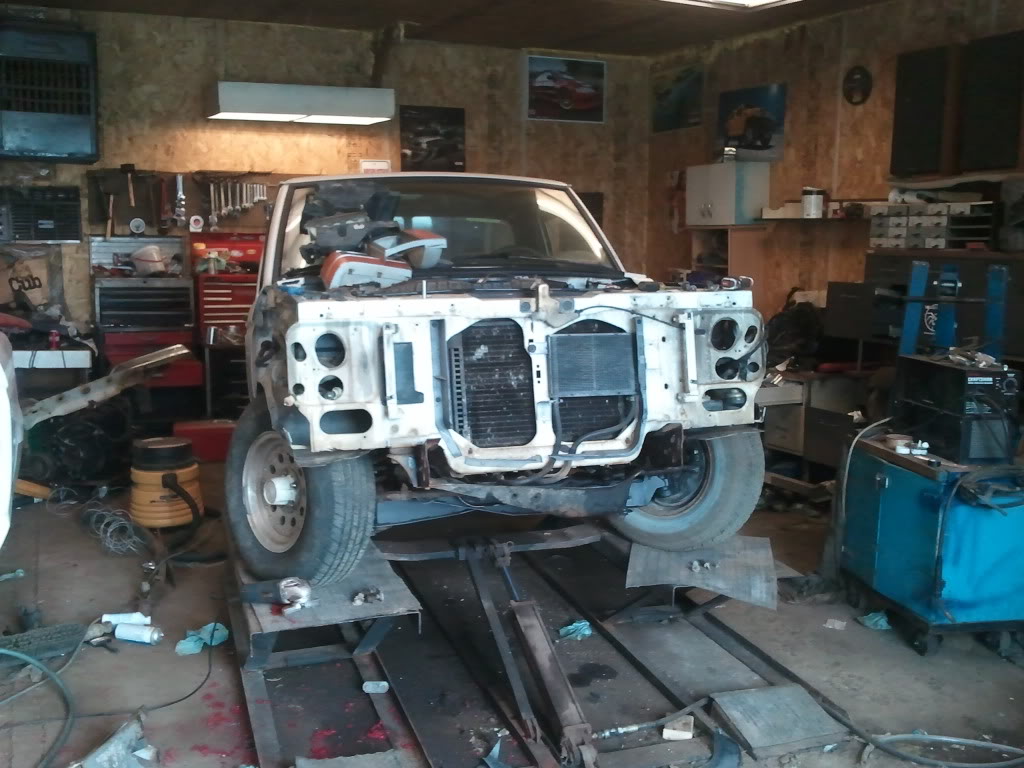
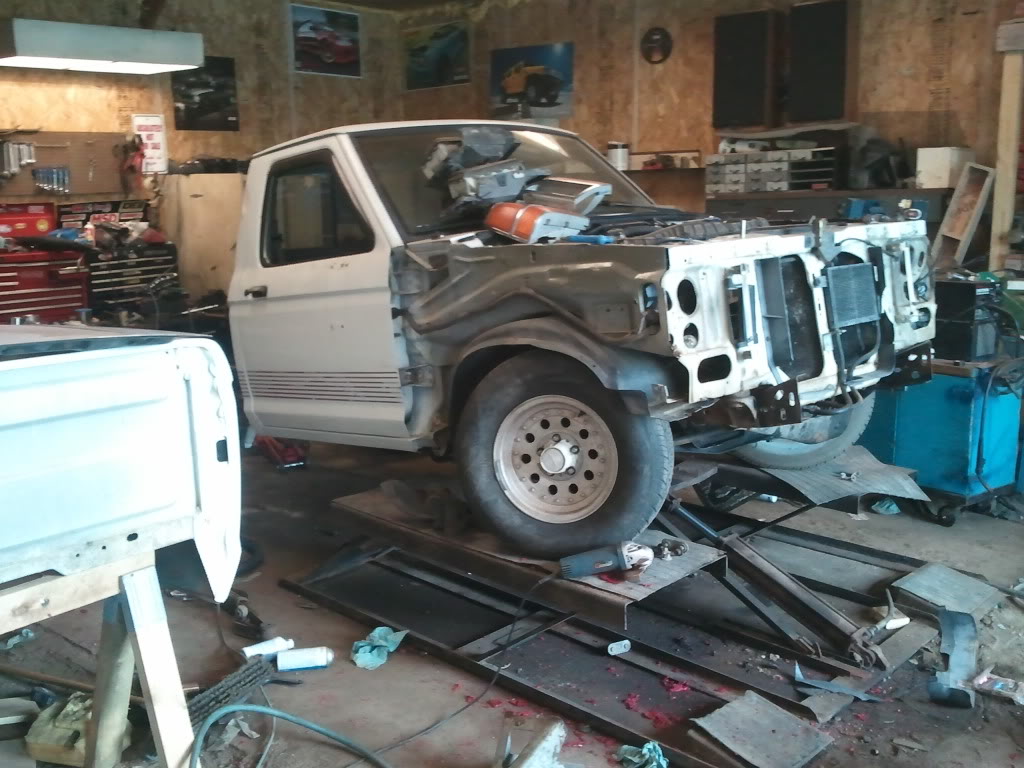
heres the truck the day it cam into the shop..
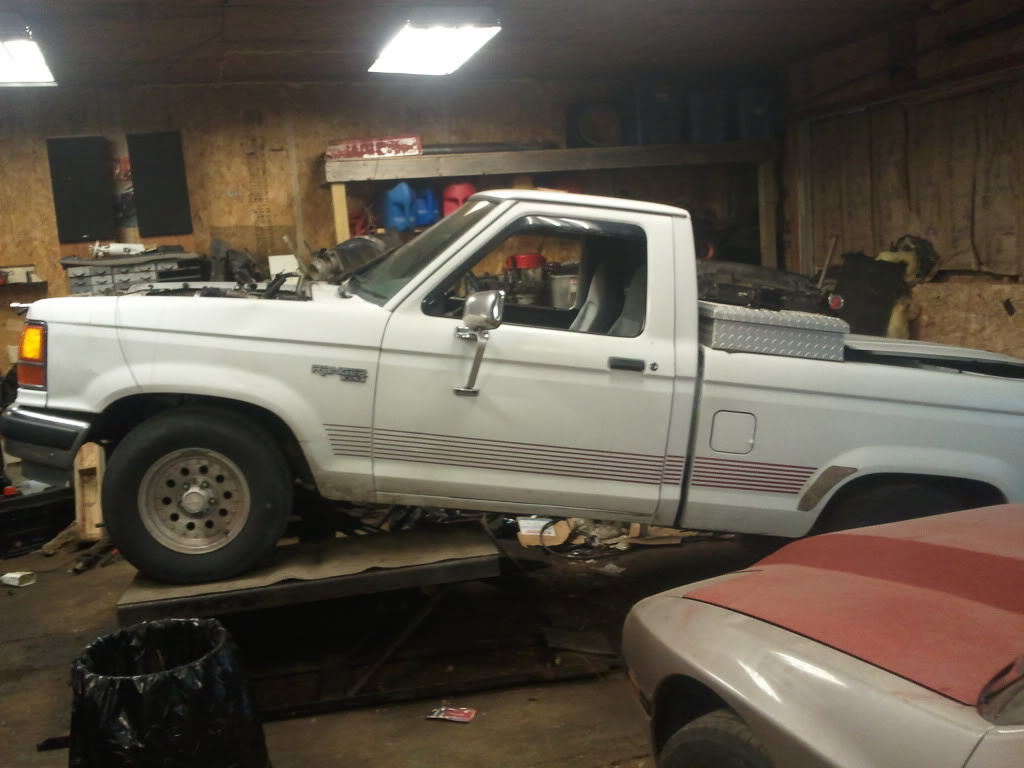
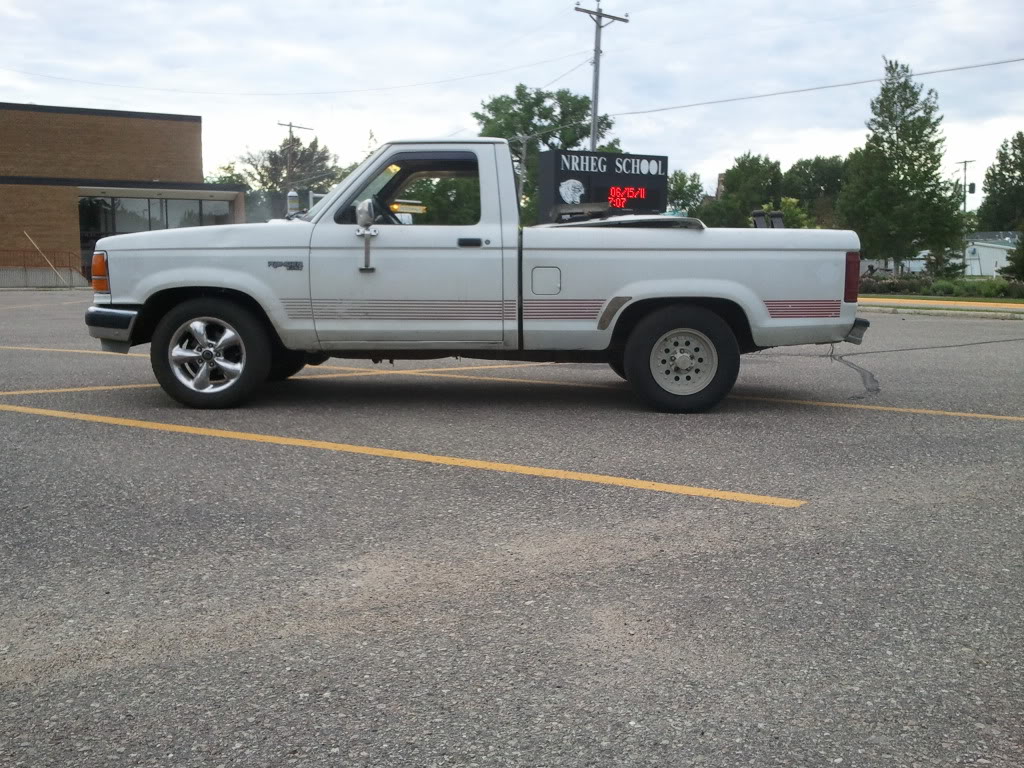
heres the first set of rims there 16s
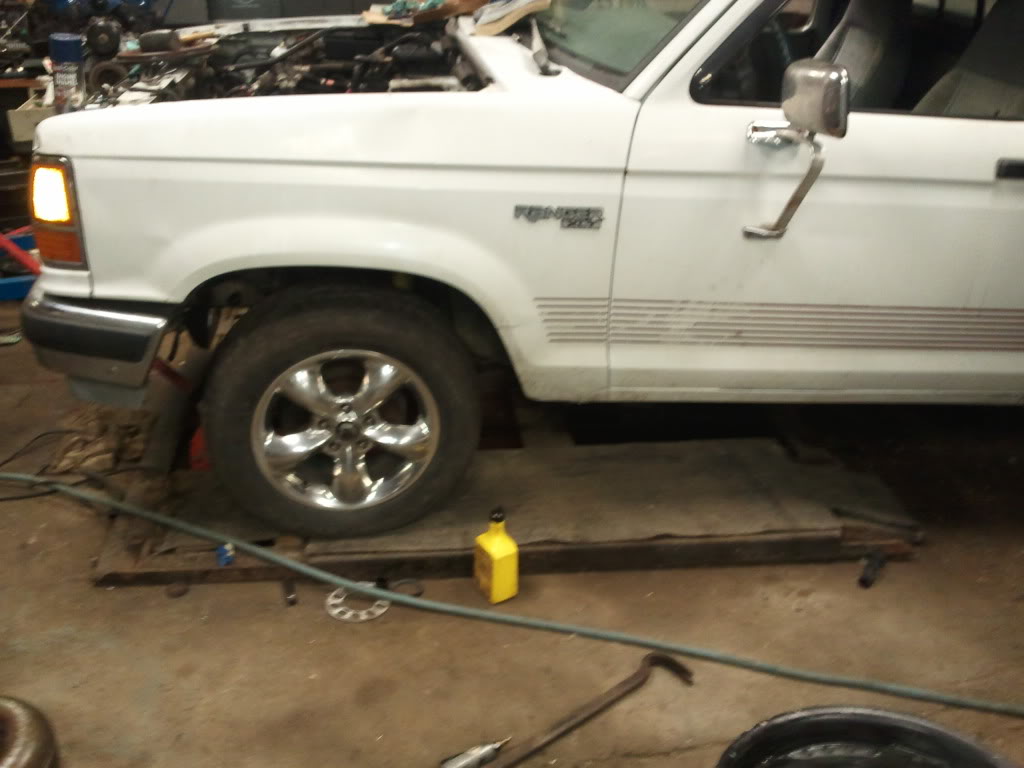
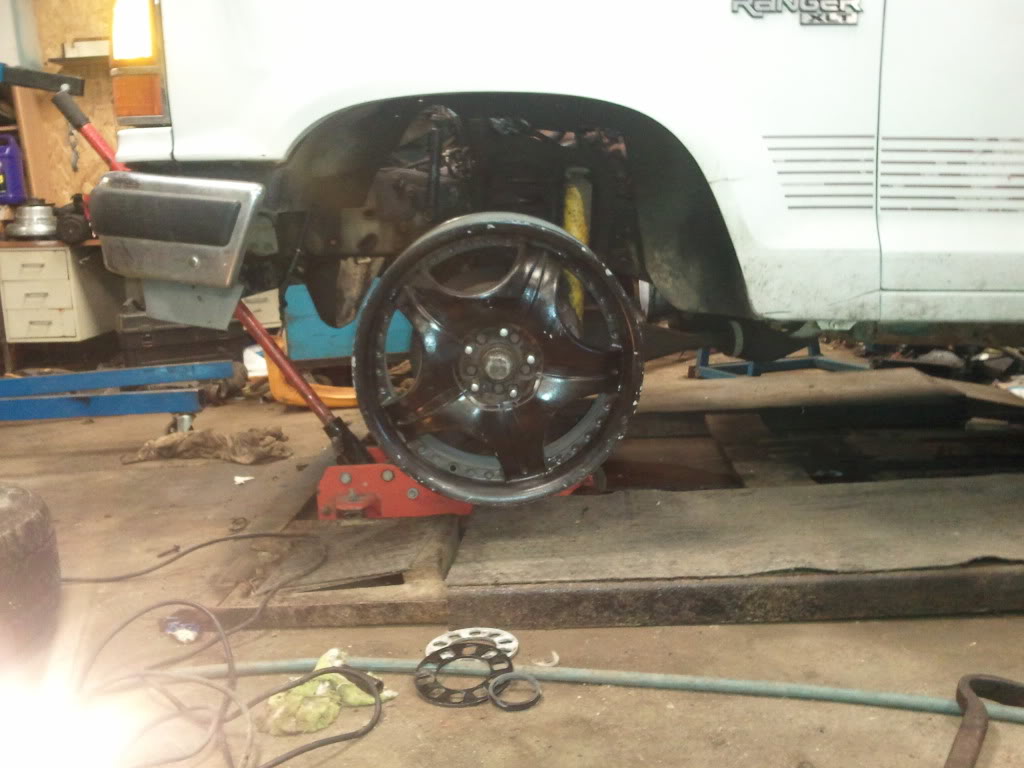
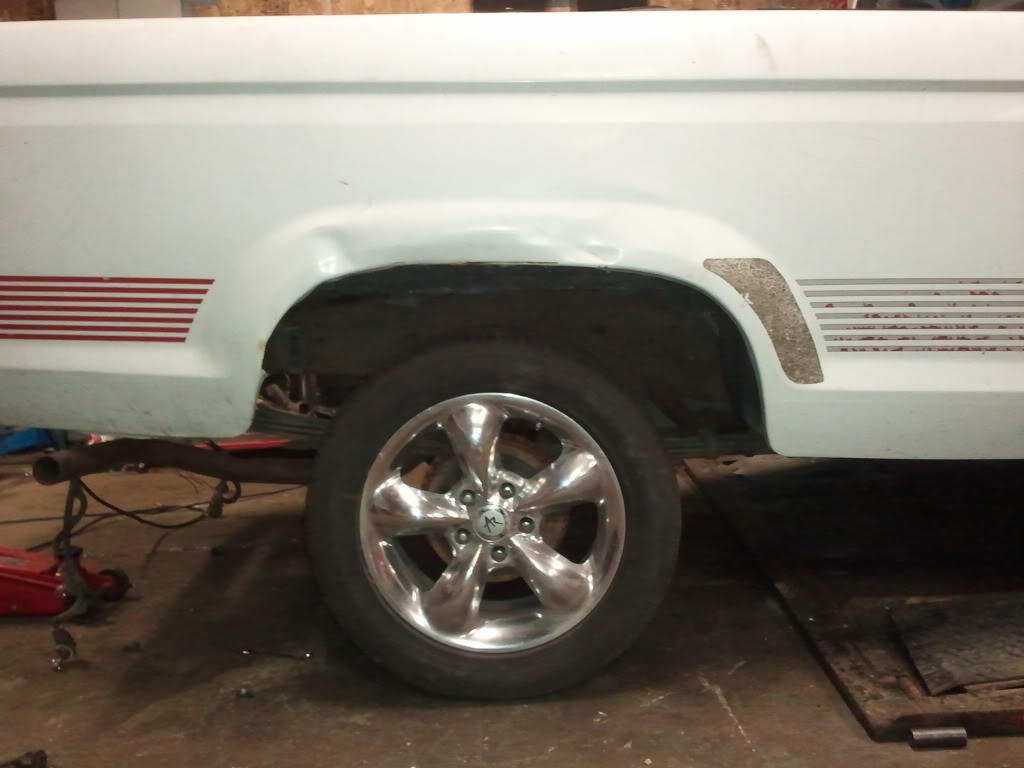
and heres a set of 18s i have but i cant find center caps for them
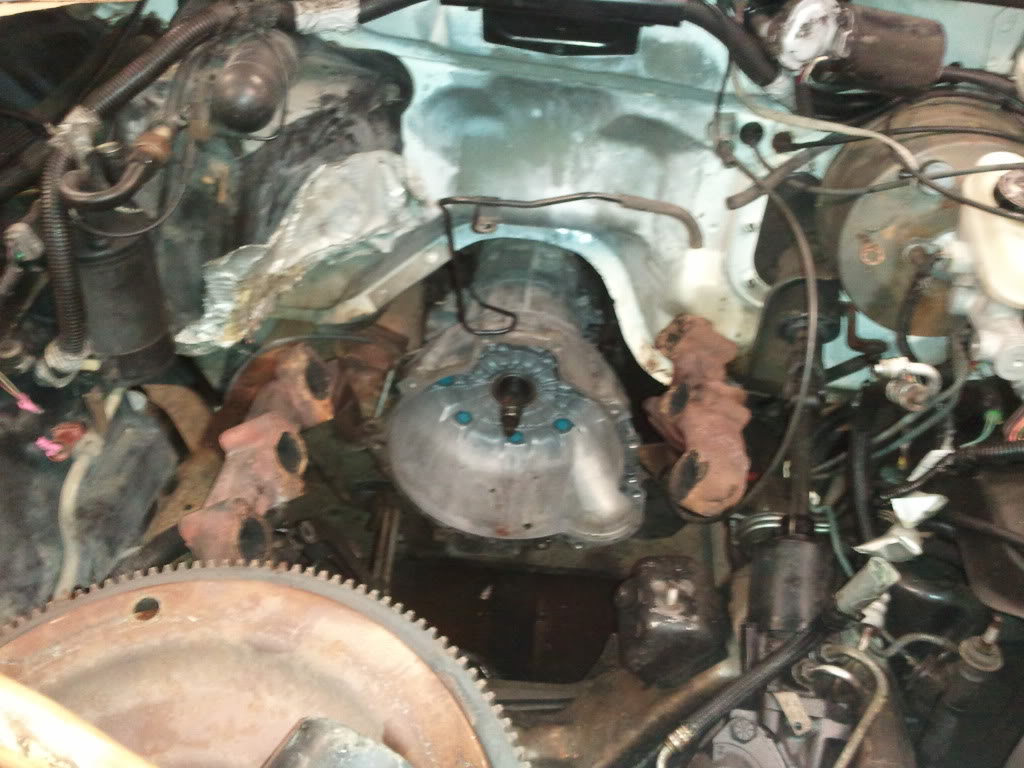
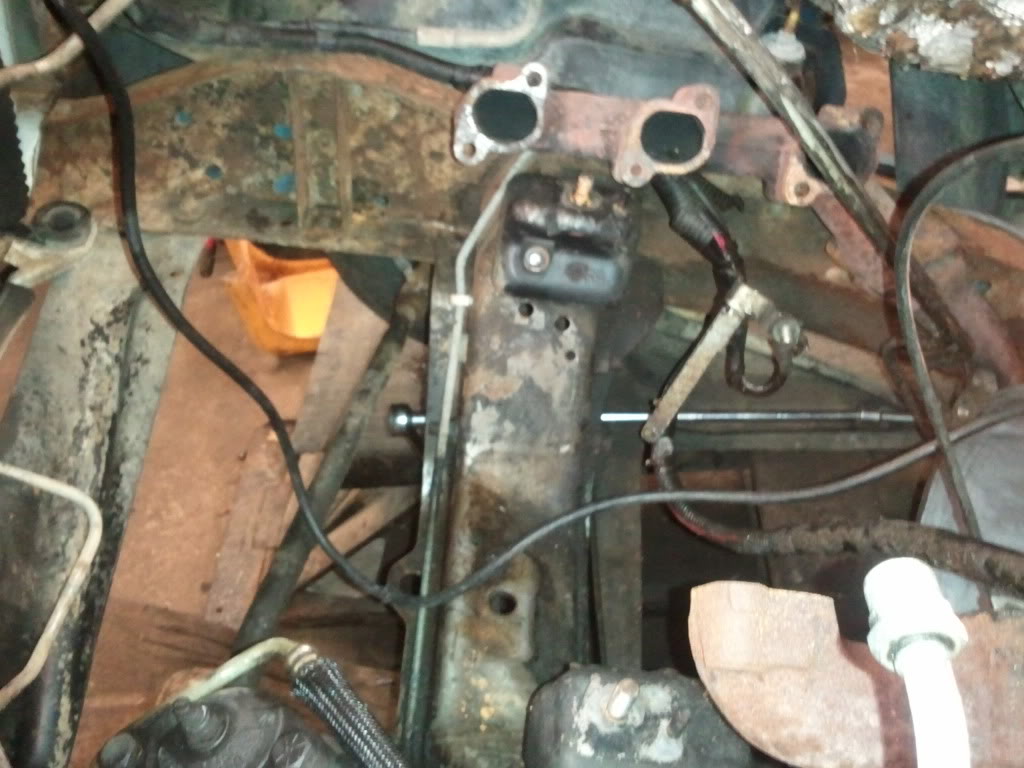
and the rest are the motor , engine bay and the finished motor ...
I went over and looked at the truck and its very clean .. it was parked up against a tree that swayed in the wind and pushed the bumper in a little but other then that no rust and it has a complete under coating .. he wanted me to put a diff motor in it for him to use as a daily.. I told him as soon as i get one of my others out i would get it in and swap it for him ....
so two weeks go by and I finished one of the vehicles and called him and told him i was ready for it.. he tells me that he has decided its to small for what he needs to use it for and that if i want it i can have the truck.. (in the two weeks he had picked up an 83xxx mile 4.0 from the local salvage yard).. so thats were it all started ...
I brought the truck home tore out the old engine and tore the newer one apart and installed new rings and had the heads cleaned and a valve job done,, I took the top end apart and cleaned and painted every thing ,,
this weekend Im heading out to Wisconsin to pick up a beltech 3/4 lowering kit..I have a few pairs of rims lying around the shop.. havent decided witch set im going to use yet .,.
and I know this thread is useless with out pics so here they are ..
heres the truck the day it cam into the shop..
heres the first set of rims there 16s
and heres a set of 18s i have but i cant find center caps for them
and the rest are the motor , engine bay and the finished motor ...

Thread Starter
|
Member
Joined: Mar 2010
Posts: 33
Likes: 0
From: New Richland MN
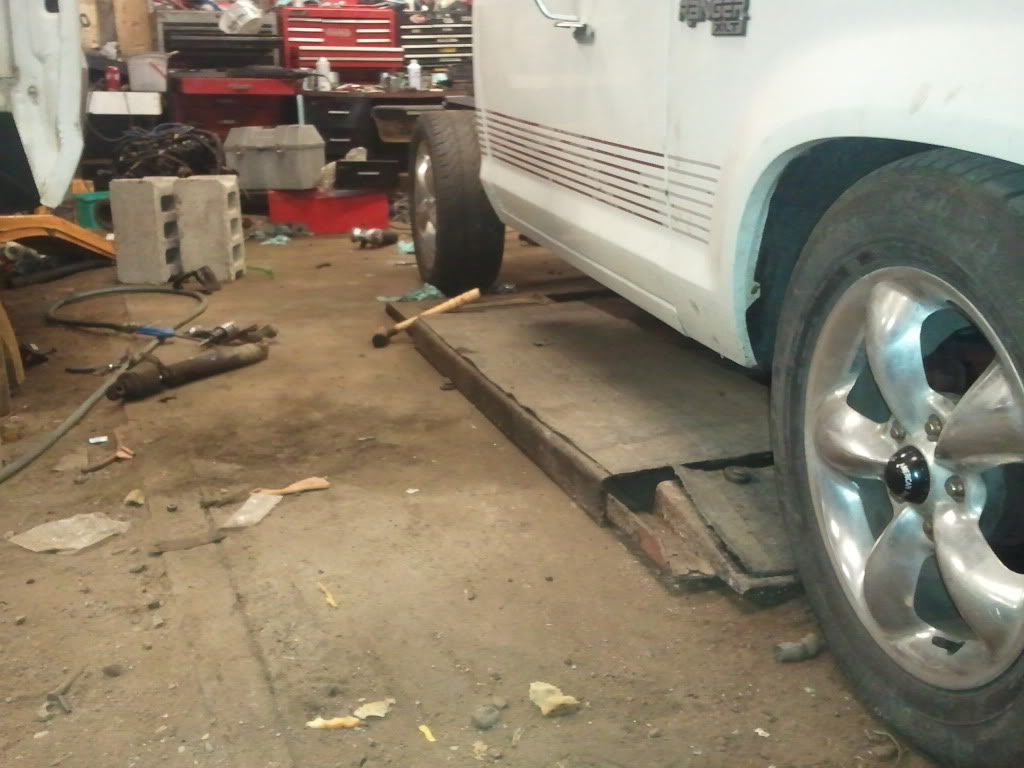
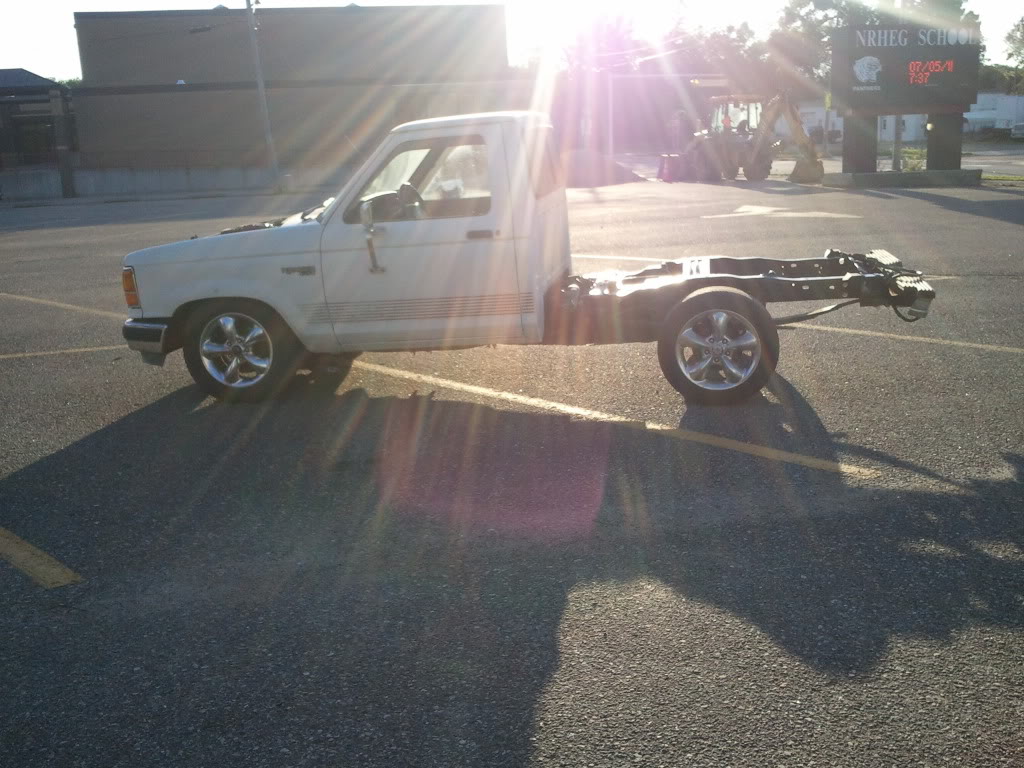
tomorrow I'm gona get the rear portion done and then I can start the body/interior mods... I took a trip out to my local u-pull and got fenders hood lights and surrounds a few different grills and some mirrors .. I'm gona go back and get a bumper or two ..
Thread Starter
|
Member
Joined: Mar 2010
Posts: 33
Likes: 0
From: New Richland MN
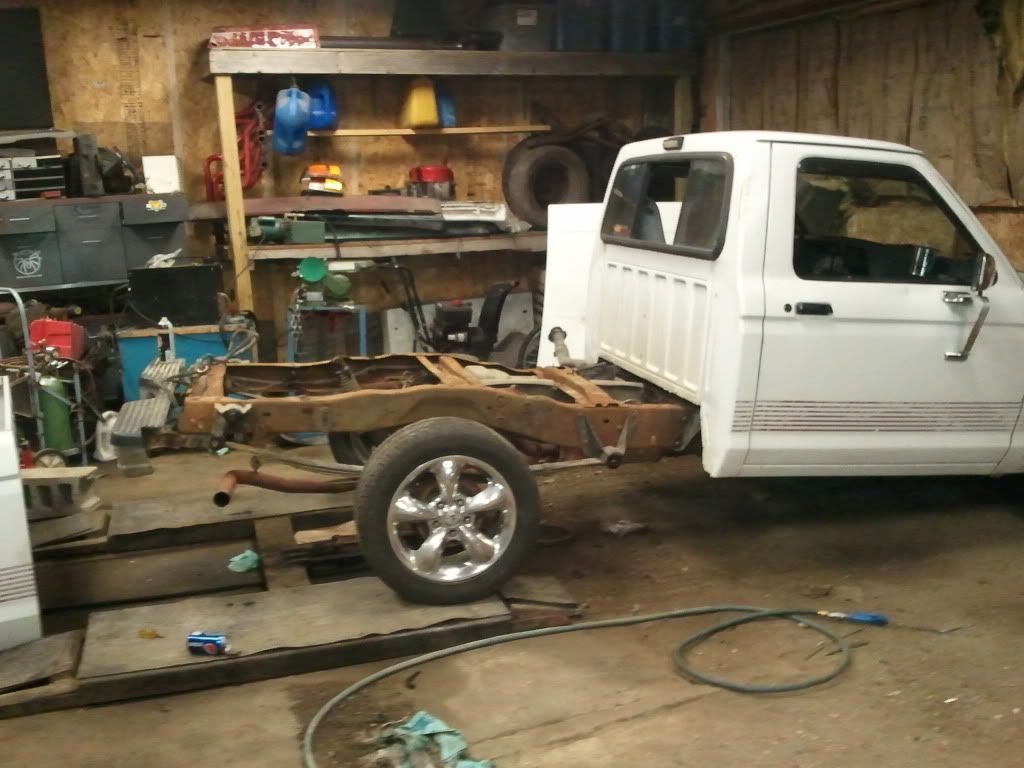
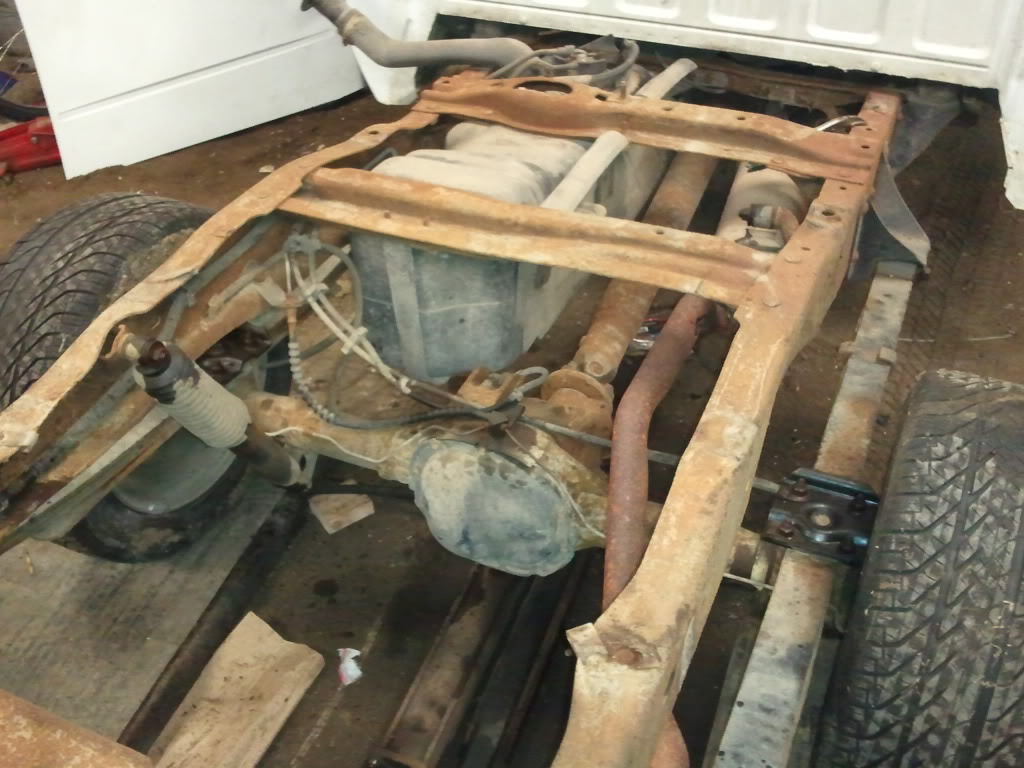
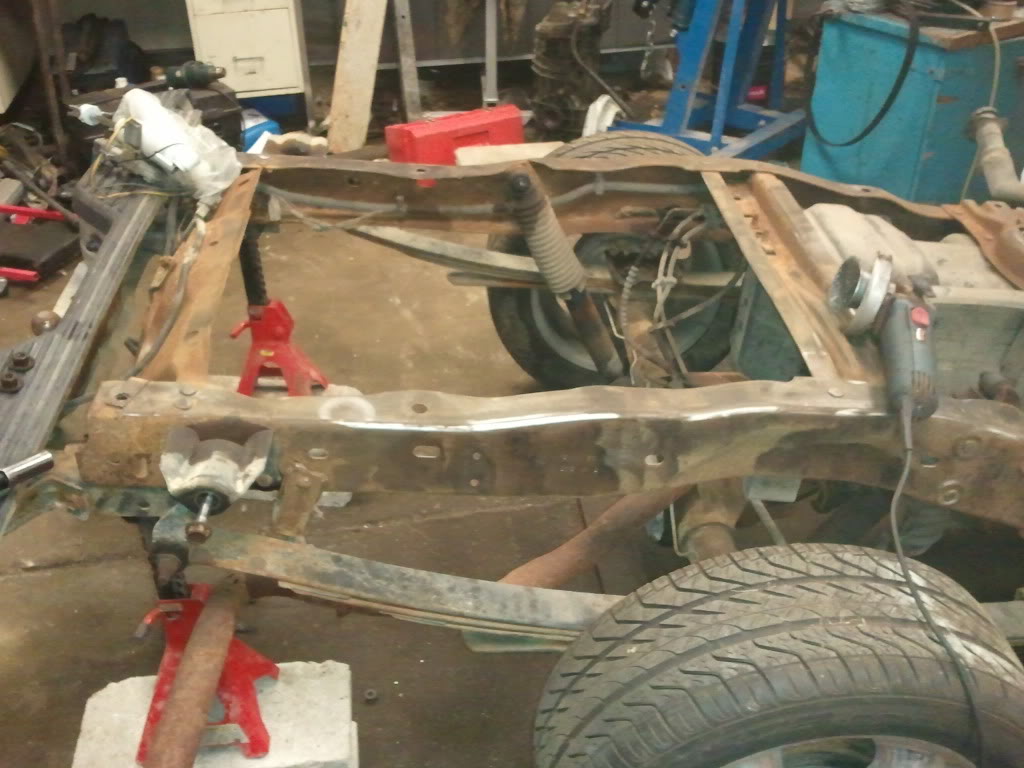
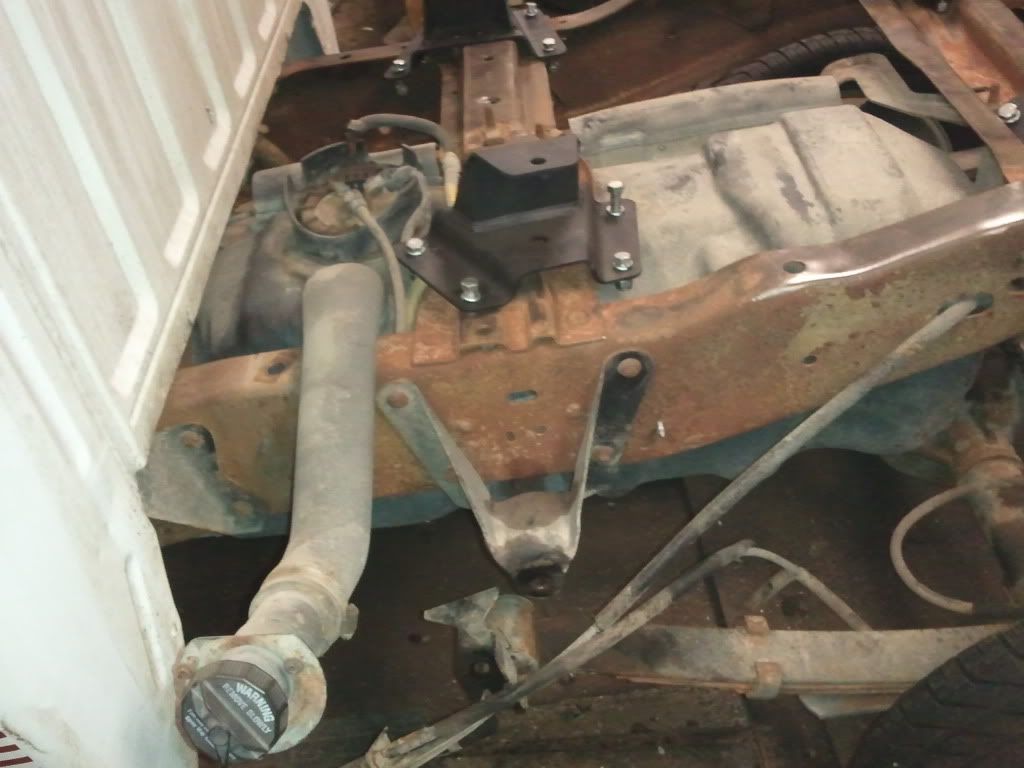
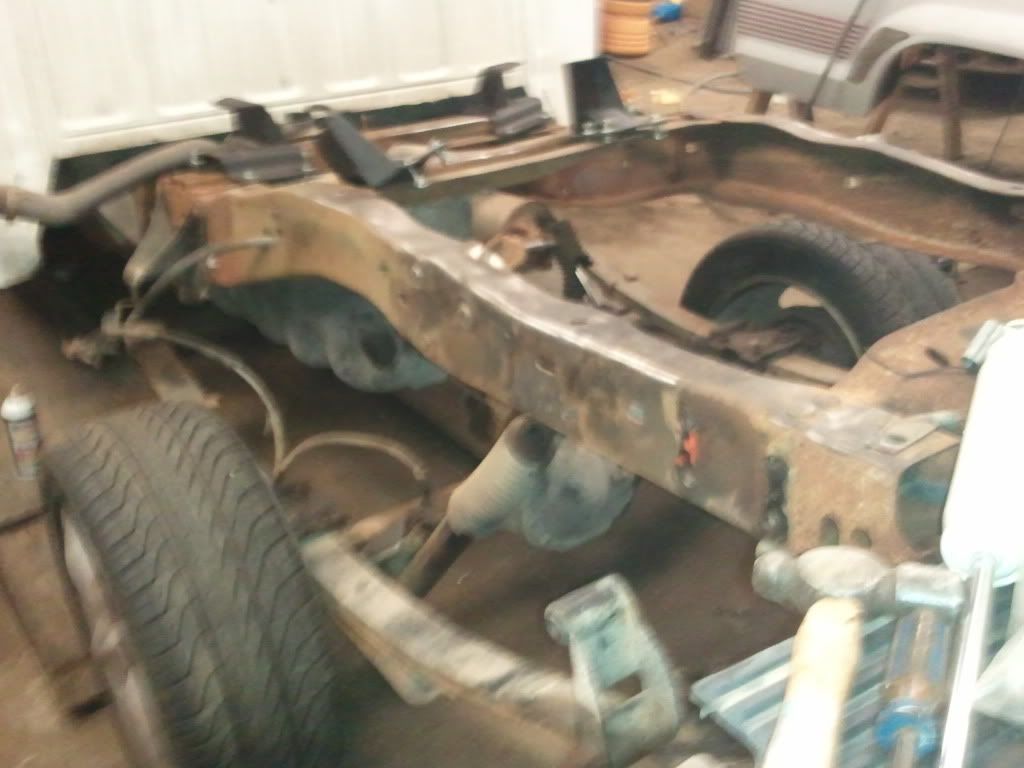
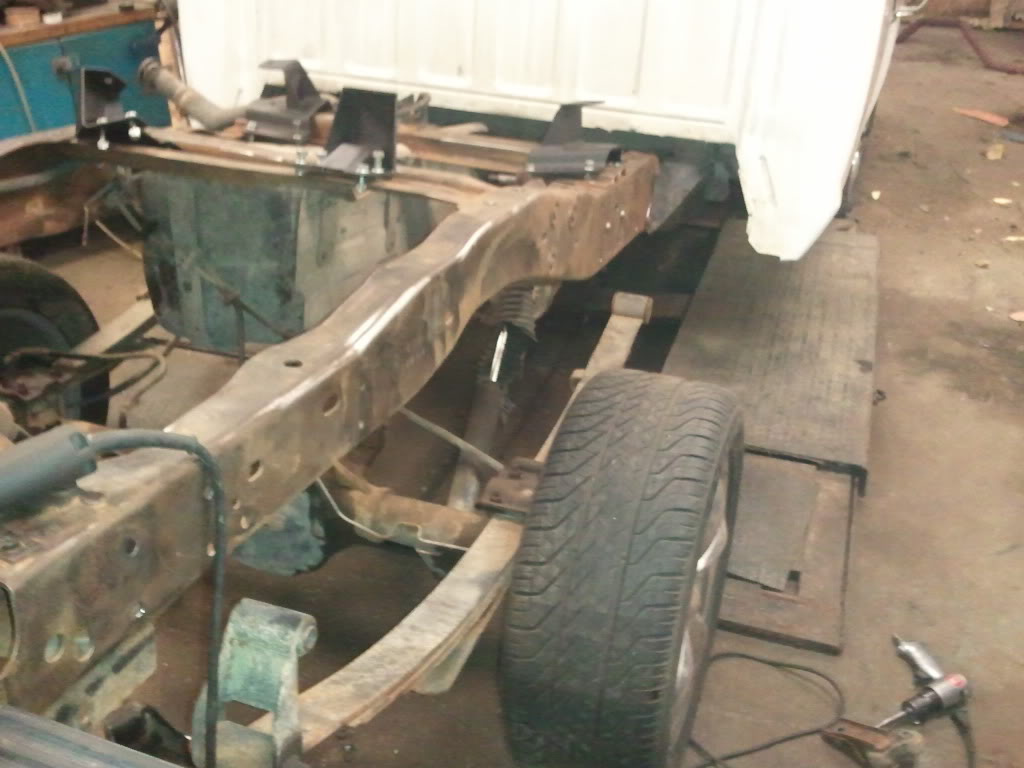
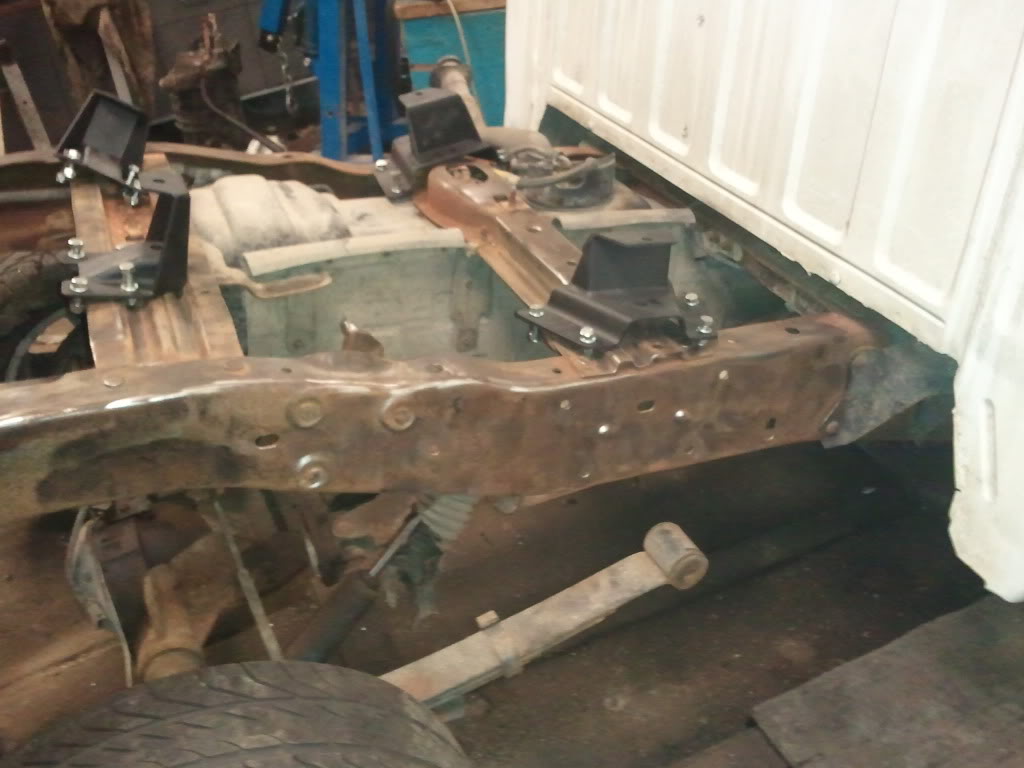
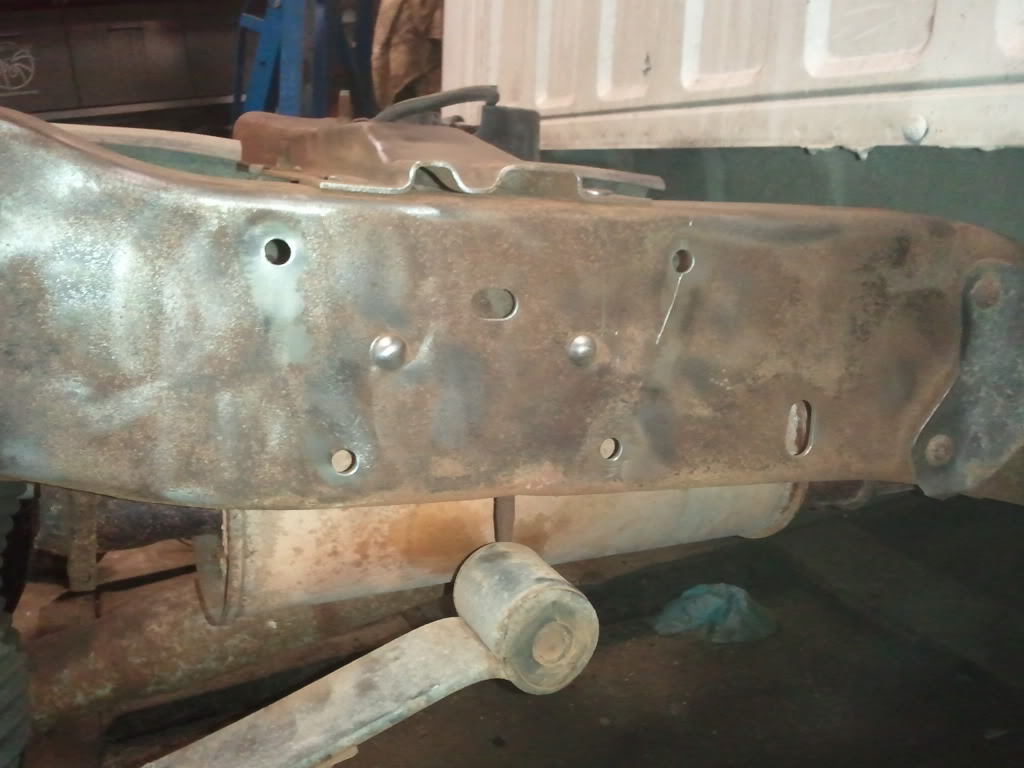
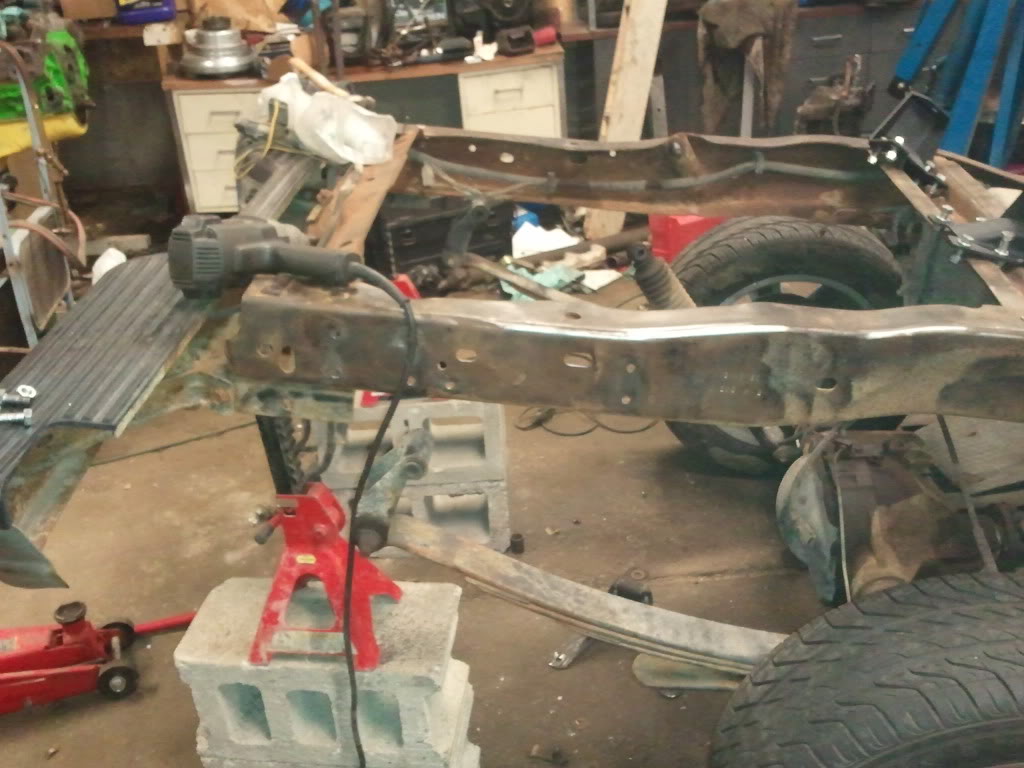
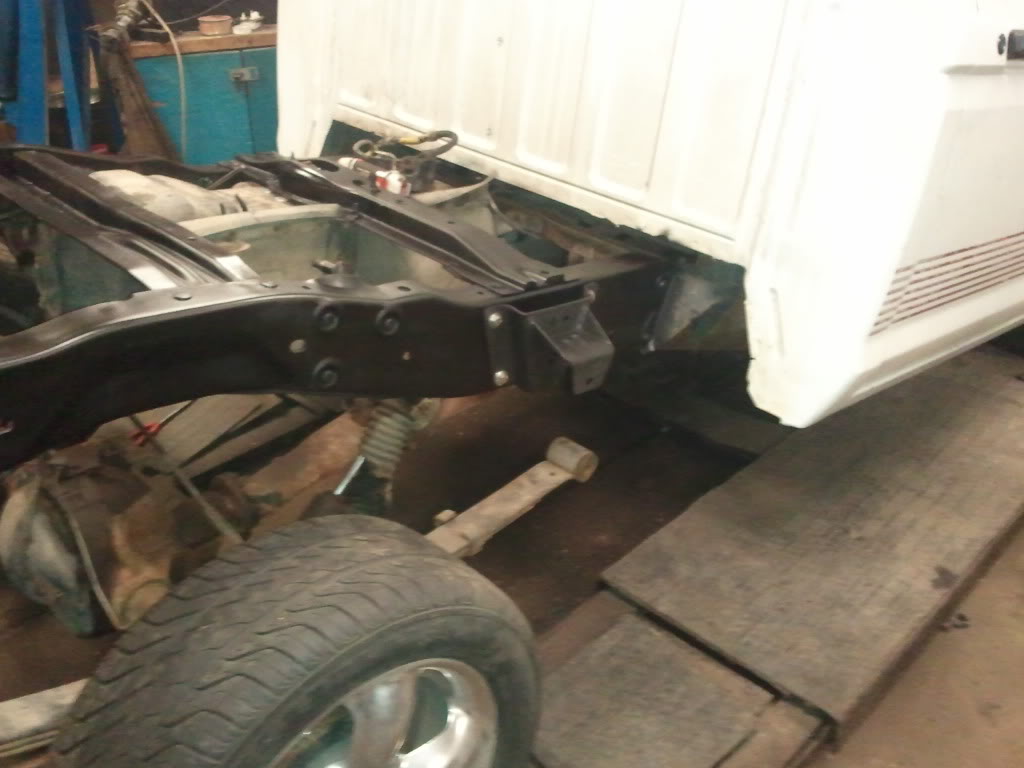
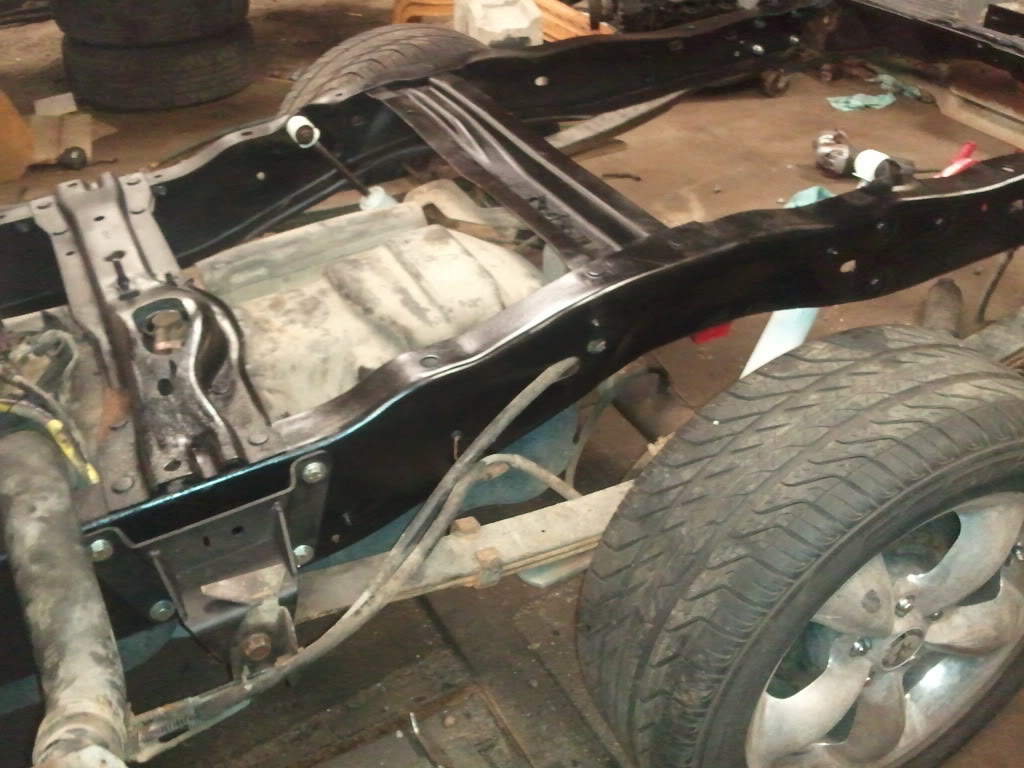
Got some more work done tonight... spent some quality time with the wire wheel on the frame ... Then I grabed the cutoff wheels and went at the old leafspring mounts .. after they were off i went back in with the wire wheel and cleaned up were the mounts were .. Tomarrow im going to paint the frame with a rust inhibitor and then give a good coating of black paint..
Thread Starter
|
Member
Joined: Mar 2010
Posts: 33
Likes: 0
From: New Richland MN
thanks guys its been fun so far.. I have been lucky and nothing has been to much of a hassle.. For anyone else that is doing this all I can say is buy lots of your fav brand penetrating oil and spray all the bolts you will be taking out the day before .. and then hit them once right before for good measure ..
I did get a few things done last night ..
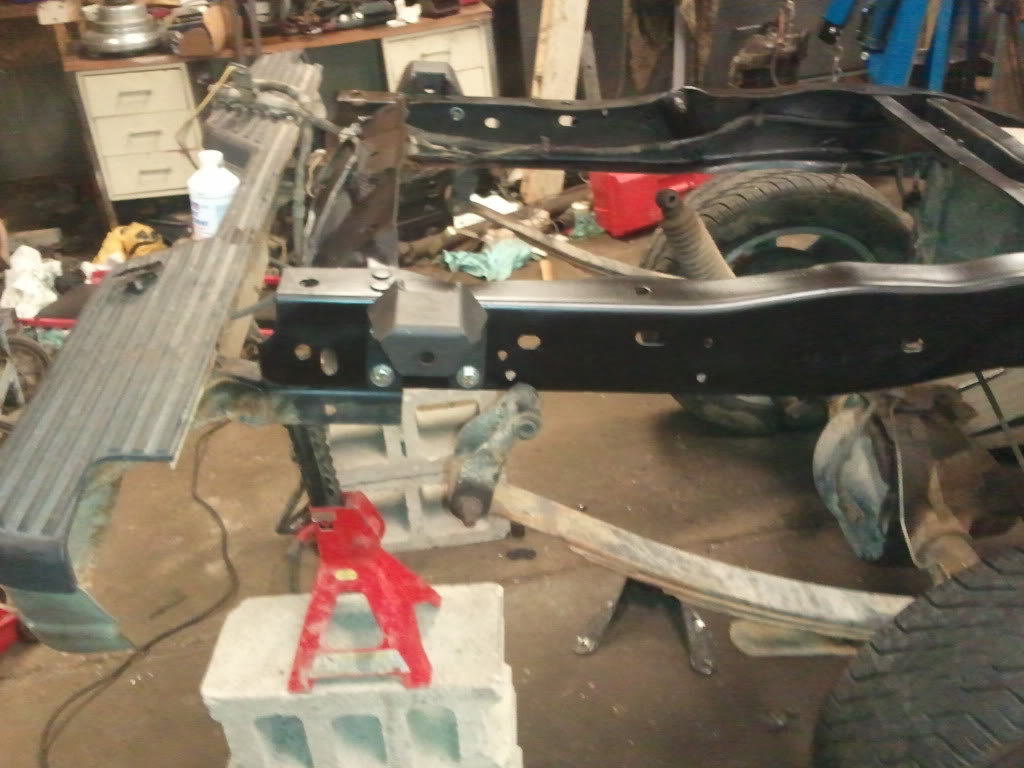
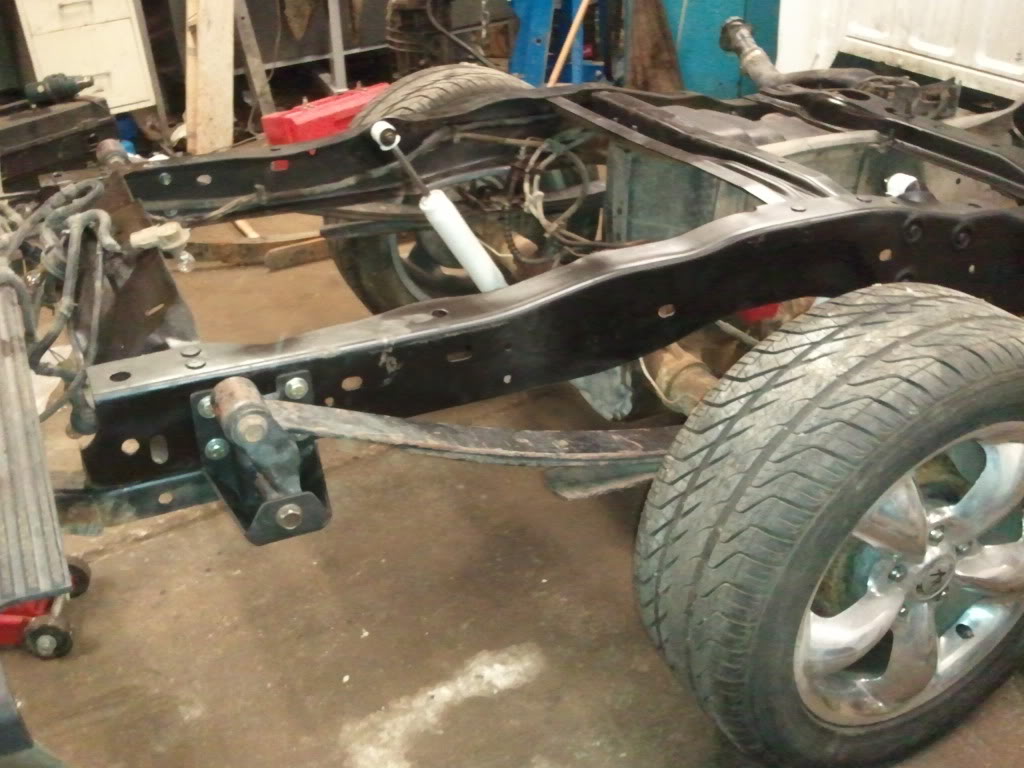
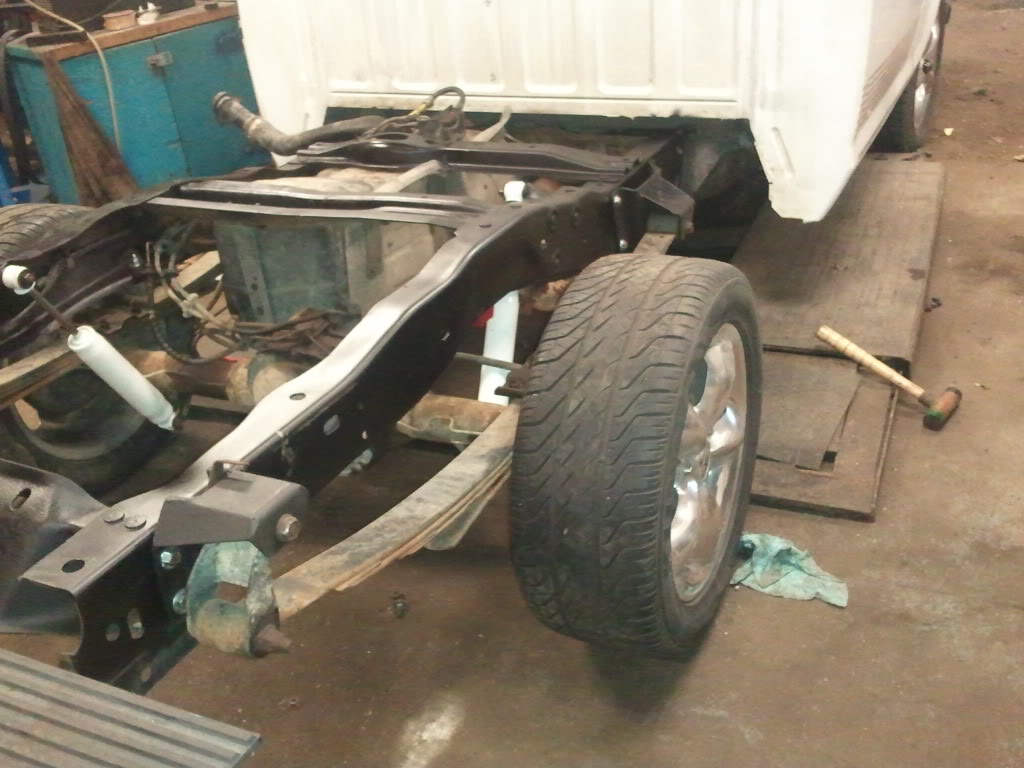
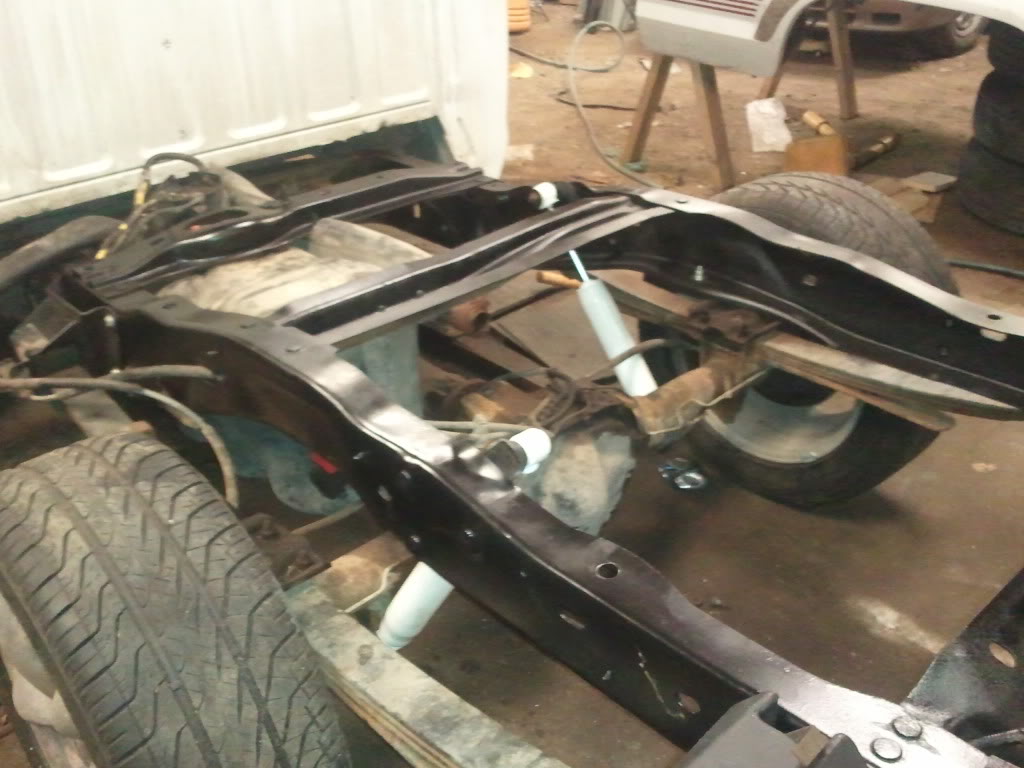
first i hit all the frame I could get to with a wire wheel on my right angle grinder ... then I cleaned it all with acetone and put three coats of rust stopper prohibitor stuff I picked up at napa .. then I sprayed about 3 coats of black frame paint i got form eastwood.com
I went with 5 cans of this http://www.eastwood.com/ew-chassis-b...sol-14-oz.html
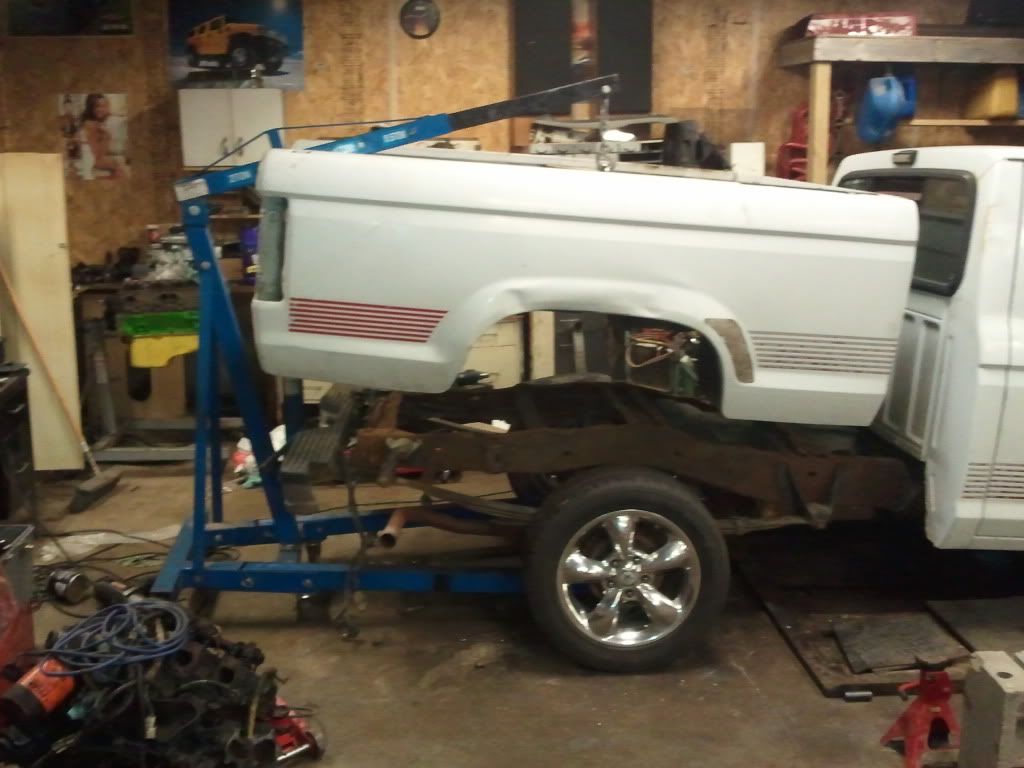
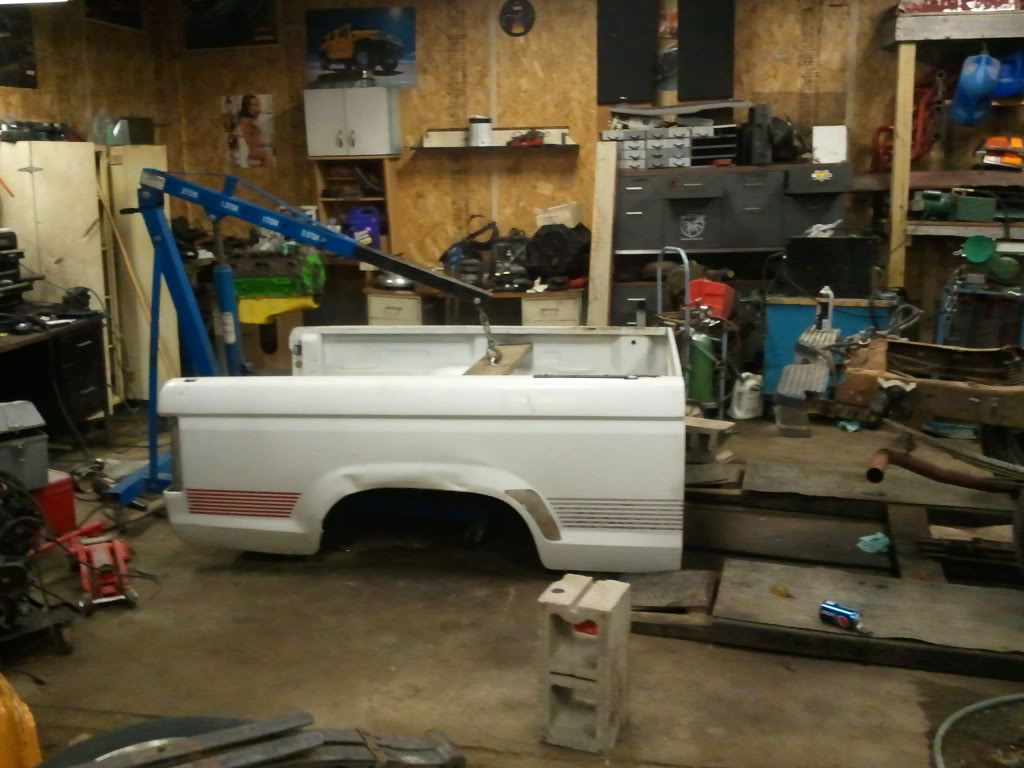
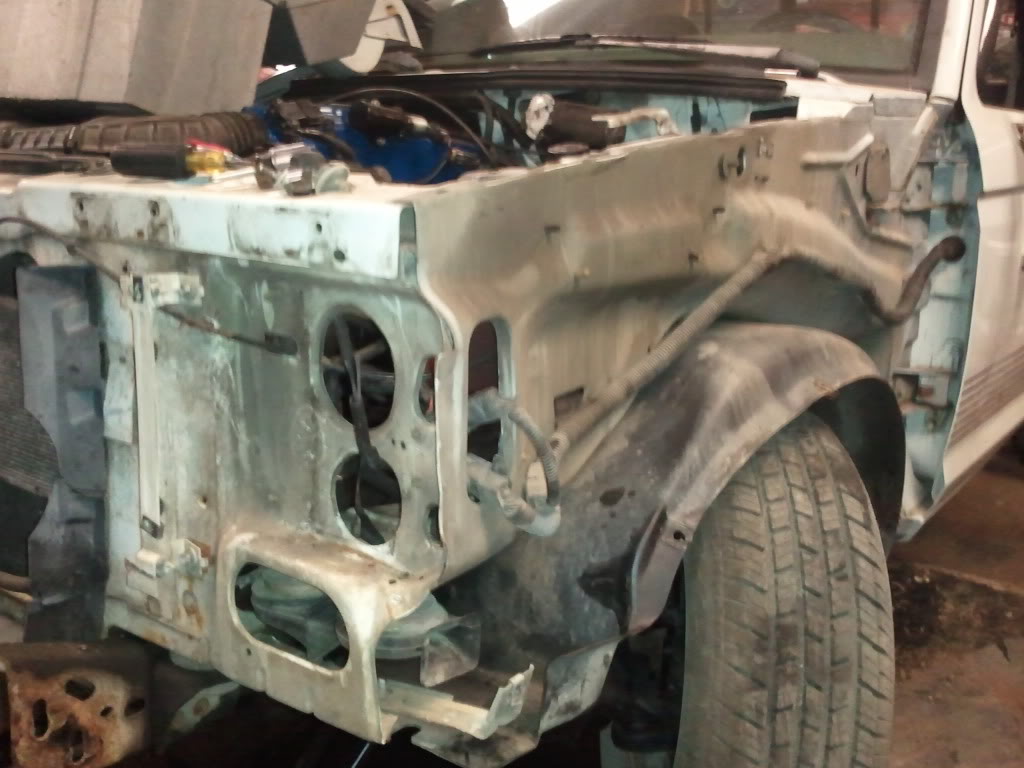
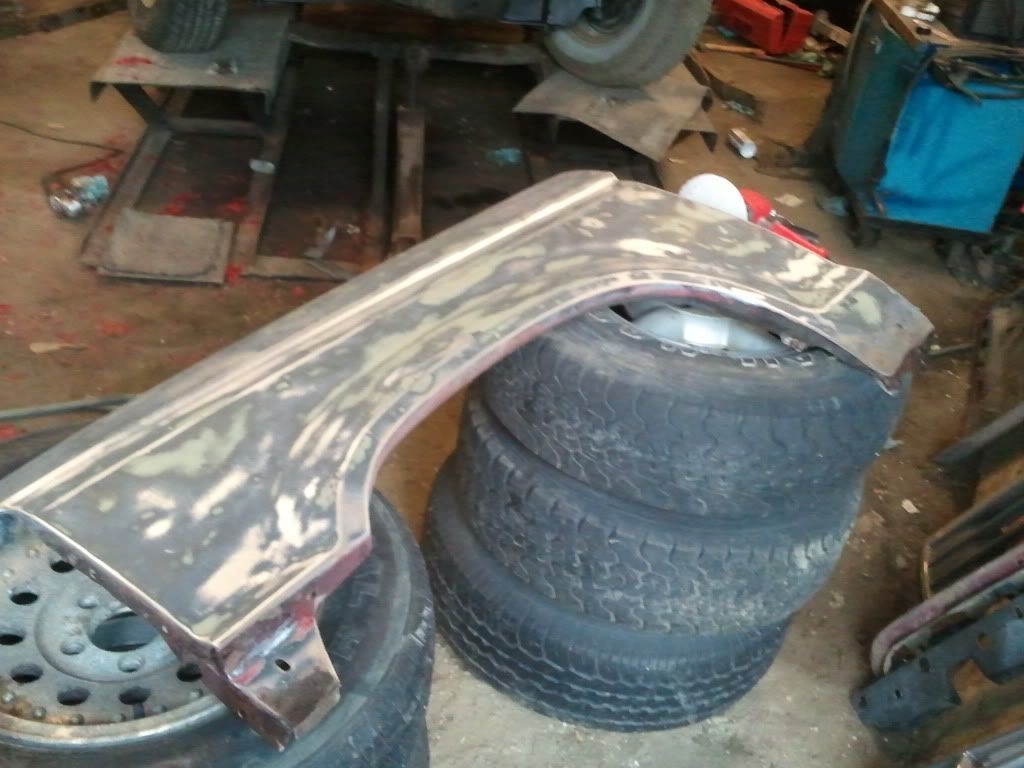
I tried the rear set up normally and with the hanger flipped and I ended up going with it flipped .. I also started to tare the front apart .. newer fenders hood and grill .. heres some pics..

I did get a few things done last night ..
first i hit all the frame I could get to with a wire wheel on my right angle grinder ... then I cleaned it all with acetone and put three coats of rust stopper prohibitor stuff I picked up at napa .. then I sprayed about 3 coats of black frame paint i got form eastwood.com
I went with 5 cans of this http://www.eastwood.com/ew-chassis-b...sol-14-oz.html
I tried the rear set up normally and with the hanger flipped and I ended up going with it flipped .. I also started to tare the front apart .. newer fenders hood and grill .. heres some pics..
Last edited by Toomanycars; Jul 6, 2011 at 10:28 PM.
Thread Starter
|
Member
Joined: Mar 2010
Posts: 33
Likes: 0
From: New Richland MN
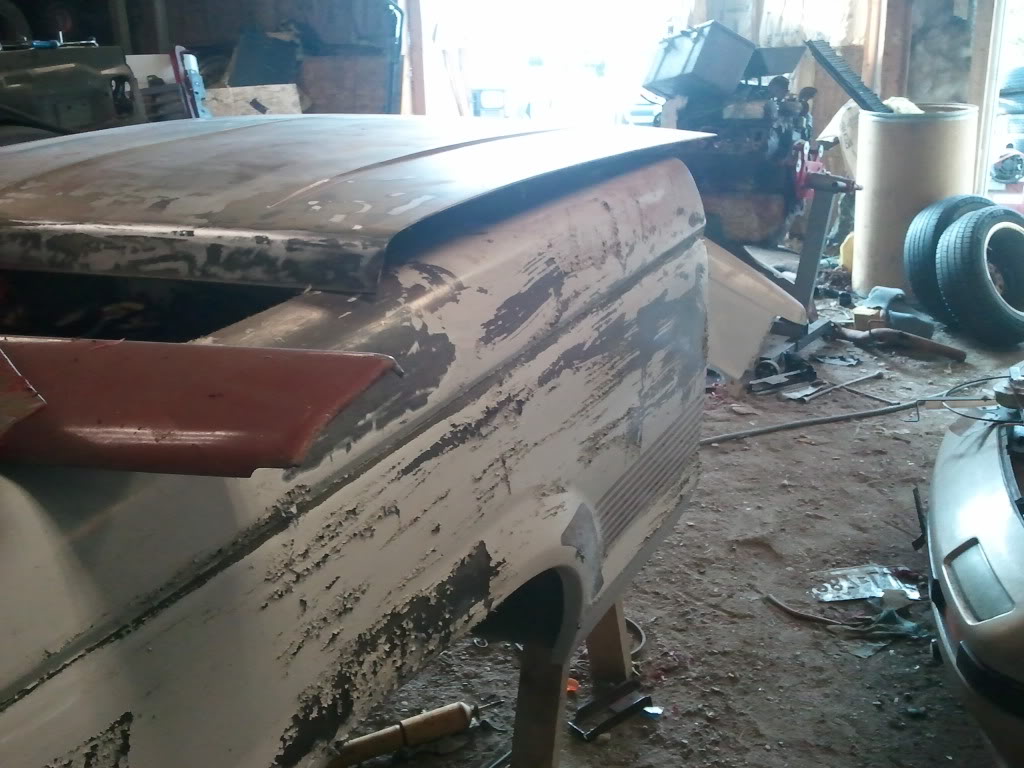
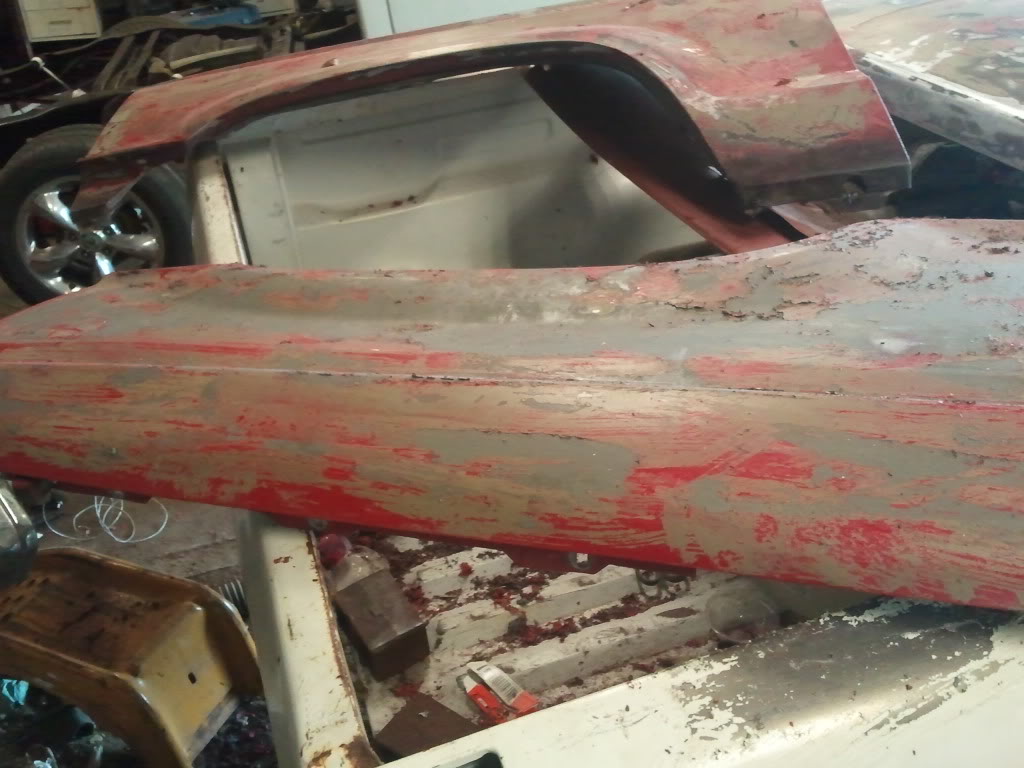
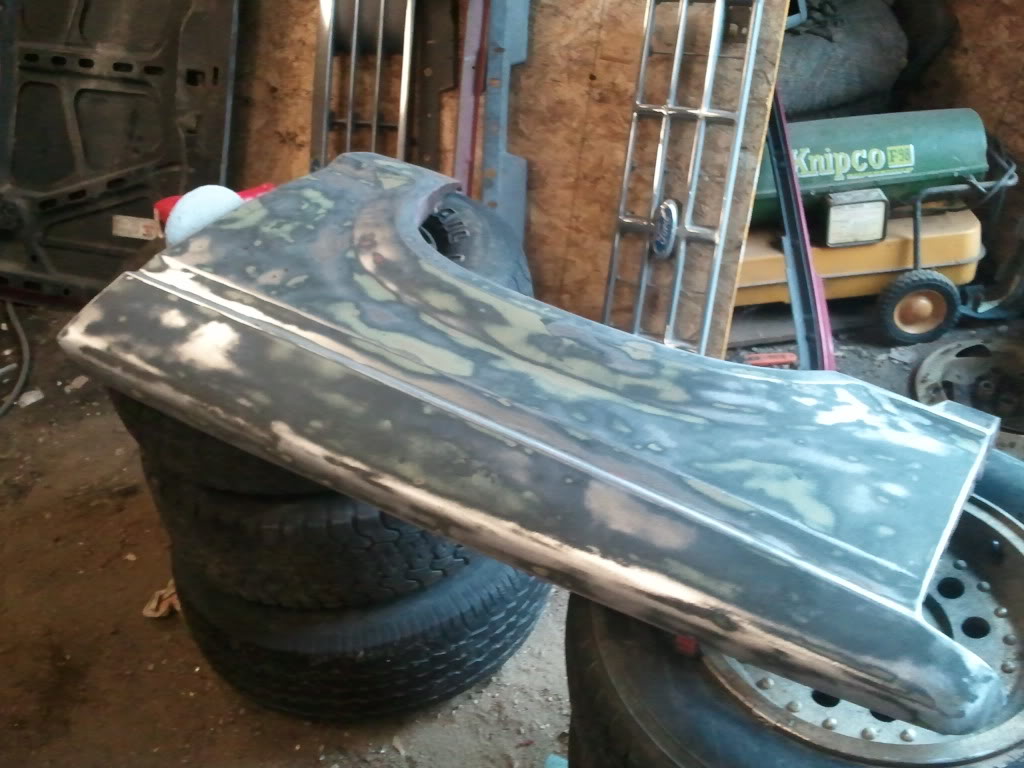
well I went and got some sand paper for the DAs and some aircraft remover and started the body work..
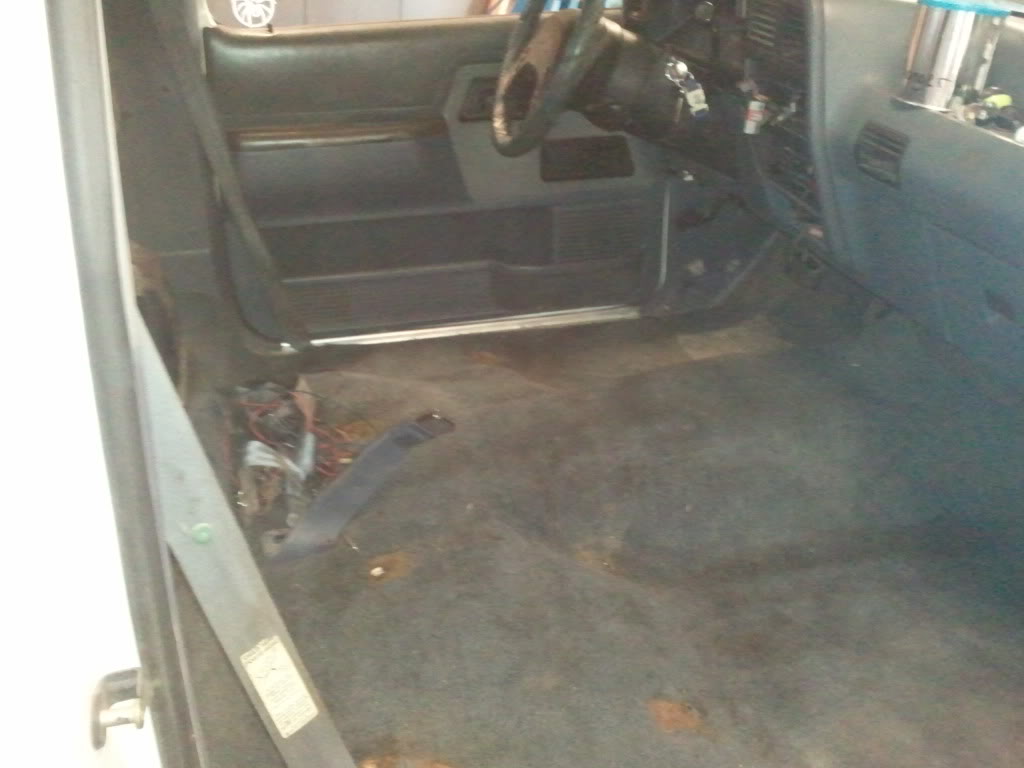
while I was weighting for the aircraft remover to do its thing I pulled the seats out so i can clean it all up and have more room to work when I replace the dash..
while I was weighting for the aircraft remover to do its thing I pulled the seats out so i can clean it all up and have more room to work when I replace the dash..


Thread Starter
|
Member
Joined: Mar 2010
Posts: 33
Likes: 0
From: New Richland MN
well I had to turn on the A/C in the shop.. dam its humid ...
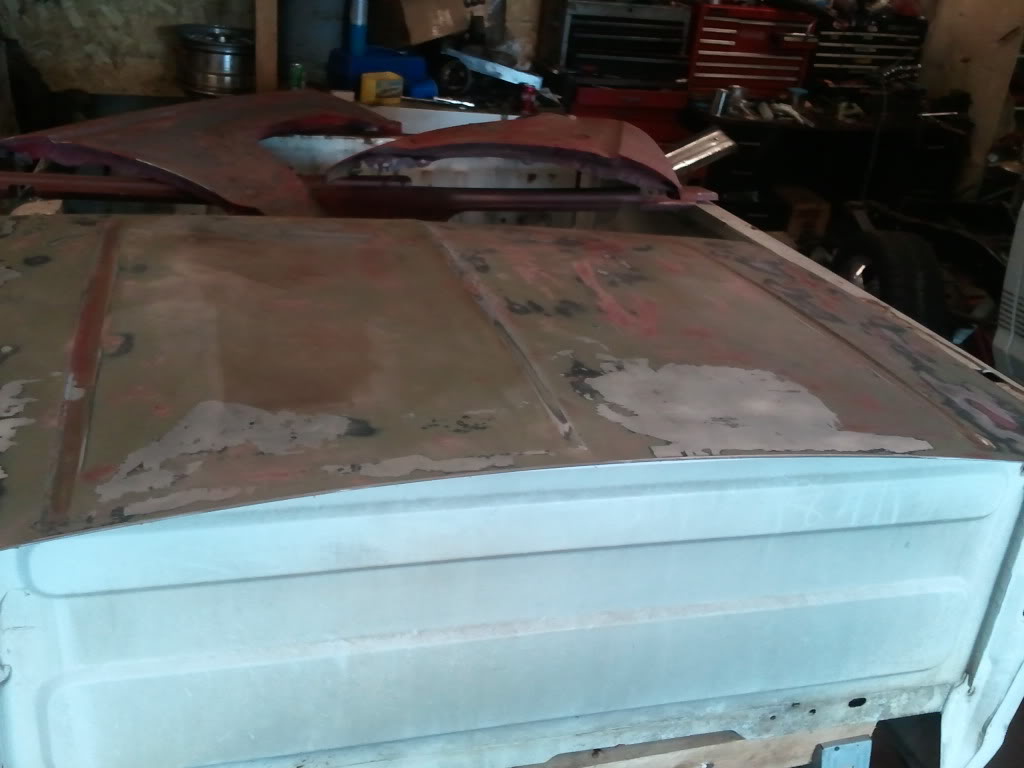
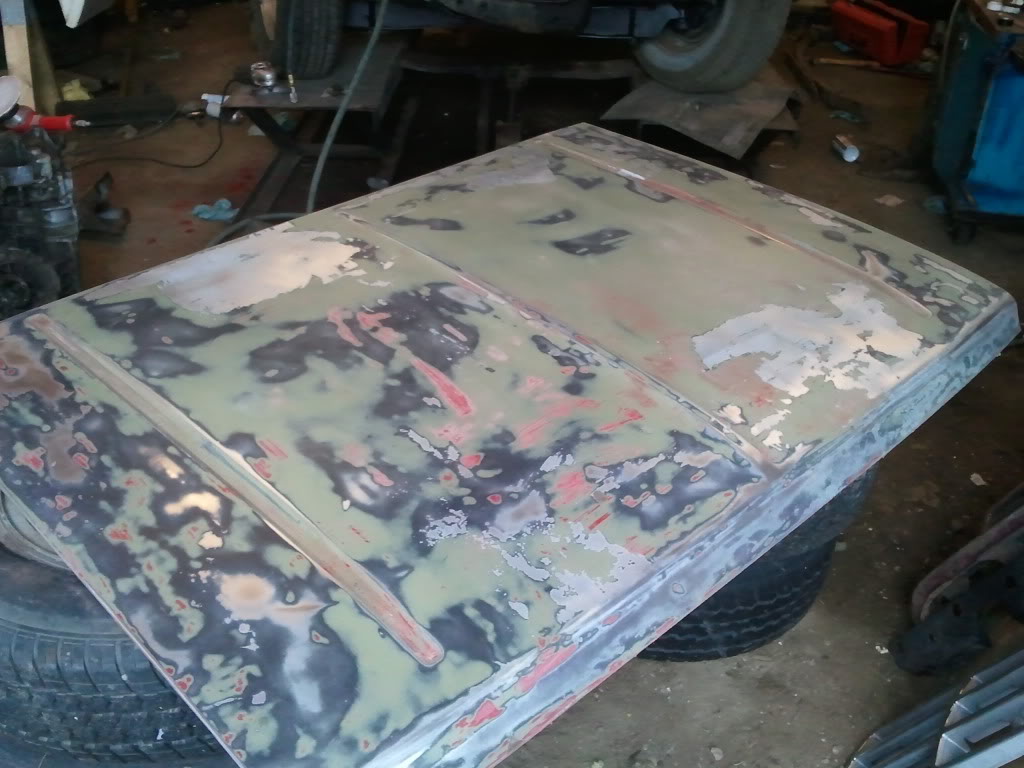
I laid some cheep blue paint in a few spots to act as a guide coat .. I have a 2 foot and a 4 foot sanding blocks on there way .. the funn part of all this is getting the longer flat panel portions of this truck straight .. gona be alot of skim coating and sanding it back of too get the whole thing looking good and ready for paint..
Here's a few picks of the slow progress


Thread Starter
|
Member
Joined: Mar 2010
Posts: 33
Likes: 0
From: New Richland MN
well after a generous portion of aircraft remover I let it sit over night . Today I grabed my grinder with a wire wheel on it and went over the cab.. most of the paint came off with little effort.


Thread Starter
|
Member
Joined: Mar 2010
Posts: 33
Likes: 0
From: New Richland MN
So I got some energy today and started the second body modification .. I gathered my sawzall , grinders ,some flap wheels my welder and a few other odd tools and went to the task at hand..
Shaving the drip rails ..
I started with this ..

I took a good long look at it all and went to work ..
I cut out small 6 to 10 inch sections and tacked it and cut some more .. heres a few pics of the progress ..


Heres the passenger side done and ready for alittle filler and primer


Shaving the drip rails ..
I started with this ..
I took a good long look at it all and went to work ..
I cut out small 6 to 10 inch sections and tacked it and cut some more .. heres a few pics of the progress ..
Heres the passenger side done and ready for alittle filler and primer
Thread Starter
|
Member
Joined: Mar 2010
Posts: 33
Likes: 0
From: New Richland MN
Got out to the shop fer a bit tonight and finished up the drip rail removal .. I have a little metal work left to do before i can start with the filler but its coming along ..


I am geting rid of the light above the back window in favor of some L.E.D's not sure on how im gona do it yet but the bulky light and sliding rear window are definitely not staying on the truck. I also have to decide what im going to do for mirrors ..
I am geting rid of the light above the back window in favor of some L.E.D's not sure on how im gona do it yet but the bulky light and sliding rear window are definitely not staying on the truck. I also have to decide what im going to do for mirrors ..
Thread Starter
|
Member
Joined: Mar 2010
Posts: 33
Likes: 0
From: New Richland MN
well I got alittle work done tonight .. now that i have the drip rails shaved off I had to fill the gap left over ..
Before..

After...

After a alittle filling and a few passes with the grinder to smooth it all out i should be ready to move on to the next thing on my list..
Before..
After...
After a alittle filling and a few passes with the grinder to smooth it all out i should be ready to move on to the next thing on my list..


