My91Ranger's - Project Log


#77
 03-04-2010


#78
03-04-2010
Join Date: Feb 2007
Location: Temperance Mi
Posts: 677
Likes: 0
Received 0 Likes
on
0 Posts

#80
03-05-2010
That fuel rail is off of a 302 F150. It works GREAT! Much better than the mustangs fuel rail, alot less pipping to hook up and you don't have to run it past your headers. I used that rail and two Russel fittings that spring lock onto the rail and ran that down to the stock Fuel filter and return line. I have the part numbers at home if you need them for the Russel fittings.
#81
03-05-2010
Join Date: Feb 2007
Location: Temperance Mi
Posts: 677
Likes: 0
Received 0 Likes
on
0 Posts
#82
03-05-2010
Yep the lines hook-up at the back drivers side of the motor. The two fittings are made by Russel, one for the pressure side and one for the return side. Both use a -6 AN hose. This setups has worked great for me.
640870
640900
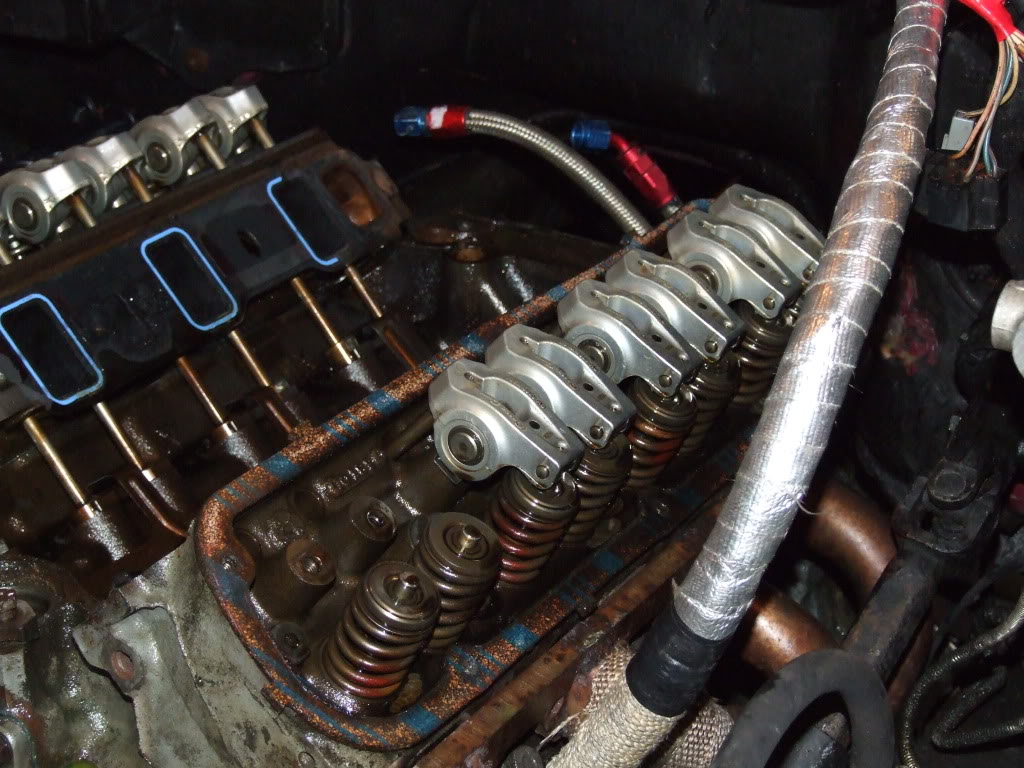
Here you can see how long the lines are to reach the rail
1-20-09049.jpg?t=1267837224
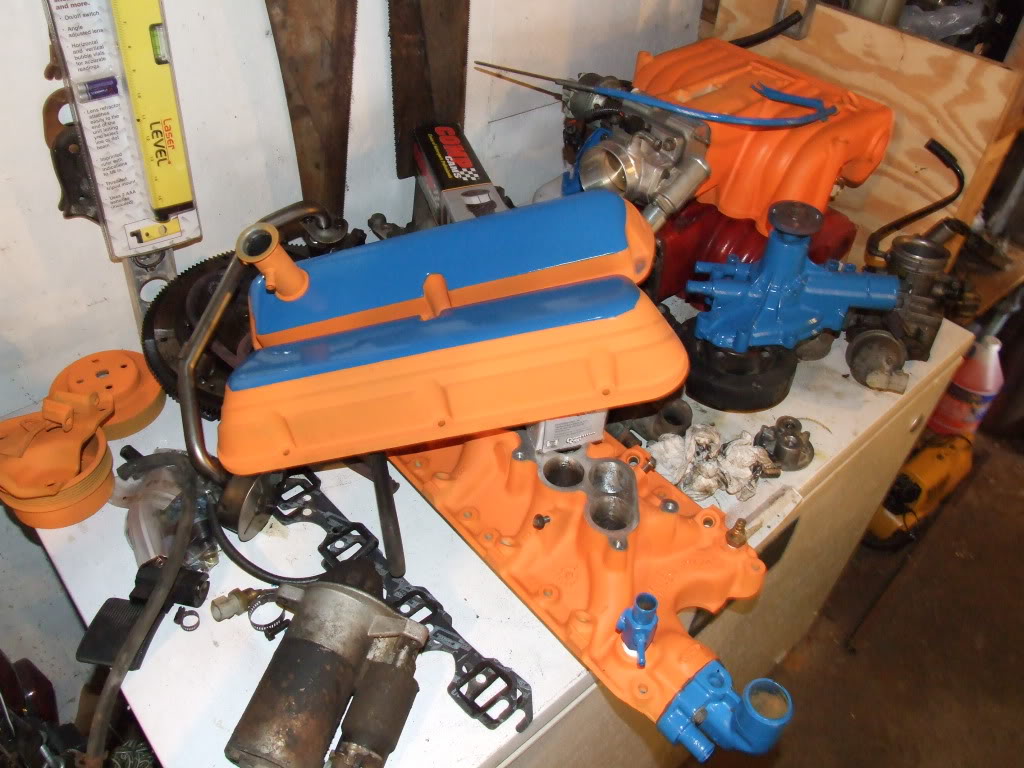
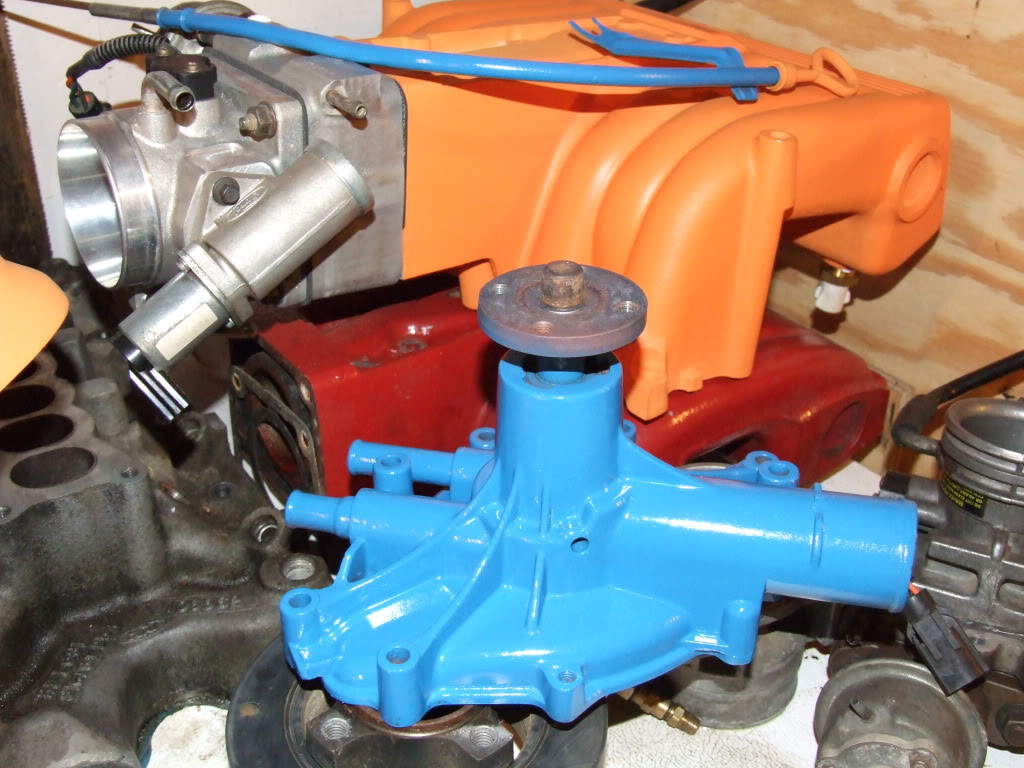
And here you can see how the stock mustang fuel rail is, hooks up on the front passengers side. The other thing that changes is the fuel pressure regulator moves from the left to the right side. I have plenty of clearance for it on my intake because I have a spacer on it, but i'm not positive if it clears without a spacer. (I am selling mine for a stock HO intake if your interested.)
HeadGasket047.jpg?t=1267837253
640870
640900
Here you can see how long the lines are to reach the rail
1-20-09049.jpg?t=1267837224
And here you can see how the stock mustang fuel rail is, hooks up on the front passengers side. The other thing that changes is the fuel pressure regulator moves from the left to the right side. I have plenty of clearance for it on my intake because I have a spacer on it, but i'm not positive if it clears without a spacer. (I am selling mine for a stock HO intake if your interested.)
HeadGasket047.jpg?t=1267837253
#83
03-05-2010
Join Date: Feb 2007
Location: Temperance Mi
Posts: 677
Likes: 0
Received 0 Likes
on
0 Posts
#84
03-05-2010
hey man I'm pretty new here this is the first I've stumbled across pics of your truck - followed the thread through from the beginning, the truck looks great and the amount of work you have put in is amazing. If I ever have cash to blow it'll be on a 2nd gen off road machine, your truck really looks great. Everyone complains they haven't updated the ranger in 10 years - I wish they'd update it by going back to that body style.
#85
03-06-2010


#86
03-25-2010
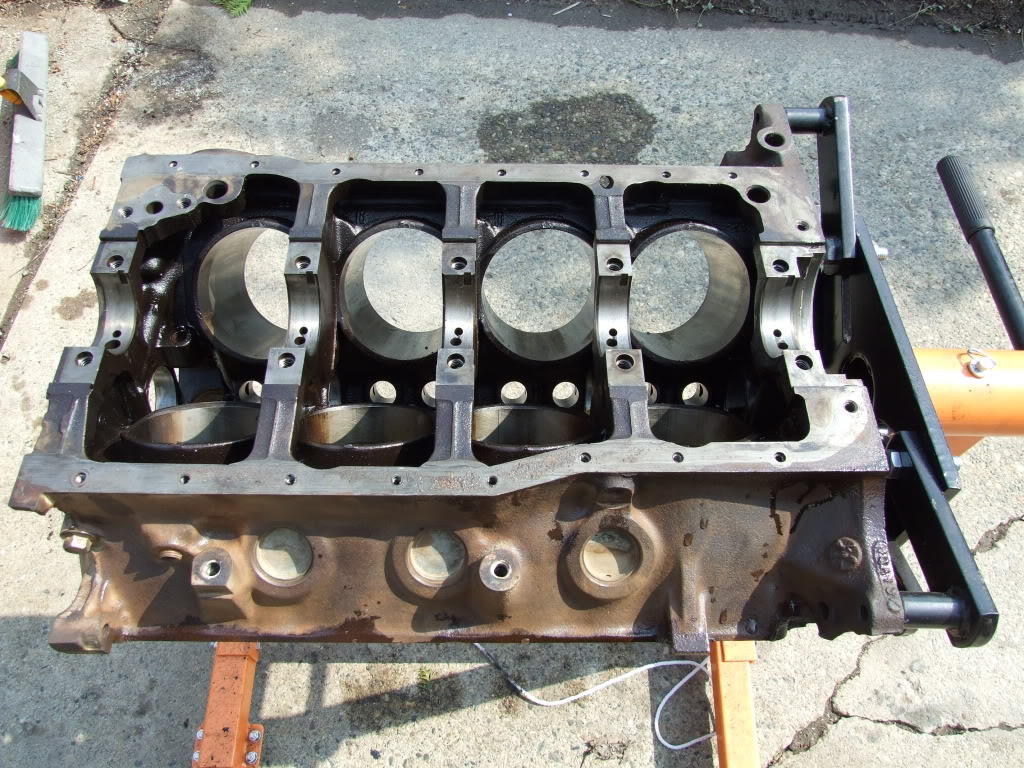
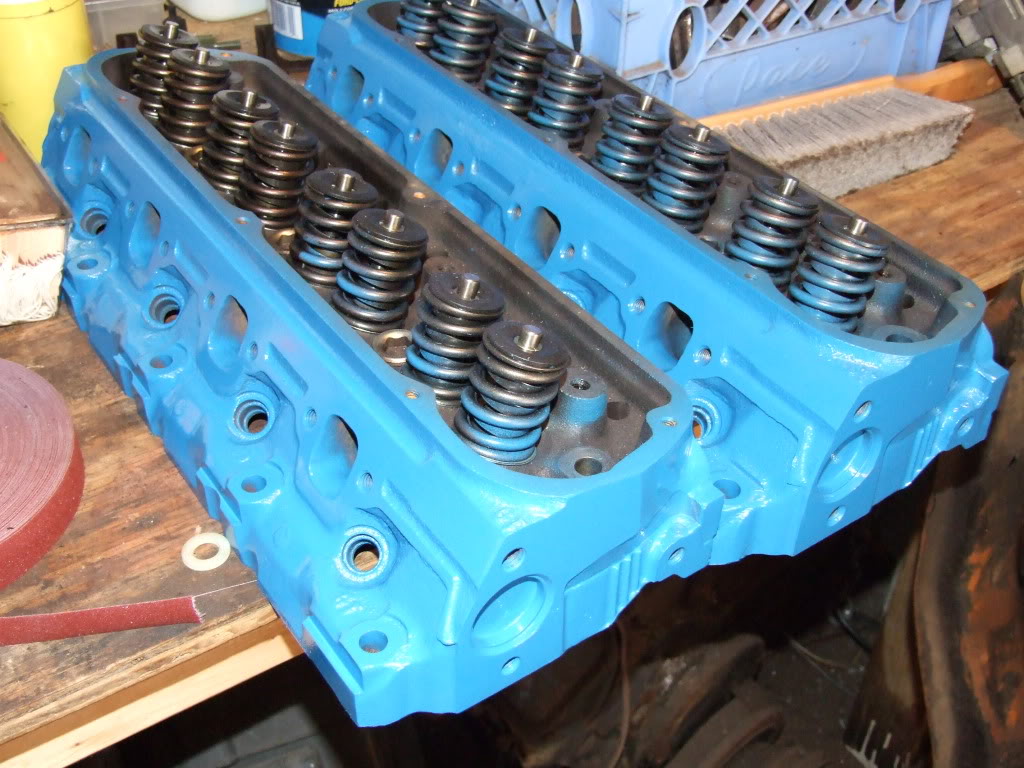
Well I have been working on the truck every chance I get but haven't taken to many pictures. The block is completely disassembled, has been cleaned, painted, the cylinders are prepped and ready to go. I had to send my crankshaft out to get ground down .010 inches because there was some scoring on the journals. Will be picking it up tomorrow and start assembly. The heads are finally ported, painted, and fully assembled. The valves were all lapped and the valve springs were shimmed. I also static balanced all of the pistons and rods and they are all within .3 grams of each other. Should make things run pretty smoothly. I made a new lower radiator mount and mocked it all up with my old radiator to get everything spaced also. Also switched the electric fan from a puller to a pusher to free up space in the engine compartment. Hopefully it still provides enough cooler. Should have more pictures this weekend.


#87
03-25-2010
Join Date: Aug 2008
Location: pinckney,MI
Posts: 391
Likes: 0
Received 0 Likes
on
0 Posts
#88
09-03-2010
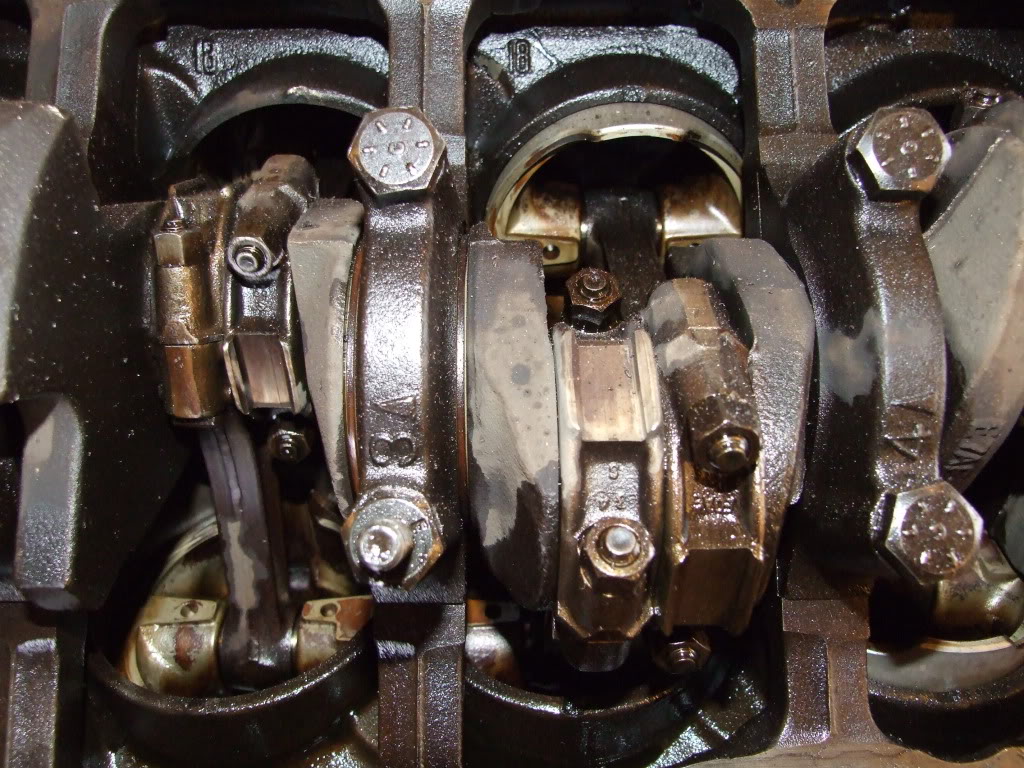
Wow I am not very good at up dating project logs... I did finish the rebuild back in March. Ran into several problems such as 7 of 8 injectors being bad and some small electrical issues. Eventually got all the bugs out and had been running strong until about 6 weeks ago. Developed a bad vibration that got worse with RPM, after a couple weeks of trying to track down the problem I had to pull the motor back out and tear it down.
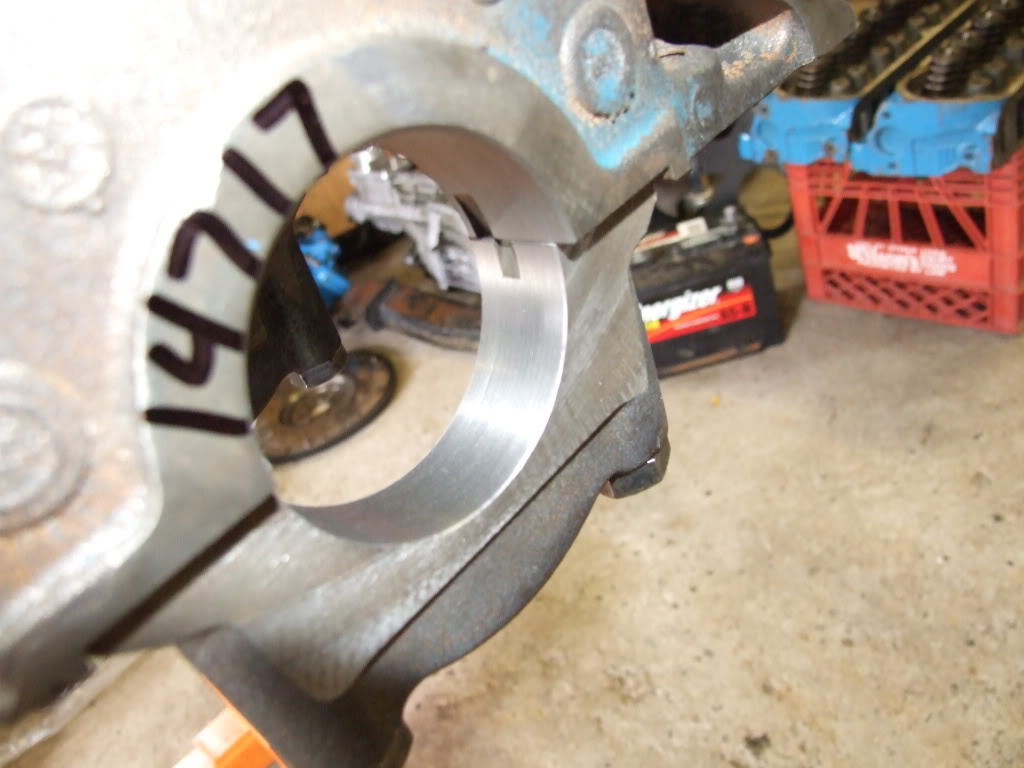
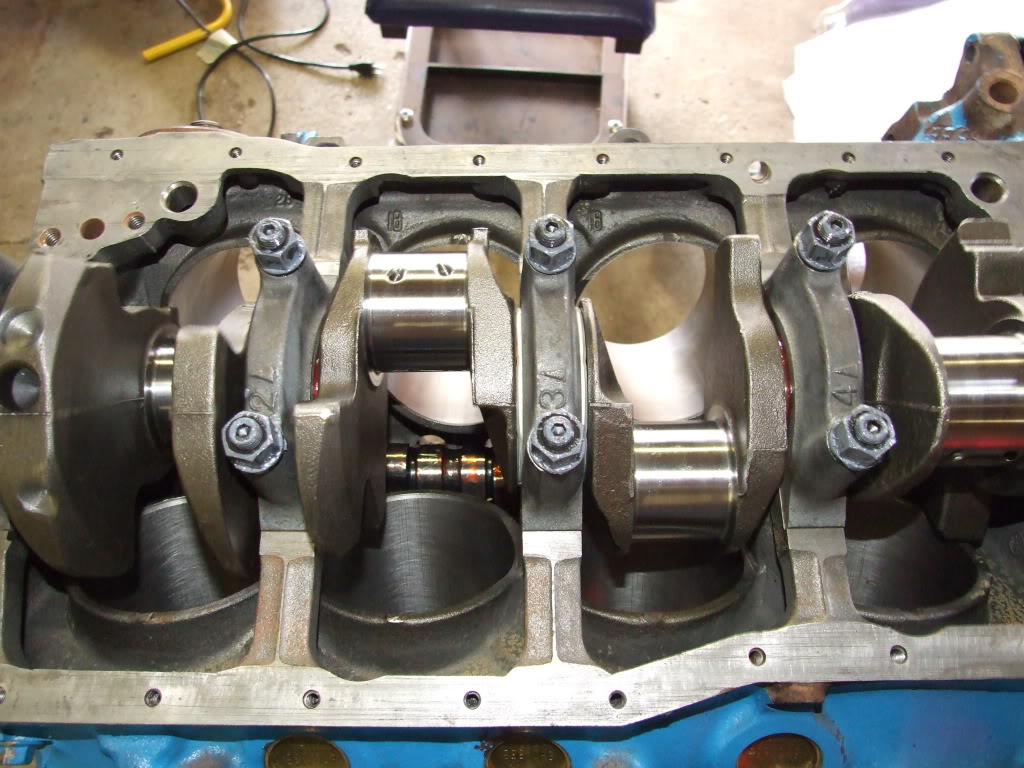
The main bearings were toast, the number 5 bearing was destroyed and the material went through the rest of the motor. The crankshaft was sent out to be reground and additional 30 thousandths on the mains and 10 thousandths on the rod journals.
Just recieved all the parts back from the machine shop yesterday, all the work listed below
New Cam Bearings Installed
Honed the Cylinders
Milled the head surface 10 thousandths
Decked the heads 25 thousandths (Yay compression)
Align Bored and Honed the Mains
R&R the rods
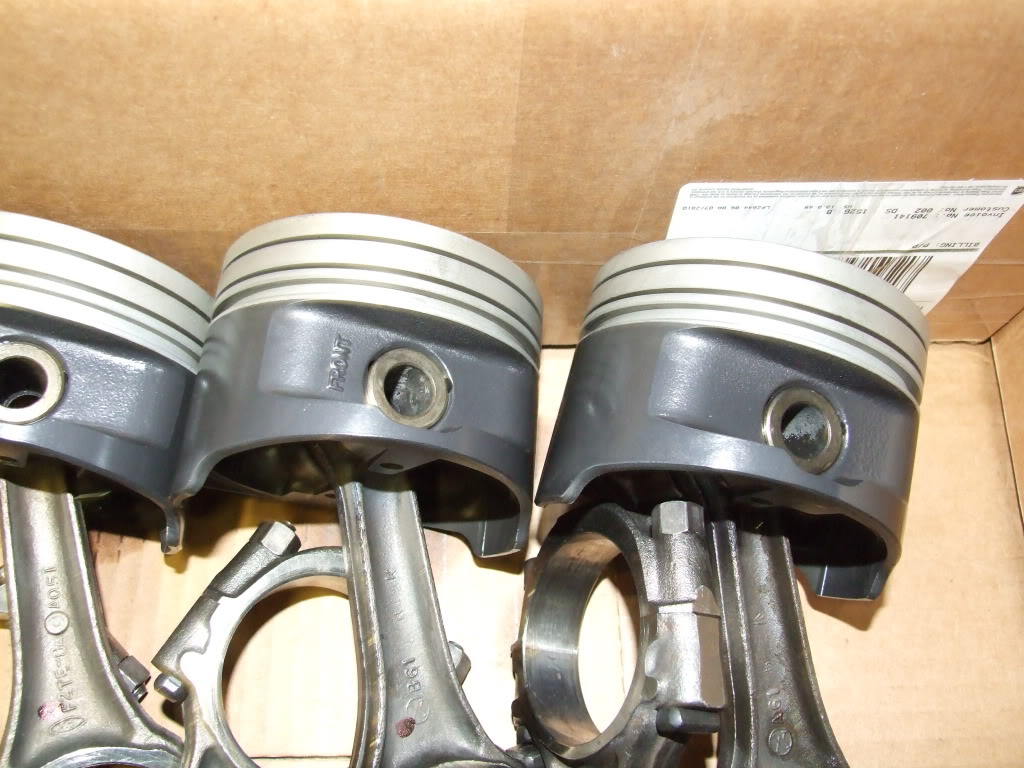
Coated the Pistons Skirts
Balanced the rotating assembly for 7,000+ RPM
SFI Approved Balancer
ARP Main Studs Added
Tomorrow I will begin putting the motor back together and hope to have it running with in a couple of days. Also just finished up rear disc brake conversion last night, just need to finish bleeding the brakes. Should have some pictures of all the work sometime next week.
The main bearings were toast, the number 5 bearing was destroyed and the material went through the rest of the motor. The crankshaft was sent out to be reground and additional 30 thousandths on the mains and 10 thousandths on the rod journals.
Just recieved all the parts back from the machine shop yesterday, all the work listed below
New Cam Bearings Installed
Honed the Cylinders
Milled the head surface 10 thousandths
Decked the heads 25 thousandths (Yay compression)
Align Bored and Honed the Mains
R&R the rods
Coated the Pistons Skirts
Balanced the rotating assembly for 7,000+ RPM
SFI Approved Balancer
ARP Main Studs Added
Tomorrow I will begin putting the motor back together and hope to have it running with in a couple of days. Also just finished up rear disc brake conversion last night, just need to finish bleeding the brakes. Should have some pictures of all the work sometime next week.
#89
09-03-2010
#91
09-03-2010
Join Date: Feb 2007
Location: Temperance Mi
Posts: 677
Likes: 0
Received 0 Likes
on
0 Posts
#94
09-04-2010
I'm not 100% percent sure what caused it, but it stemmed from the flywheel area. Near as I can tell the input shaft of the trans had very excessive end play and was pushing on the pilot bearing laterally, which eventually chewed up the Number 5 main. When I would remove the trans and clutch/pressure plate the motor would run smooth up to the limiter, but as soon as the pressure plate was re-installed it would shake to all hell. I tried 2 different clutch setups all with the same result.
I just finished up bleeding the brakes on the truck and about to start re-assembling the motor now!
I just finished up bleeding the brakes on the truck and about to start re-assembling the motor now!
#95
09-05-2010
Well the truck is back on the road. I fired it up around 3pm today, and it started on the 2nd crank so that was great! Had to chase down some issues like the thermostat being stuck closed... but have most of the kinks worked out. Will try and post pictures soon.
Also, I have the rear disc brakes all set up, but I am having a problem with them being very squishy. The pedal goes down over half way before it starts to engage. It stops, but not very well. I have bled the entire system and get nice clean fluid out with no air bubbles on all four corners but it remains soft, so if anyone has any ideas.
Also, I have the rear disc brakes all set up, but I am having a problem with them being very squishy. The pedal goes down over half way before it starts to engage. It stops, but not very well. I have bled the entire system and get nice clean fluid out with no air bubbles on all four corners but it remains soft, so if anyone has any ideas.
#98
09-05-2010
Join Date: Feb 2007
Location: Temperance Mi
Posts: 677
Likes: 0
Received 0 Likes
on
0 Posts
#99
09-06-2010
So far I have 125 miles on them and it stops fine but my foot goes so bloody far down before it engages. But the truck has been driving good today, already have an exhaust leak... so I will chase that down tomorrow, but overall its feeling pretty strong and haven't had any other problems. Now to put a bunch of miles on it before i head to the dunes in 2 weeks.
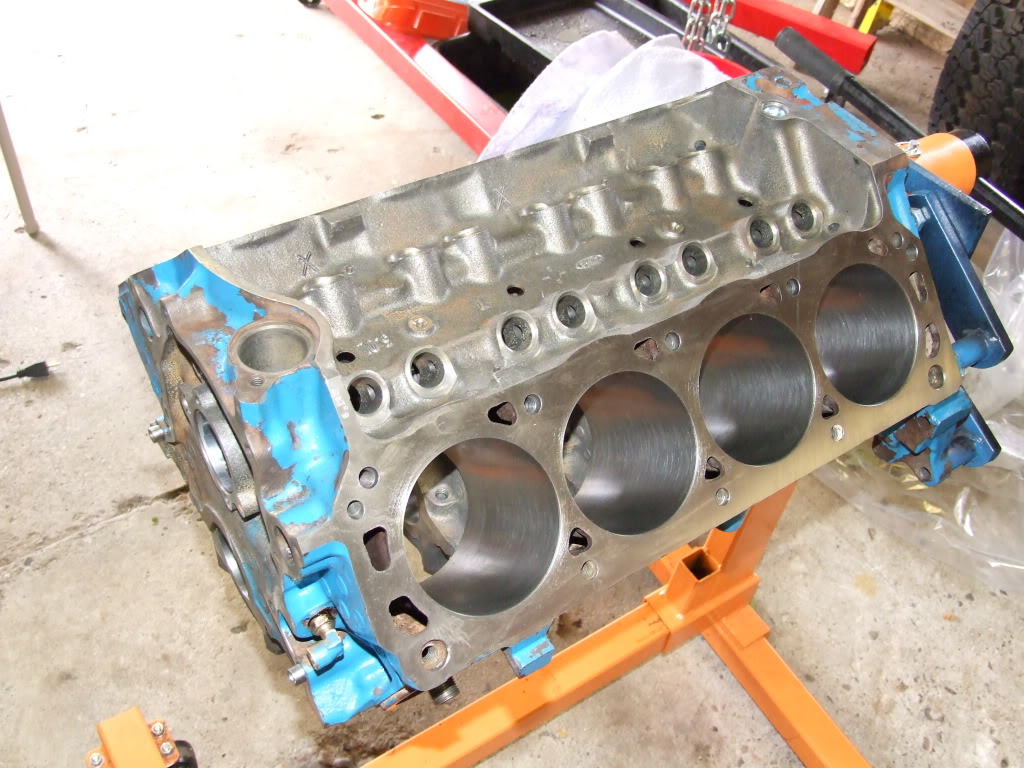
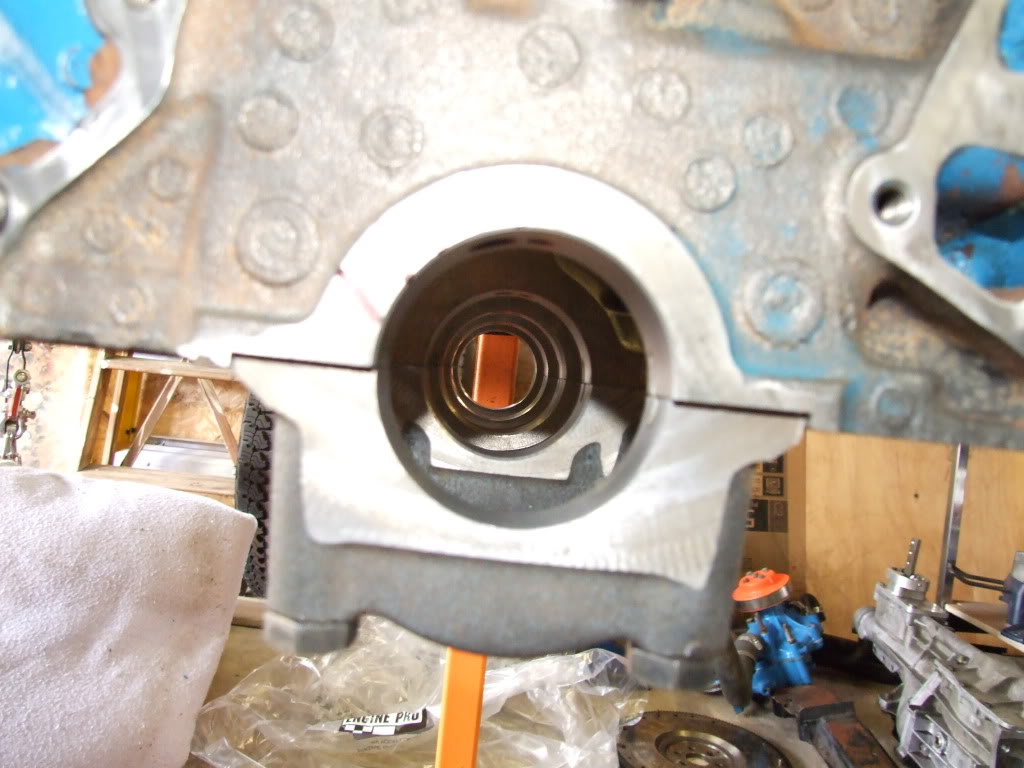
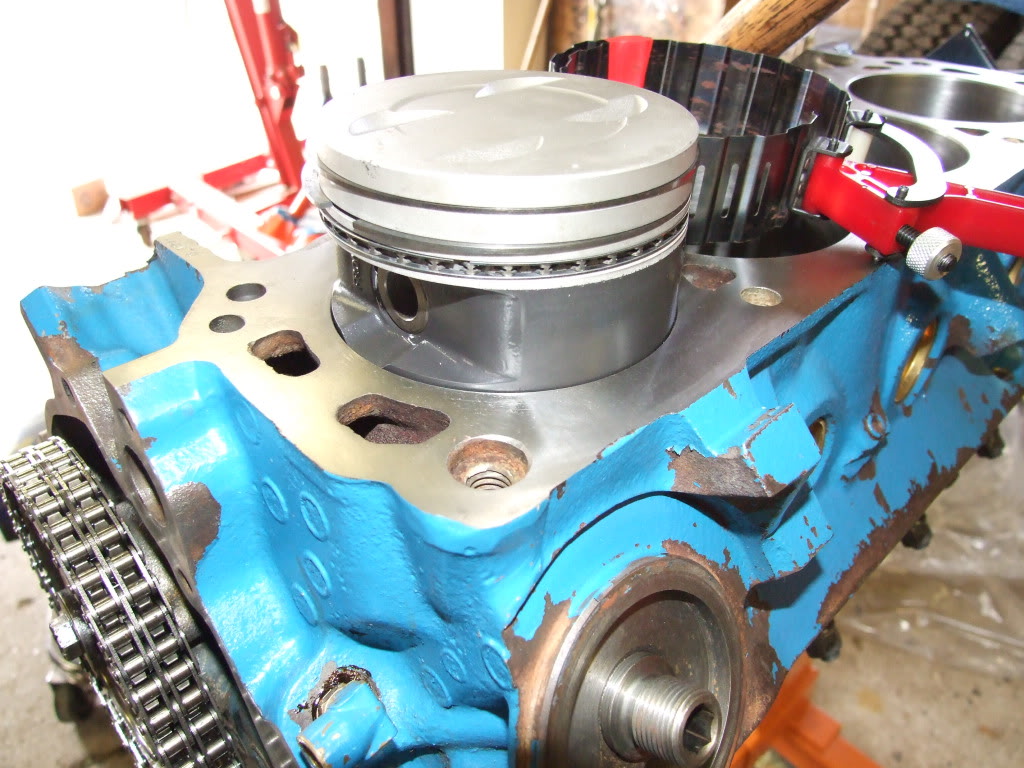
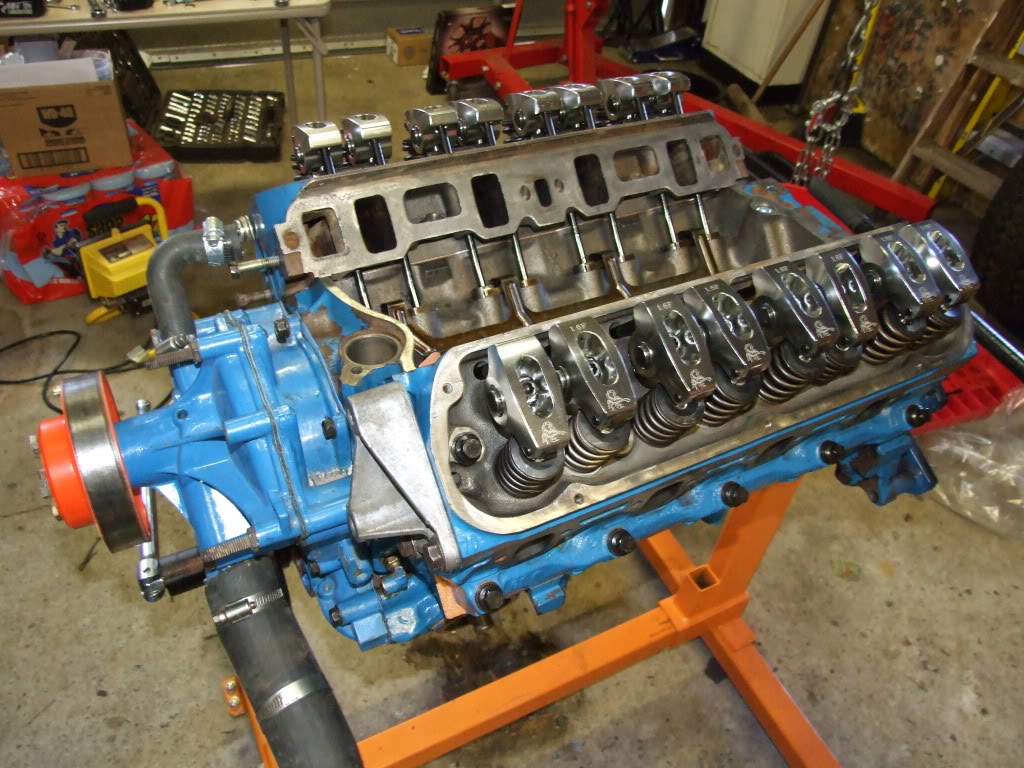
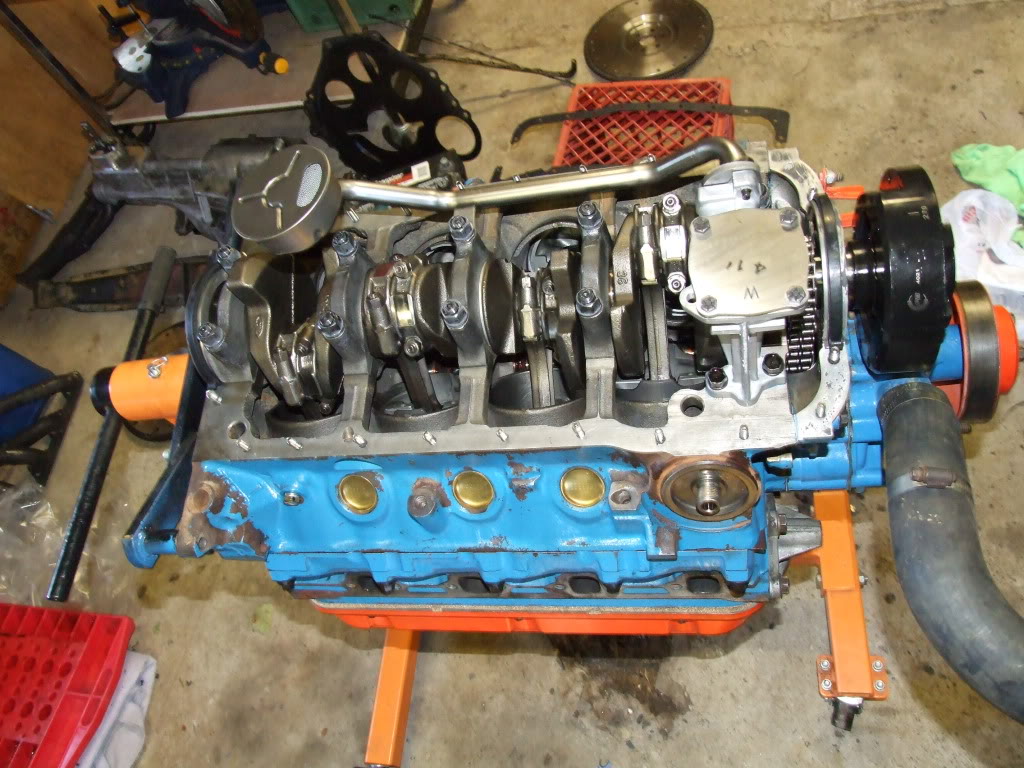
Here are a couple pictures of the shortblock as I put it back together, hopefully will have some complete and shinny pics in a week or so, need to paint my new bed cap and get it mounted.


