Swick's Runner
#1
 07-09-2010


Swick's Runner
I started the build of my truck back in the summer of 08 and have been working on it ever since. The building of my truck is done in stages. So far im on stage 6 and I have 2 to 3 more to go.
A little history:
On a warm summer afternoon while I was headed home after long day of floating. Long story short I ran out of talent but blue tooth was the cause. I hit a 10" peach tree around 10 to 15 mph I was able to slow from 50mph. Thus my reason to build my truck. When I bought this truck in 06 I had the intentions to turn it in to a prerunner. So my thinking is why go back to stock when it is cheaper to what I want. That kind of thinking only worked for the first stage.
Stage 1: Fix Damage. Start date 07/15/08
What was damaged: header pannel, driver side lights, grill, hood, fender, bumper, and core support. The air bags did not deploy.
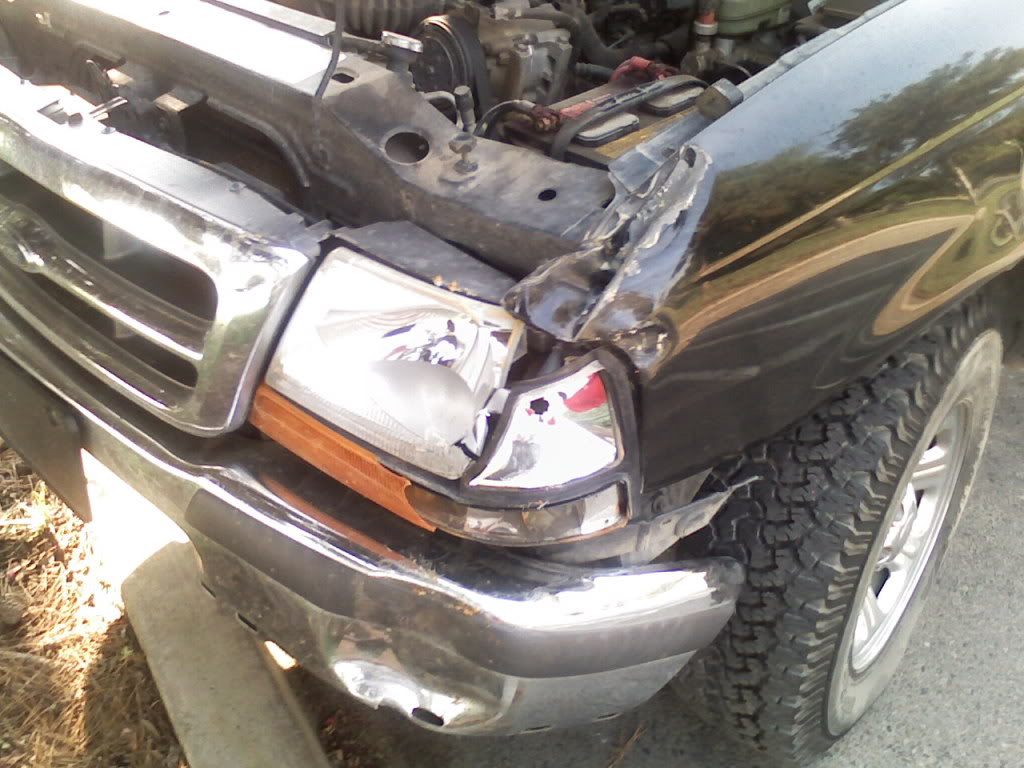
Found the glass, hood, header panel, grill, on craigslist for a $200 bucks. In the process I got new lights for both sides from ebay for $80. I was able to get the core support back in to shape.

I built a 100% bolt on tube bumper. I spent $80 for all the material.

The completion of stage 1. You can see my next stage in this pic very well. Finish date 08/10/08
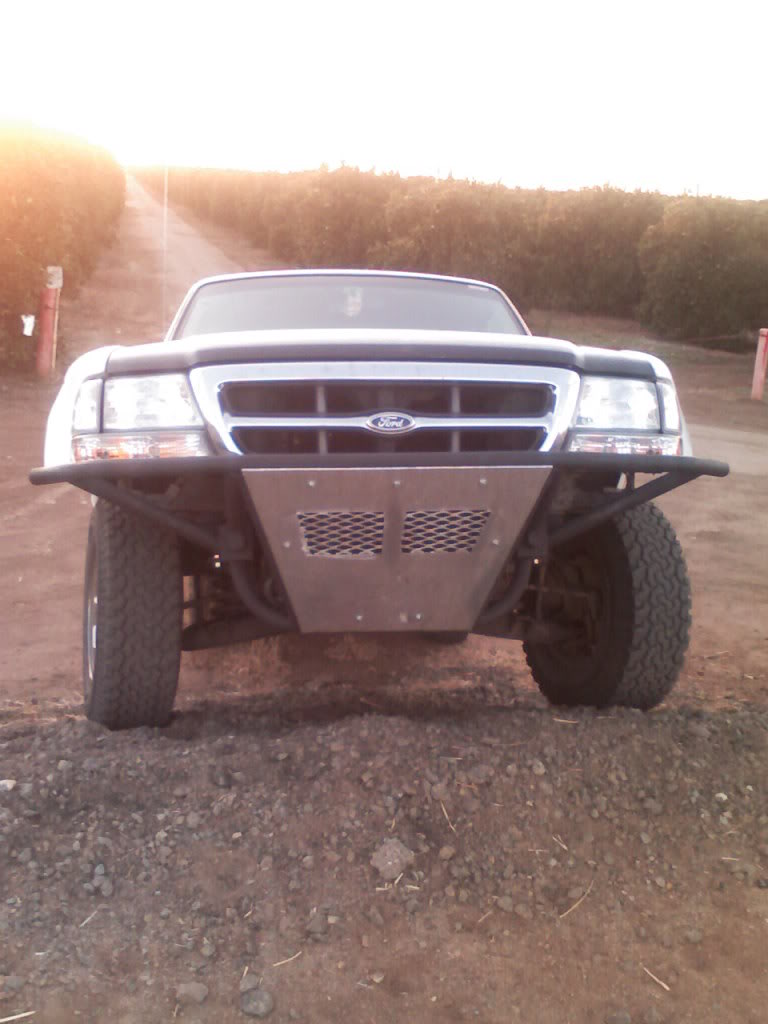
My bumper build.
https://www.ranger-forums.com/f42/tu...e-bulid-73194/
A little history:
On a warm summer afternoon while I was headed home after long day of floating. Long story short I ran out of talent but blue tooth was the cause. I hit a 10" peach tree around 10 to 15 mph I was able to slow from 50mph. Thus my reason to build my truck. When I bought this truck in 06 I had the intentions to turn it in to a prerunner. So my thinking is why go back to stock when it is cheaper to what I want. That kind of thinking only worked for the first stage.
Stage 1: Fix Damage. Start date 07/15/08
What was damaged: header pannel, driver side lights, grill, hood, fender, bumper, and core support. The air bags did not deploy.
Found the glass, hood, header panel, grill, on craigslist for a $200 bucks. In the process I got new lights for both sides from ebay for $80. I was able to get the core support back in to shape.
I built a 100% bolt on tube bumper. I spent $80 for all the material.
The completion of stage 1. You can see my next stage in this pic very well. Finish date 08/10/08
My bumper build.
https://www.ranger-forums.com/f42/tu...e-bulid-73194/
Last edited by swickwake; 07-16-2010 at 04:59 PM.
#2
07-09-2010
#3
07-09-2010
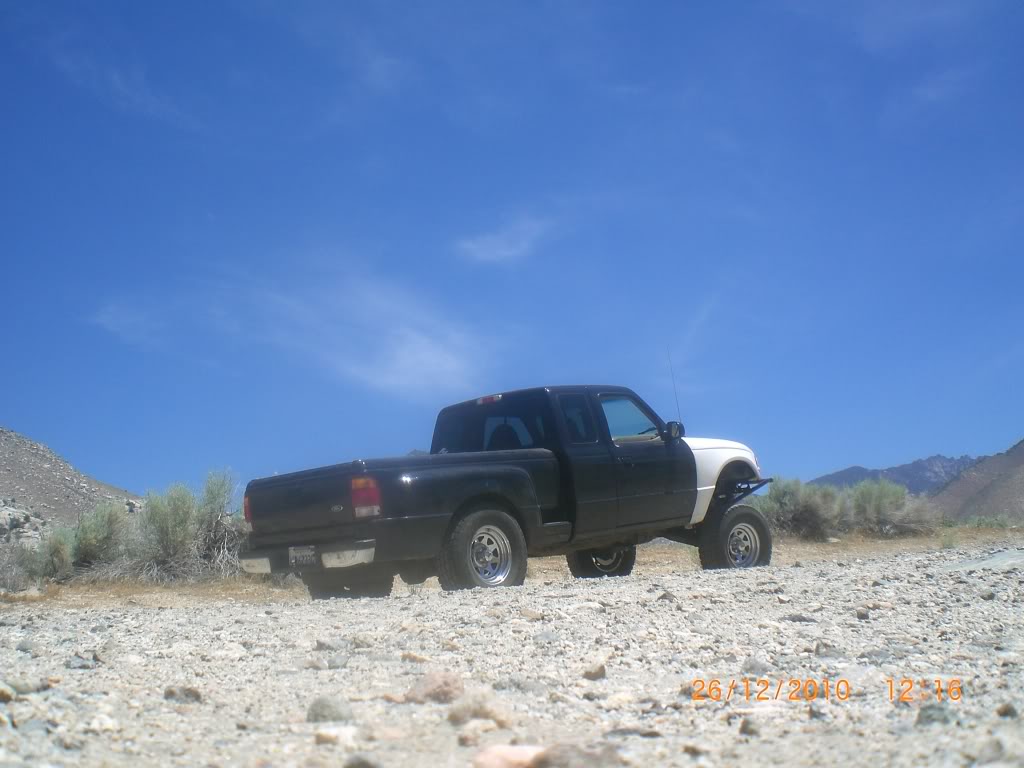
Stage 2: Find a reason to get rid on the stock suspension. Start date 07/18/09.
Little less then a year latter I was lucky to find this deal. I bought a Blitzkrieg mid travel kit from urandaman a fellow member here on RF. With the deal I got the every thing for the kit except bump stops but it did come with 07 disk brakes. My reasoning in buying this kit is number one its supper beefy and two all four ball joints were blown, pass side disk was warped, and the pass. side lower shock mount lost its rubber. Yes my stock front suspension was falling apart. Thus my reason to get this kit.
For some reason I did not get any install pics but this is the finished product.
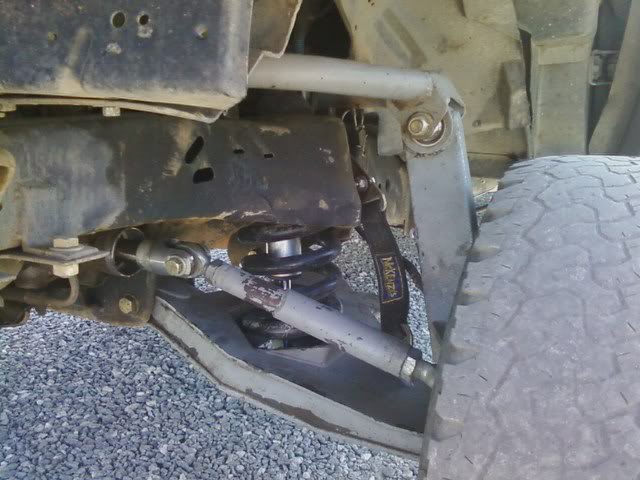
^^Not the cleanest install. I had to make a run to Chico, Ca when I finished it.
with this kit i needed to run a rim with a 3 3/4 back spacing. so i looked to Summit Racing for help.
For metal that I chose was Cragar Nomad II's
http://www.cragar.com/ViewImage.ashx?id=31&size=350
For meats I went to the local tire shop and they set me up with some 31x9.5 Triangle All-terrains. I really did not want to grenade my transmission.
http://ssl.delti.com/tyre-pictures/Triangle/TR246.jpg
For stage 6 I will be looking for 33x10.5 tires.
I completed the install on 07/26/09
Little less then a year latter I was lucky to find this deal. I bought a Blitzkrieg mid travel kit from urandaman a fellow member here on RF. With the deal I got the every thing for the kit except bump stops but it did come with 07 disk brakes. My reasoning in buying this kit is number one its supper beefy and two all four ball joints were blown, pass side disk was warped, and the pass. side lower shock mount lost its rubber. Yes my stock front suspension was falling apart. Thus my reason to get this kit.
For some reason I did not get any install pics but this is the finished product.
^^Not the cleanest install. I had to make a run to Chico, Ca when I finished it.
with this kit i needed to run a rim with a 3 3/4 back spacing. so i looked to Summit Racing for help.
For metal that I chose was Cragar Nomad II's
http://www.cragar.com/ViewImage.ashx?id=31&size=350
For meats I went to the local tire shop and they set me up with some 31x9.5 Triangle All-terrains. I really did not want to grenade my transmission.
http://ssl.delti.com/tyre-pictures/Triangle/TR246.jpg
For stage 6 I will be looking for 33x10.5 tires.
I completed the install on 07/26/09
Last edited by swickwake; 07-16-2010 at 04:58 PM.
#4
07-09-2010
Join Date: Nov 2009
Location: paso robles, ca
Posts: 148
Likes: 0
Received 0 Likes
on
0 Posts
#5
07-10-2010
Stage 3: Retire the old 220,000 4.0 ohv motor. The start date: 12/14/10.
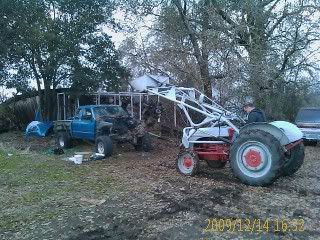
My second 4.0 was on it last leg. It was constantly eating spark plugs and leaking oil and coolant. So I was on the hunt to look for a new to me motor. I found it in the almond orchards of Chico. It was sitting in a wrecked prerunner ranger. I knew I was running a risk in getting this motor because it took a telephone pole head on at 45mph. I pulled it with 115,000 miles on it for $200.
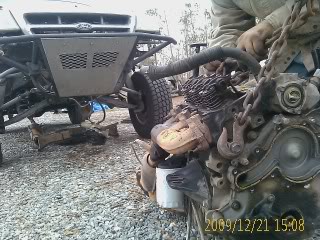
Items that were damaged were alternator, fan, pass side valve cover.
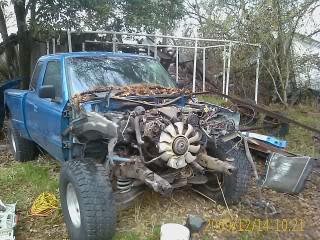
Had to result to our red neck roots to pull it out.
To do the motor swap I had to drive home which is 6 hours and 3/4 a tank south of Chico with a good motor. but on this trip it took me 8 hours and 1 1/2 tanks of fuel to make it.
Old motor pulled.
New motor inspected. Which everything was in spec. For new seals I paid $150.
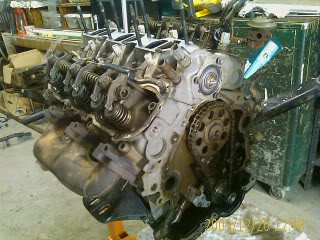
Finished product. Yes I had to dress it up.
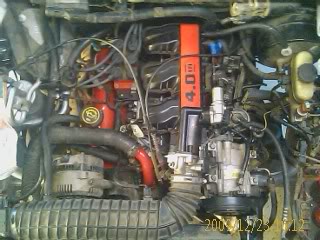
Motor swap completed on 12/23/10. The motor is still running amazing except i think my flex plate cracked.
Motor swap: https://www.ranger-forums.com/f82/sw...or-swap-99347/
My second 4.0 was on it last leg. It was constantly eating spark plugs and leaking oil and coolant. So I was on the hunt to look for a new to me motor. I found it in the almond orchards of Chico. It was sitting in a wrecked prerunner ranger. I knew I was running a risk in getting this motor because it took a telephone pole head on at 45mph. I pulled it with 115,000 miles on it for $200.
Items that were damaged were alternator, fan, pass side valve cover.
Had to result to our red neck roots to pull it out.
To do the motor swap I had to drive home which is 6 hours and 3/4 a tank south of Chico with a good motor. but on this trip it took me 8 hours and 1 1/2 tanks of fuel to make it.
Old motor pulled.
New motor inspected. Which everything was in spec. For new seals I paid $150.
Finished product. Yes I had to dress it up.
Motor swap completed on 12/23/10. The motor is still running amazing except i think my flex plate cracked.
Motor swap: https://www.ranger-forums.com/f82/sw...or-swap-99347/
Last edited by swickwake; 07-16-2010 at 05:19 PM.
#6
07-10-2010
Join Date: Oct 2009
Location: topanga, California
Posts: 179
Likes: 0
Received 0 Likes
on
0 Posts
#7
07-10-2010
#8
07-10-2010
Stage 4: 2.0 upgrade. Start date 3/13/10.
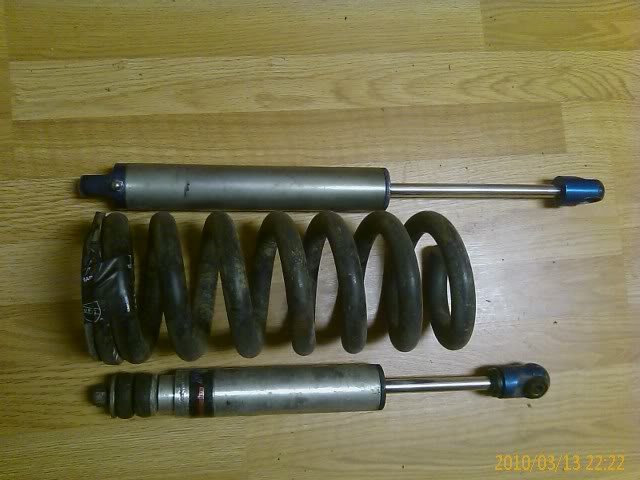
The Blitz kits come with fox stock replacement shock which I really did not like because if I wanted to change out the valving in the shocks I would have to pull the entire suspension off the truck to get to the shocks. So I found this killer deal. I was to trade this guy (same guy that i got the motor from) straight across his fox 2.0x8's for my fox stock replacements.
The differences in the shocks.
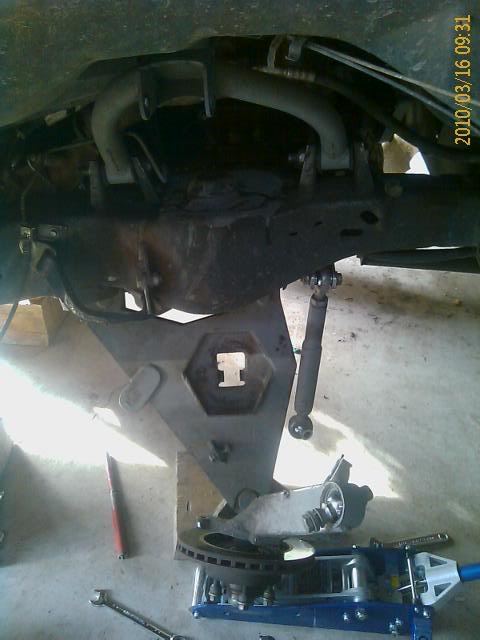
The point of no return. Stock mount cut out.
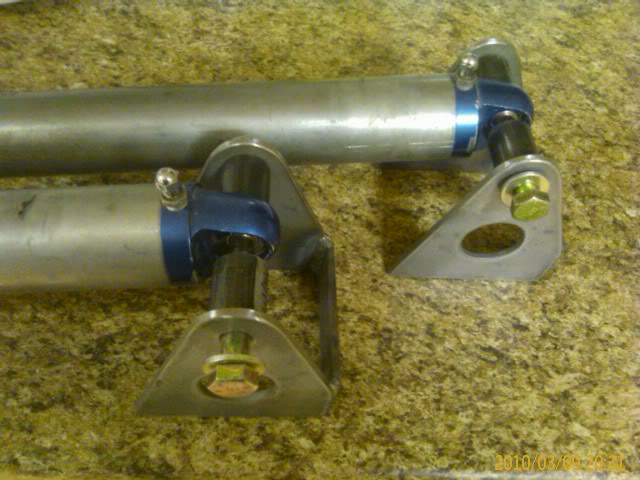
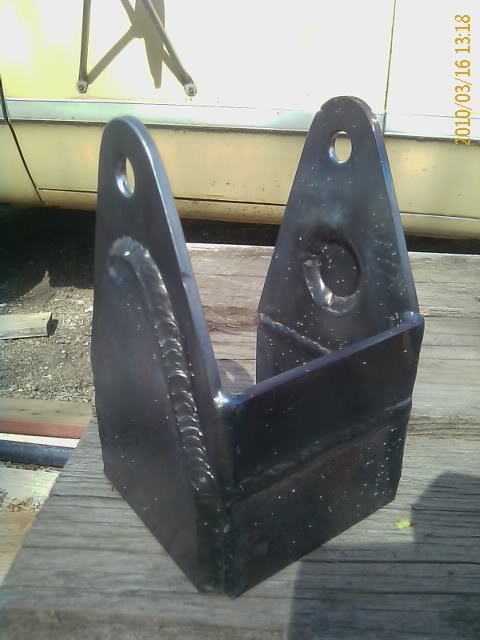
I looked to Camburg for there 2.0 mounts to build off since i'm pretty muck building a one off shock mount.
Added 2" to the Camburg mount to work with my Blitz kit.
completed mount

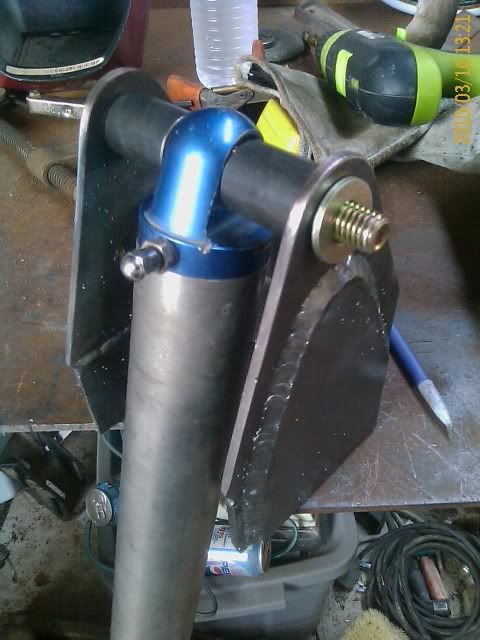
Cycled the suspension. Strapped at a full 13" in the front.
Drop
Bump
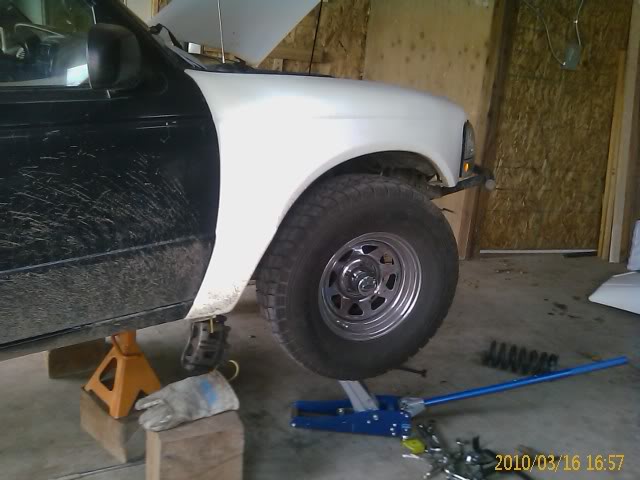
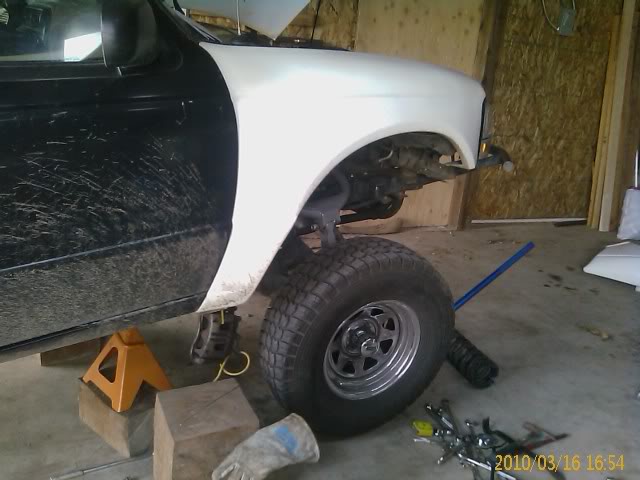
The finished product. I also cleaned up everything in the front.
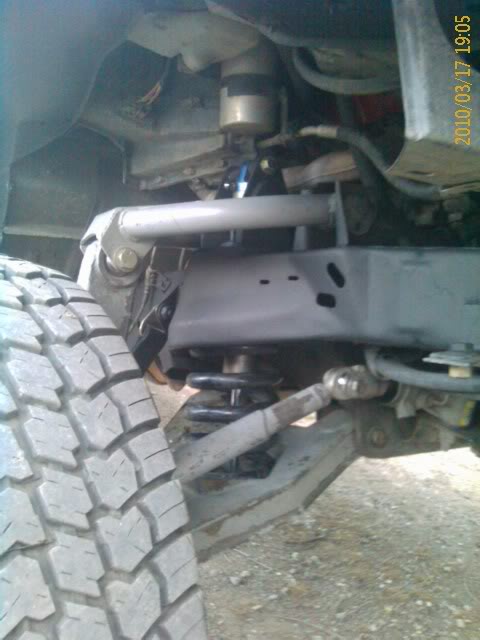

The suspension works great but I do need to add more valving to the shocks because these came off a Camburg 5.5 kit which is about 1" narrower then the Blitz kit.
Completed on 03/17/10.
The Blitz kits come with fox stock replacement shock which I really did not like because if I wanted to change out the valving in the shocks I would have to pull the entire suspension off the truck to get to the shocks. So I found this killer deal. I was to trade this guy (same guy that i got the motor from) straight across his fox 2.0x8's for my fox stock replacements.
The differences in the shocks.
The point of no return. Stock mount cut out.
I looked to Camburg for there 2.0 mounts to build off since i'm pretty muck building a one off shock mount.
Added 2" to the Camburg mount to work with my Blitz kit.
completed mount
Cycled the suspension. Strapped at a full 13" in the front.
Drop
Bump
The finished product. I also cleaned up everything in the front.
The suspension works great but I do need to add more valving to the shocks because these came off a Camburg 5.5 kit which is about 1" narrower then the Blitz kit.
Completed on 03/17/10.
#9
07-10-2010
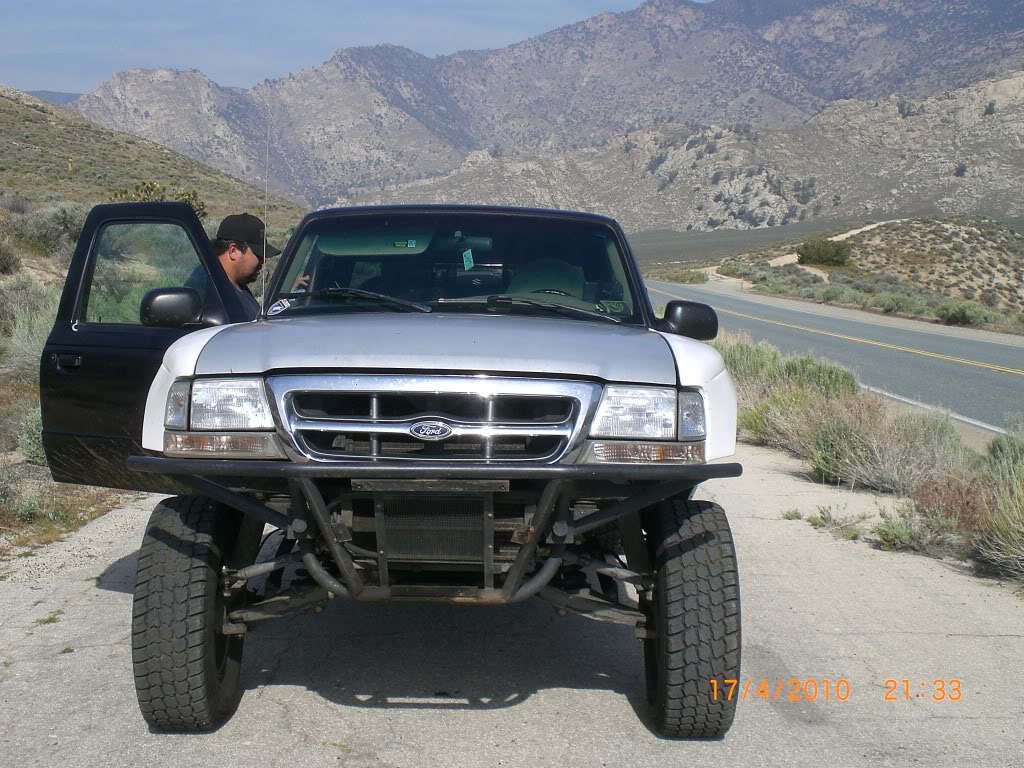
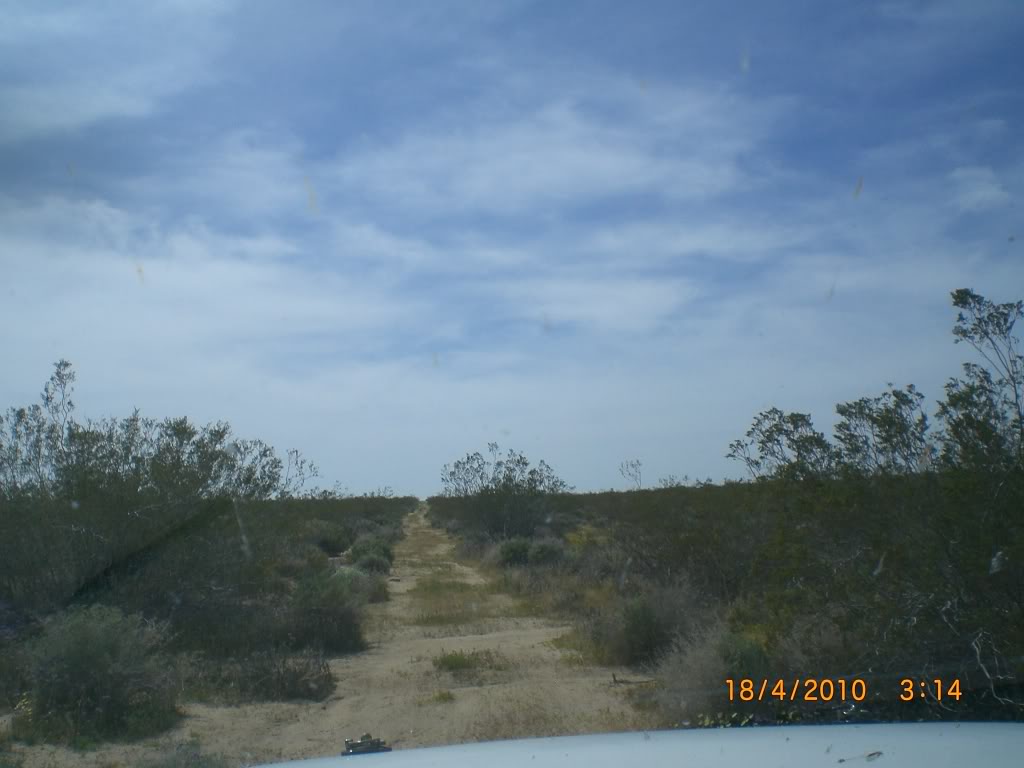
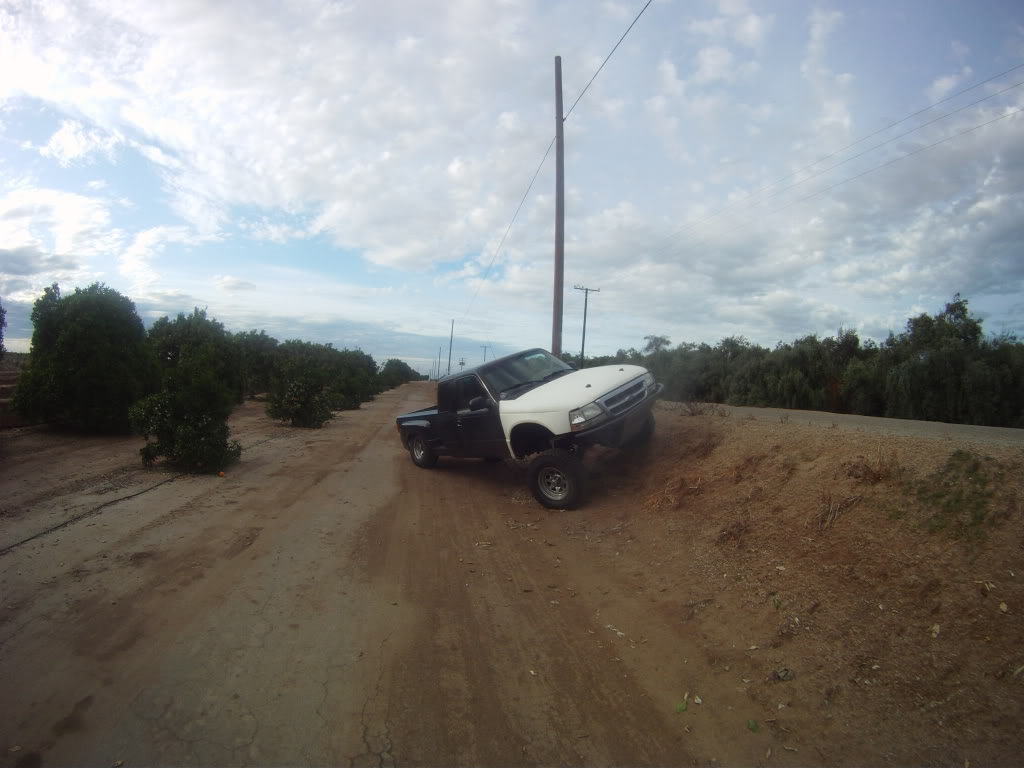
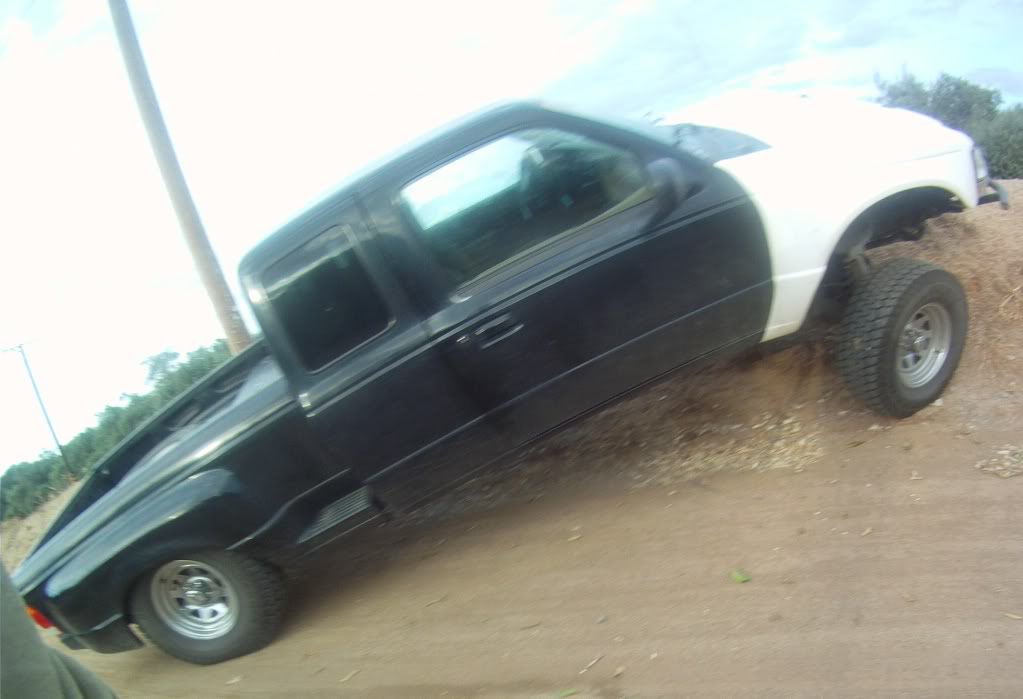
Stage 5: Fun in the sun. Start date 04/17/10
To start things off I have been itching to take the truck out to the desert for a test run. I got the chance when I locked in some buyers of parts that lived out in the desert. So I headed south from Chico to home to pick up the parts my buddy and his quad.
I uploaded a map of the trip at the bottom of this thread.
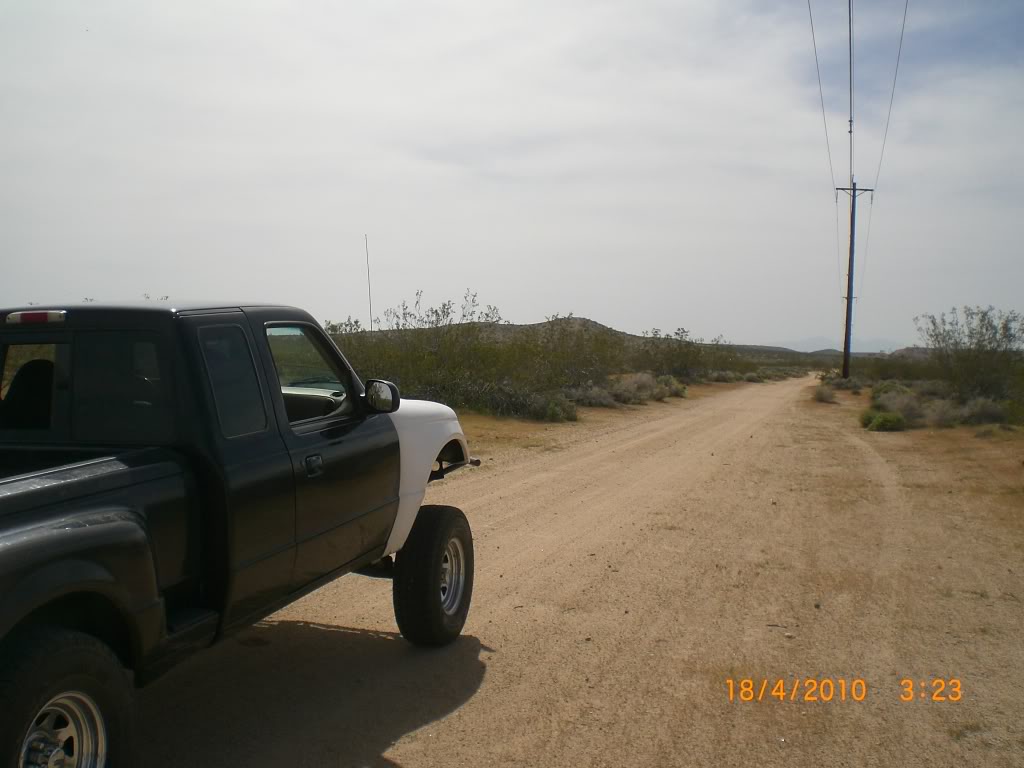
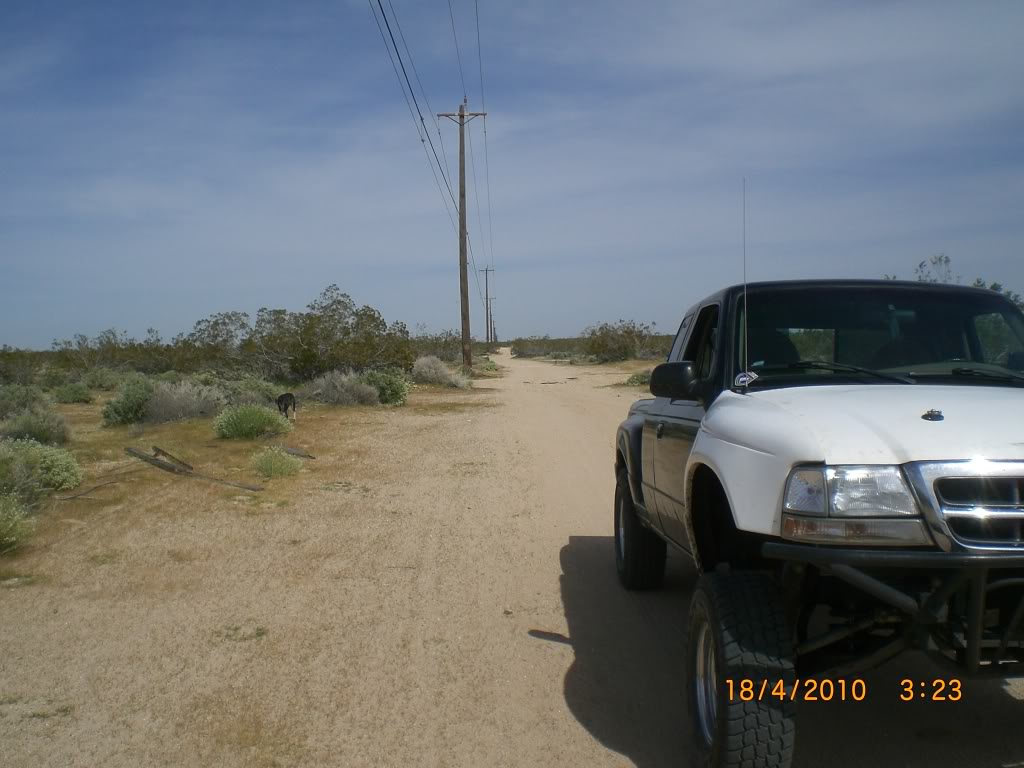
the high point of the trip.
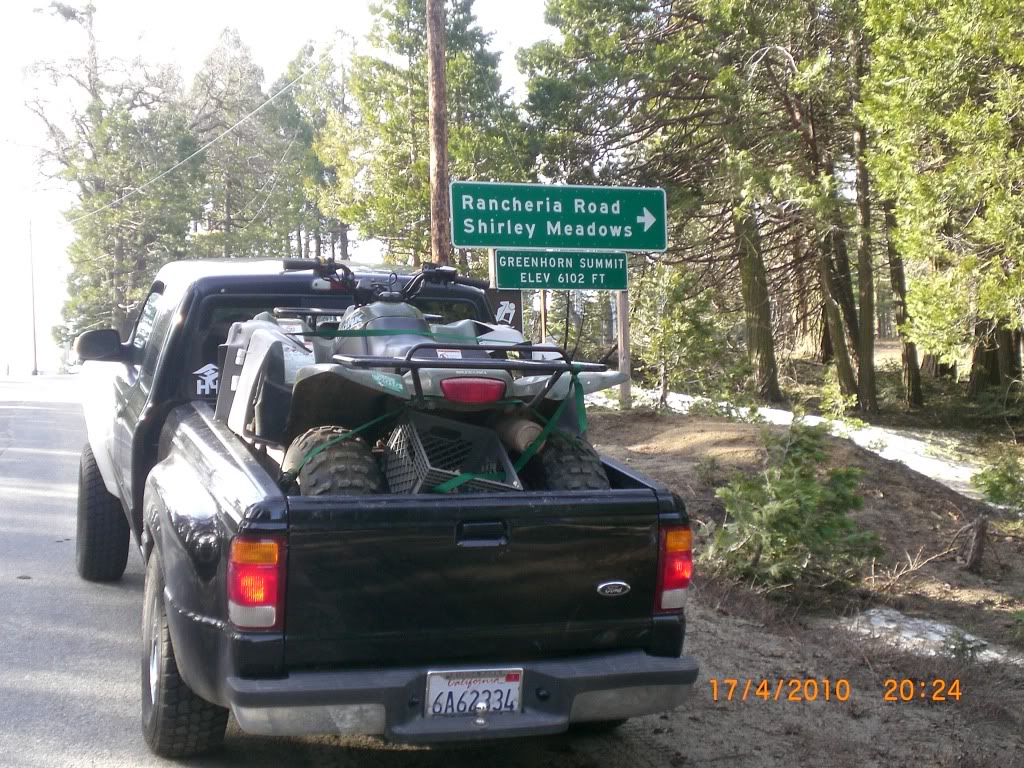
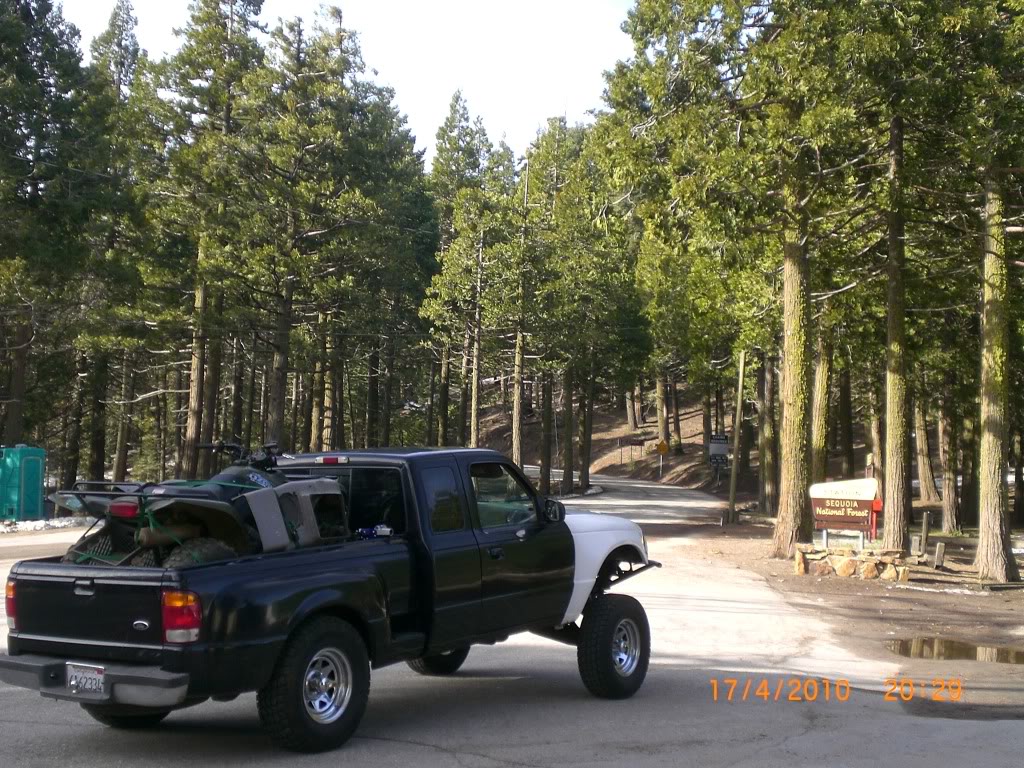
We decided to deliver the parts first and then run the test session.
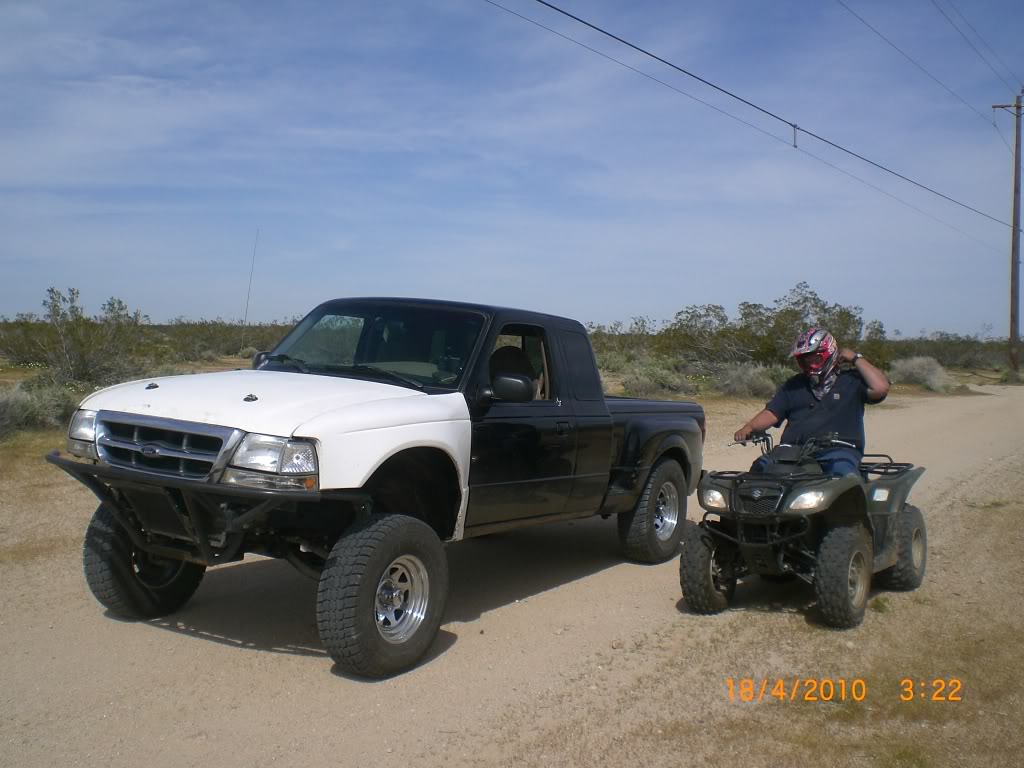
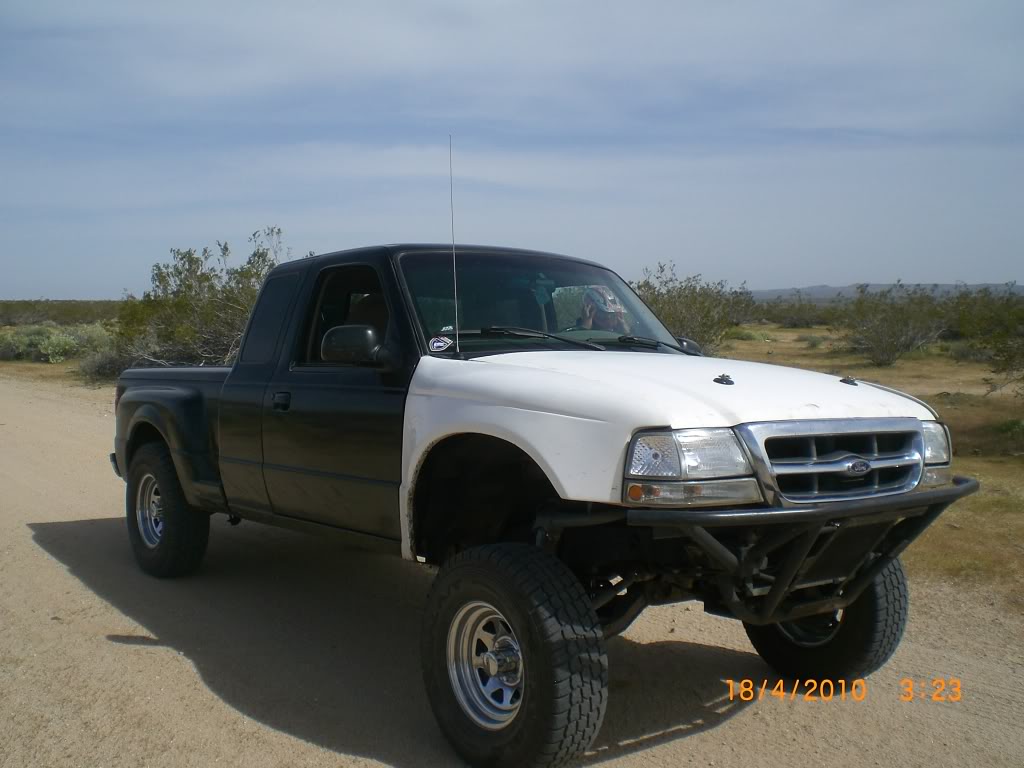
You can see on this trip i picked up a fiberglass hood. I traded 00DangerRanger00 a fellow RF member for it. Traded my interior panels off my parts truck for the hood.
The truck handled great in the dirt absorbed a lot of stuff but i got bounced around a lot as well due to the stock rear end. In all the trip was 1100 miles long and took 23 hours to complete.
completion date 04/20/10.
To start things off I have been itching to take the truck out to the desert for a test run. I got the chance when I locked in some buyers of parts that lived out in the desert. So I headed south from Chico to home to pick up the parts my buddy and his quad.
I uploaded a map of the trip at the bottom of this thread.
the high point of the trip.
We decided to deliver the parts first and then run the test session.
You can see on this trip i picked up a fiberglass hood. I traded 00DangerRanger00 a fellow RF member for it. Traded my interior panels off my parts truck for the hood.
The truck handled great in the dirt absorbed a lot of stuff but i got bounced around a lot as well due to the stock rear end. In all the trip was 1100 miles long and took 23 hours to complete.
completion date 04/20/10.
Last edited by swickwake; 07-10-2010 at 11:09 AM.
#10
07-10-2010
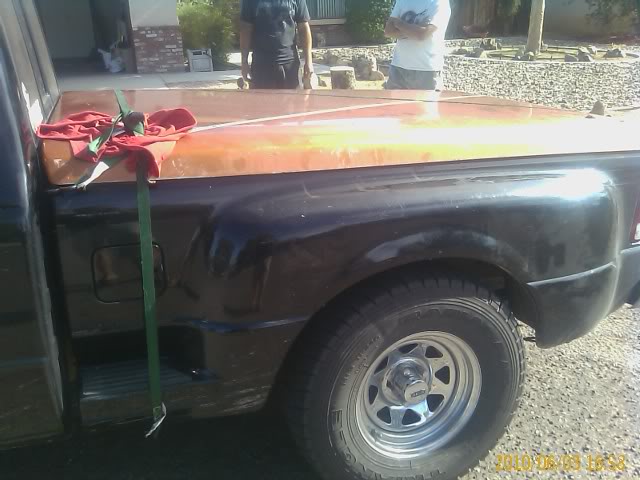
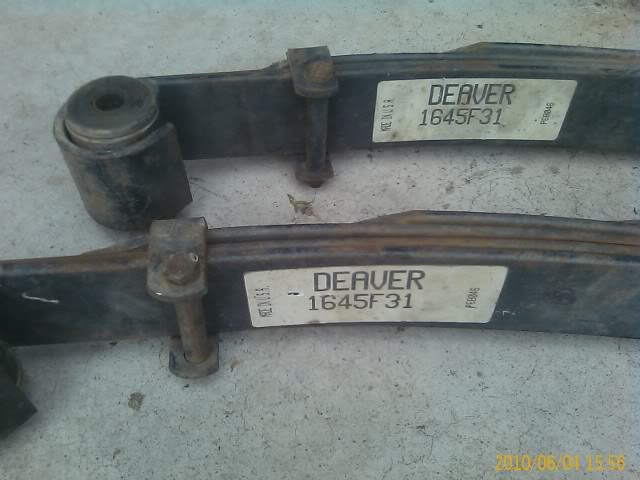
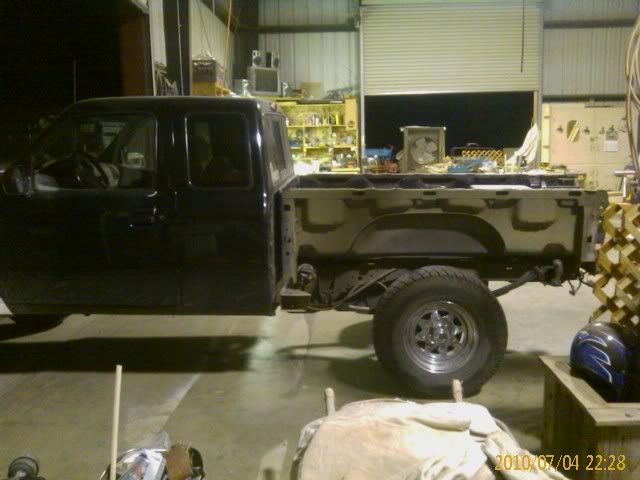
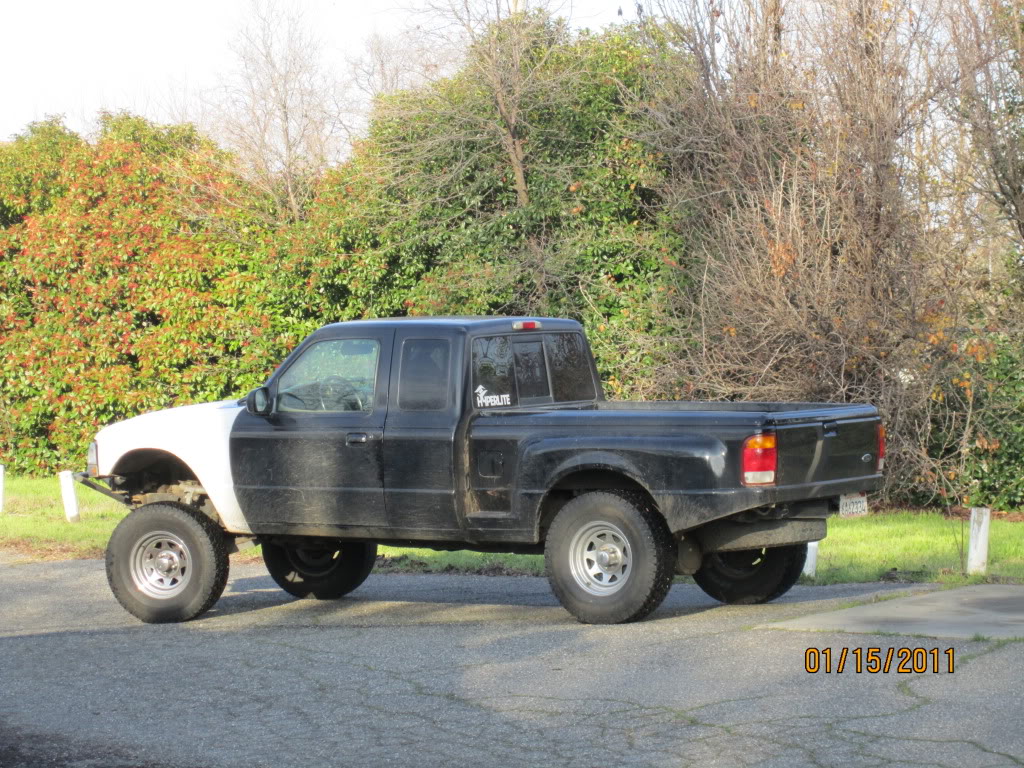
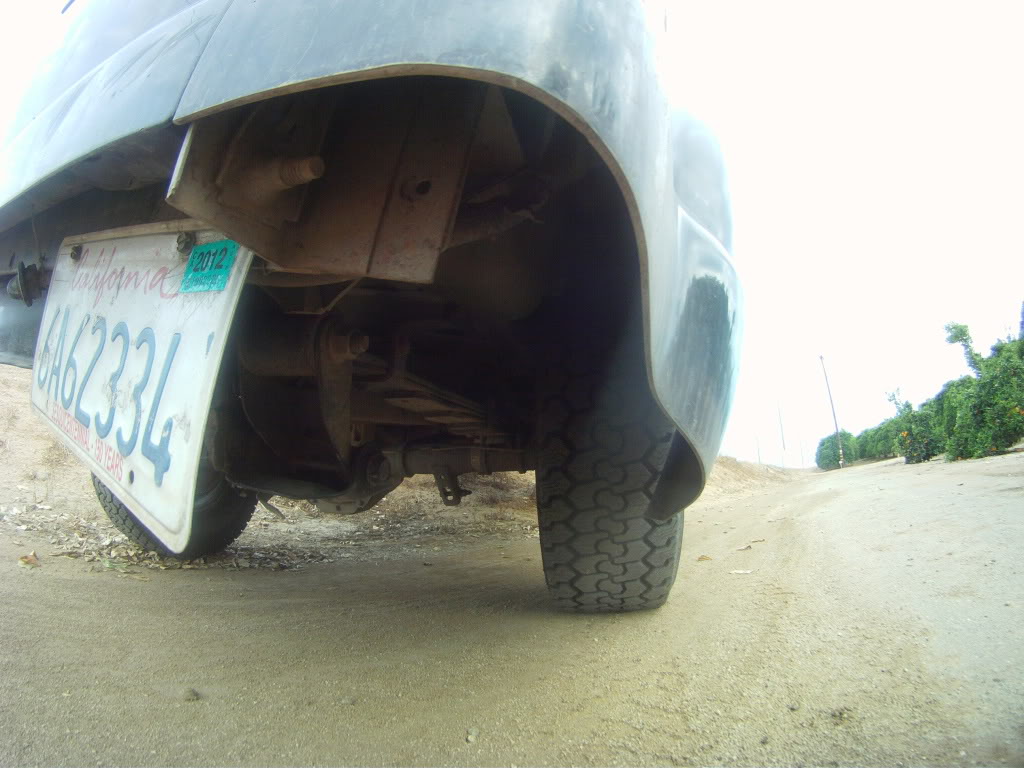
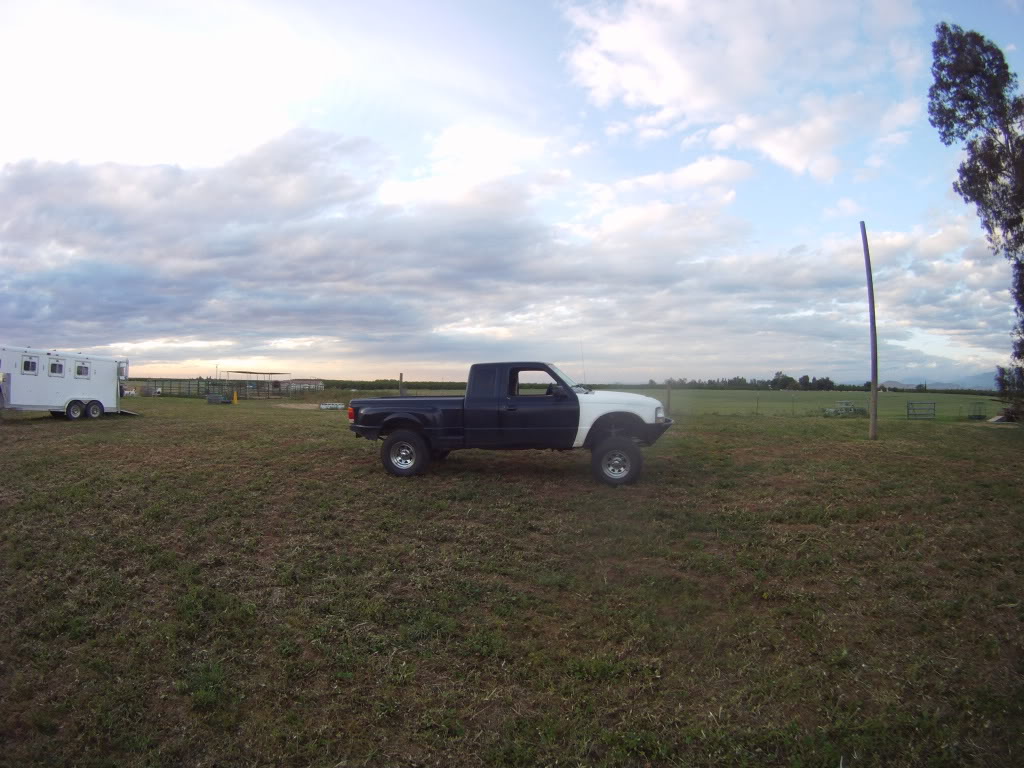
Stage 6: Leveling. Start date 06/2/10.
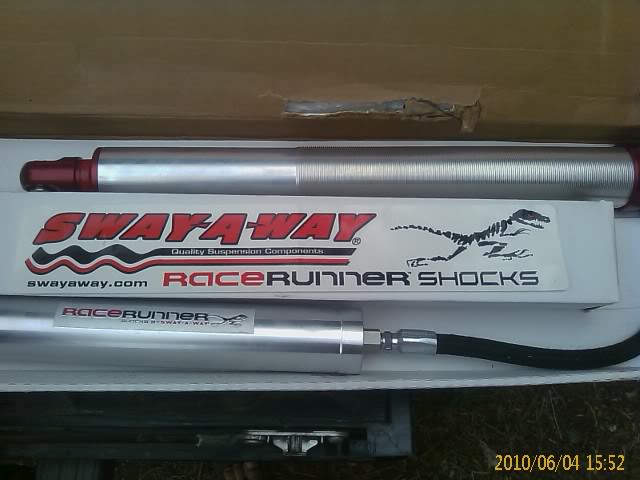
I made another trip out in to the desert. Not to test but to get new parts for the truck. I left Chico again to head south. While I was out there I picked up bed lid that I'm planing to heavily modify once I get stage 7 and 8 done. Then I also met up with 00DangerRanger00 again to buy his deaver F-31. Also on the way home through Fresno I managed to make a score a killer deal on 4 Racerunners with 18" travel.
I went south for 4th of July to hang with the family and friends. While down there I found out that my local home town canceled the fireworks show. I was getting pretty board due to the day going to wast so I decided to make fire works my self. I had the spring with me and I had all the tools to do it.
The start.
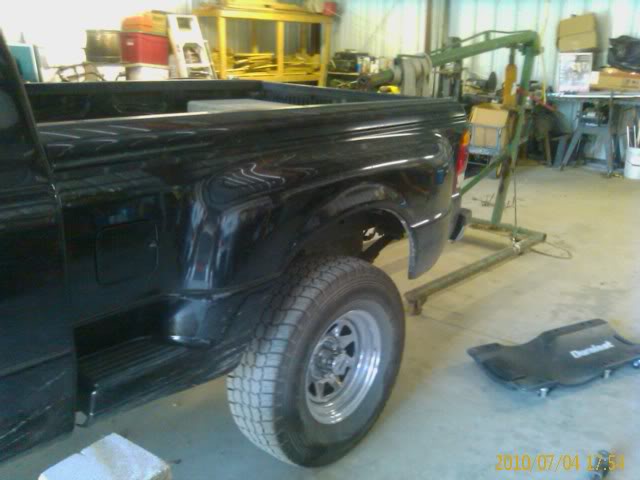
Step side beds are full of detachable win. Yes the bed sides are removable.
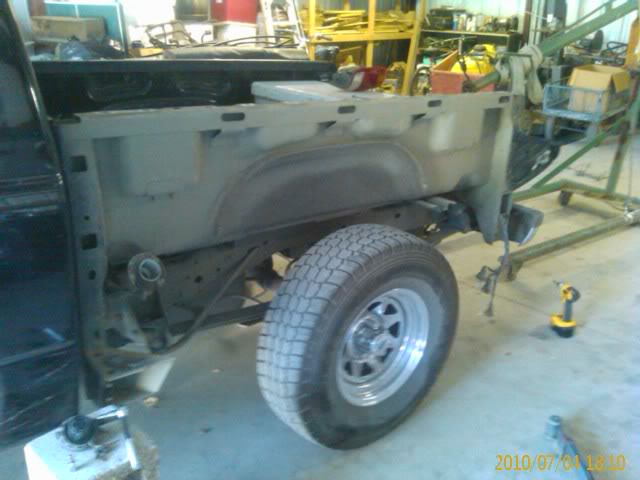
No more stock springs.
Cleaned up the back portion of the bed and flipped the shackles.
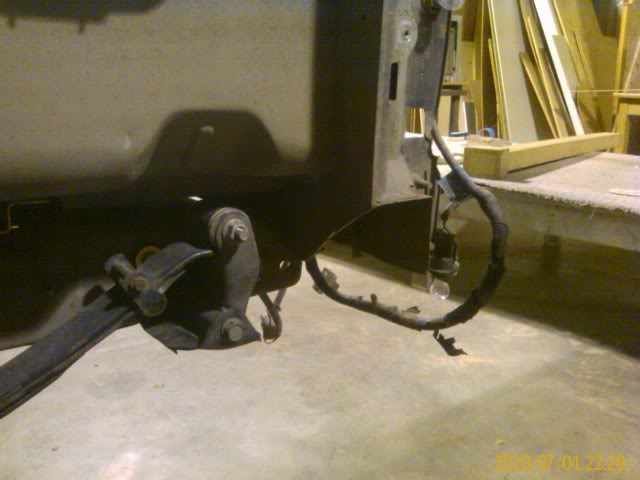
Its sitting on its own weight.
While I was back there and I had the sides off. I decided to add a better departure angle.
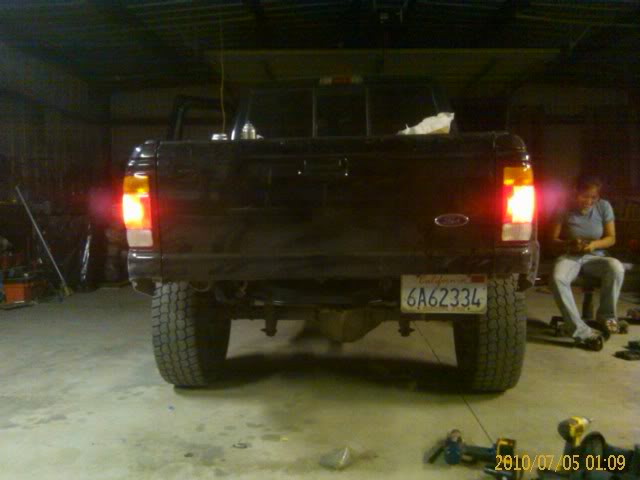
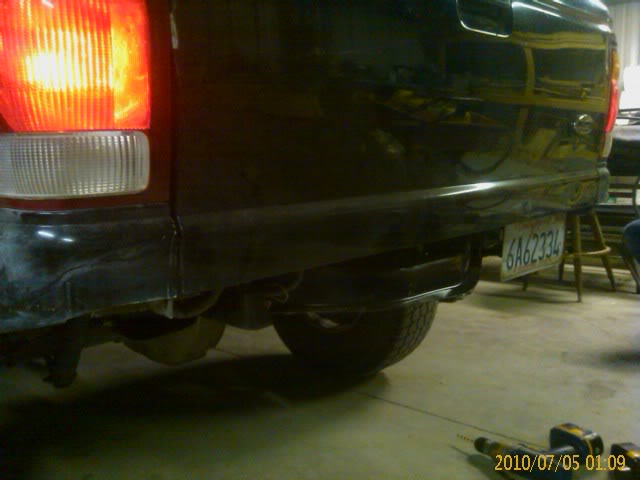
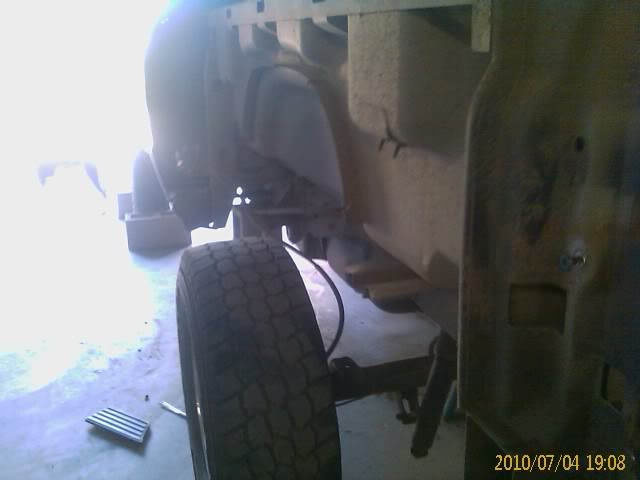
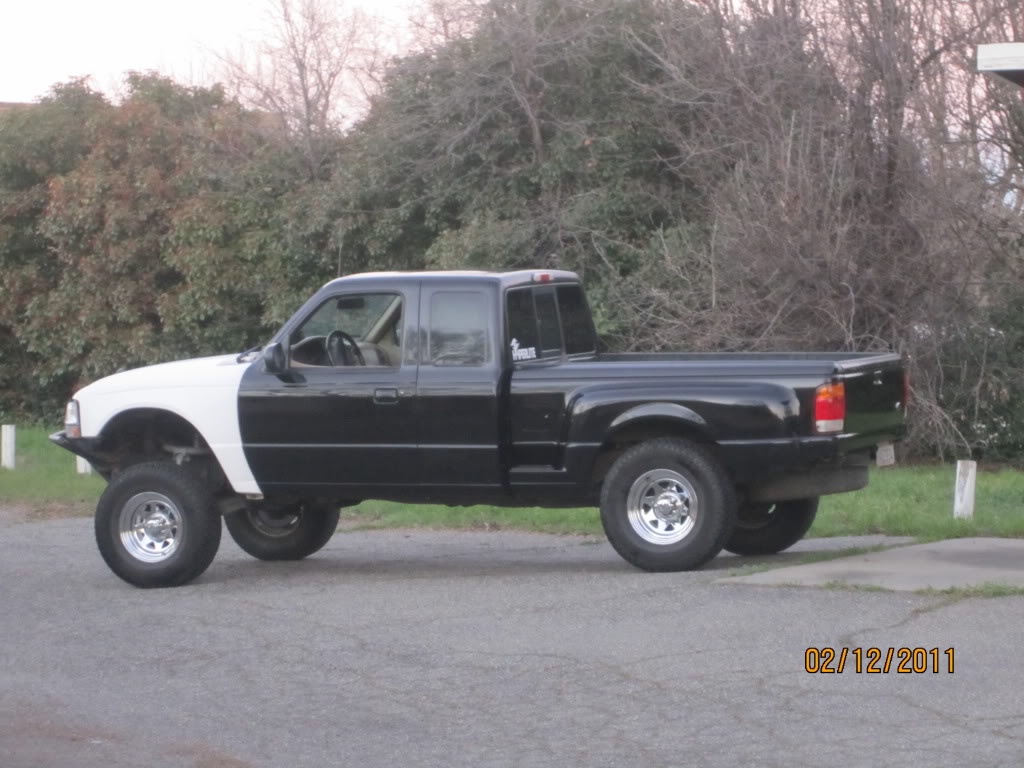
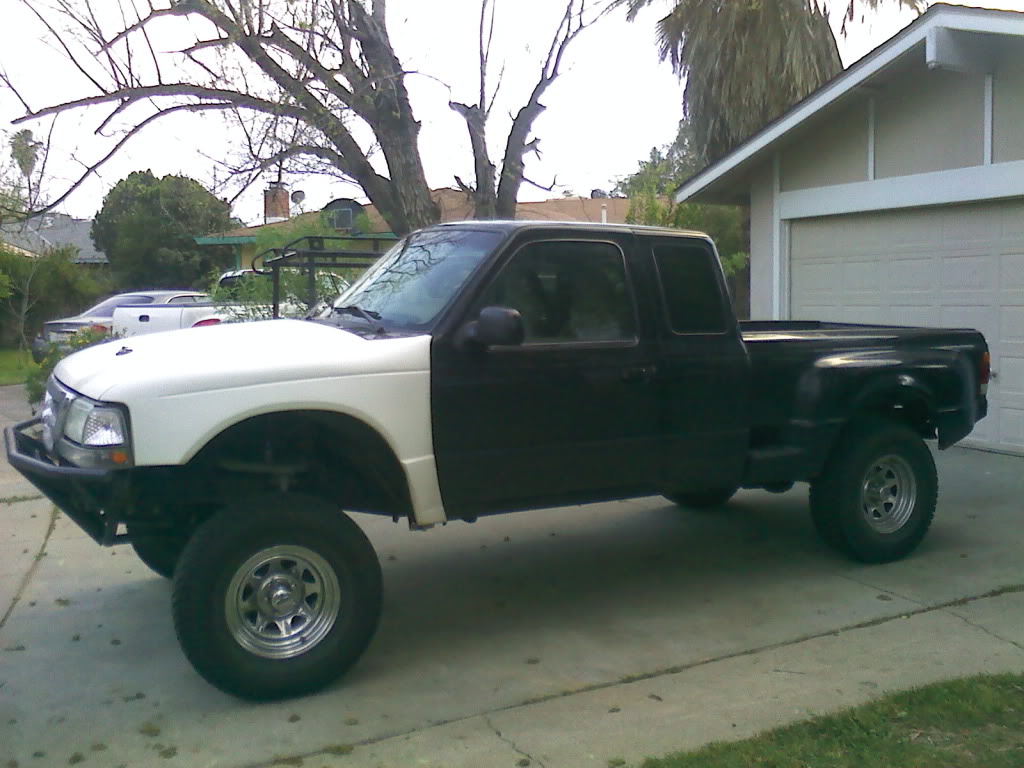
The finished product.
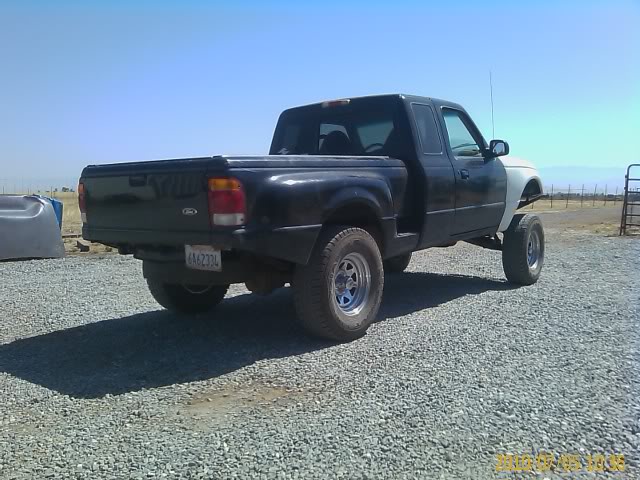
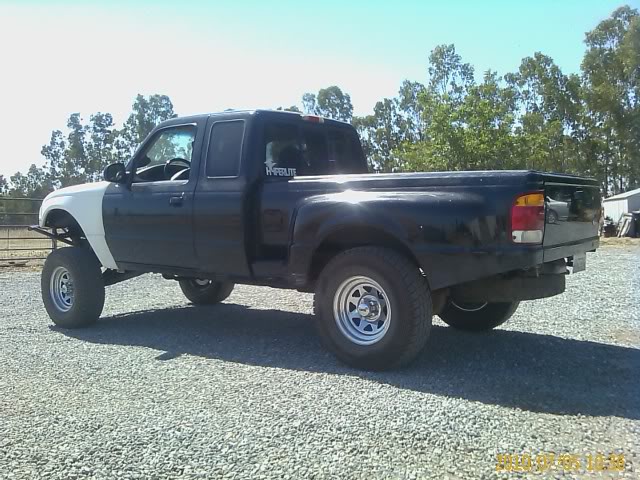
The only down side is that the truck rides like a brick. The ride is due to no weight and I'm also running the stock black rockets for the time being. I'm really happy the way things turned out. It does look kind of goofy with the spar hanging out under the truck. That will be fixed with stage 7 when I install the saws.
Completion date 07/5/10
I cant wait for stage 8 to get here 33x10.5 and 4.30 or 4.56 gears.
I made another trip out in to the desert. Not to test but to get new parts for the truck. I left Chico again to head south. While I was out there I picked up bed lid that I'm planing to heavily modify once I get stage 7 and 8 done. Then I also met up with 00DangerRanger00 again to buy his deaver F-31. Also on the way home through Fresno I managed to make a score a killer deal on 4 Racerunners with 18" travel.
I went south for 4th of July to hang with the family and friends. While down there I found out that my local home town canceled the fireworks show. I was getting pretty board due to the day going to wast so I decided to make fire works my self. I had the spring with me and I had all the tools to do it.
The start.
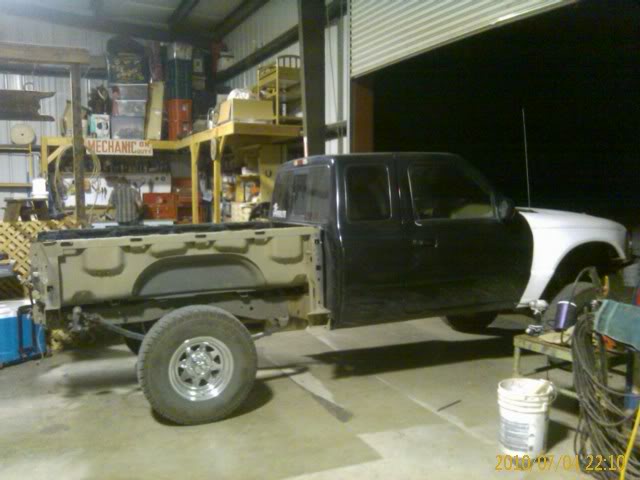
Step side beds are full of detachable win. Yes the bed sides are removable.
No more stock springs.
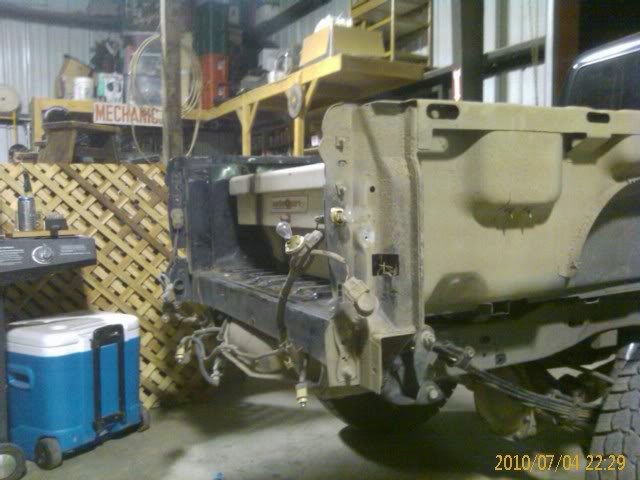
Cleaned up the back portion of the bed and flipped the shackles.
Its sitting on its own weight.
While I was back there and I had the sides off. I decided to add a better departure angle.
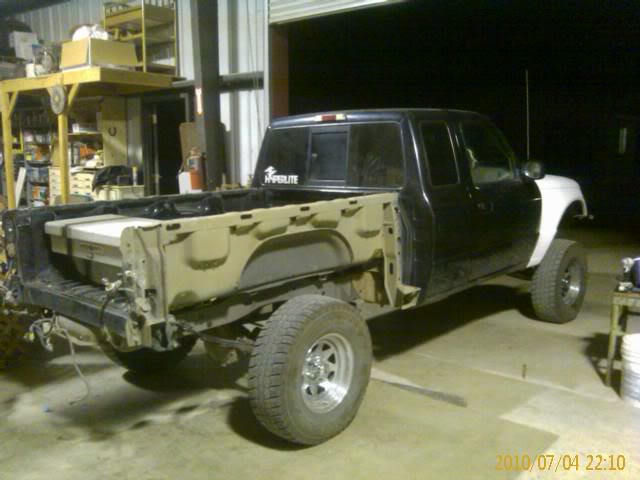
The finished product.
The only down side is that the truck rides like a brick. The ride is due to no weight and I'm also running the stock black rockets for the time being. I'm really happy the way things turned out. It does look kind of goofy with the spar hanging out under the truck. That will be fixed with stage 7 when I install the saws.
Completion date 07/5/10
I cant wait for stage 8 to get here 33x10.5 and 4.30 or 4.56 gears.
#11
07-10-2010
It really does need bigger tires. After in stalled the lift I got 31's over the 30's. By the time I finish stage 8 it will be time to get new tires any ways.
Its a fun place. Pretty women and Sierra Nevada. When do you plan to move up.
Thank you. I have plans to make a production version but I'm a working college student. No time.
Right now I'm currently living on the edge of the rice fields and walnut orchards. I'm constantly battling it out with the local air force. With in the week I will be moving in to town which will be really nice.

#14
11-24-2010
Join Date: Oct 2010
Location: Melbourne, Florida
Posts: 983
Likes: 0
Received 0 Likes
on
0 Posts
#15
11-25-2010
thanks bud. hows your truck running? i still have those weather seals.
when i started the build i had 30's and now i running 31's. im not exactly sure what size the springs are and they came with the kit. im told that the springs are like the ones found on chevy 1500's. i do know that they are made by deaver.
thank you.
funny thing. after i rebuilt the front i found this site and found that i could up grade to a new year front end.
funny thing. after i rebuilt the front i found this site and found that i could up grade to a new year front end.
#16
02-12-2011
#17
02-13-2011
Join Date: Jun 2010
Location: Alexander City, Alabama
Posts: 250
Likes: 0
Received 0 Likes
on
0 Posts
#18
04-01-2011
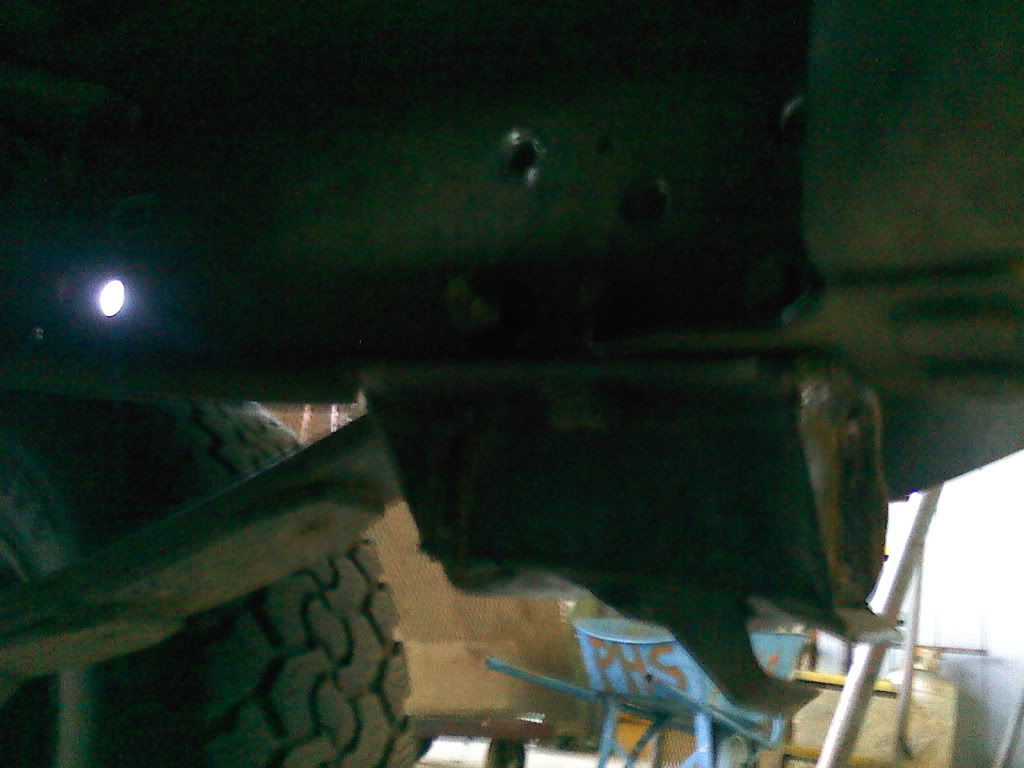
did some fab work in it this weekend as well. sorry for the cell phone pics.
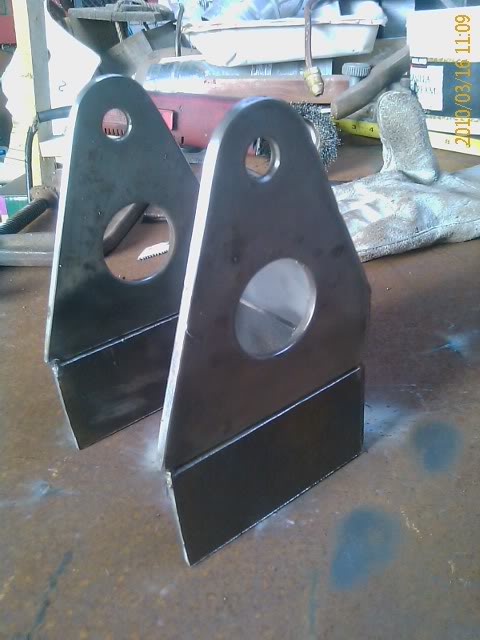
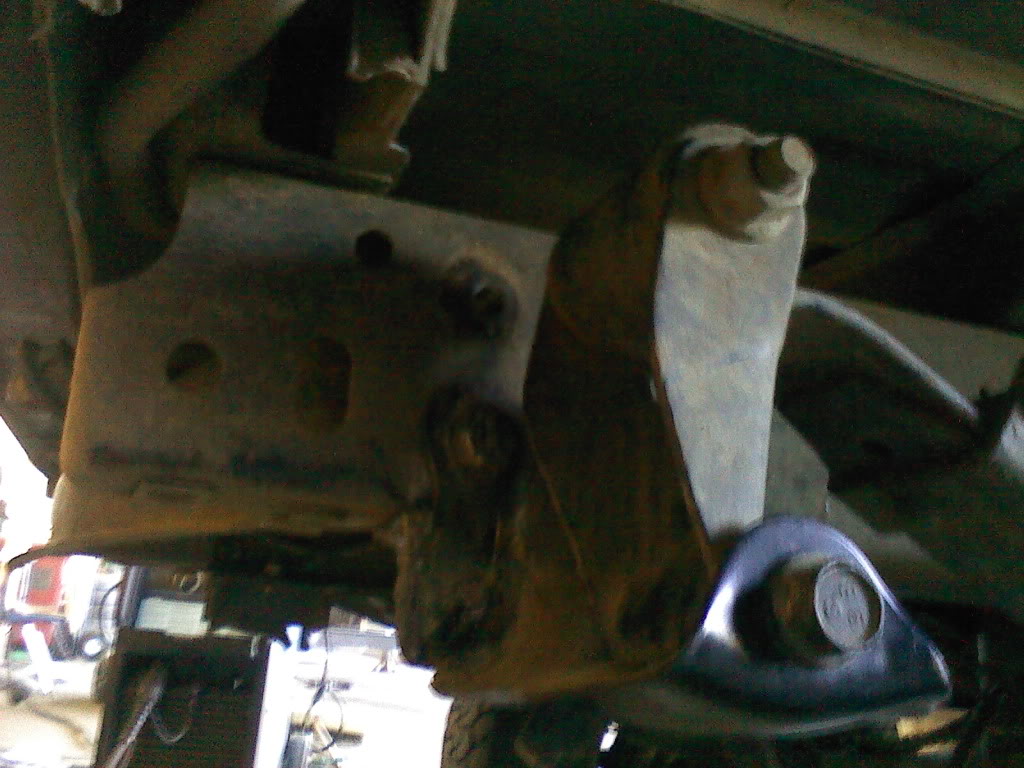
i converted my stock hanger to budget drop hangers.
mocked up
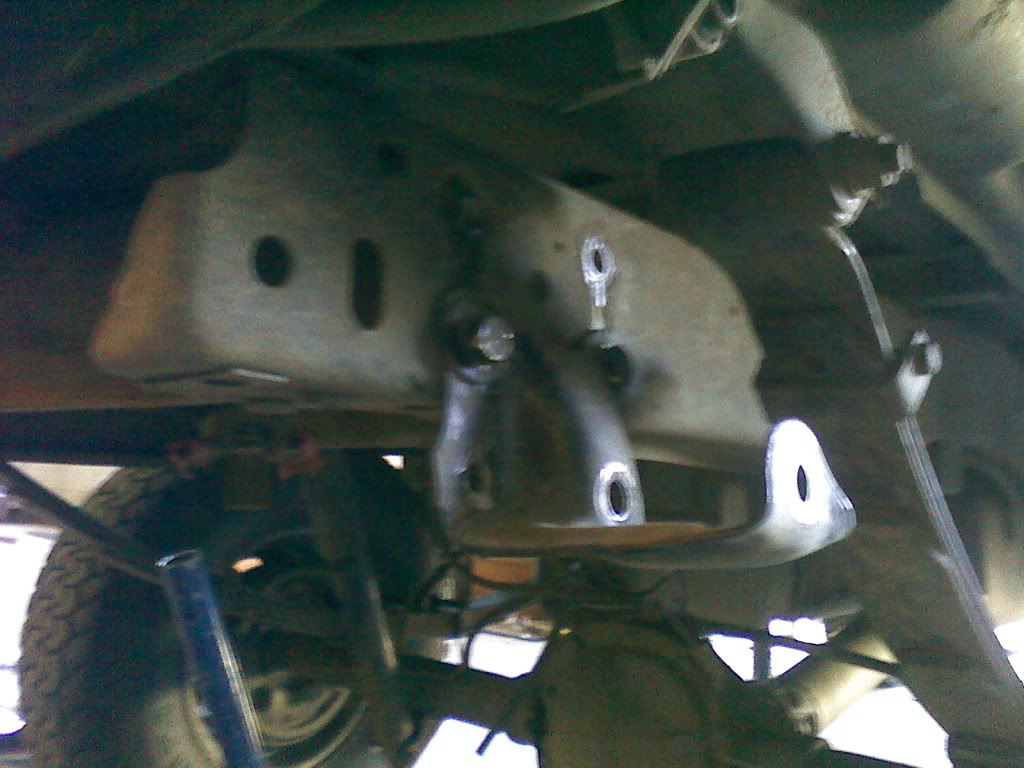
had to trim a little
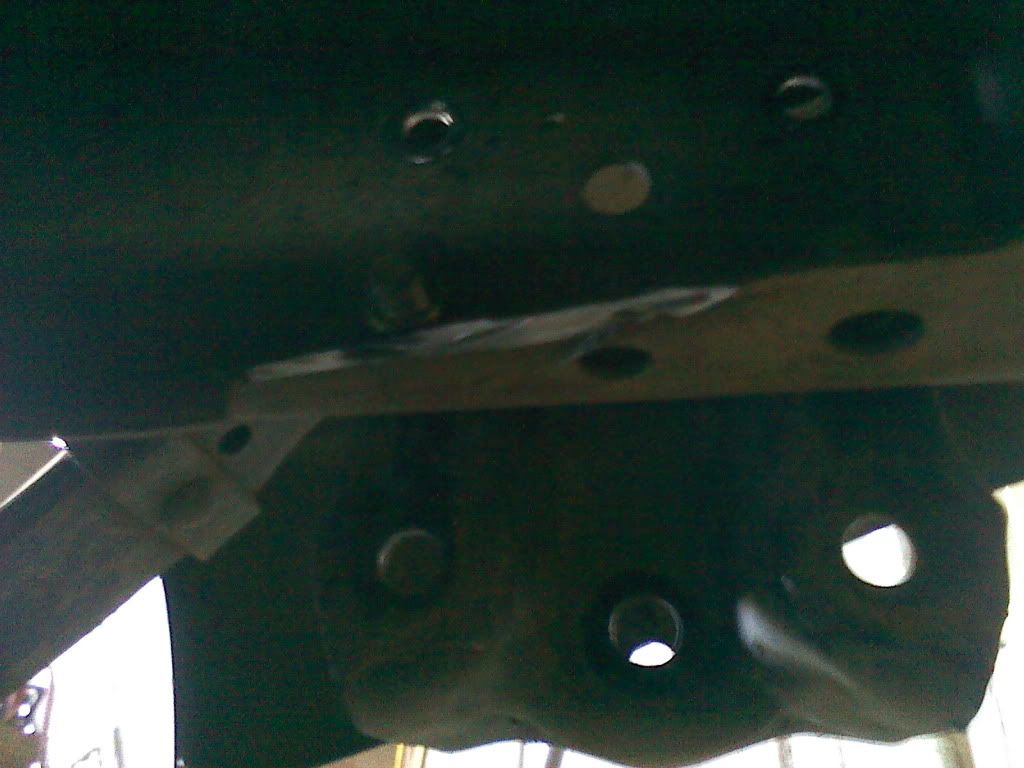
added 2x2 angel iron. gusseted the ends to help lessen side forces.

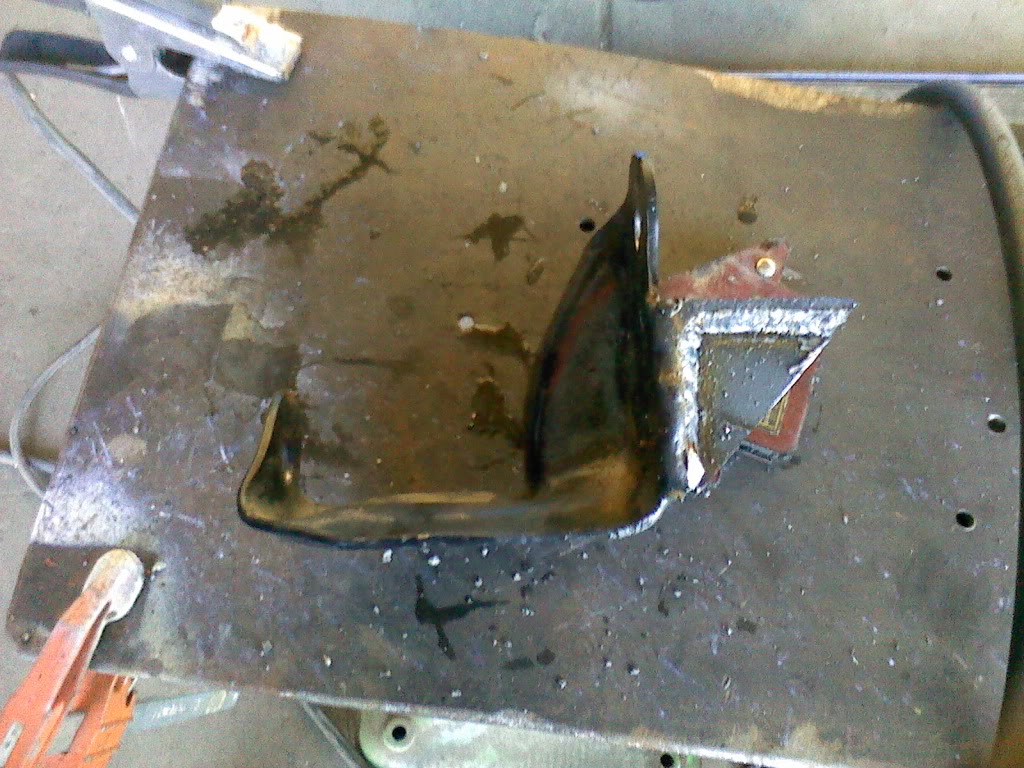
finished and mounted. the down side is that i went from 4 mount holes to 3.
here is a funny. Operation Horse Evac was a success. vehicle contents: heavy *** cage, mini horse, a bird 1" tall, two dogs, wife and i, our belongings for 4 days, and truck essentials.

i converted my stock hanger to budget drop hangers.
mocked up
had to trim a little
added 2x2 angel iron. gusseted the ends to help lessen side forces.
finished and mounted. the down side is that i went from 4 mount holes to 3.
here is a funny. Operation Horse Evac was a success. vehicle contents: heavy *** cage, mini horse, a bird 1" tall, two dogs, wife and i, our belongings for 4 days, and truck essentials.


#22
04-21-2011
Join Date: Oct 2010
Location: Melbourne, Florida
Posts: 983
Likes: 0
Received 0 Likes
on
0 Posts
#23
04-25-2011
i do not have any Motorsports mount kits for the go pro. i want to make a mount that will mount up to where the sway bar use to be. i really want to see how the kit reacts to some of the trails i know of.
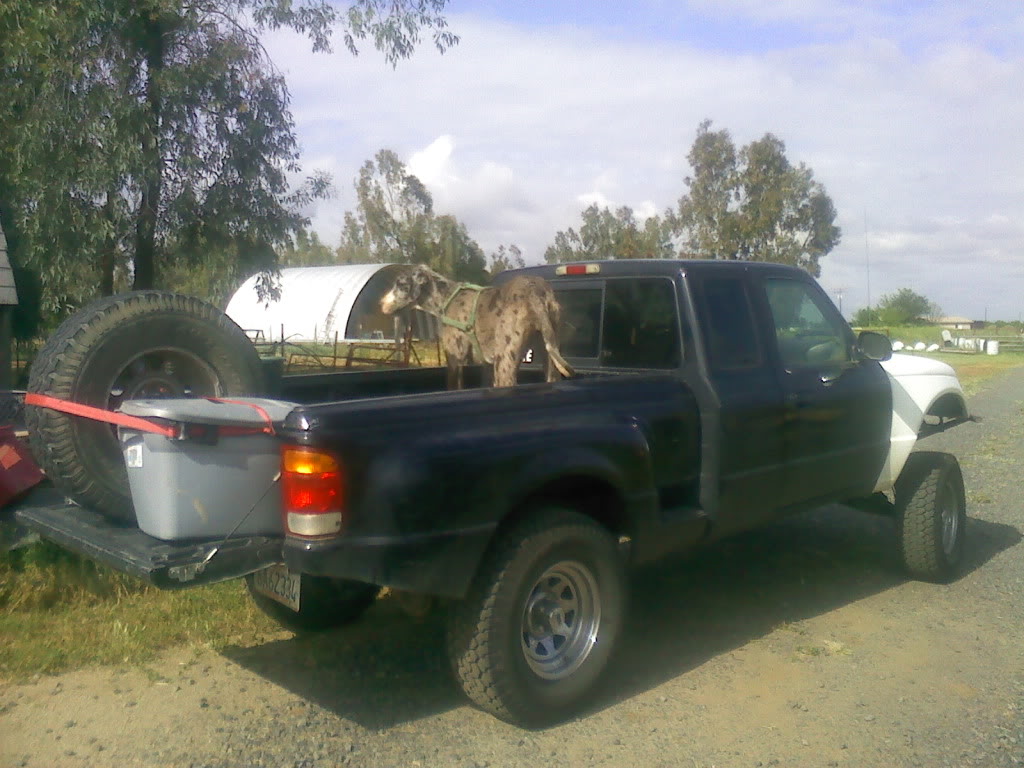
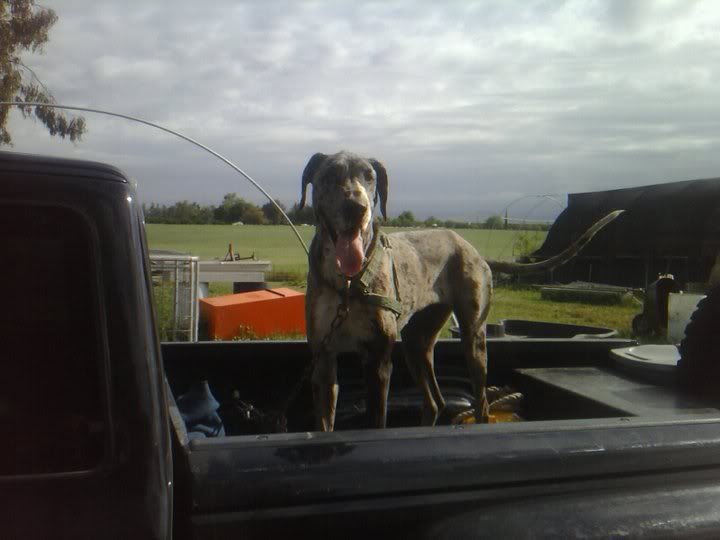
for the 6 hour trip north i had to deliver my mom's great dane to my grandpa. poor dogs has a tumor growing in her mouth. tomorrow my grandpa's going to survey the tumor and remover as much of it as possible.
the traditional rear shock set up is out of the question.
for the 6 hour trip north i had to deliver my mom's great dane to my grandpa. poor dogs has a tumor growing in her mouth. tomorrow my grandpa's going to survey the tumor and remover as much of it as possible.
the traditional rear shock set up is out of the question.


