When you click on links to various merchants on this site and make a purchase, this can result in this site earning a commission. Affiliate programs and affiliations include, but are not limited to, the eBay Partner Network.
I suppose I'll start off with a short backstory, I bought a 96 regular cab Ranger with a salvage title off Craigslist for $500 bucks and named it Wu-Tang Dan. The end.
Told you it'd be short. But that's not so much the end as the beginning. I've been wanting to do a project log since I started taking ole Wu-Tang Dan apart. It wasn't till
recently that I started making enough progress to actually bother documenting any of the work I've done. My plan is to post somewhat regular updates on the progress
of the build along with some pictures of what I've done. I'm no pro mechanic by any means but I'll do my best to explain the stuff I'm doing in hopes of helping the next
poor soul who has to take apart a 20+ year old truck.
In the next couple months I plan on participating in the Gambler 500. A 500 mile Navigation Rally in a $500 car. The rally is a mix of on and off road driving and I couldn't
think of a better vehicle to do it in than a Ford Ranger. This project log will include everything from a clutch replacement, to light bar and level kit install, to a good old fashioned rattle
can paint job and everything in between (this truck is in rough shape friends). I'll do my best to include a parts list and I've held onto every receipt for the build so I can give
you a good idea of cost also (not including beer).
I hope you all find this somewhat interesting and follow along. If not I guess I'll just be another guy mindlessly talking to himself on the internet.
Here's what it looked like the day I picked it up. Had to haul it on a trailer because, according to the Craigslist seller, the master cylinder was bad (it was much worse than that).
But the engine ran fine, aside from the massive amount of oil covering pretty much every visible part of the underside. I've owned Dodges my whole life, never been a big fan of ford
but this little truck is built really freaking well. It's got less rust on the body than my 05 Cummins that's almost 10 years younger. Gotta say, I'm genuinely impressed.
I said in my prior post that this truck had a salvage title. It had been rear ended and the bed crushed into the cab so it makes sense that it was totaled out. You can't see in the
pictures but the bed is off another truck (its bright red) and has a pretty sizable dent in the driver side between the gas cap and the wheel well. Oh and damn near all of the clear
coat has pealed off. It's getting repainted so I'm not worried about it.
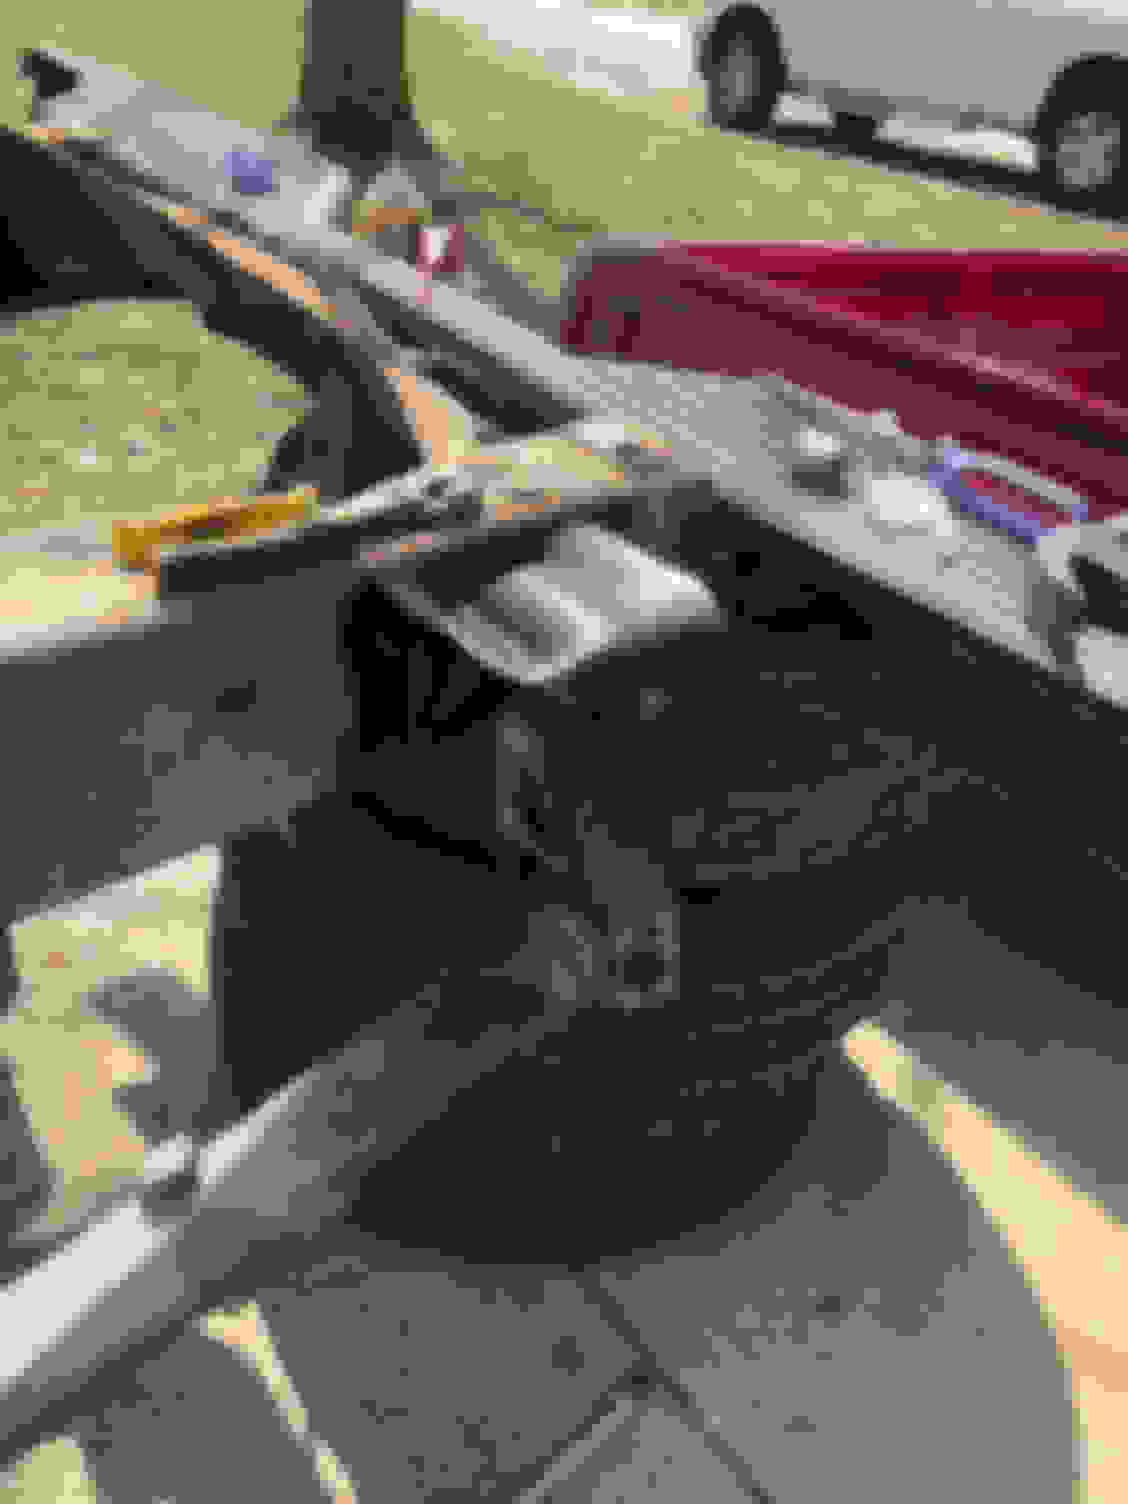
So the thing doesn't move under its own power. Something is definitely wrong with the clutch/slave/master and the only way to get it moving is to pull the transmission. So my next
logical step was to buy a new set of wheel and tires for it... Which I did. The drive train can wait, I WANT MUD TIRES AND NEGATIVE OFFSET!!!!!!!!!!!!!!
The first major modification I made to my Ranger was a set of aggressive all terrain tires. I didn't want full on mud tires because I knew it would be hard to find a
good set of used ones online. I somehow lucked out and found someone who was selling not only a set of 265/70/16 truck tires but also the rims they were mounted
on. $250 for a set of Cooper Maxx all terrains and the rims. These tires still had the blue sealer over the white lettering. They maybe have 3000 miles on them.
I really liked the rims that came with the tires, only problem was they're off a 3/4 ton so the rims are 8 lug. My plan was to install a set of wheel spacers to
give some more clearance for the larger tires but I was able to find a set of 5X4.5 to 8X6.5 lug adapters online for about the same price as I planned on spending
on wheel spacers. Problem solved.
These things are massive (dog for scale)
I had to make some modifications to get the factory wheel studs to clear the back of the adapter/spacer but I was finally able to get them mounted.
And there you have it, 8 lug rims on a Ford Ranger. Now, the clearance on the front end is totally gone. You'd have a hard time fitting a deck of cards between the top of the tire
and the bottom of the fender well. I've got a set of 2 inch coil spring spacers coming for the front along with a set of 2 inch shackles for the rear suspension. That should buy me
enough clearance once installed. While I'm waiting on those to ship I'm going to repaint it and add some lights.
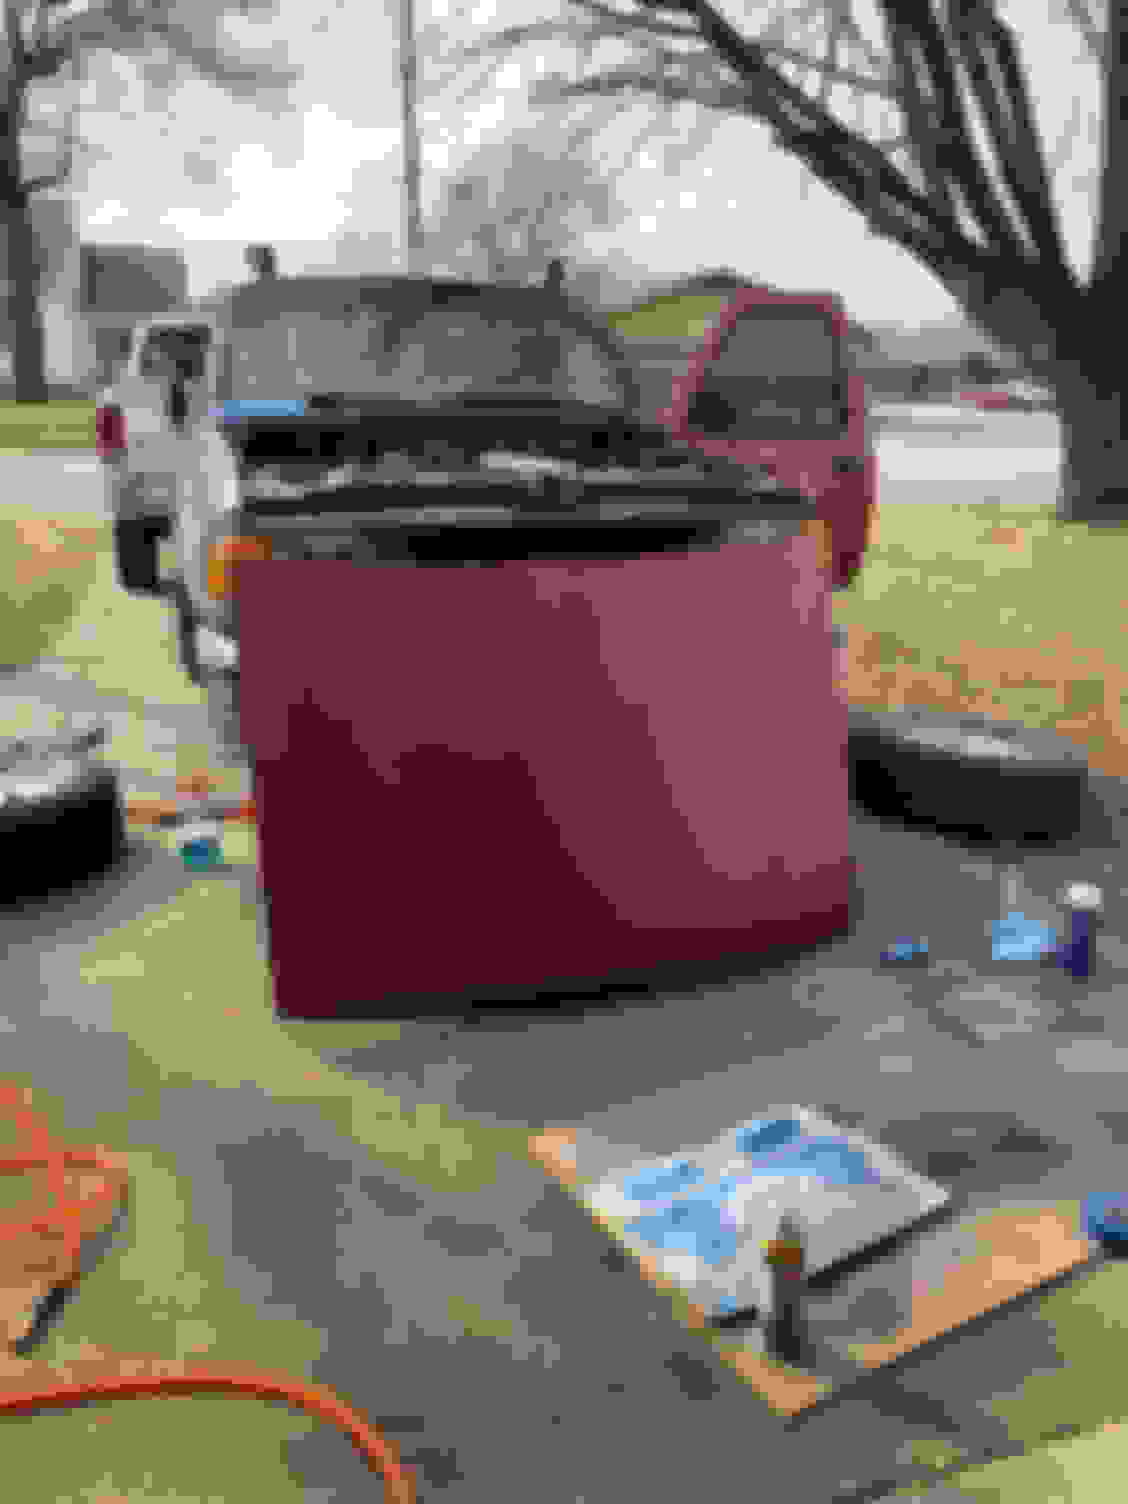
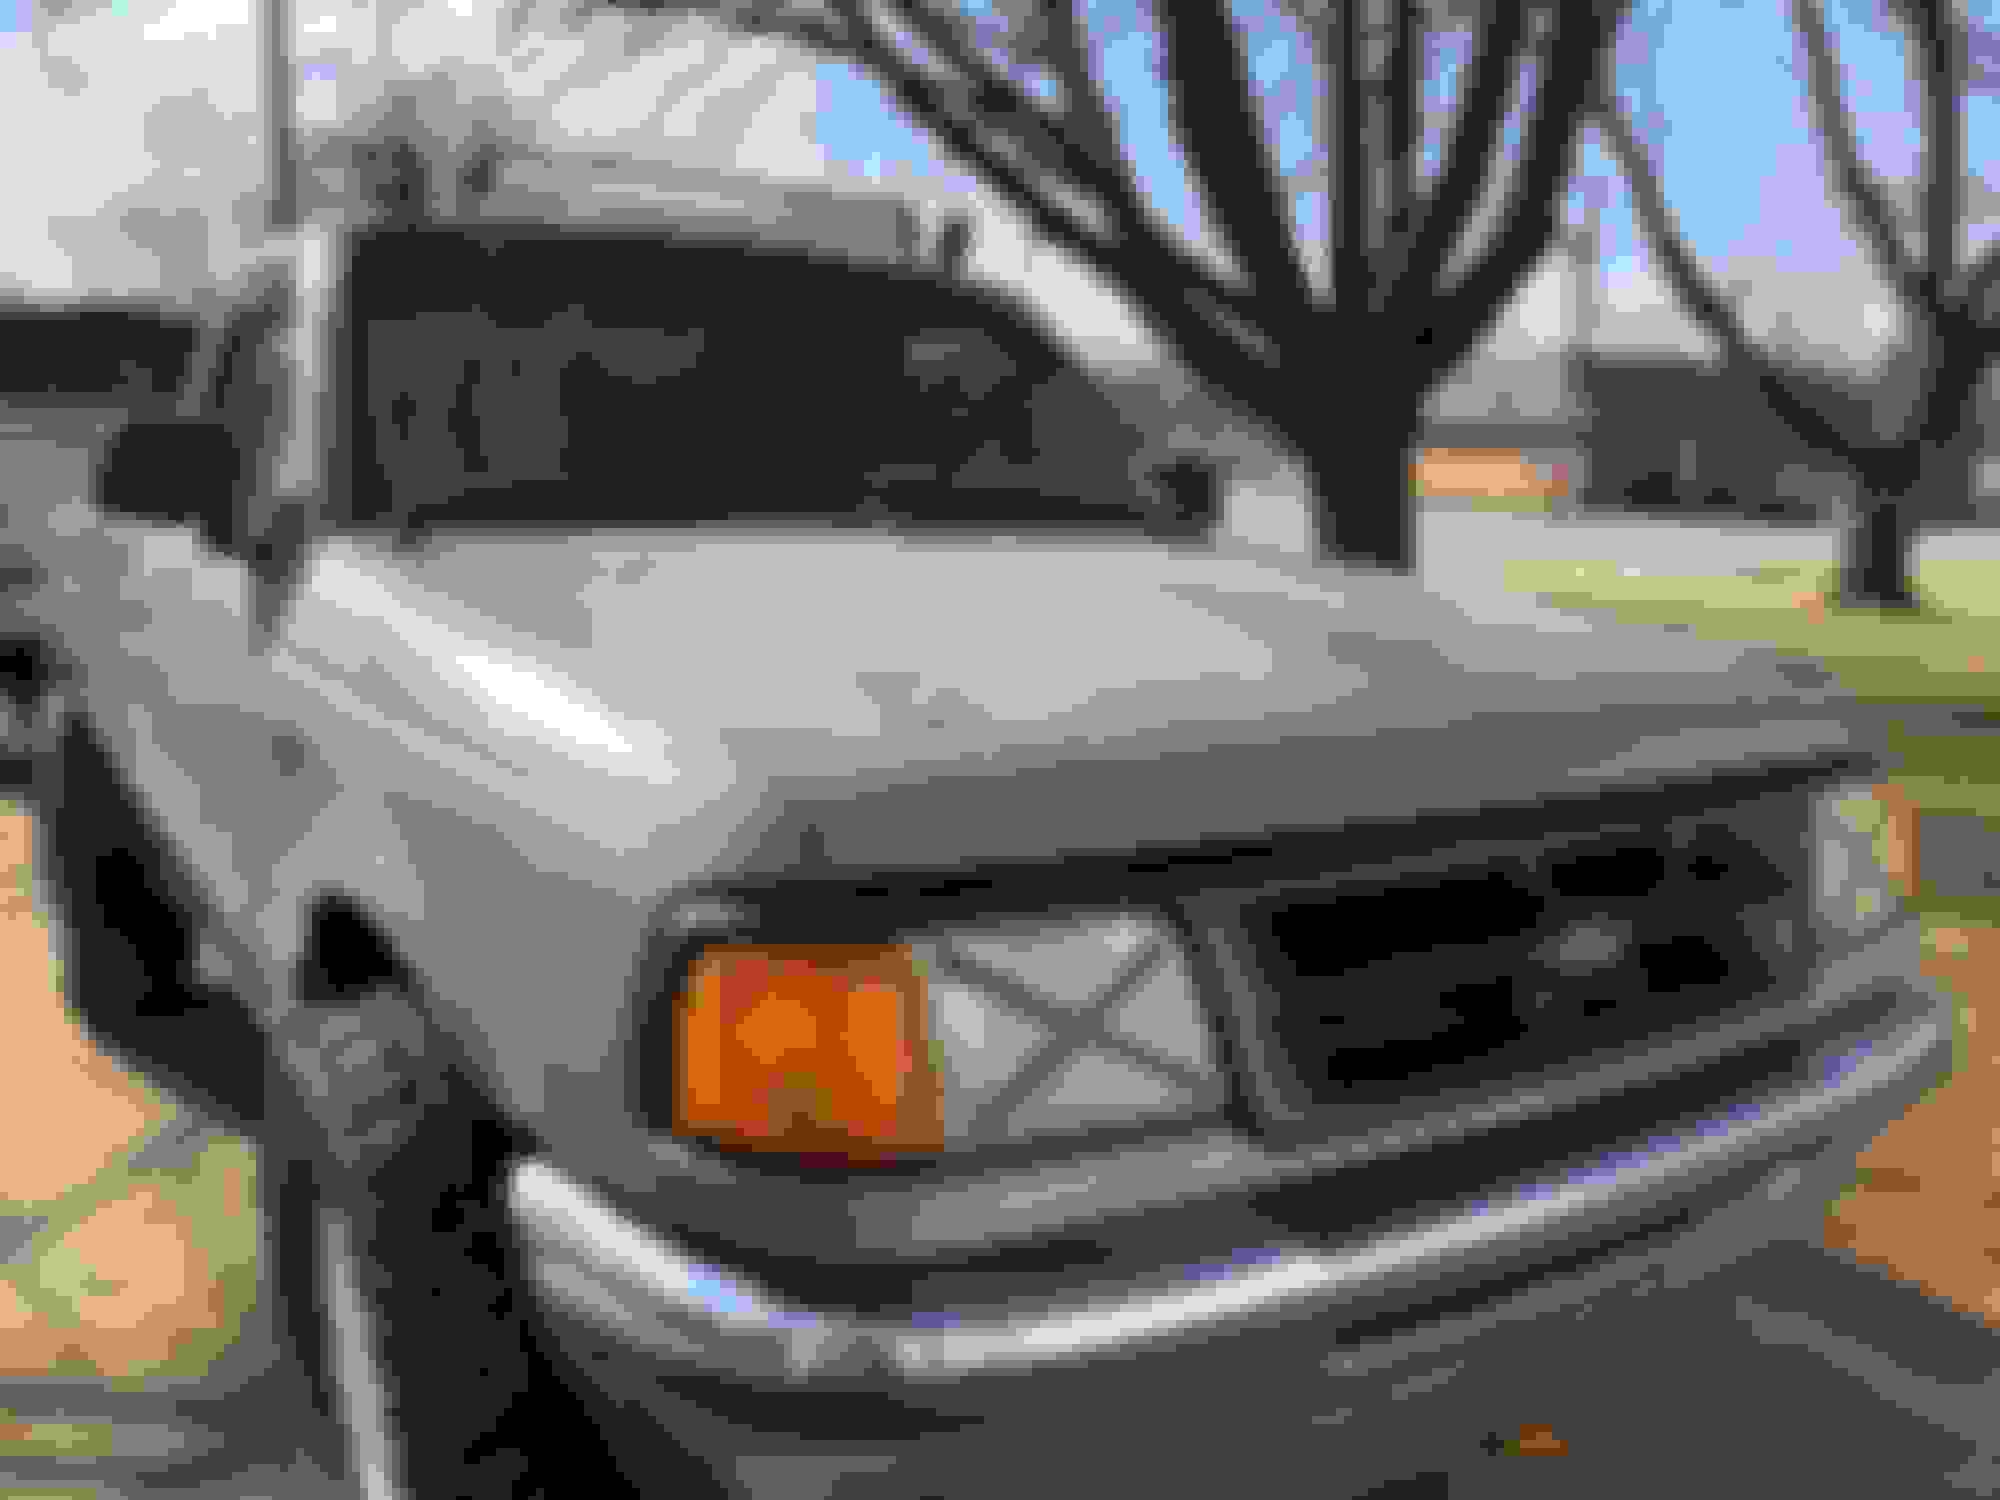
When I picked it up this truck was two different shades of red (three if you count the rust) and 60% of the clear coat had peeled off. Since it was already pretty
bad looking on the outside I figured there wasn't much risk to repainting the whole thing with a half dozen Krylon rattle cans. I opted to go with a mild gloss gray
which coincidentally looks exactly like primer... Whoops. Oh well, I still like the way it looks. You'll also notice half way though this project It gaining few light bars.
I'll go into more detail about those in another post.
I tested it out on one of the fenders just to make sure my process worked.
I got the best results by doing the following:
Note: I recommend working one body panel at a time (i.e. door, fender, hood, bedside)
Using a gasket scraper (razor blade in a plastic holder) I was able to get under the peeling clear coat and scrape it all off. I followed that up with a 320 grit sandpaper
although looking back I should have used something closer to 500 grit. Sanding is super important when using spray paint. You need to rough up the surface so it has
something to hold onto.
I followed up the sanding with some Windex to remove the loose dust and any other contaminates. Once the Windex dried, I hit the whole area with acetone to remove
any remaining stuff that would effect the paint (oil from my hands).
Next step was painting. I made a rough guess on how much paint I needed and bought it all at once so the paint was more than likely from the same batch number.
5 cans was enough to paint a single cab ranger in case anyone is wondering. I made sure to work in coats as to avoid runs, masking off windows and trim as needed.
In total the project took about 8 hours from when I started removing body panels to getting the brake lights reinstalled.
I'm pretty happy with how it turned out.
I also added some hoodpins I made with some scrap I had and a few parts from Tractor Supply.
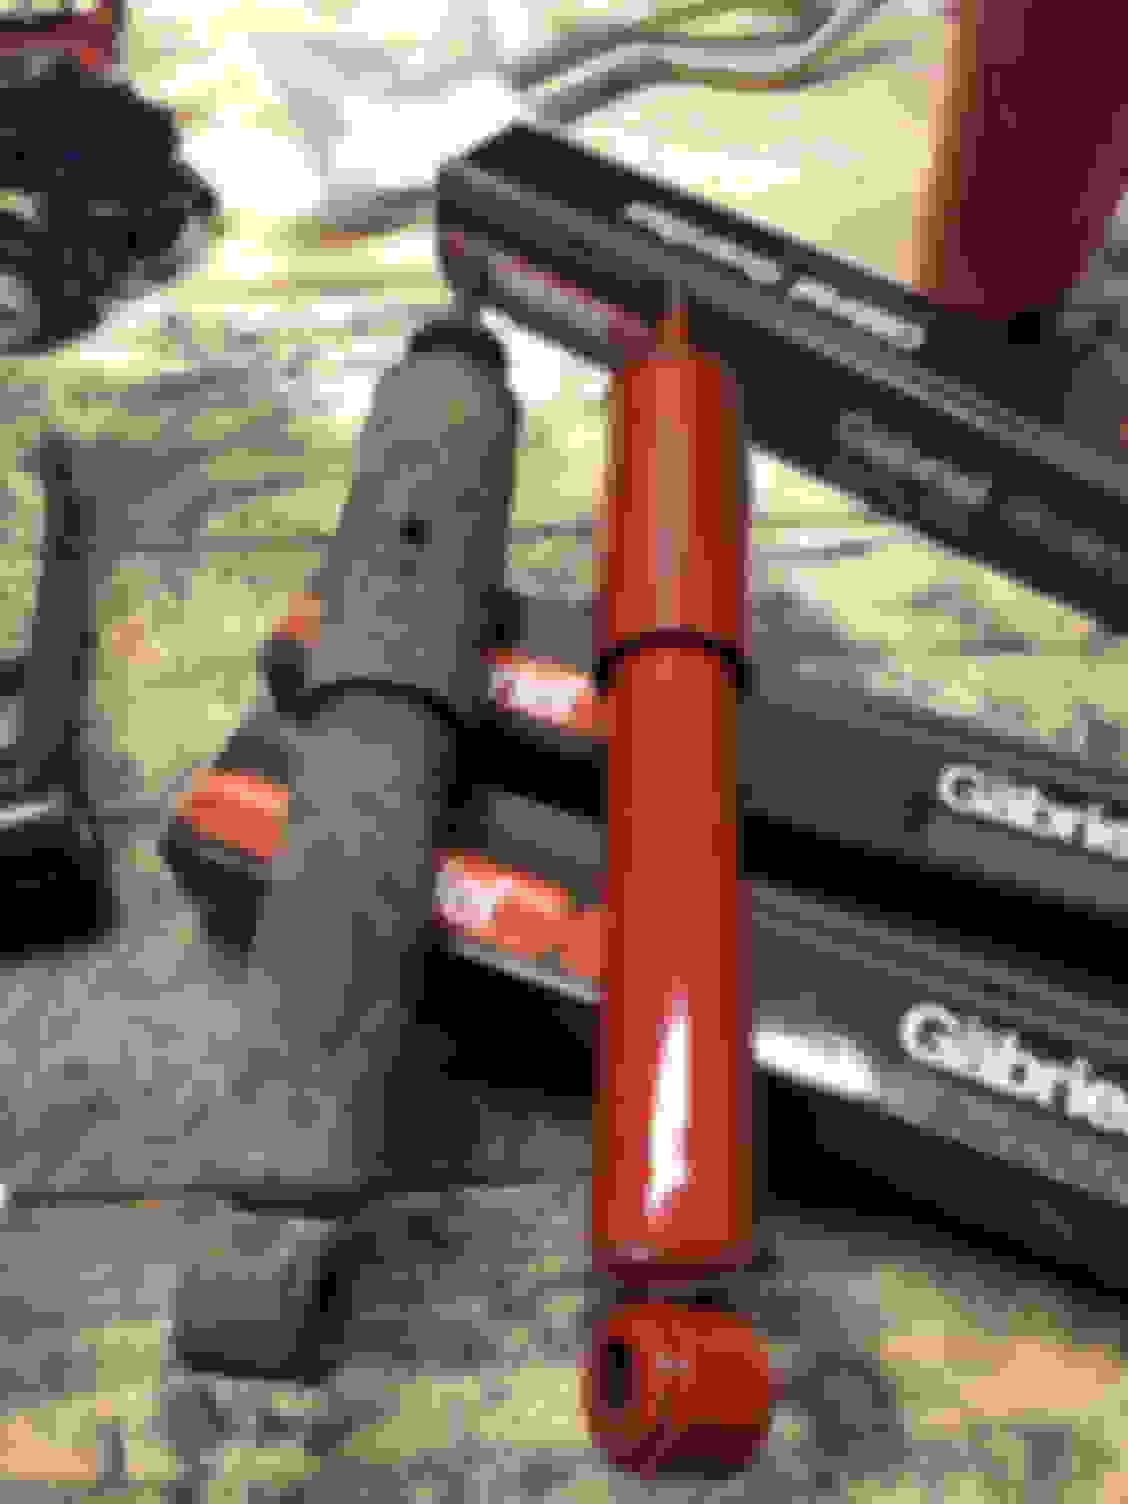
In order to recover some wheel clearance, I bought a set of coil spring spacers for the front and a longer set of shackles for the rear. While I was at
it I figured I would replace the shocks with a cheap set from Autozone. This part of the project took about 2 weekends just because I ran into every
possible problem you could imagine from snapped and seized bolts, to clearance issues. Anyway, here are the parts.
Total cost for everything here is roughly $160. The spacers and shackles are from Supreme Suspension and they're very good quality for the price, plus they
came with a goody bag of stickers and a key chain. Gotta love free brand swag. The new shackles came with grease zerks also which was nice to see.
Old front shock vs. the new one. This was the better looking one of the four believe it or not.
Got the new shock and coil spring spacer installed. The nut holding the bottom of the coil spring on is 1 1/8 inch in case anyone wants to know. Make sure
if you're doing this to pick up a deep well socket and a 12 -16 inch 1/2 inch drive extension. You'll have to go in from the top of the coil spring and crank on it
with a big breaker bar. I used a healthy amount of liquid wrench and probably shaved 4 years off my life getting that nut broke loose. I was able to do all this
without the use of a spring compressor. If you do it right you can get the spring out just by forcing the whole hub assembly down and working the coil all over
the place till it eventually drops out.
The is the amount of clearance before I installed the spacers.
This is the clearance after I installed the spacer. It ended up being a little over 2 inches which is a lot better than I expected. I'm thrilled with
how it turned out. The drivers side was a little bit of a challenge. The nut holding the bottom of the coil spring did not budge so I let it soak in
liquid wrench for a week and finally got it off with about 4 feet of pipe on a 2 foot breaker bar.
I'll make a separate post in the thread for the shackle install on the rear end since that was a pretty lengthy project in and of itself.
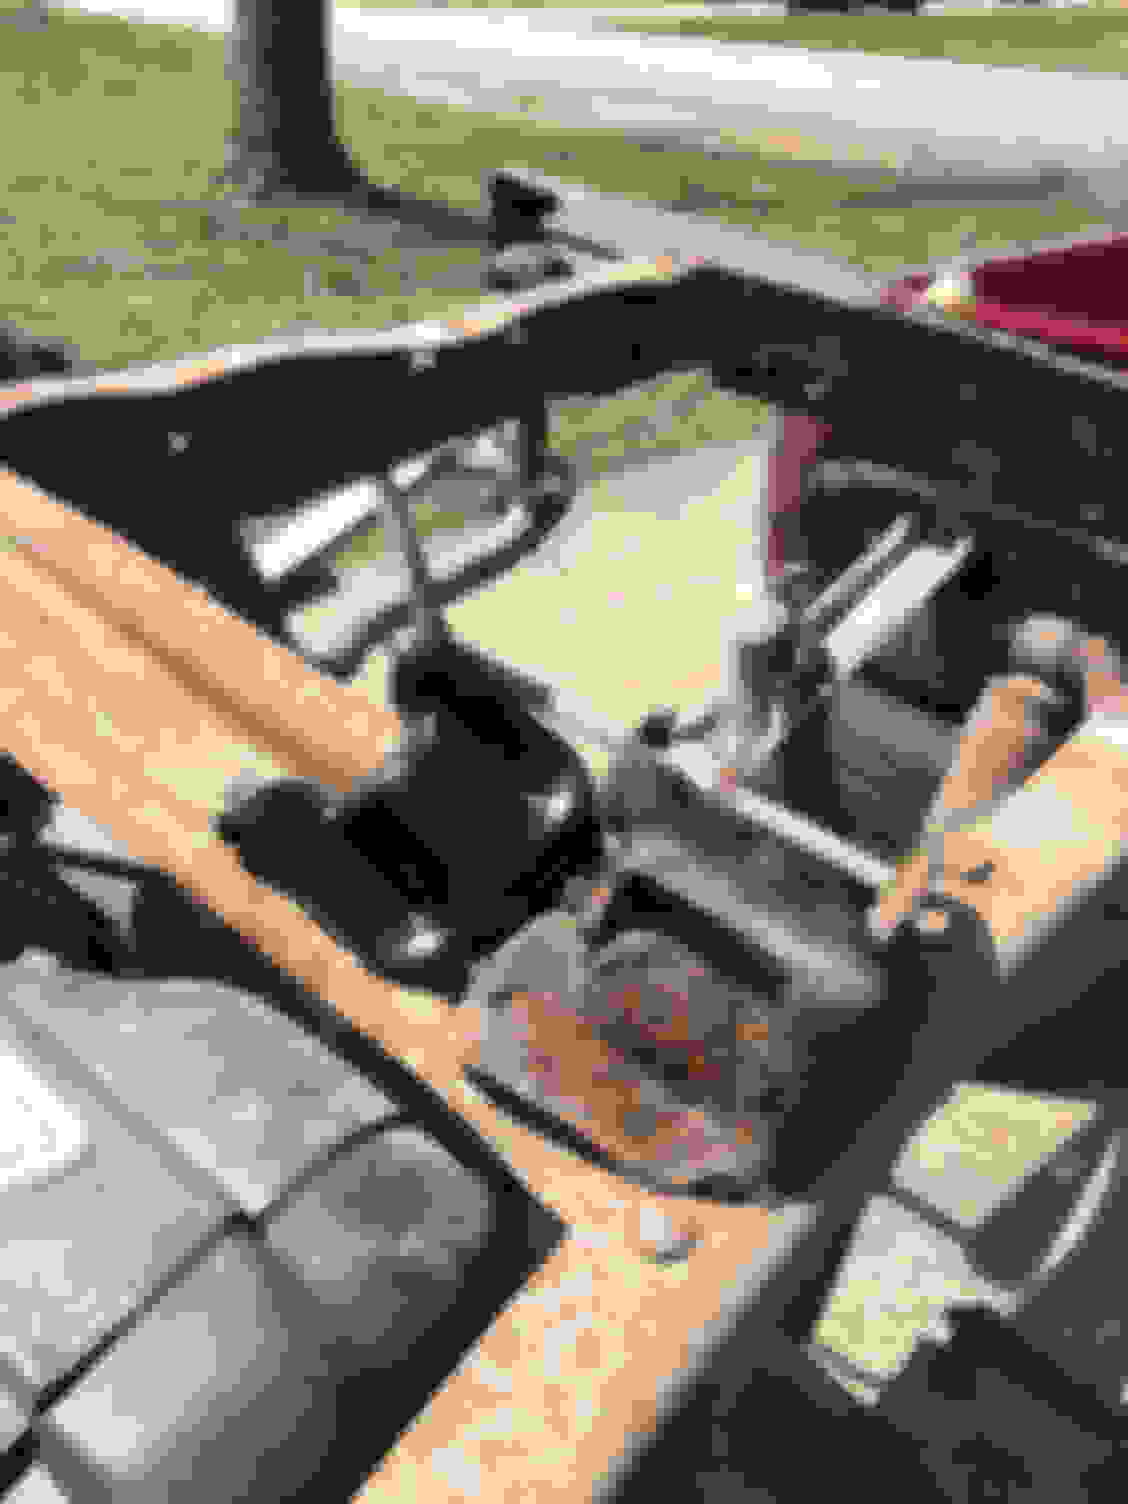
Now that the front is leveled out its time to get the rear end up off the ground a little more also. Since I'm going through the trouble of doing a bunch
of work on the rear suspension I went ahead and put new shocks in the back also. In order to achieve a 2 inch lift on the back end, I bought a set of
longer leaf spring shackles to replace the factory ones. Unless your truck has ZERO rust, you will need to remove the bed for this project. Holy crap
let me tell you something, those rear shackles and the hangers are a force to be reckoned with. I snapped one of the bolts holding the shackle on
right clean in half. So, not a great start. This bolt is now totally stuck inside the hanger bracket and there is no chance of recovering it. My only option
now is to replace the entire thing. 50 bucks later and I'm now the proud owner of two new hangers for both sides. Well ford decided to rivet them in place
so time to bust out the cobalt tip drill bit and start knocking rivets out. By the way, if someone can tell me why on earth Ford put four rivets in the
passenger side but used two rivets and two bolts on the driver side I'll buy you a case of beer or something. that made my head spin when I saw that.
Anyway, I was able to get everything taken off. Once you get the rivets drilled out and the hangers knocked off then its a pretty easy procedure. The
aftermarket hangers come with bolts and since ford fount it necessary to rivet them on, I used lock tight on the threads to make sure they stayed put.
You want to make sure you torque everything down with a load on the suspension. Don't tighten stuff while its still on jacks.
New shackles and hangers installed. The rear shocks are also a breeze to install when the bed is removed so I highly recommend replacing those at the same
time if you plan on doing this. You want to take all the weight off the axle to do any sort of suspension work and I found that stacking a bunch of spare tires under
the bumper have me enough clearance to do it. I'm going to drive the truck for maybe 100 ish miles and then crawl under it and verify that all the bolts that I replaced
are still tight. Also know that on the passenger side, the longer shackles only clear the exhaust by about 1/4 inch so you may have to make some modifications there
especially if you exhaust pipe is twisted up even a little bit.
And here's the finished product with the bed installed. Since I lifted everything 2 inches or so, the factory rake angle of the whole truck is still about the same.
Since I plan on keeping a bunch of stuff in the bed (spare tires, coolers, tents, tools) It should level out slightly when loaded down.
Next post I'll take some time and go over replacing the clutch and slave setup.
Replacing the clutch on a Ford Ranger has to be one of the hardest things to do on the planet. Whoever designed the hard line for the clutch needs to
be taken out back and shot. I want to try and make this as part how to instructions and part learn from my mistakes. I'll try and be as detailed as possible
because I had to search in 50 different places and piece together a dozen different how to forms to get it done.
NOTE: this is for a 96 2wd 2.3L manual trans.
Anyway, when I bought this truck it wouldn't move. Engine ran like a champ but something in the clutch was cooked. I could leave my foot off the clutch
with the engine running and run the truck through all 5 gears and revers and the truck wouldn't do a thing. No grinding, no movement, engine wouldn't
bog down, nothing. Cool. No matter what I was going to have to drop this transmission. I figured while I had the transmission down I'd replace everything.
New clutch, slave, pilot bearing, and rear main seal (my flywheel was in really good shape so I kept that). The following is instructions on removing the
transmission. I'm not going into details on replacing the actual clutch and slave because that is pretty simple once you get the trans removed.
STEP ONE: Remove the driveshaft.
This was pretty simple. 4 bolts connect it to the rear axle and the whole thing just slots out of the back of the transmission.
STEP TWO: Remove rear transmission cross member.
This sucked. My 96 was pretty rusty and the bolts that hold the cross member to the frame are pretty suborn. Basically you'll have a 6 inch bolt that runs
through a bracket mounted to the frame, into a rubber bushing with an iron eyelet. That eyelet WILL RUST ONTO THE BOLT essentially fusing it into one
piece of metal. You're going to need a lot of PB blaster or Liquid wrench and either a big hammer and punch or a pneumatic hammer. You'll also want to
make sure you have some way of supporting the back end of the trans once you drop that cross member.
STEP THREE: Remove the Starter, shifter, and sensor wires.
There are three bolts holding the starter on. Make sure you have some bailing wire handy. You'll want to pull those three bolts and hang the starter off some
solid part of the frame to keep it out of the way. Now go into the cab and pull up the upholders and rubber boot covering the top of the trans. There are three
torque head screws holding everything down. You should be able to pull the whole assembly out as one. There are two sensors on the trans; one on top kinda
in the middle and one at the end where the driveshaft meets with the trans. Unplug those bad boys.
STEP FOUR: Removing transmission bolts
THERE ARE 8 BOLTS HOLDING THE TRANS ONTO THE ENGINE. This is important to know. I will try and be as detailed as possible because boy howdy
are those little buggers hard to find. They're 13 mill and all different lengths.
Two are on the bottom and are easy to see.
There are two on each side (four in total). One on the passenger side can only be seen and easily reached when the starter is removed. Another is on the
drivers side that will more than likely be blocked by the oil dipstick. You will not be able to get at this one with a ratchet, you'll need a wrench. The other two
are pretty easy to get at.
The last two are on the top of the trans bell housing and will be your waking nightmare. Everywhere I've read gives a different way to get them out. Some say
to drop the rear of the trans down a few inches and use 4 feet of extensions to go at it from the back (this is an option but I found an easier way). Other said
you can reach them from the top inside the engine bay (I have no freaking clue how they made that happen). The best way I found to get the last two out is
as follows: Take the front tires off. Now pull the fender well liner out on both sides. from there you should be able to peek inside the engine bay from the wheel
well. I was able to reach the last two bolt with no problem from this angle. Just follow the engine all the way back to where it mates with the trans. The two
bolts will be right on top kind mixed in with a wiring harness.
STEP FIVE: Remove trans
Now you've got everything loose. The trans should slide backwards and from then its just a matter of wrestling it to the ground. Good luck. Heads up, it will
start hemorrhaging trans fluid out the back end as soon as you start trying to get it down.
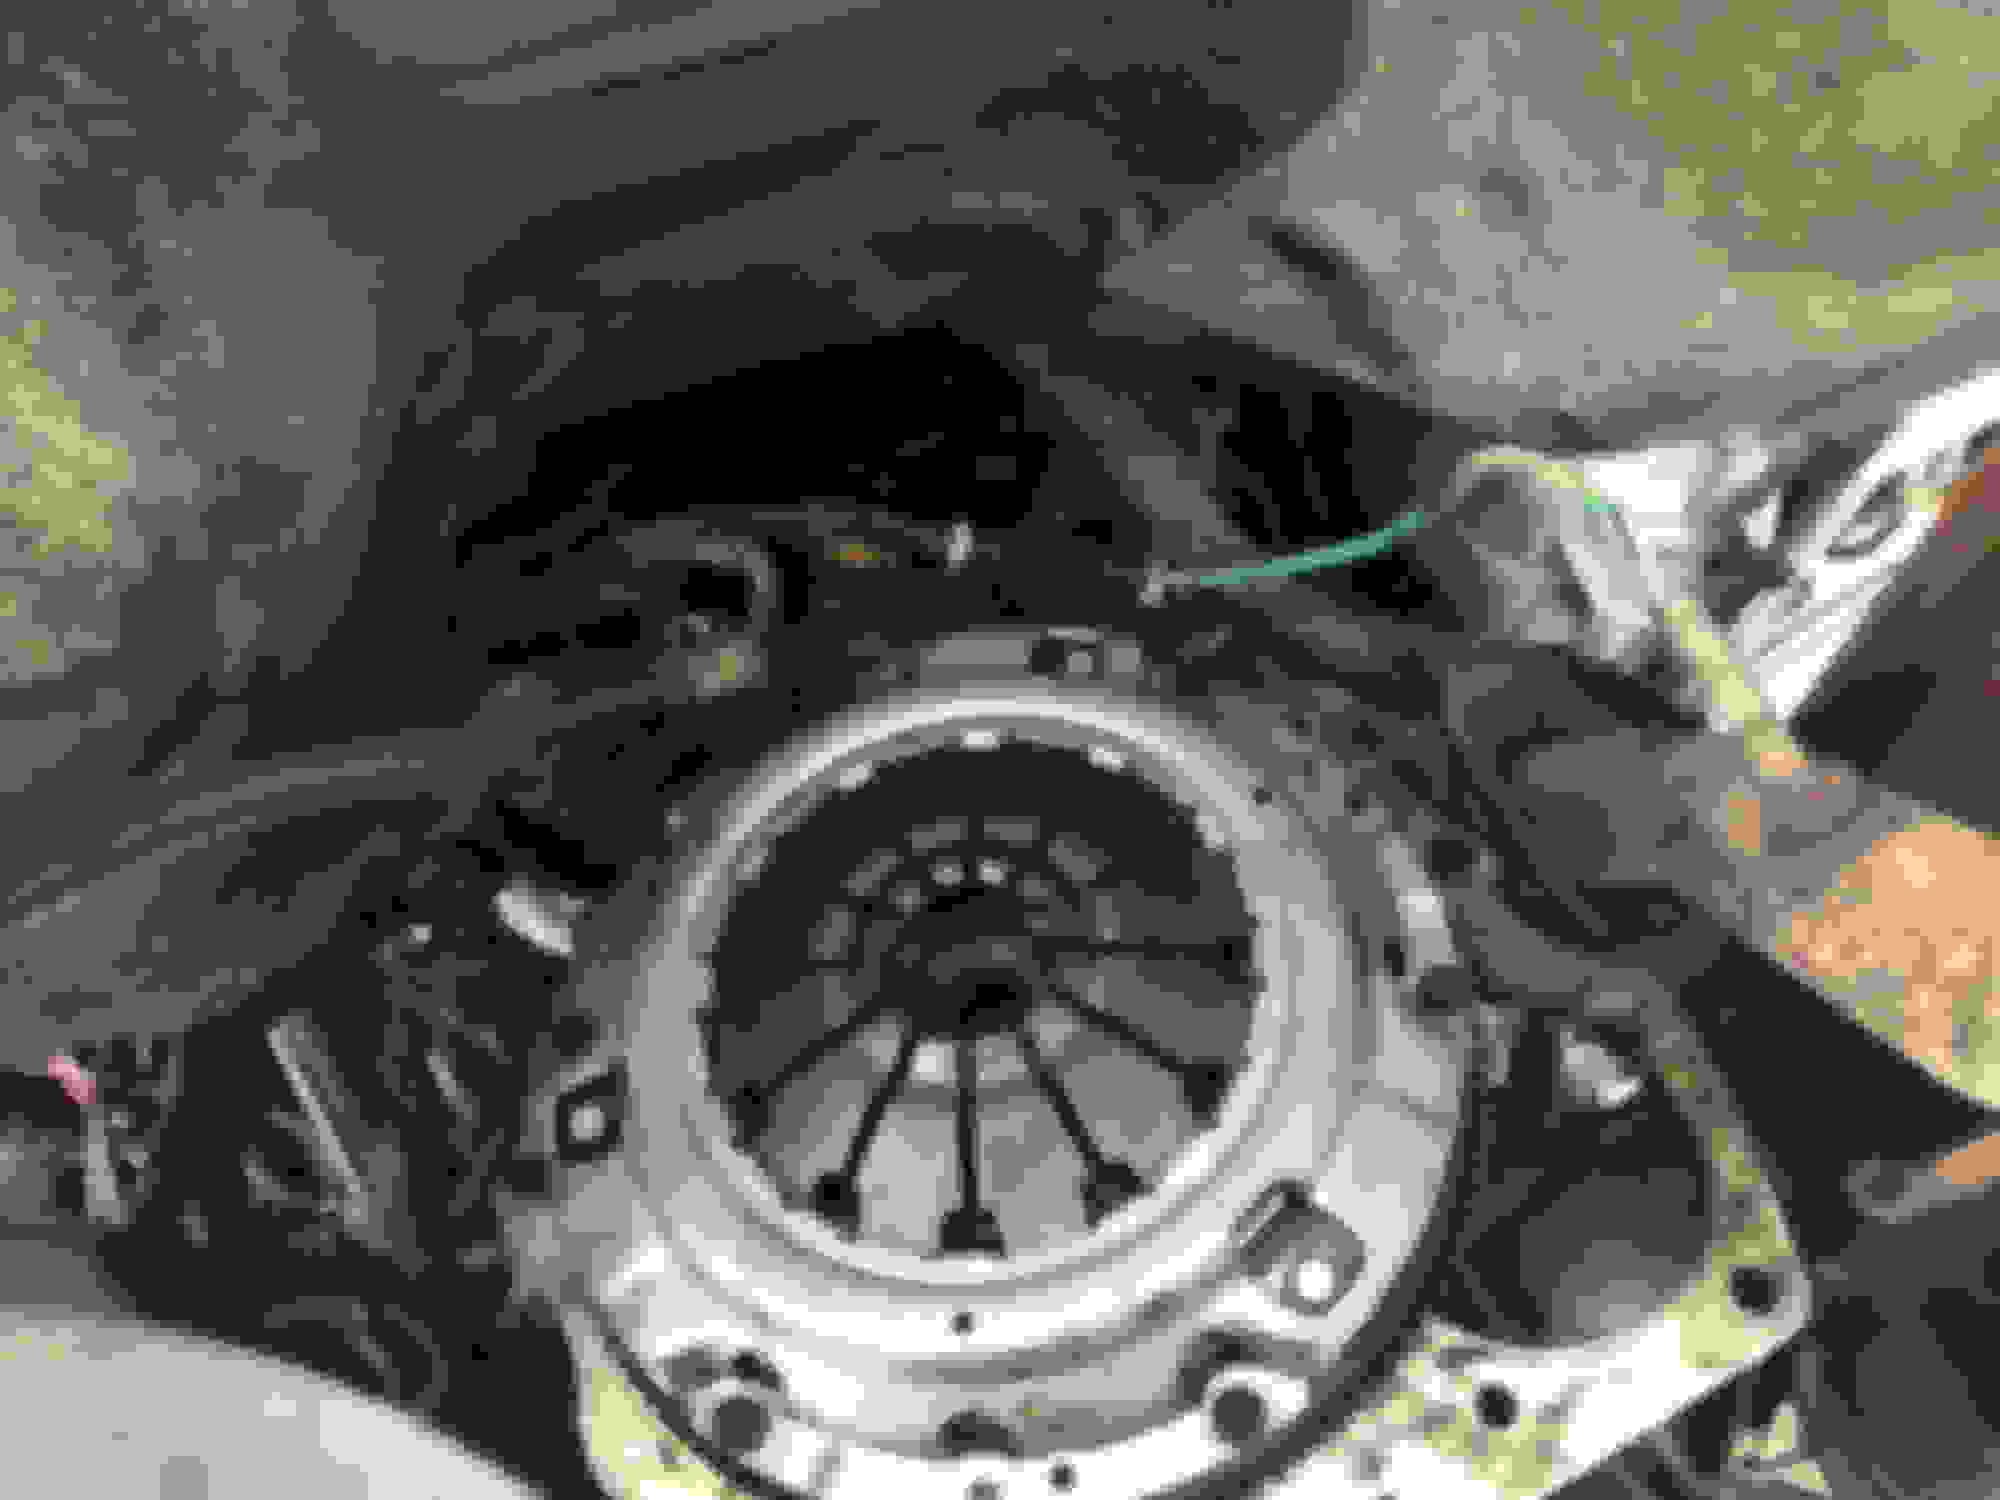
If you don't get crushed by the transmission then congrats, you've just come one step closer to replacing your clutch.
Here's my new clutch in all its glory. When I pulled the trans the throwout bearing was toast. All the bearing just dropped out the bottom of it so that
was probably my problem. Getting the trans back up is pretty easy. Just make sure all everything lines up like it should and it'll be fine.
Once I got everything back together I had to bleed the system. THIS IS IMPORTANT: You need to bench bleed this clutch. I tried to be clever and look
up ways to get around it. I've seen people using a break bleeder to inject fluid under pressure into the system or using a syringe to try and pull the air
out through the top. I tried these. THEY DON'T WORK. This clutch system is so very poorly designed. There are maybe half a dozen point in the whole
line for air to get trapped. YOU NEED TO PULL THE WHOLE DAMN THING OUT AND BLEED IT. Trust me.
Once you get it flushed you're good to go. Make sure everything is tight and it shifts freely and be on your way.
If this write up helps at least one person then I know all the trouble I had doing this job myself was worth it. I suffered so you don't have to. I might copy
this post and add it to the how to section of this forum. We'll see.
NEXT UP: Setting the camber and caster on a TIB front end
I had to dig around a lot more than I expected to figure out how to adjust the camber on a truck with TIB suspension. When I added the front lift it threw
the camber on the wheels off by about +3 degrees. From what i found, there are two ways to combat this. You can buy a set of TIB drop brackets that
essentially lower the entire TIB assembly down by the same amount as the lift pushed the front wheels down (if that makes any sense). If you're lucky
this will bring the front wheels back in line with the camber set in the factory using geometry and stuff. I've been trying to figure out how to explain that
better but I'm drawing a blank so I'll stick with just saying its because geometry.
The second option, and the route I took was to just buy a set of adjustable ACDelco Caster/Camber bushings. They were 20 bucks a pop off amazon and
worked perfectly. I was able to eyeball the camber and just assumed the caster was at 0. I don't plan on using this truck as a daily driver so I'm not super
worried about tire wear and or front end longevity. I just want the thing to not pull wildly to the side when driving above 30mph. I didn't take a picture of how
bad the front tires were before I fixed the camber but trust me, it wasn't great. The alignment was never bad so I'm not worried about that either. Also, while
I was tooling around with the front end I replaced the sway bar linkages. By replaced I mean added, because they were missing on one side and broken in
half on the other.
Now, there is one thing I'm not 100% sure about and wouldn't mind getting some input from someone on this. I got a two inch lift on the front end thanks to
a set of coil spring spacers. Do I need to worry about extending the radial arms? They seem kinda close to maxed out in terms of downward movement. I
have the same question regarding the sway bar linkages. I just bought the plastic factory ones. If I need to I can pick up a set of metal ones and weld in an
extra 2 inches of steel to add some length. Any input would be appreciated.
Over the past few weeks I've been messing with trivial small stuff. High idle in neutral and bucking under load. Replaced the fuel filter which
helped with overall performance. Replaced the exhaust side plugs and wires, plan on doing the intake side sometime this weekend. New
Idle Air Control valve to try and remedy the high idle problem which it didn't. Got the AC running but the 2.3 is so gutless it can't run the compressor and
turn a set of 31 inch tires on a 3.45 rear end. Gotta turn the AC off to accelerate through an intersection. Might try and find a 4.10 sometime
sooner rather than later.
I built this truck for the Gambler 500 in Illinois on memorial day weekend which is only a few days off. So far, the truck is running really well. Besides
the lack of power I think it should be able to hold its own.
 03-27-2018