Trepaul's Level II Transformation
#1
 03-24-2010


Trepaul's Level II Transformation
Well as most of you know I'm swapping in a manual case and going with OEM Level II stuff, minus the tailhousing.
So far I have all I need, but I'll list the prices I paid for the parts
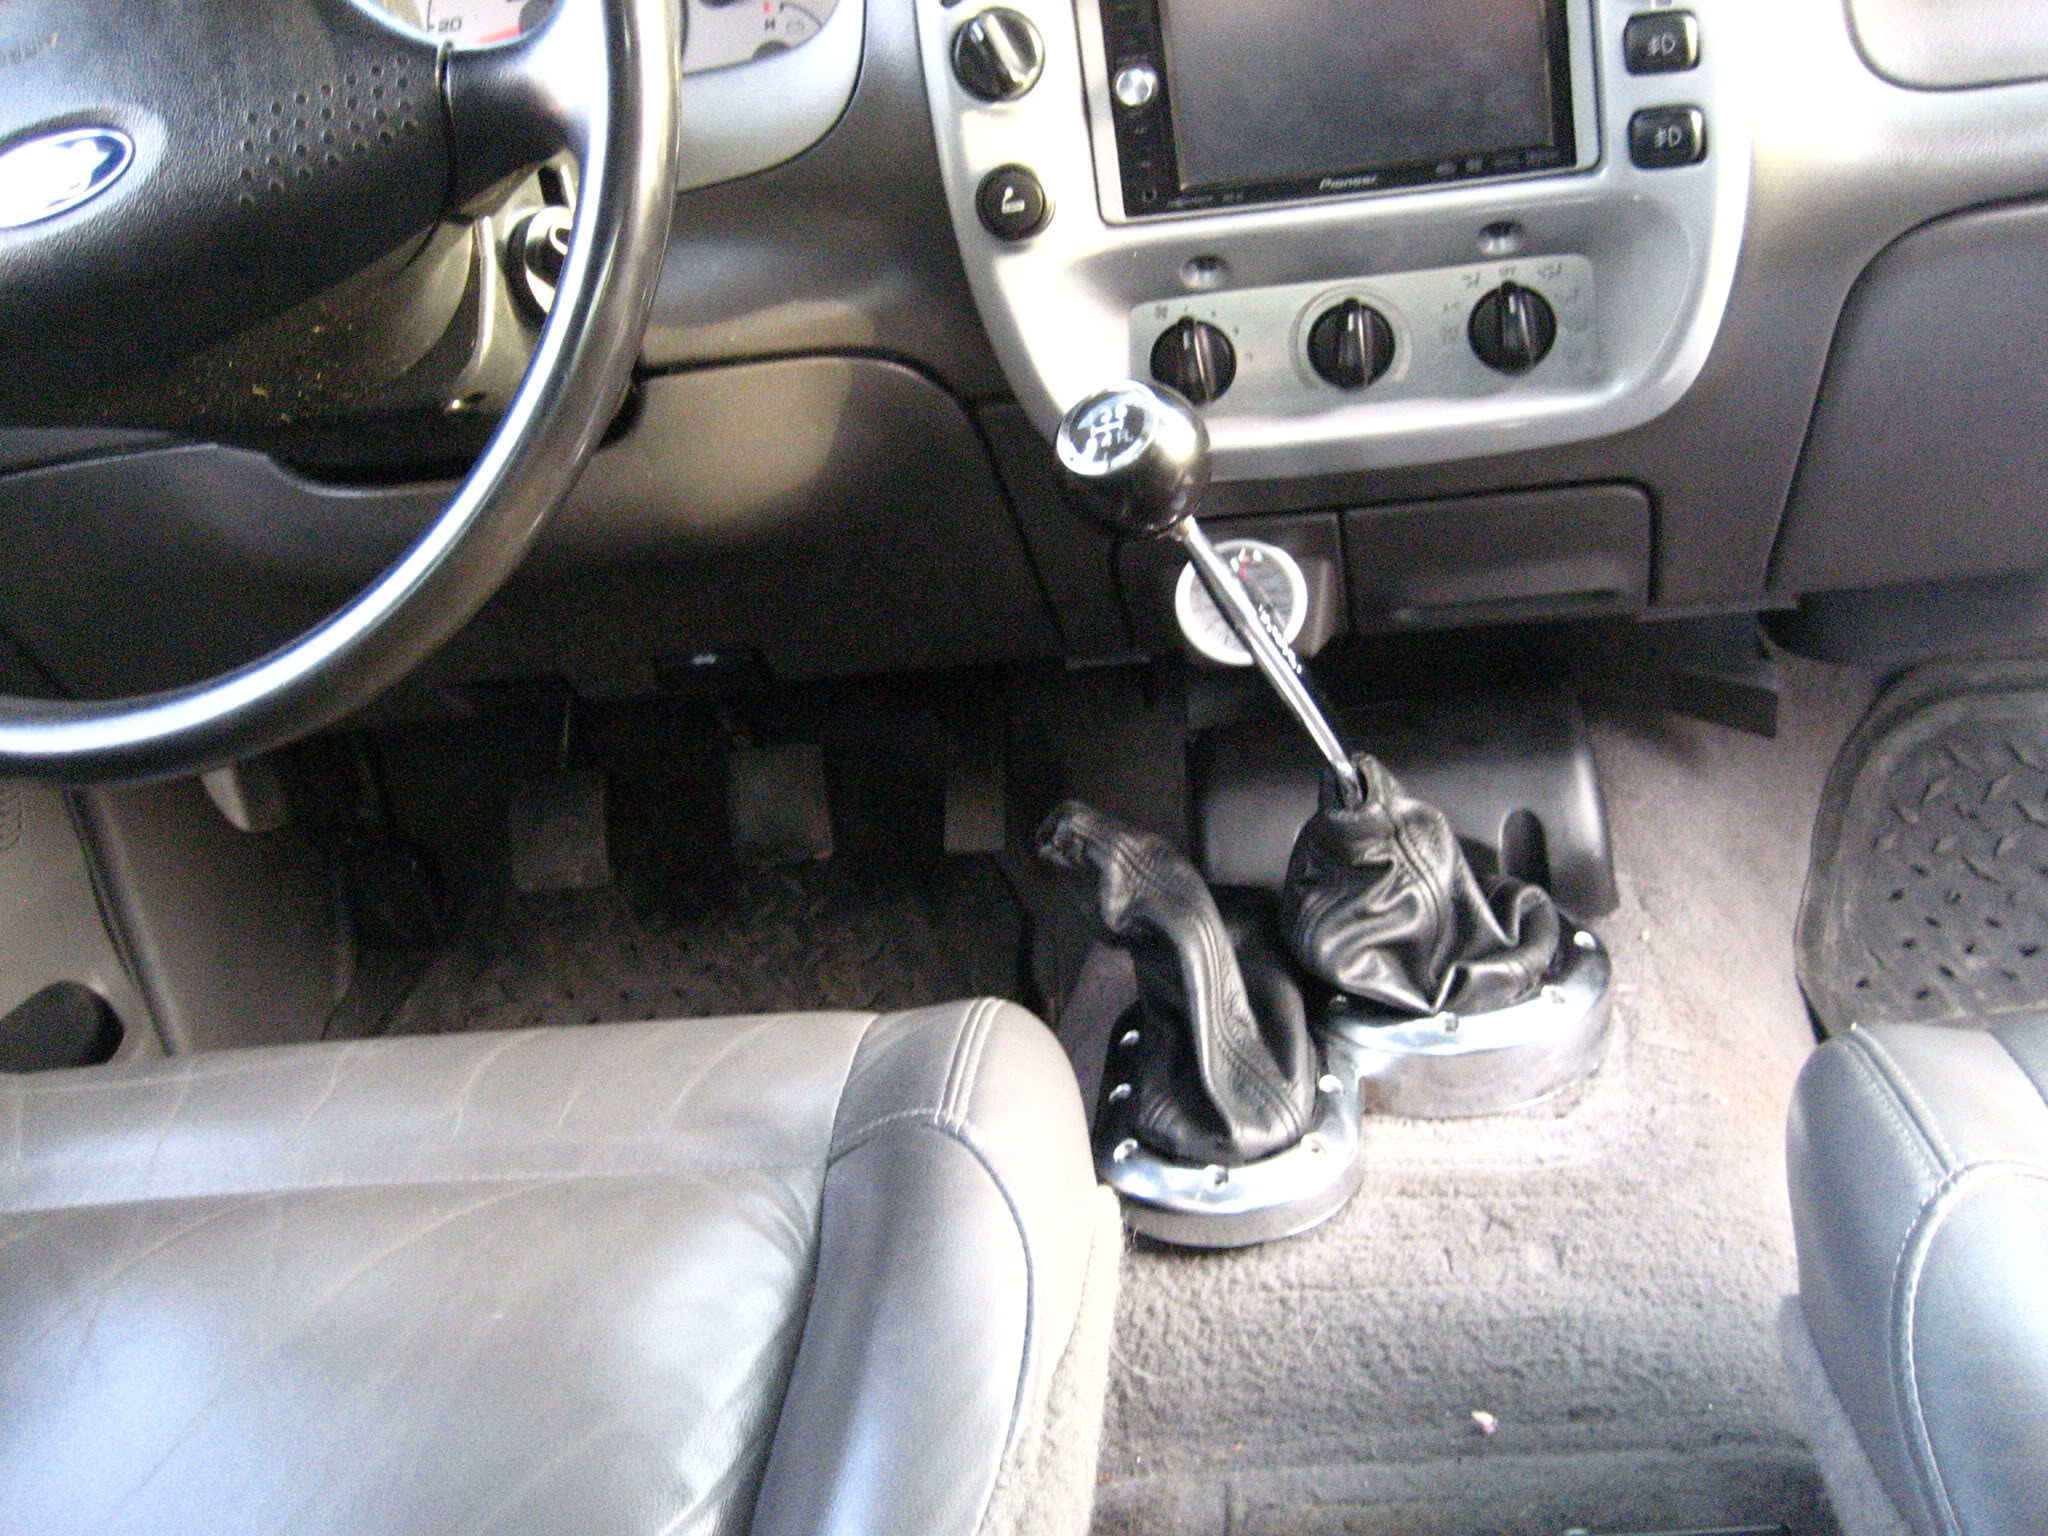
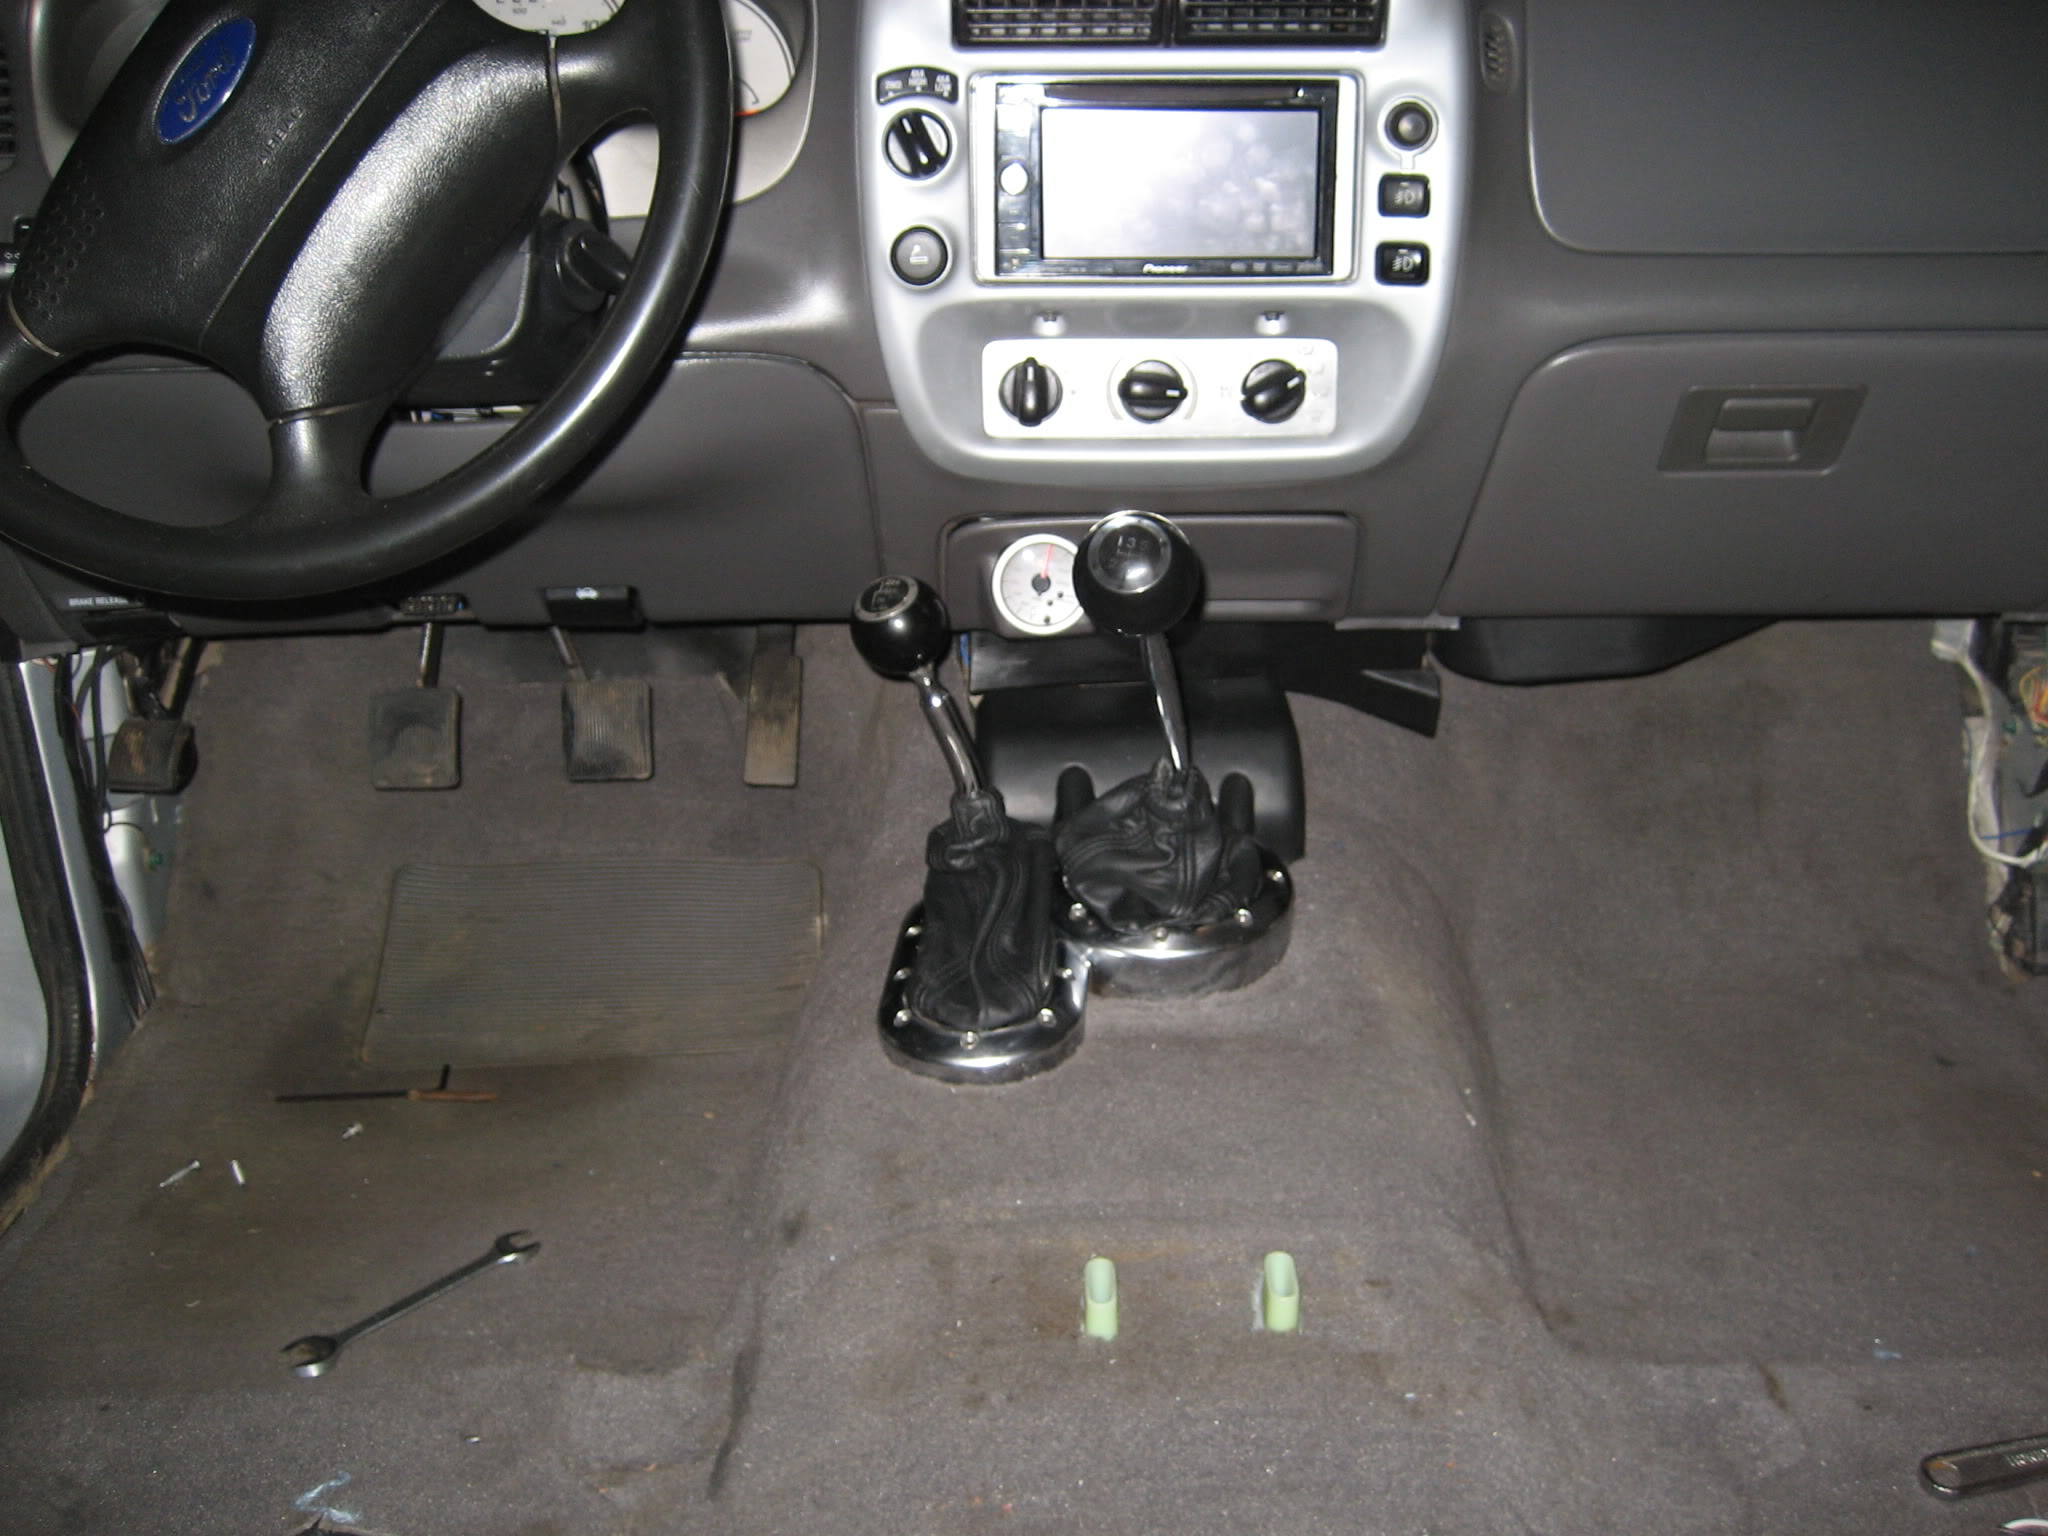
Chrome floor bezel from a 02 FX4OR - $60
RCM cover - $40
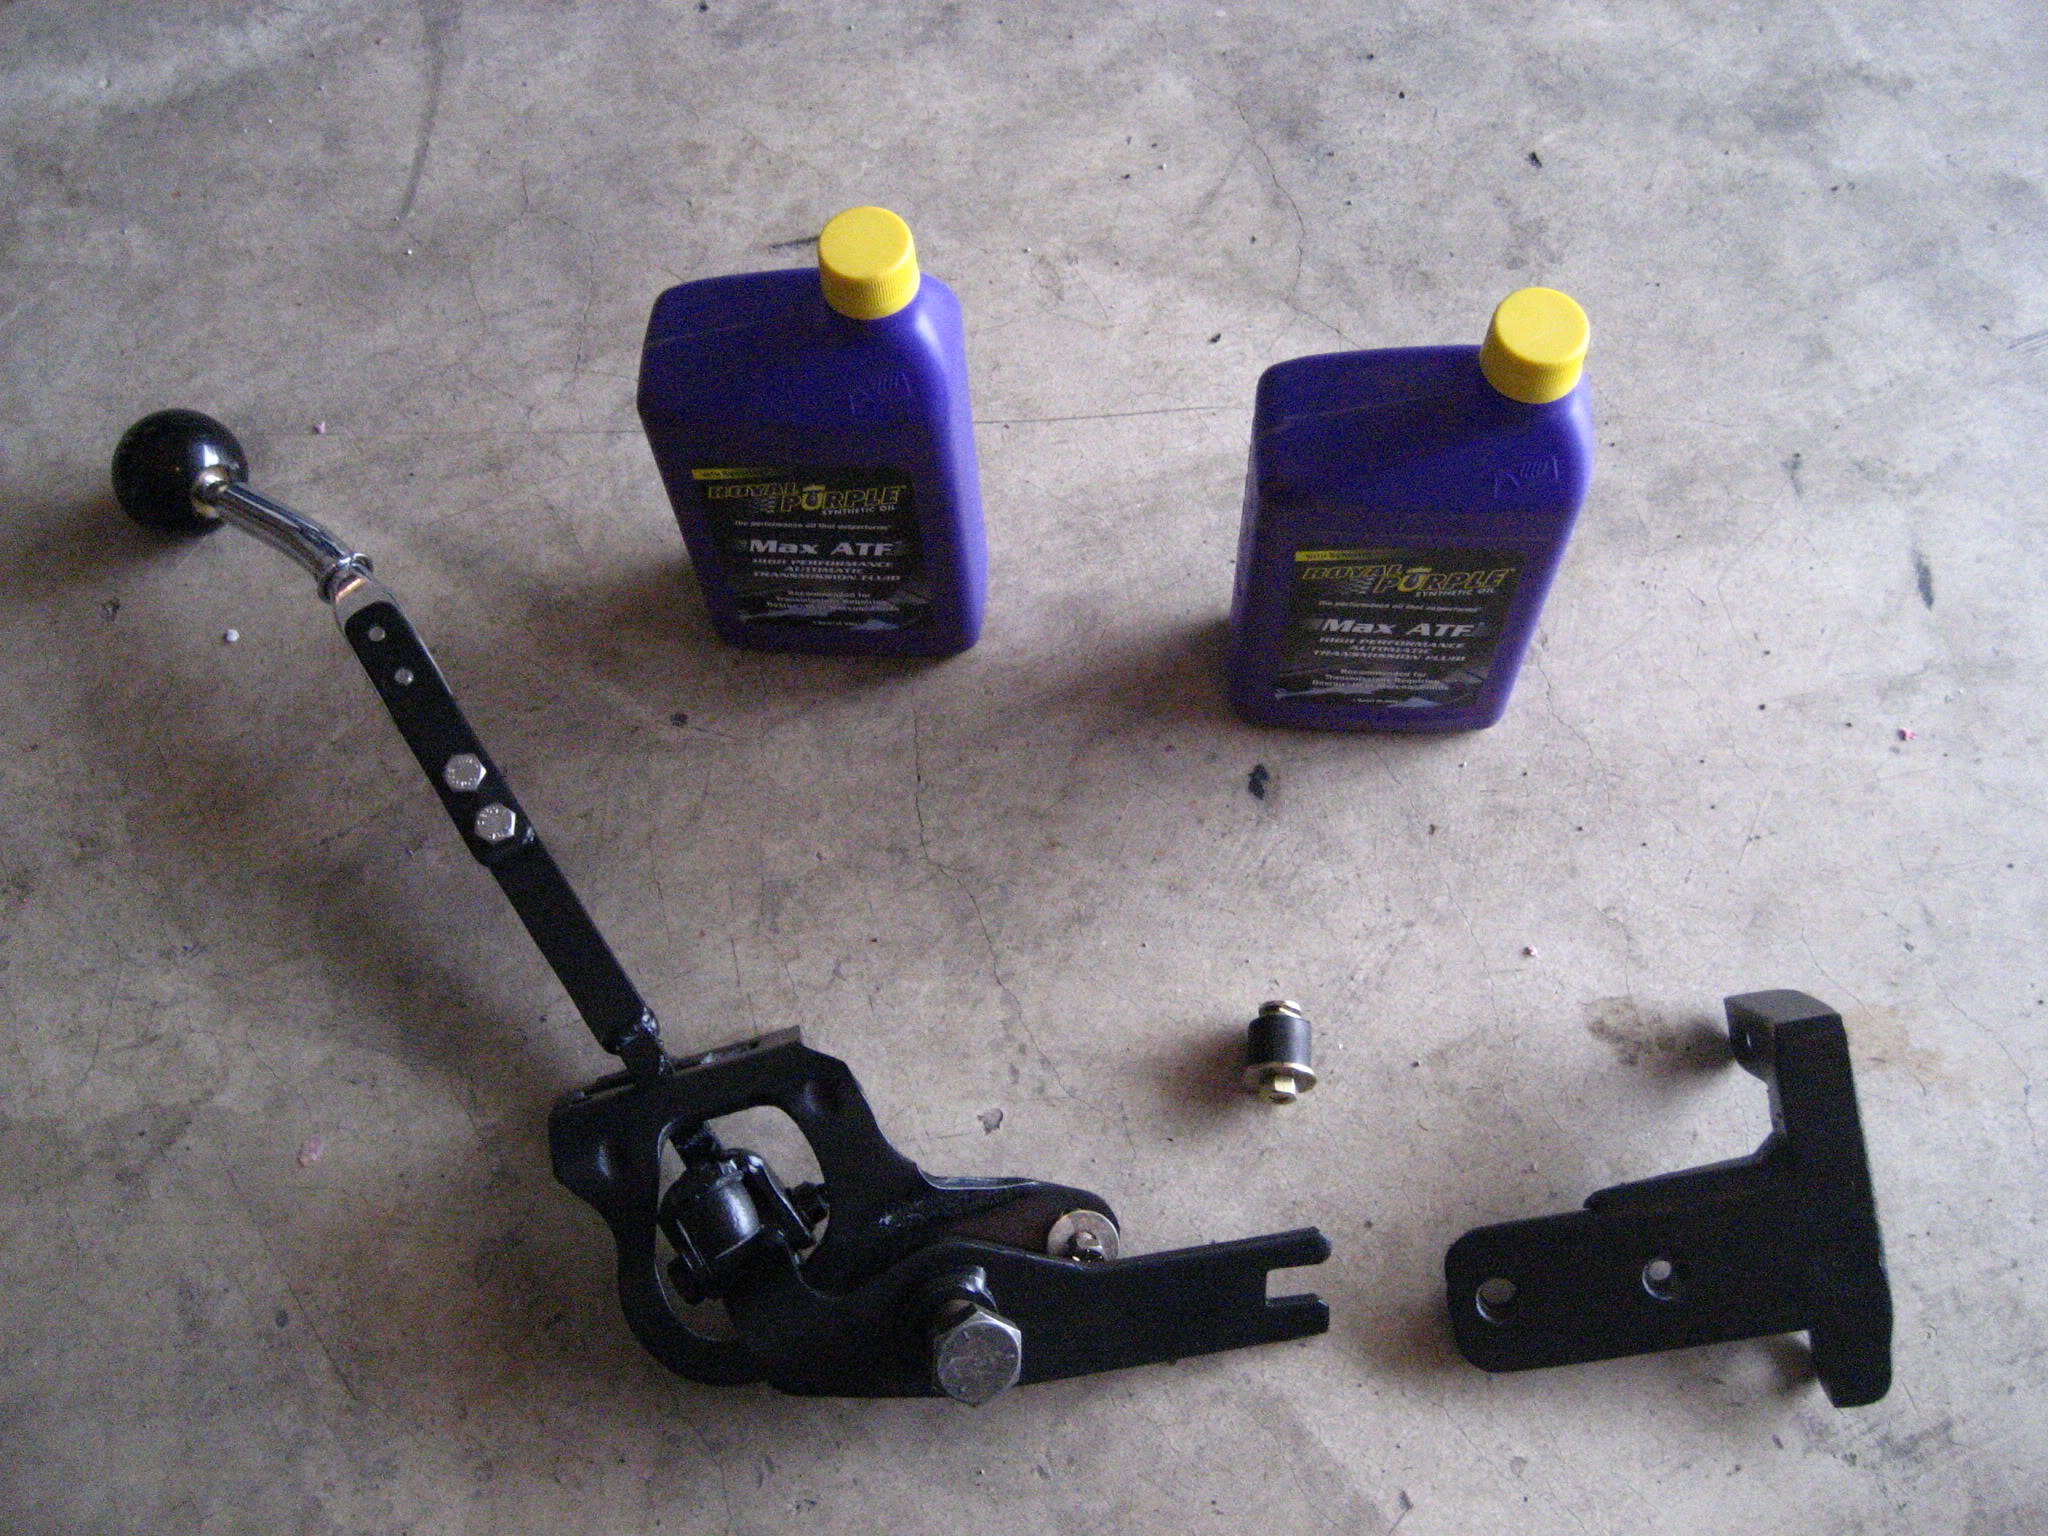
T-case shifter arm and ball - $87 (Bought Shane some parts as a trade)
Modified my old Auto/Auto inspection cover to match the Level II's cover, minus all the rubberizing
T-case linkage from a 91 B2 and expo inspection cover rubber with offset case location - $10
Custom t-case linkage bracket to adapt to the standard M5OD-R1HD tailhousing - Free (I made it)
T-case from a 94 Explorer $100 (Pissed about the service with the company I bought it from so I'm going to try and make them pay for half for their mistakes.. Possibly $50)
Rubber soft plug to cap the speedo cable hole - $2.09
2 quarts of royal purple ATF - $24
U-joint clamps for the 1354m's front output - Free - $10 depending on if I buy new or not
The things I might need are:
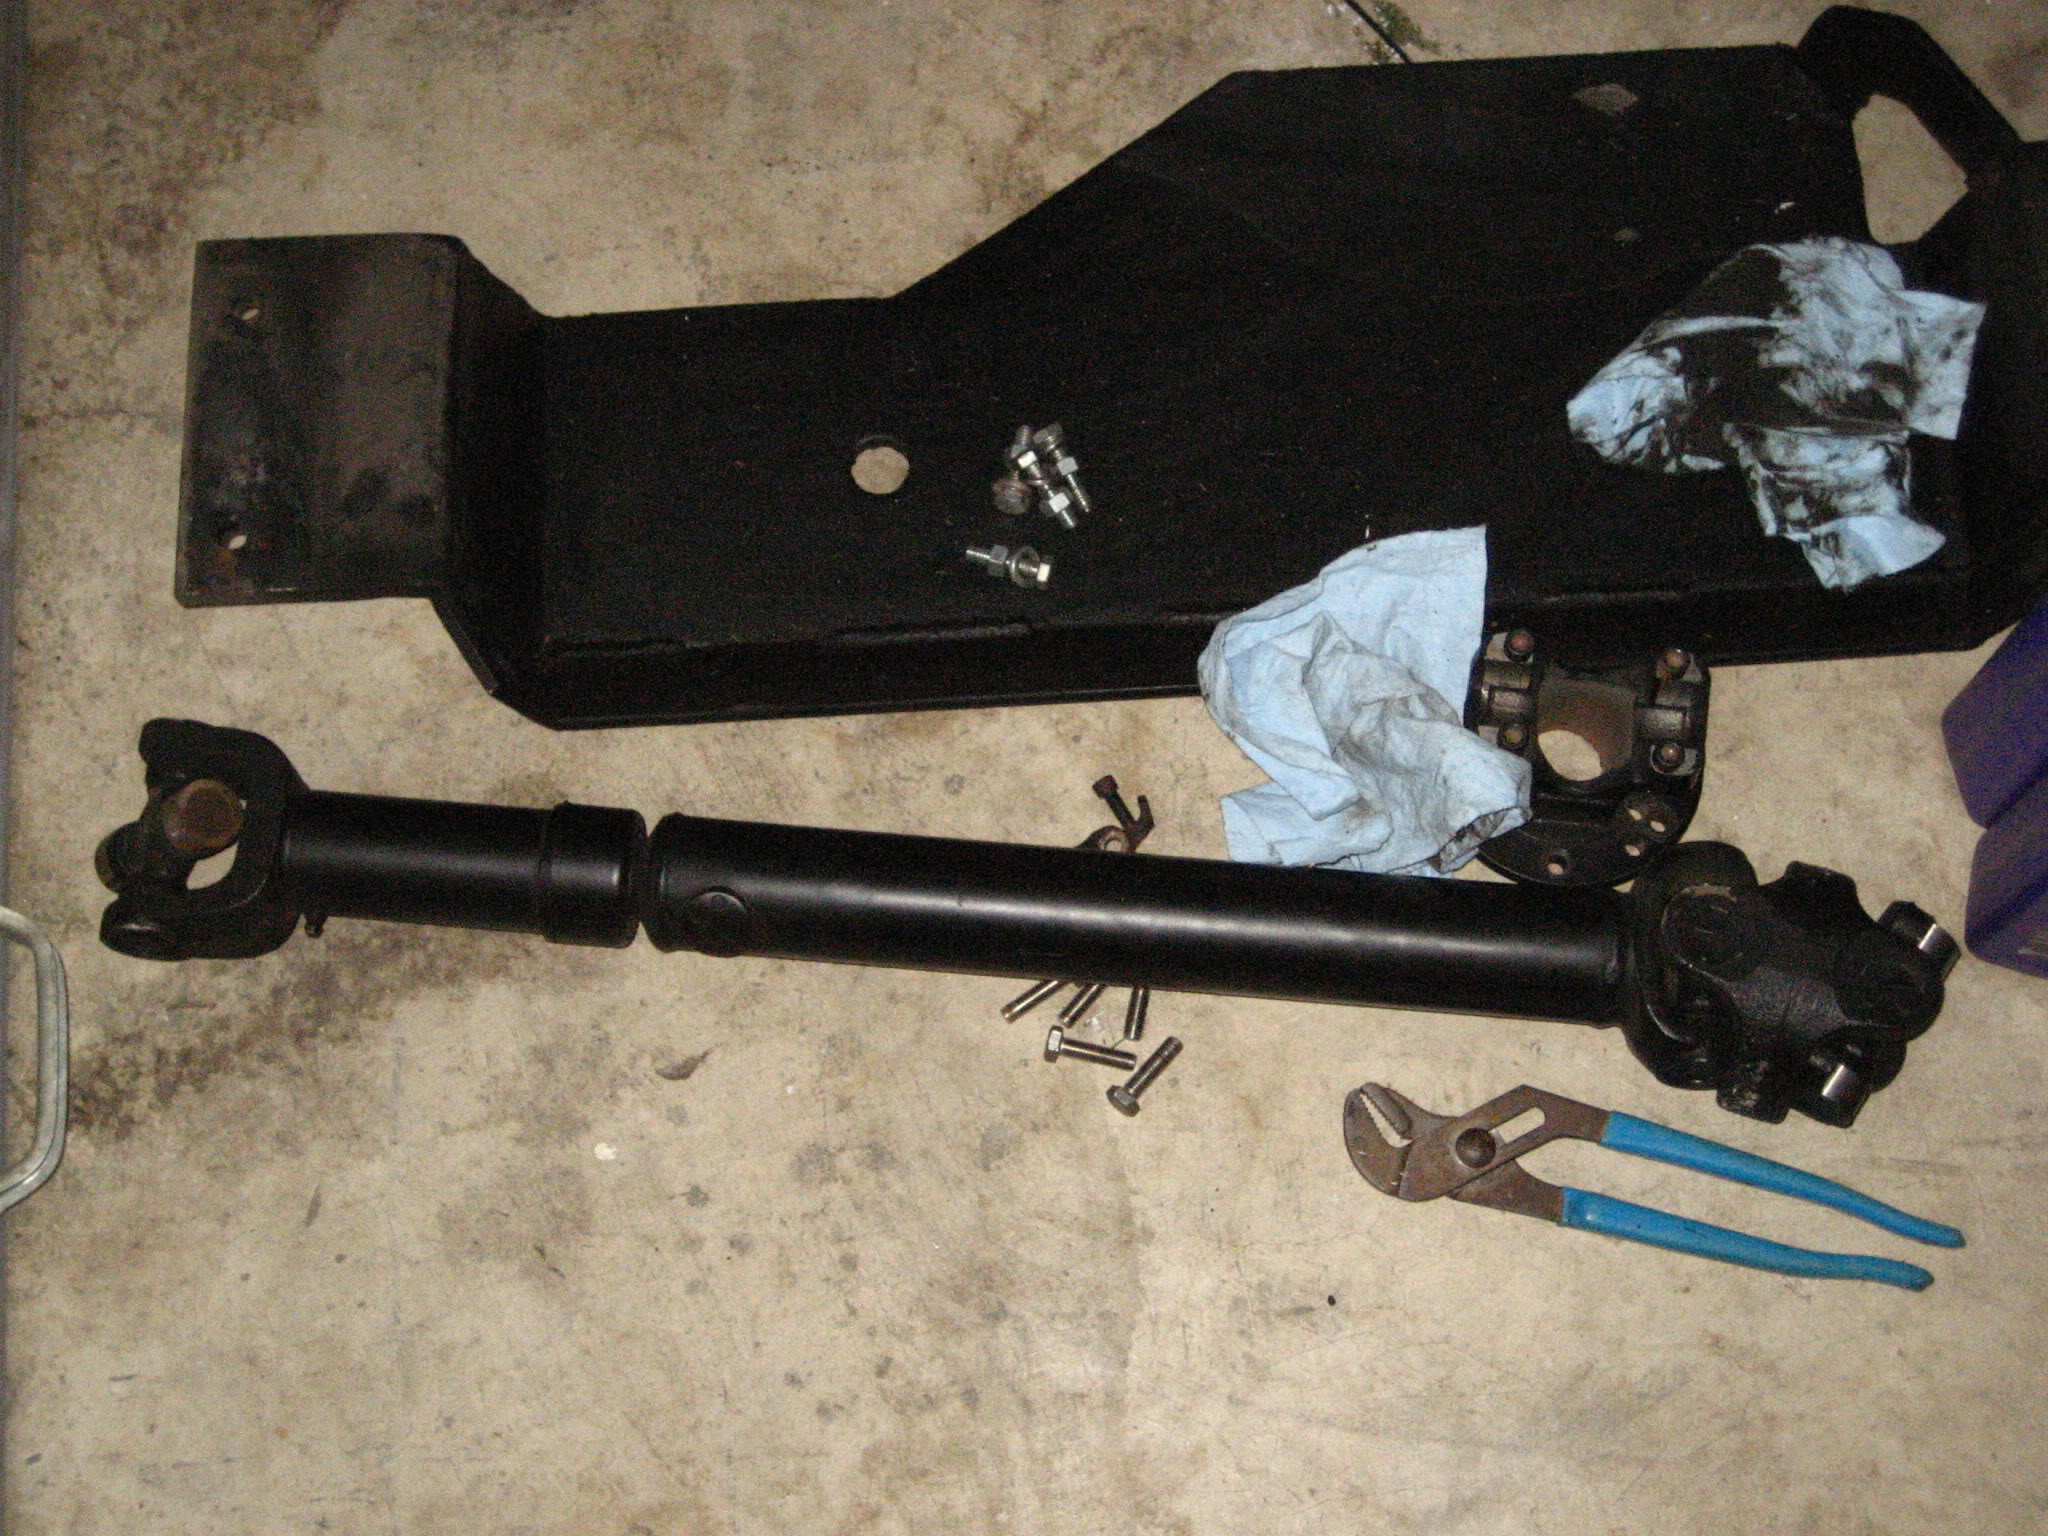
95-97 expo front driveline if the superlift one won't reach - Up to $50, then new u-joints
1354m pigtail to signal the lights in the dash - Free, junkyard pocket mod
As of right now, I have $324 into the swap and the only thing I wish I had was the Level II inspection cover :( That part alone costs almost as much as I have into the swap!
On to the pics:
Tomorrow if all goes the way it should, I should be starting on the swap around 10am starting with picking the case up at 9am.
So far I have all I need, but I'll list the prices I paid for the parts
Chrome floor bezel from a 02 FX4OR - $60
RCM cover - $40
T-case shifter arm and ball - $87 (Bought Shane some parts as a trade)
Modified my old Auto/Auto inspection cover to match the Level II's cover, minus all the rubberizing
T-case linkage from a 91 B2 and expo inspection cover rubber with offset case location - $10
Custom t-case linkage bracket to adapt to the standard M5OD-R1HD tailhousing - Free (I made it)
T-case from a 94 Explorer $100 (Pissed about the service with the company I bought it from so I'm going to try and make them pay for half for their mistakes.. Possibly $50)
Rubber soft plug to cap the speedo cable hole - $2.09
2 quarts of royal purple ATF - $24
U-joint clamps for the 1354m's front output - Free - $10 depending on if I buy new or not
The things I might need are:
95-97 expo front driveline if the superlift one won't reach - Up to $50, then new u-joints
1354m pigtail to signal the lights in the dash - Free, junkyard pocket mod
As of right now, I have $324 into the swap and the only thing I wish I had was the Level II inspection cover :( That part alone costs almost as much as I have into the swap!
On to the pics:
Tomorrow if all goes the way it should, I should be starting on the swap around 10am starting with picking the case up at 9am.


#14
03-25-2010
For $400 it's yours! Actually I'm almost 100% positive, the SL shaft will work. I'll find out later today!
Bingo!
#15
03-25-2010
Alright, little update... Picked up the case this morning and got back home and realized they took off the bracket the linkage attaches to. I was pissed, called them up and complained and they credited $25 back to my card. So the case was $75 and Shane's on his way over with the bracket off one of his cases. Stupid junkyard employees.
Anyways, while I'm waiting for Shane I figured I'd give an update. Case is out and the rubber soft plug is installed and swapped breather tubes over as well.

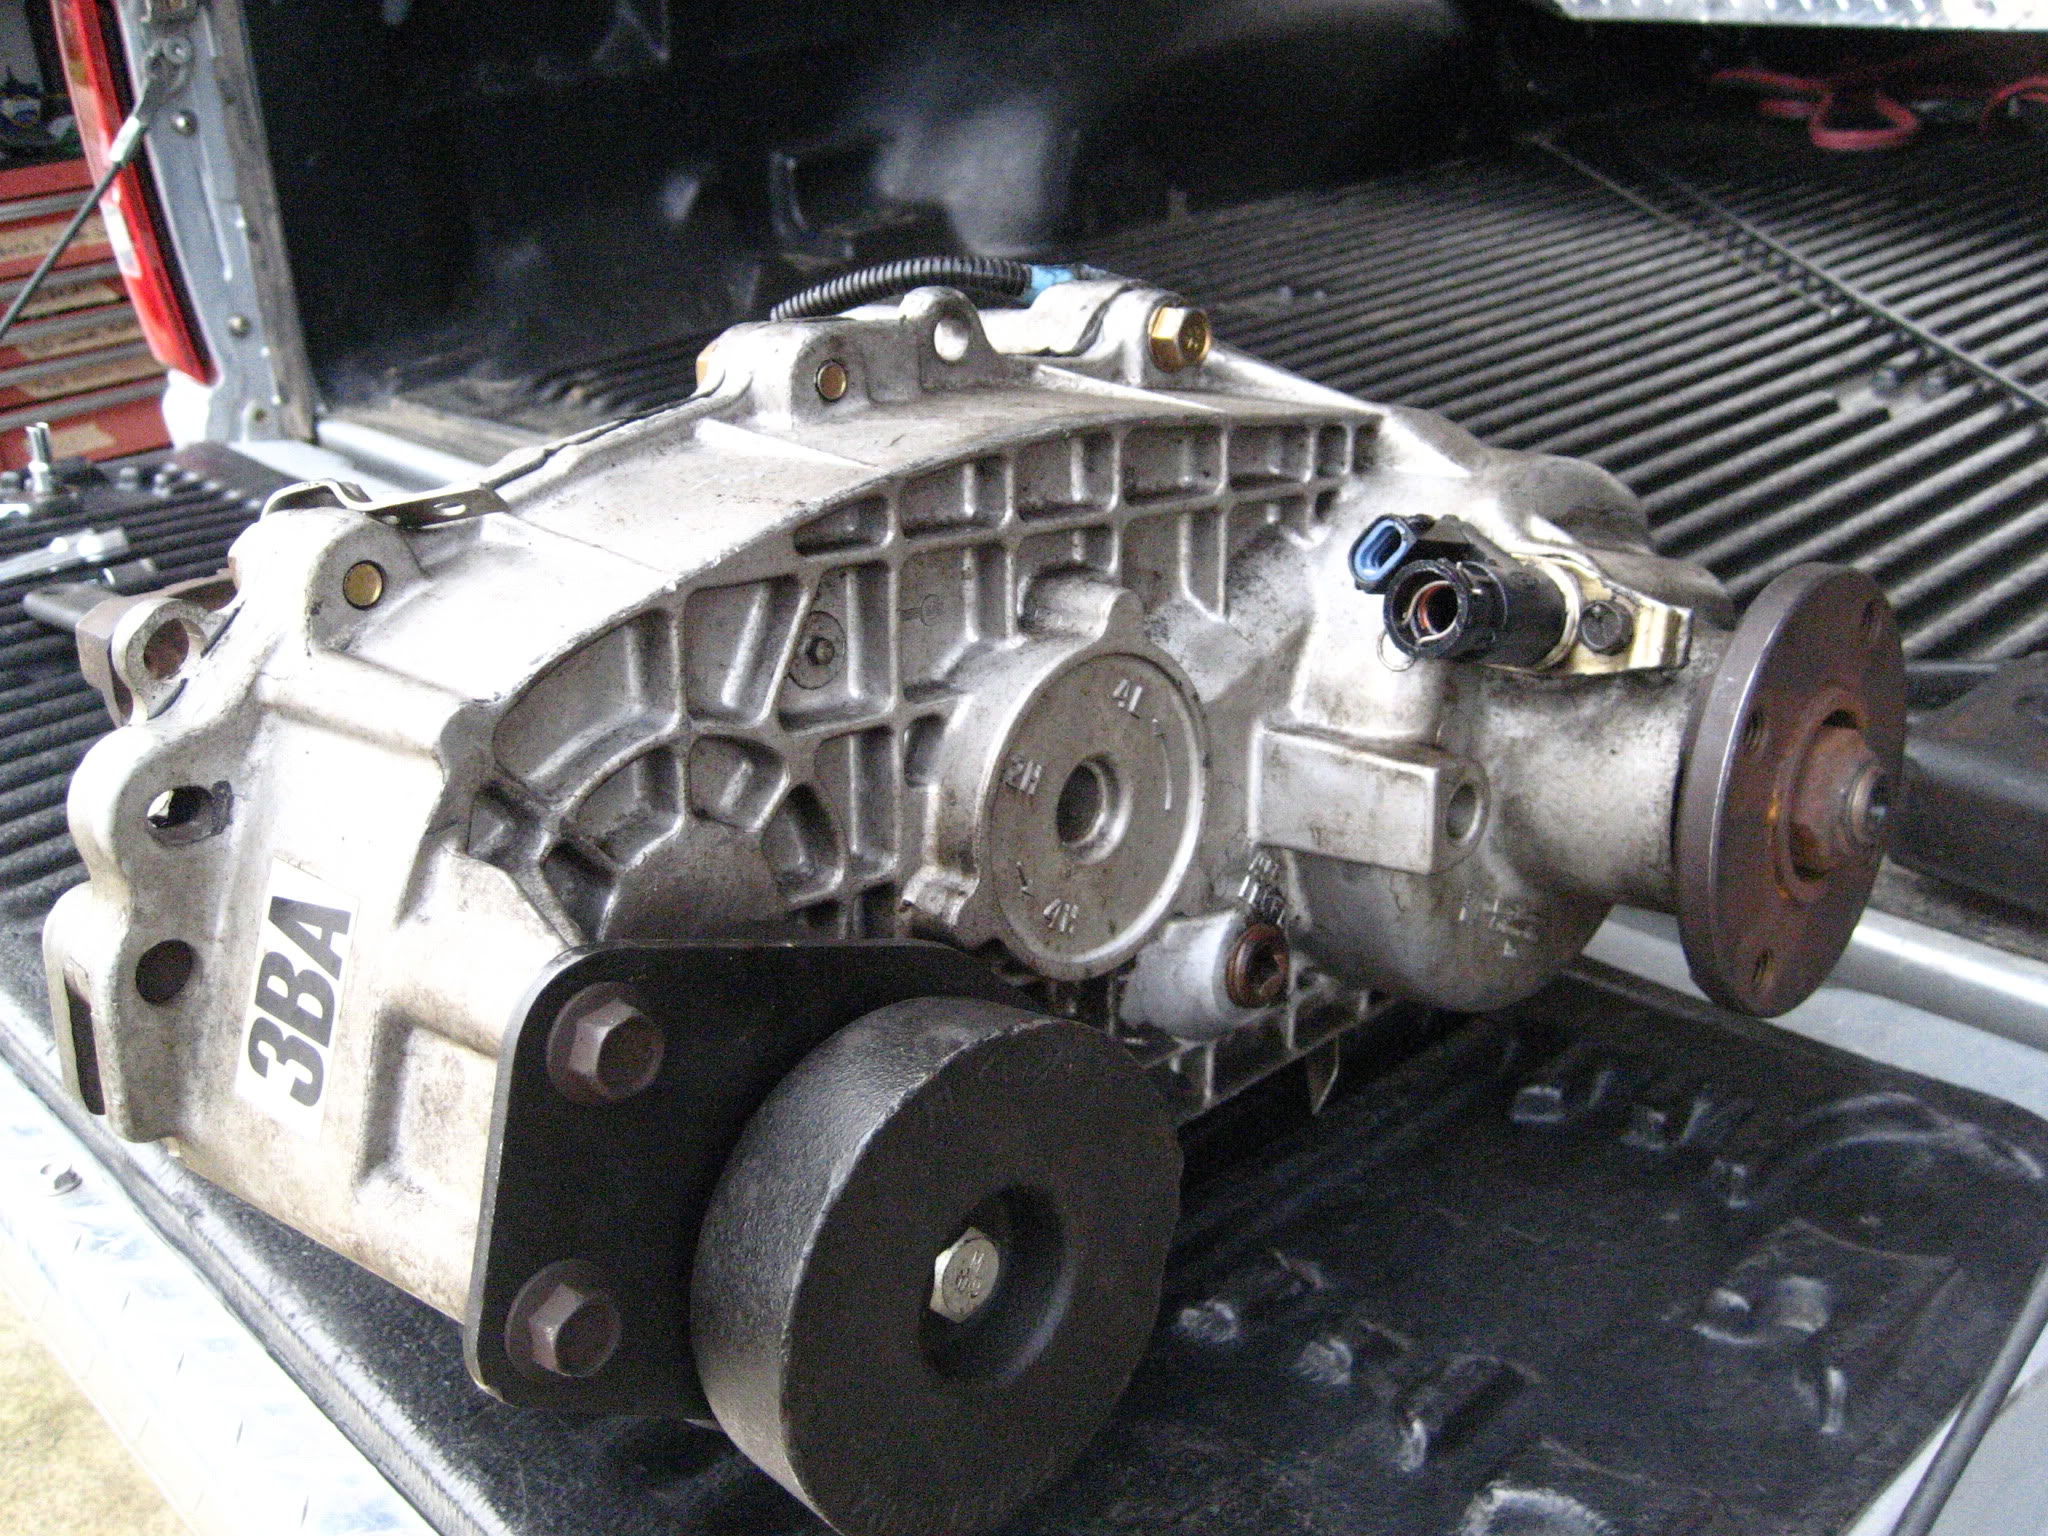
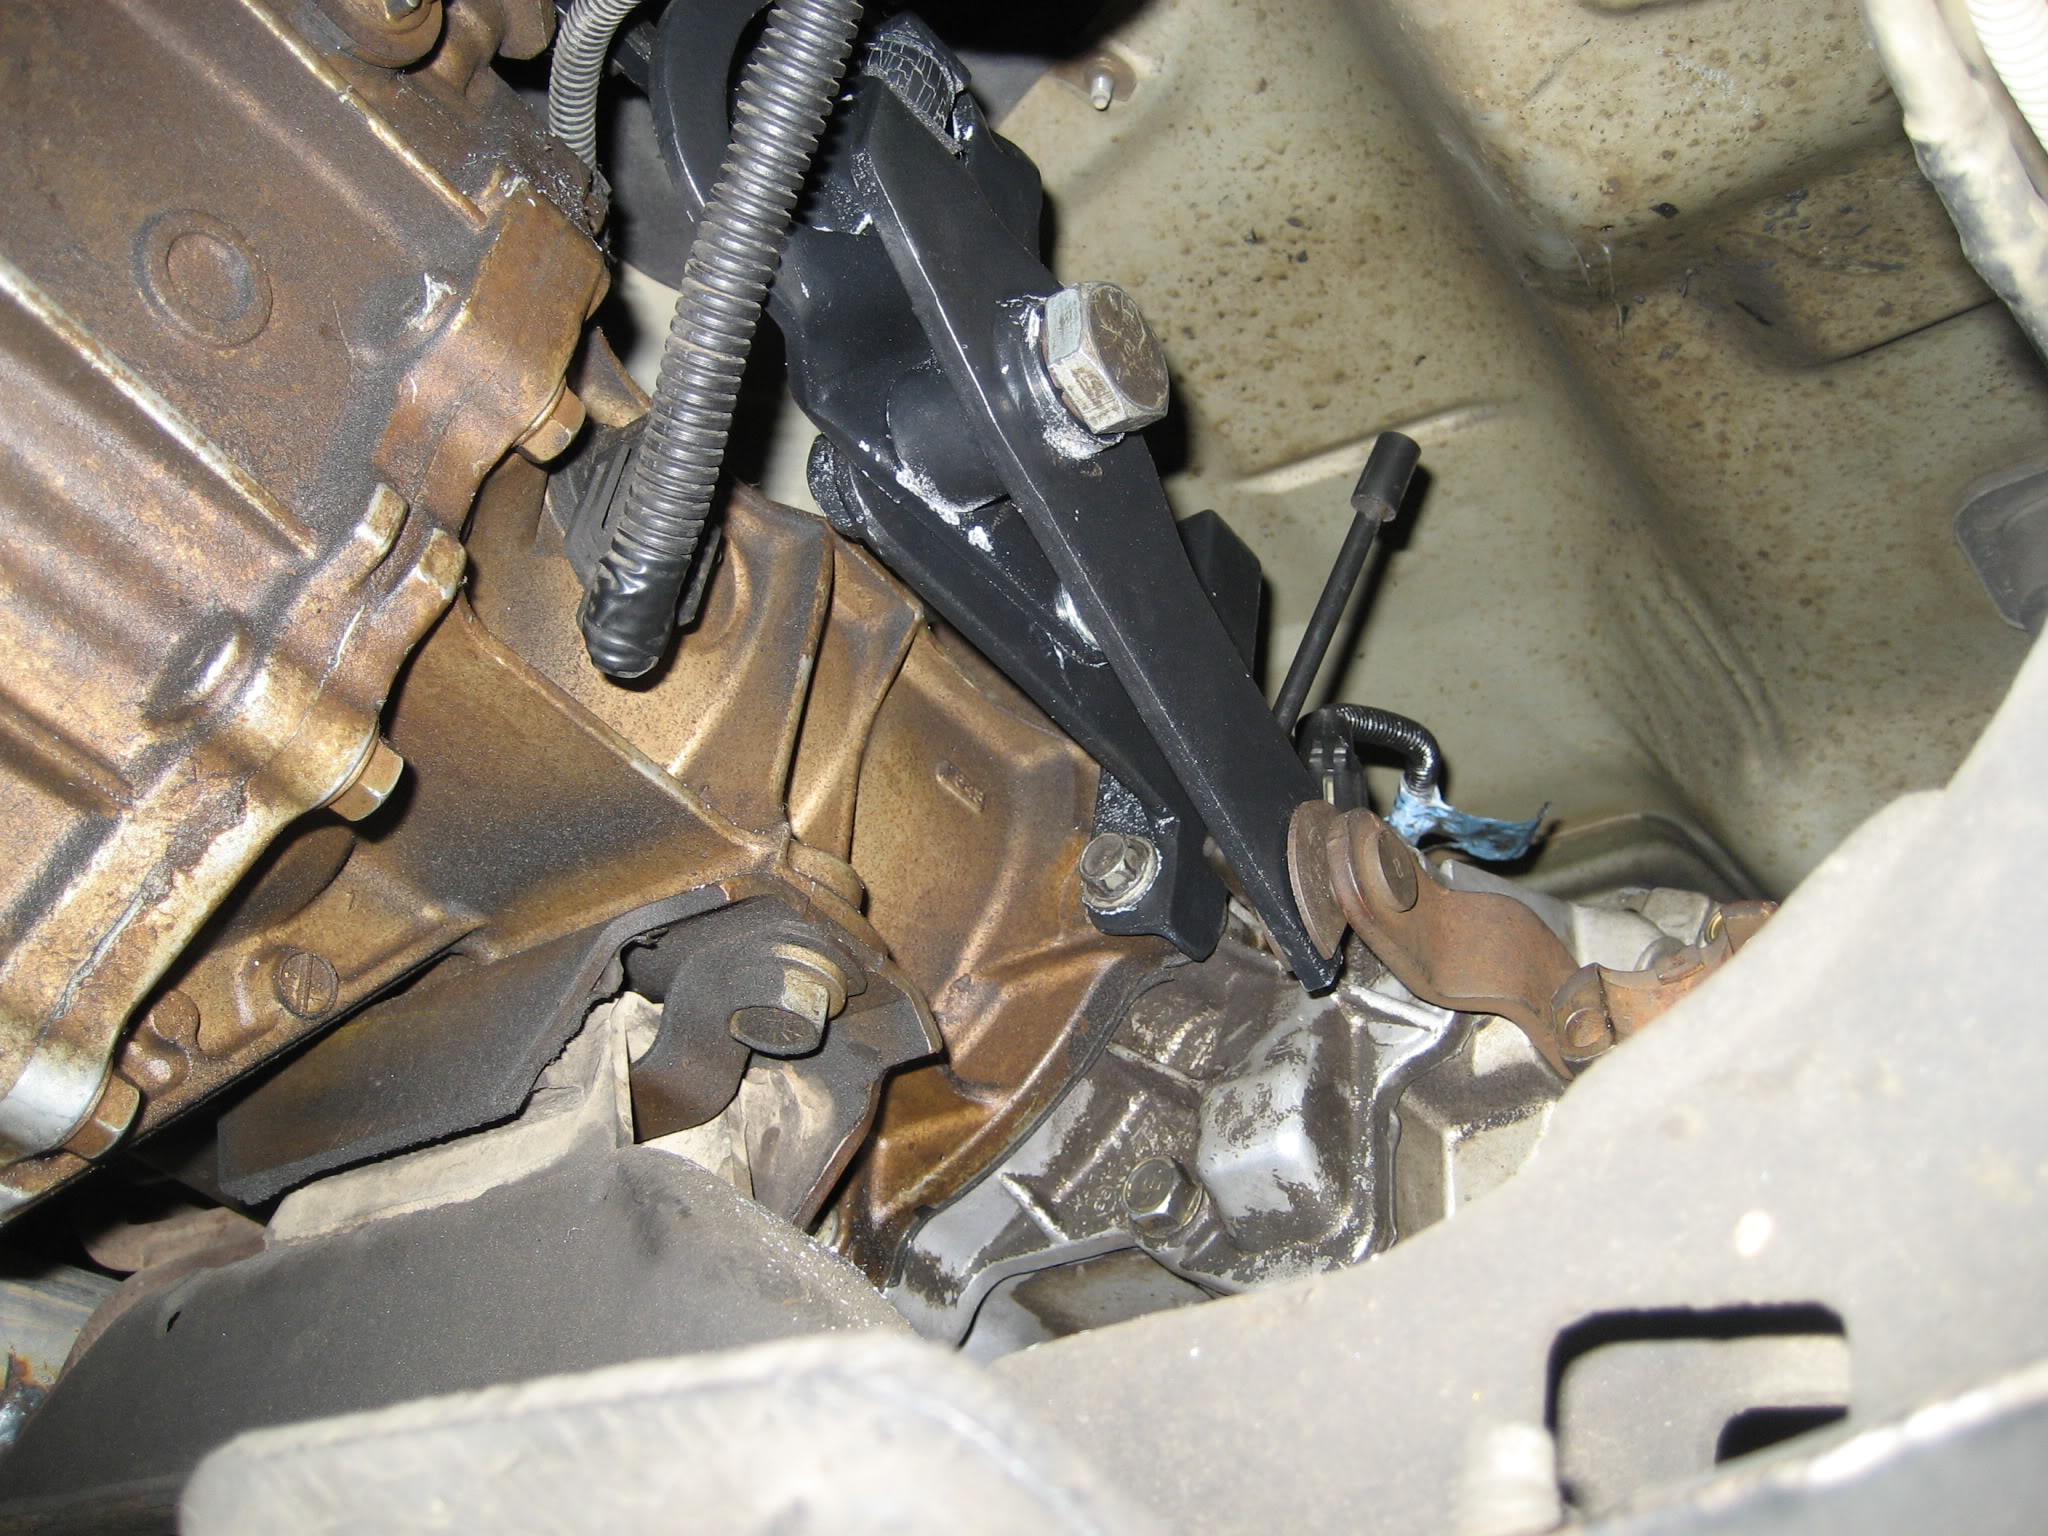
Where the bracket goes the linkage attaches to... Mother F'ers. lol
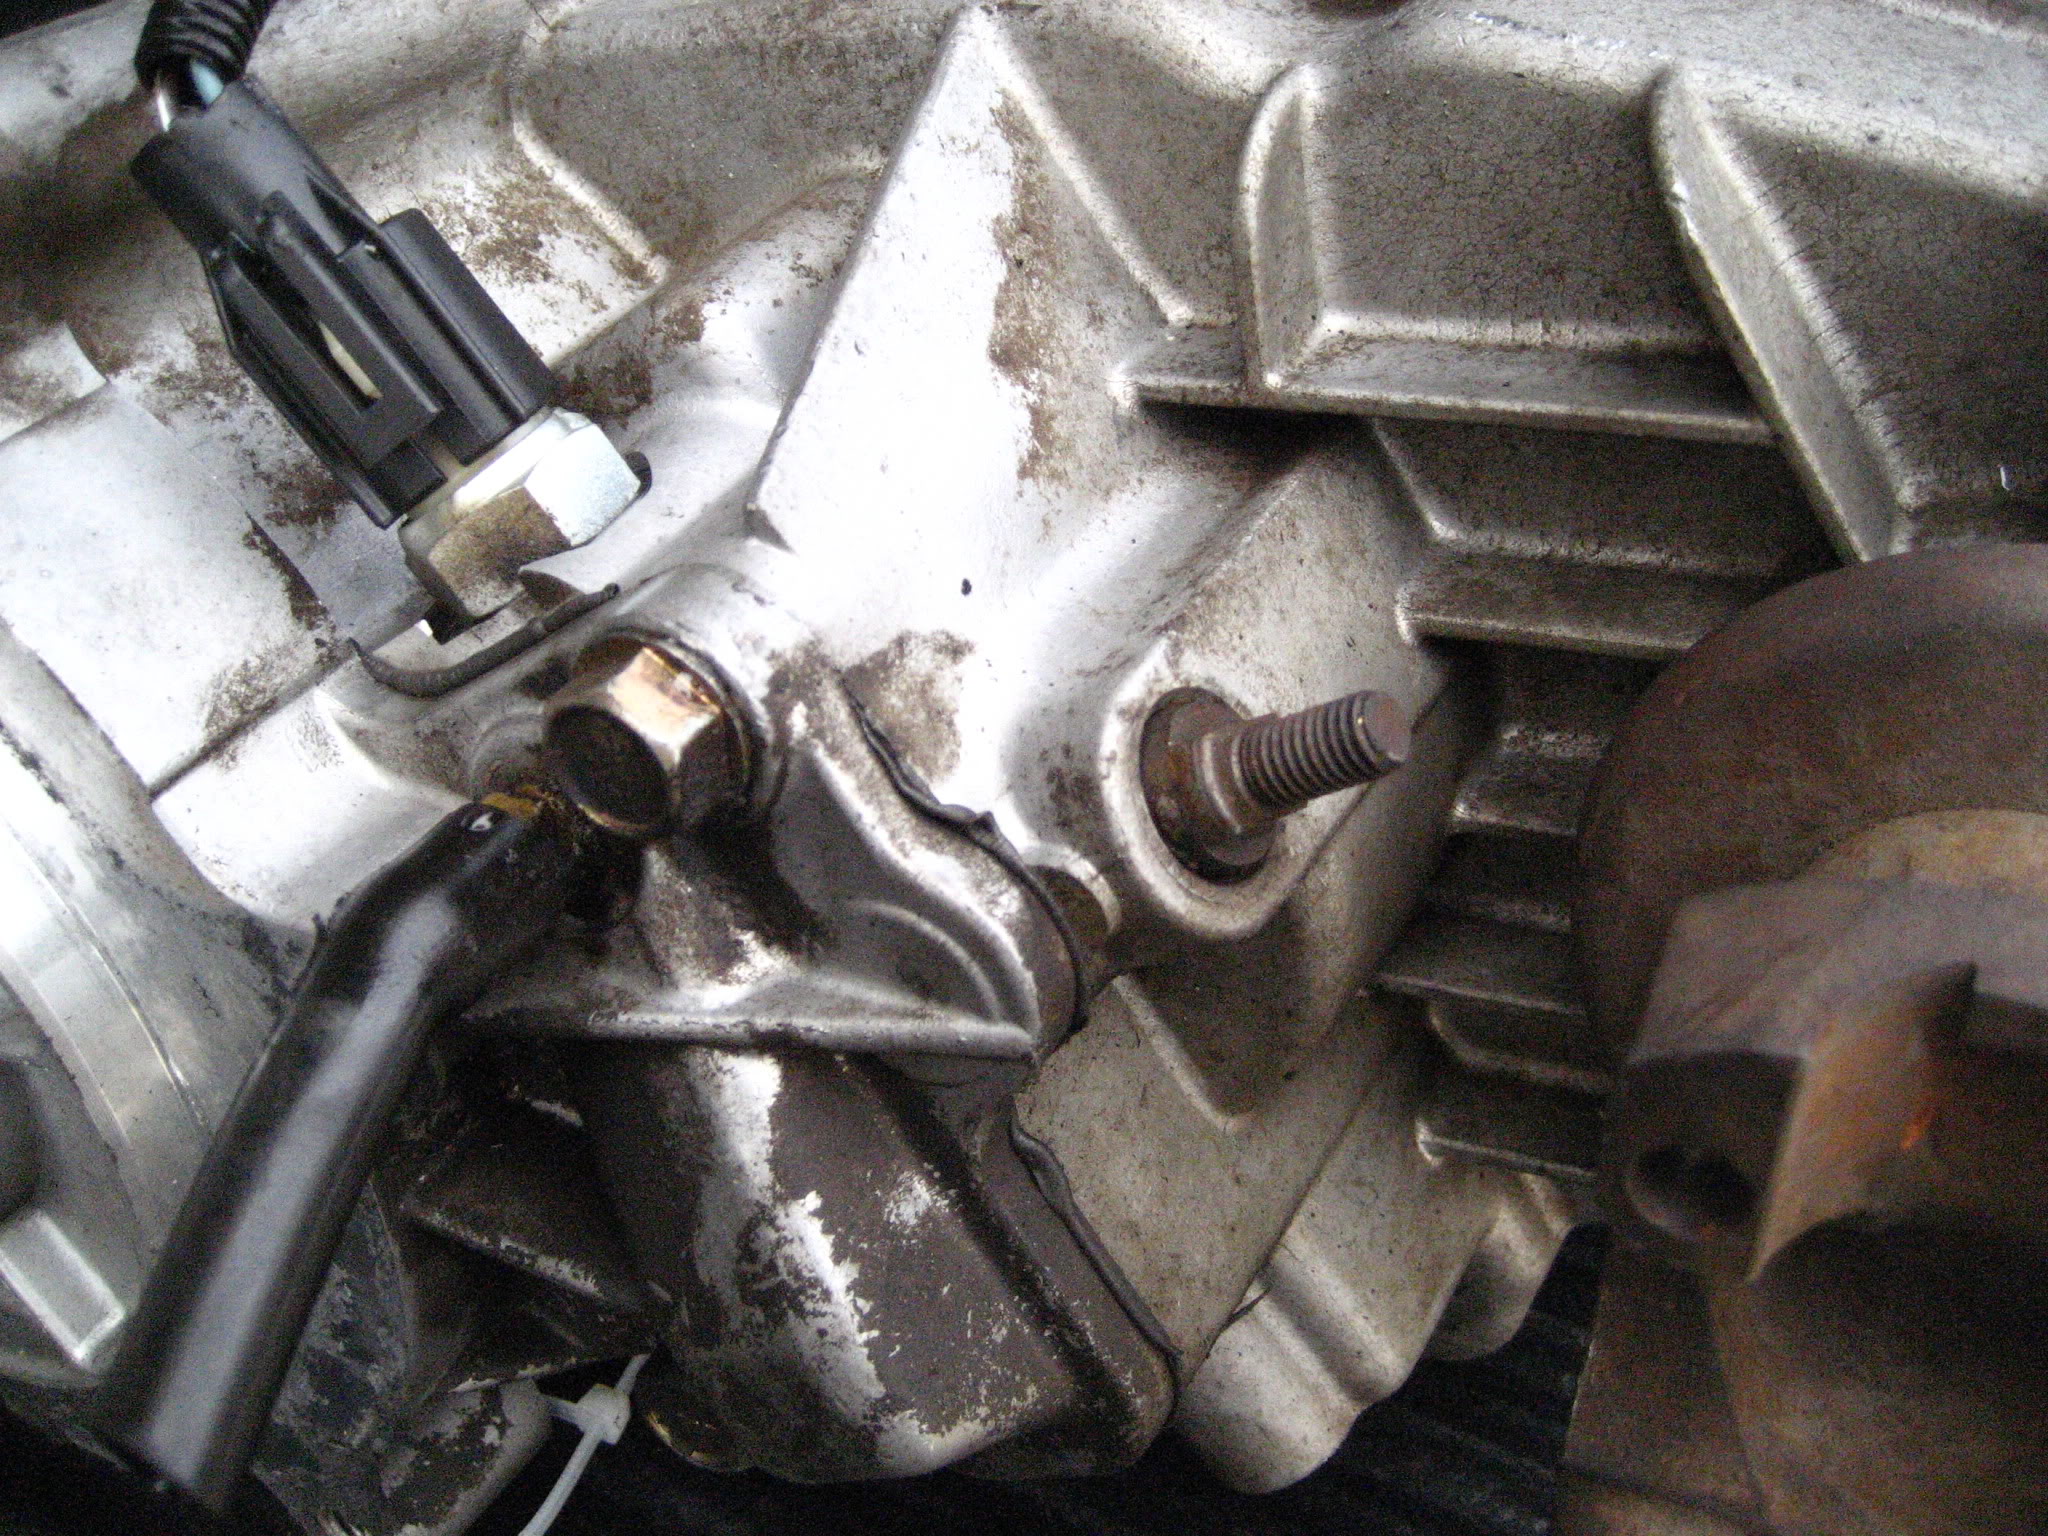
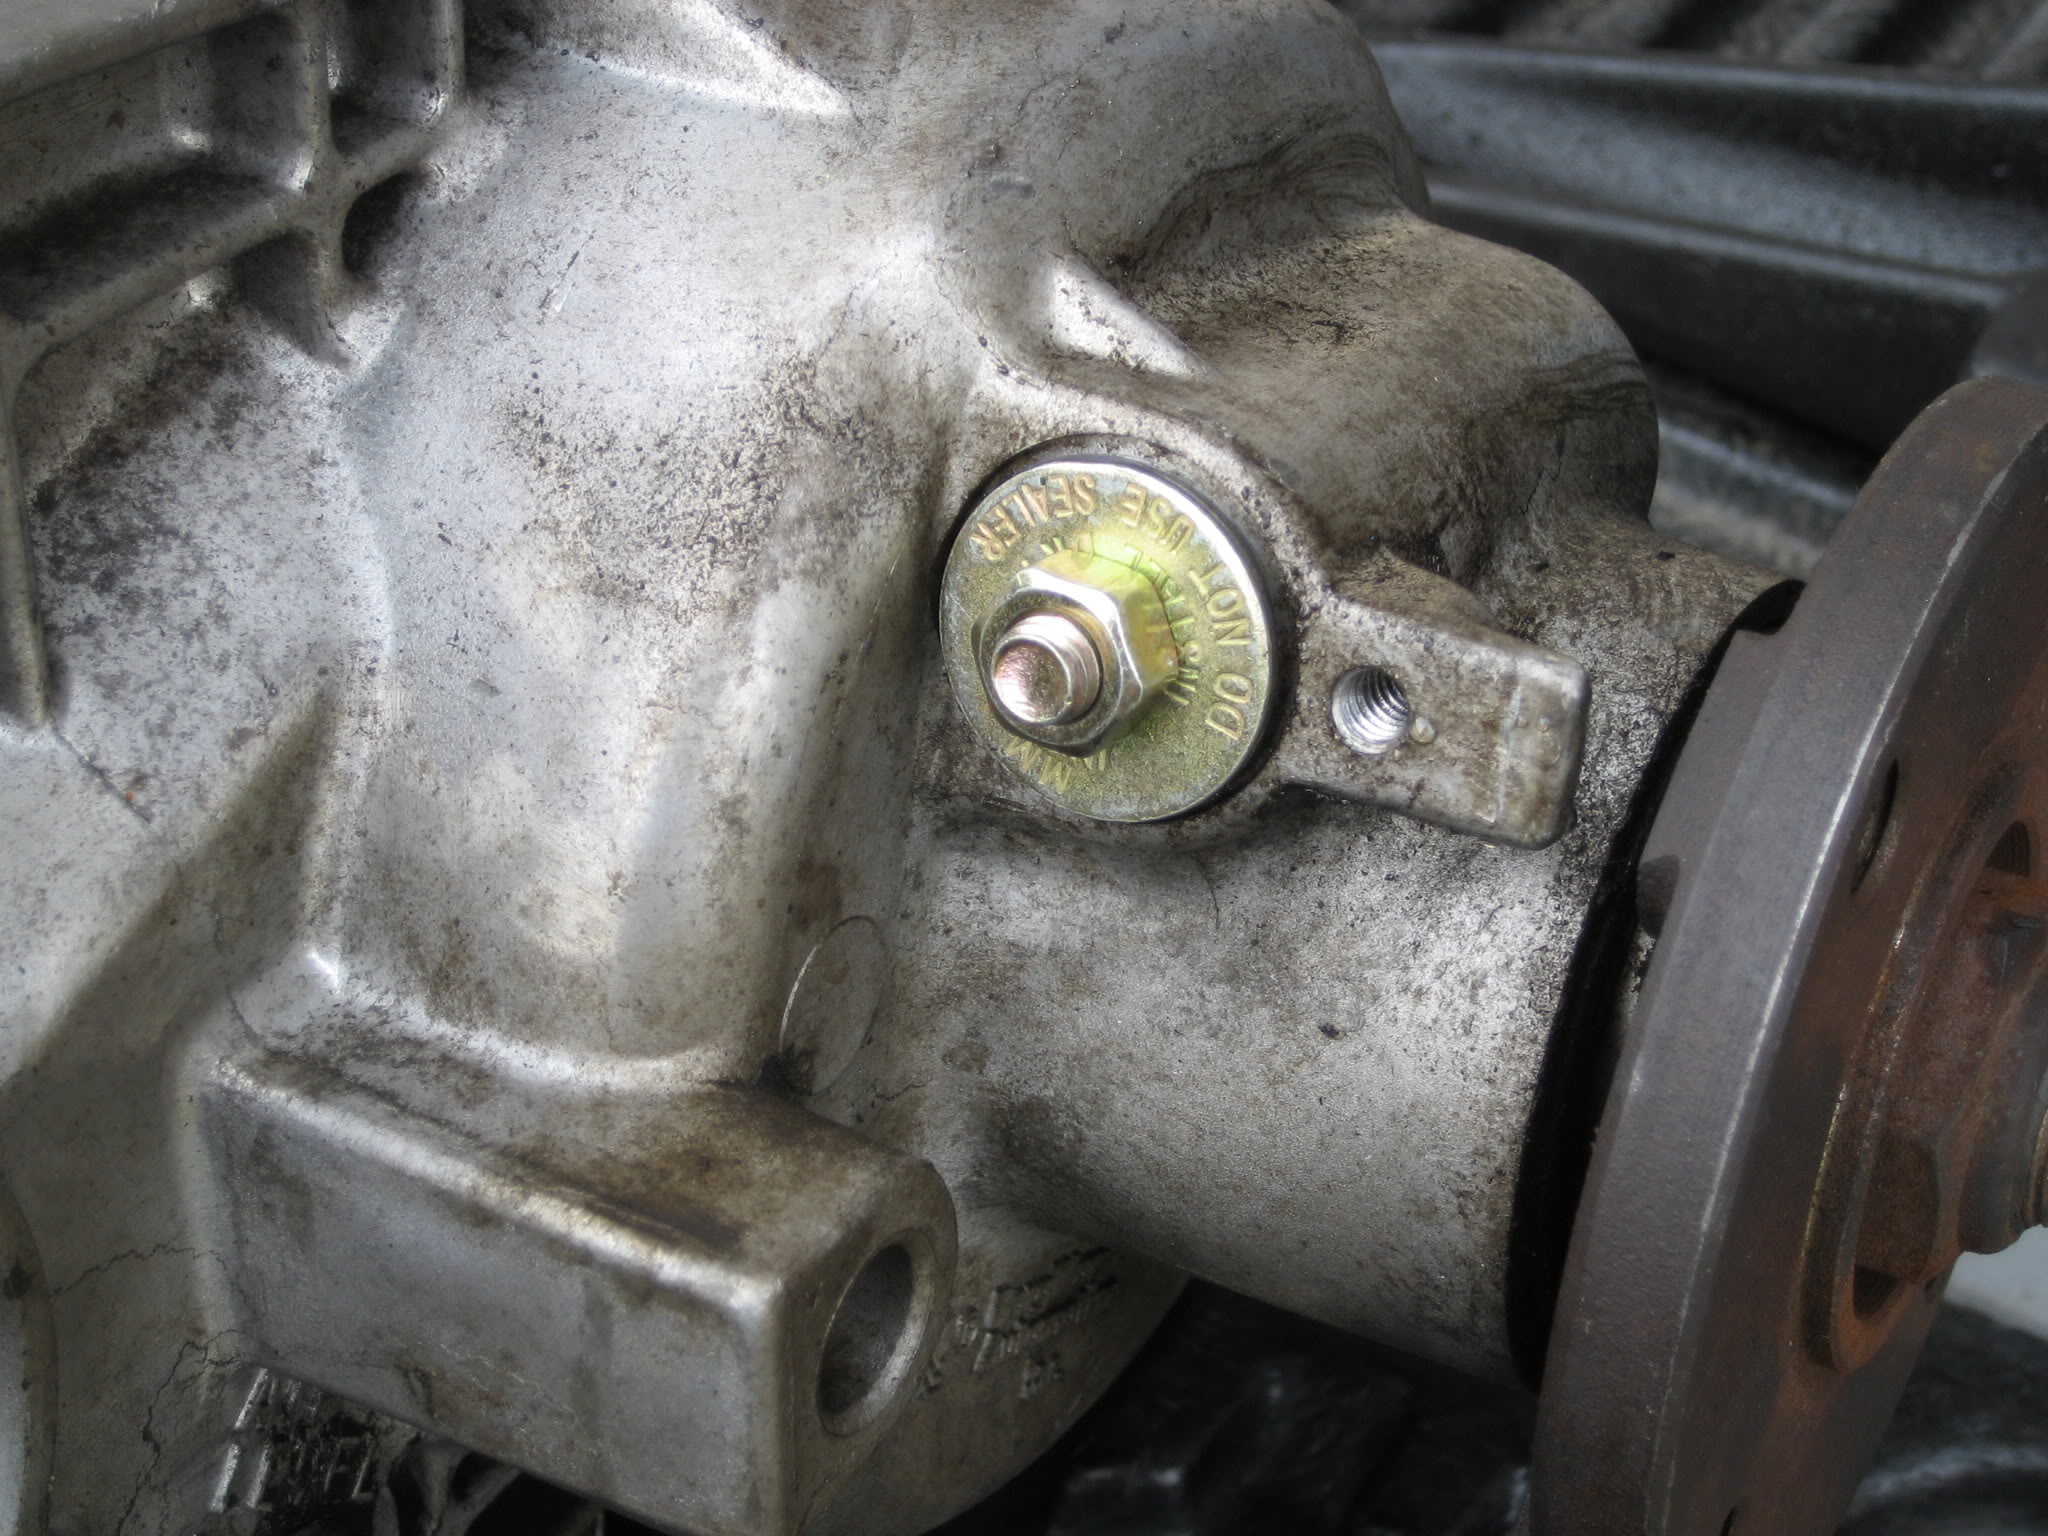
Soft plug installed
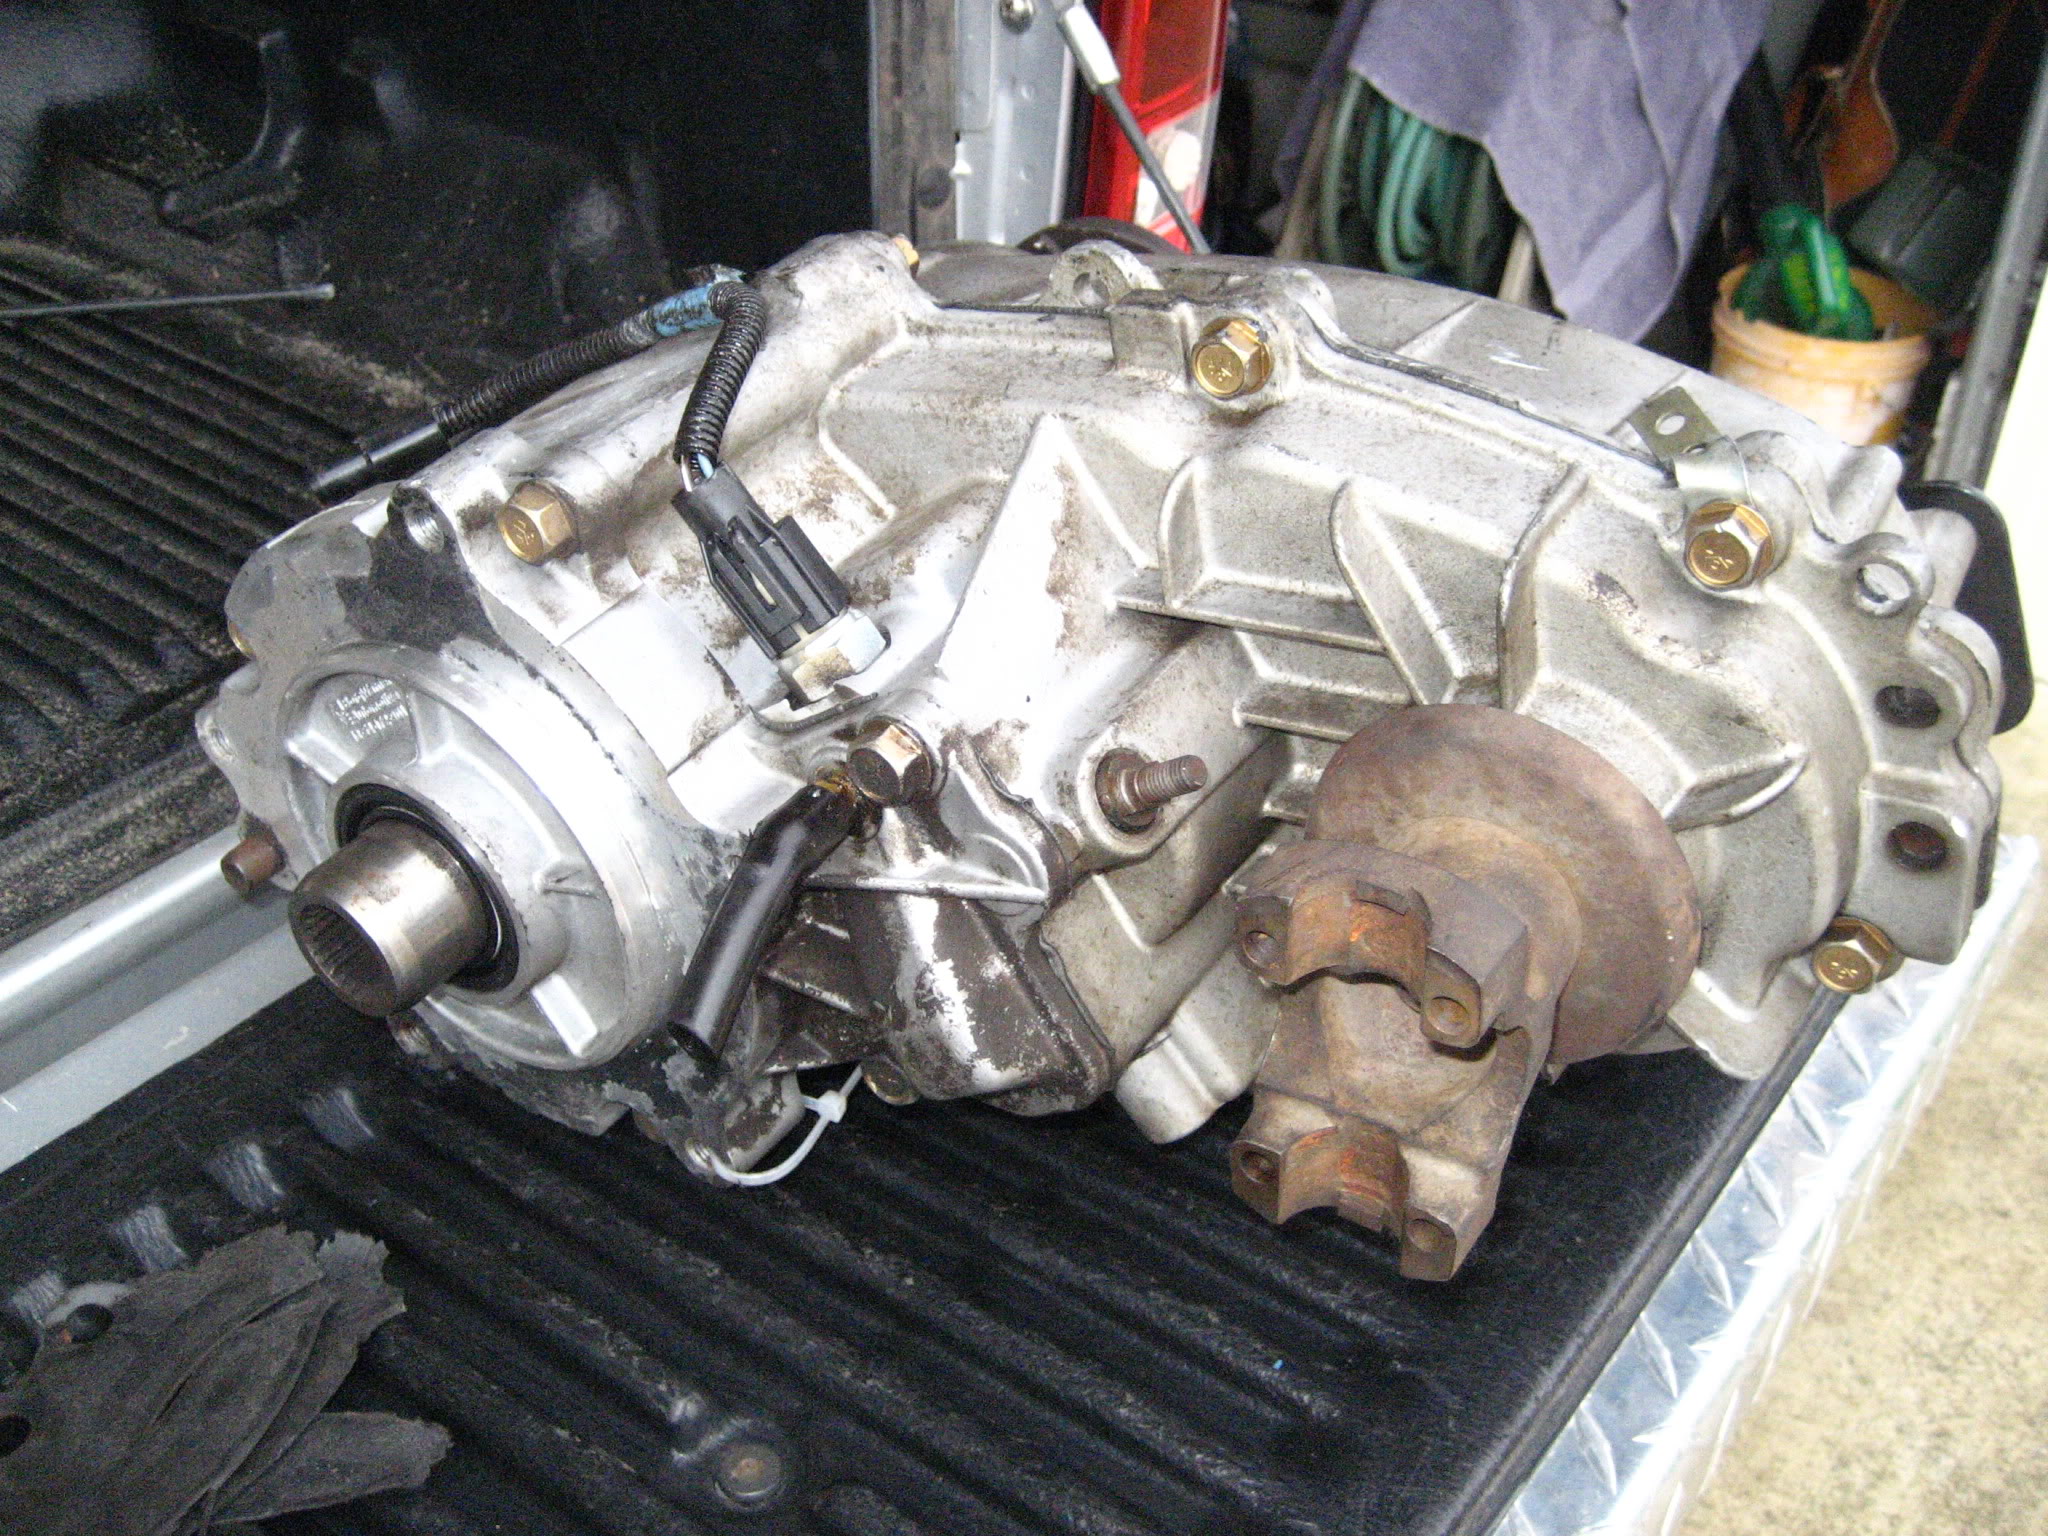
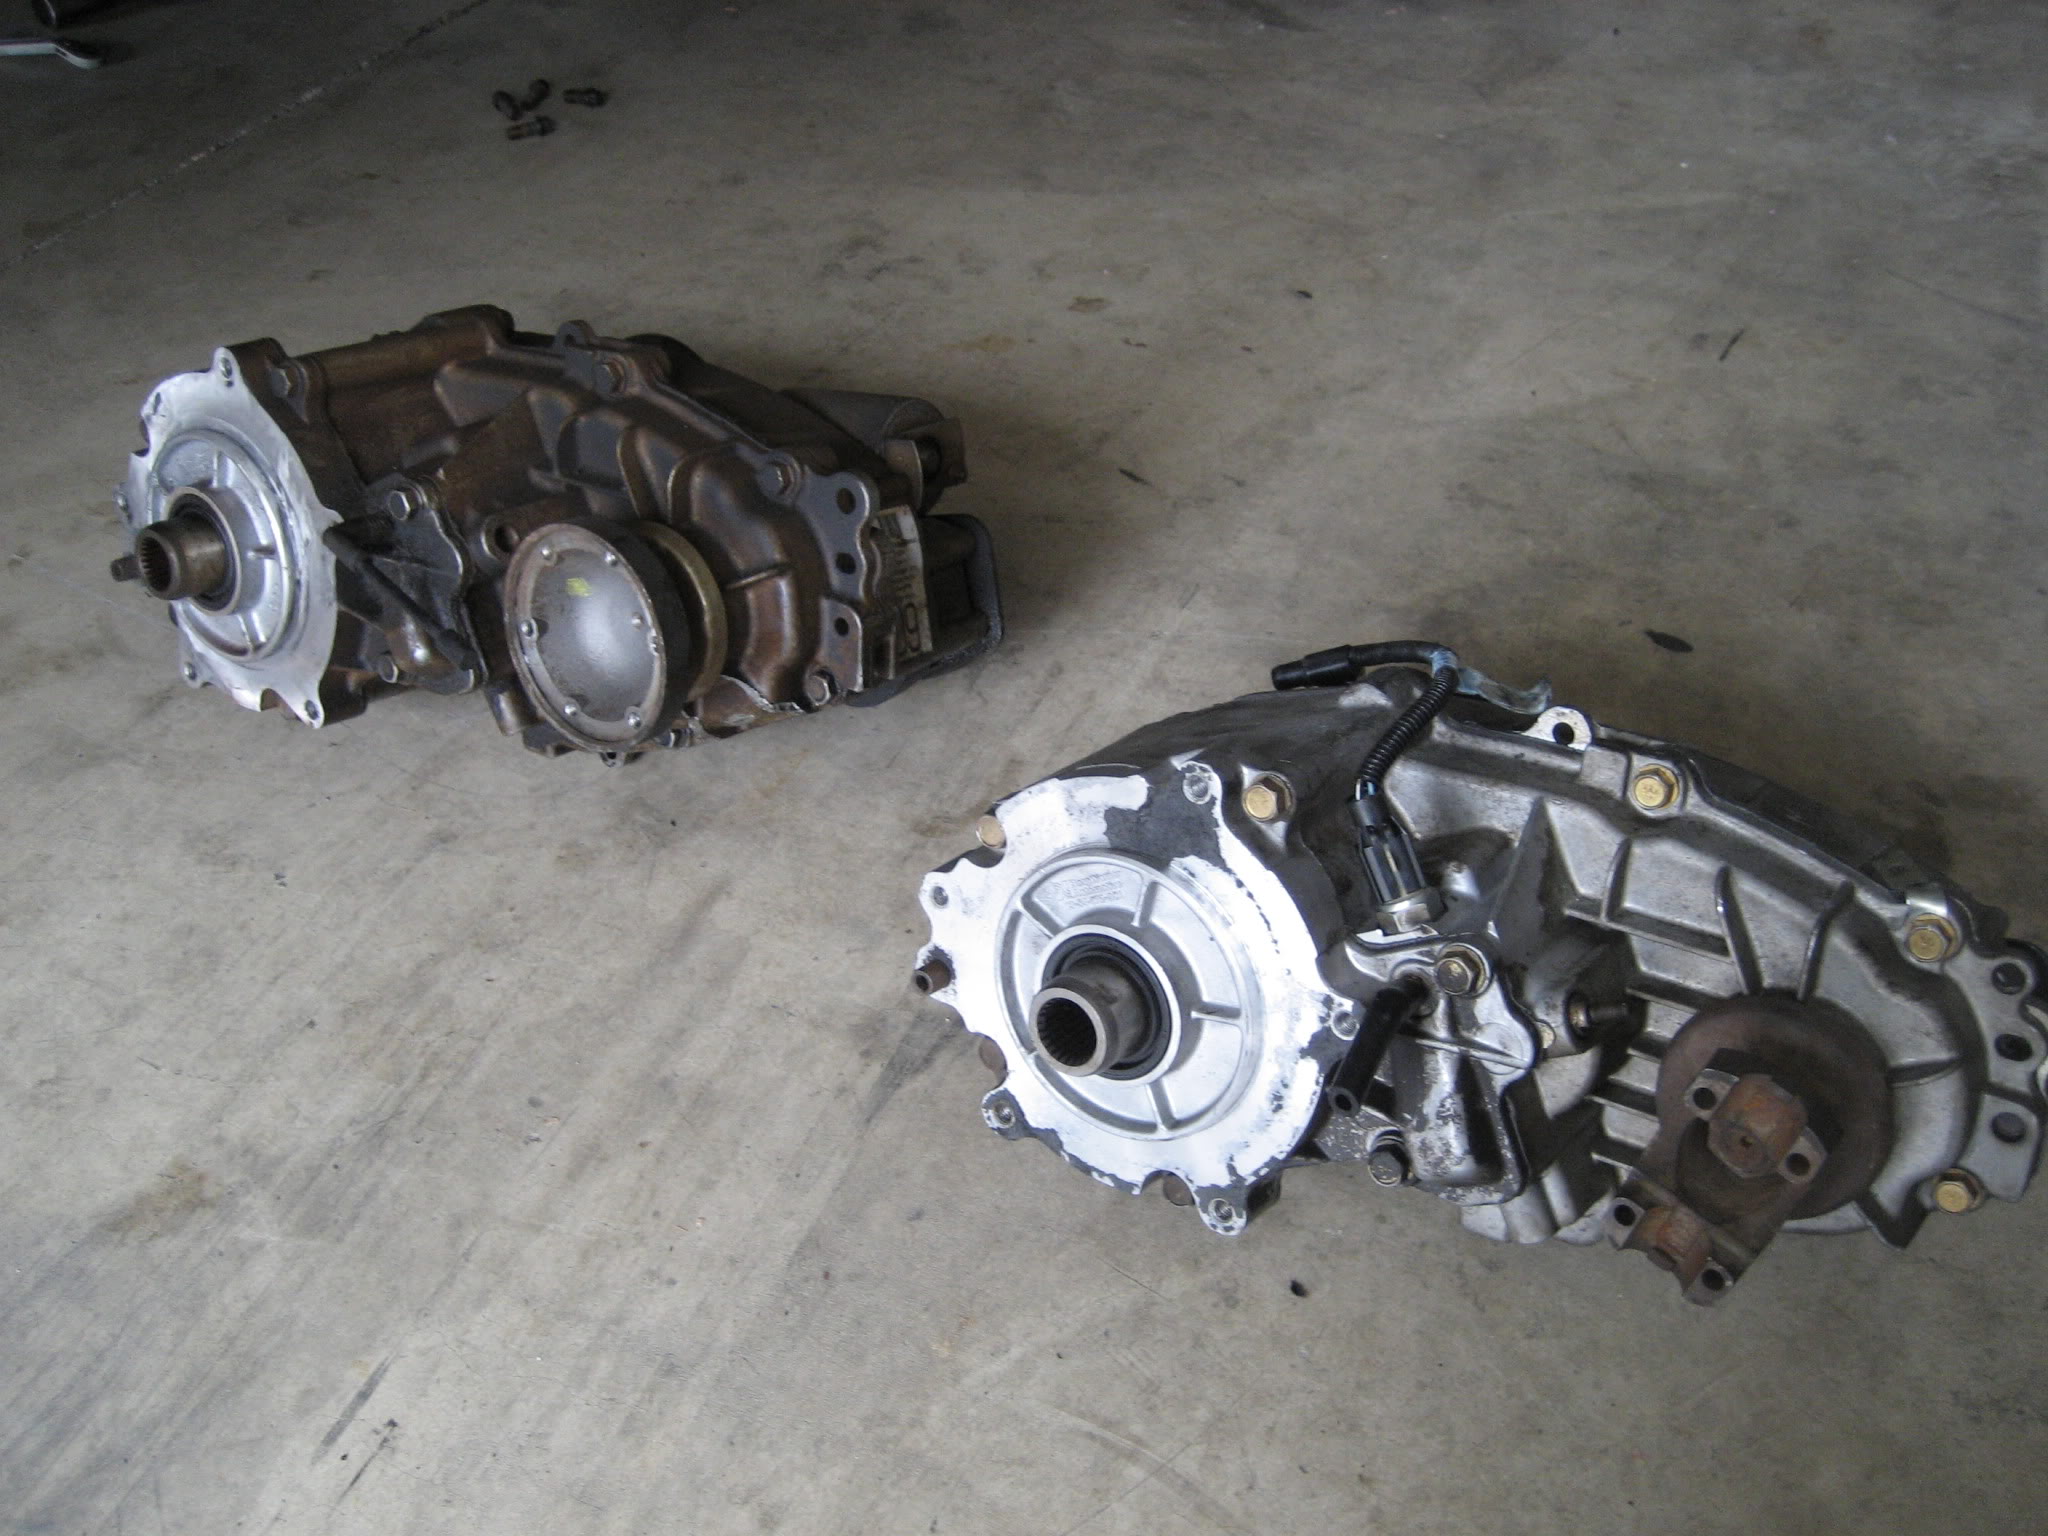
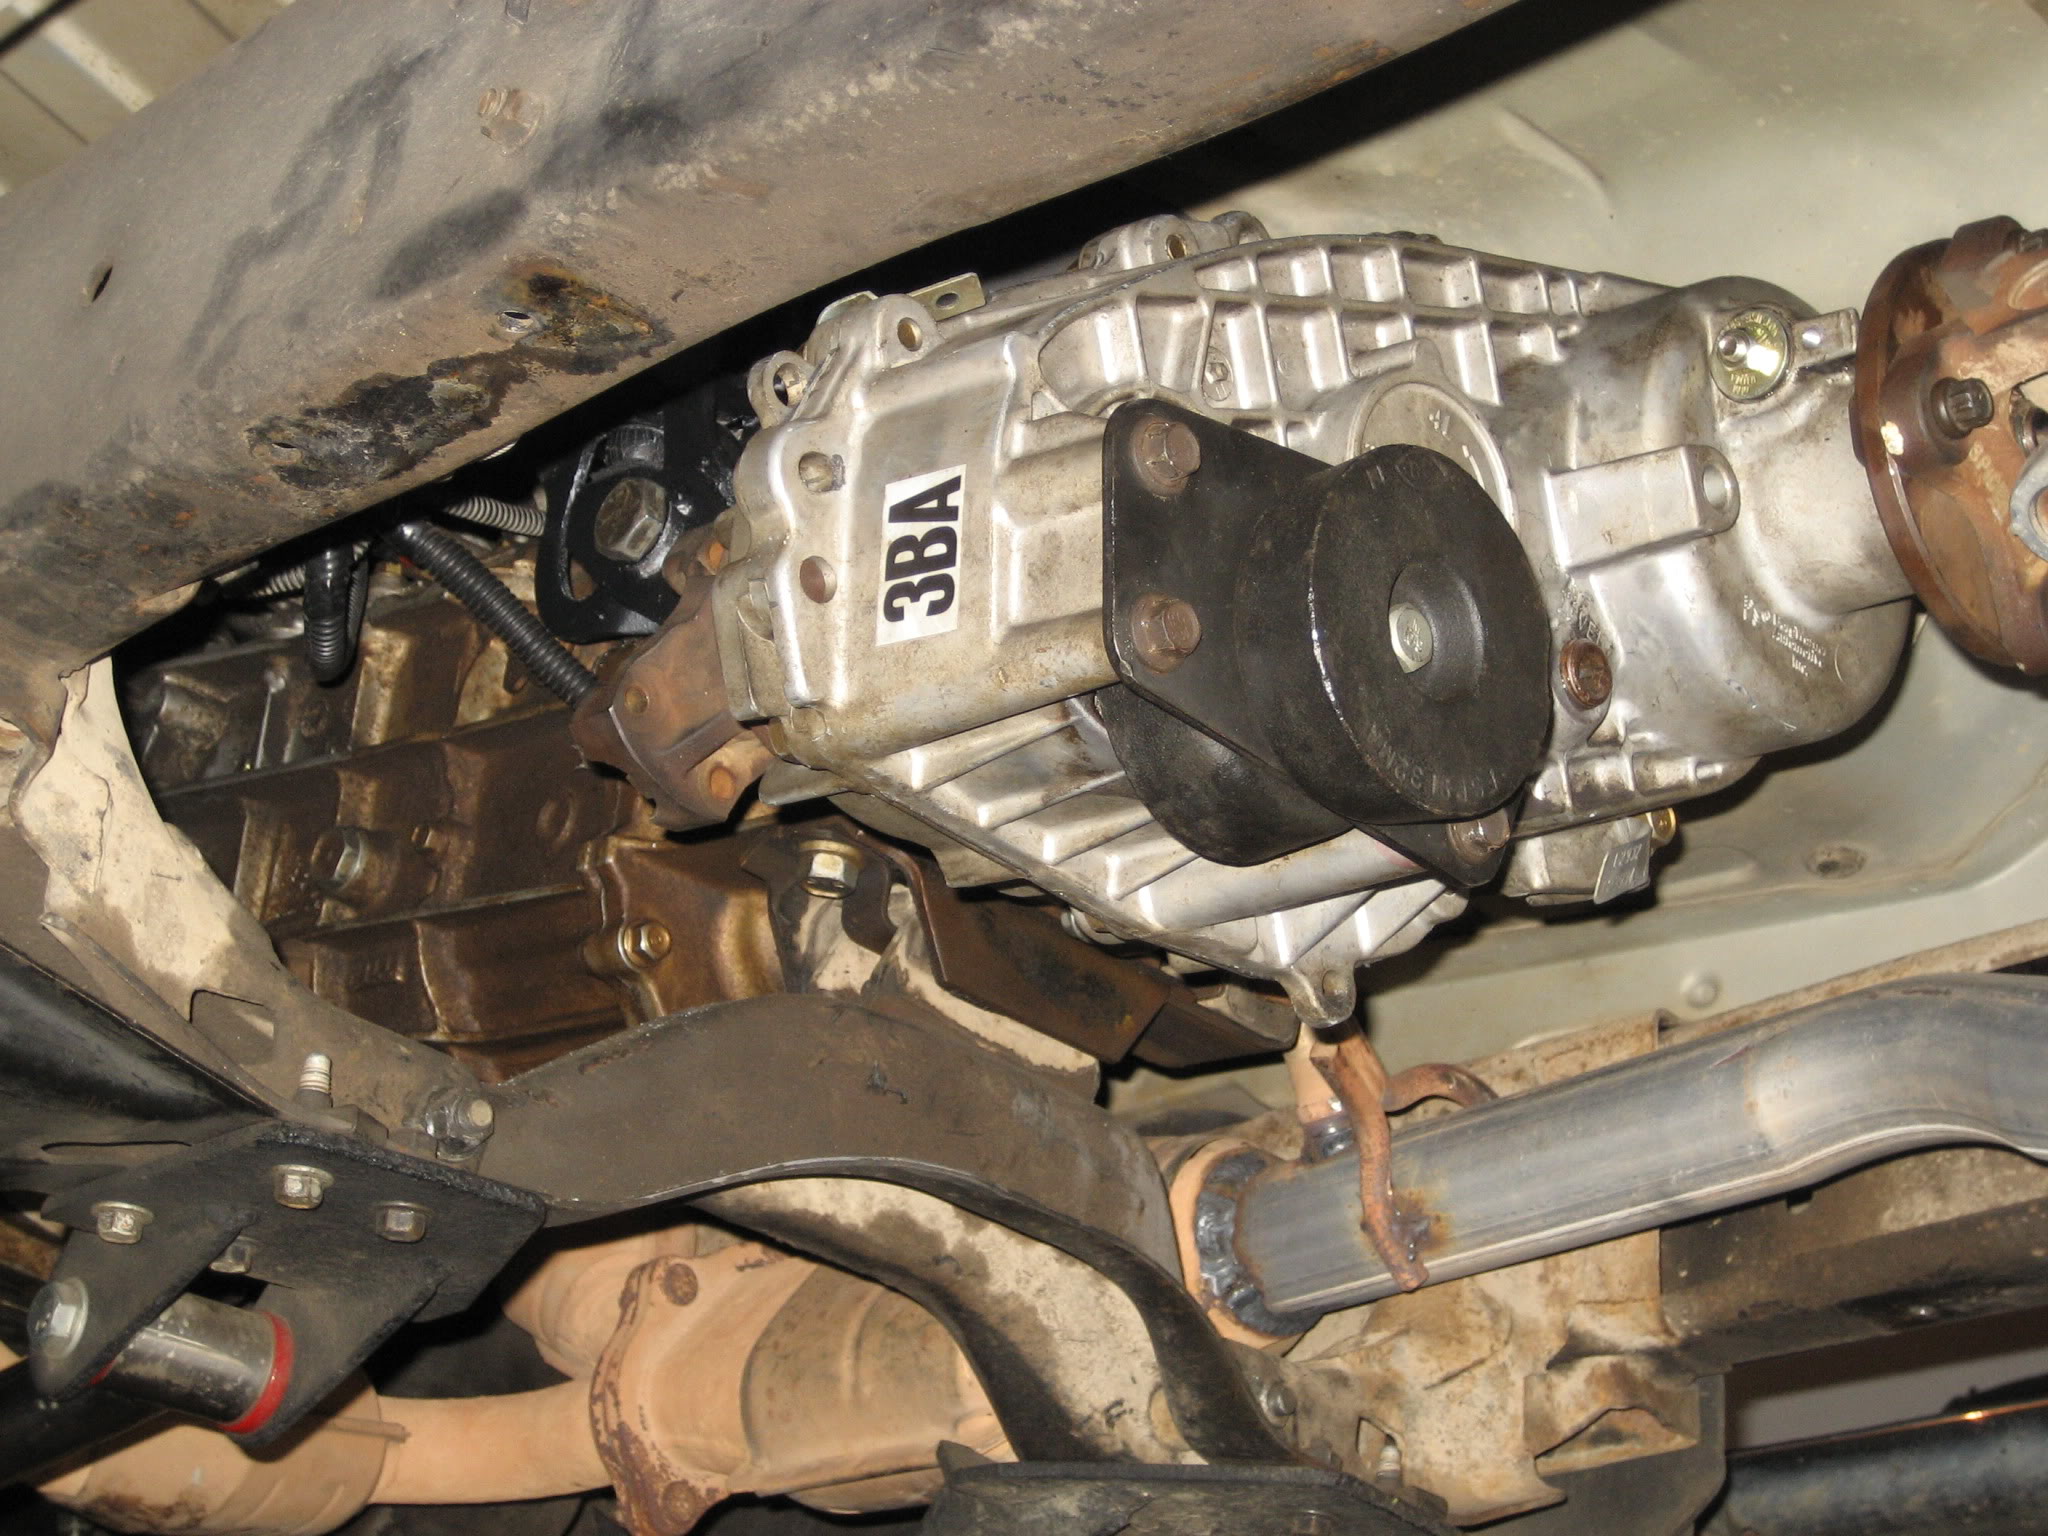
1354e Vs. 1354m.... The new one is so clean!
Anyways, while I'm waiting for Shane I figured I'd give an update. Case is out and the rubber soft plug is installed and swapped breather tubes over as well.
Where the bracket goes the linkage attaches to... Mother F'ers. lol
Soft plug installed
1354e Vs. 1354m.... The new one is so clean!
#18
03-25-2010
Join Date: Jan 2008
Location: spindale, NC
Posts: 1,444
Likes: 0
Received 0 Likes
on
0 Posts
#19
03-25-2010
#20
03-25-2010
I have some pics of the complete LII setup over in the drivetrain tech. Tell your buddy to just climb under yours.
#22
03-25-2010
Join Date: Jan 2008
Location: Trexlertown,Pennslyvania
Posts: 1,293
Likes: 0
Received 0 Likes
on
0 Posts
#23
03-25-2010
Join Date: Jun 2005
Location: Ohio
Posts: 2,592
Likes: 0
Received 0 Likes
on
0 Posts
#24
03-25-2010
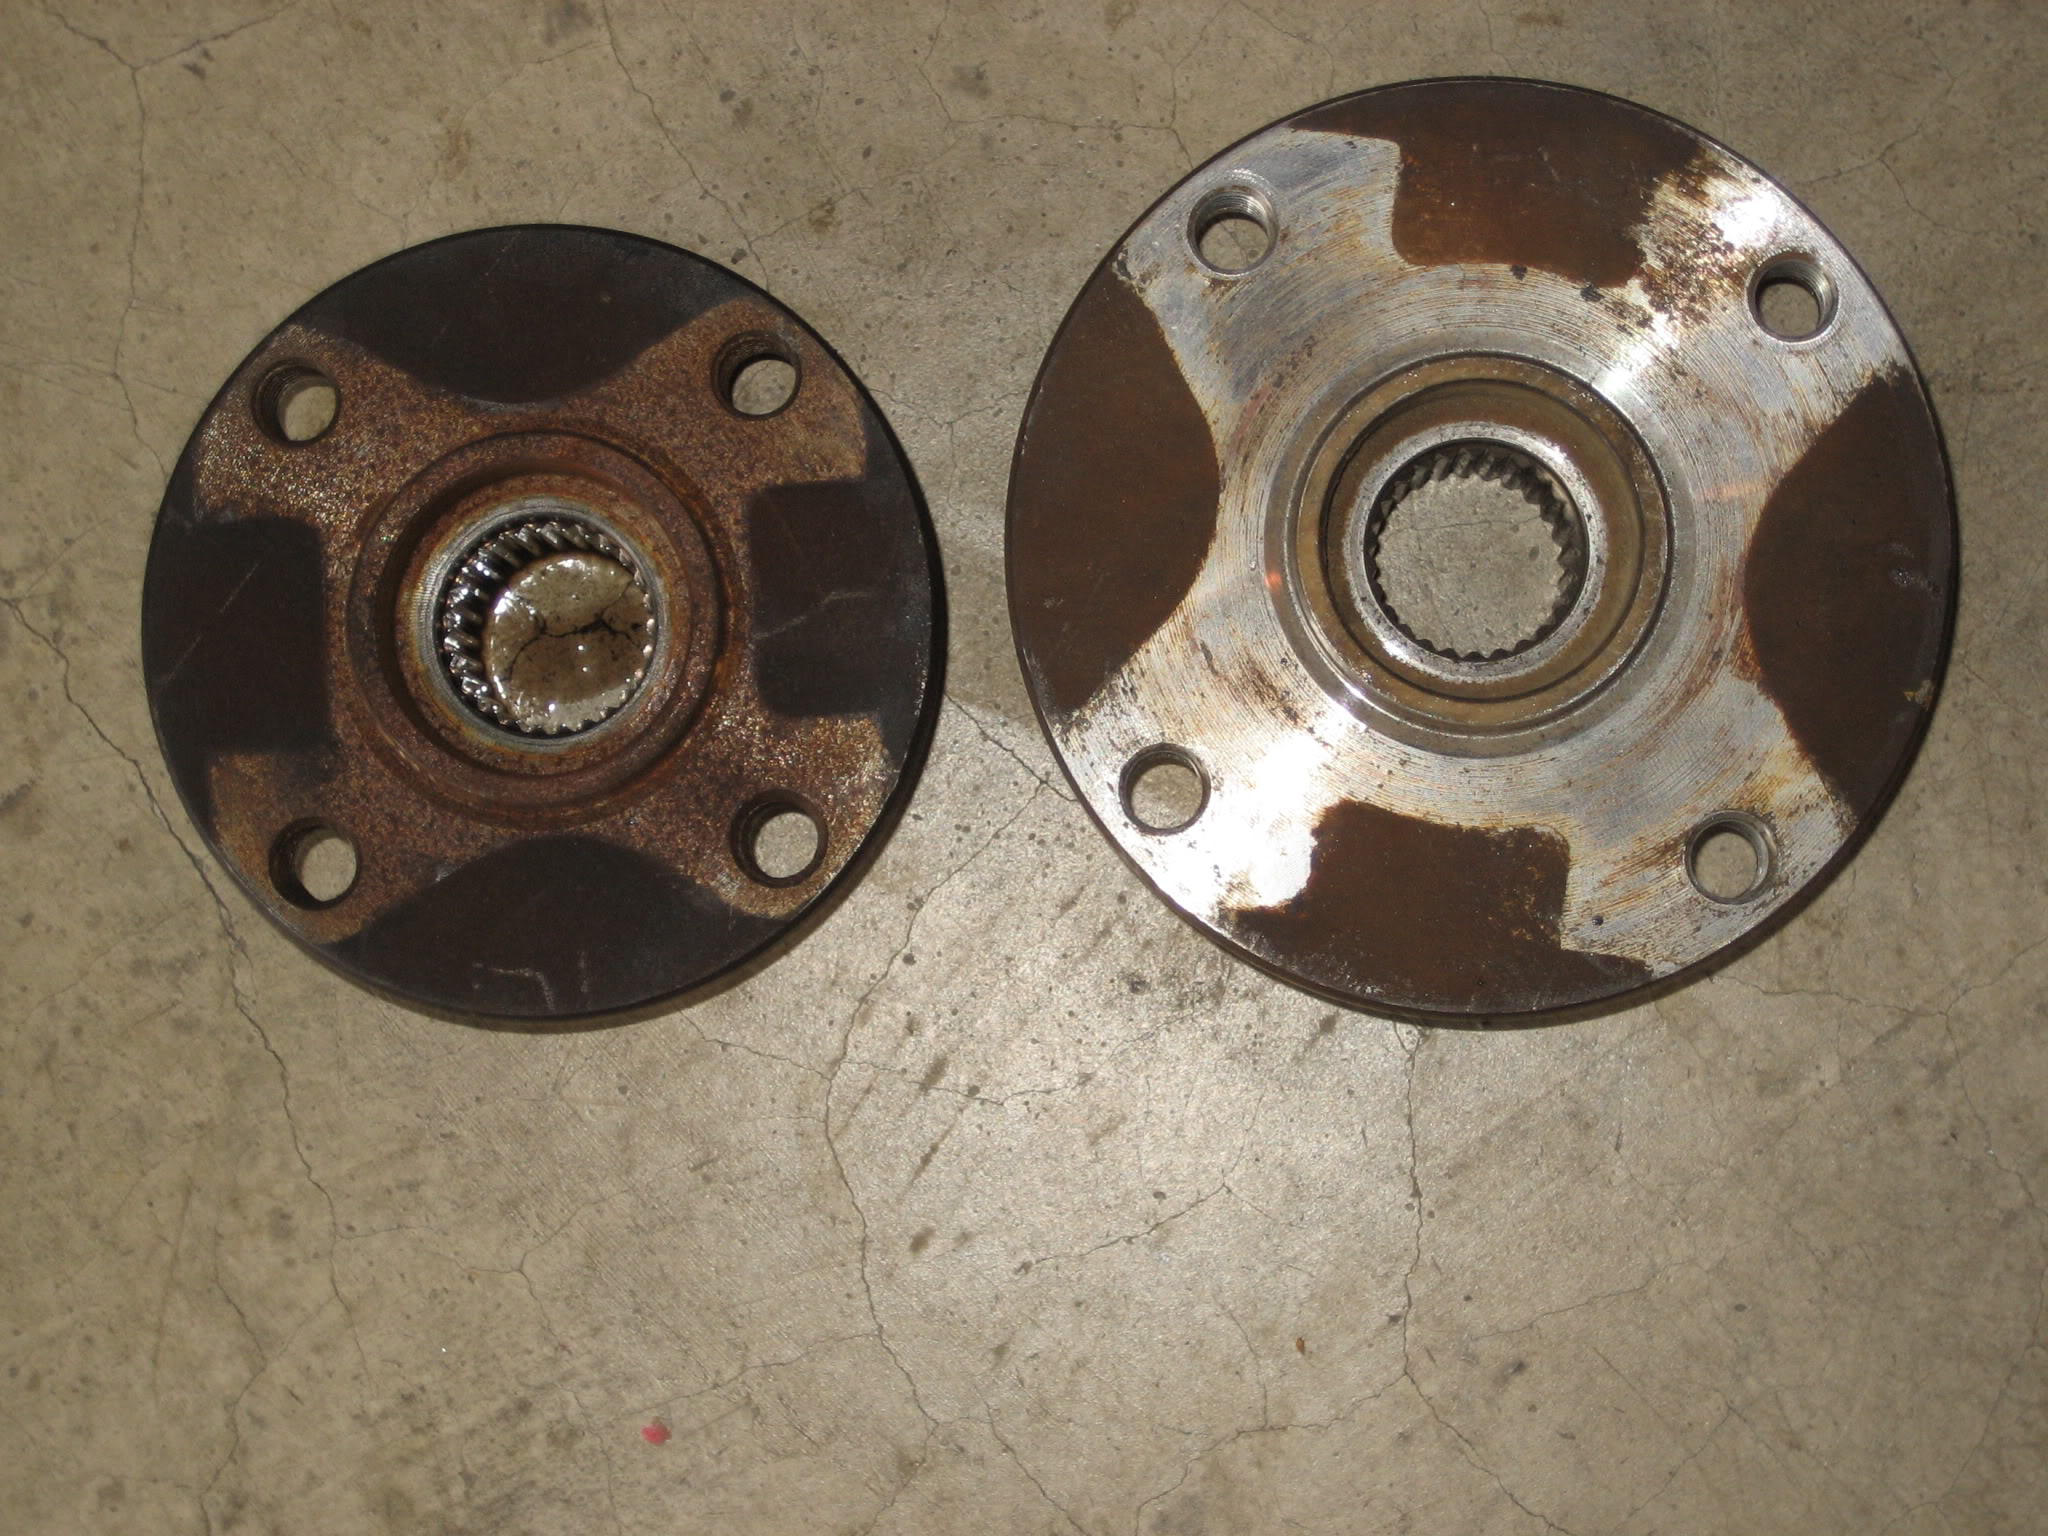
Alright, well I got the interior all cleaned up and seats and console bolted back down. Then I went underneath to install the driveline to realize the expo 1354m has a smaller rear driveline flange. I believe it's 4.25" and the ranger is 5" or 5.25".. Can't remember. Anyways, had to put the truck in 4lo and 1st gear to get the rear flange bolt off. Luckily I had a spare 1354e flange from a ranger in the shed and all I had to do was swap them.. I think the flange nut is 32mm like Shane was tellin me, or 1-1/4" socket. That's what I used. Then I bolted the driveline up and added about 1.25qts of Royal purple ATF and took it for a test drive. It's so awesome to be rolling and shift to 4lo, not high speed, but just not completely stopped. It shifts super smooth and the linkage doesn't move at all, well the bracket doesn't! Safe to say, I'm Level II'd! The only thing left I want to do is wire in the pigtail for 4hi and 4lo in case I have someone else drive it and they bump it into 4hi while driving. Use a bi-color LED and mount it in the new 2wd bezel, when I find one.
OH! Forgot to add, although the superlift shaft does telescope/extend, it doesn't reach the yokes.. By about 1/2" total distance. So it's safe to say I think I'm gonna sell the superlift shaft and go get me an expo 95-97 shaft and replace the u-joints. Since the ranger and expo have the same D35 and I'm running an expo 1354m, the expo 95-97 front driveline will be perfect and direct bolt on.
Difference in the 2 flanges. Expo vs. Ranger
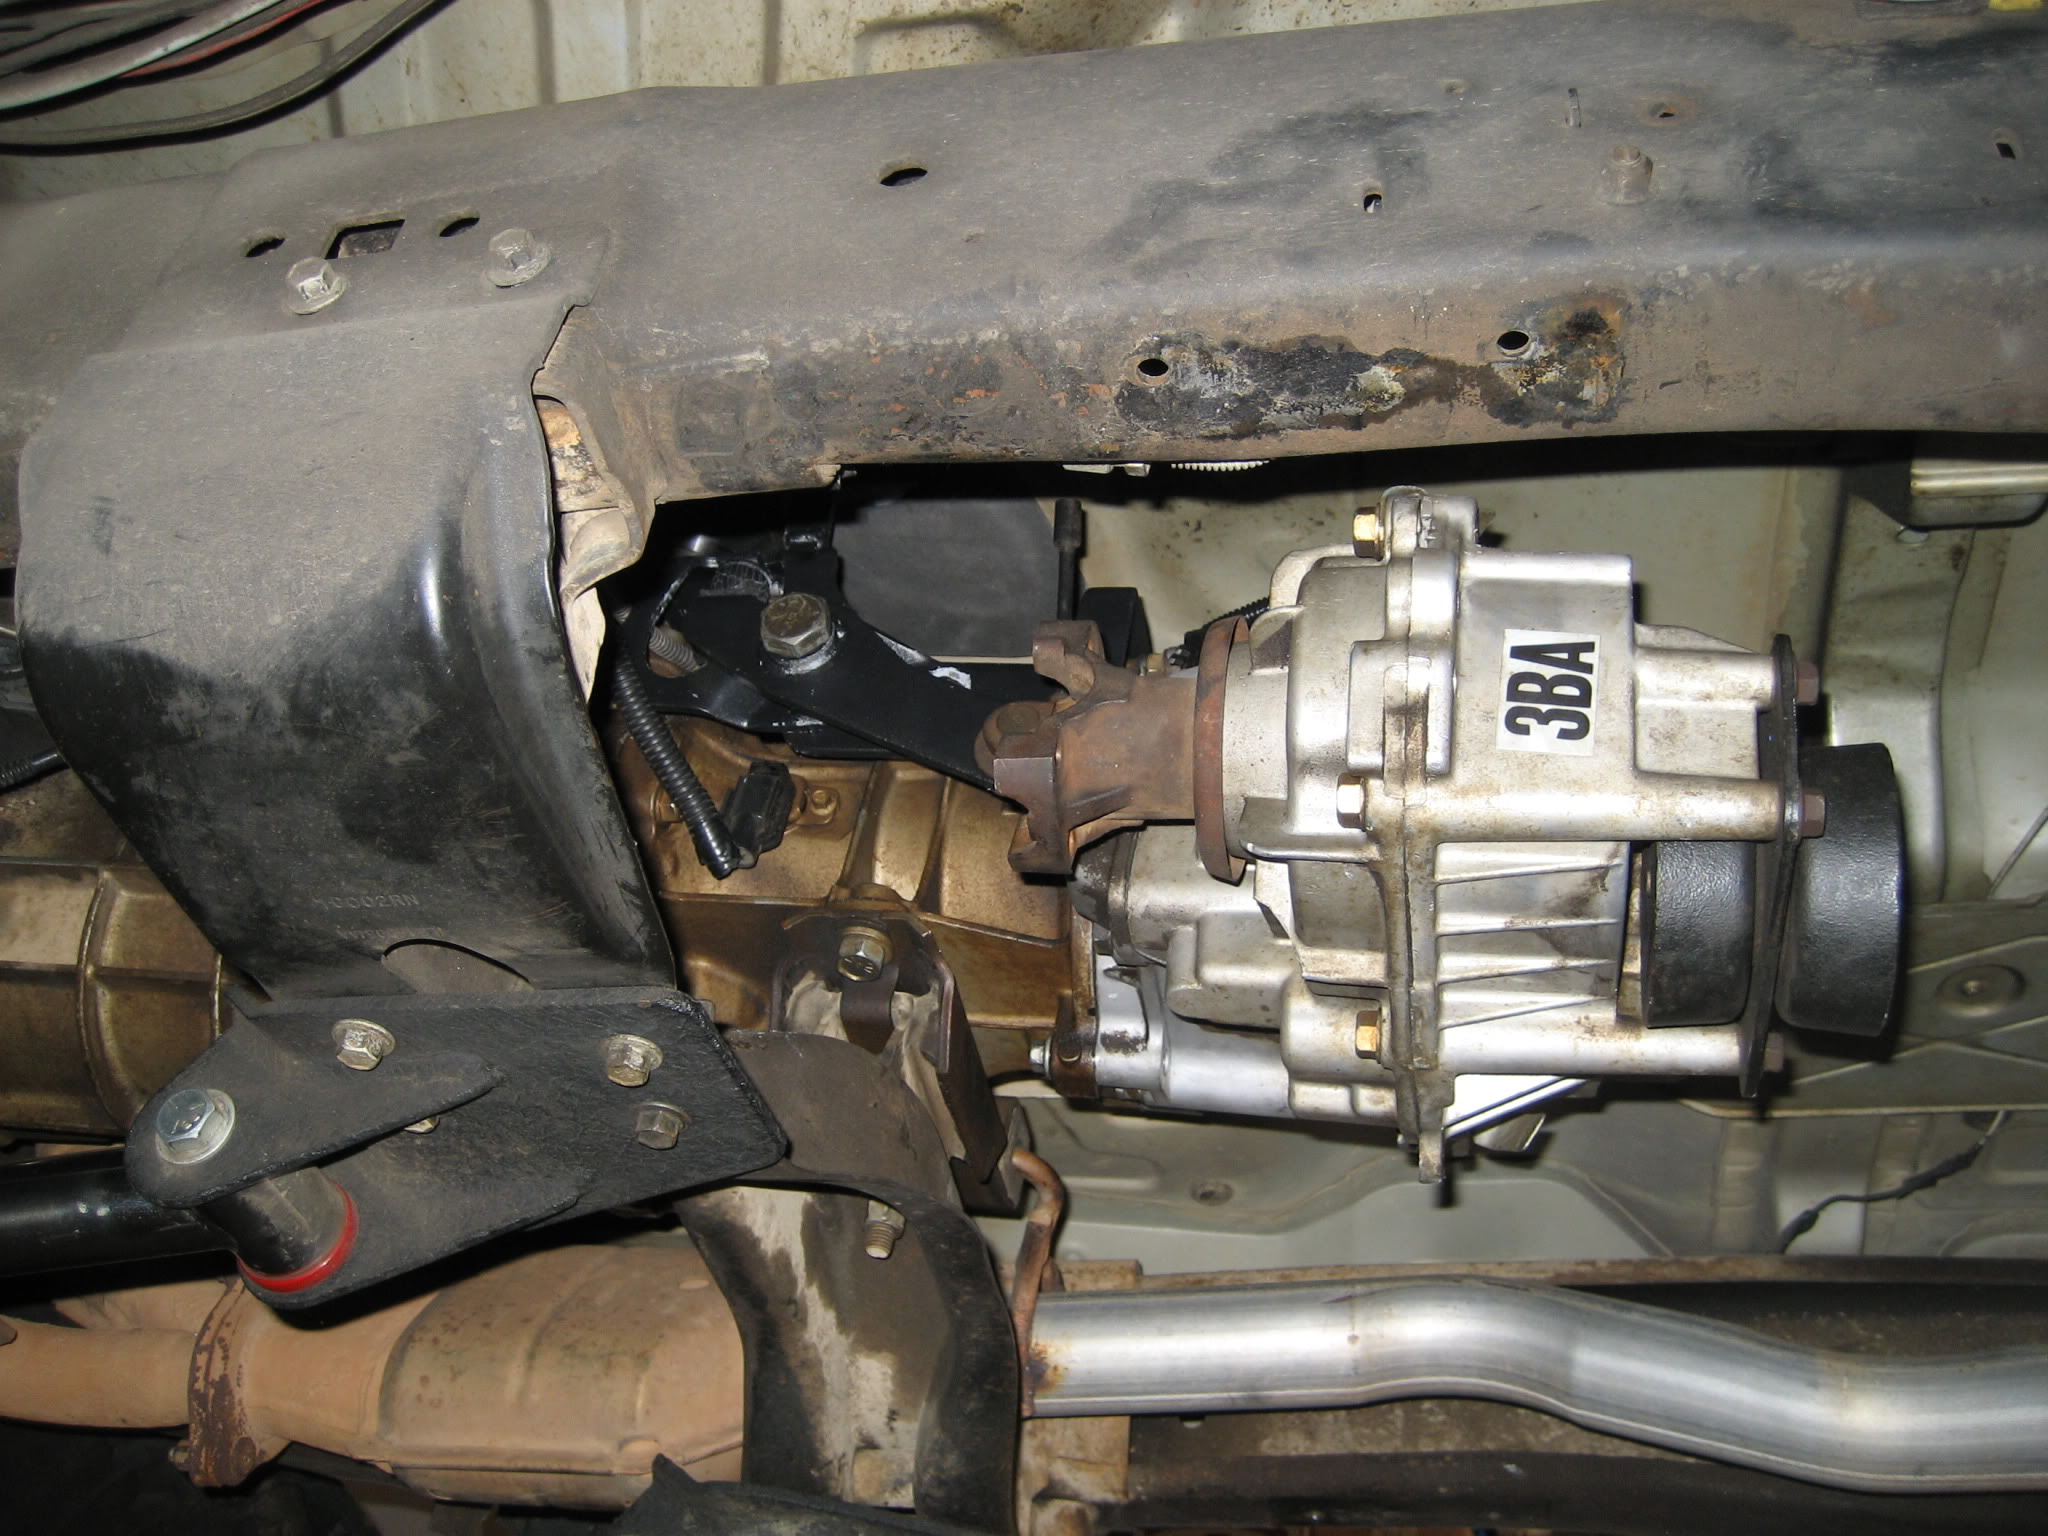
The case and linkage bolted in and done
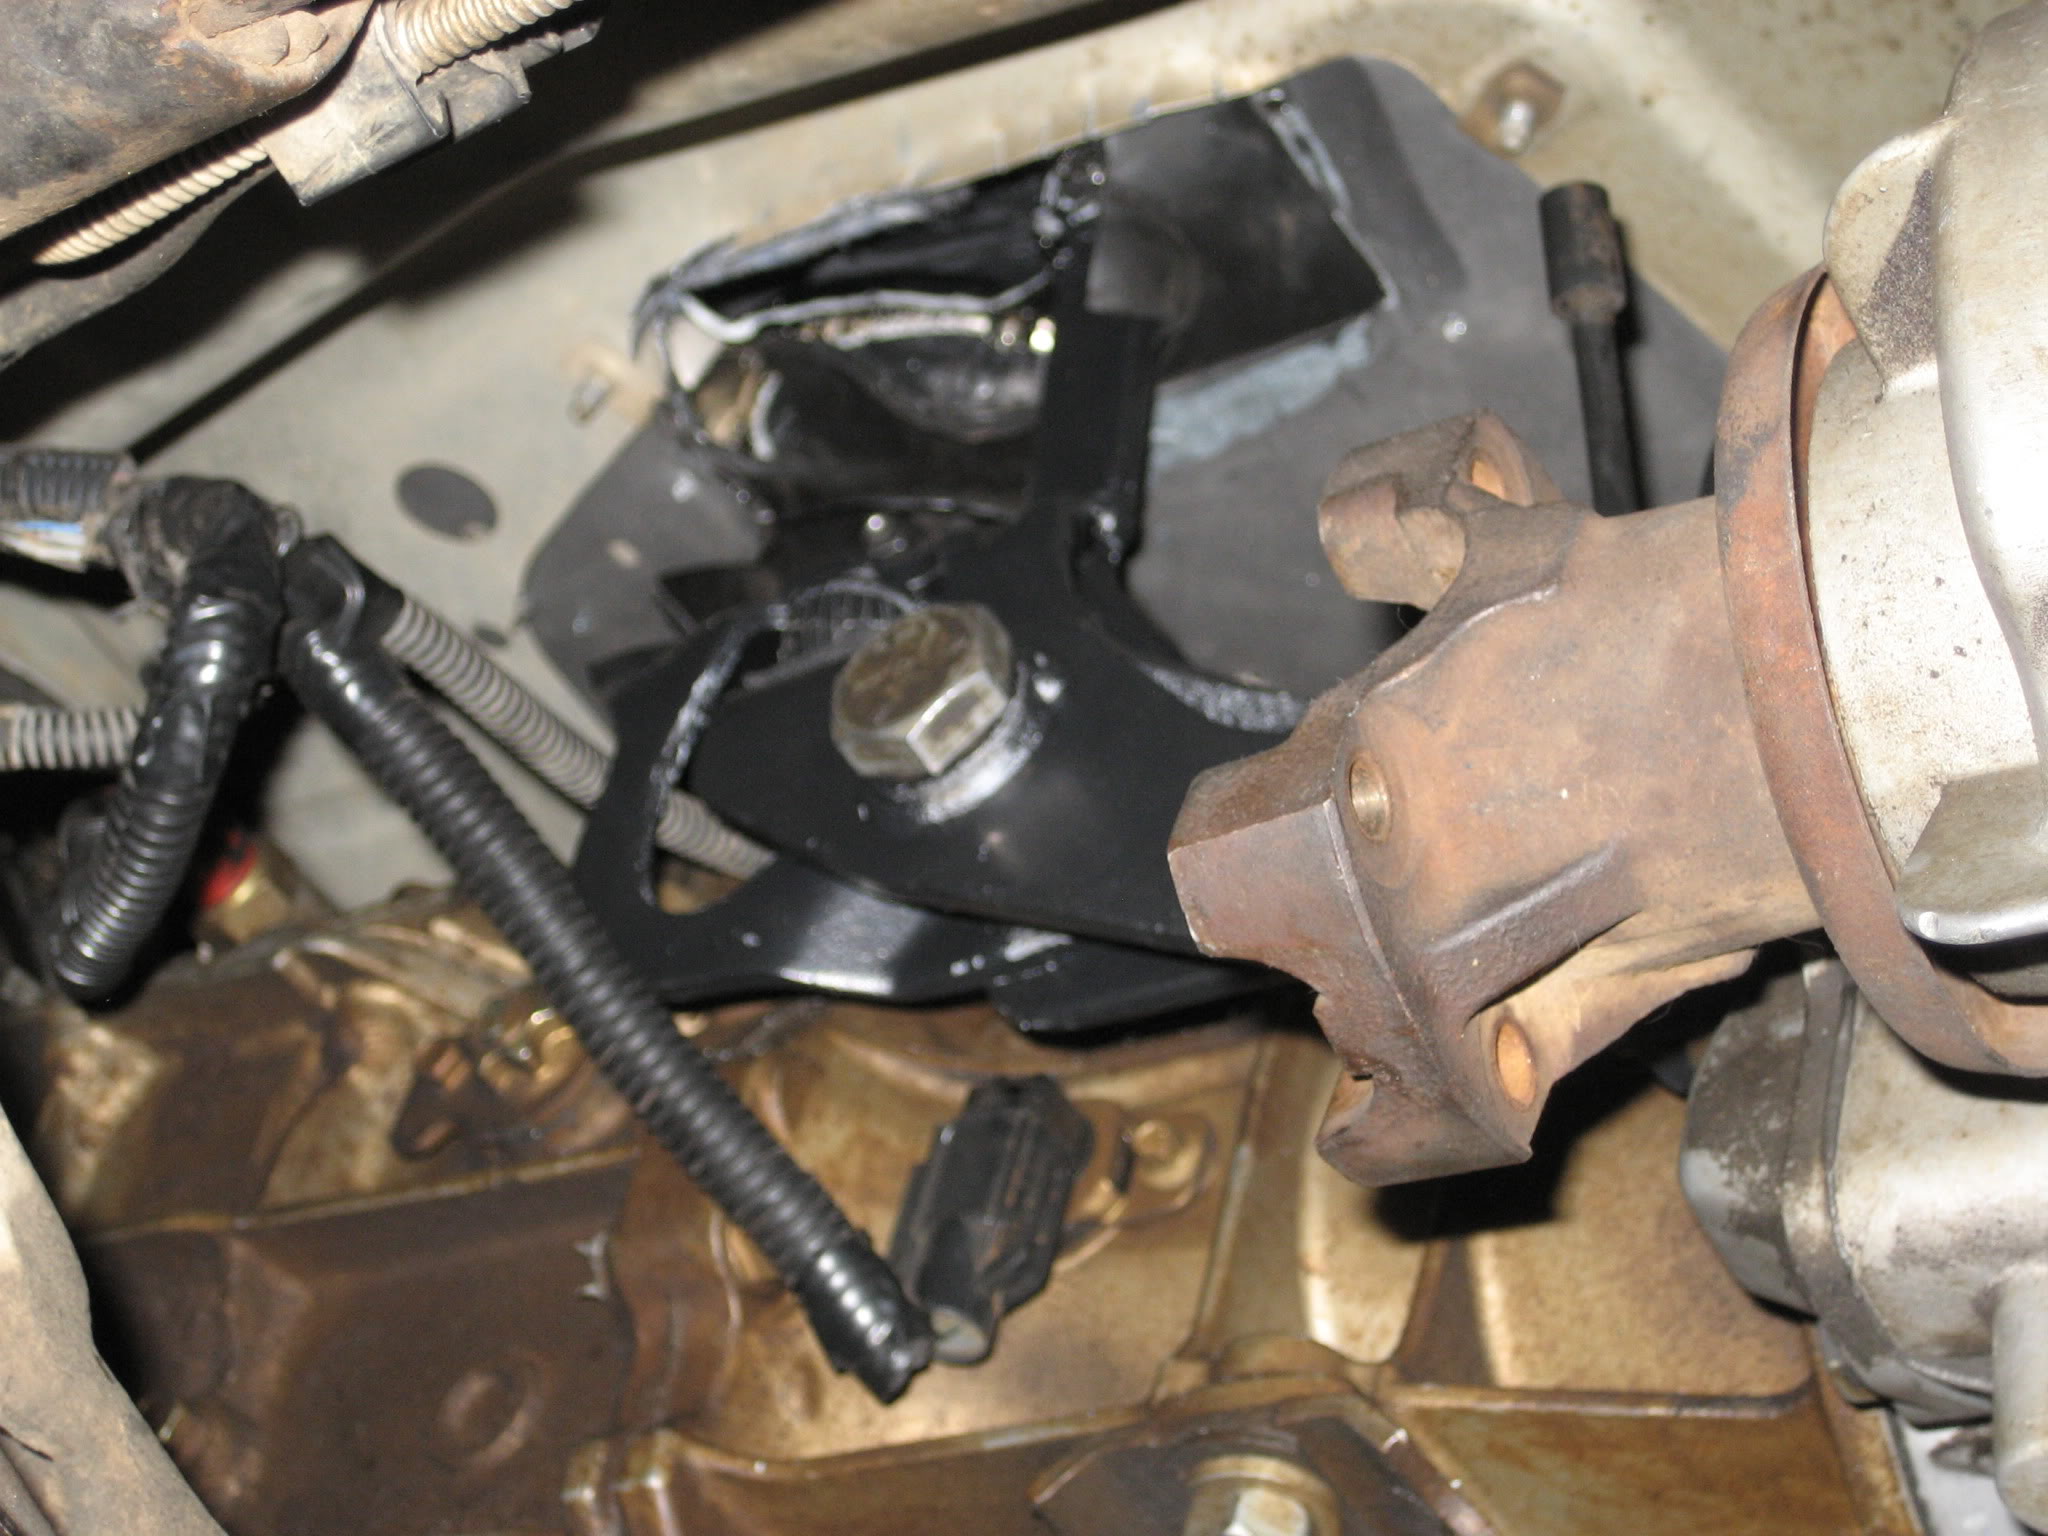
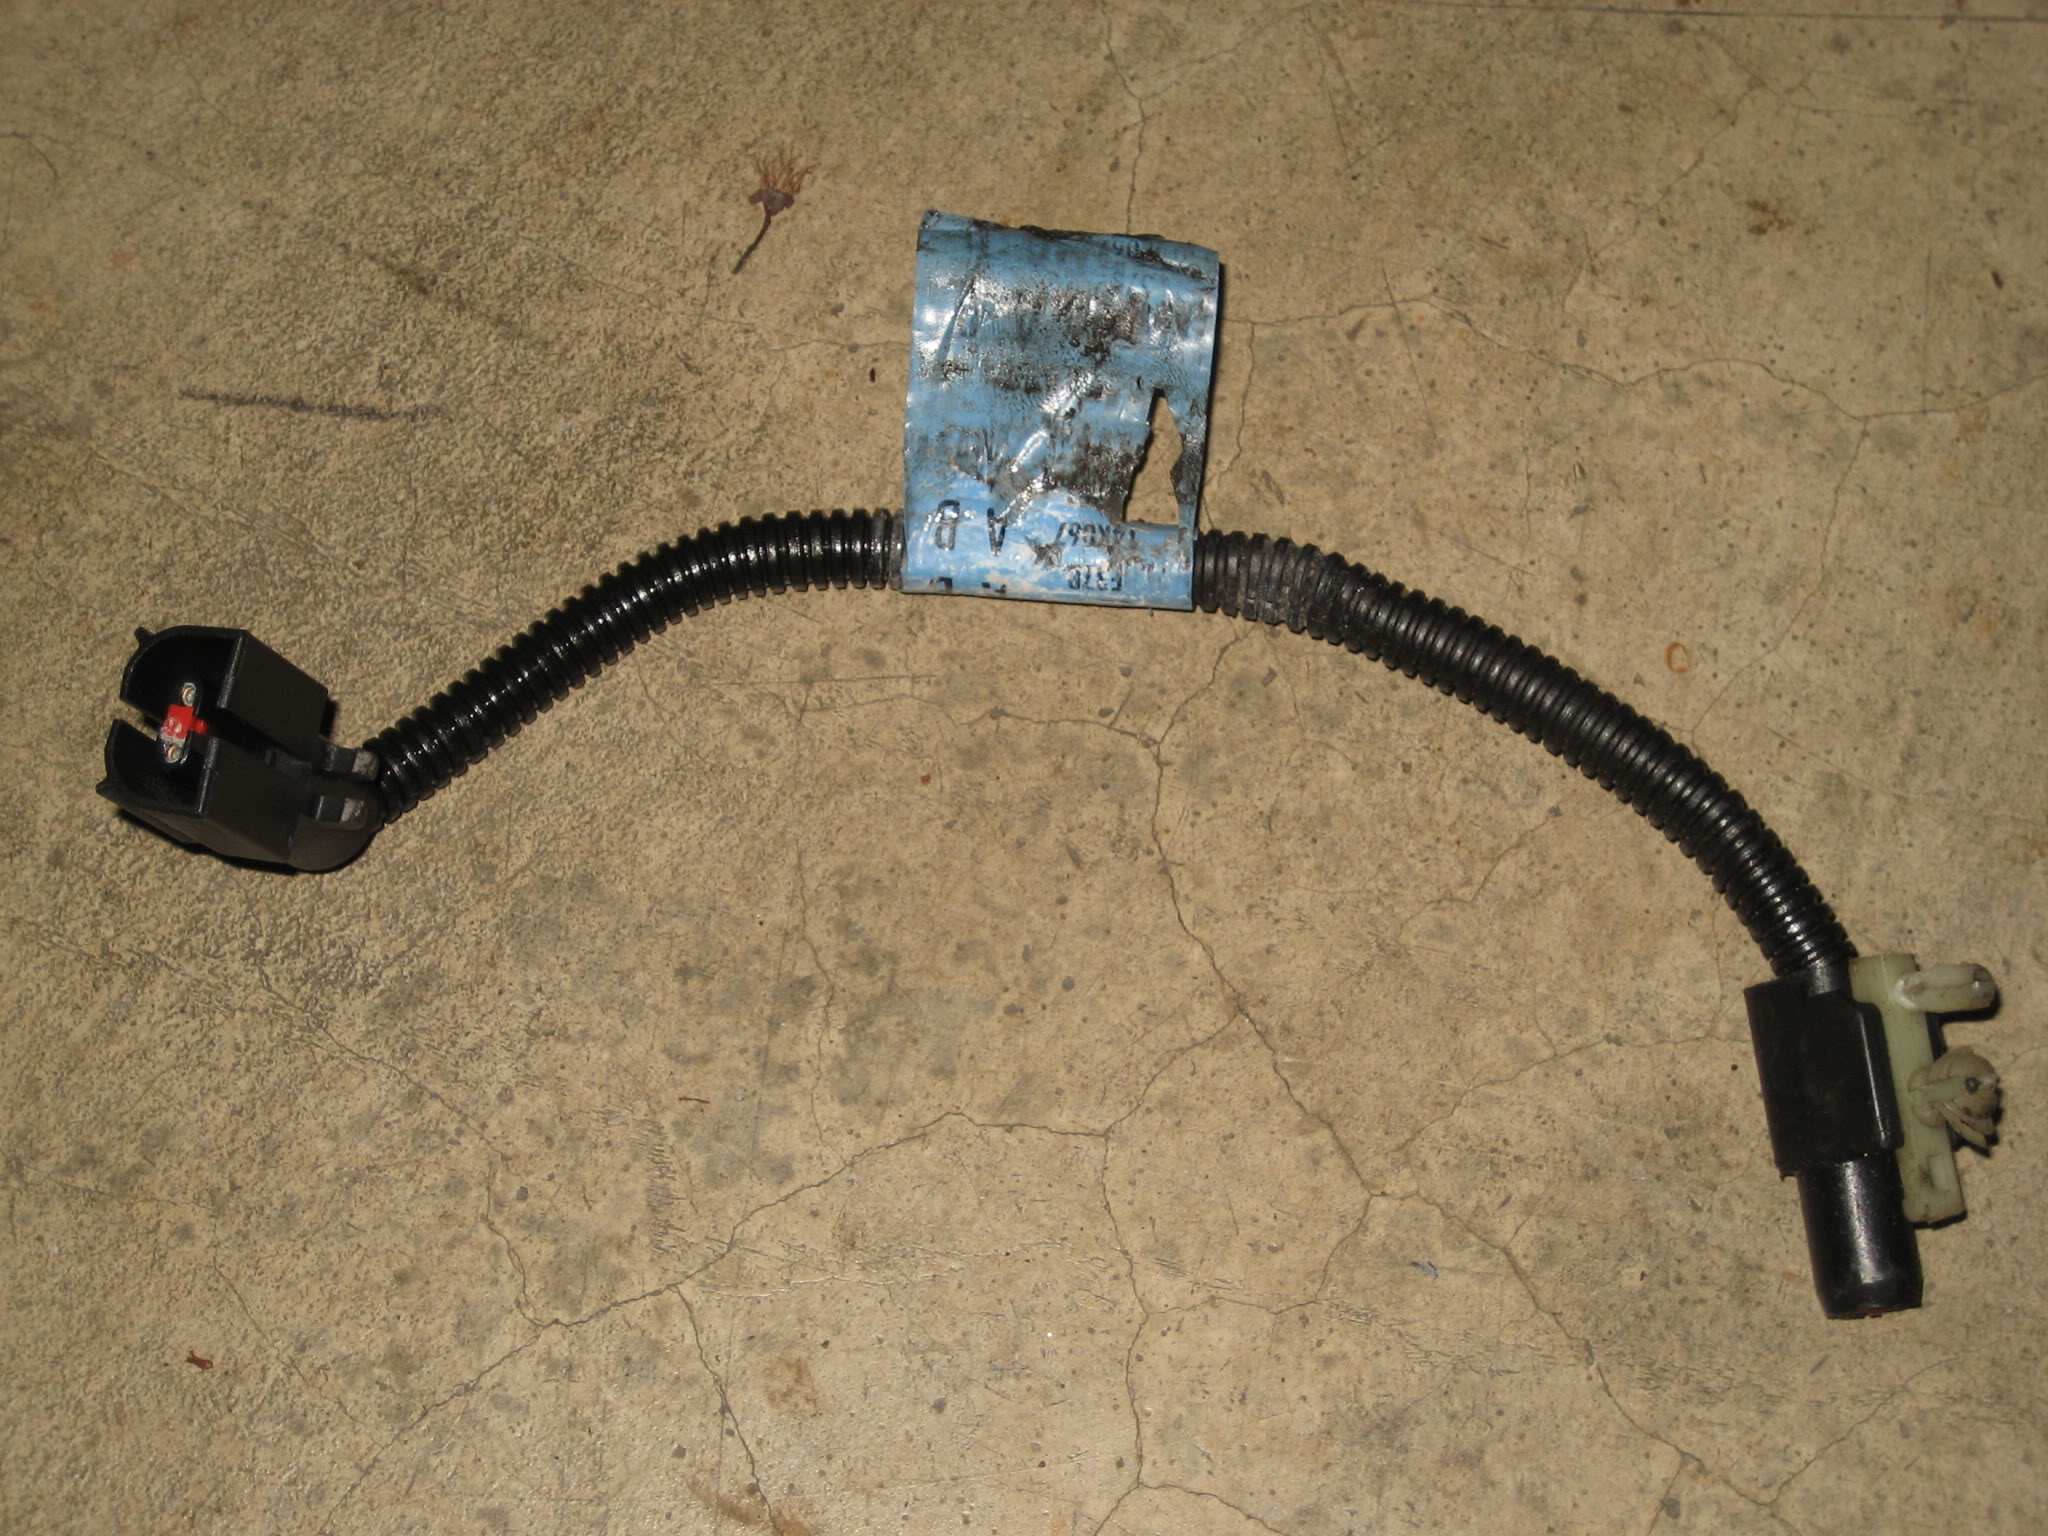
The pigtail that came with the case for the 4wd indicator
All done!

Enjoy! Hope this thread helps answer some questions, if you do have any, just lemme know! I'd be happy to help! I started the swap around 11am, and finished up around 4 or so. Had a buddy of mine help me out and Shane and Grant came over for a few to help out! Tell you what, that 1354e is a heavy *** case with fluid in it!
OH! Forgot to add, although the superlift shaft does telescope/extend, it doesn't reach the yokes.. By about 1/2" total distance. So it's safe to say I think I'm gonna sell the superlift shaft and go get me an expo 95-97 shaft and replace the u-joints. Since the ranger and expo have the same D35 and I'm running an expo 1354m, the expo 95-97 front driveline will be perfect and direct bolt on.
Difference in the 2 flanges. Expo vs. Ranger
The case and linkage bolted in and done
The pigtail that came with the case for the 4wd indicator
All done!
Enjoy! Hope this thread helps answer some questions, if you do have any, just lemme know! I'd be happy to help! I started the swap around 11am, and finished up around 4 or so. Had a buddy of mine help me out and Shane and Grant came over for a few to help out! Tell you what, that 1354e is a heavy *** case with fluid in it!


