How To: Screamin Demon Ignition Upgrade
#1
 01-11-2011


How To: Screamin Demon Ignition Upgrade
Here is how to upgrade your ignition with a Screamin Demon performance coil and Livewires.
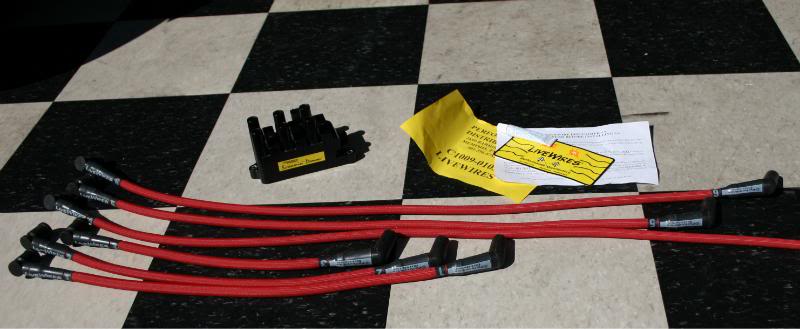
These are what we're going to be installing. Their high performance coil and wires.
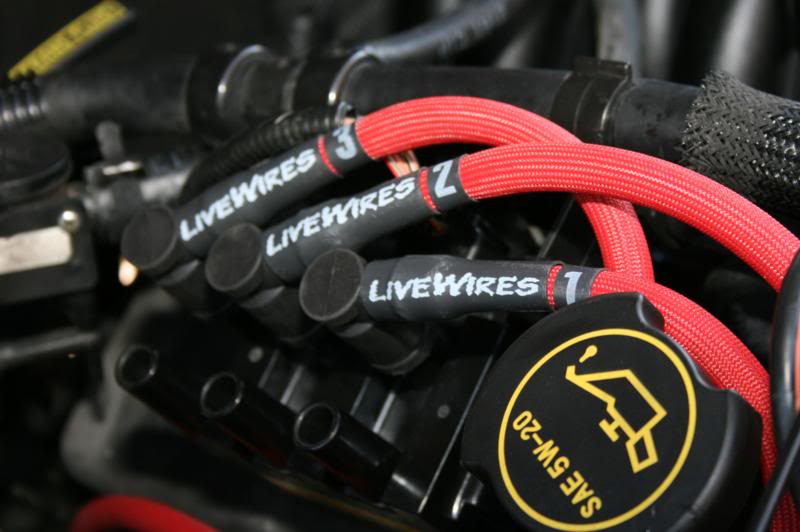
A nice touch on the wires is they are labeled on both ends so it's easy to determine where the wire needs to go on the coil and on the engine.

The connectors are also very nice and fit very securely.
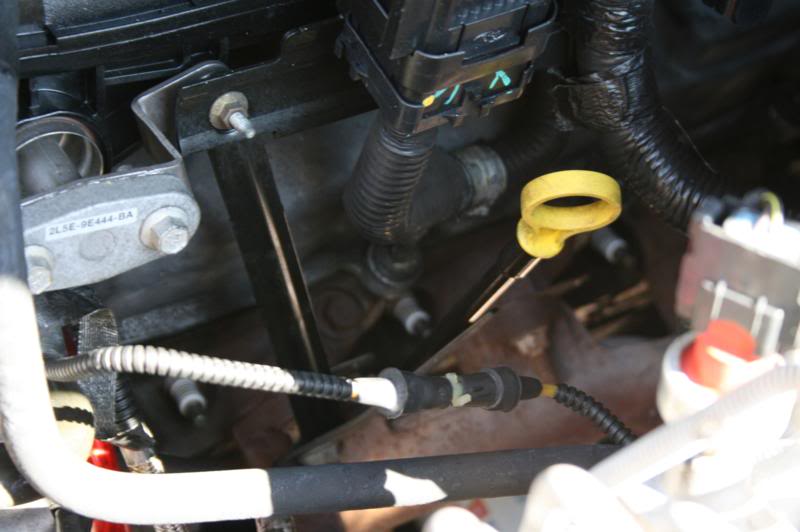
Here is the stock coil that we're going to remove. It is held on simply by 3 bolts and they thread into the valve cover. There is also one connector that must be disconnected. Disconnect everything and unbolt the coil.
Everything disconnected and coil removed.
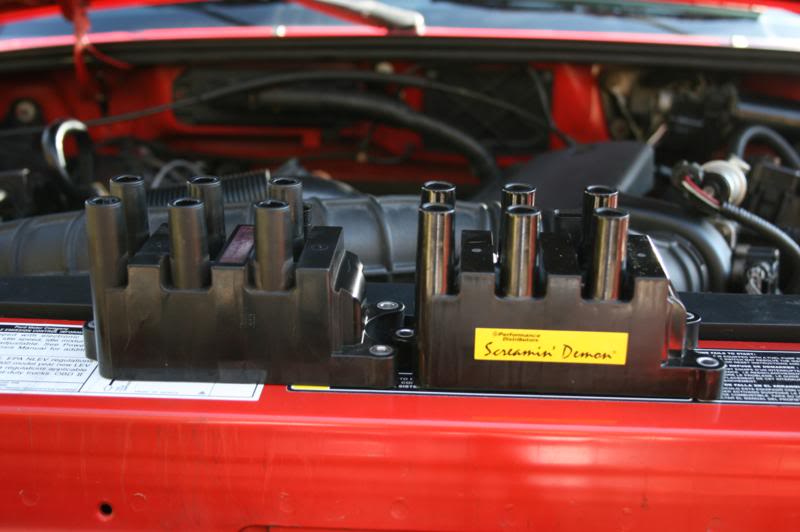
With the old coil removed we can compare it to the new Screamin Demon. The old one is noticeably lighter and also a tiny bit smaller.
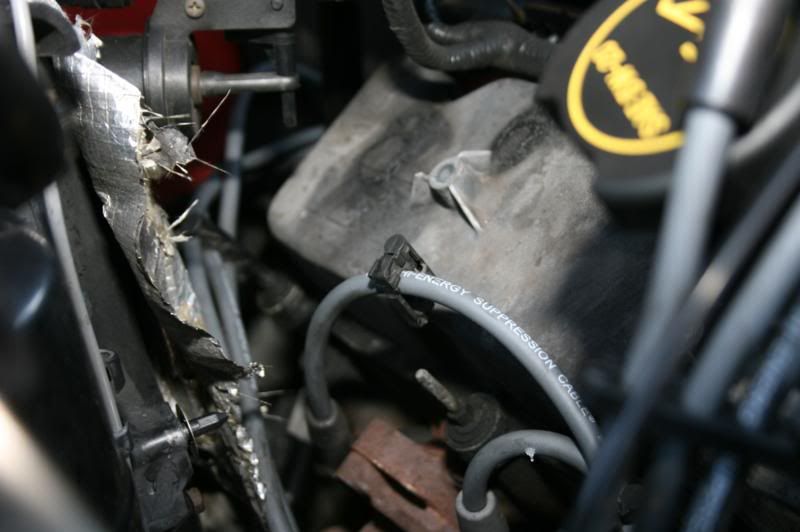
Now, remove the passengers side wires. They are held in place with clips that push down onto studs. Simply lift the clip up and it slides off of the stud.
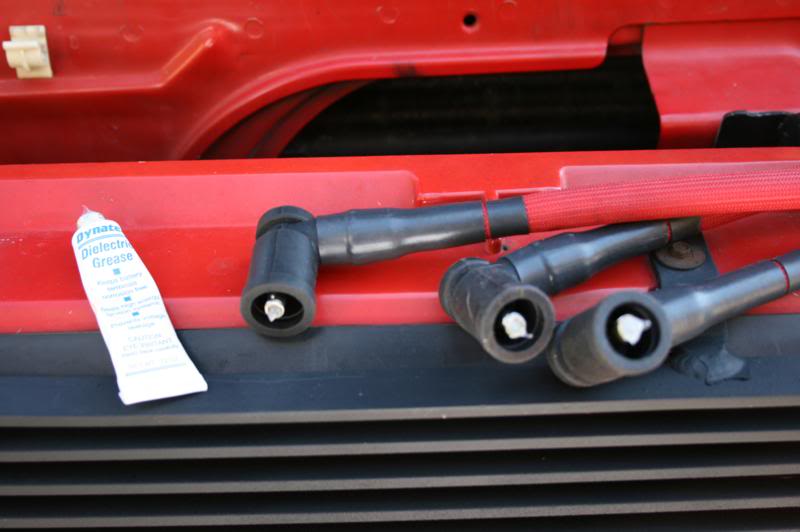
After matching them up with the correct length new wires, you need to put the supplied dielectric grease on the connectors on both ends.

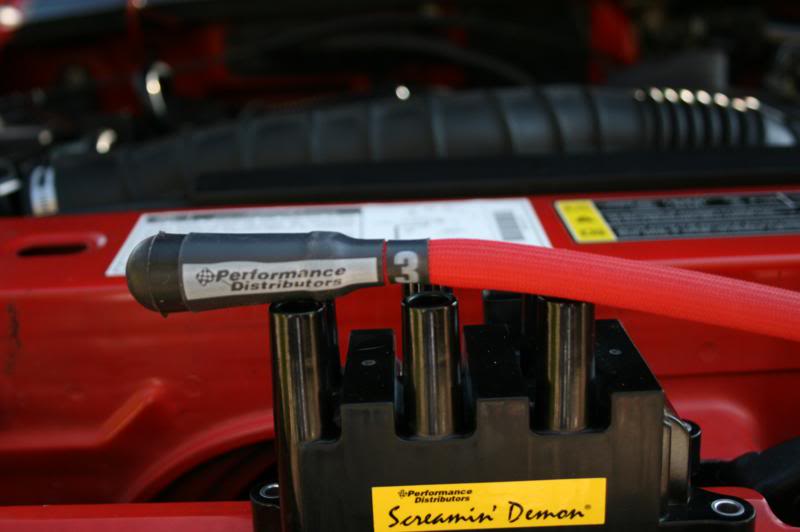
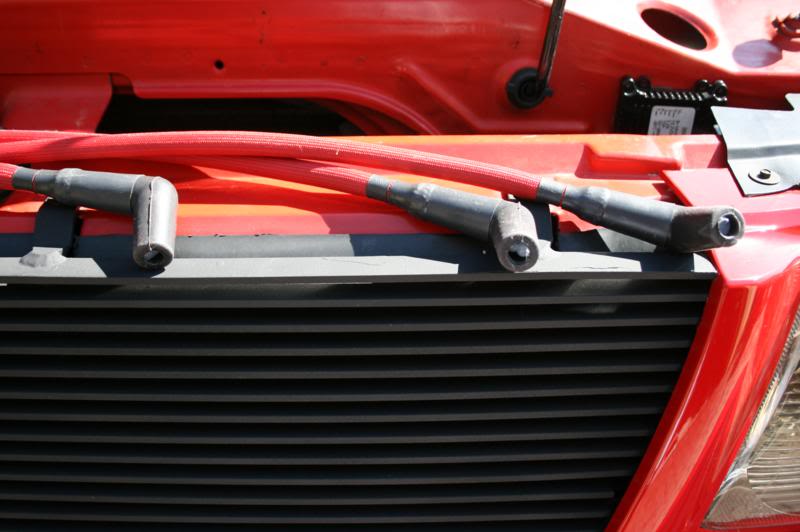
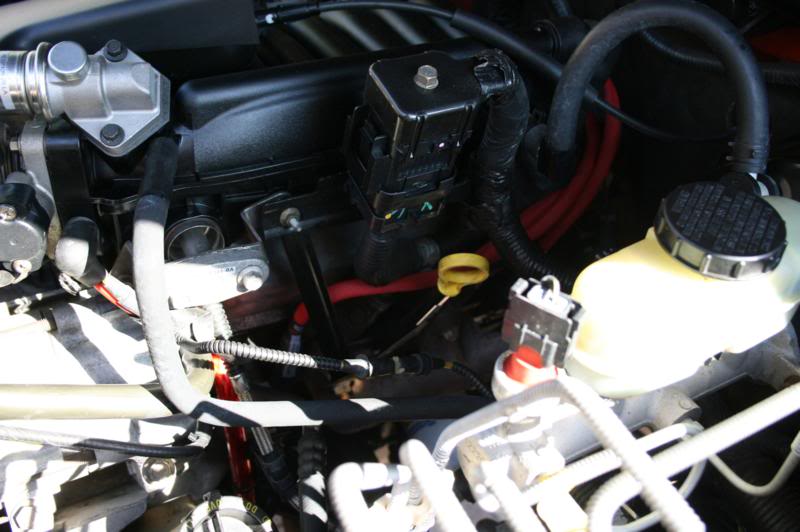
Now bolt the new coil back on and attach the passengers side wires.
Make sure they are all firmed press down, you will feel them click into place.
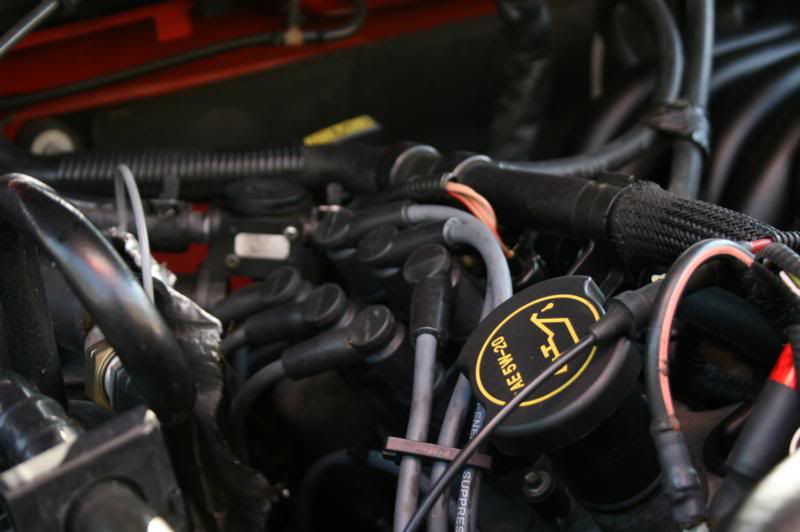
Remove the wires for the drivers side. They also have similar clips on studs.
After matching the lengths, attach them to the plugs.
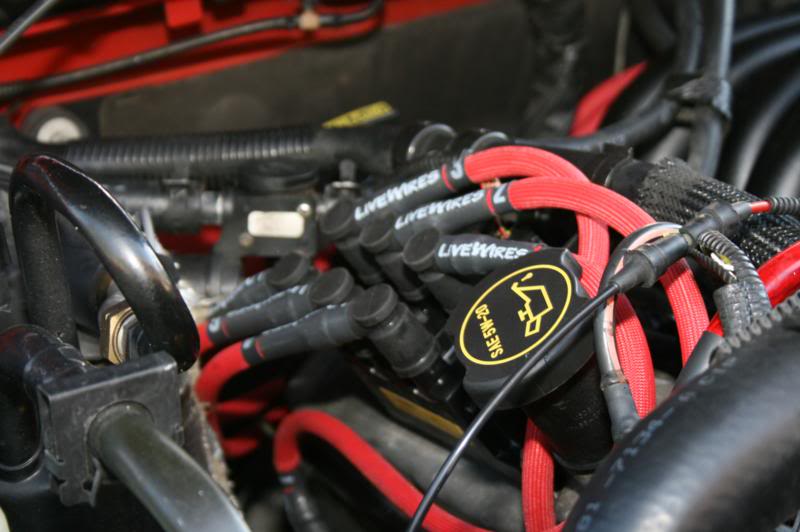
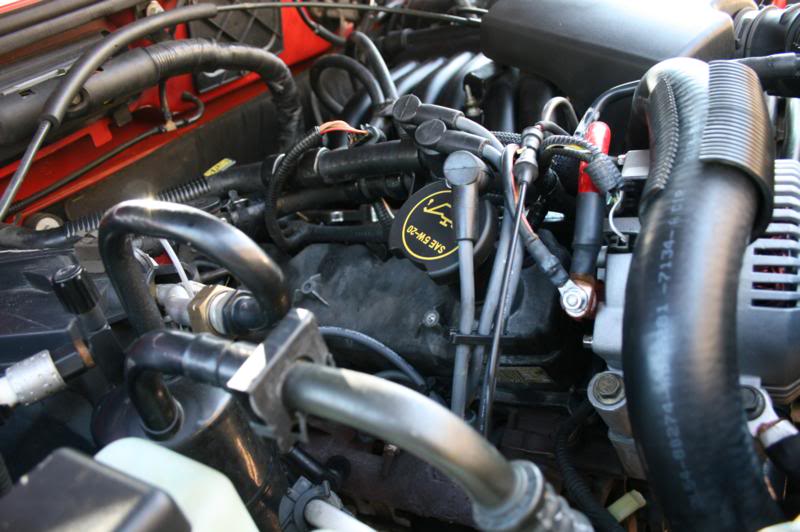
Attach to the coil in and correct order and you are done. The order varies with different years and different engines, so it is best to either consult a manual or write down the order they were in before you removed the original ones.
The result is improved fuel efficiency, more power, and the engine revs much better than before. Idle is also smoother. Also, you can increase your gap to .065" as recommended by them if you want. This is definitely one of the best bang for the buck modifications to our trucks, especially since and OEM replacement coil is often times more expensive than these.
For more information, click the logo below.

These are what we're going to be installing. Their high performance coil and wires.
A nice touch on the wires is they are labeled on both ends so it's easy to determine where the wire needs to go on the coil and on the engine.
The connectors are also very nice and fit very securely.
Here is the stock coil that we're going to remove. It is held on simply by 3 bolts and they thread into the valve cover. There is also one connector that must be disconnected. Disconnect everything and unbolt the coil.
Everything disconnected and coil removed.
With the old coil removed we can compare it to the new Screamin Demon. The old one is noticeably lighter and also a tiny bit smaller.
Now, remove the passengers side wires. They are held in place with clips that push down onto studs. Simply lift the clip up and it slides off of the stud.
After matching them up with the correct length new wires, you need to put the supplied dielectric grease on the connectors on both ends.
Now bolt the new coil back on and attach the passengers side wires.
Make sure they are all firmed press down, you will feel them click into place.
Remove the wires for the drivers side. They also have similar clips on studs.
After matching the lengths, attach them to the plugs.
Attach to the coil in and correct order and you are done. The order varies with different years and different engines, so it is best to either consult a manual or write down the order they were in before you removed the original ones.
The result is improved fuel efficiency, more power, and the engine revs much better than before. Idle is also smoother. Also, you can increase your gap to .065" as recommended by them if you want. This is definitely one of the best bang for the buck modifications to our trucks, especially since and OEM replacement coil is often times more expensive than these.
For more information, click the logo below.
Last edited by 98liftedranger; 11-27-2011 at 11:13 PM.


#5
01-13-2014
#7
01-05-2017

Join Date: Apr 2016
Location: centennial, CO
Posts: 26
Likes: 0
Received 0 Likes
on
0 Posts
#9
11-03-2022

Join Date: Nov 2022
Location: Hanford, CA
Posts: 1
Likes: 0
Received 0 Likes
on
0 Posts

Thread
Thread Starter
Forum
Replies
Last Post
lifted97ranger
4.0L OHV & SOHC V6 Tech
178
08-22-2019 10:19 PM


