


Another Headlight Mod Question

Thread Starter
|
Member
Joined: Jul 2005
Posts: 1,363
Likes: 0
From: Steubenville Ohio

Another Headlight Mod Question
Good God I can't believe I'm going to put my headlights into the friggin oven. 
So provided I don't turn my lights into a bubbling pile of goo, I had a few final questions. I've been reading a lot on the mod and the time and heat I came up with, er read, was 250 for 7 to 10 minutes. 6 to 7 minutes seemed to be the lucky number at this temperature. Just curious what temp you guys did it at and....
How exactly do I prep the inside of the light? Do I need to sand/scotchbrite pad/remove the chrome where I'm going to paint, or can I just tape off what I don't want to paint and primer right over the chrome?
One last question, gloss or flat black? I was leaning towards flat black.
So provided I don't turn my lights into a bubbling pile of goo, I had a few final questions. I've been reading a lot on the mod and the time and heat I came up with, er read, was 250 for 7 to 10 minutes. 6 to 7 minutes seemed to be the lucky number at this temperature. Just curious what temp you guys did it at and....
How exactly do I prep the inside of the light? Do I need to sand/scotchbrite pad/remove the chrome where I'm going to paint, or can I just tape off what I don't want to paint and primer right over the chrome?
One last question, gloss or flat black? I was leaning towards flat black.


I used Satin black on mine, kinda between flat and gloss. Looks great IMO.
I used Krylon Fusion Satin black, it has adhesion promotor built in
Mine went in a 250 for 12 min, then it took 5 more minutes to come totally loose.
I used Krylon Fusion Satin black, it has adhesion promotor built in
Mine went in a 250 for 12 min, then it took 5 more minutes to come totally loose.
Thread Starter
|
Member
Joined: Jul 2005
Posts: 1,363
Likes: 0
From: Steubenville Ohio
250 for about 10 minutes a piece and they popped right apart. i got most of the glue out of housing itself, I don't think the rest shouldn't cause a problem when i seal them back up. I've got one taped and ready to be painted and I should have the other ready to go tonight. I'll have to wait for a little break in the weather before I can paint them. It's been hella cold lately. I'll keep you guys updated.
I pretty excited now that I got them apart lol
I pretty excited now that I got them apart lol

Thread Starter
|
Member
Joined: Jul 2005
Posts: 1,363
Likes: 0
From: Steubenville Ohio
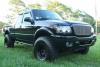
It was pretty brittle after they cooled down. I cleaned the one out perfect but the other had a perfect groove where the lens was, so I left it be. We'll see how that works. Anyways, I painted them up and put the lenses back on and bulbs in to see how they look. I'm really happy with them. Didn't really think I would be but I am. And I'm pretty stoked I did it myself and didn't destroy anything in the process lol. Here's a few pictures of the finished product.
I went with the Krylon Fusion Satin finish (thanks 04blackedge) and it ended up beaing really easy to cover. No problems at all. I used Fusion on my interior pieces before and liked the results as well, so I didn't think I'd have many problems.
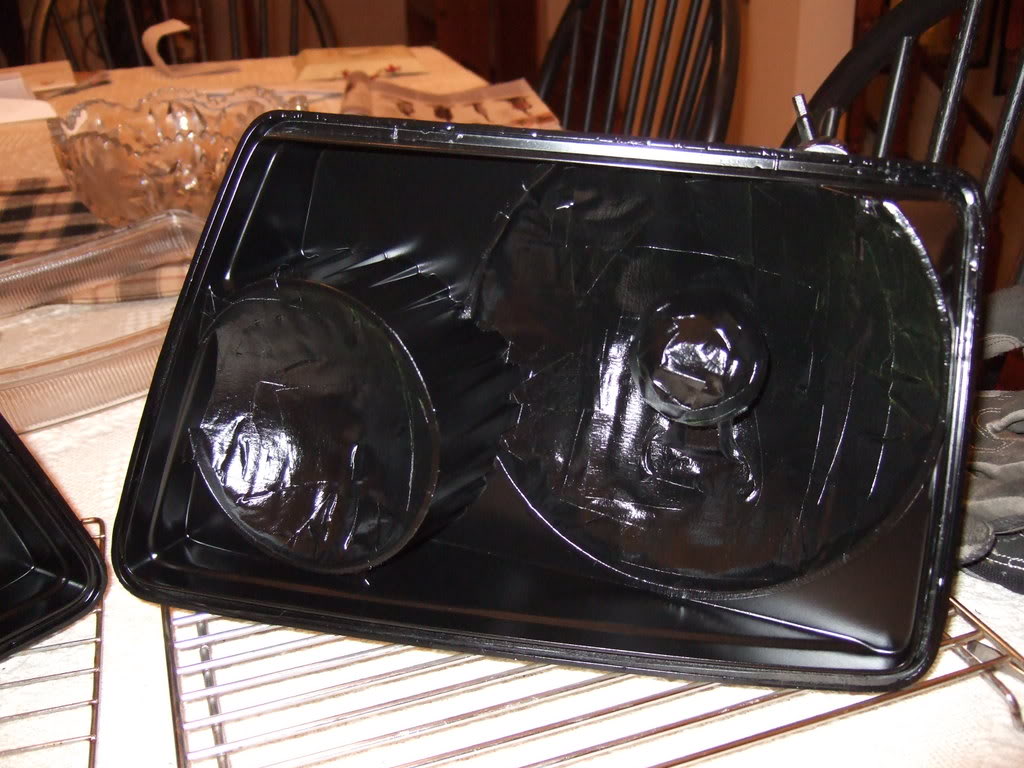
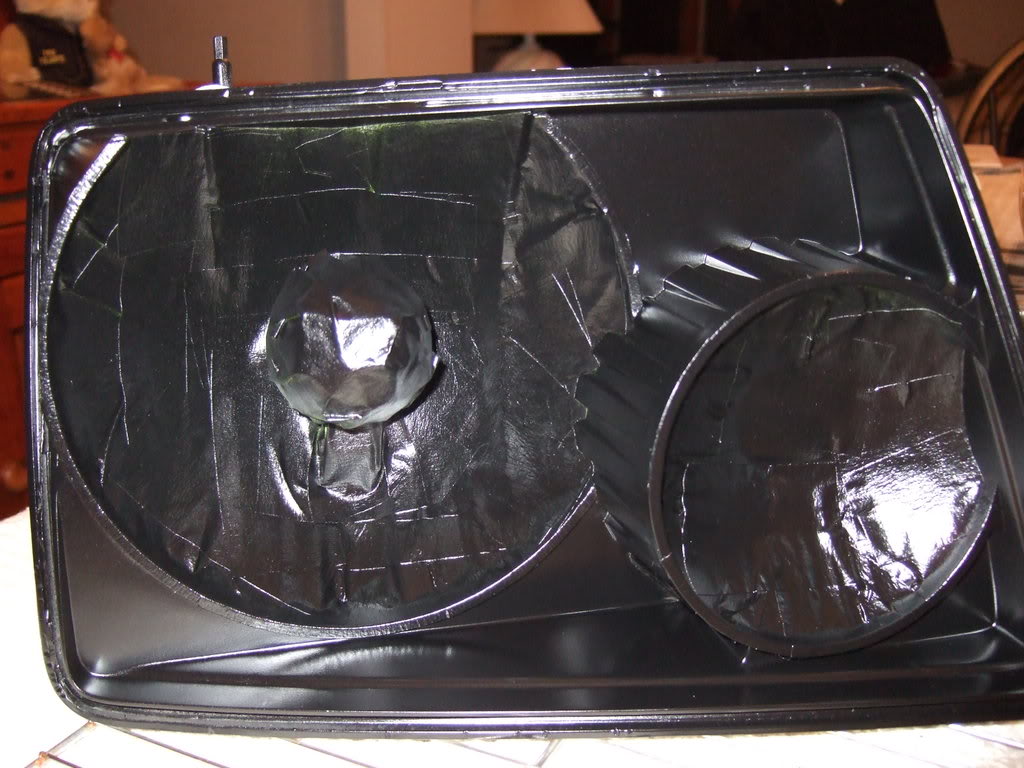
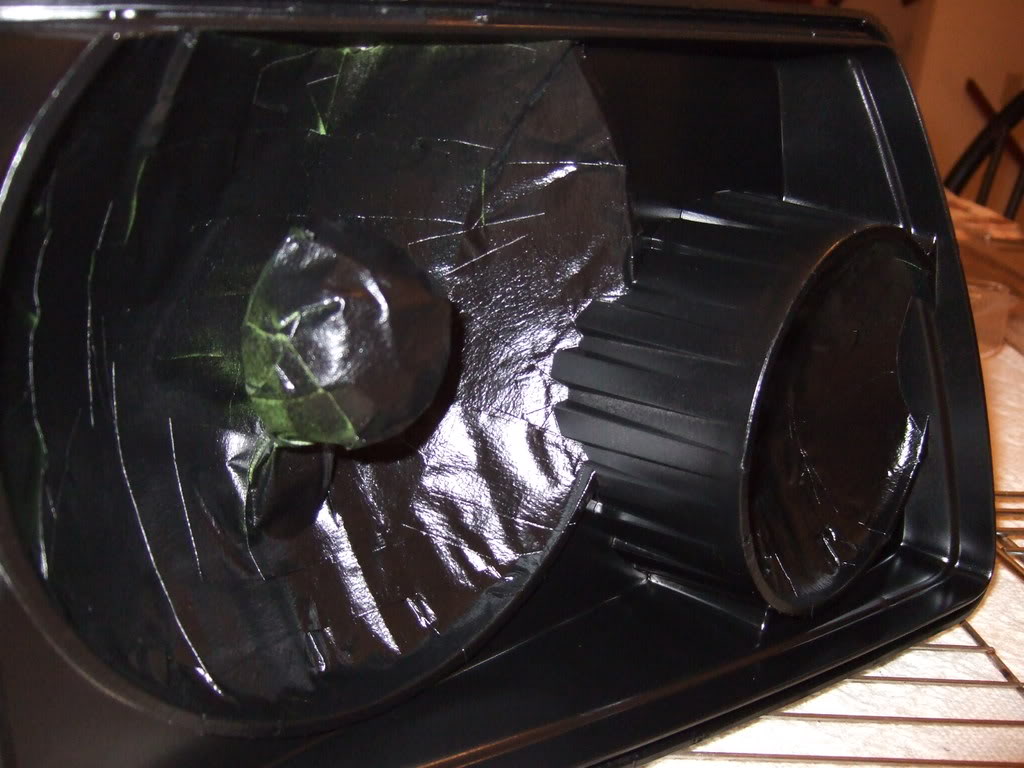
Here's a couple with the lenses back on and bulbs in.
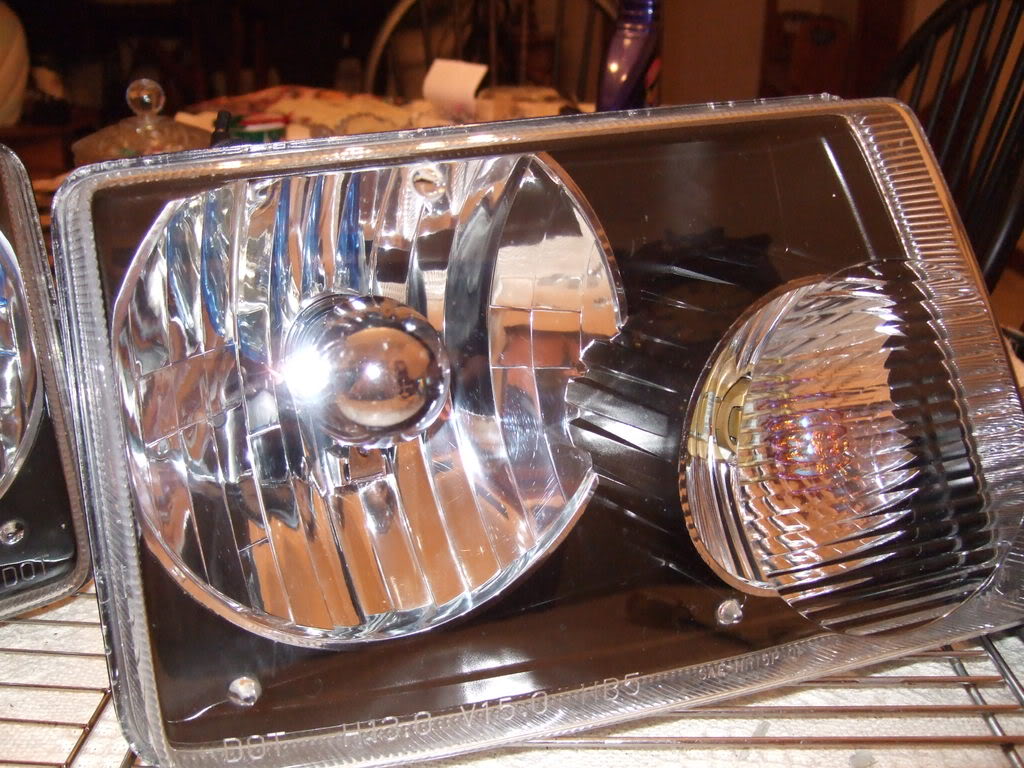
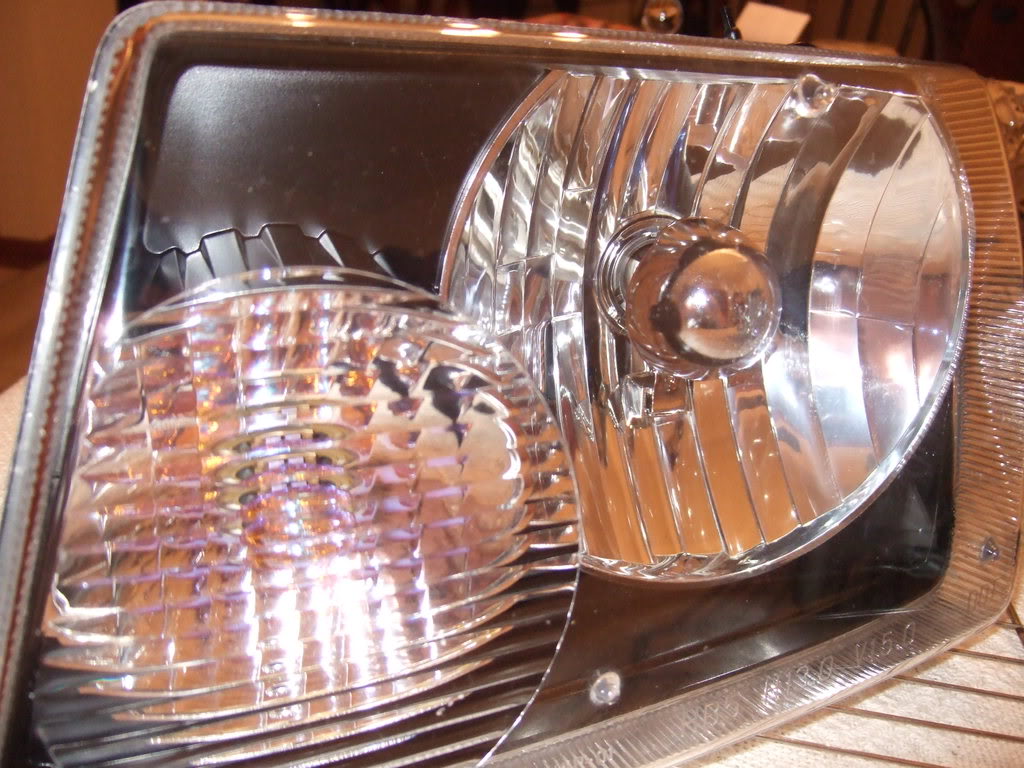
Sweet! I'm really happy with how they came out. I thought about putting another coat on, but once the lenses went on they looked a lot cleaner. And the temperature dropped and I didn't want to risk shooting them a third time.
I was going to add some 06 corners, but just couldn't bring myself to pay that much for them and then put them in the oven. The headlights were stressful enough thanks. I figured I'd check on ebay to see if I could maybe come across a pair of used 06 corners or just cheaper then what I had found online, and came across these. Haven't seen them in awhile, so I scooped them up. I'll put some LED marker lights in as replacements and I think it'll look fine.
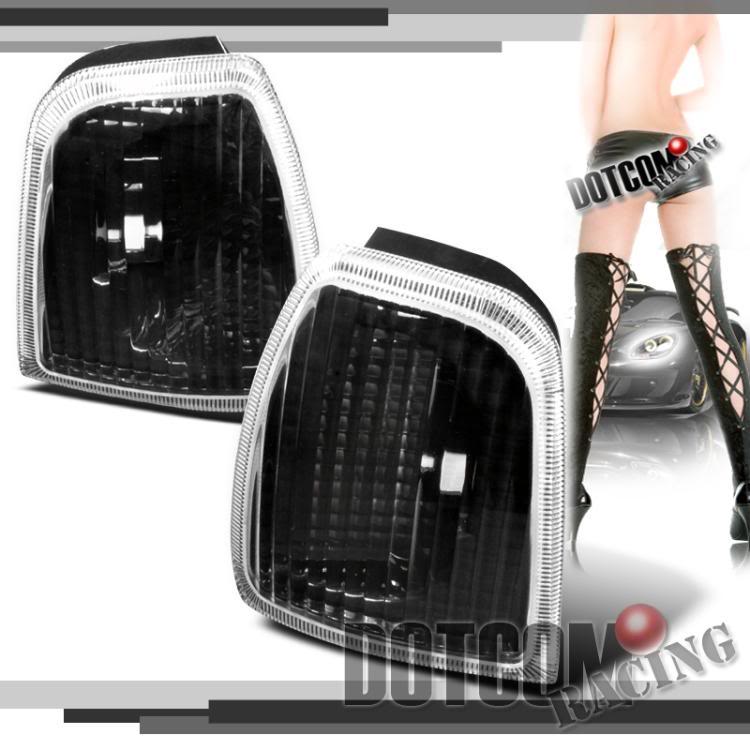
So, when all is done, I'll post up some installed pictures! Thanks for all the help guys. I would have never though I'd be putting my headlights in the oven this weekend lol
I went with the Krylon Fusion Satin finish (thanks 04blackedge) and it ended up beaing really easy to cover. No problems at all. I used Fusion on my interior pieces before and liked the results as well, so I didn't think I'd have many problems.
Here's a couple with the lenses back on and bulbs in.
Sweet! I'm really happy with how they came out. I thought about putting another coat on, but once the lenses went on they looked a lot cleaner. And the temperature dropped and I didn't want to risk shooting them a third time.
I was going to add some 06 corners, but just couldn't bring myself to pay that much for them and then put them in the oven. The headlights were stressful enough thanks. I figured I'd check on ebay to see if I could maybe come across a pair of used 06 corners or just cheaper then what I had found online, and came across these. Haven't seen them in awhile, so I scooped them up. I'll put some LED marker lights in as replacements and I think it'll look fine.
So, when all is done, I'll post up some installed pictures! Thanks for all the help guys. I would have never though I'd be putting my headlights in the oven this weekend lol

https://www.ranger-forums.com/forum2...ad.php?t=76432

Thread Starter
|
Member
Joined: Jul 2005
Posts: 1,363
Likes: 0
From: Steubenville Ohio
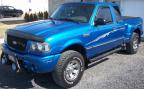
Yup. A lot easier then I thought it would be. It was a little nerve racking at first though....putting your headlights in the oven. Taping them off was the hardest part, but I enjoyed it.  You guys talked me into it...I blame you all.
You guys talked me into it...I blame you all.
Member

Joined: Jan 2006
Posts: 3,424
Likes: 5
From: Ottawa, Ontario
Because the statement caused his a few extra posts in his thread.......
No seriously, I wouldn't bake my headlights, but I guess that's just me. It only takes one wrong move to screw everything up. I guess the real test is condensation and fogging. Taking them apart is one thing, making sure to seal them up is another.
But back on topic.......
Shawn, they look good!!
No seriously, I wouldn't bake my headlights, but I guess that's just me. It only takes one wrong move to screw everything up. I guess the real test is condensation and fogging. Taking them apart is one thing, making sure to seal them up is another.
But back on topic.......
Shawn, they look good!!
Thread Starter
|
Member
Joined: Jul 2005
Posts: 1,363
Likes: 0
From: Steubenville Ohio
Because the statement caused his a few extra posts in his thread.......
No seriously, I wouldn't bake my headlights, but I guess that's just me. It only takes one wrong move to screw everything up. I guess the real test is condensation and fogging. Taking them apart is one thing, making sure to seal them up is another.
But back on topic.......
Shawn, they look good!!
No seriously, I wouldn't bake my headlights, but I guess that's just me. It only takes one wrong move to screw everything up. I guess the real test is condensation and fogging. Taking them apart is one thing, making sure to seal them up is another.
But back on topic.......
Shawn, they look good!!


