

A few mods done (lots of pics)


Thread Starter
|
Member

Joined: Jul 2007
Posts: 292
Likes: 0
From: NH
A few mods done (lots of pics)
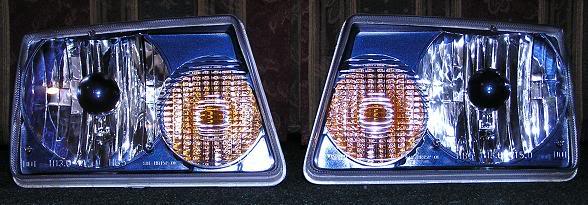
Well I did the Headlight mod and also changed out the orange directionaly in the headlights.
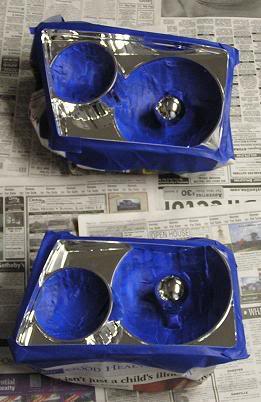

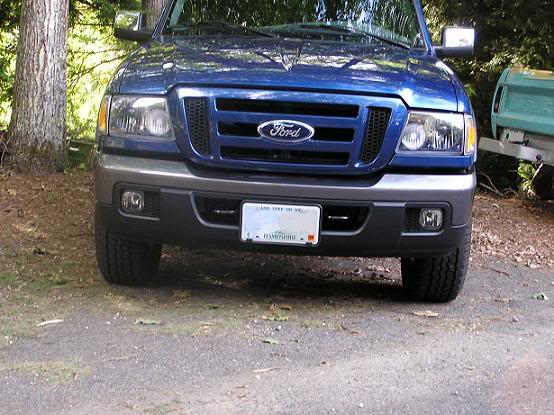
Wallyworld was all out of gray primer so I had to use black. Finished product still came out decent.
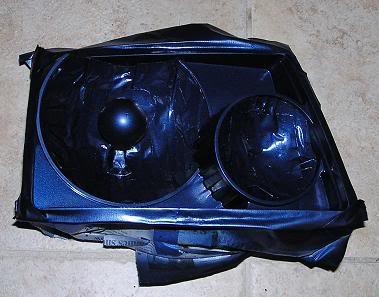
Now I just need to find time to do the side markers
I added LED's to the headlights to get rid of the orange glow of the stock bulb. I didn't want to cut or tap or splice any wires so this is what I did.
Being an 07 I had no choice but to use the load resistors. Pep Boys(Ricer Boys) didn't have them but AutoZone next door did.
Bulbs - $15 shipped from eBay
Resistors - $13 from AutoZone
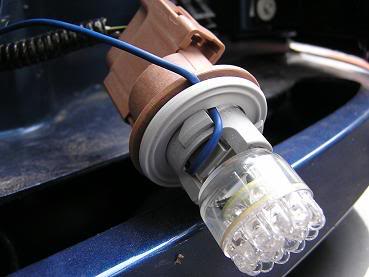
Tucked the wire between the bulb and the socket peg than around the outside of the gasket. I had to keep the wire near one of the flats on the locks so the wire would fit into the hole in the headlight housing.
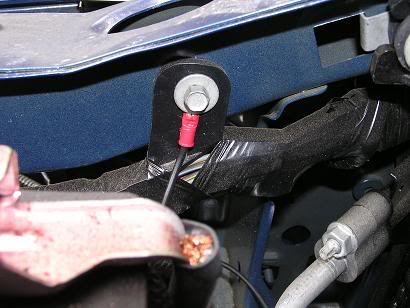
grounded the resistor to the screw on the inside of the radiator support just to the sides of the radiator that was holding the main wiring harness.
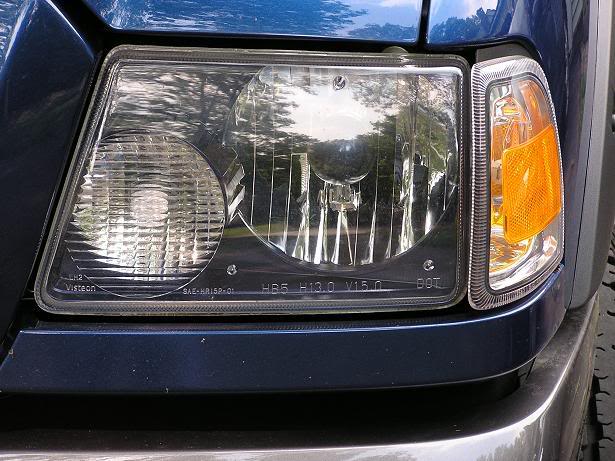
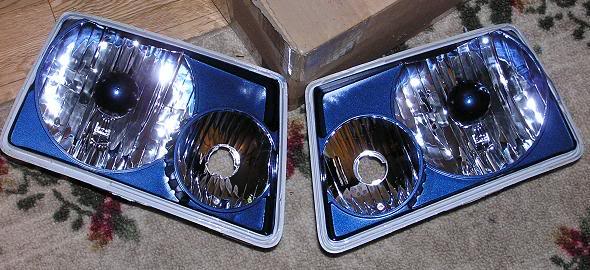
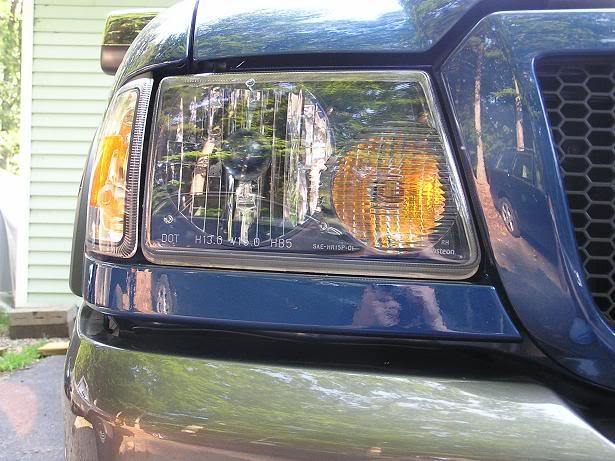
The new look of the painted headlights without the orange glow.
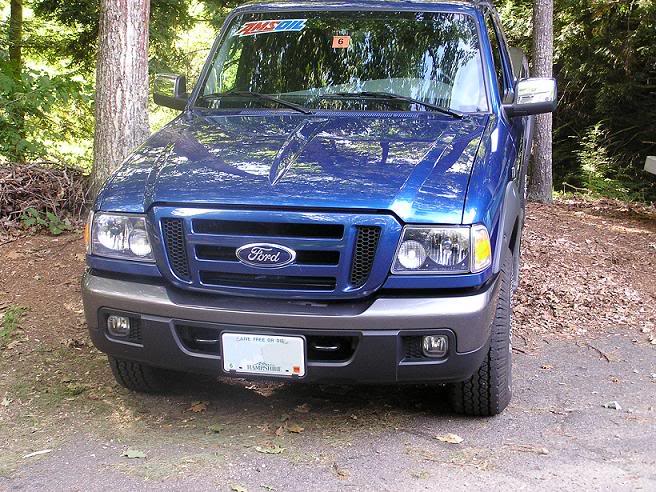
Wallyworld was all out of gray primer so I had to use black. Finished product still came out decent.
Now I just need to find time to do the side markers
I added LED's to the headlights to get rid of the orange glow of the stock bulb. I didn't want to cut or tap or splice any wires so this is what I did.
Being an 07 I had no choice but to use the load resistors. Pep Boys(Ricer Boys) didn't have them but AutoZone next door did.
Bulbs - $15 shipped from eBay
Resistors - $13 from AutoZone
Tucked the wire between the bulb and the socket peg than around the outside of the gasket. I had to keep the wire near one of the flats on the locks so the wire would fit into the hole in the headlight housing.
grounded the resistor to the screw on the inside of the radiator support just to the sides of the radiator that was holding the main wiring harness.
The new look of the painted headlights without the orange glow.
Last edited by 410LSD; Aug 21, 2007 at 04:17 PM.


Thread Starter
|
Member
Joined: Jul 2007
Posts: 292
Likes: 0
From: NH
Some night shots
I used the flash on these. Withotu the flash the lights look brighter and blury.
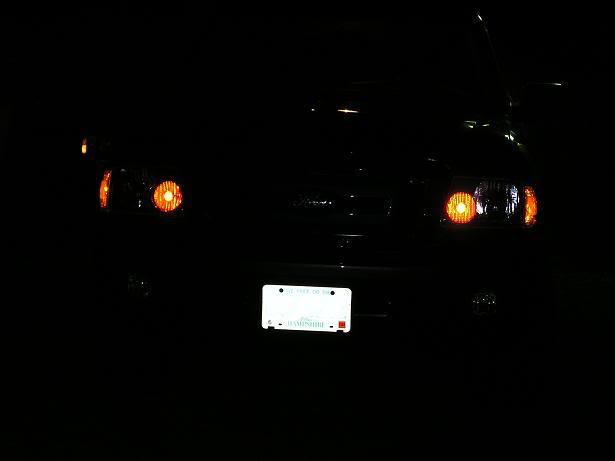
straight on
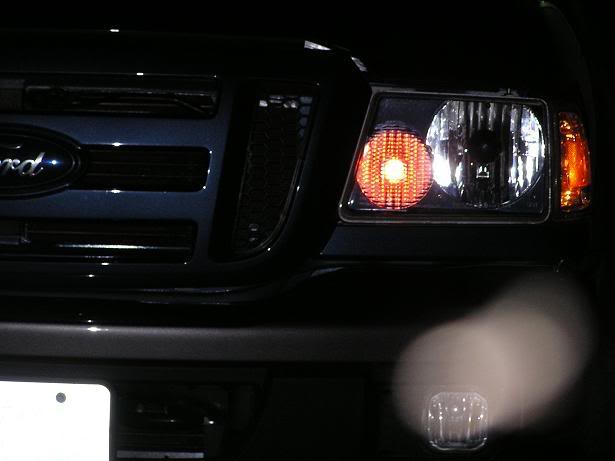
up close. The waves in the lense helps to disperse the straight on LED's. But there are also a few LED's in the bulb that point to the sides. Not all are facing forward.
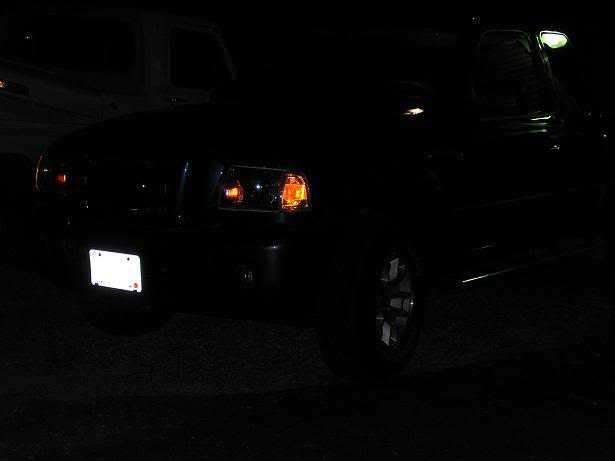
at a bit of an angle
I used the flash on these. Withotu the flash the lights look brighter and blury.
straight on
up close. The waves in the lense helps to disperse the straight on LED's. But there are also a few LED's in the bulb that point to the sides. Not all are facing forward.
at a bit of an angle


Thread Starter
|
Member
Joined: Jul 2007
Posts: 292
Likes: 0
From: NH
red fx444 - Yes you are the 1st. I was thinking well before I got the truck that if I got one I would paint theheadlights after seeing other models (focus, ect) with painted headlights.
I was thinking of doing the dot as well but you had your truck befor me and beat me to it. But I did paint mine with like 1200 moles on the truck. I was sooo scarred I would destroy the lights and have to buy new or aftermarket ones. But I did it with only some slight damages caused by the screw driver to pry the lenses off.
I was thinking of doing the dot as well but you had your truck befor me and beat me to it. But I did paint mine with like 1200 moles on the truck. I was sooo scarred I would destroy the lights and have to buy new or aftermarket ones. But I did it with only some slight damages caused by the screw driver to pry the lenses off.
Thread Starter
|
Member
Joined: Jul 2007
Posts: 292
Likes: 0
From: NH
Haven't been in this thread in a while.
I used the oven method to seperate the lense from the housing. Took some trys but they finaly came off.
Almost exactly a year after doing the headlights I was able to get back and do the side markers. Used the oven method again and they came appart a LOT easier.
I will get picks up as soon as I find them or take new ones.
Don't be scared to put them in the oven!!!! You put the oven on 225 and let them sit 10-15 min. Then pry them apart, if they don't come loose easily then put them back in for a few more mins. Just keep an eye on them to make sure plastic doesn't melt. At 225 it would take a while for them to melt, but it's best to keep the light on in the oven and watch it..


