

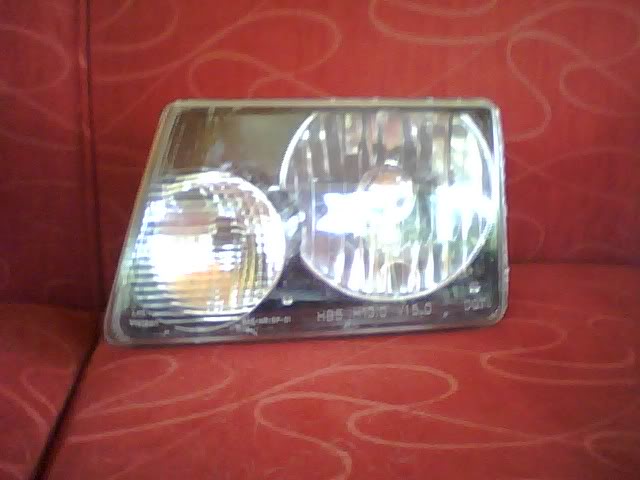
Newest mod teaser shot


Newest mod teaser shot
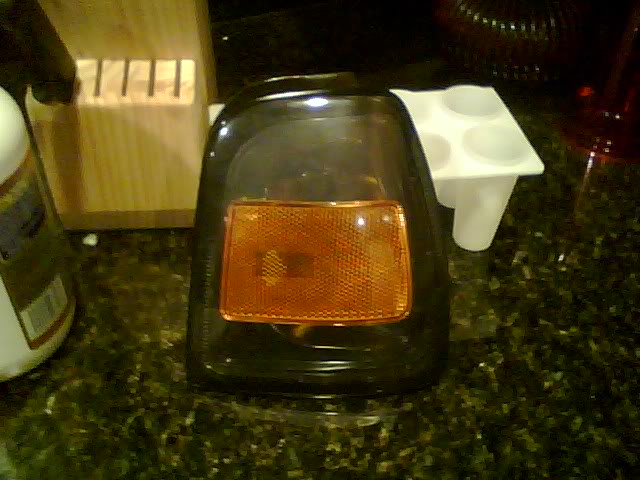
The lense is really dusty, thats why it looks hazy. Its really not in person. The headlights are drying right now. Pics of the completed mod will be up once I finish in the morning.

That will hopefully be fixed by the end of the month. I'm hoping to have it back to normal by the meet on the 31st.


Done pics! Didnt get to wash it today cause its been raining on and off. Here we go:
I thought this pic was really cool:
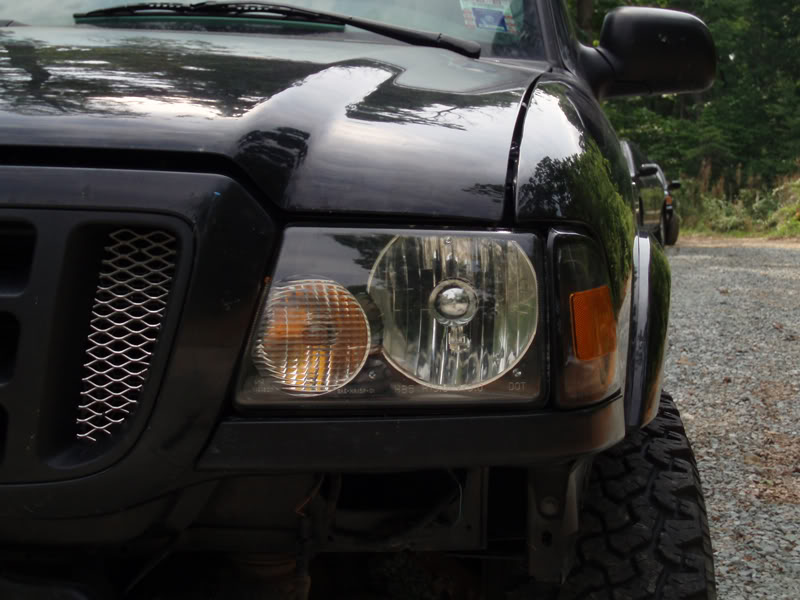
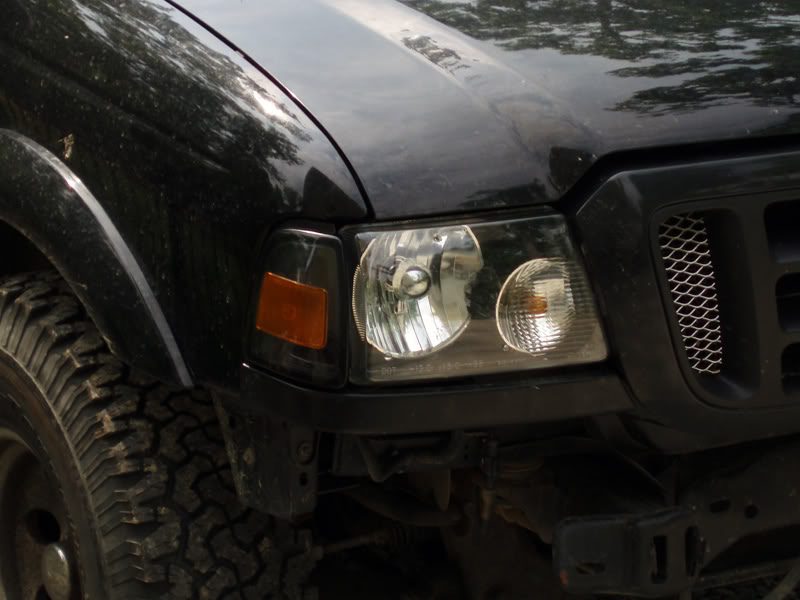
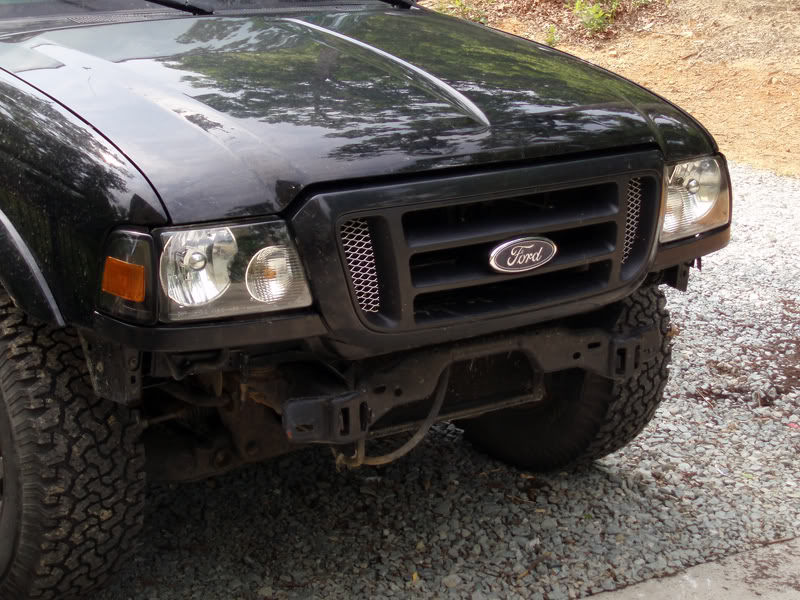

Overall I spent 10 dollars on this mod, super cheap. Be very careful when opening the headlights though cause the plastic gets very fragile and will bend very easily. I had to bust out the dremel to get the edges smooth again so it would snap back in. It looks great in person, changed the front end pretty dramatically. Also I went to a body shop today to get a estimate on fixing the frame horn and the quote was 360 so I gotta figure out what I want to do. This was the nicest shop in Durham though so I was expecting the price to be up there. Let me know what you think!
I thought this pic was really cool:
Overall I spent 10 dollars on this mod, super cheap. Be very careful when opening the headlights though cause the plastic gets very fragile and will bend very easily. I had to bust out the dremel to get the edges smooth again so it would snap back in. It looks great in person, changed the front end pretty dramatically. Also I went to a body shop today to get a estimate on fixing the frame horn and the quote was 360 so I gotta figure out what I want to do. This was the nicest shop in Durham though so I was expecting the price to be up there. Let me know what you think!

360 doesn't sound like alot to straighten frame horns but then again who knows. no way to find out other than shop around. i love you truck i just needs to b 4wd. where did you get the mesh in your grill im wanting some for behind my grill need something to really set off the front end of my truck and i think that will do it.

Member

Joined: Apr 2008
Posts: 201
Likes: 0
From: Streetsboro, Ohio
Question from a newbie. How do you open the lights w/o damaging them and how do you reseal them. I ask for two reasons, one it looks cool and the second is I have a vehicle that is sweating inside one of the taillights. It is under the factory warranty yet but the dealer just pissed me off. I asked them to come out and look at the taillight and they told me they had to have tech take it off the vehicle to see if the seal is leaking. Any idiot can see it must be leaking since it is sweating inside. The condensation is plainly visible.
Anyway thanks for the help.
George
Anyway thanks for the help.
George
Good job! I didn't realize you were using the mesh inserts I made on the grille, it looks good. Does the center piece fit behind the argent bars in the center? if it does, maybe we can come up with a way to mount it back there.
Downey, he bought the inserts from me, I got the material off of eBay - its 1/8" thick extruded aluminum.
Downey, he bought the inserts from me, I got the material off of eBay - its 1/8" thick extruded aluminum.
Question from a newbie. How do you open the lights w/o damaging them and how do you reseal them. I ask for two reasons, one it looks cool and the second is I have a vehicle that is sweating inside one of the taillights. It is under the factory warranty yet but the dealer just pissed me off. I asked them to come out and look at the taillight and they told me they had to have tech take it off the vehicle to see if the seal is leaking. Any idiot can see it must be leaking since it is sweating inside. The condensation is plainly visible.
Anyway thanks for the help.
George
Anyway thanks for the help.
George
For my headlights it took 18 minutes at 250. You just take a flathead screwdriver and very gently pop the cover off of the back of the headlight. For the corners it took 7 minutes at 250 and you pop those off as well. You have to be careful cause the plastic gets very soft and you can bend it pretty easily so be gentle. If they don't come off just stick them back in for a couple minutes longer. I just used some clear bathroom silicon to seal them back up, it worked great! The hardest part for me was masking them off.
Me tooo. I should have a decision by the end of next week on what I'm going to do.


