How-to: Install Aftermarket Speakers/Door Panel Removal Front And Rear
#1
How-to: Install Aftermarket Speakers/Door Panel Removal Front And Rear
How-To author: Korey89
Original thread: https://www.ranger-forums.com/f59/ho...peakers-71309/
Let the modding Begin!!
_________________________
This is a how to on a 2002 four door extended cab. It is pretty straight forward.
Tools needed,
A phillips head screwdriver
A ratchet or nut driver
Assorted sockets
Wire strippers
Double sided tape
We are going to start with the front panels first
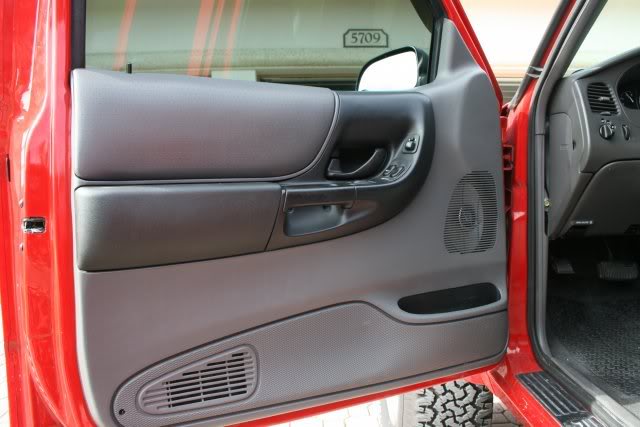
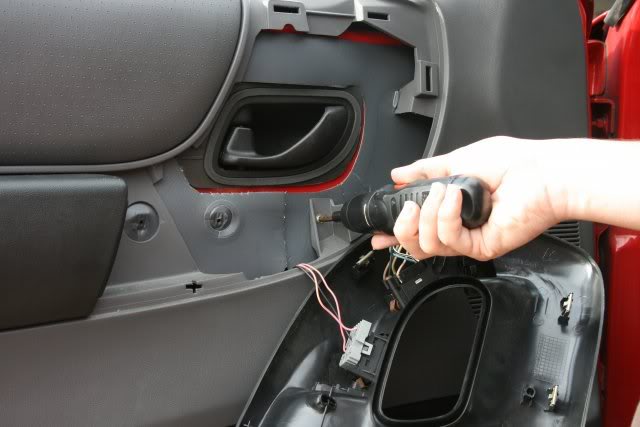
There are three screws that must first be removed

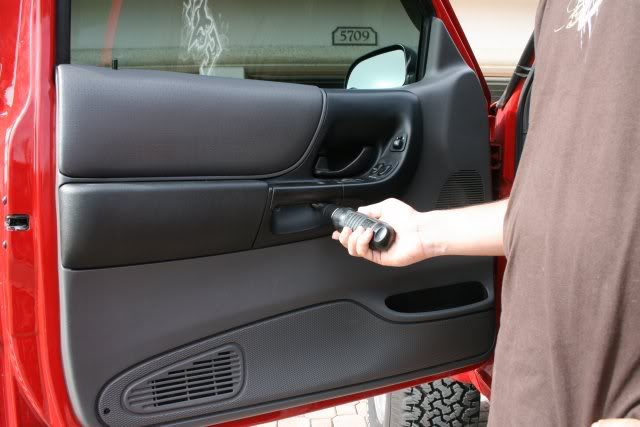
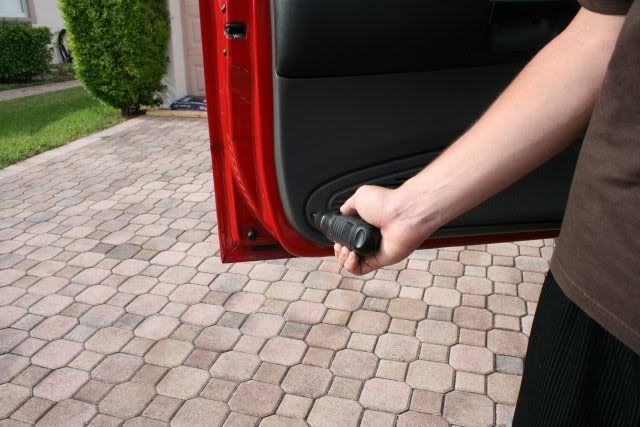
Now put the window down, it makes it a little easier
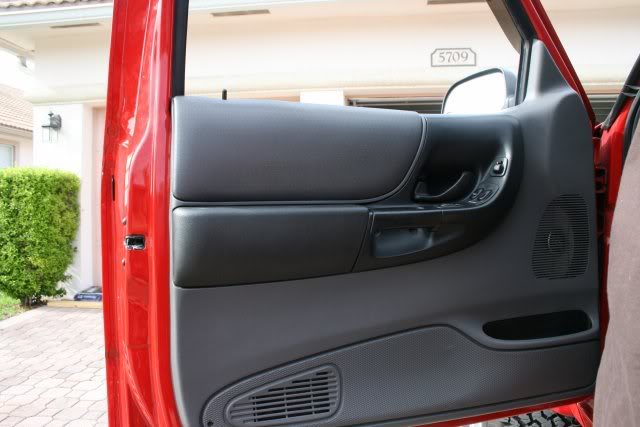
Now we need to remove the handle piece, it pulls straight out

With that off there is one more screw to remove behind it
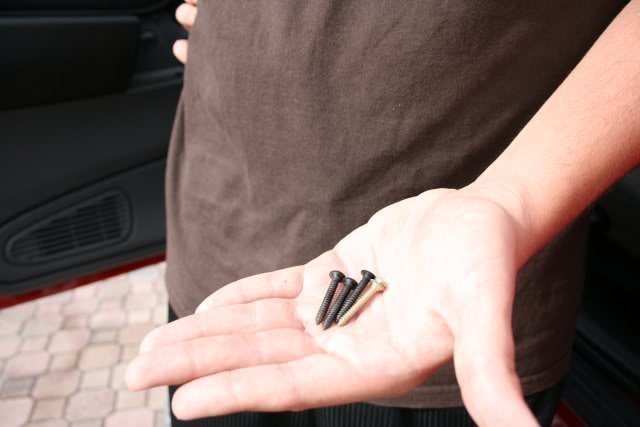
Here are the four screws we removed
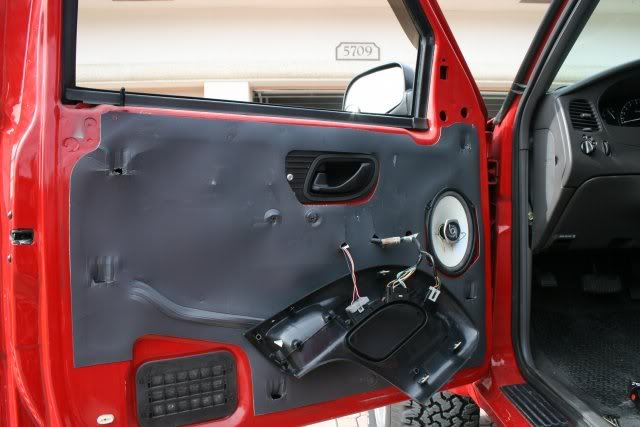
Now pull the panel up and out

With the panel out of the way you can leave the handle piece dangling, no need to disconnect the connectors.
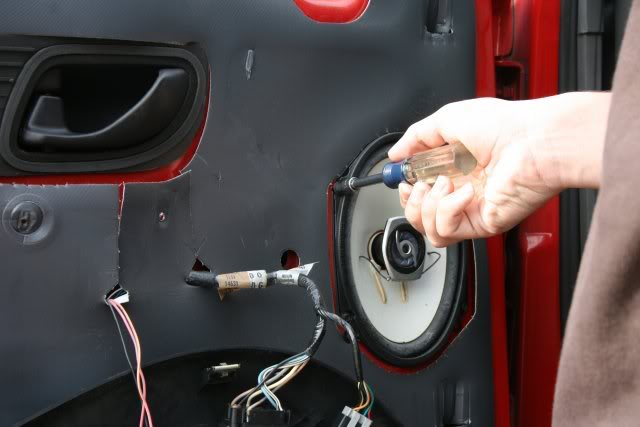
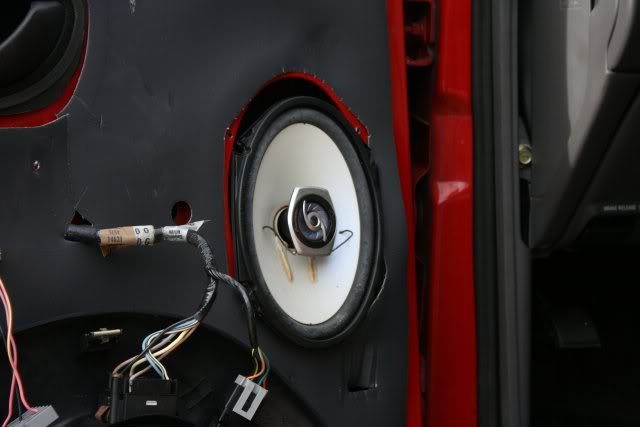
Remove the old speaker, it is held on by four self tapping screws
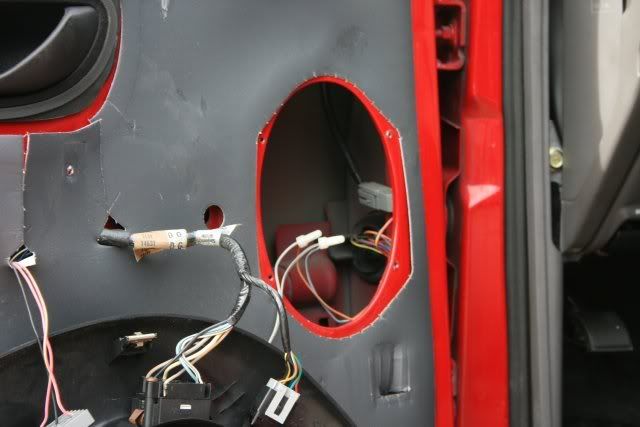
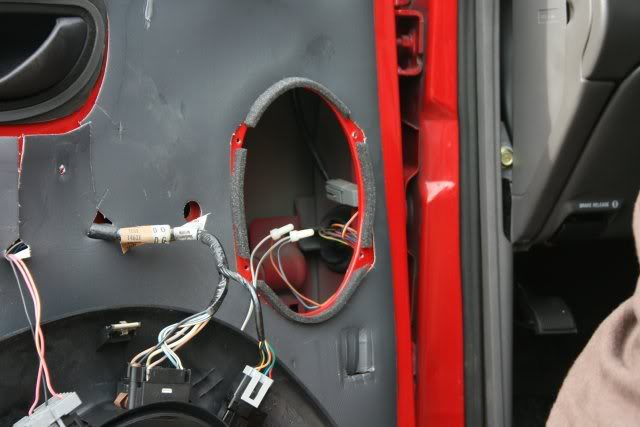
My speakers came with single sided sticky foam, this works great and eliminates and rattles that you would get from a metal to metal mounting. If yours came with it too now is the time to install it.
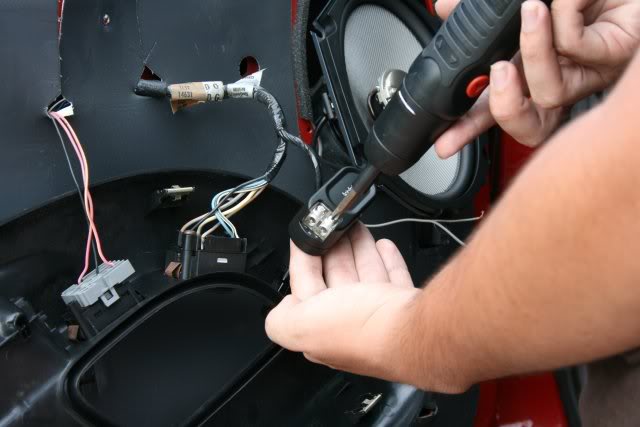
This speakers also come with mini crossovers on them. Cut the old connectors off the wires and strip the wires. Then loosen the phillips head screws in the crossover, places the wires in the holes (wire with no stripe is positive, wire with black stripe is negative), then tighten down the screws to secure the wires
You cant just leave the crossover hanging, secure it to the inside of the door on a flat spot with double sided tape
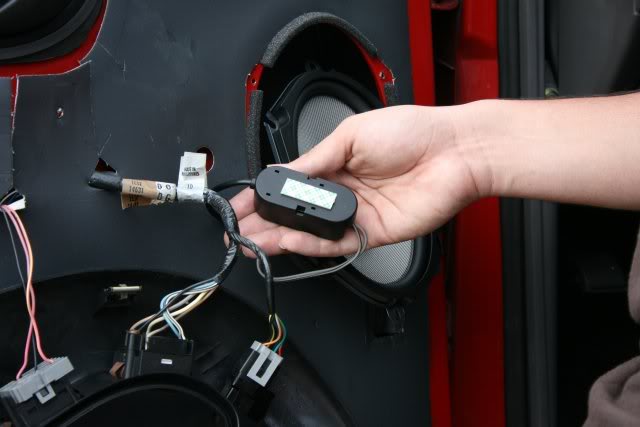
Install the four screws to secure the speaker
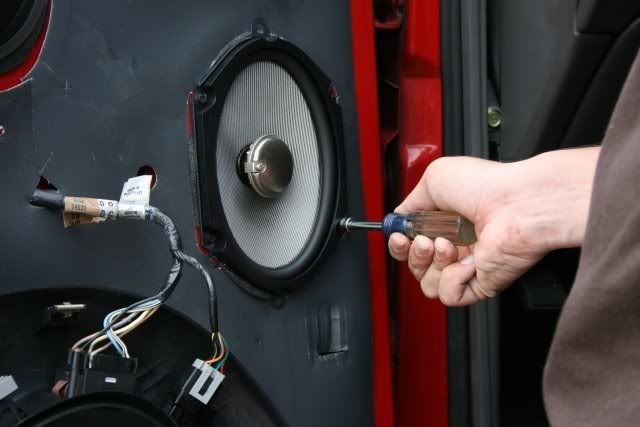
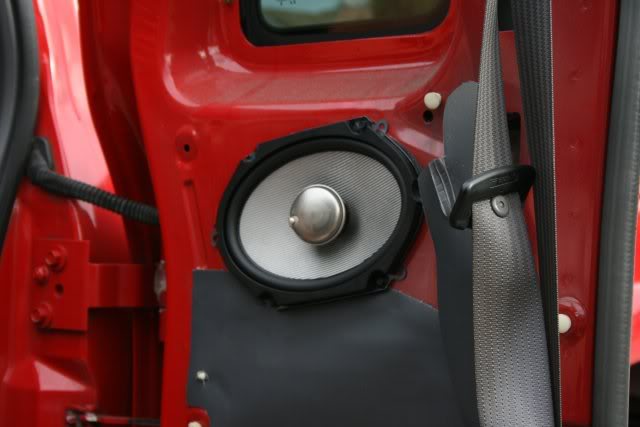
These speakers feature a very cool adjustable angle tweeter that has a -3dB gain button on them. Sit in the truck with the door closed and music on and play with them until you find how you like it. I liked the tweeter angled towards me with the button not pressed in.
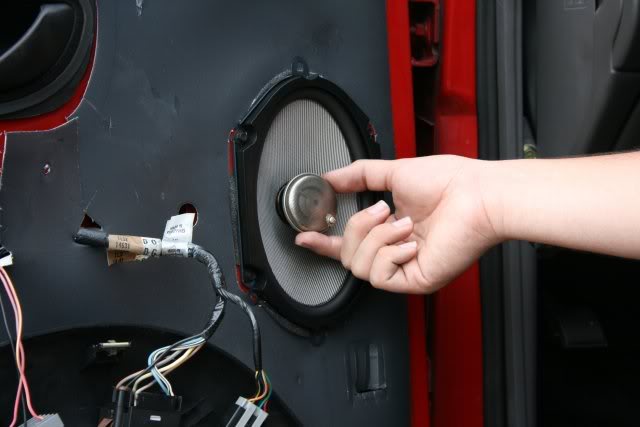
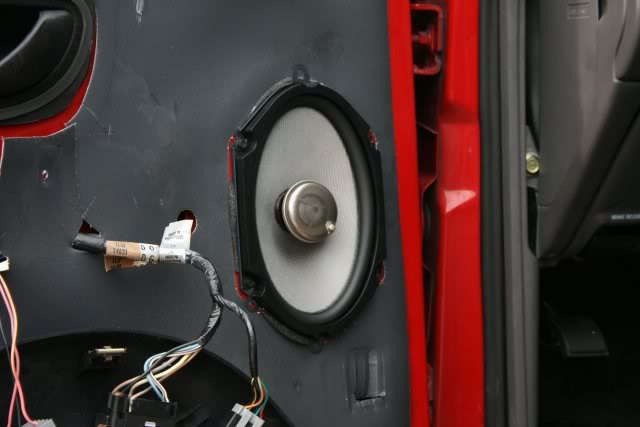
Now you've got a great sounding front speaker!
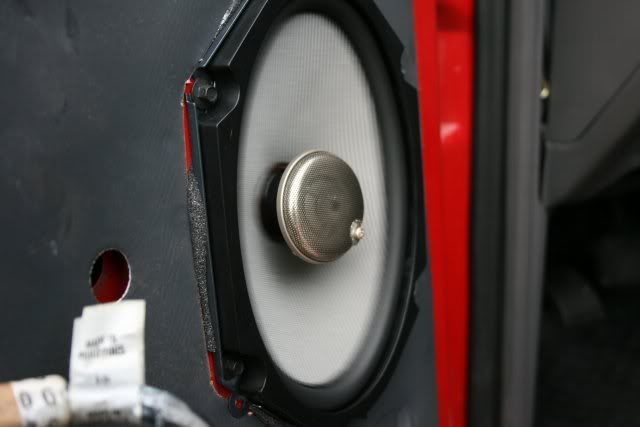
Put the door panel back on in the reverse order you took it off
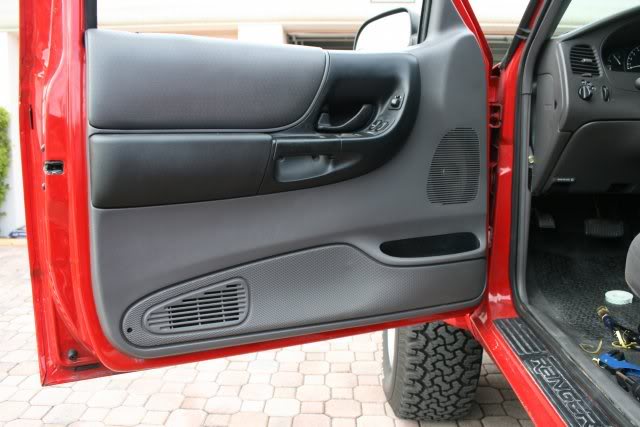
Now repeat with the other front panel and the fronts are done.
Time for the back doors.
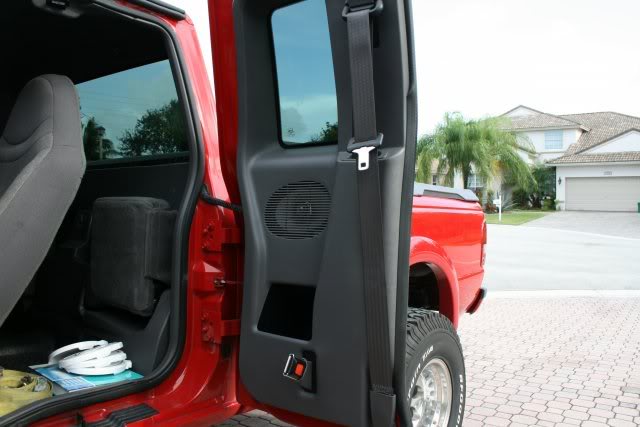
There are no screws holding this on, just push type plastic pin things. So just pull it towards you.
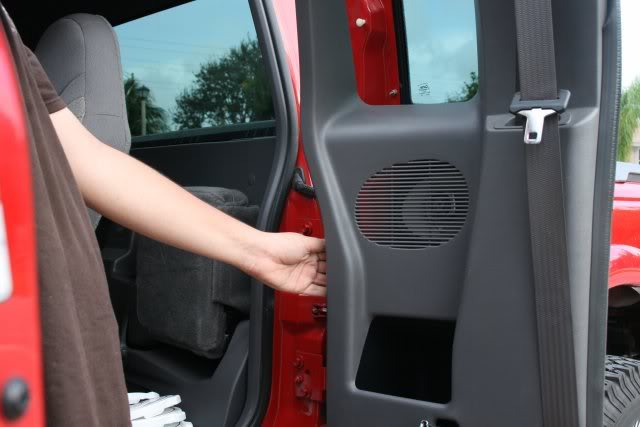
I did not want to mess with removing the seatbelt or anything so with a little maneuvering of the panel you can get it to hang out of the way
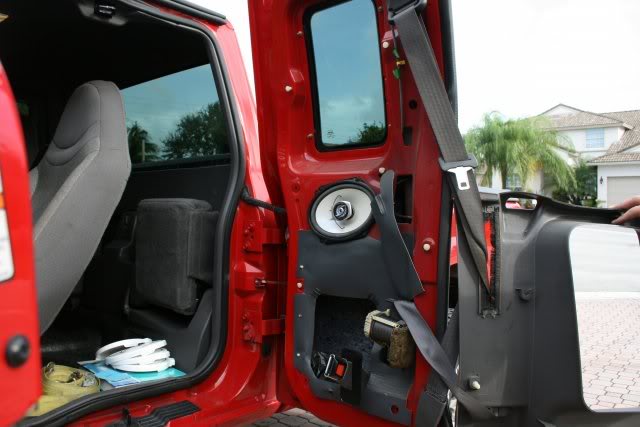
Heres the old speaker
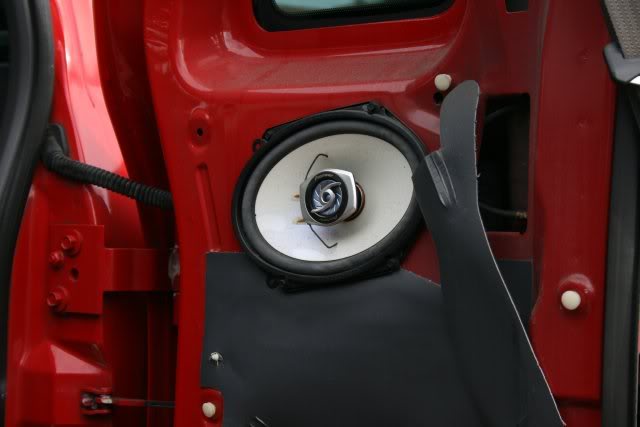
It is secured the same way, remove the four screws
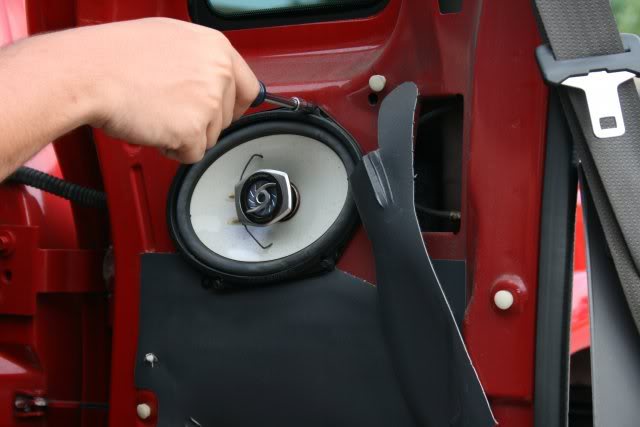
Pull the speaker out, and install the single sided sticky foam
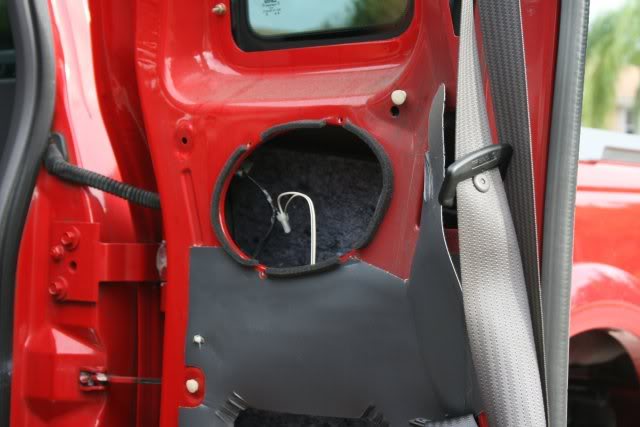
Hook it up the same way you did the fronts and secure the crossover the same way with double sided tape inside the door. Then secure the speaker.
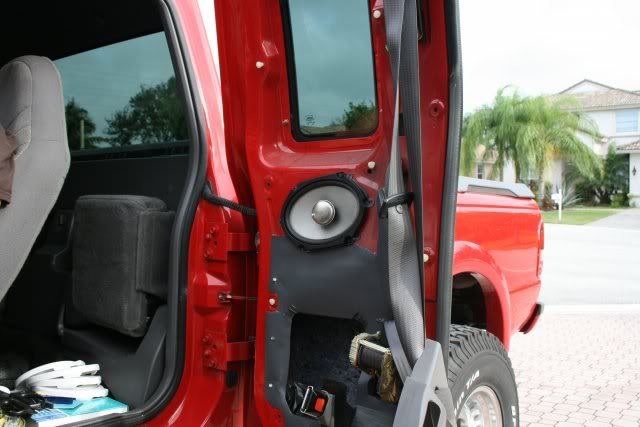
I already adjusted my tweeter, here is a closer up picture
This part was a little annoying so I couldn't get any pictures. Make sure you don't have any of those little push pins still stuck in the door, then line them up with the holes in the door and work your way around the panel pushing them in. If you don't do this you will have a loose panel that rattles under any bass from the speakers.
Door panel secured
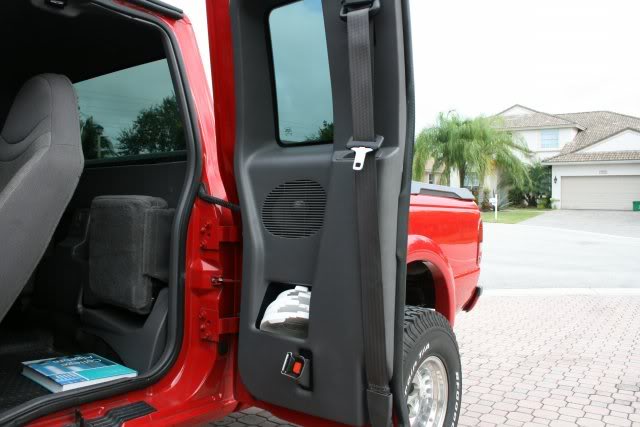
Now admire the pretty new speakers and the great sound they produce!

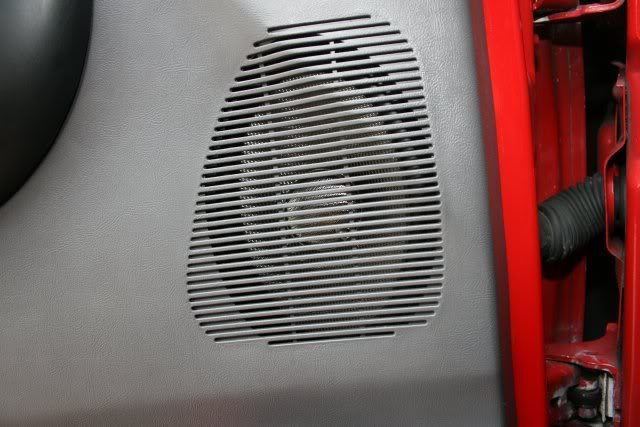
Original thread: https://www.ranger-forums.com/f59/ho...peakers-71309/
Let the modding Begin!!
_________________________
This is a how to on a 2002 four door extended cab. It is pretty straight forward.
Tools needed,
A phillips head screwdriver
A ratchet or nut driver
Assorted sockets
Wire strippers
Double sided tape
We are going to start with the front panels first

There are three screws that must first be removed


Now put the window down, it makes it a little easier

Now we need to remove the handle piece, it pulls straight out

With that off there is one more screw to remove behind it

Here are the four screws we removed

Now pull the panel up and out

With the panel out of the way you can leave the handle piece dangling, no need to disconnect the connectors.

Remove the old speaker, it is held on by four self tapping screws


My speakers came with single sided sticky foam, this works great and eliminates and rattles that you would get from a metal to metal mounting. If yours came with it too now is the time to install it.

This speakers also come with mini crossovers on them. Cut the old connectors off the wires and strip the wires. Then loosen the phillips head screws in the crossover, places the wires in the holes (wire with no stripe is positive, wire with black stripe is negative), then tighten down the screws to secure the wires

You cant just leave the crossover hanging, secure it to the inside of the door on a flat spot with double sided tape

Install the four screws to secure the speaker

These speakers feature a very cool adjustable angle tweeter that has a -3dB gain button on them. Sit in the truck with the door closed and music on and play with them until you find how you like it. I liked the tweeter angled towards me with the button not pressed in.


Now you've got a great sounding front speaker!

Put the door panel back on in the reverse order you took it off

Now repeat with the other front panel and the fronts are done.
Time for the back doors.

There are no screws holding this on, just push type plastic pin things. So just pull it towards you.

I did not want to mess with removing the seatbelt or anything so with a little maneuvering of the panel you can get it to hang out of the way

Heres the old speaker

It is secured the same way, remove the four screws

Pull the speaker out, and install the single sided sticky foam

Hook it up the same way you did the fronts and secure the crossover the same way with double sided tape inside the door. Then secure the speaker.

I already adjusted my tweeter, here is a closer up picture

This part was a little annoying so I couldn't get any pictures. Make sure you don't have any of those little push pins still stuck in the door, then line them up with the holes in the door and work your way around the panel pushing them in. If you don't do this you will have a loose panel that rattles under any bass from the speakers.
Door panel secured

Now admire the pretty new speakers and the great sound they produce!


Last edited by 98liftedranger; 11-27-2011 at 09:21 PM.
Thread
Thread Starter
Forum
Replies
Last Post
NinjaGinga1101
OLD - Interior, Exterior, Electrical, & Misc.
8
01-23-2015 07:59 PM


