


My new winch...

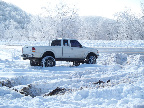
Thread Starter
|
Member

Joined: Apr 2007
Posts: 483
Likes: 0
From: Apison, TN
My new winch...
Well, I have had a brand new Warn M8000 laying around for some time. I had been wanting to put it on the truck, but really didn't know how to go about it in a stylish way. You see, the theme of my truck is "SVT Ranger" and I want to keep the truck looking like a daily driven vehicle, but more importantly, I want it to appear as if Ford actually built it. So every time I want to do something to my truck, I ask myself the question "If Ford would have built a Ranger like this, how would they have done it?" Then I embark on my mission. Well, the truth is, ford wouldn't have built some fancy tube bumper to put a winch on, we all know that. But, they would have put a winch in behind the factory bumper skin... so that is what I decided to do. Don't get me wrong, I have a super nice tubing bender and all the fab tools I would ever need to build whatever I wanted, but I wanted to stick to the theme of the truck on this.
I knew it was going to be a challenge, but I was up for it. I first removed the bumper and went for a test fit... not good, a bunch of stuff in the way. My truck has a body lift, and the bumper relocation brackets made the factory brackets too narrow for the winch to fit between them, so I took them out. I then had to carefully measure and put the factory mounts in the correct spot to get the bumper level and at the correct height. Once I got them where they belonged, I welded them directly to the frame which gained me 1/2" of width; just enough to fit the winch in between them. Once I got it kinda sitting in there, I broke out the new Miller Spectrum 625 Xtreme plasma and cut the mounting plate from some A572 1/4" steel plate, and bolted that to the winch. At this point I realized that the main core support was going to be in the way, so Mr. Miller and Mr. Sawzall helped to trim some unneeded material to make room. I then cut the first to plates that would be welded to the frame, got it sitting level, and then tacked those first 2 plates to the main base plate that the winch bolts to. Since it was in a tight spot, I pulled it back out and welded it fully on the table, and then put it back in. After checking and double checking my measurements so that I got it in the exact location to fit behind the bumper, I welded it to the frame.
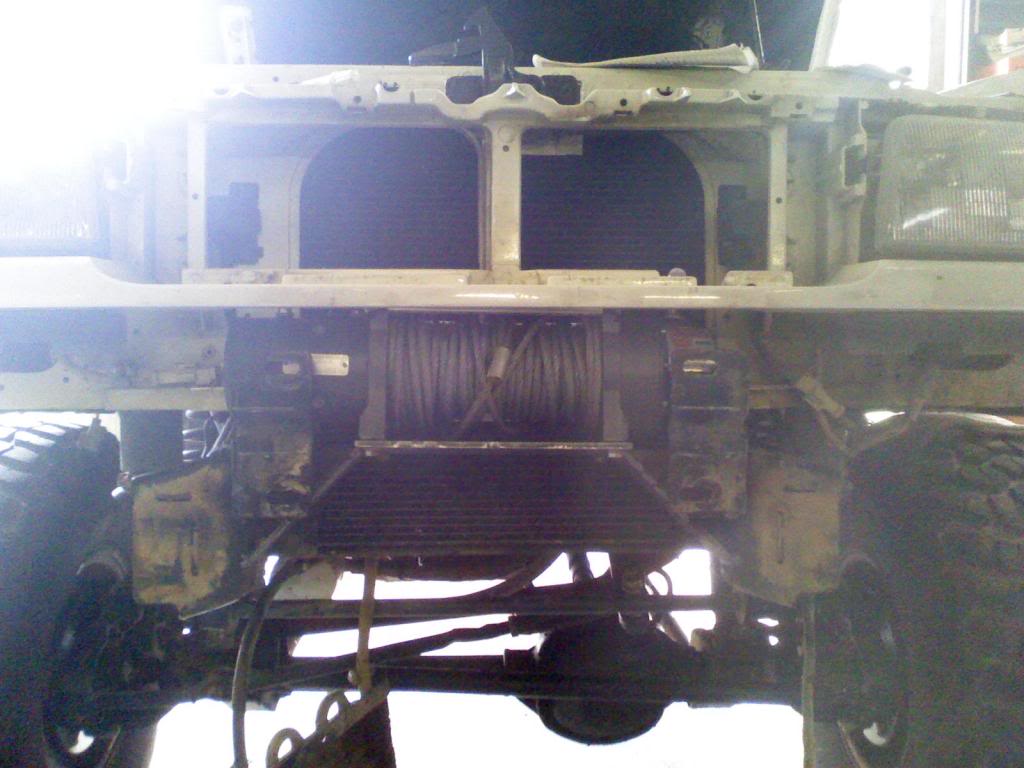
Now, this obviously isn't strong enough for a hard pull, so I added several more gussets to make sure it wasn't going to move. I also measured and added the mounts for the fairlead at this point.
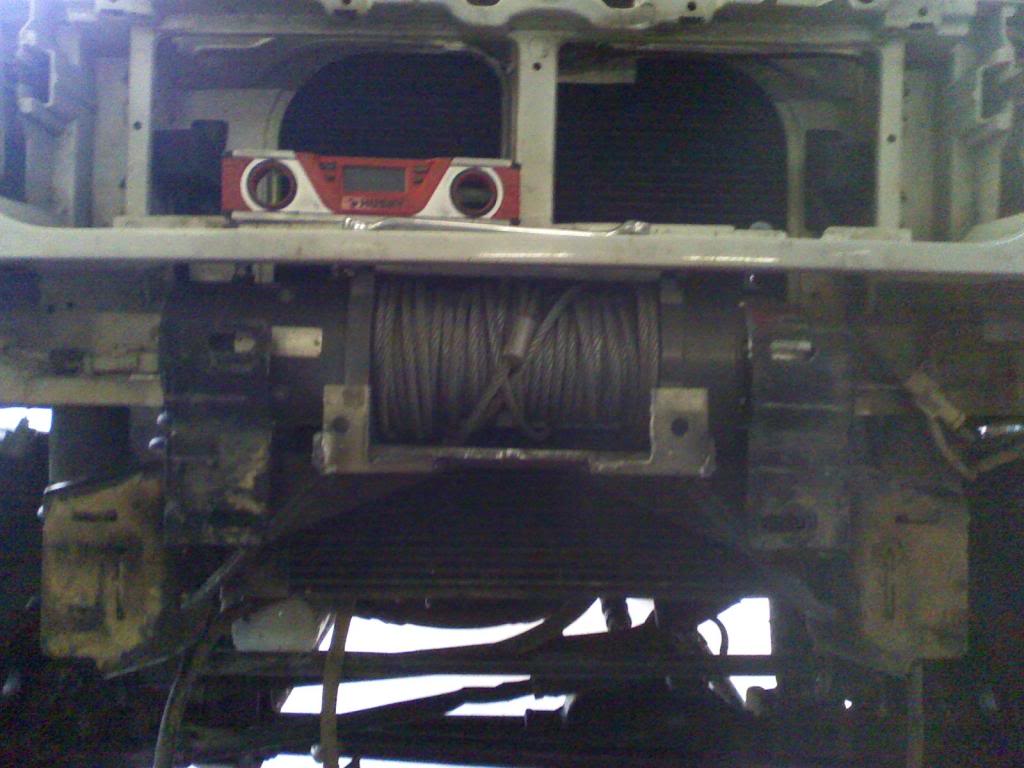
Once that was done, it was time to test fit the bumper... fingers crossed here...
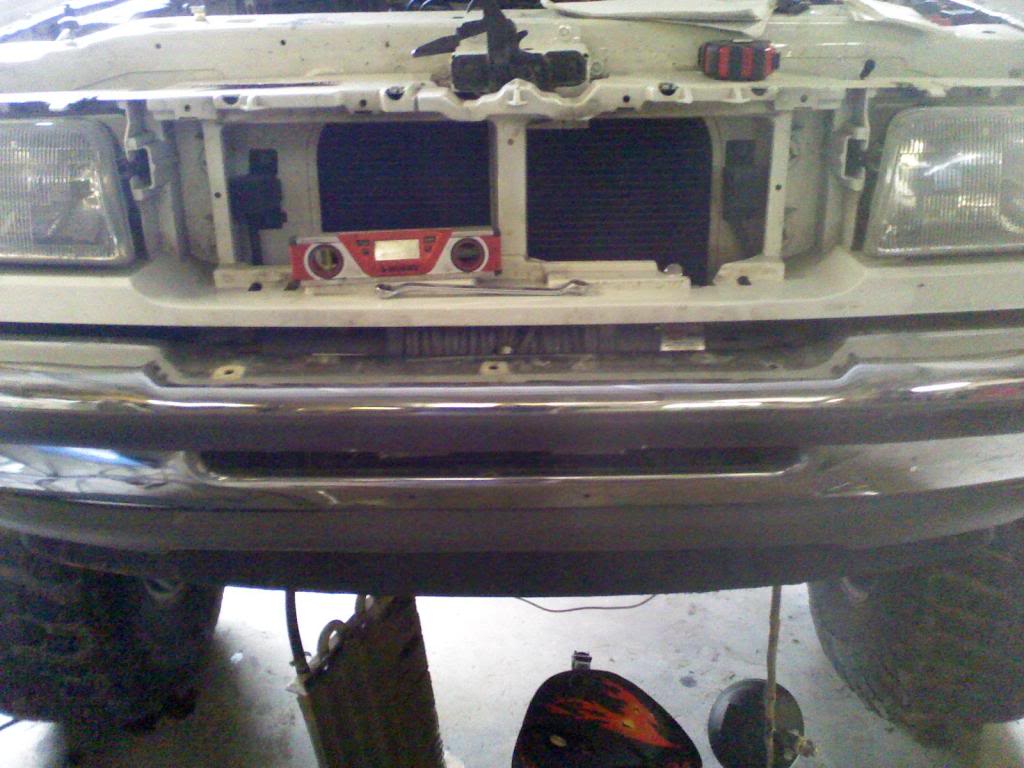
Turns out my measurements were spot on and it fit like a glove. It was then time to cut the bumper out so that the fairlead would fit in.
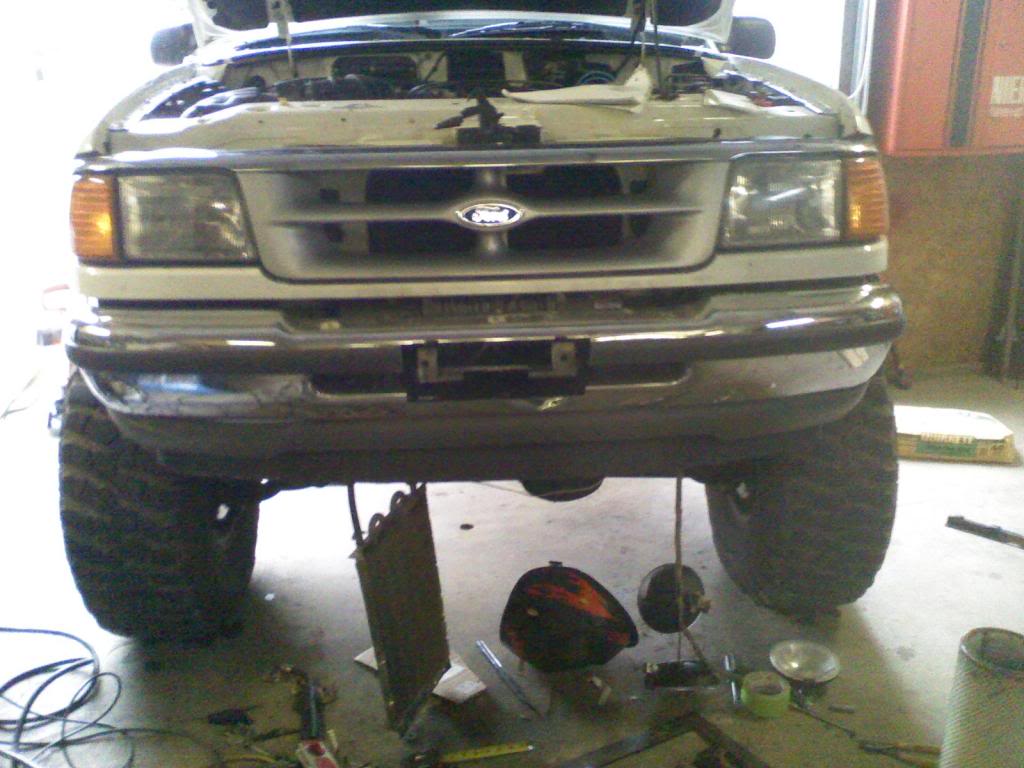
Once that was done, I bolted the fairlead to its mounts since it has to go on before the bumper. This is most likely how Ford would've done it, the factory bumper just covers up all the mounting of everything, it has nothing to do with the strength of the winch or its mount. It is simply a cosmetic upgrade.
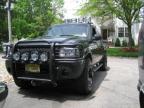
Once the fairlead was on, the bumper went back on and the lights were re-installed. And that was the finished product.
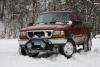
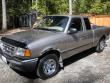
Here is a before:
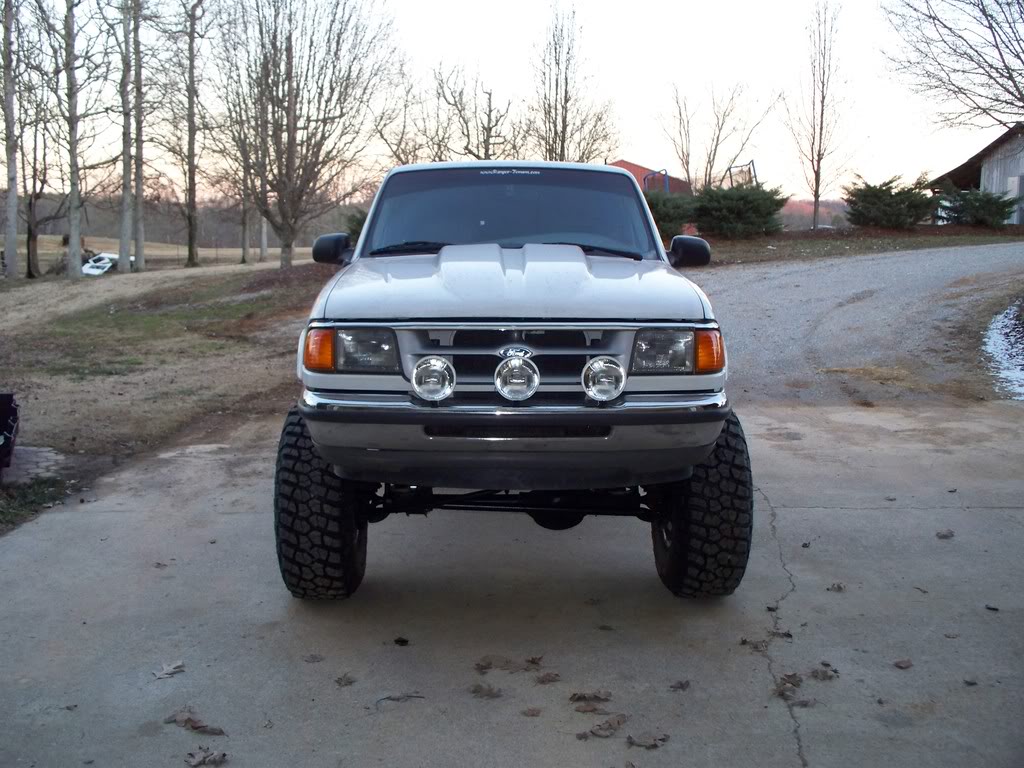
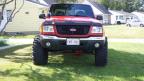
And the after:
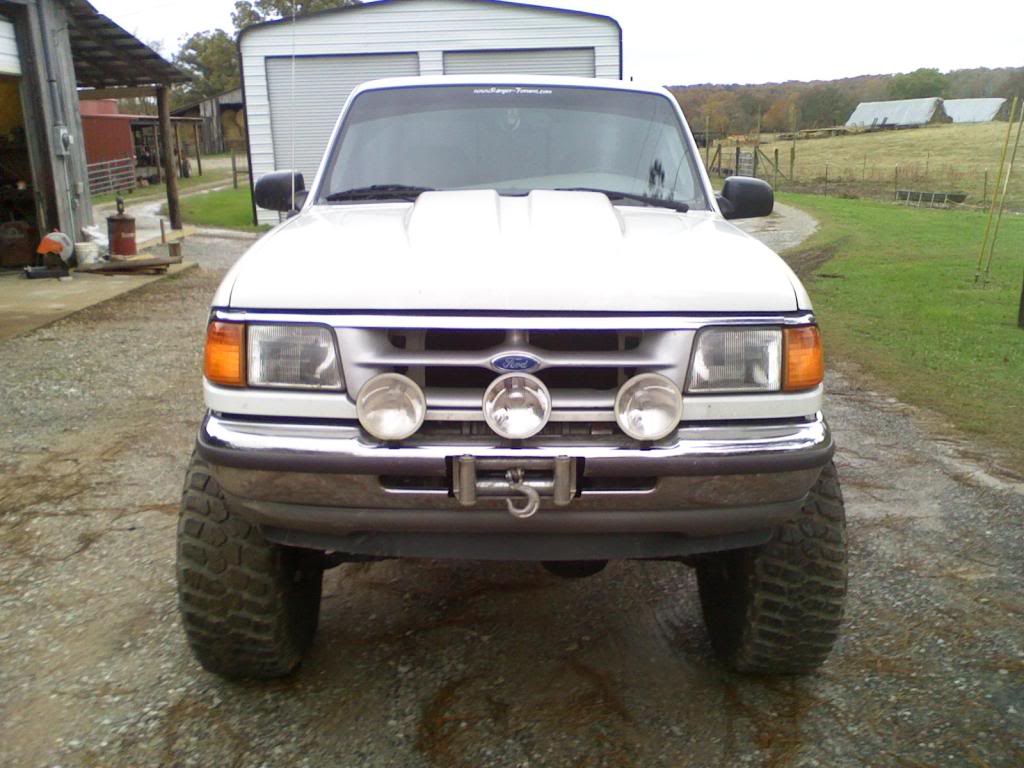
What do you think?
I knew it was going to be a challenge, but I was up for it. I first removed the bumper and went for a test fit... not good, a bunch of stuff in the way. My truck has a body lift, and the bumper relocation brackets made the factory brackets too narrow for the winch to fit between them, so I took them out. I then had to carefully measure and put the factory mounts in the correct spot to get the bumper level and at the correct height. Once I got them where they belonged, I welded them directly to the frame which gained me 1/2" of width; just enough to fit the winch in between them. Once I got it kinda sitting in there, I broke out the new Miller Spectrum 625 Xtreme plasma and cut the mounting plate from some A572 1/4" steel plate, and bolted that to the winch. At this point I realized that the main core support was going to be in the way, so Mr. Miller and Mr. Sawzall helped to trim some unneeded material to make room. I then cut the first to plates that would be welded to the frame, got it sitting level, and then tacked those first 2 plates to the main base plate that the winch bolts to. Since it was in a tight spot, I pulled it back out and welded it fully on the table, and then put it back in. After checking and double checking my measurements so that I got it in the exact location to fit behind the bumper, I welded it to the frame.
Now, this obviously isn't strong enough for a hard pull, so I added several more gussets to make sure it wasn't going to move. I also measured and added the mounts for the fairlead at this point.
Once that was done, it was time to test fit the bumper... fingers crossed here...
Turns out my measurements were spot on and it fit like a glove. It was then time to cut the bumper out so that the fairlead would fit in.
Once that was done, I bolted the fairlead to its mounts since it has to go on before the bumper. This is most likely how Ford would've done it, the factory bumper just covers up all the mounting of everything, it has nothing to do with the strength of the winch or its mount. It is simply a cosmetic upgrade.
Once the fairlead was on, the bumper went back on and the lights were re-installed. And that was the finished product.
Here is a before:
And the after:
What do you think?
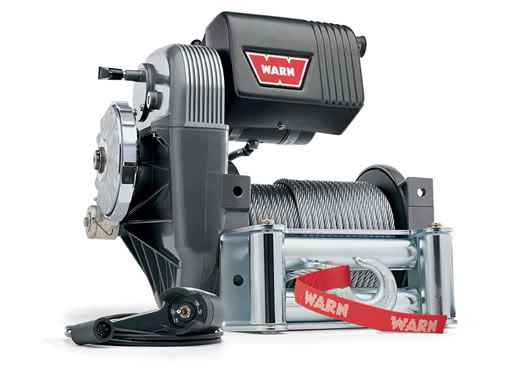
looks sick.....how do u plug in the controller.....is still easily accessible? man i have one of the big warns laying around that i want to use but i see no logical way to mount it with out building a bumper that sticks about 1 foot from the front of the truck....this is the one im talking about
Thread Starter
|
Member
Joined: Apr 2007
Posts: 483
Likes: 0
From: Apison, TN
Ah, yes, an 8274. Those are super nice, but they can be a PITA to mount. That wouldn't fit behind a ranger bumper, no way at all. Like you said, you would have to build a bumper that sticks out a foot.
As far as my controller, I got some 2GA welding cable and made new wires to connect the winch to the solenoid box, which I remote mounted in the engine compartment. Heres a pic:
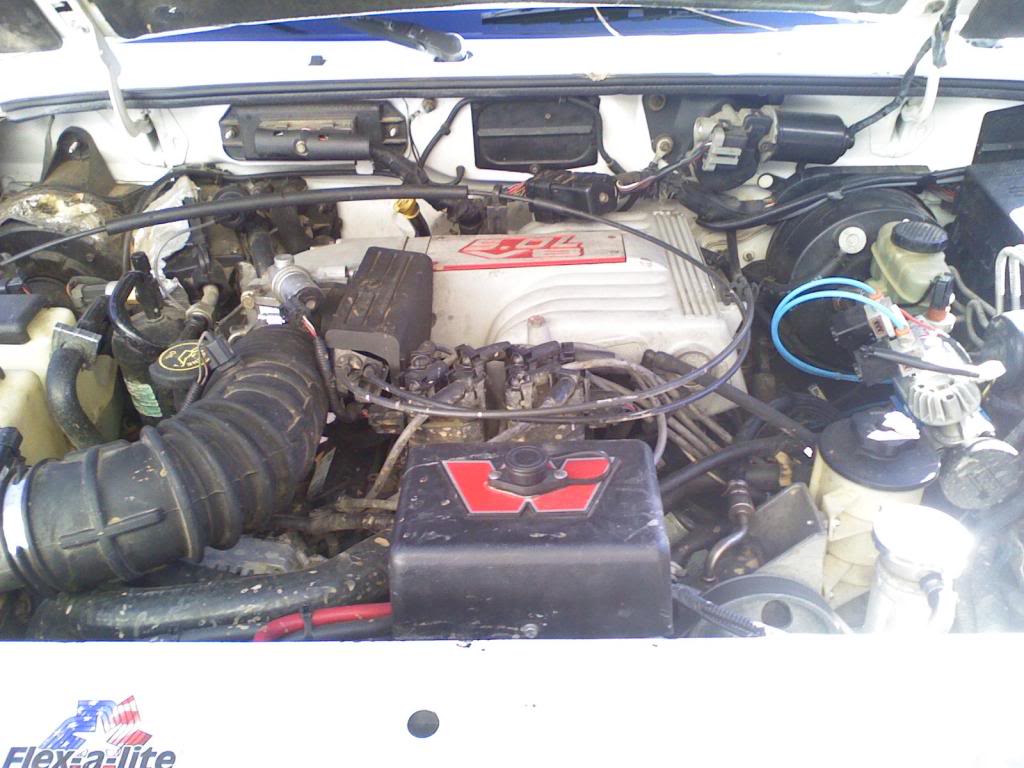
It is mounted to the bracket that holds the electric fan. I personally like it because when you open the hood its like BAM! IN YOUR FACE! lol. But its very clean and again, looks like Ford could have done it. The only dowside is that with the controller plugged in, I cant shut the hood. So I fixed that problem as well. I made an in-cab winch control using a power window switch and mounted it next to the 4x4 switches in the center console.
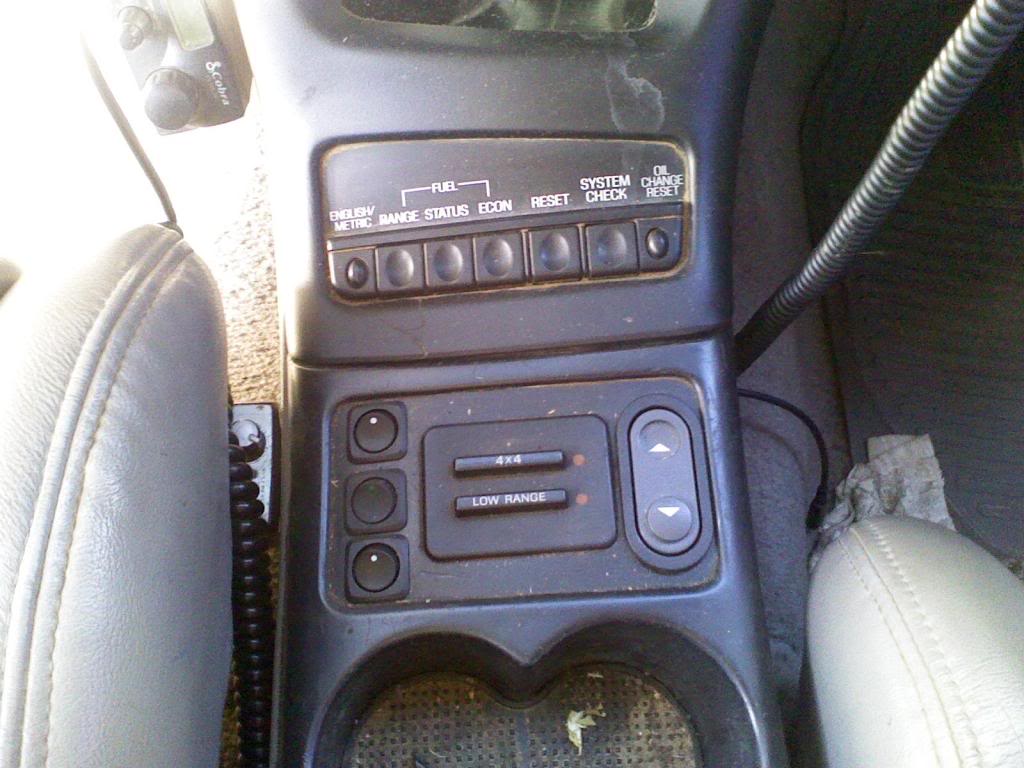
The middle switch on the left is a master power switch with an LED in it, so if you accidentally bump the winch control switch, nothing will happen without the master power on.
As far as my controller, I got some 2GA welding cable and made new wires to connect the winch to the solenoid box, which I remote mounted in the engine compartment. Heres a pic:
It is mounted to the bracket that holds the electric fan. I personally like it because when you open the hood its like BAM! IN YOUR FACE! lol. But its very clean and again, looks like Ford could have done it. The only dowside is that with the controller plugged in, I cant shut the hood. So I fixed that problem as well. I made an in-cab winch control using a power window switch and mounted it next to the 4x4 switches in the center console.
The middle switch on the left is a master power switch with an LED in it, so if you accidentally bump the winch control switch, nothing will happen without the master power on.








Thread Starter
|
Member
Joined: Apr 2007
Posts: 483
Likes: 0
From: Apison, TN
The SAS... yes, I did it myself.
Here is the link:
https://www.ranger-forums.com/forum2...p-started.html
i love how you did this and after being stuck bad today and having to hike 8 miles out to get the g.fs jeep to pull me out. i need a winch bad. so a few questions.
1. if i remember right you have a bl right?
2. how much did you have to cut up from on the rad support or other parts behind?
1. if i remember right you have a bl right?
2. how much did you have to cut up from on the rad support or other parts behind?


