
Rear bumper and front skid plate build


Rear bumper and front skid plate build
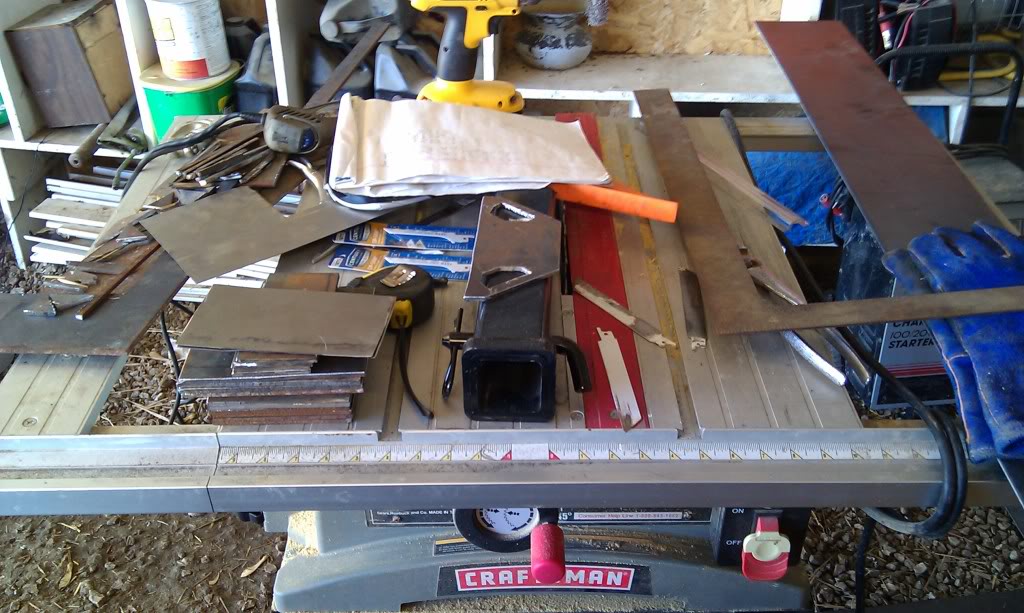
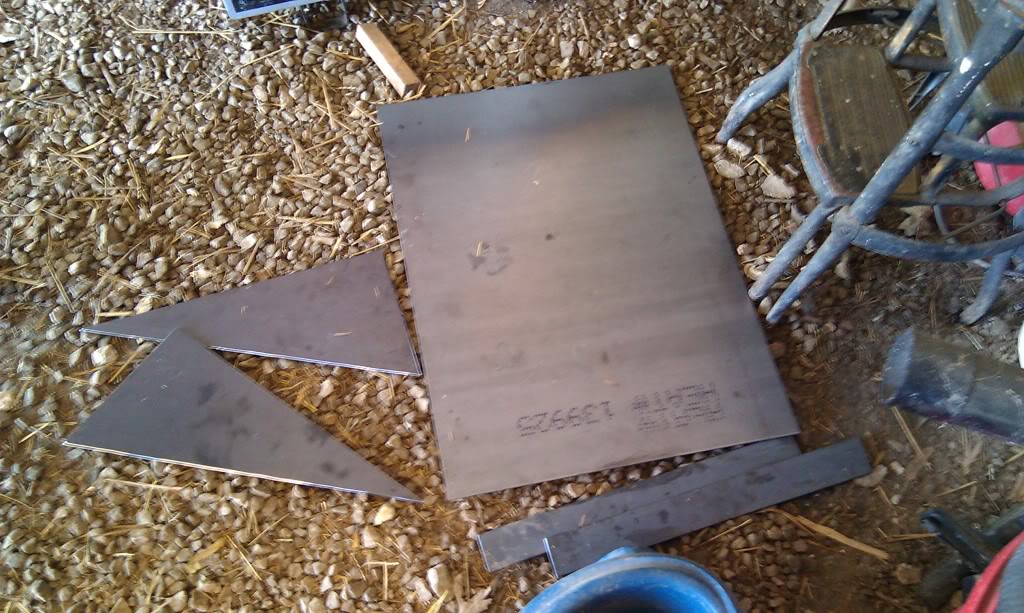
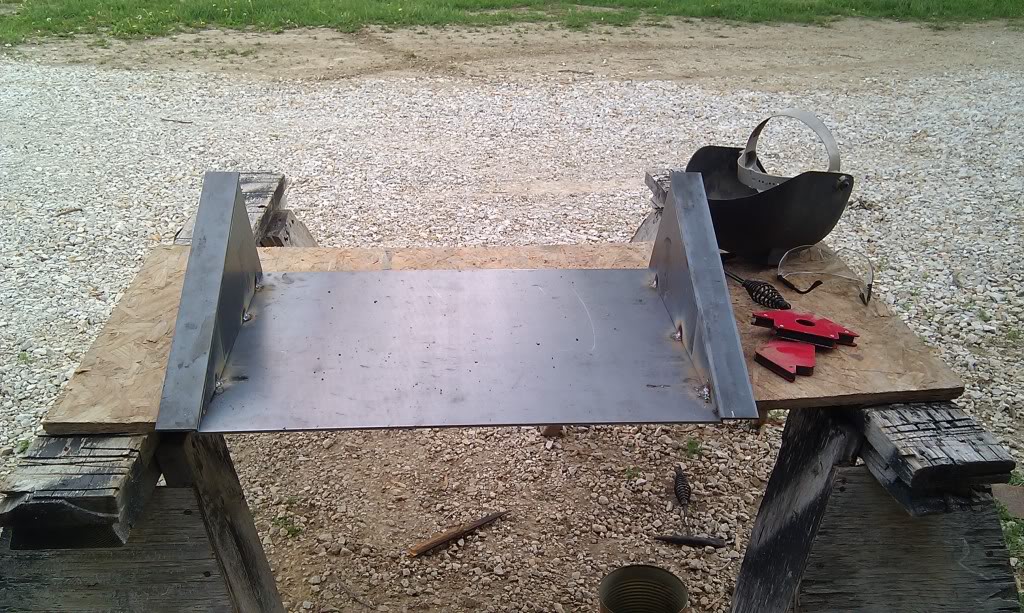
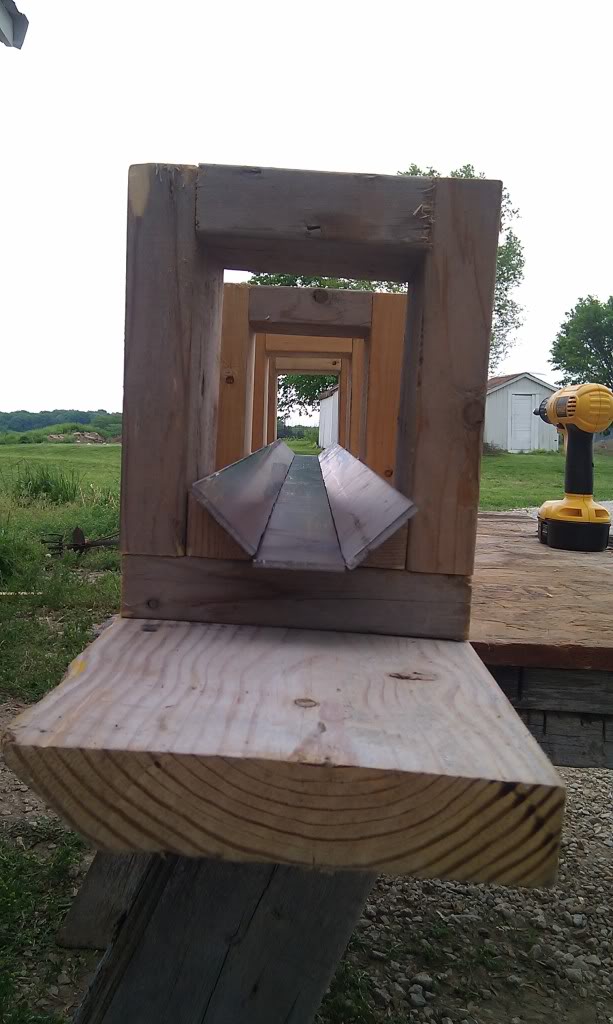
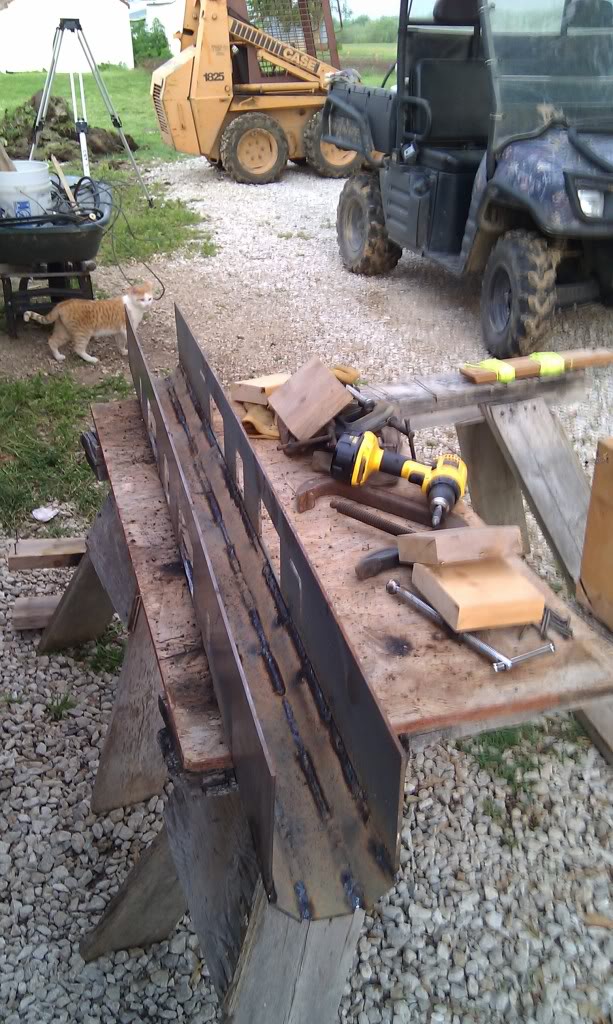
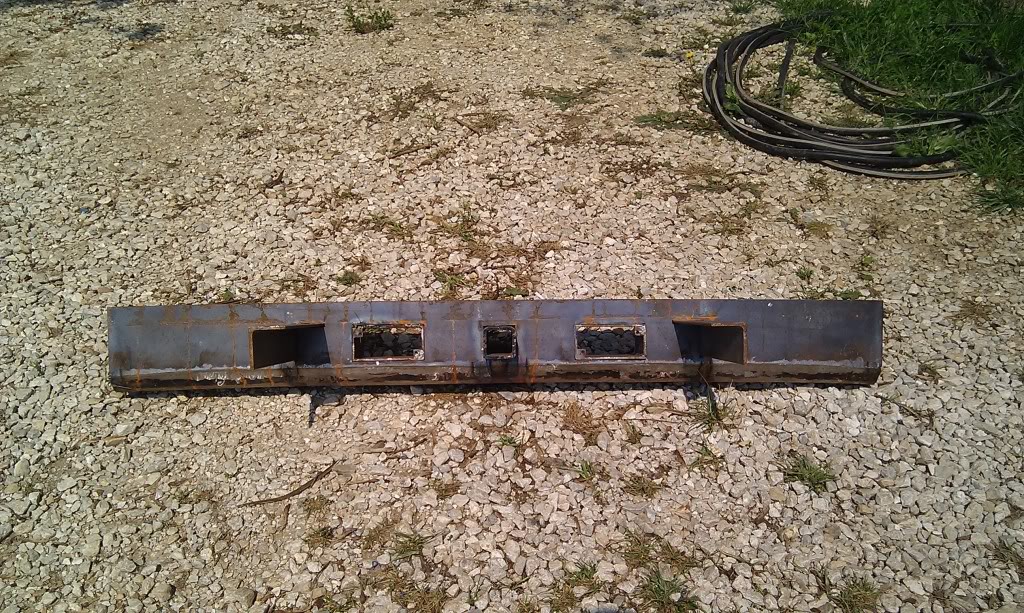
well i started building my rear bumper again, i have everything cut out and after i get all the rust off everything i will start welding. Everything is made out of 3/16 steel except the mounts which are 1/4 angel iron. the bumper will include a hitch, two back up lights, and two clevis mounts. I also am building a front skid plate made out of 3/16. Ever since i put the body lift on im scared of something hitting my radiator. All i have is pics of the peices i have cut and then my want to be work area.


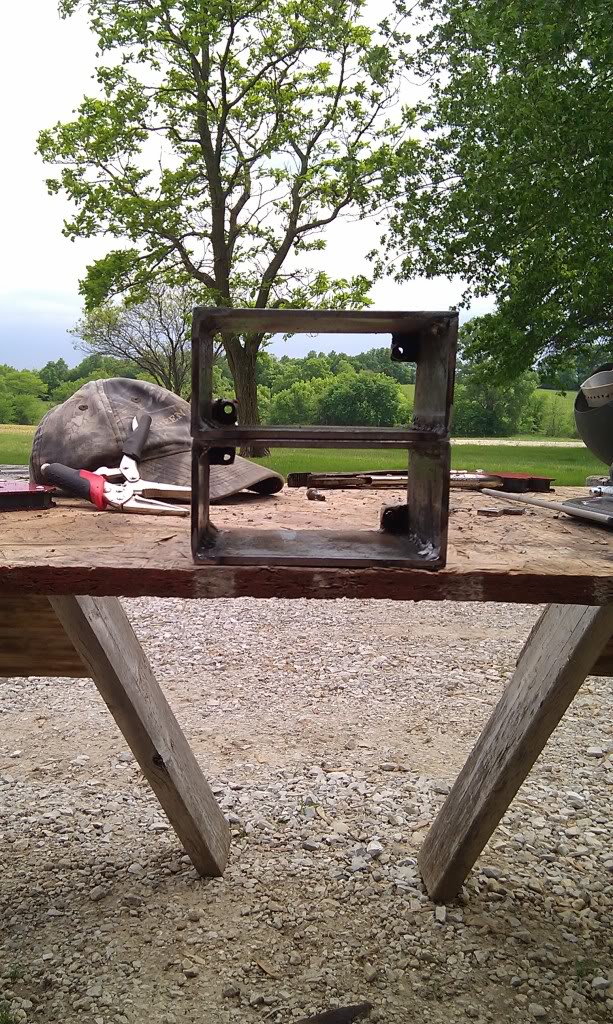
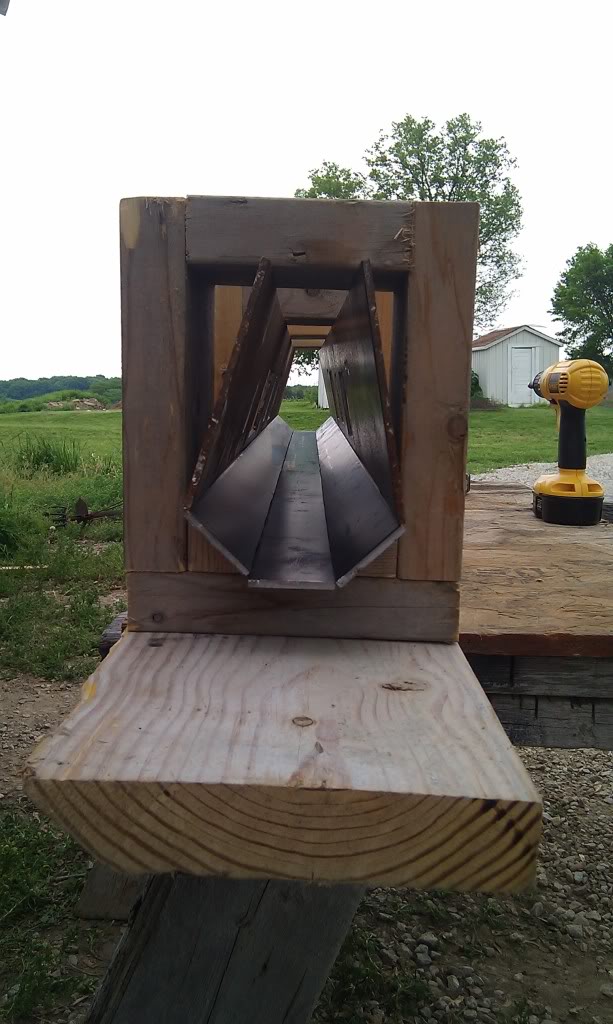
I got the part that will surround the lights welded up today, i need to get some wire brushes for my dremel so i can clean the inside of it up a little. I need to drill holes for mounting the lights and they will be done. they are just stacked on top of each other in the pic.
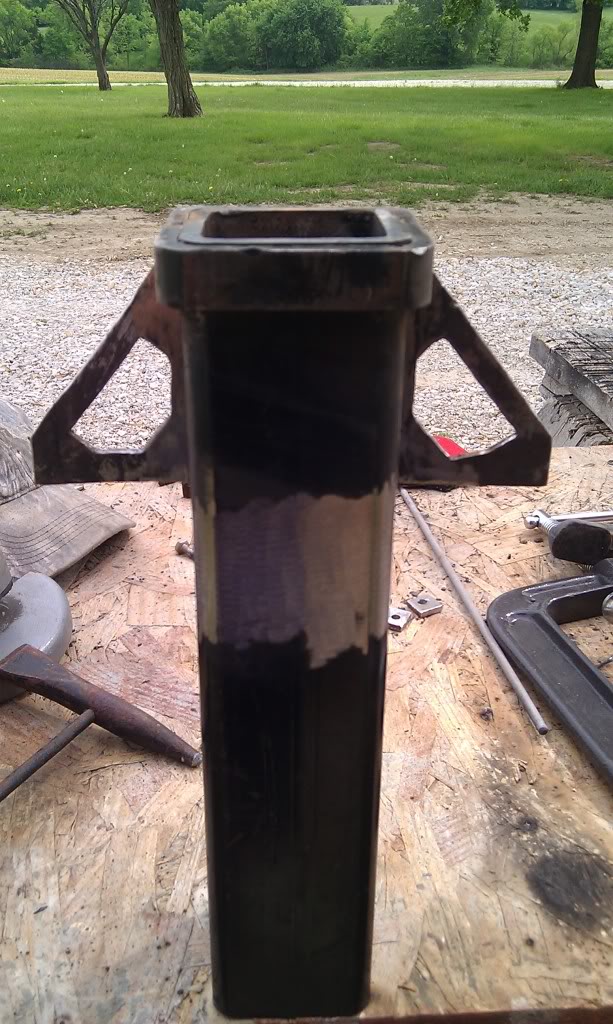
The other day i welded the hitch part together. It was the first weld i made and it is one that will be exposed. Needless to say it was a pretty ****ty looking weld and im kinda pissed about it. I didnt have the welder set up right and it was the first weld i had done in about 6 months. hopefully i can cover most of it up with paint.
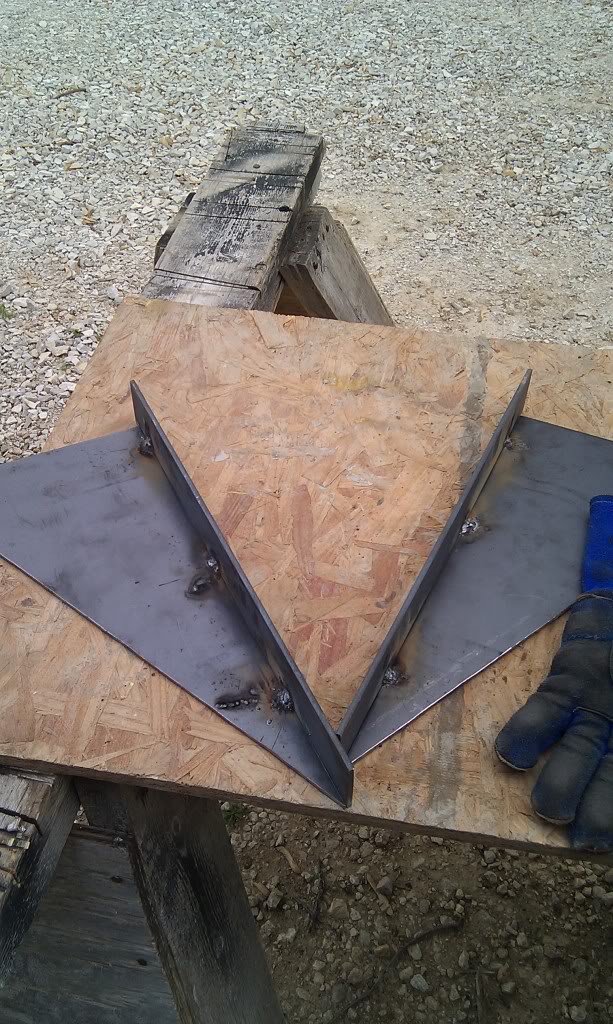
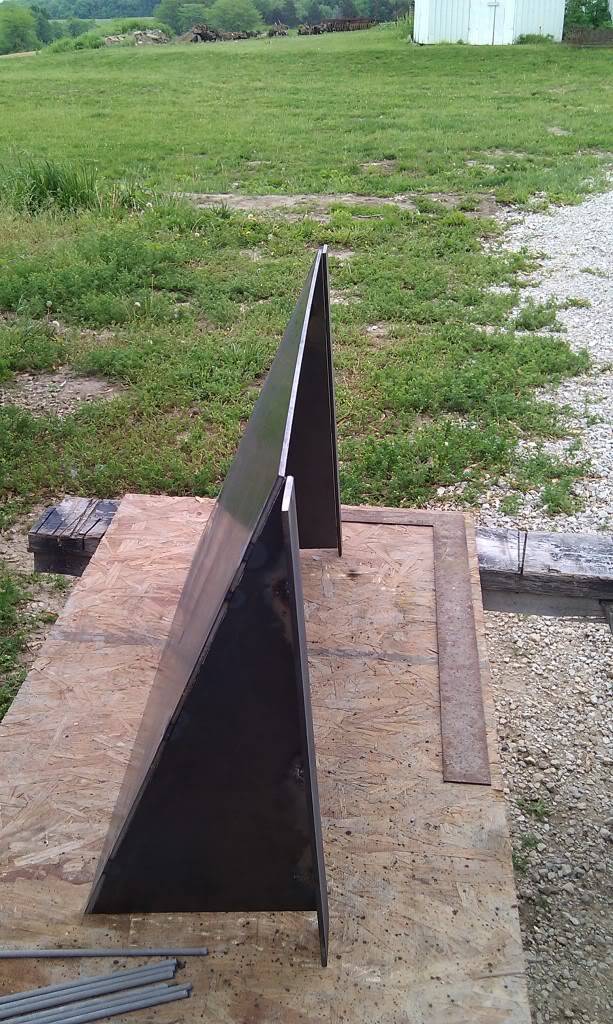
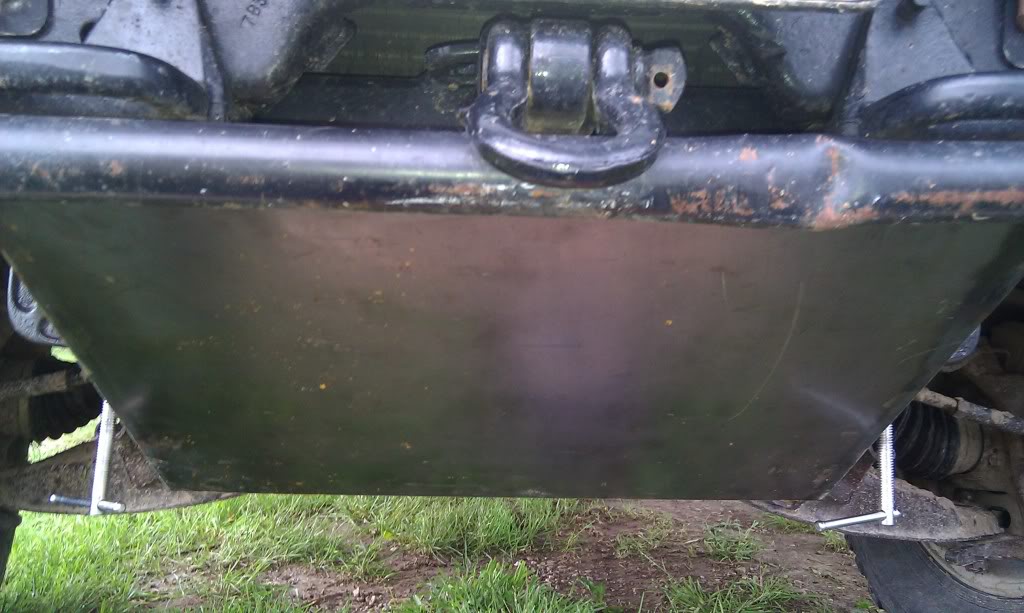
this afternoon i got the skid plate together, I started getting some decent welds down but still not that great. Im debating weither or not i want to ground the weld down on the outside corners or not. I need to go to town and get a 7/16 bit for my drill so i can get the holes drilled and tapped in the frame to mount it.

Got some work done on the bumper before it started raining. I built the forms that hold it while im going to weld it. And i had some measureing error so i had to redo it a little. Now im waiting for it stop raining so i can finish wire wheeling the rust off the metal.
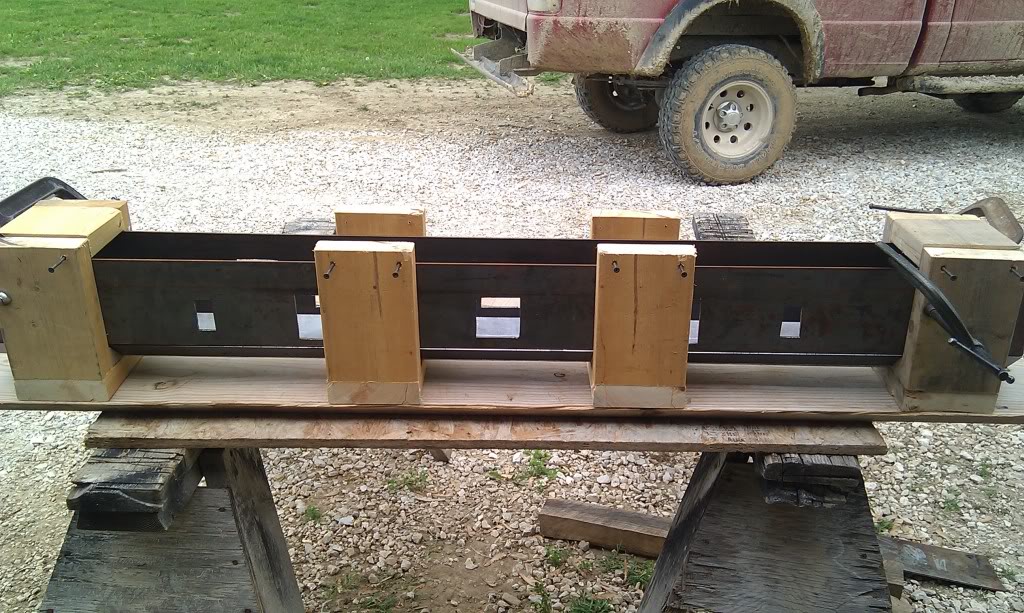
Im welding the bottom pieces of the bumper right now, it is warping a little but im trying to go slow and do short welds to reduce the amount of heat. Hopefully it all turns out right.
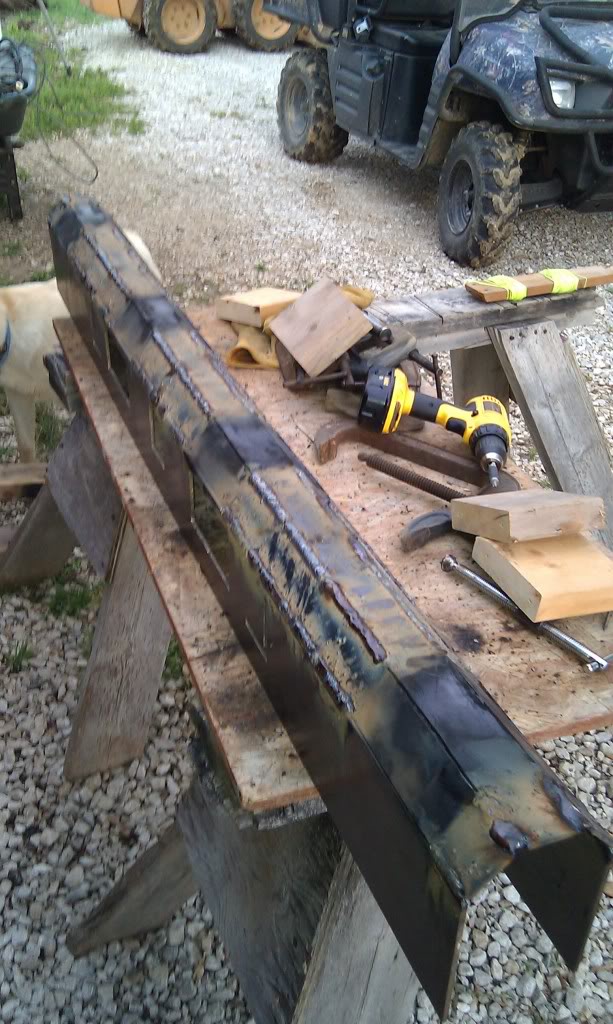
Well i got most of the bottom pieces welded. I didnt get to doing the part where the bords were that were holding it together. i will get that done hopefully tommorow night and maybe get some of the other stuff welded in but i might just weld that part and grid on it so make it a little prettier. it collapsed in a little when i undid all the clamps but when i slide all the inside supports in it will hold it apart to where it is supposed to be, Its not all perfectly straight but i guess it will do.
Thanks!
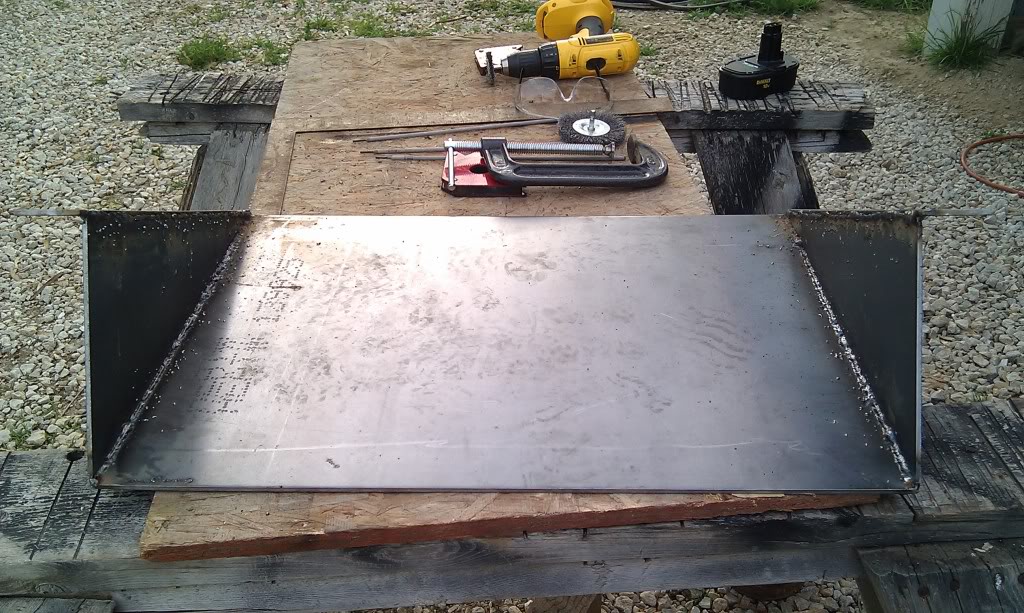
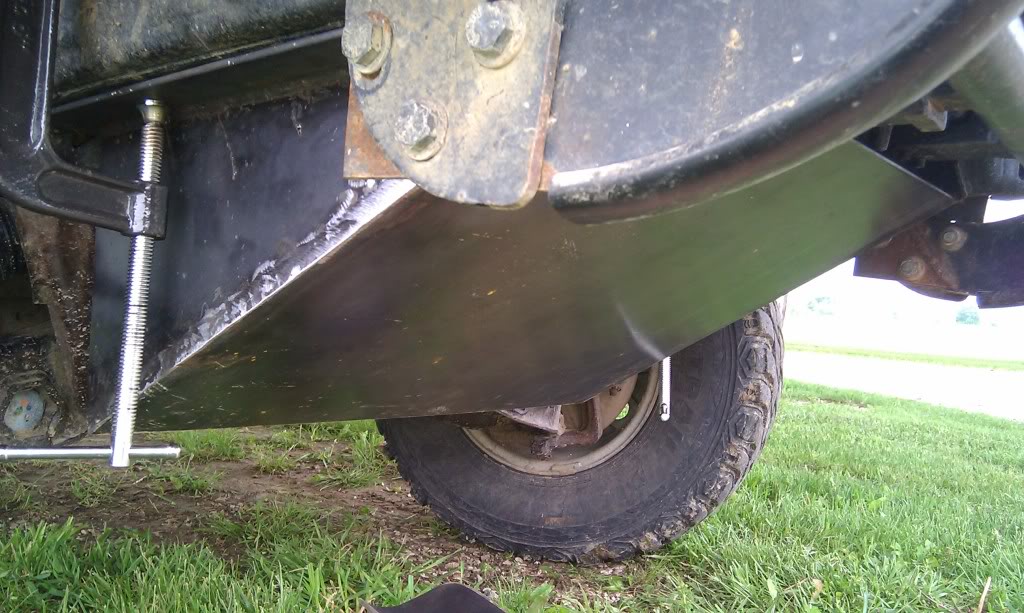
I got the skid plate up on the truck so i could drill holes to mount it with. and then tapped the holes for 1/2 inch bolts. Now im just waiting on decent weather to start painting it. I wish i would have made it about a half inch shorter and a little bit longer so that it was closer to the truck at the bottom, but it will serve its purpose i suppose.
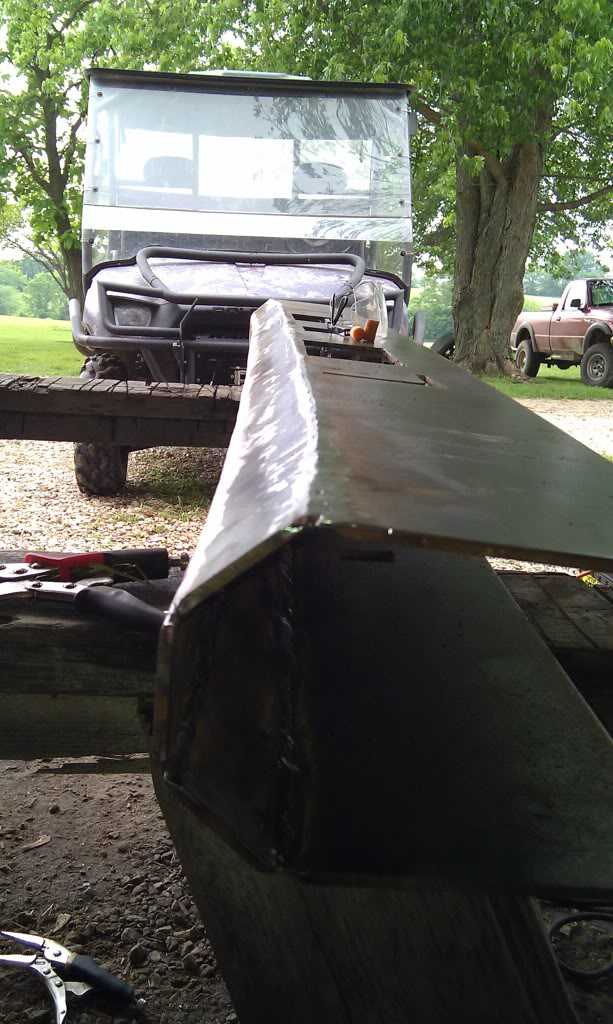
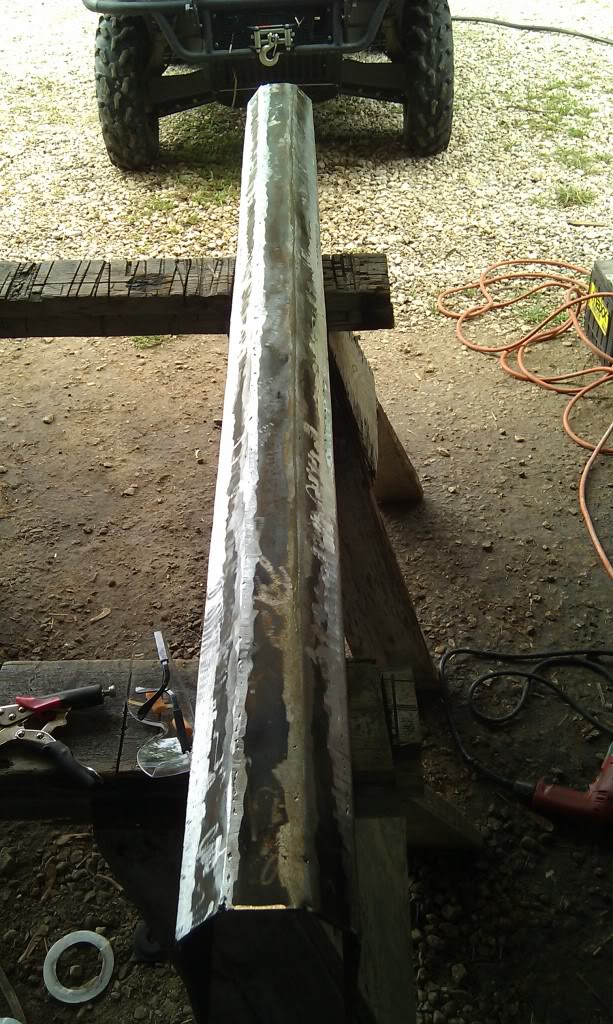
I got all of the welds ground down on the bottom of the bumper and they dont look to bad but, now it really shows how much the bumper warped up in the middle. Its about 3/16 - 1/4 inch of warp. I shold have had some wood in the middle of my jig so that it might have prevented this. It is noticeable but do you guys think i should try putting it in a press and attempt to straiten it out or just leave it?
I got the skid plate up on the truck so i could drill holes to mount it with. and then tapped the holes for 1/2 inch bolts. Now im just waiting on decent weather to start painting it. I wish i would have made it about a half inch shorter and a little bit longer so that it was closer to the truck at the bottom, but it will serve its purpose i suppose.
I got all of the welds ground down on the bottom of the bumper and they dont look to bad but, now it really shows how much the bumper warped up in the middle. Its about 3/16 - 1/4 inch of warp. I shold have had some wood in the middle of my jig so that it might have prevented this. It is noticeable but do you guys think i should try putting it in a press and attempt to straiten it out or just leave it?
Joined: Mar 2010
Posts: 7,110
Likes: 3
From: Nashville, NC
Do you have any pics of the bumper as if we were seeing it on the truck?
If the warp is even on both sides, then it might look even, and be nothing to worry about.
You could try and press it out, but you might risk bending a plate or something.
On my bumper, I actually warped 2x2 1/4" thick tubing!!!! Its not THAT noticeable.
If the warp is even on both sides, then it might look even, and be nothing to worry about.
You could try and press it out, but you might risk bending a plate or something.
On my bumper, I actually warped 2x2 1/4" thick tubing!!!! Its not THAT noticeable.
I dont have a pic of it right now but it is mostly even on each side so its in the shape of a slight arch. Im thinking im going to cause more damage to it trying to press it out. i think i almost have it all ready to start welding it the rest of the way just have to get the time.
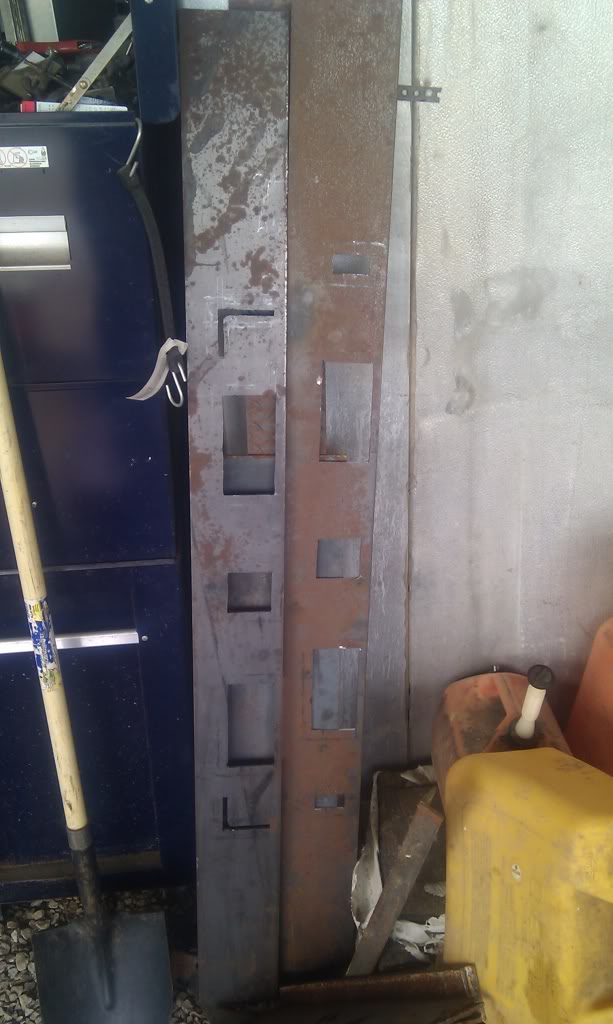
I could but that would be a lot of work and i just want it done. that picture is of the back side, i got the front side line straighter and it dosent look as bad.

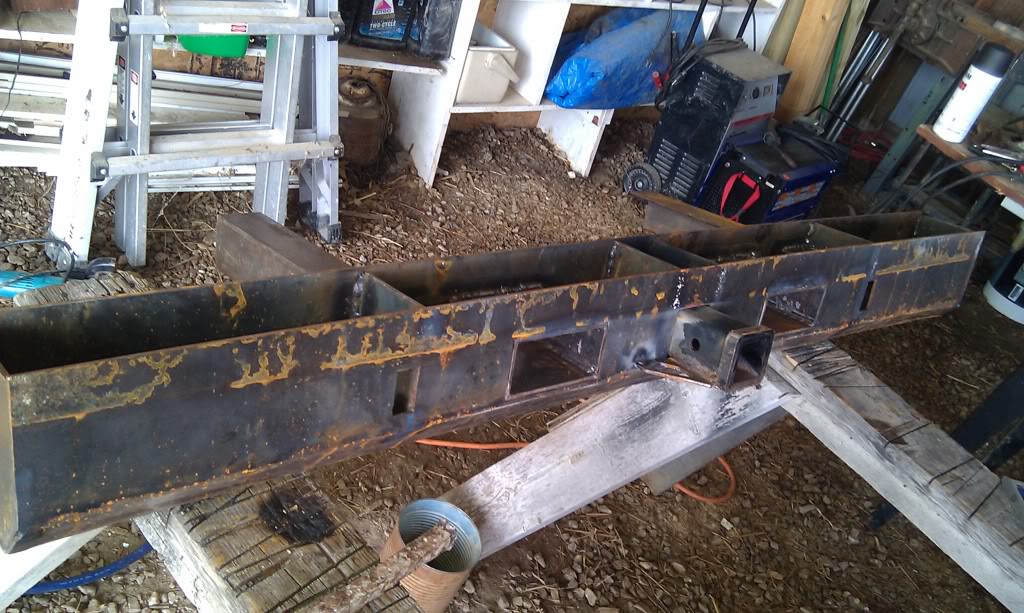
Had a little set back today. It has been sitting outside covered by a tarp, the problem is it was an old tarp and it didnt hold up to 6 inches of rain 4 hours so it had some water in it and it had rusted quite a bit. I took a heat gun and got all the water out of it and finaly moved it inside. Now im going to have to spend quite a bit of time trying to get most of the rust off again for like the 3rd or 4th time.
I should finish up with the welding today as long as nothing else goes wrong and then have to polish it up and paint it. I will try to upload some more pics later today or tomorrow.
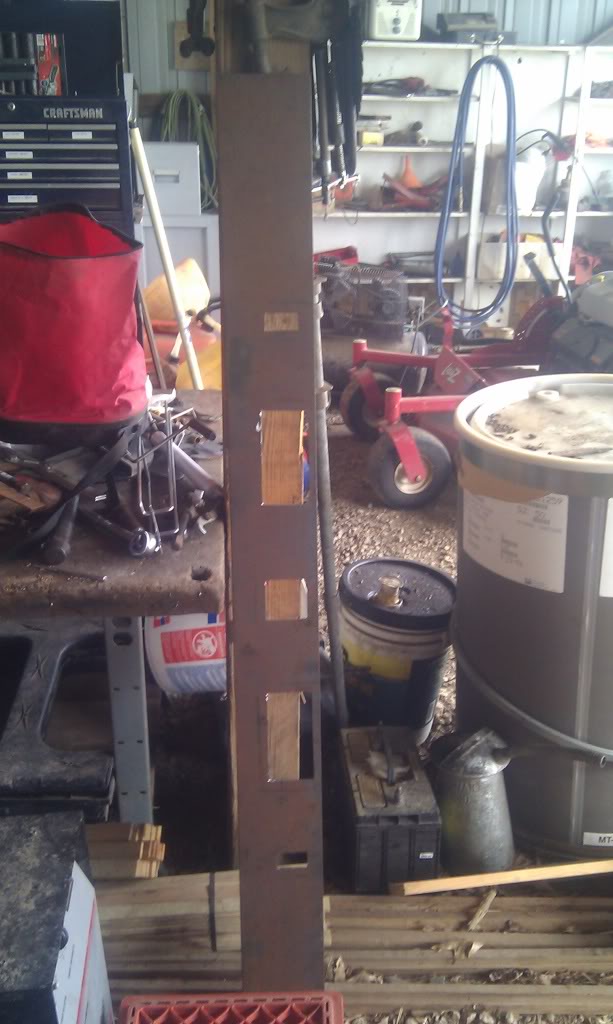
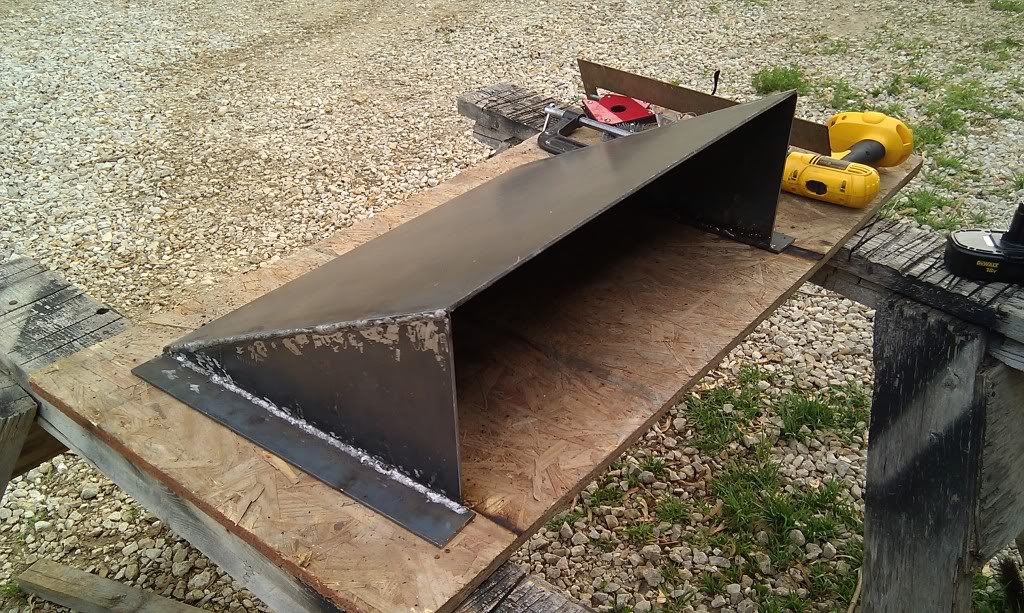
Didnt get as far as i wanted yesterday. Im ready to weld the top plate on and that would be all of the welding but i just havnt got motivated enough today to go out and finish it. here are the pics i took yesterday.
sitting it on the ground you can see the warp but its not real bad.
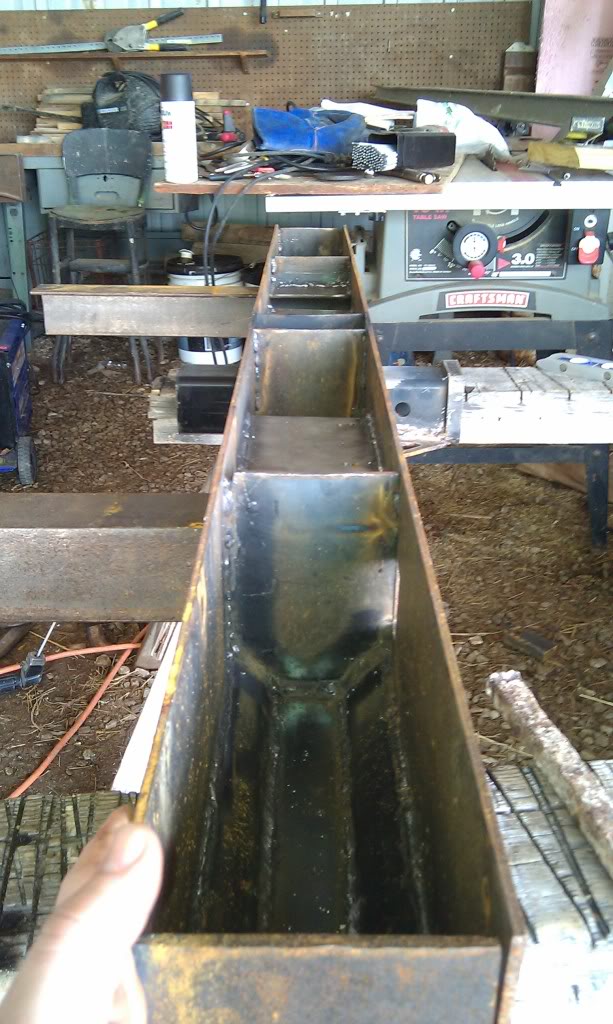
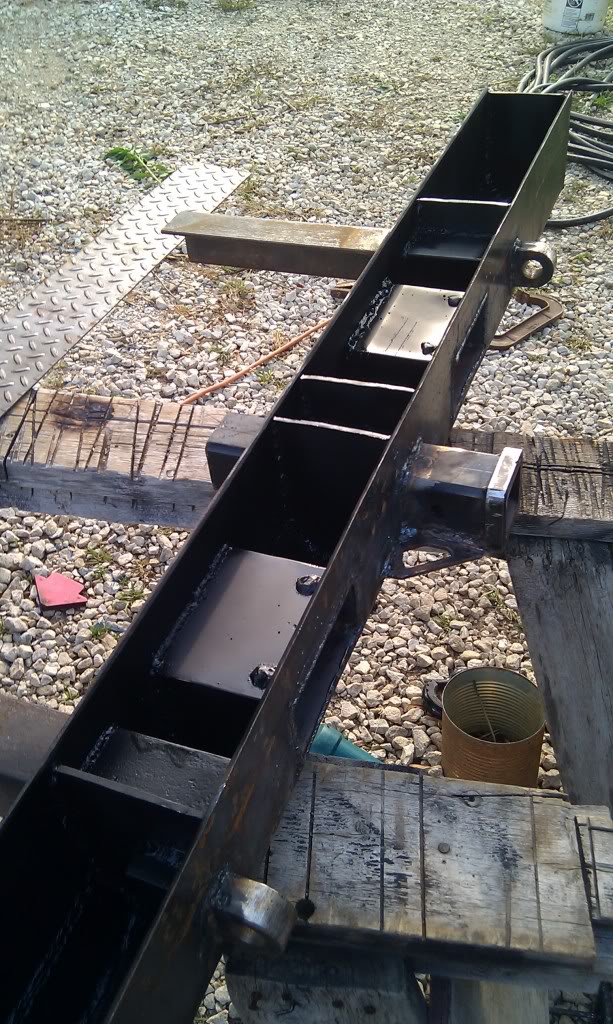
got the inside cleaned up and gave it a coat of paint to protect it after the top is on.
sitting it on the ground you can see the warp but its not real bad.
got the inside cleaned up and gave it a coat of paint to protect it after the top is on.


