
Upgrading off-road light ground connection (pics + workup)

Thread Starter
|
Member

Joined: Oct 2006
Posts: 507
Likes: 2
From: City, State
Upgrading off-road light ground connection (pics + workup)
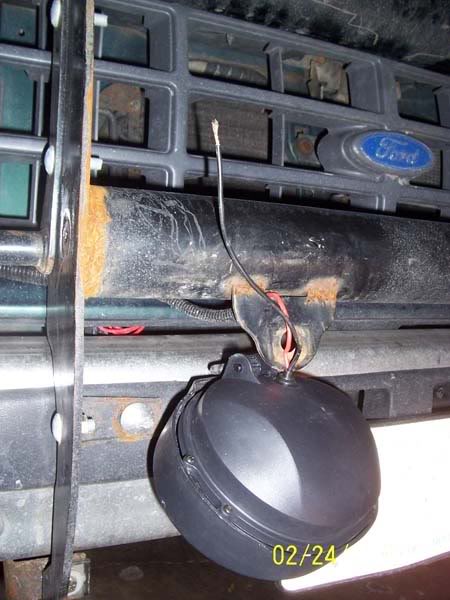
I recently wired and mounted some off-road lights on the brush guard of my '91 4x1.
Here's the thread for the install
Everything associated with the wire runs, relay setup, switch wiring, and light mounting came out great. The only problem I had was with the ground wire: it was clamped down between the nut and brush guard. This presents several problems:
1.) the ground wire is NOT secure
2.) any jerk on the wire WILL break the already-comprssed/bent ring terminal
3.) I can't tighten the nut too much or it'll shred and break the ring terminal
4.) anytime I loosen the nut to re-aim the off-road lights (which happens frequently with the loose nut), the ground falls out, turning the lights off when aiming, and is a pain to hold in place while re-securing.
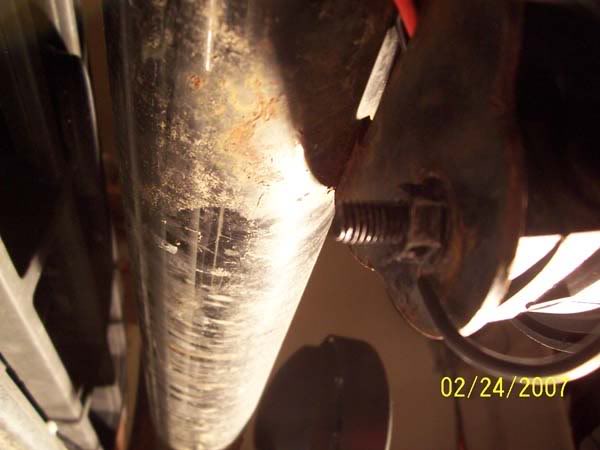
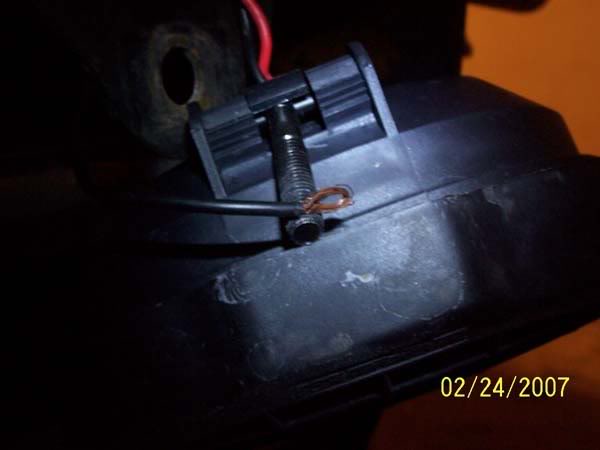
The lights came with this cheap, tiny ring terminal. Good for screwing down under a #8 sheet metal screw. NOT big enough to fit a 5/16" nut through the hole, nor is it strong enough to be tightly secured.
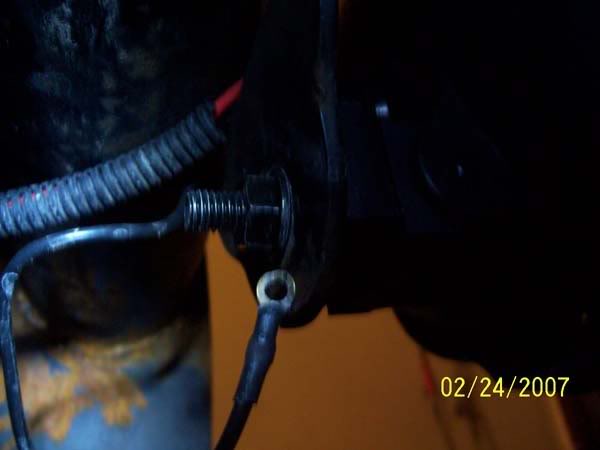
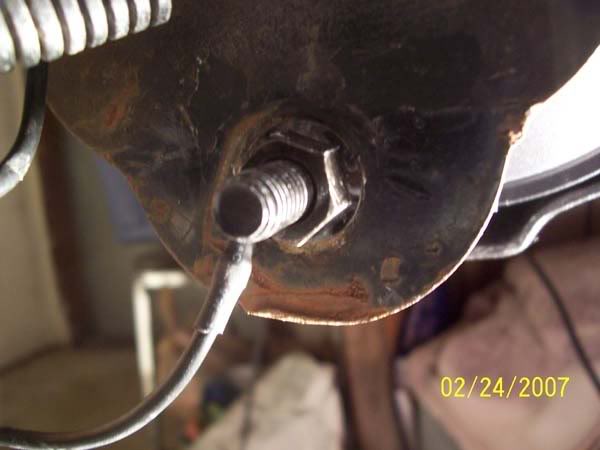
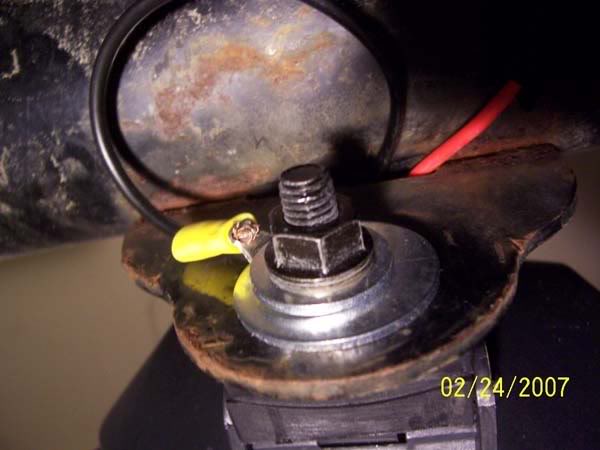
As seen here, the current ground terminal is simply wedged under the side of the mounting nut. Not only does it not fit correctly, but the hold on the tabs for the brush guard are for 3/8"-1/2" bolts. The 5/16" nut is barely big enough to sit on the back. If the whole was a little big bigger, the nut would just slip through the hole:
Ugh...just awful grounding job:
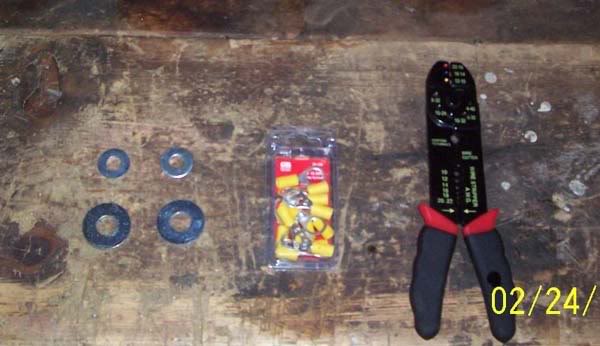
I thought about how I could fix my four ground problems instead of studying for exams (tee, hee), so this is what I came with:
-I add two washers
-I get a big enough ring terminal to go around the bolt, and mount it between the washers, on the mounting bolt
That way:
-the mounting nut has a larger area to tighten down on, and I can tighten the crap out of the lights
-the ground is tightened between the two washers...the tighter the nut, the better the connection
-the ground won't come off towards any side because the ring terminal is around the bolt
-the ring terminal/ground will stay in place if I ever loosen, re-aim, or tighten the mount for the lights since it can spin on the second washer
So a short trip to Lowe's and $3 later, I had the parts I needed:
The next part was to take off the off-road lights. Fortunately (as with most lights), they came off with one nut. The old ring terminal gets cut off.
Unfortunately, the ring terminal of the correct hole size was only made to accept 10-12awg wire. The wiring for the lights is only 14-16awg, so I stripped off some extra wire sheath, and folded it over for thickness:
On went the ring terminal:
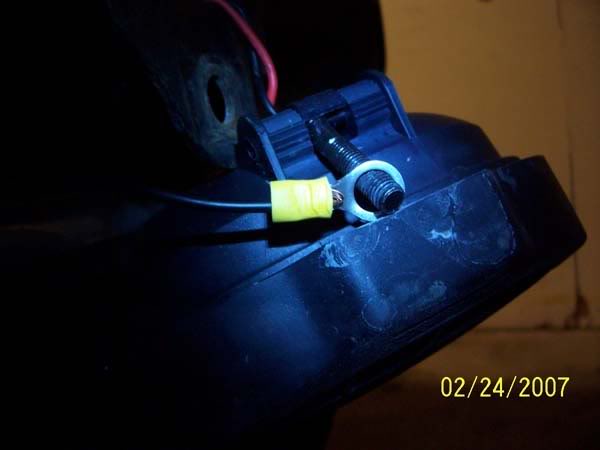
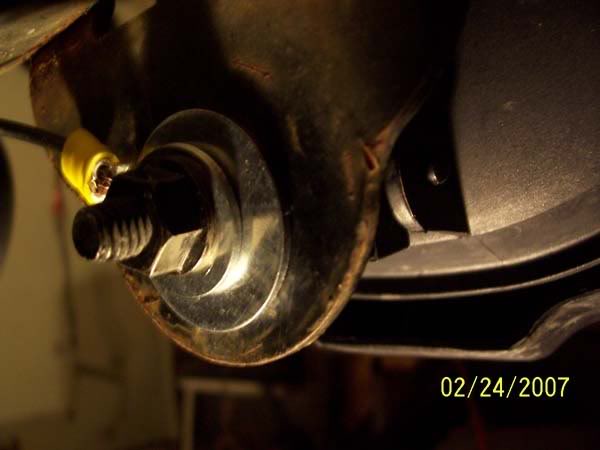
Then all the King's Horses and all the King's Men put the parts back on in this order:
-the lights mounted with the mounting bolt going through the tab
-the first washer went on the mounting bolt
-the ring terminal went on the mounting bolt, over the first washer
-the second washer went on the mounting bolt, over the ring terminal
-the original nut went on top of the second washer
So the layers have tripled up, but now I've got a SECURE ground and an adjustable lighting mount.
Feedback welcome...
Here's the thread for the install
Everything associated with the wire runs, relay setup, switch wiring, and light mounting came out great. The only problem I had was with the ground wire: it was clamped down between the nut and brush guard. This presents several problems:
1.) the ground wire is NOT secure
2.) any jerk on the wire WILL break the already-comprssed/bent ring terminal
3.) I can't tighten the nut too much or it'll shred and break the ring terminal
4.) anytime I loosen the nut to re-aim the off-road lights (which happens frequently with the loose nut), the ground falls out, turning the lights off when aiming, and is a pain to hold in place while re-securing.
The lights came with this cheap, tiny ring terminal. Good for screwing down under a #8 sheet metal screw. NOT big enough to fit a 5/16" nut through the hole, nor is it strong enough to be tightly secured.
As seen here, the current ground terminal is simply wedged under the side of the mounting nut. Not only does it not fit correctly, but the hold on the tabs for the brush guard are for 3/8"-1/2" bolts. The 5/16" nut is barely big enough to sit on the back. If the whole was a little big bigger, the nut would just slip through the hole:
Ugh...just awful grounding job:
I thought about how I could fix my four ground problems instead of studying for exams (tee, hee), so this is what I came with:
-I add two washers
-I get a big enough ring terminal to go around the bolt, and mount it between the washers, on the mounting bolt
That way:
-the mounting nut has a larger area to tighten down on, and I can tighten the crap out of the lights
-the ground is tightened between the two washers...the tighter the nut, the better the connection
-the ground won't come off towards any side because the ring terminal is around the bolt
-the ring terminal/ground will stay in place if I ever loosen, re-aim, or tighten the mount for the lights since it can spin on the second washer
So a short trip to Lowe's and $3 later, I had the parts I needed:
The next part was to take off the off-road lights. Fortunately (as with most lights), they came off with one nut. The old ring terminal gets cut off.
Unfortunately, the ring terminal of the correct hole size was only made to accept 10-12awg wire. The wiring for the lights is only 14-16awg, so I stripped off some extra wire sheath, and folded it over for thickness:
On went the ring terminal:
Then all the King's Horses and all the King's Men put the parts back on in this order:
-the lights mounted with the mounting bolt going through the tab
-the first washer went on the mounting bolt
-the ring terminal went on the mounting bolt, over the first washer
-the second washer went on the mounting bolt, over the ring terminal
-the original nut went on top of the second washer
So the layers have tripled up, but now I've got a SECURE ground and an adjustable lighting mount.
Feedback welcome...


never ground to one of those bars.. really look at all your connections. you are connecting it to a painted rusty bar thats bolted to a rusted frame, then looks like you have the other mount going threw plastic on the bumper.... personally that ground sucks bad..

Thread
Thread Starter
Forum
Replies
Last Post
Hawklore
General Ford Ranger Discussion
25
May 17, 2007 03:30 AM
Bhavesh
General Technical & Electrical
4
Feb 11, 2007 10:41 PM


