
How To: Cluster Color Change

Thread Starter
|
Member

Joined: Nov 2015
Posts: 1,635
Likes: 4
From: Evansville, Indiana

How To: Cluster Color Change
I didn't see one of these how-tos on here, so I thought I'd go through the process since I had a gauge cluster to be color-changed anyway.
This will work on all clusters with this general styling, and should be similar for for the version of this cluster with no tachometer. The 04+ cluster is entirely different and this howto does not apply to those clusters. The silverface, white face, and plain black face clusters are all the same in construction.
Before starting, realize that you WILL lose ALL factory accuracy from your gauge cluster. You can get the cluster's needles very very close with some trial and error, but never 100%. But that's beyond the scope of this tutorial. ChrisFix has a tutorial on how to remove the cluster from the vehicle on YouTube if you don't know how to do it yourself.
Now with all that out of the way, start by disassembling your cluster. This is a fairly straightforward process. There are seven or eight Torx screws, gold in color, to be removed. After they're removed, set them to the side where they won't get lost.
This will remove the lens. Now is a good time to clean it with hot water while it's removed.
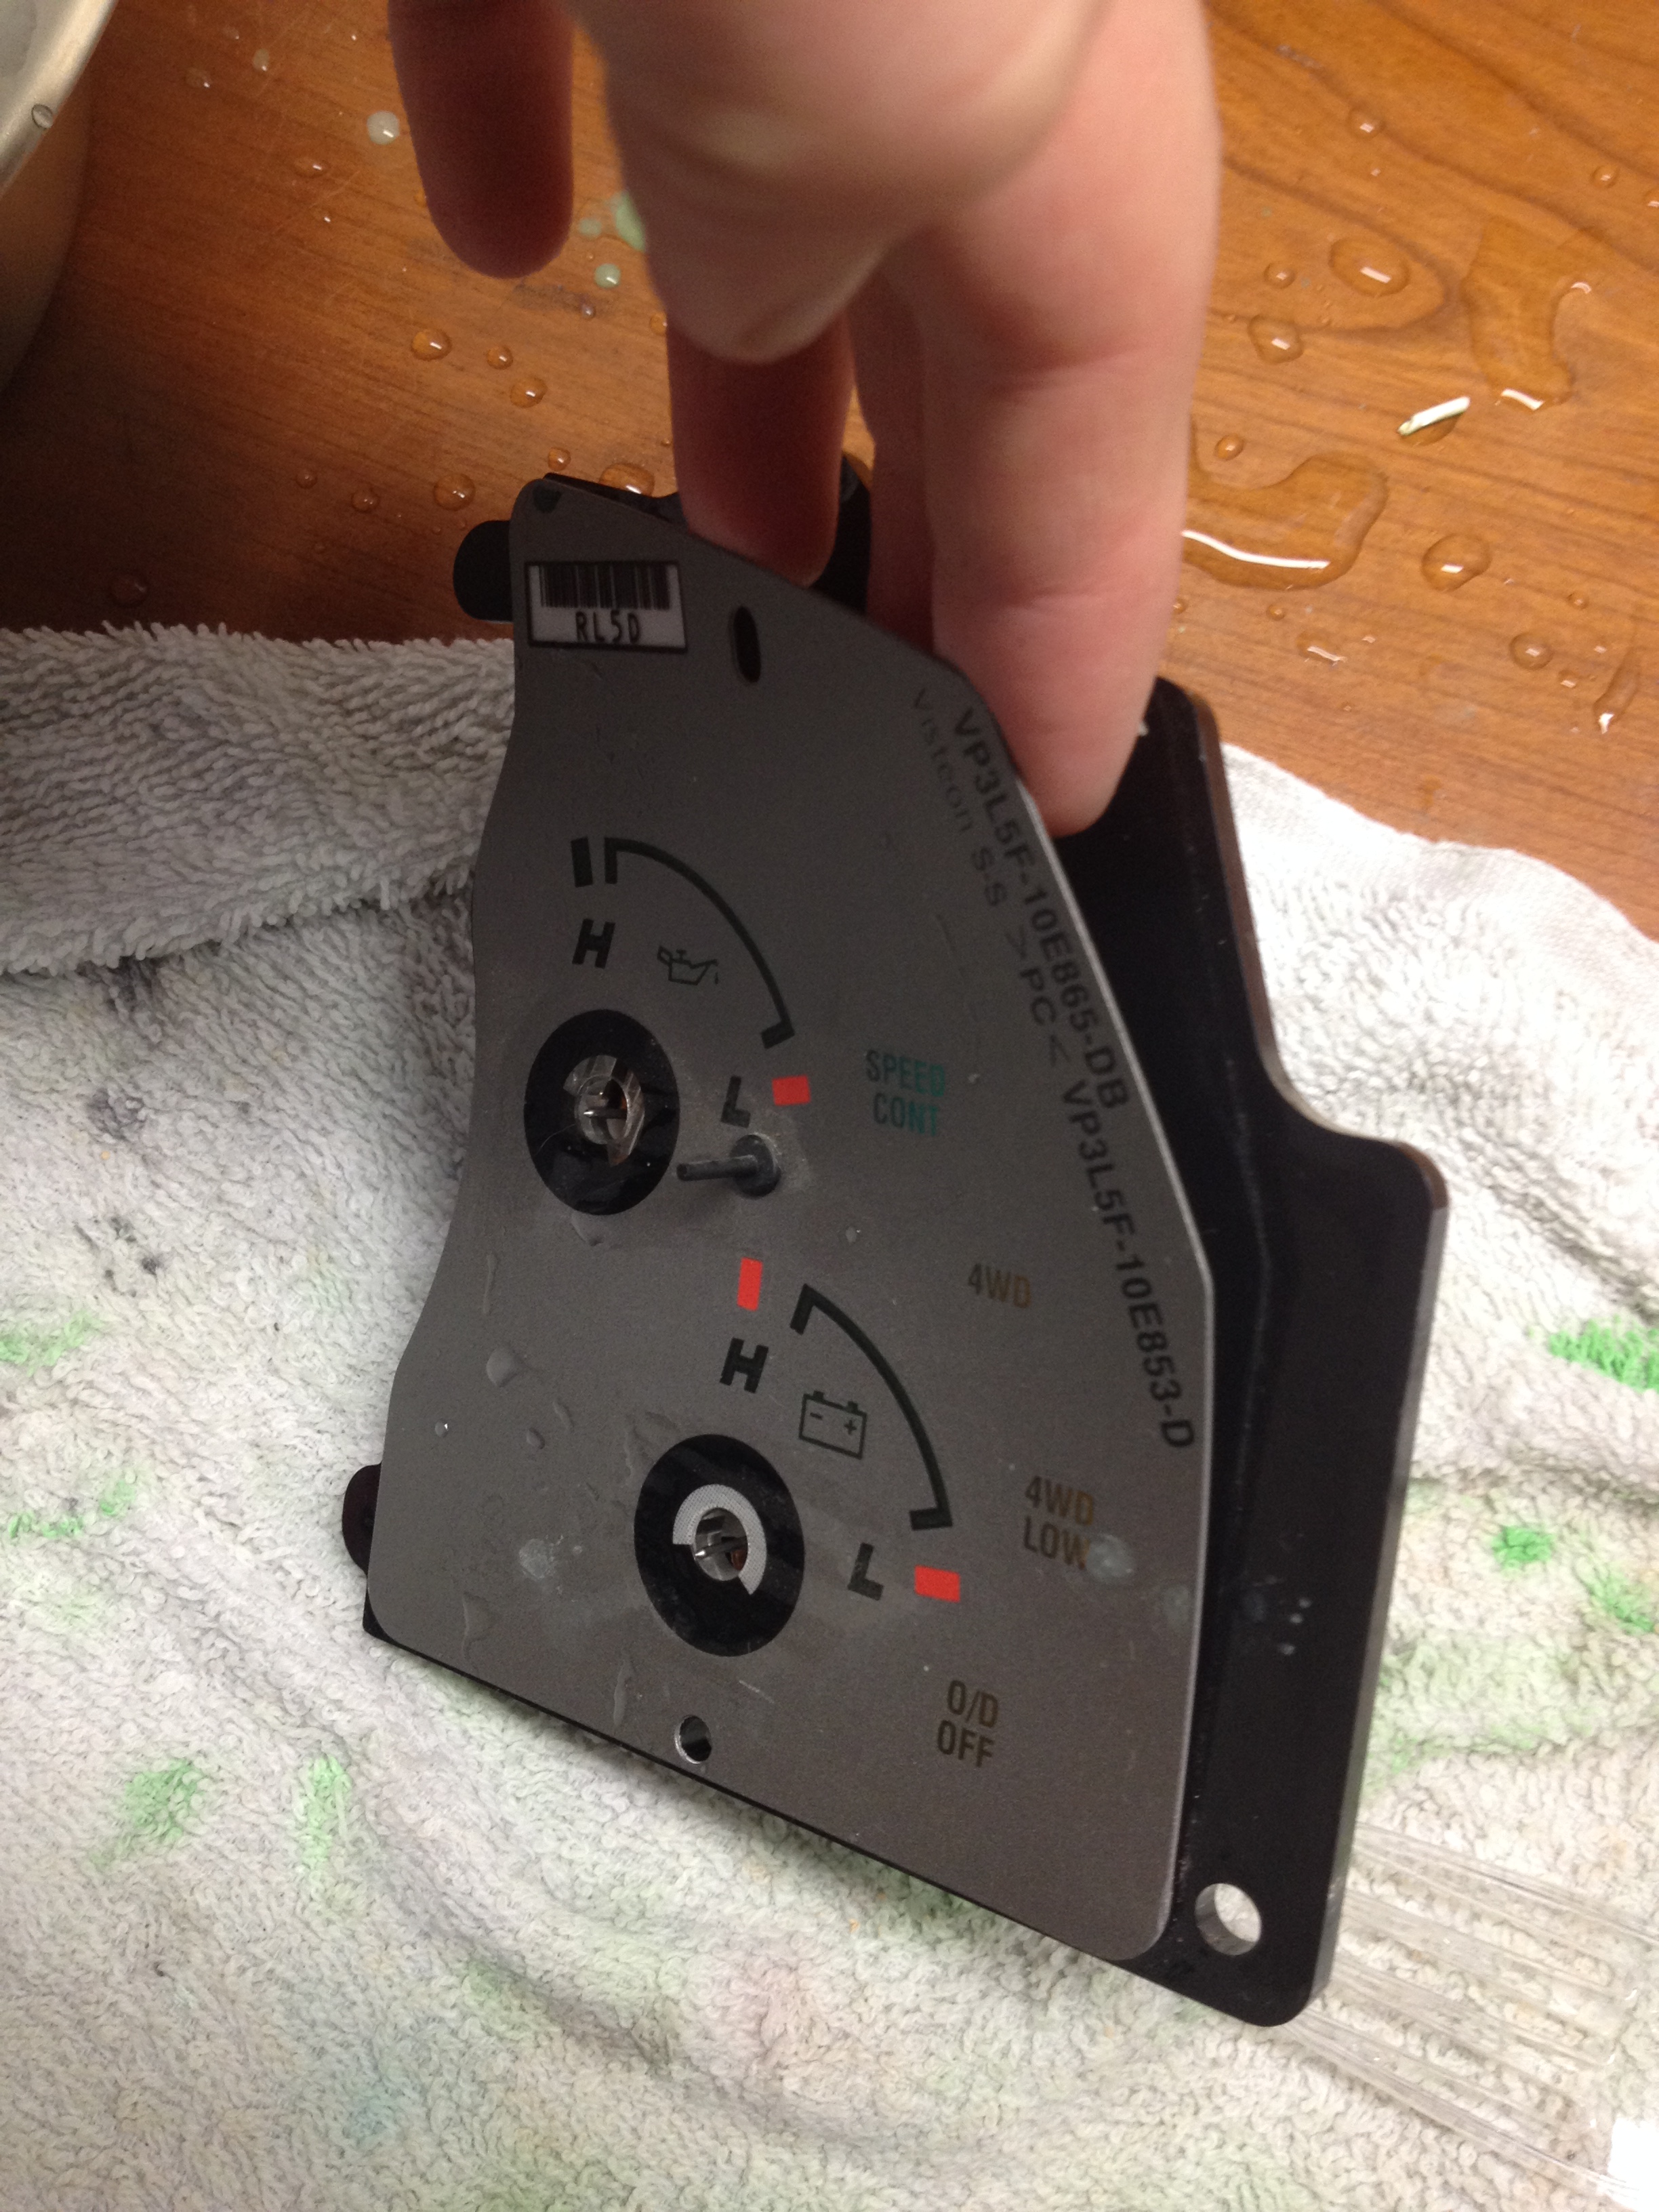
With the gauges exposed, use a flat head screwdriver to slip underneath the black plastic of the gauge plate and the white plastic behind it. The outer two portions on the left and right must be removed before the center portion can come free. There are NO screws holding these panels in nor any glue. The only thing keeping these panels in are metal 'stakes' coming off the back of the gauge module itself which serve as electrical connections.
Gently pry up and they all come free easily. Do be careful not to pry on the face itself, particarally on the center portion.
Now with all three modules removed, pick a piece to start with. It doesn't really matter where you start.
Now we need to remove the needles. A plastic fork is best for this. Push the tines of your plastic fork under the needle and pry upwards. This may take some working to get it free. You may want to hold your hand over it when it does come free.


The face itself is glued on in a couple spots, and the glue comes off rather easily with some pulling. DO NOT YANK OR TWIST! You will likely end up tearing the face and ruining it.
Get your fingers only, no pliers or anything else, under an unglued portion and gently, but firmly, pull directly up from the cluster. If it doesn't want to come free, a hair dryer can be used to help soften the glue.
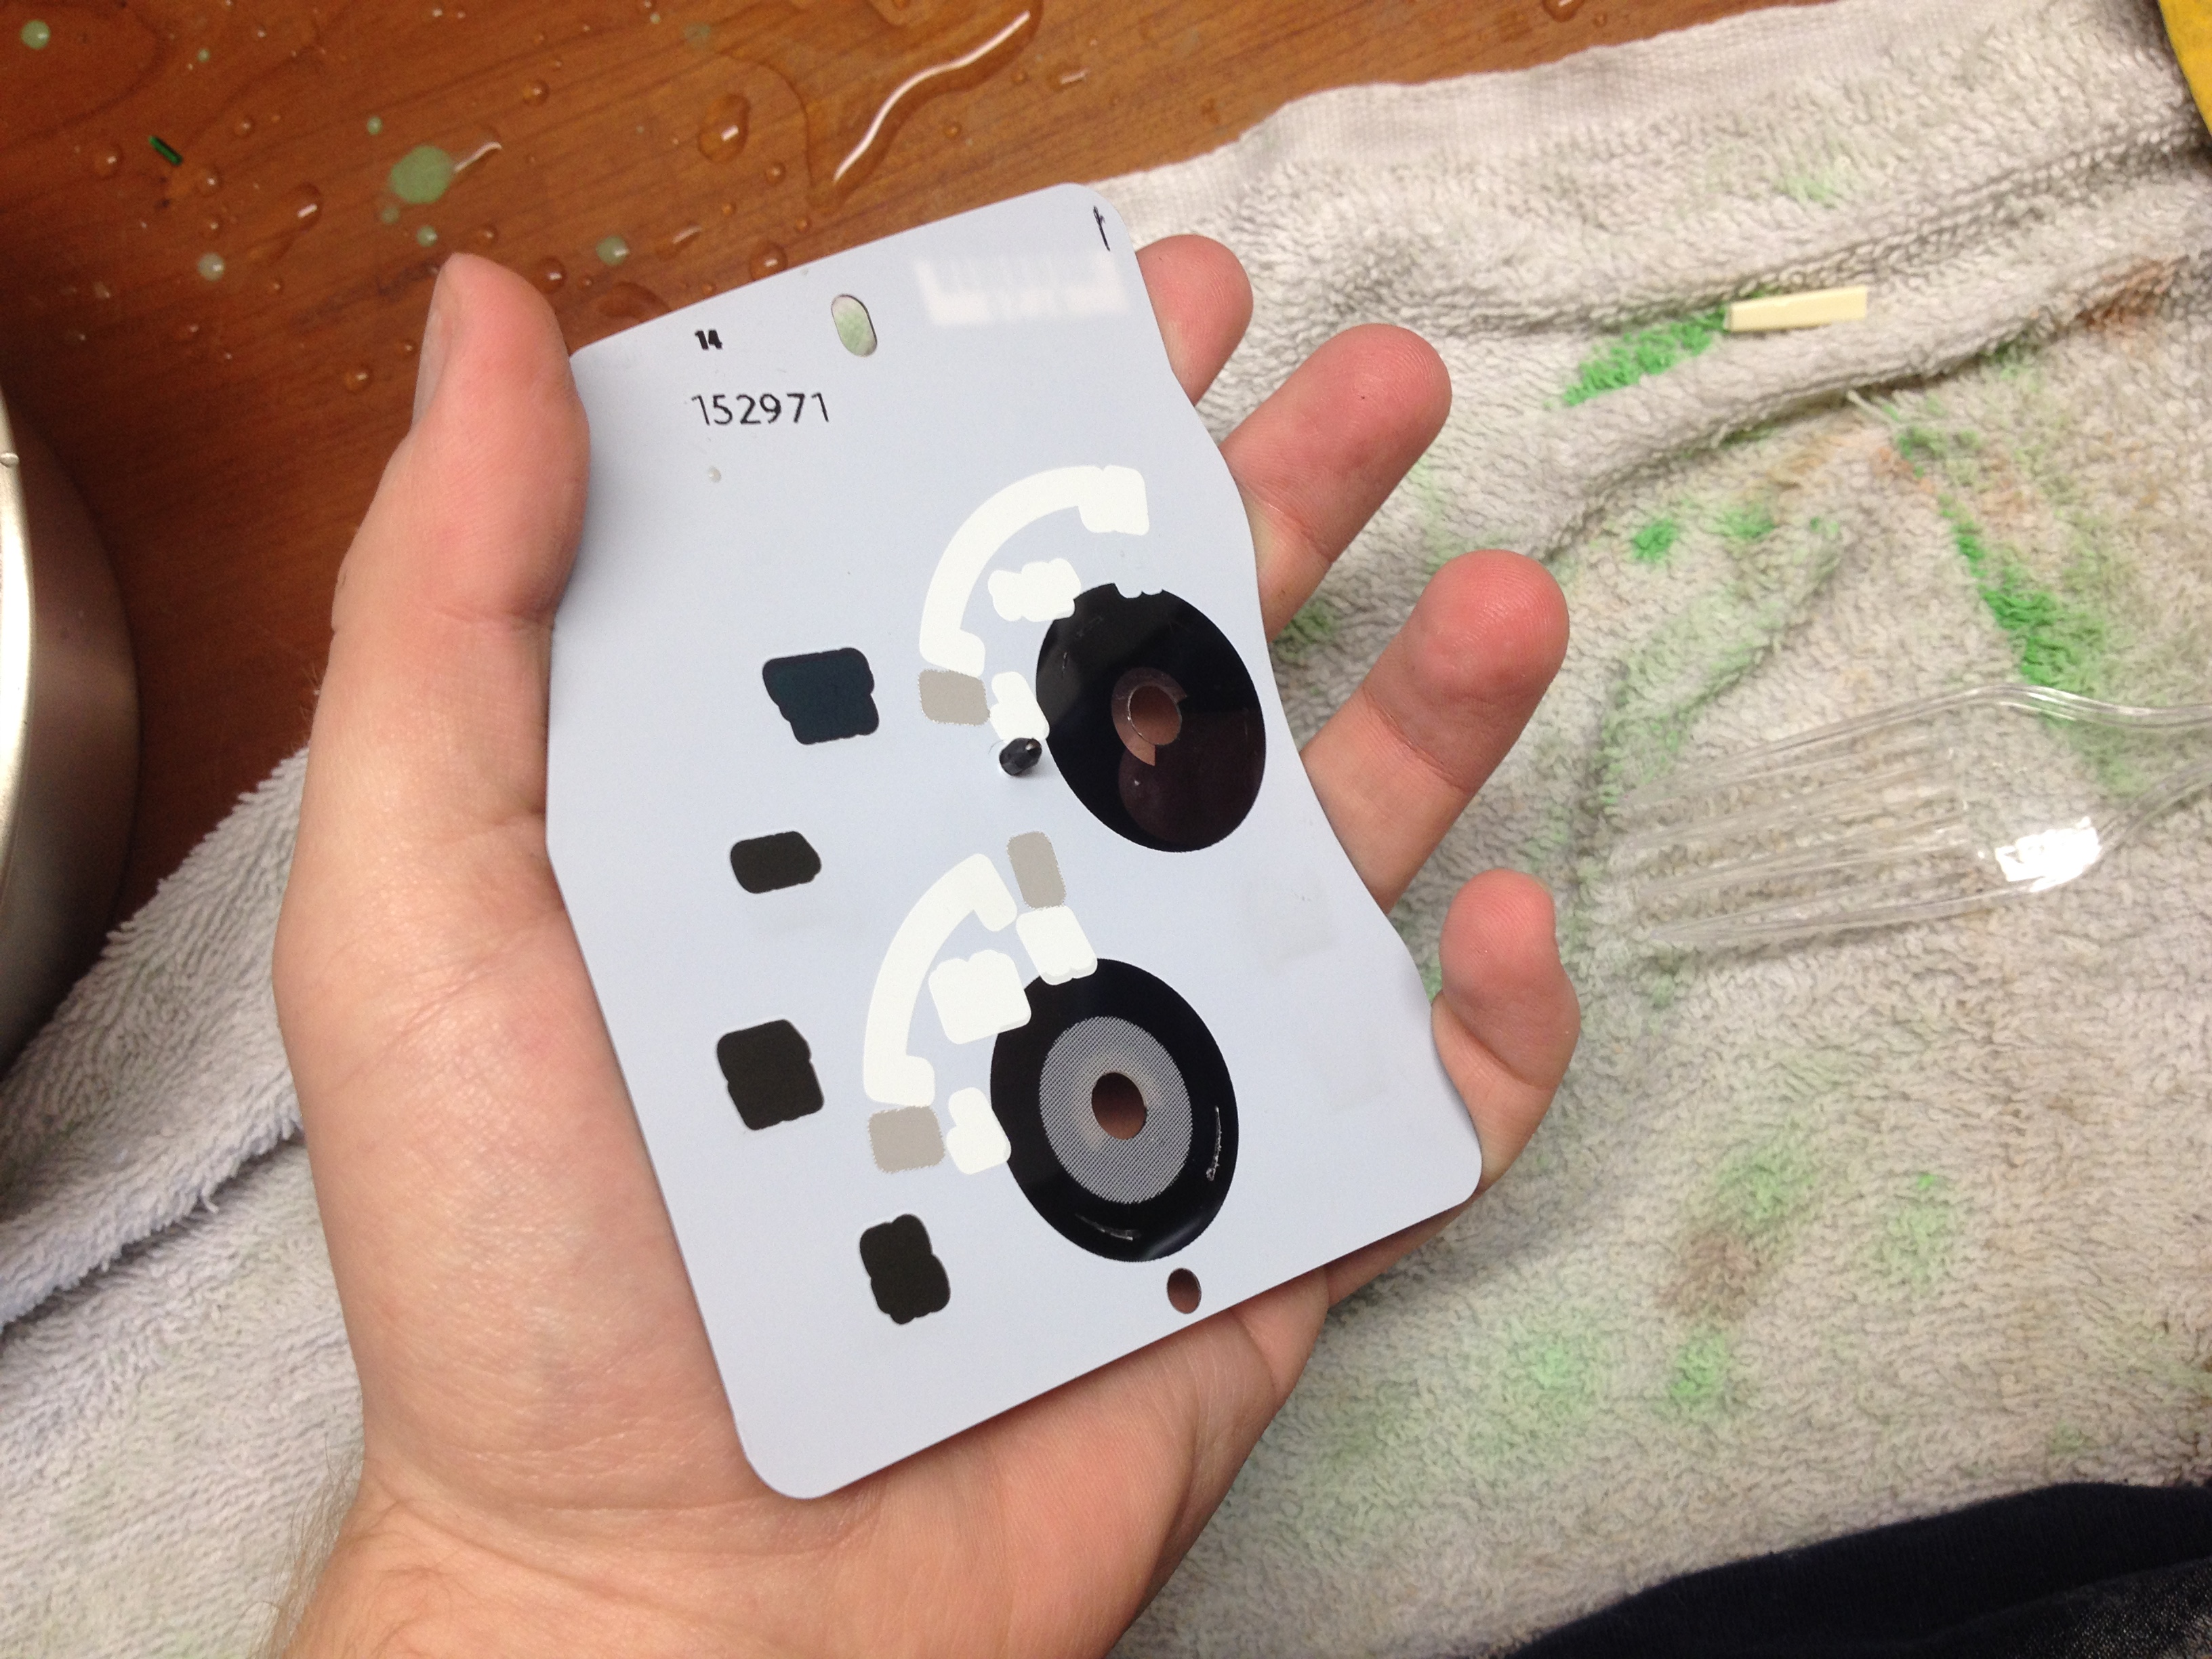
Once you have the face free, it's time to round up some 1000 grit sand paper or above, but no more coarse than 1000. We don't want scratches. You'll also want either a spray bottle of plain water or a bowl of water. A bowl is my choice. It's a good idea to also have a rag of some description covering your work area to keep the front of the face from getting scuffed up. This part is optional but it's a good idea. It also keeps the water from pooling and running everywhere.
Now you'll want some masking tape. Mask off the portion of the face you don't want to turn clear, like your check engine light for example. Once you have that done, take your 1000 grit sand paper and get it wet using your preferred method. I chose a bowl. Do note that this stuff may stain so do be aware of that. It's a good idea to get the face wet to start with, as well.
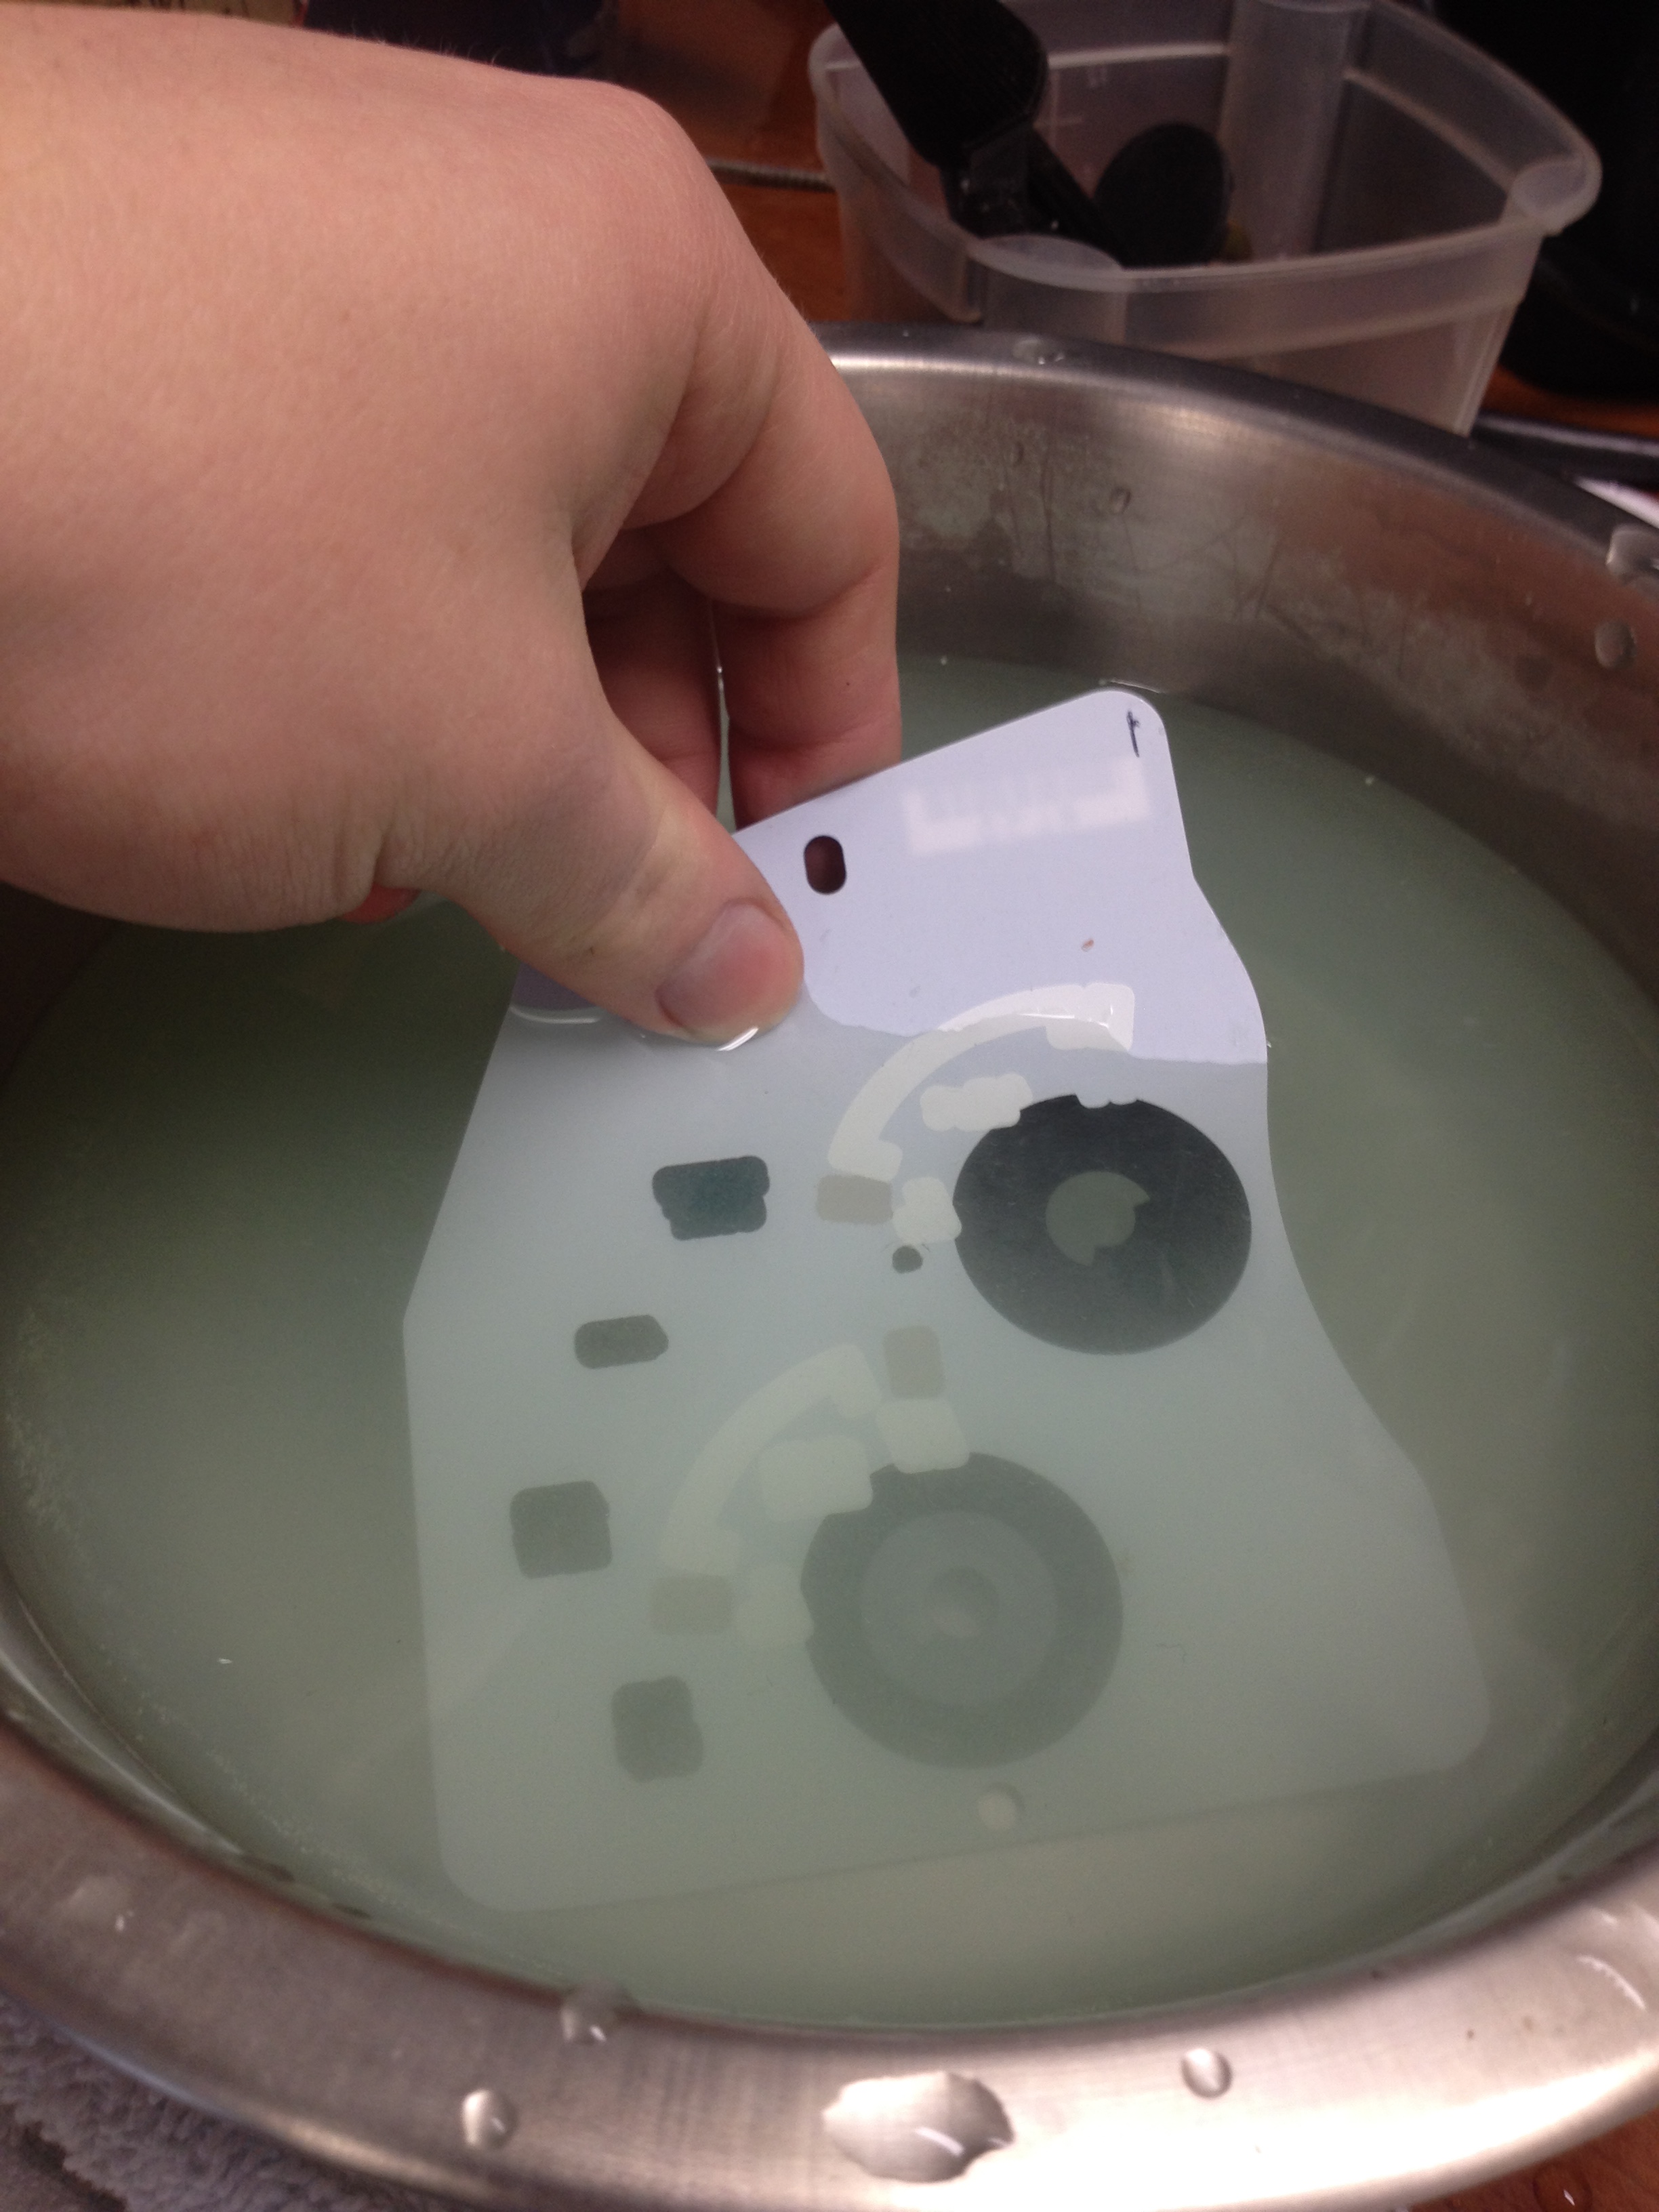
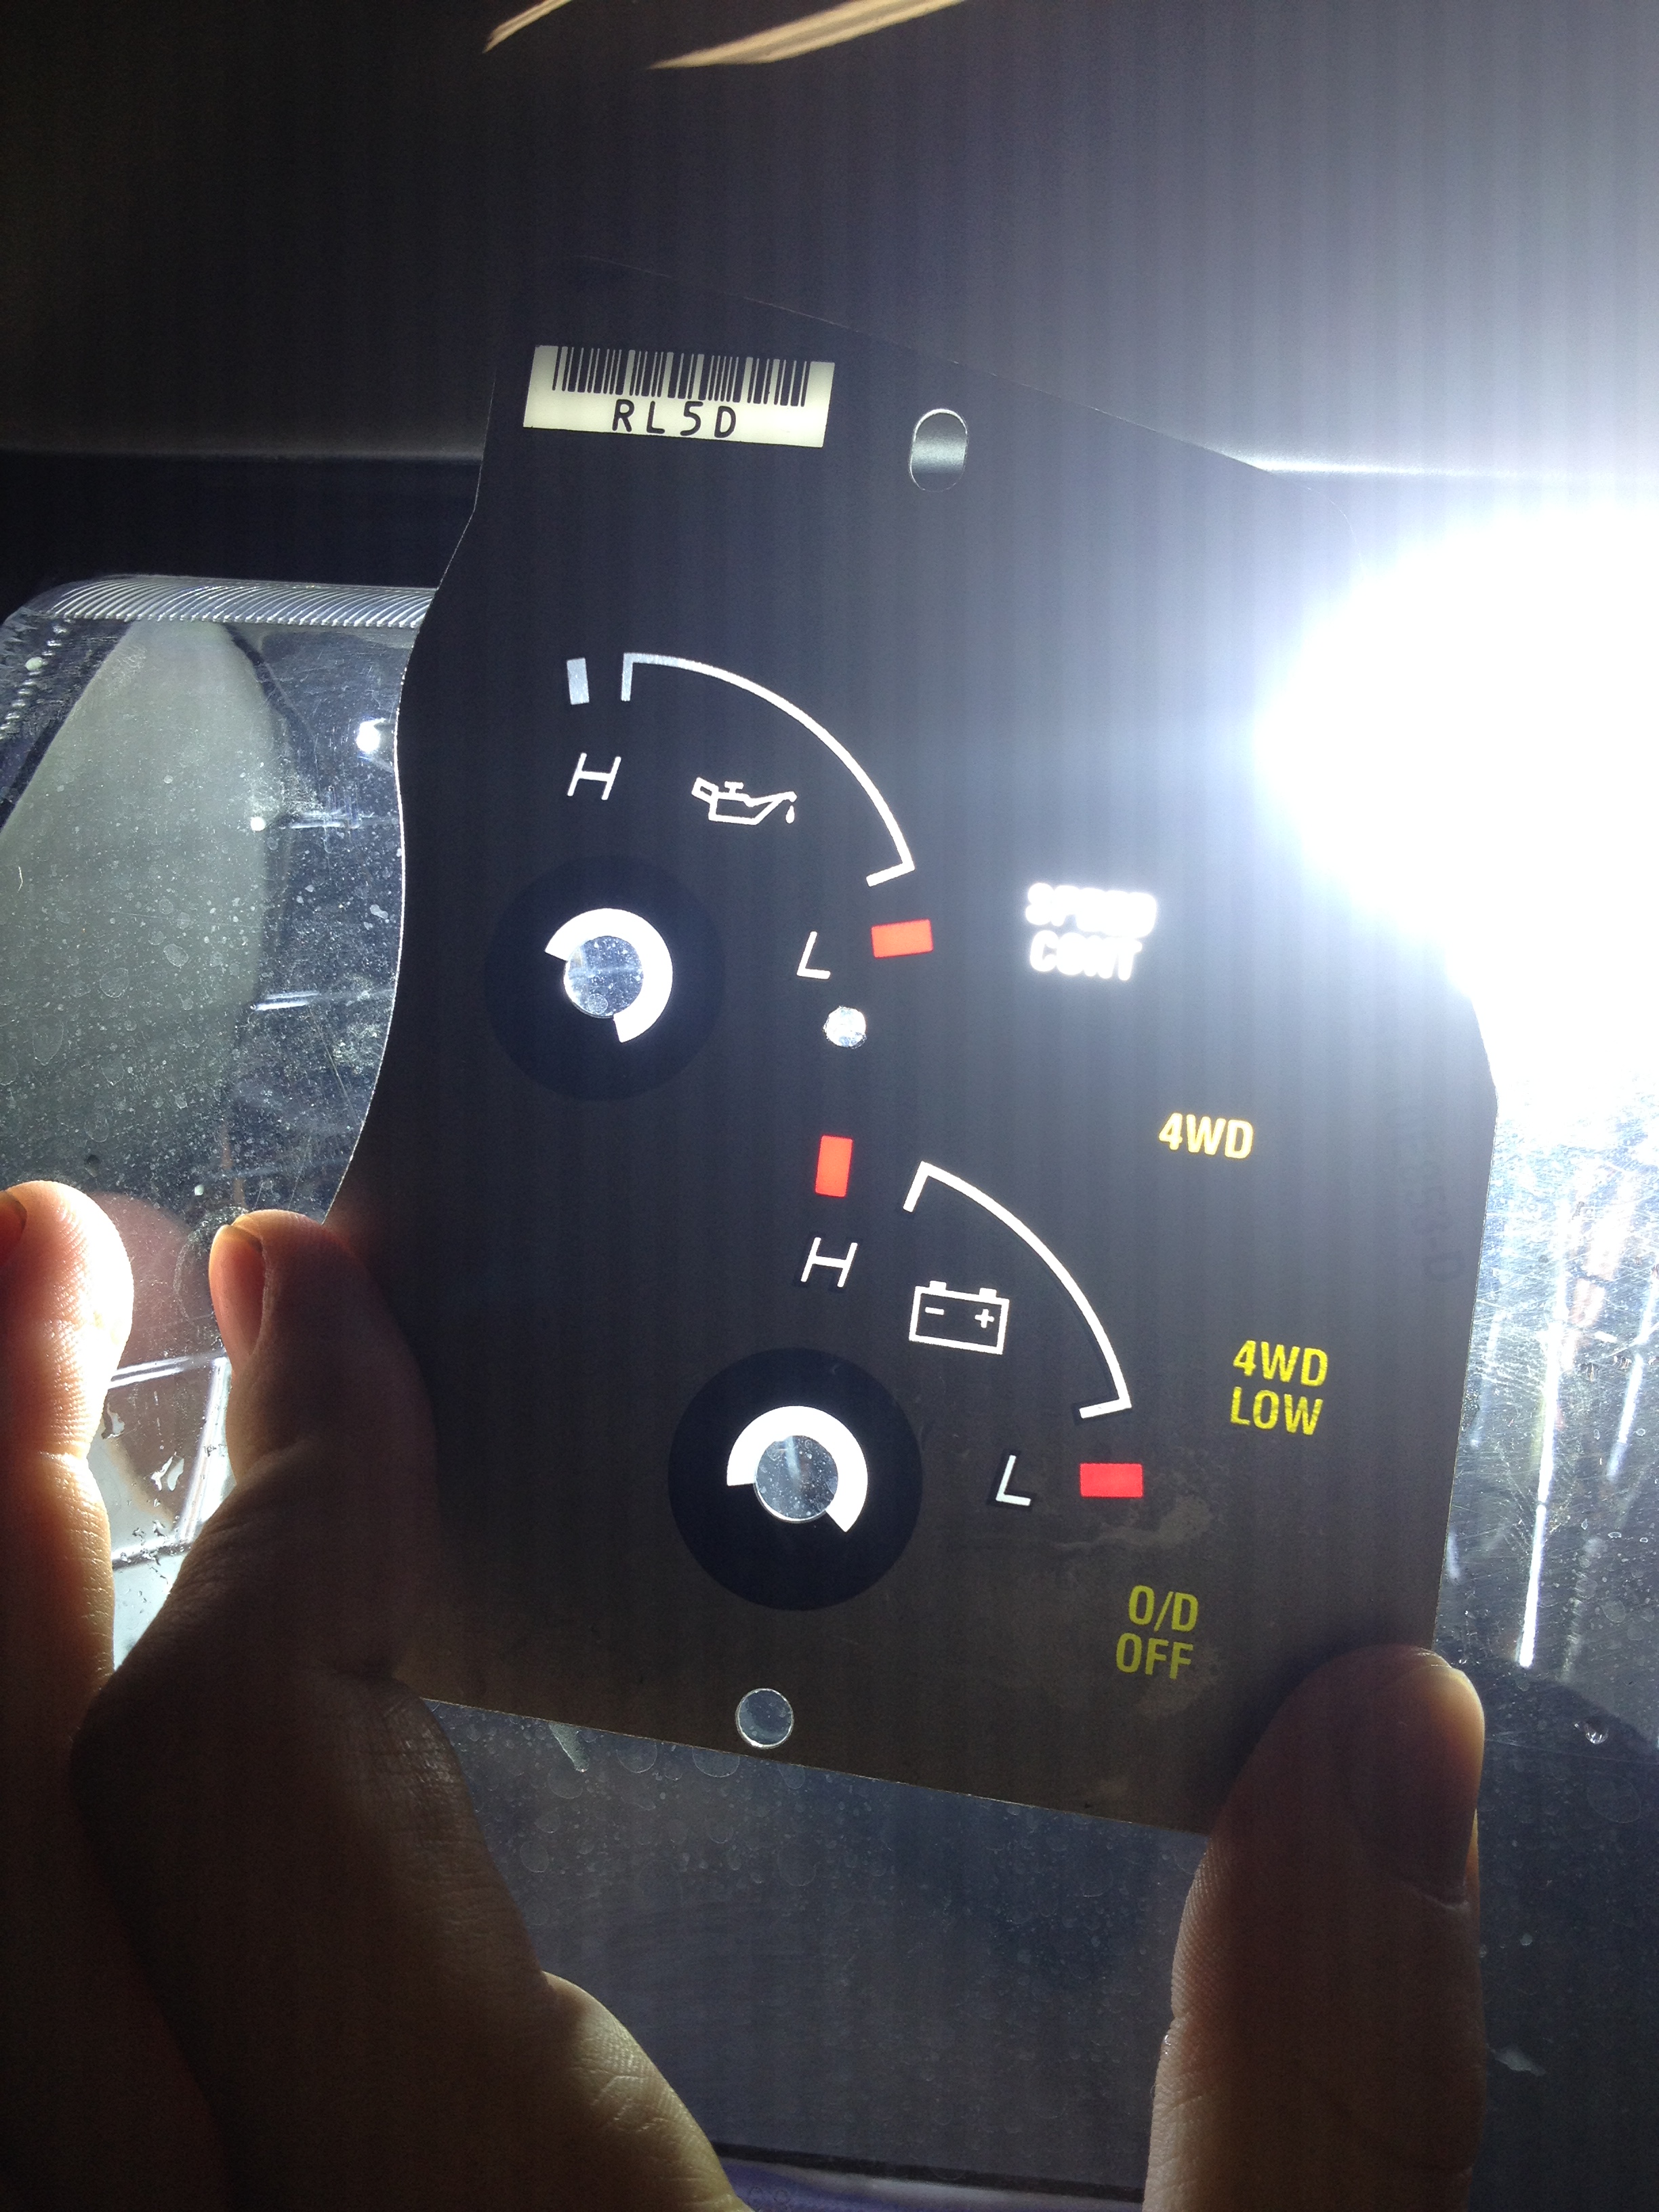
Now get sanding. It takes a moment to work through the white layer and into the color layer. You may find it necessary to switch to new sections of your sand paper. Periodically hold your face up to the light to check for color which you're intending to remove. You should be able to get your desired area to become perfectly colorless with little to no visible scratches. Note that this works with the idiot lights too.
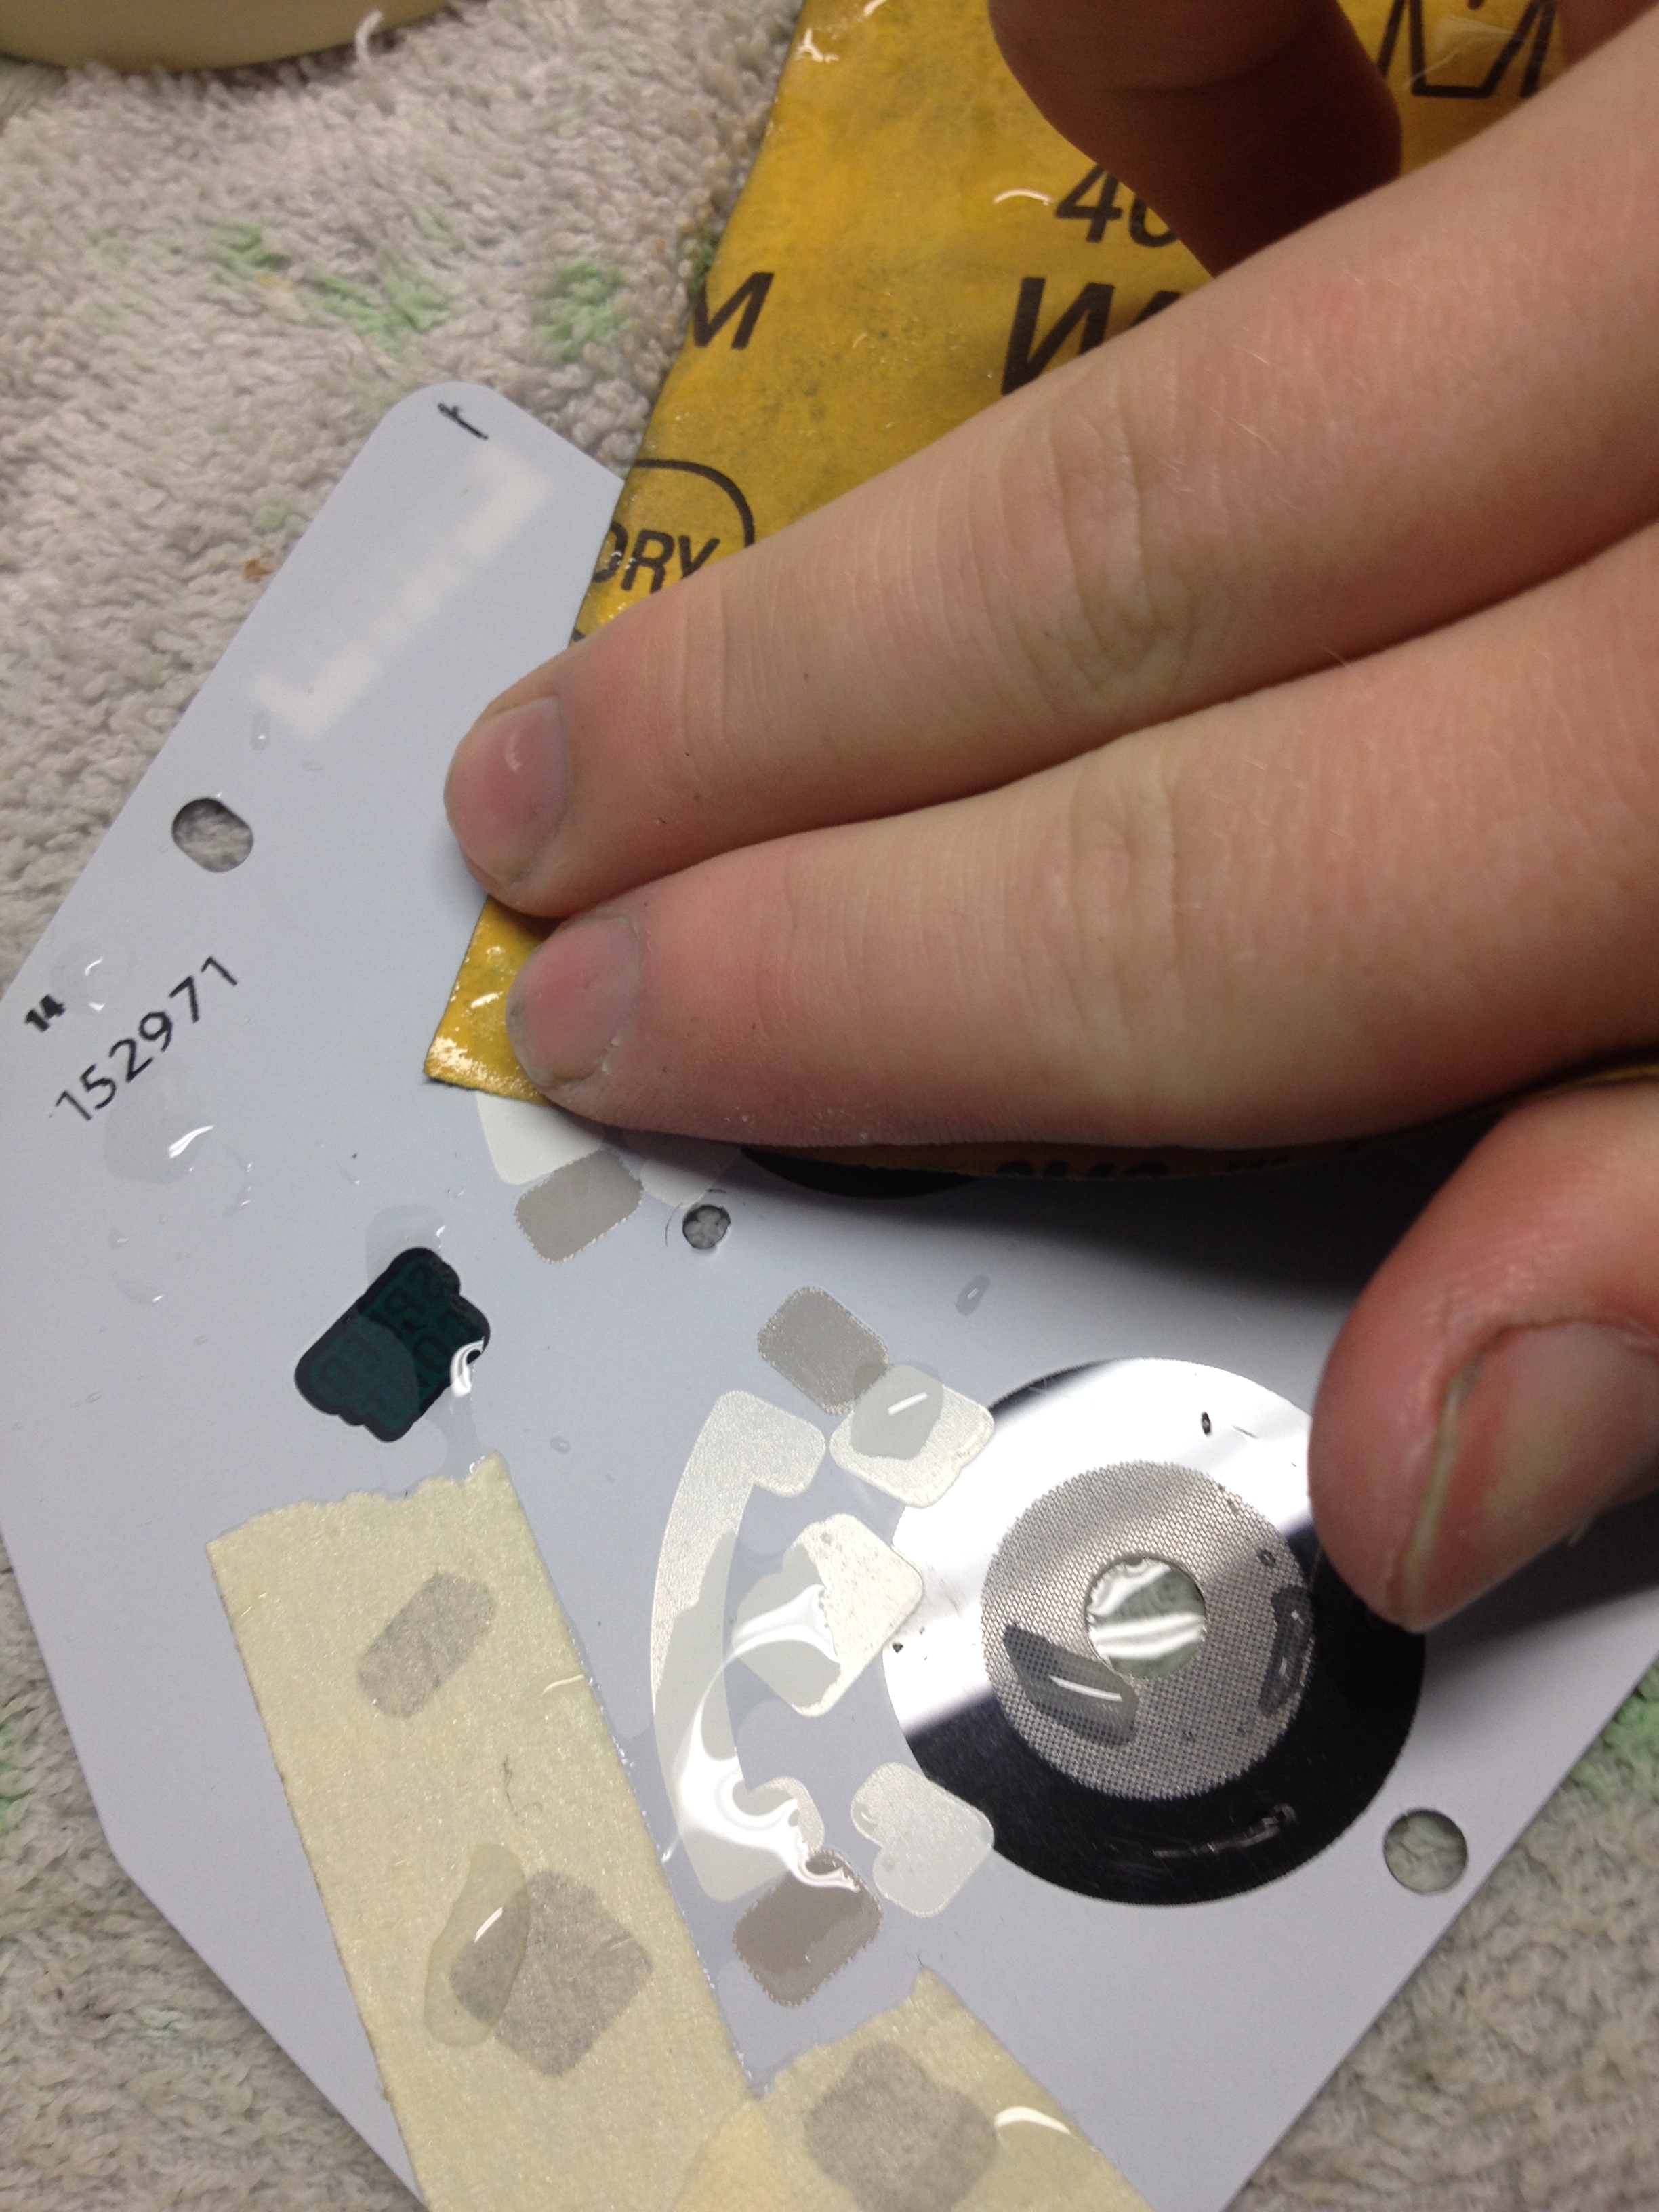
Do be sure to periodically wash away what you're sanding off from both the face and the paper. This helps you not only see better but keeps the process going smoothly.
Once you're done you should have something that looks something like this.
Let them dry on open air for a little while. We want them perfectly dry. Now is a good time to wash them with soap and water if they're a bit dirty. Same goes for the needles. It's also a good time to swap needles if you don't want to use the ones that you originally used.
Reattaching the faces is doable in many ways. You can use glue, tape, whatever you like. Or no glue or tape at all, as the front plastic lens sandwiches the faces on either way. How you take it from here is your choice.
This will work on all clusters with this general styling, and should be similar for for the version of this cluster with no tachometer. The 04+ cluster is entirely different and this howto does not apply to those clusters. The silverface, white face, and plain black face clusters are all the same in construction.
Before starting, realize that you WILL lose ALL factory accuracy from your gauge cluster. You can get the cluster's needles very very close with some trial and error, but never 100%. But that's beyond the scope of this tutorial. ChrisFix has a tutorial on how to remove the cluster from the vehicle on YouTube if you don't know how to do it yourself.
Now with all that out of the way, start by disassembling your cluster. This is a fairly straightforward process. There are seven or eight Torx screws, gold in color, to be removed. After they're removed, set them to the side where they won't get lost.
This will remove the lens. Now is a good time to clean it with hot water while it's removed.
With the gauges exposed, use a flat head screwdriver to slip underneath the black plastic of the gauge plate and the white plastic behind it. The outer two portions on the left and right must be removed before the center portion can come free. There are NO screws holding these panels in nor any glue. The only thing keeping these panels in are metal 'stakes' coming off the back of the gauge module itself which serve as electrical connections.
Gently pry up and they all come free easily. Do be careful not to pry on the face itself, particarally on the center portion.
Now with all three modules removed, pick a piece to start with. It doesn't really matter where you start.
Now we need to remove the needles. A plastic fork is best for this. Push the tines of your plastic fork under the needle and pry upwards. This may take some working to get it free. You may want to hold your hand over it when it does come free.
The face itself is glued on in a couple spots, and the glue comes off rather easily with some pulling. DO NOT YANK OR TWIST! You will likely end up tearing the face and ruining it.
Get your fingers only, no pliers or anything else, under an unglued portion and gently, but firmly, pull directly up from the cluster. If it doesn't want to come free, a hair dryer can be used to help soften the glue.
Once you have the face free, it's time to round up some 1000 grit sand paper or above, but no more coarse than 1000. We don't want scratches. You'll also want either a spray bottle of plain water or a bowl of water. A bowl is my choice. It's a good idea to also have a rag of some description covering your work area to keep the front of the face from getting scuffed up. This part is optional but it's a good idea. It also keeps the water from pooling and running everywhere.
Now you'll want some masking tape. Mask off the portion of the face you don't want to turn clear, like your check engine light for example. Once you have that done, take your 1000 grit sand paper and get it wet using your preferred method. I chose a bowl. Do note that this stuff may stain so do be aware of that. It's a good idea to get the face wet to start with, as well.
Now get sanding. It takes a moment to work through the white layer and into the color layer. You may find it necessary to switch to new sections of your sand paper. Periodically hold your face up to the light to check for color which you're intending to remove. You should be able to get your desired area to become perfectly colorless with little to no visible scratches. Note that this works with the idiot lights too.
Do be sure to periodically wash away what you're sanding off from both the face and the paper. This helps you not only see better but keeps the process going smoothly.
Once you're done you should have something that looks something like this.
Let them dry on open air for a little while. We want them perfectly dry. Now is a good time to wash them with soap and water if they're a bit dirty. Same goes for the needles. It's also a good time to swap needles if you don't want to use the ones that you originally used.
Reattaching the faces is doable in many ways. You can use glue, tape, whatever you like. Or no glue or tape at all, as the front plastic lens sandwiches the faces on either way. How you take it from here is your choice.


Member
Joined: May 2008
Posts: 257
Likes: 0
From: Roseville, CA
At any rate I will probably be redoing my cluster shortly(tired of blue). I regret repainting the back of the faces as I'm going to have to remove and sand them off again.

Thread
Thread Starter
Forum
Replies
Last Post
drumz
Interior Semi-Tech
15
May 23, 2018 07:58 PM
Maggied6.0Ranger
Interior Semi-Tech
5
Oct 9, 2013 03:23 PM
Sonic04Edge
General Ford Ranger Discussion
23
Jun 24, 2004 11:52 AM


