
How To: Tint your windows


How To: Tint your windows
It's not on here and I figure some people would want to give it a shot and save money instead of bringing it to a shop to get done.
Difficulty: 6/10 (If you're a beginner)
Time: Depends which windows you're working on
Materials Needed:
-Tint of your choice (I usually use Gila brand from Advance Auto/Autozone)
-SHARP razor blade
-Scissors
-Tape
-Squeegee
-Hard card
-Paper towels
-Dish soap/water solution in a spray bottle
-Heat gun (not needed but highly recommended if you're doing the front windows)
Picture of the stuff I used. Scissors aren't pictured

First, spray the outside of the window you're working on with the dish soap/water solution, then wipe it clean.


Same goes for the inside of the window you're working on

Next, take your tint out of the box and unroll it a bit. Take your tape and put a piece on both sides on the corner and peel the both away from each other to see which side is the adhesive side. Usually, the roll already comes with the adhesive side being the lower layer and the protective film on the top like so but DO NOT remove the protective film just yet.

Now wet the outside of the window with the soap solution, lay your tint on top. Cut a good sized piece with your scissors and leave it on the window.
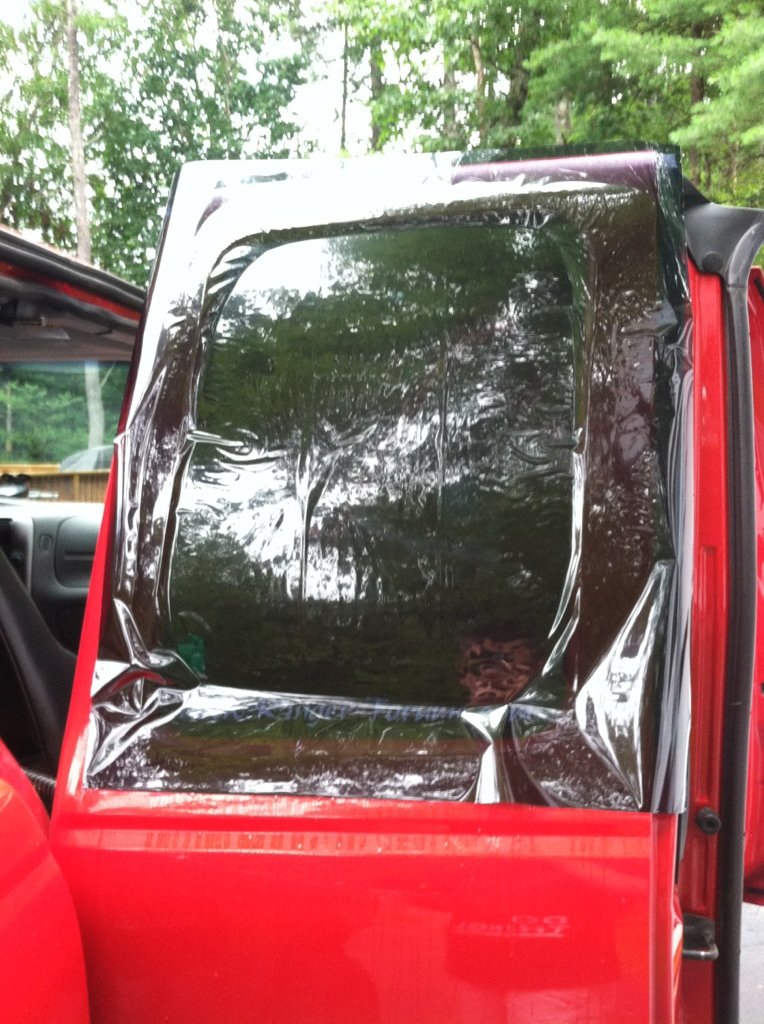
I usually use my squeegee to have the film stay onto the window just to get an accurate trace for the next step.

Take your razor blade and trace the window. On these rear doors, its pretty simple just don't let the blade touch your paint unless you want a scratch all the way around. When doing the front doors, trace the top and sides of the window and leave a good inch or two of extra film on the bottom because you'll need it once putting it on

You're left with this after, squeegee it again once you've traced.
Now take your tape and remove the protective film from the tint itself. As you're doing this, make sure to spray the film at the same time as you go because if it folds over on itself and adheres, that piece of tint is now useless because when you take it apart, you'll have creases on the film and it will look like ****.

All the protective film is now off. Spray the adhesive side which is facing you really well with the solution.

Spray the inside of the window and then transfer the tint onto it.

Trim with your razor blade and then squeegee beginning from the middle down. Then middle up, middle left/right

Take your hard card and go along the edges to make sure its tight.

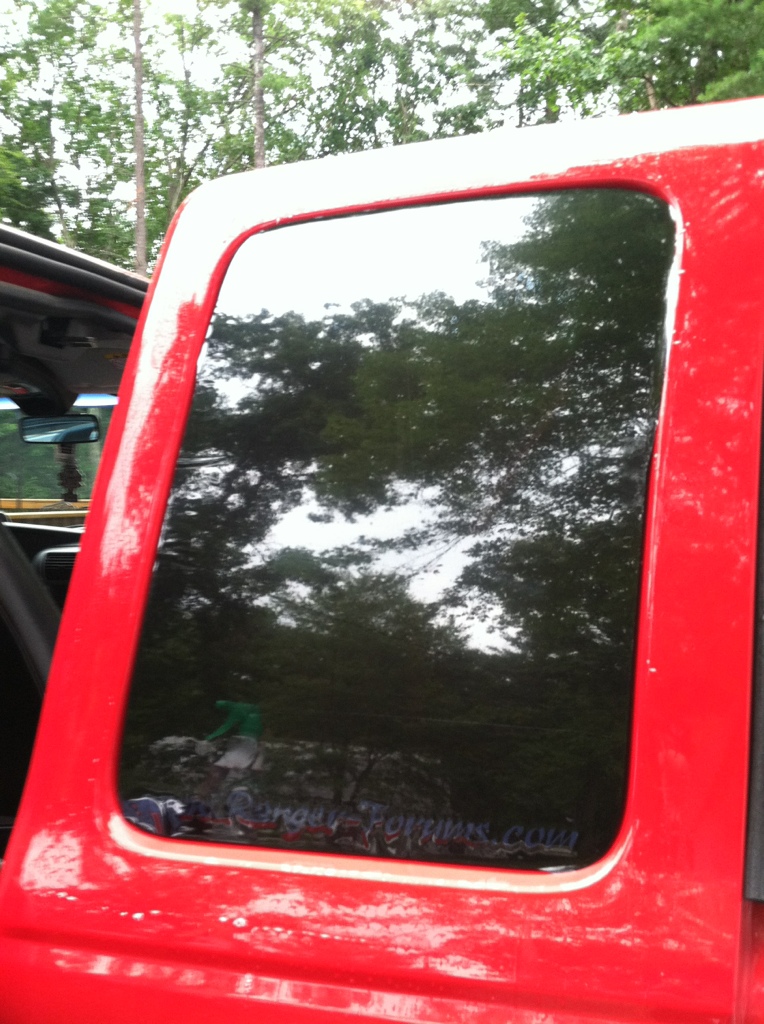
Once you finish that, the tint is now on and good to go. I took a heat gun alongside the edges just because but you don't need to on these since they don't open. Also, take the paper towels and clean up the area from drips and stuff.

Put your doorcard back on

Done!

Difficulty: 6/10 (If you're a beginner)
Time: Depends which windows you're working on
Materials Needed:
-Tint of your choice (I usually use Gila brand from Advance Auto/Autozone)
-SHARP razor blade
-Scissors
-Tape
-Squeegee
-Hard card
-Paper towels
-Dish soap/water solution in a spray bottle
-Heat gun (not needed but highly recommended if you're doing the front windows)
Picture of the stuff I used. Scissors aren't pictured
First, spray the outside of the window you're working on with the dish soap/water solution, then wipe it clean.
Same goes for the inside of the window you're working on
Next, take your tint out of the box and unroll it a bit. Take your tape and put a piece on both sides on the corner and peel the both away from each other to see which side is the adhesive side. Usually, the roll already comes with the adhesive side being the lower layer and the protective film on the top like so but DO NOT remove the protective film just yet.
Now wet the outside of the window with the soap solution, lay your tint on top. Cut a good sized piece with your scissors and leave it on the window.
I usually use my squeegee to have the film stay onto the window just to get an accurate trace for the next step.
Take your razor blade and trace the window. On these rear doors, its pretty simple just don't let the blade touch your paint unless you want a scratch all the way around. When doing the front doors, trace the top and sides of the window and leave a good inch or two of extra film on the bottom because you'll need it once putting it on
You're left with this after, squeegee it again once you've traced.
Now take your tape and remove the protective film from the tint itself. As you're doing this, make sure to spray the film at the same time as you go because if it folds over on itself and adheres, that piece of tint is now useless because when you take it apart, you'll have creases on the film and it will look like ****.
All the protective film is now off. Spray the adhesive side which is facing you really well with the solution.
Spray the inside of the window and then transfer the tint onto it.
Trim with your razor blade and then squeegee beginning from the middle down. Then middle up, middle left/right
Take your hard card and go along the edges to make sure its tight.
Once you finish that, the tint is now on and good to go. I took a heat gun alongside the edges just because but you don't need to on these since they don't open. Also, take the paper towels and clean up the area from drips and stuff.
Put your doorcard back on
Done!
Excellent write up.
I don't squeegee mine on the outside, since its pretty staticicky. but i did basically the same thing. I'd add that you can never use too much soapy water. not enough soapy water and you'll get a bunch of creases.
I don't squeegee mine on the outside, since its pretty staticicky. but i did basically the same thing. I'd add that you can never use too much soapy water. not enough soapy water and you'll get a bunch of creases.


you only put it on there with the protective film to trace the shape of the window. Pull the protective film off exposing the adhesive side, wet it, transfer it over to the inside. reading and not just looking at pictures helps lol
That's alot. I just had my whole Mazda done for $240 and it's a hatchback... that's 9 windows!
I mean, what else did you plan on doing that day?
when you trace it from the outside, leave an inch below the actually glass. when you put it on the inside, you'll see there is more glass below the "end point" on the outside. if you don't have a heat gun, sit there with a hair dryer idk. Its good to do it to the top edge because after multiple ups and downs, it will let go at some point.
godd annoying how the search feature hid this thread after i viewed it once.
this looked kinda interesting
2004 Ford Ranger Window Tint
this looked kinda interesting
2004 Ford Ranger Window Tint


